Using API calls in Automations (overview)
API calls in Hiver Automations let you connect your Shared Inbox workflows with external tools that offer an API. You can build custom integrations and automate workflows between Hiver and external tools. This helps eliminate manual work, like copying details from emails into spreadsheets or creating tasks in other tools, and keeps data in sync automatically.
What you can do with API calls
Here are some common use cases for API calls in Automations:
- Push data out of Hiver to external systems: Automatically log customer emails or extract information into Google Sheets, databases, or CRM systems.
- Trigger actions in other apps: Create tasks in project management tools like Asana or Jira, send notifications to Slack or Telegram, create posts in feedback tools like Canny, or update records in your internal systems.
- Connect with any service that provides an API: You can create custom integrations to link Hiver with tools like Mailchimp for email marketing or Stripe for fetching payment and subscription details, even if Hiver doesn't have built-in connections.
Prerequisites
To use API calls in Automations, you need:
- To be on the Elite plan.
- Admin permissions.
- API credentials or authentication details for the service you want to connect with.
Supported variables
Here’s a list of variables you can use in requests:
| Variable | Description |
| subject | Email subject line |
| private_permalink | Internal link to conversation |
| conversation_status | Current status (Open, Pending, Closed) |
| assignee_name | Name of assigned team member |
| assignee_email | Email of assigned team member |
| Automation_rule_name | Name of triggered Automation |
| shared_inbox_name | Inbox where conversation exists |
| conv_created_on | Conversation creation timestamp |
| conversation_id | Unique conversation identifier |
| contact_name | Sender's name |
| contact_email | Sender's email address |
| directory_company | Company from contact directory |
| directory_contact | Contact from directory |
Note: You can also add values from a Custom Object into your request as variables. When a conversation's details (like the from email/domain) match a Custom Object, add its corresponding values to the request body.
Limitations to know
- Response body is limited to 2MB. If you're using a GET request that fetches more than 2MB of data, you'll receive an error.
- The request name is limited to 45 characters.
- You can’t use data returned from GET requests in the rest of your Automation workflow yet. Support for accessing and using API responses is coming soon.
Making API calls in Automations
Let's explore how to build an Automation with an API call using an example. Let's say you want to automatically extract order IDs from customer emails and add them to a Google Sheet for tracking.
This Automation will detect incoming emails, extract the order ID using AI Task, and add it directly to your Google Sheet without any manual work.
Note: The Google Sheets integration is currently available on request. To enable it for your account, contact support@hiverhq.com.
Step 1: Create your Automation
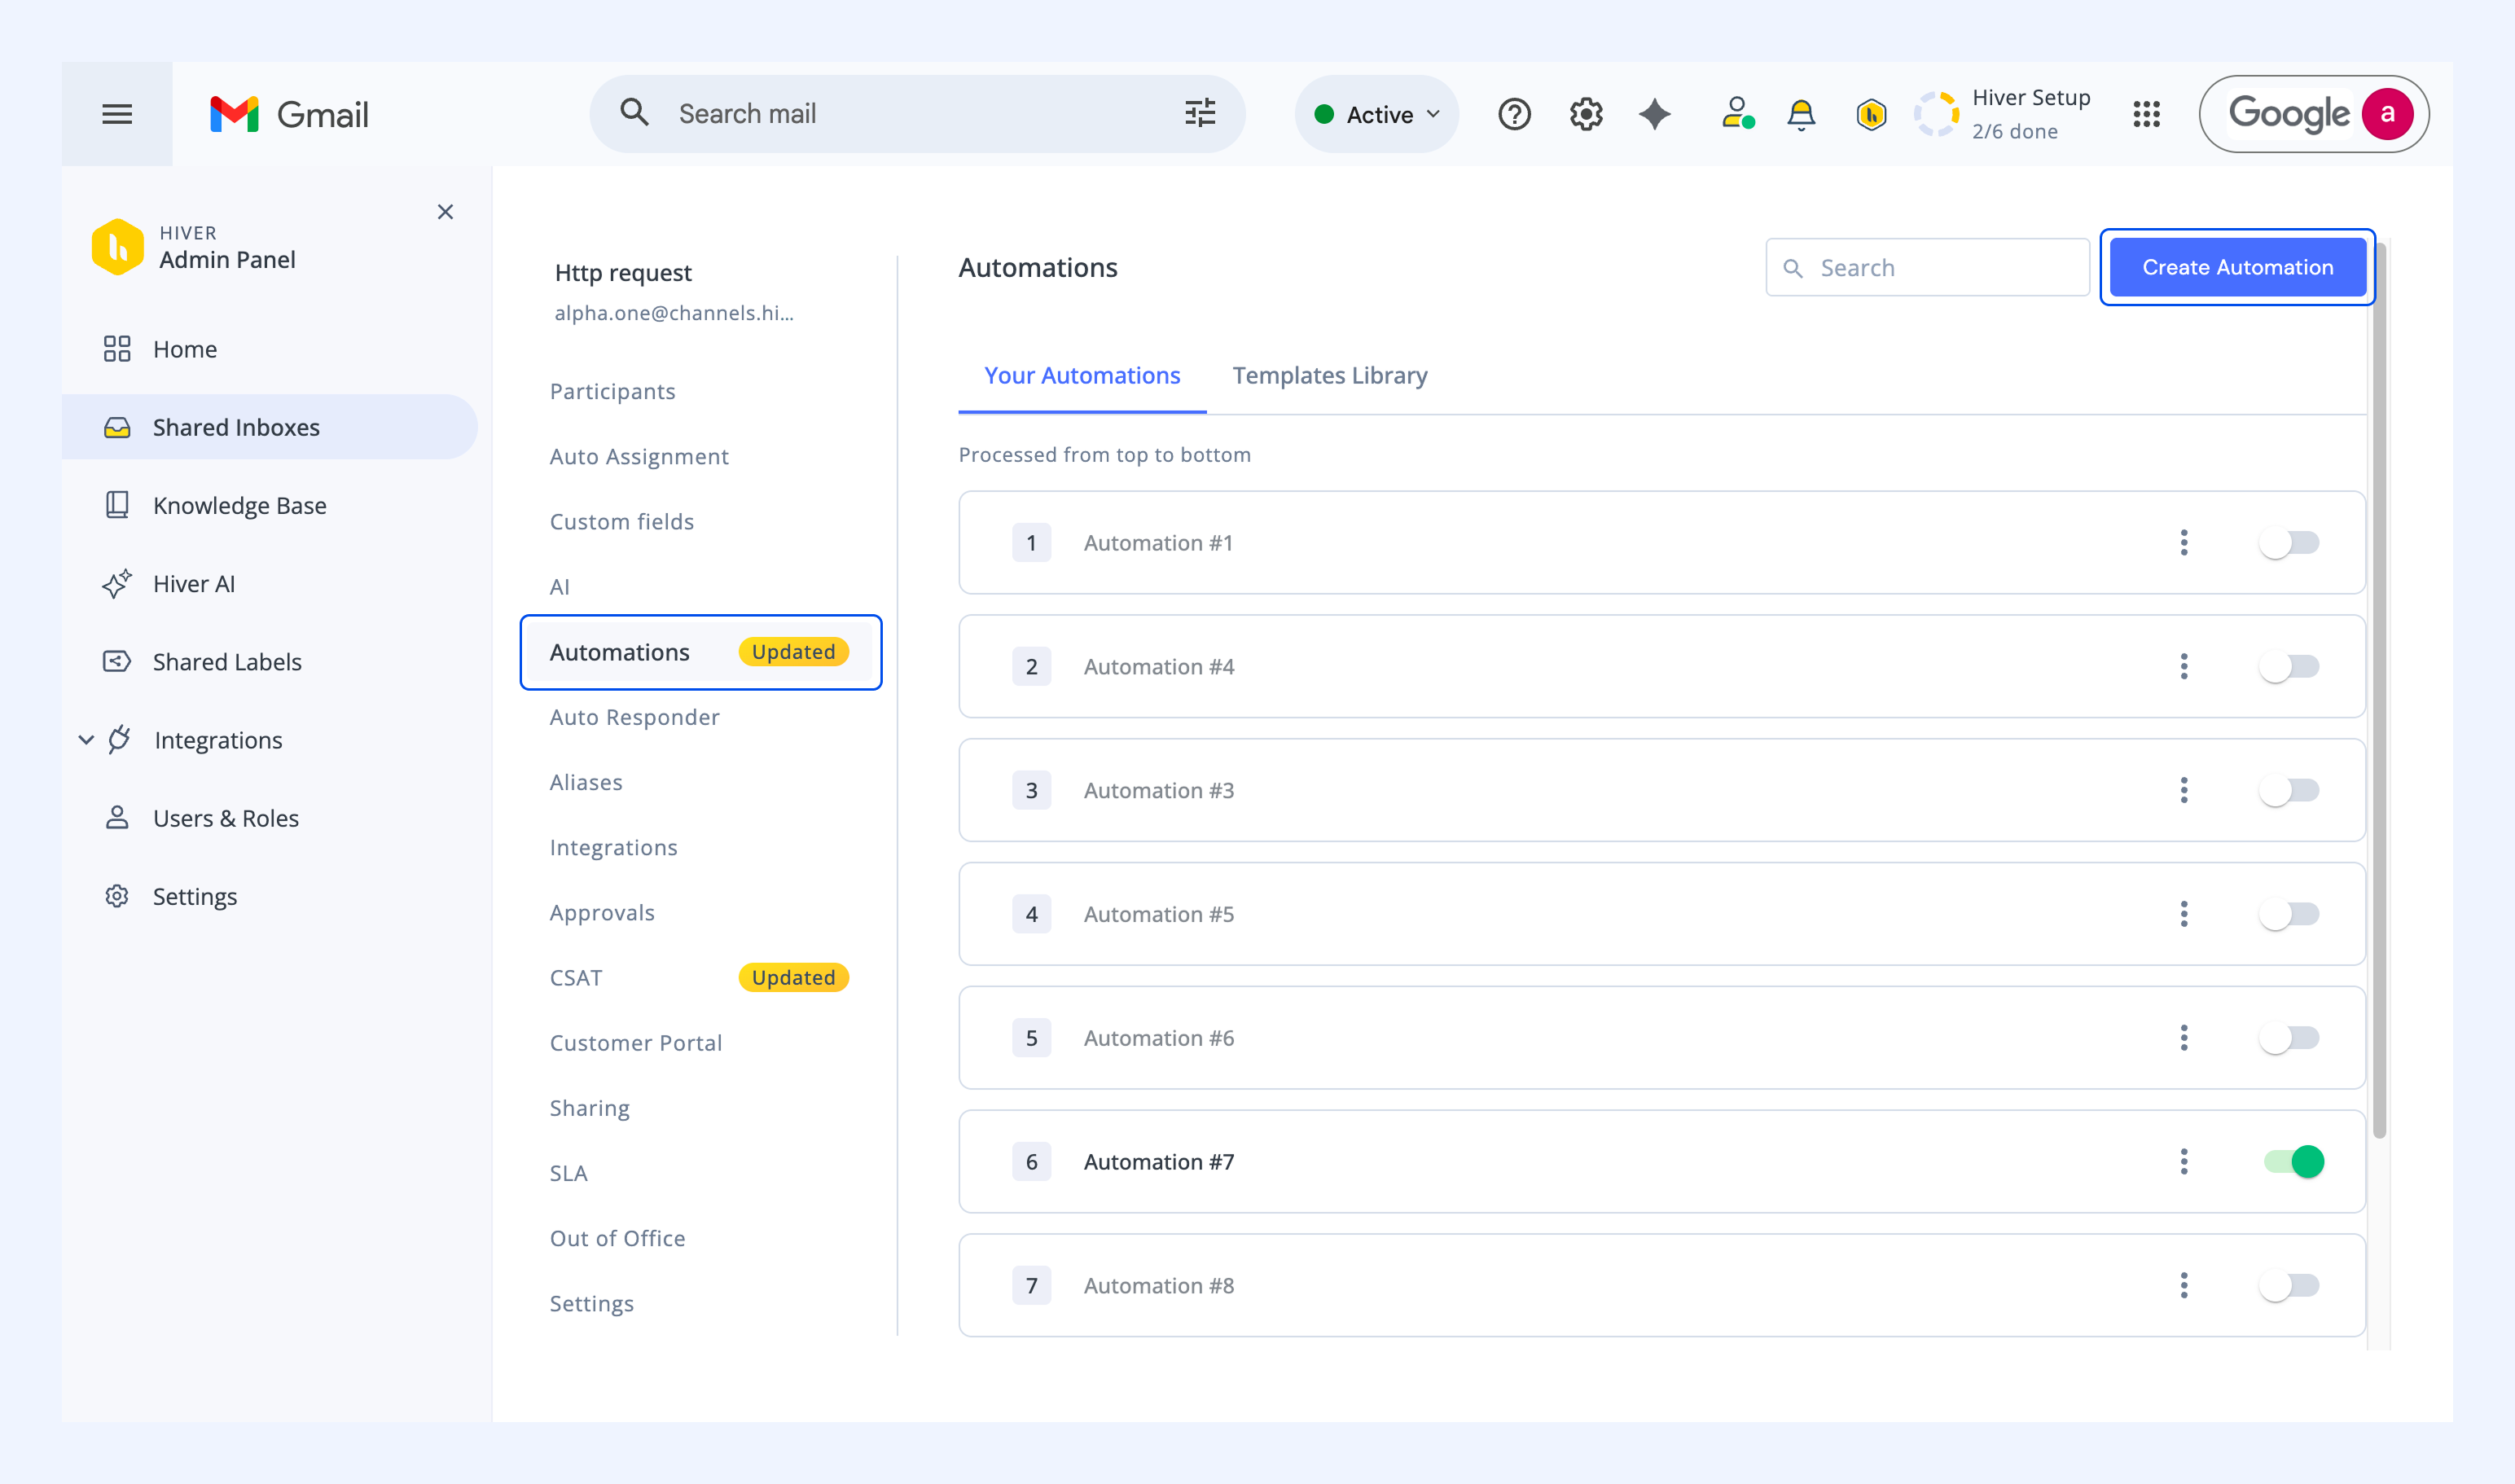
1. Go to Admin Panel → Shared Inboxes, and select your inbox.
2. In the Automations tab, click Create Automation.
3. Name your Automation.
4. From the trigger dropdown, select New conversation (inbound) is received.
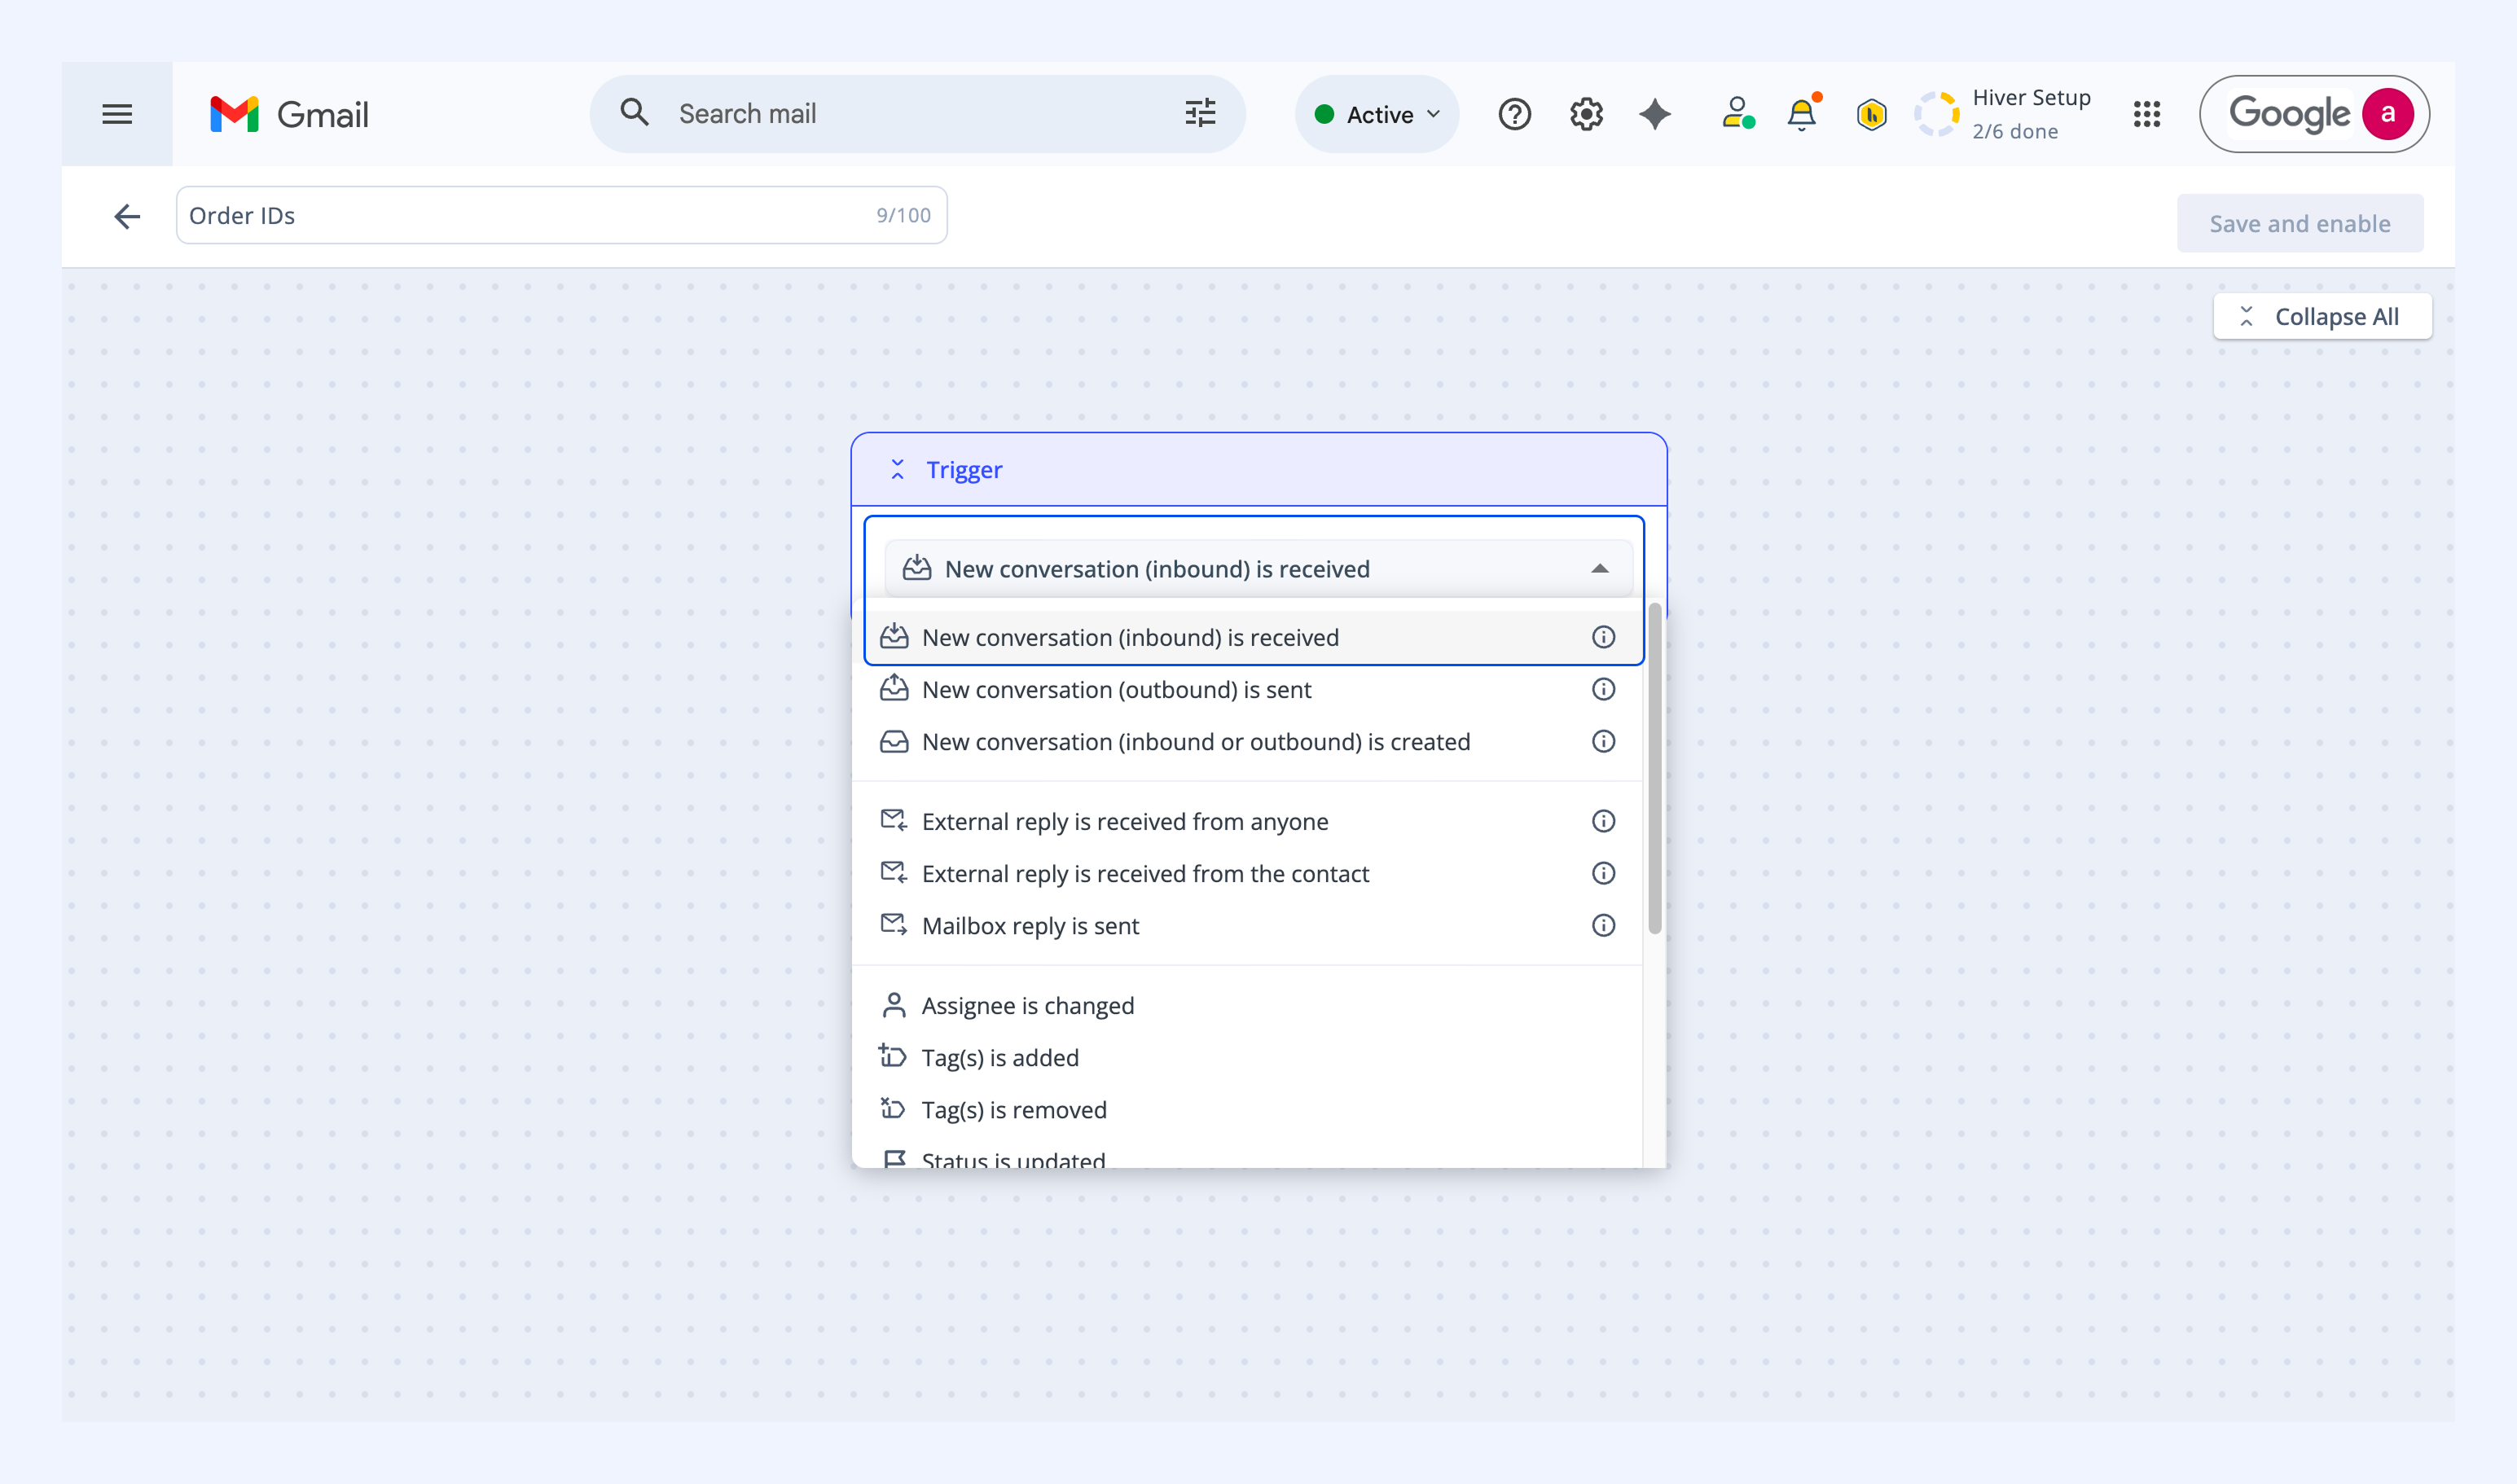
Note: With the New conversation (inbound) trigger, the assignee_name, assignee_email, and status variables aren't currently supported in the API call.
Step 2: Add the AI Task step
AI Task reads the subject and body of an email, follows the instructions in your prompt, and returns the details you ask for as variables. Learn more about using AI Task in Automations.
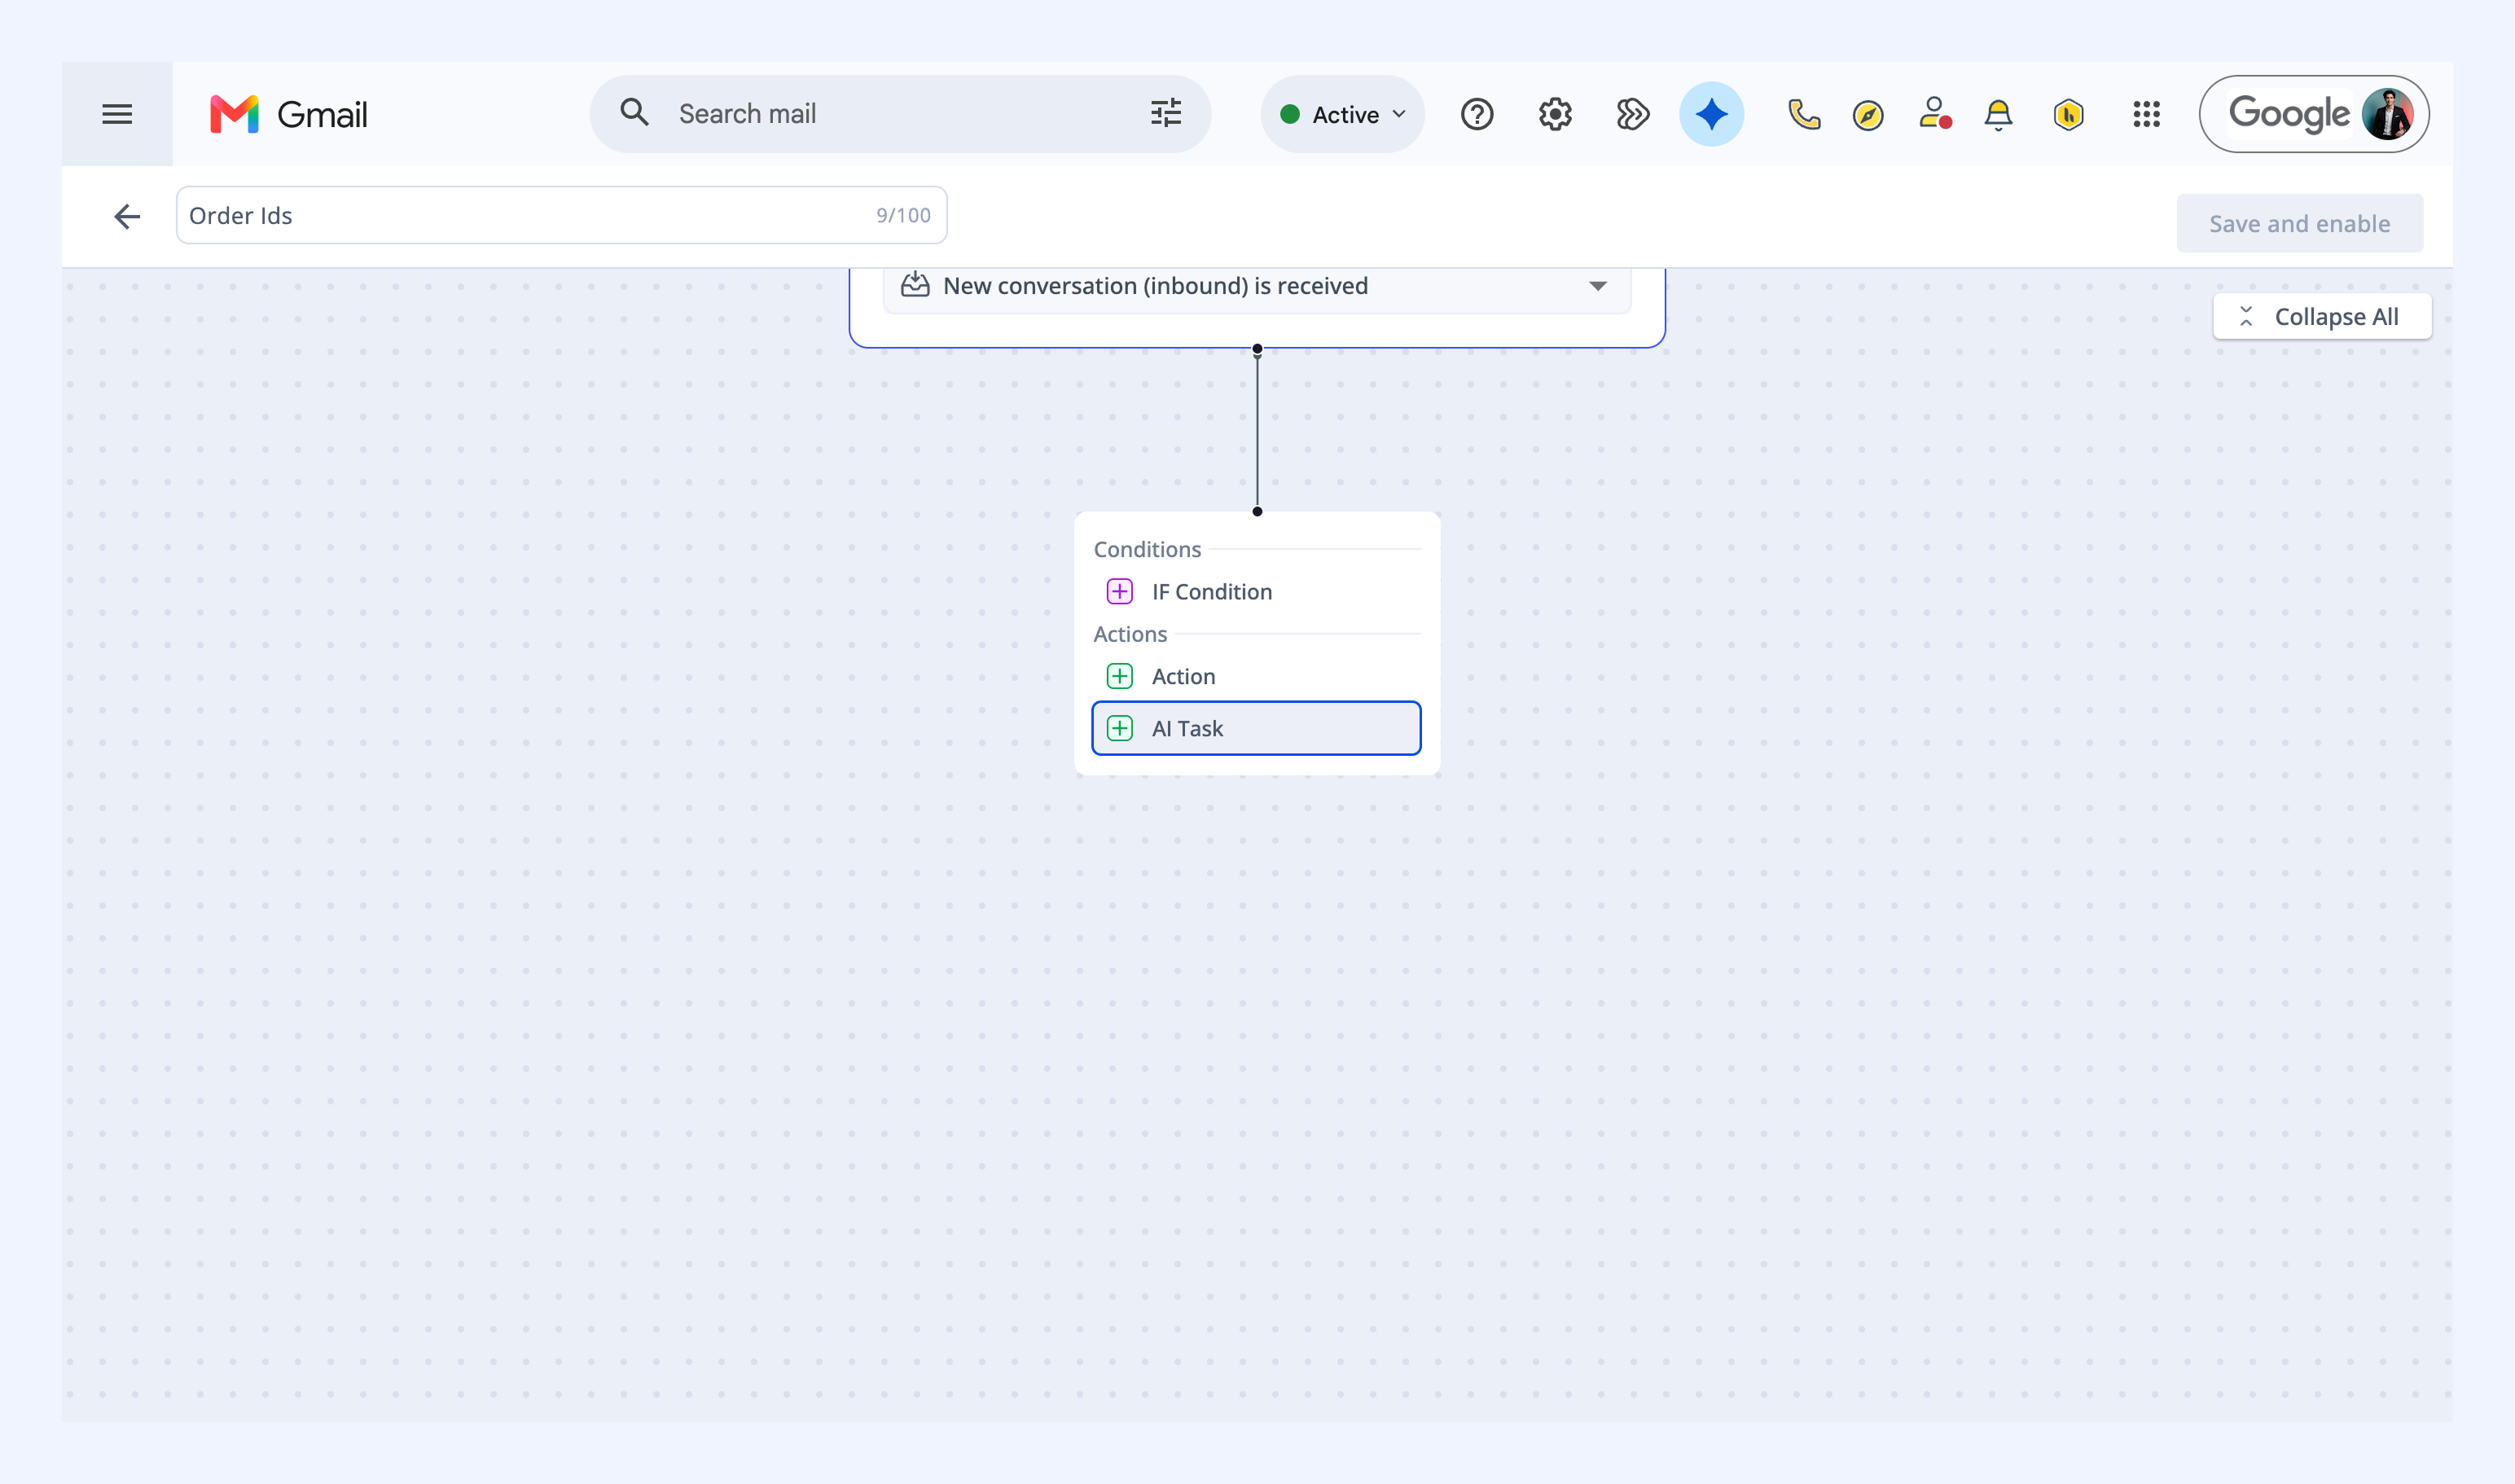
1. Click Add step and select AI Task under Action.
2. Under Source fields, select Subject and Body.
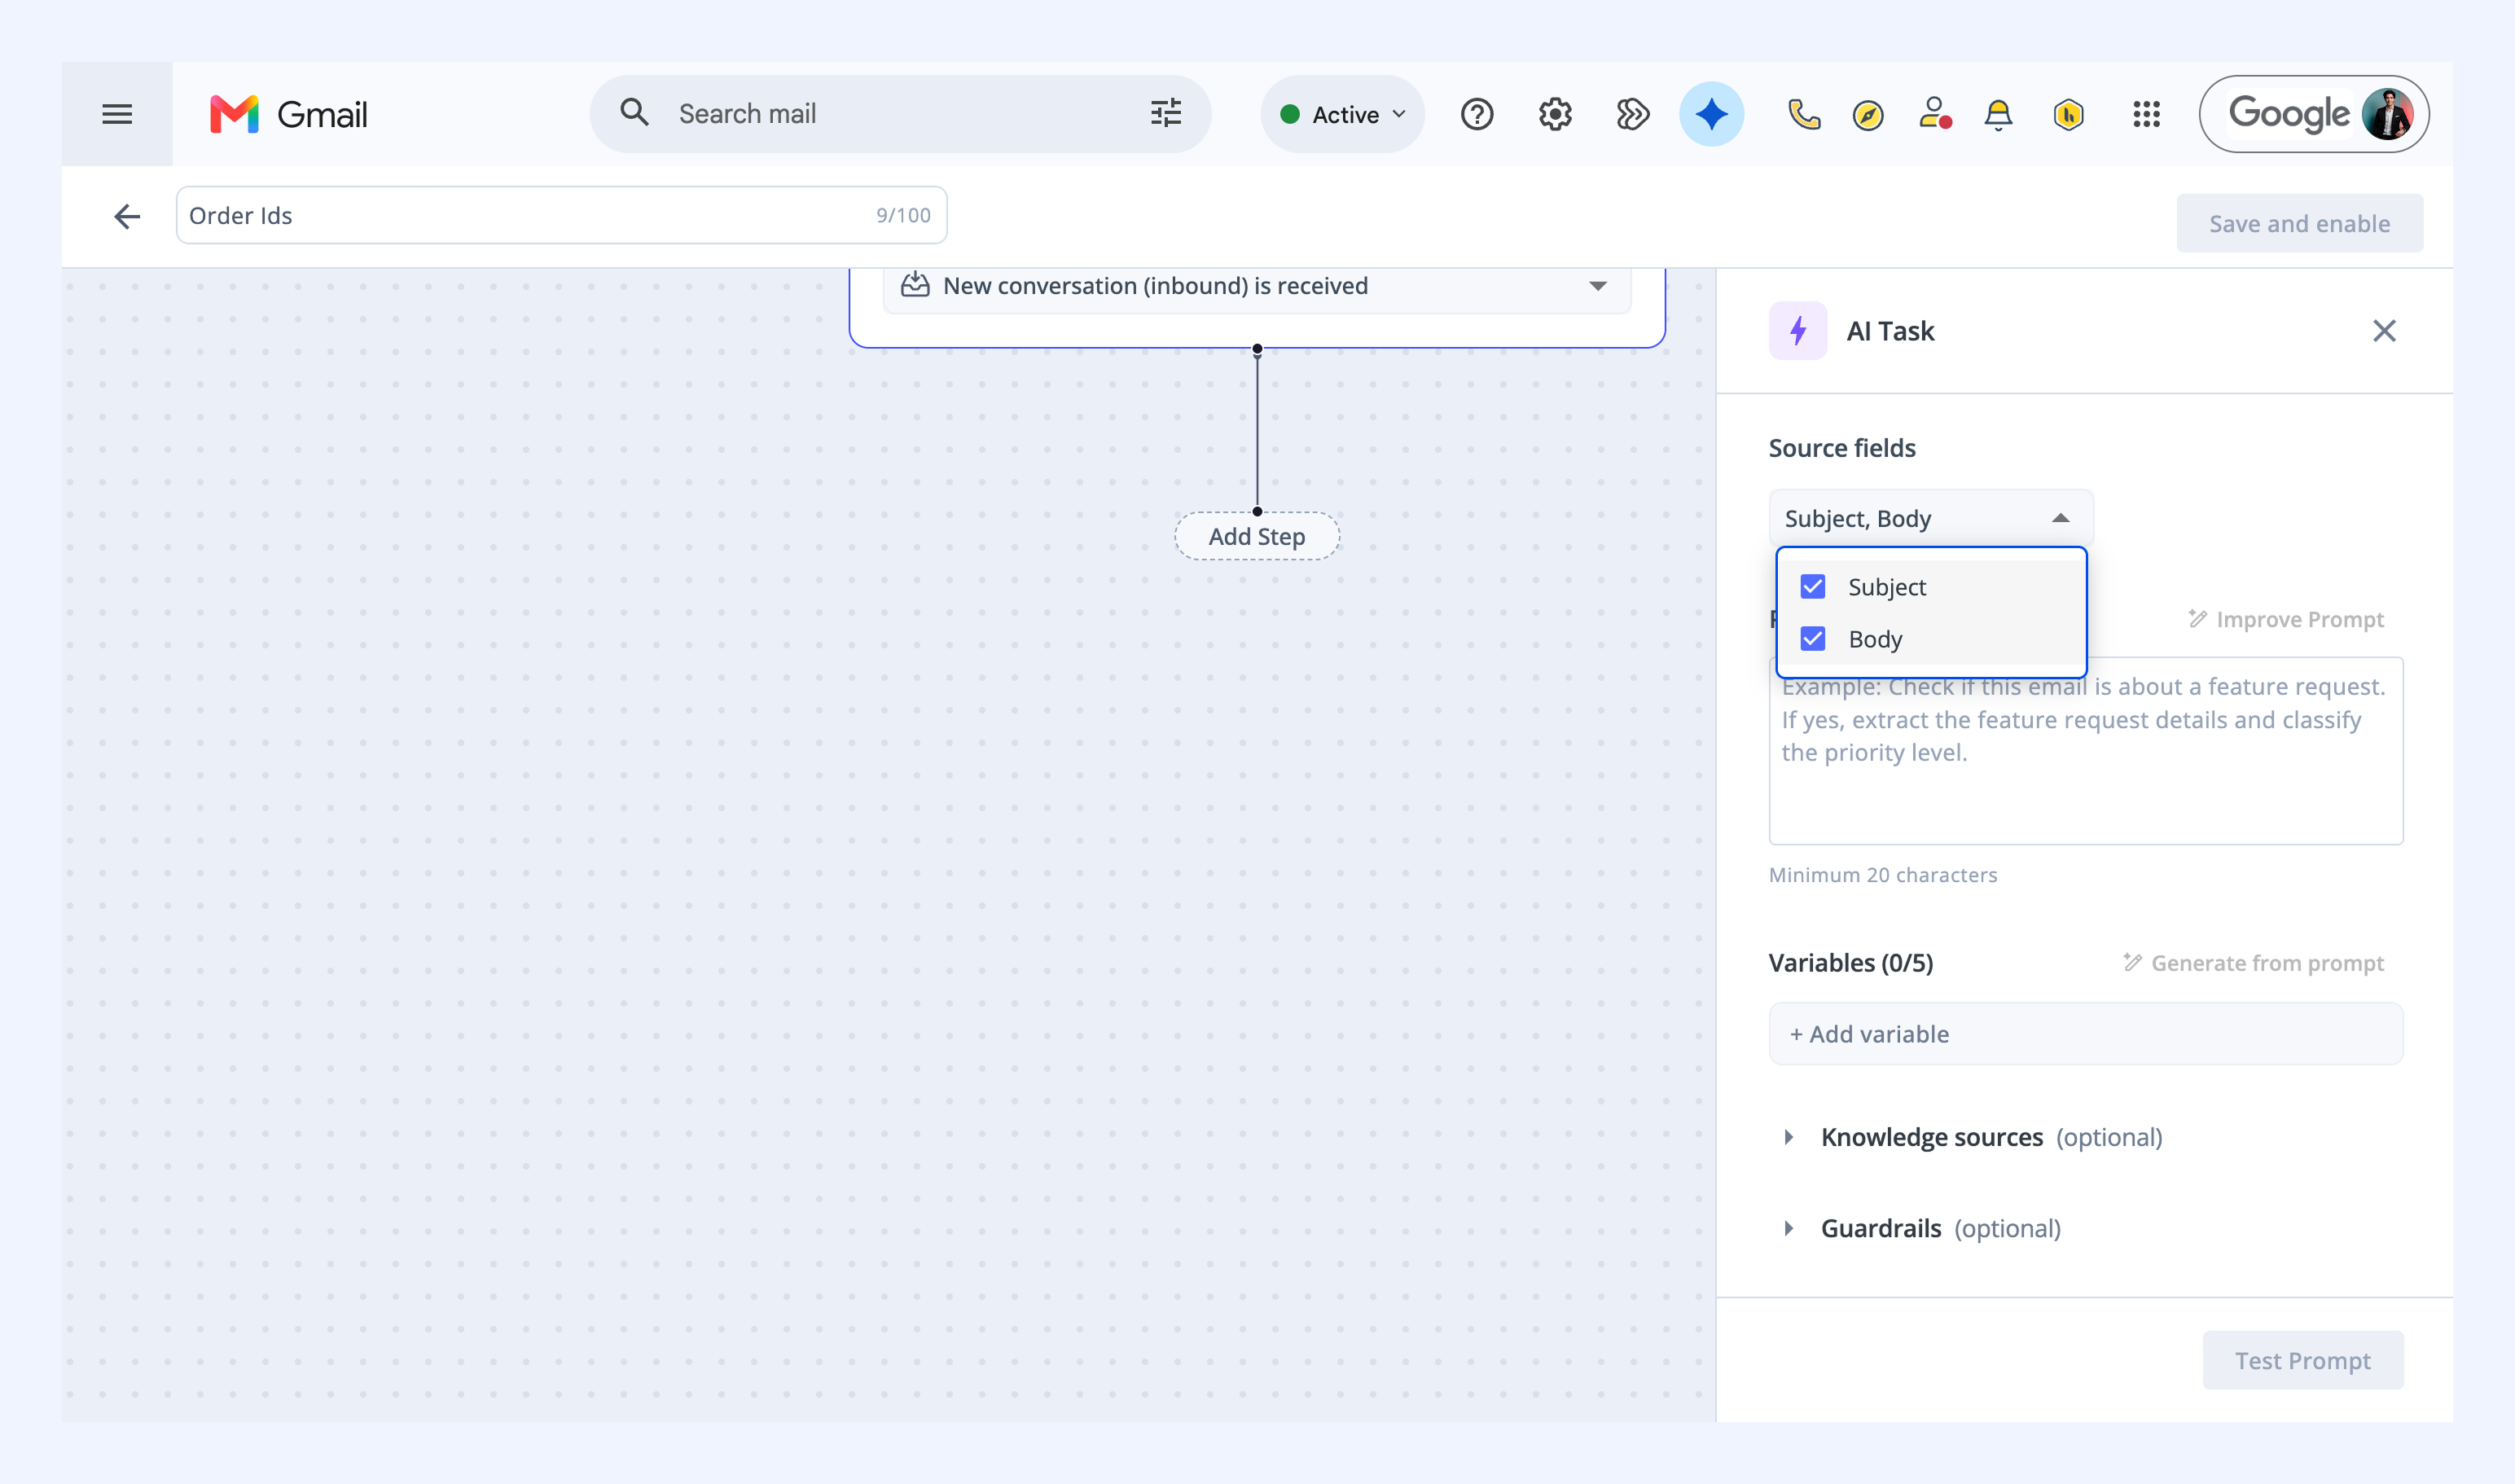
3. In the Prompt field, enter your instructions.
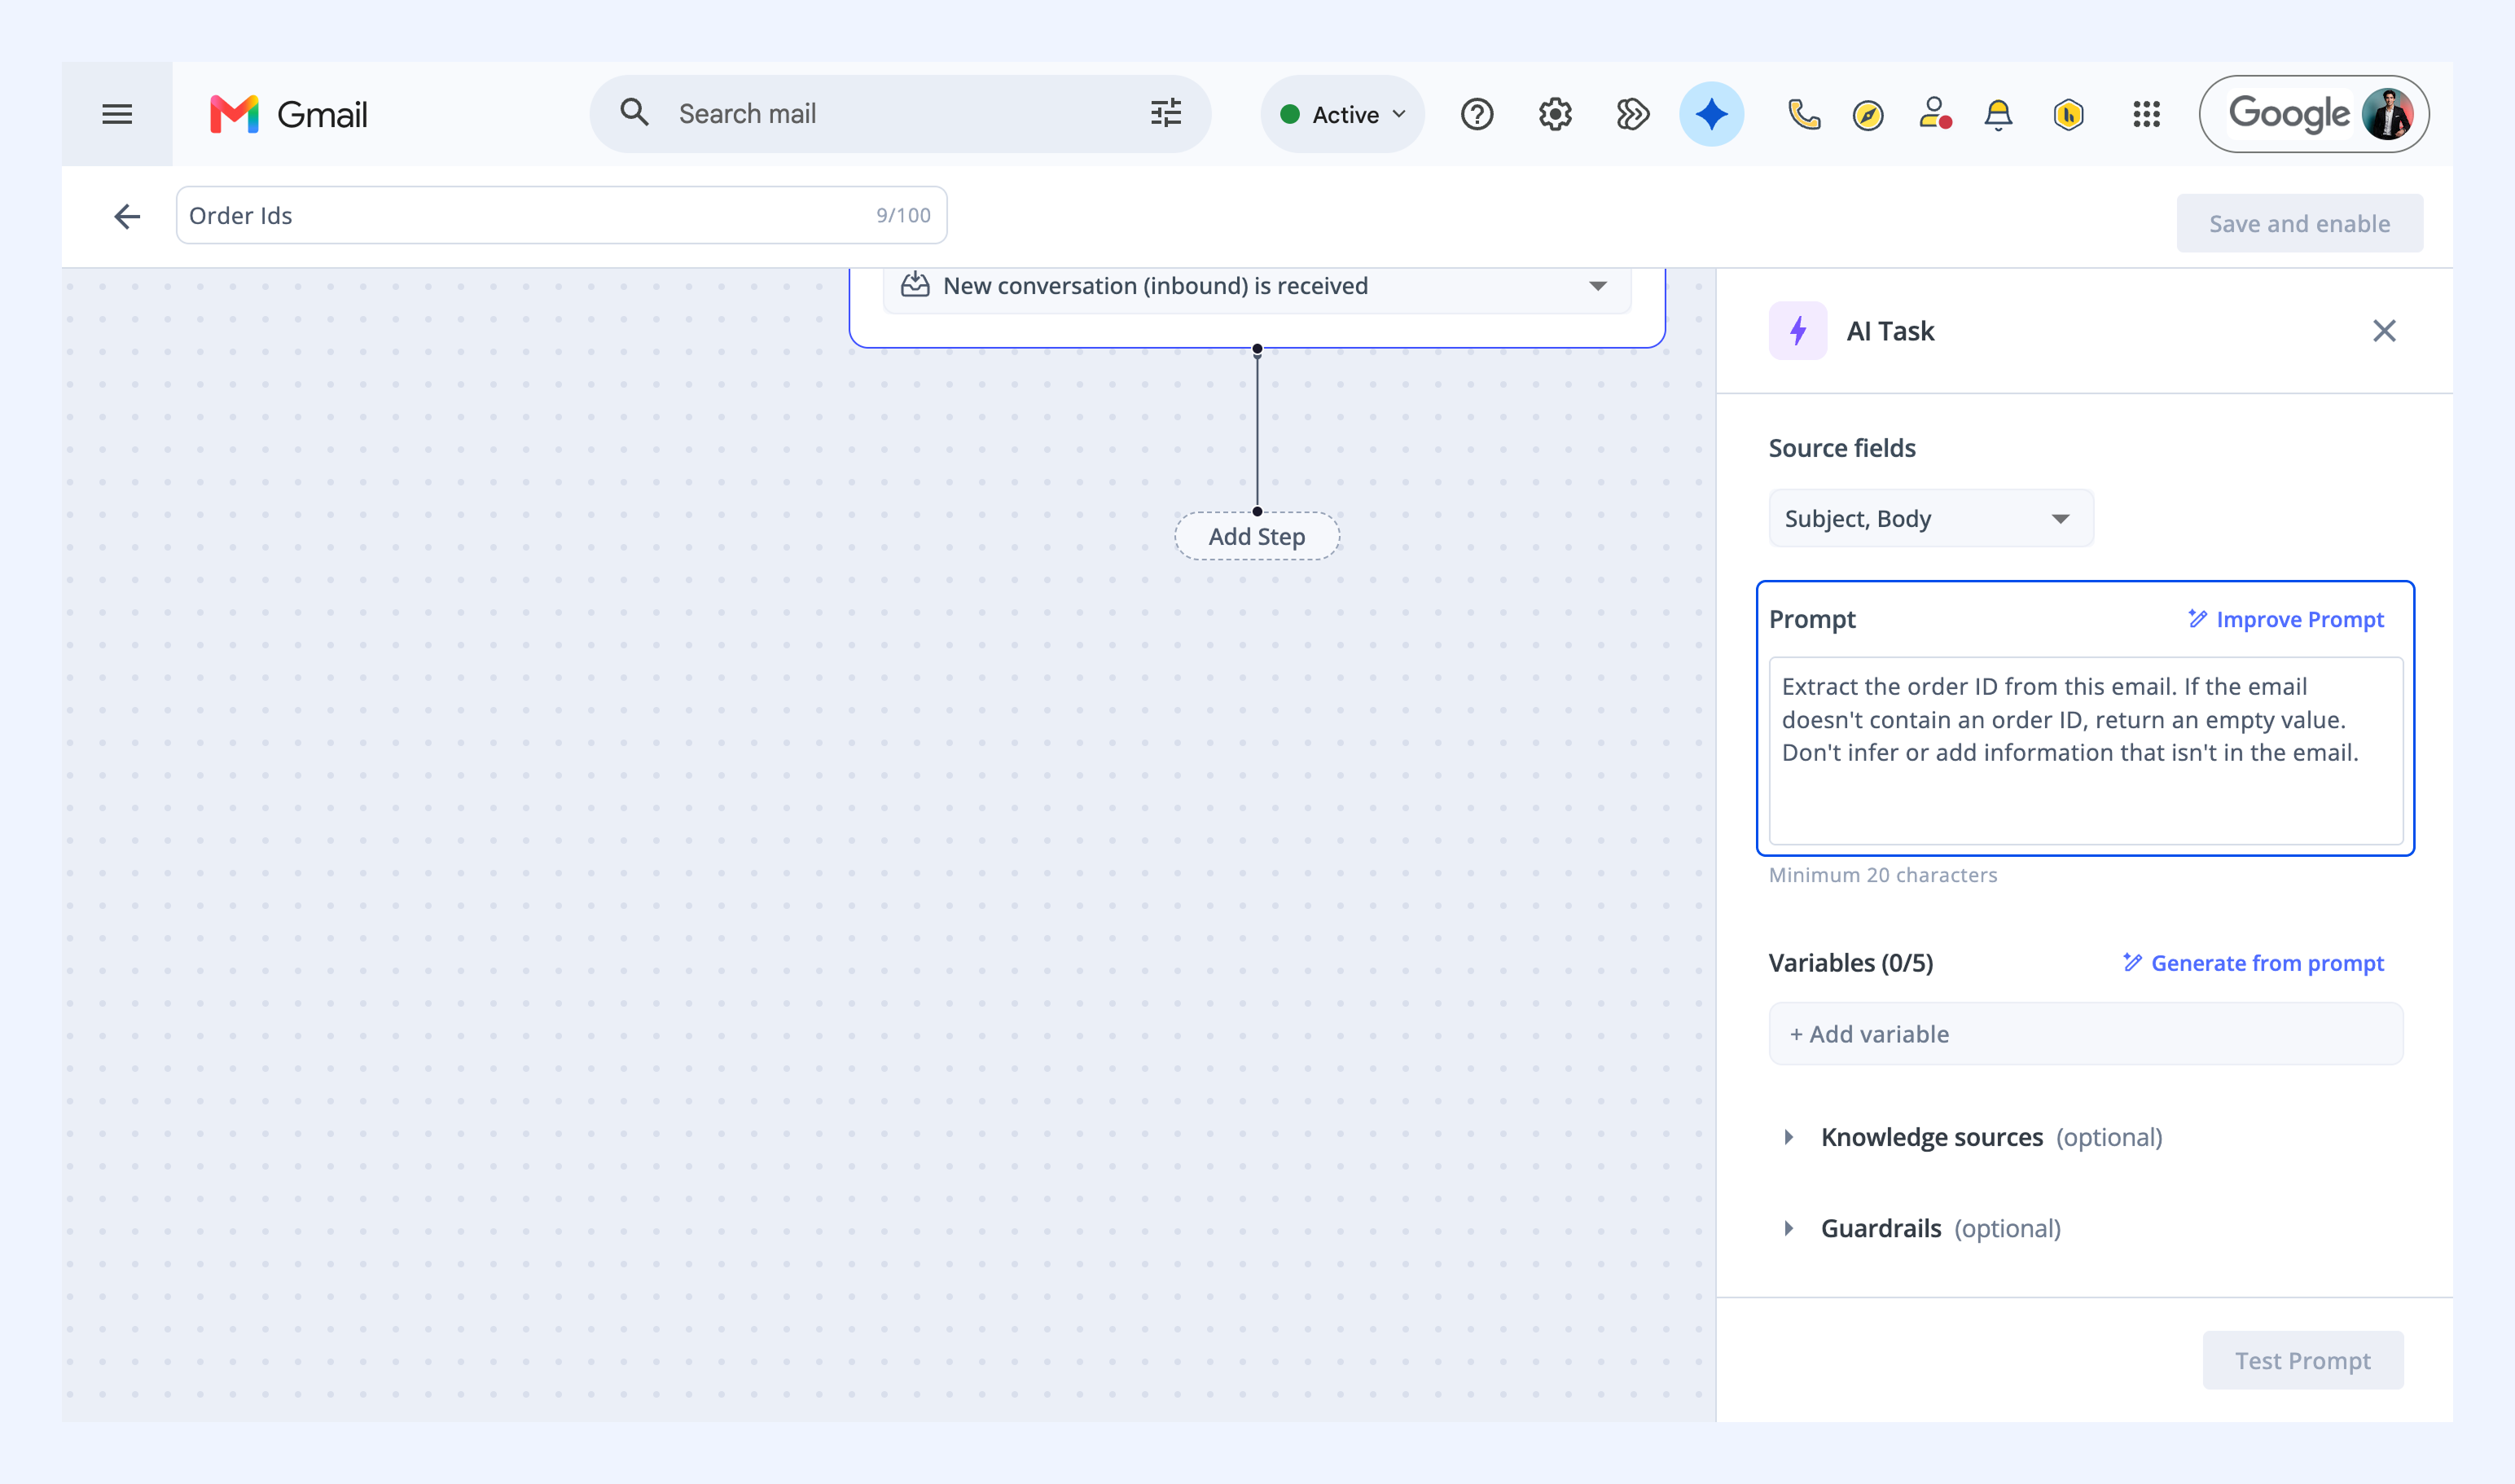
4. Click Improve Prompt. Hiver AI rewrites your instructions to make them clearer and more reliable.
5. Click Generate from prompt. Hiver AI analyzes the prompt and suggests variables.
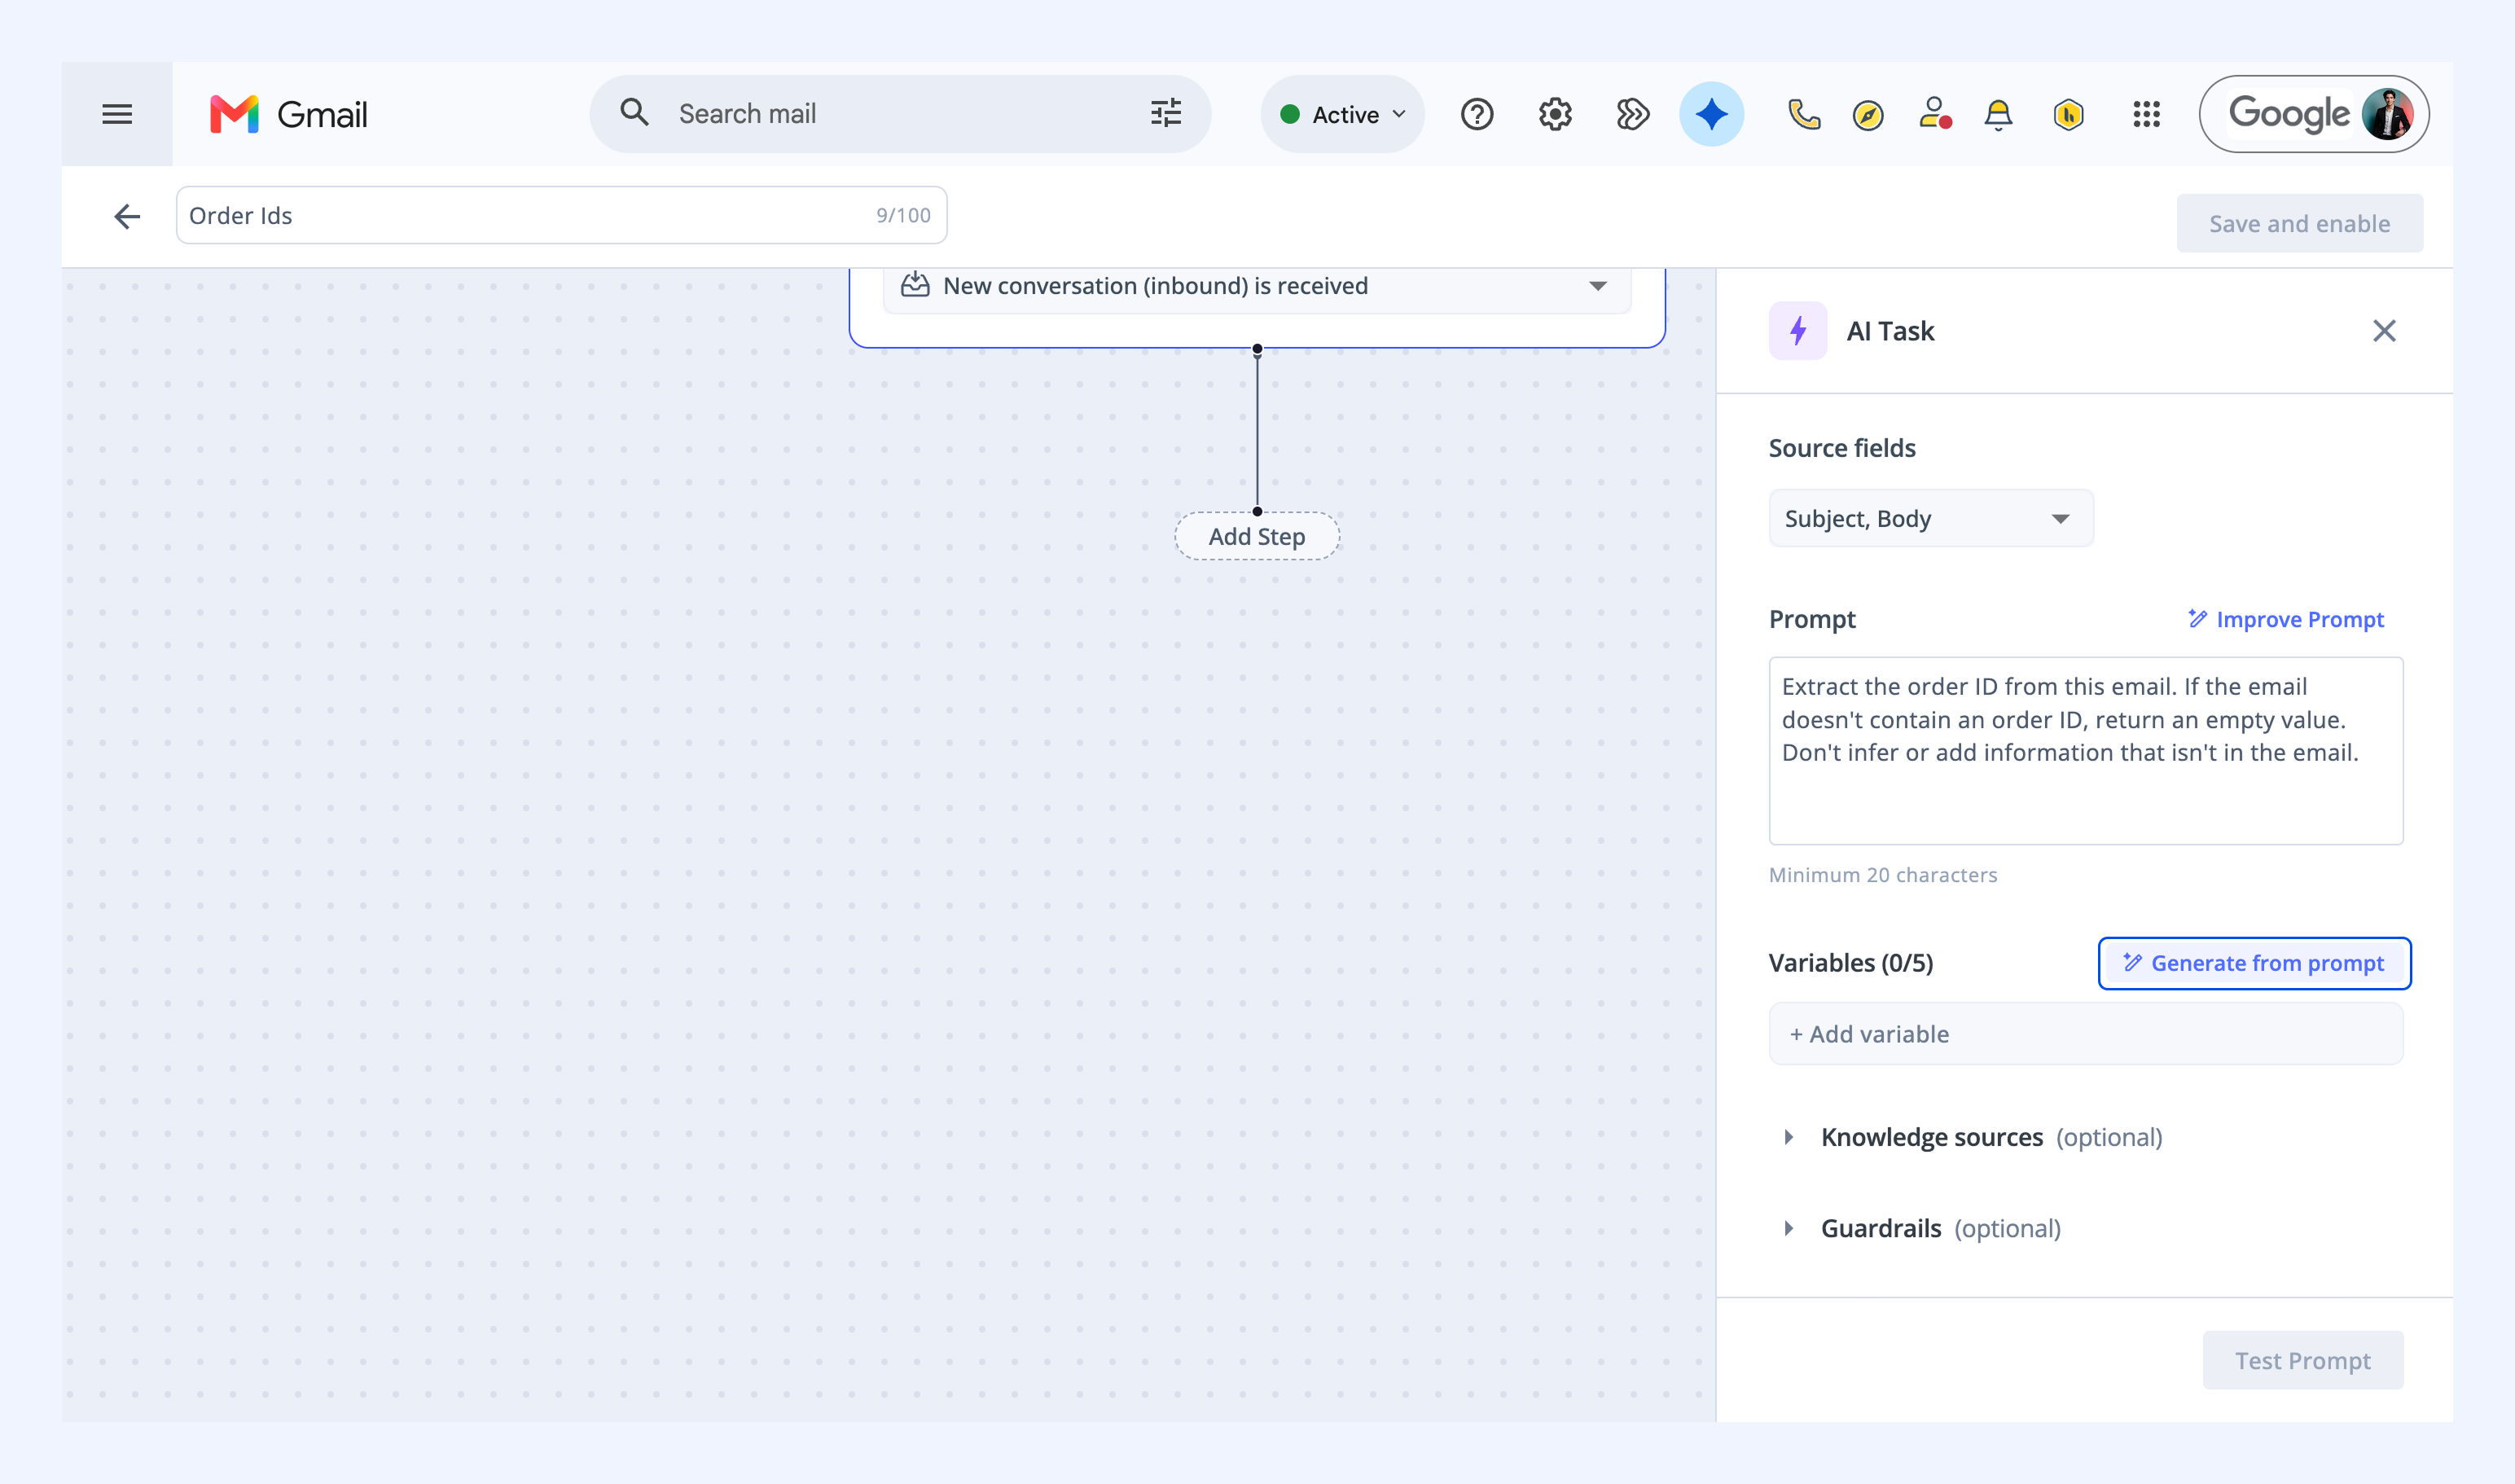
6. Review the variables. If anything is missing or named differently than you want, refine the prompt and generate again.
Note: The variable name is what you'll reference in the request body later, so keep track of it.
7. Expand Knowledge sources to add internal snippets or documents the AI can reference.
8. Expand Guardrails (optional) to define rules the AI must follow.
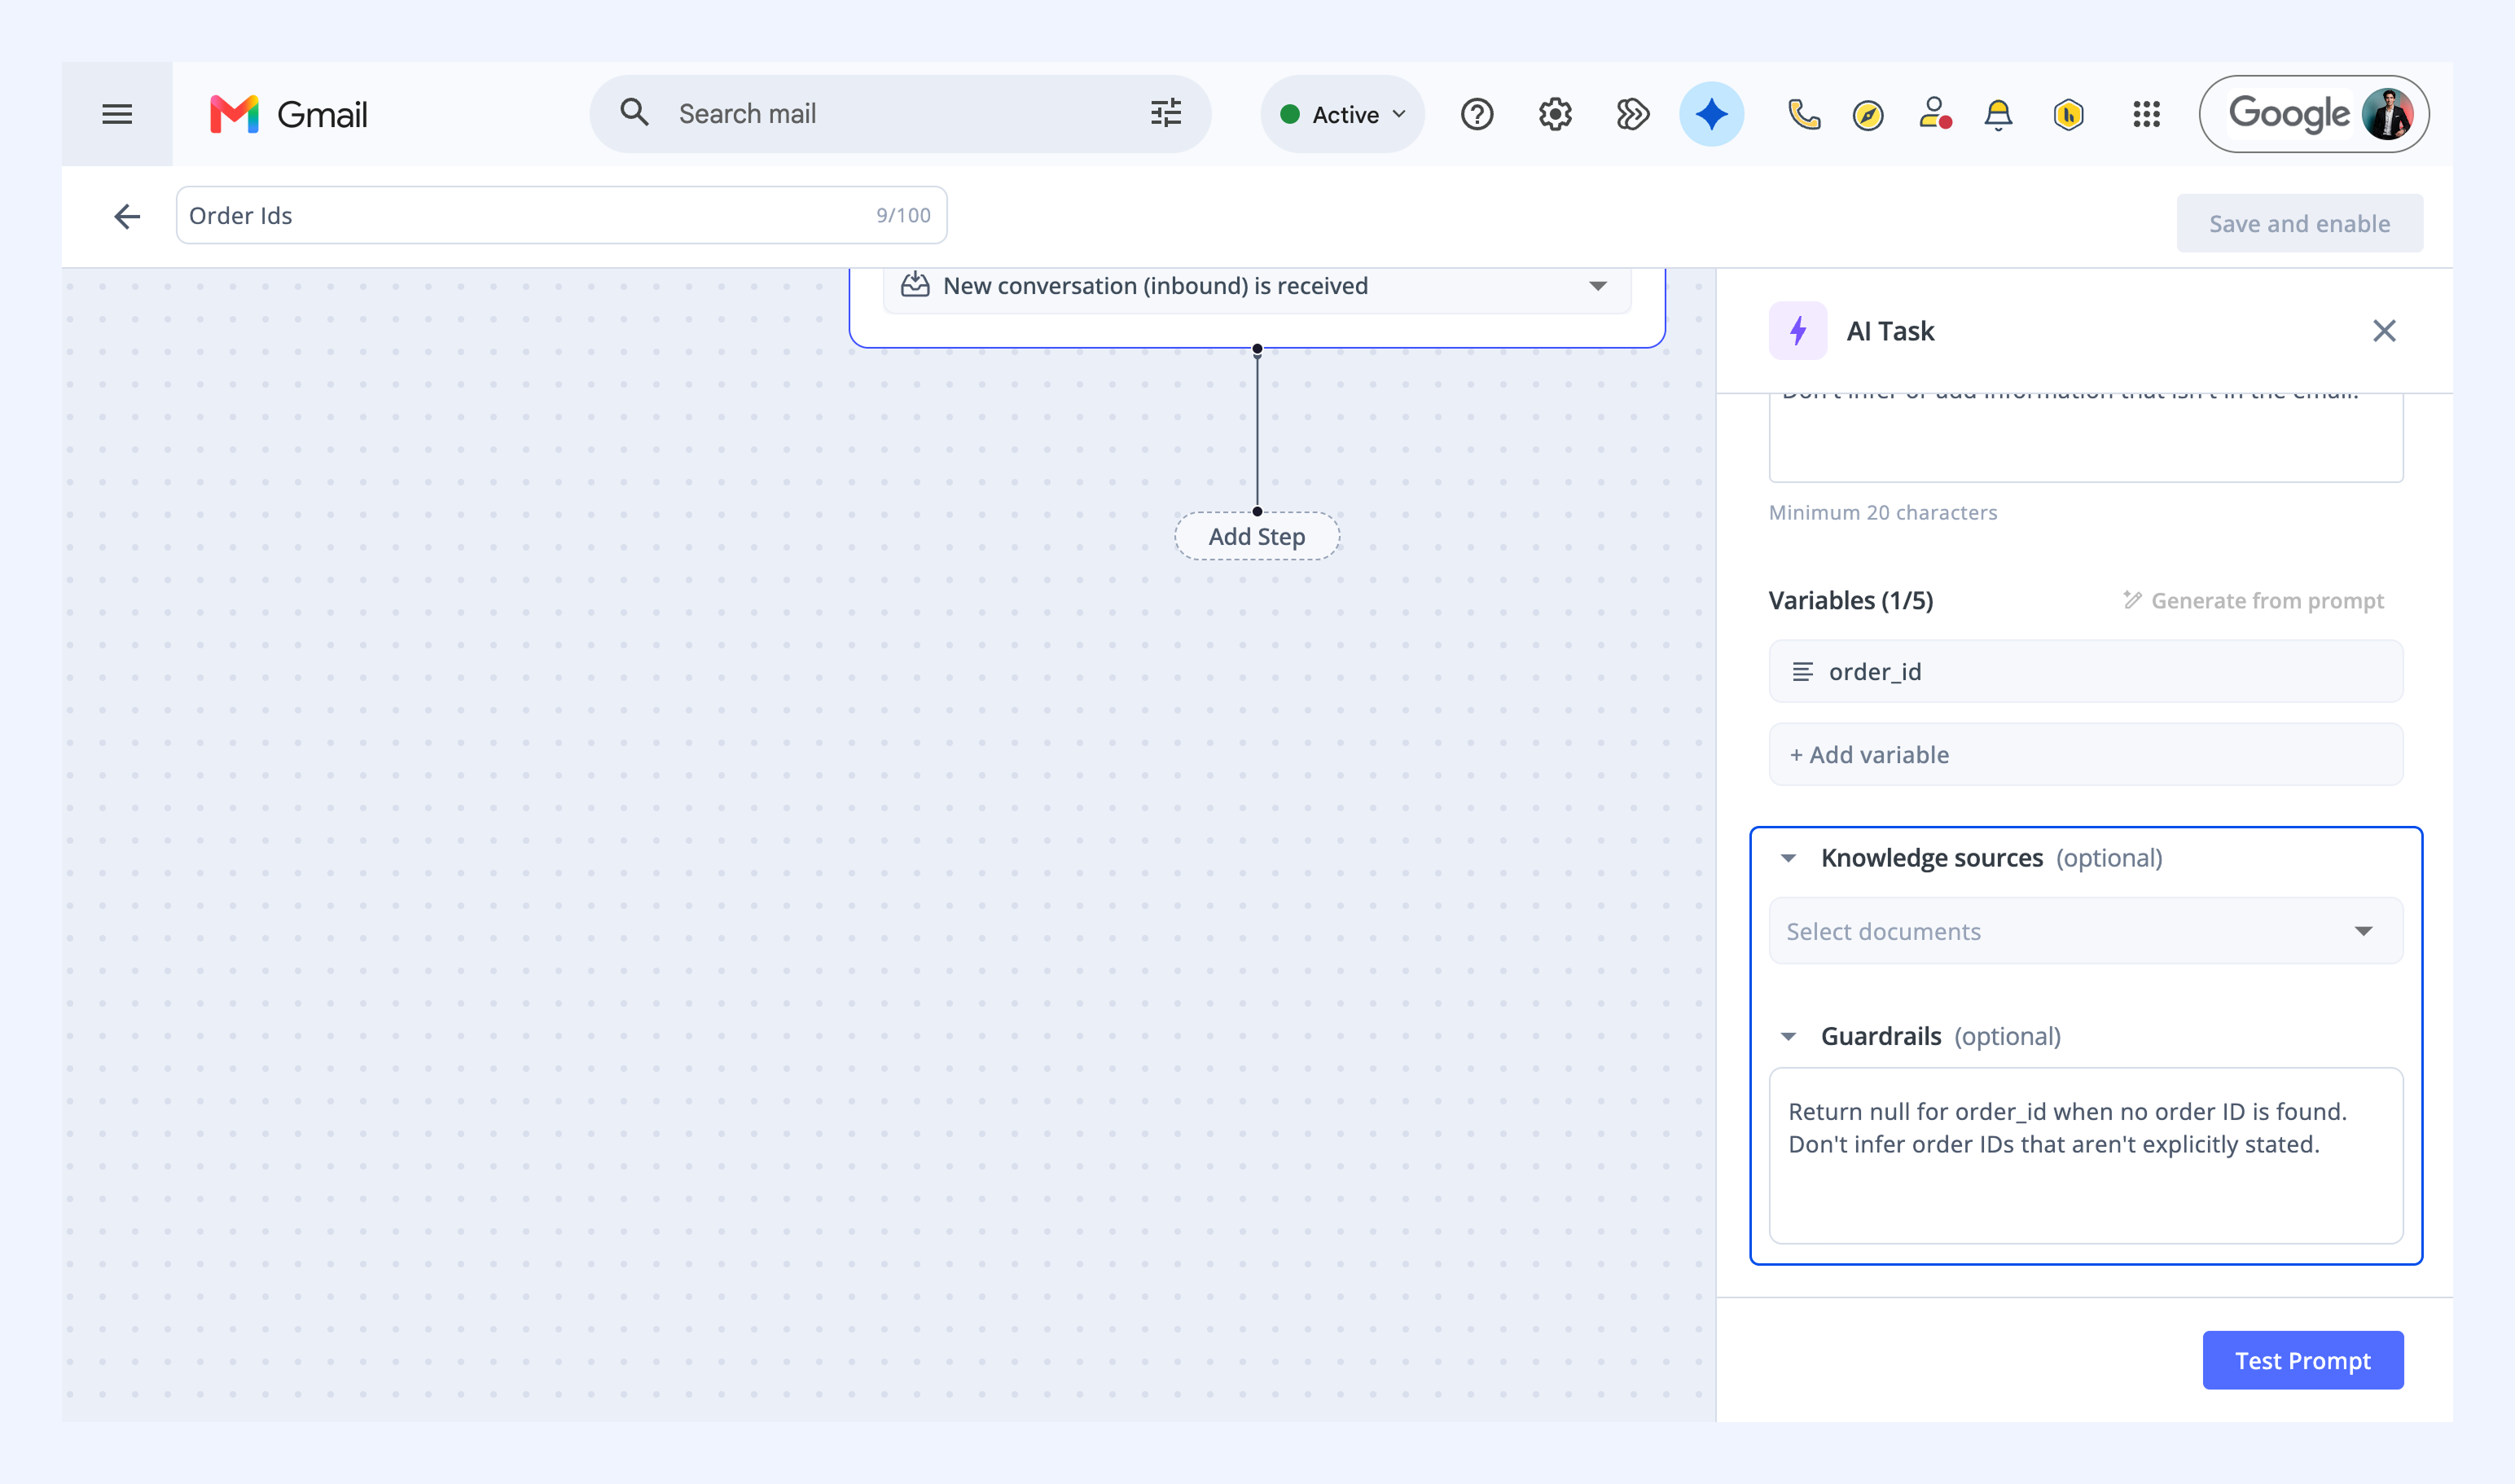
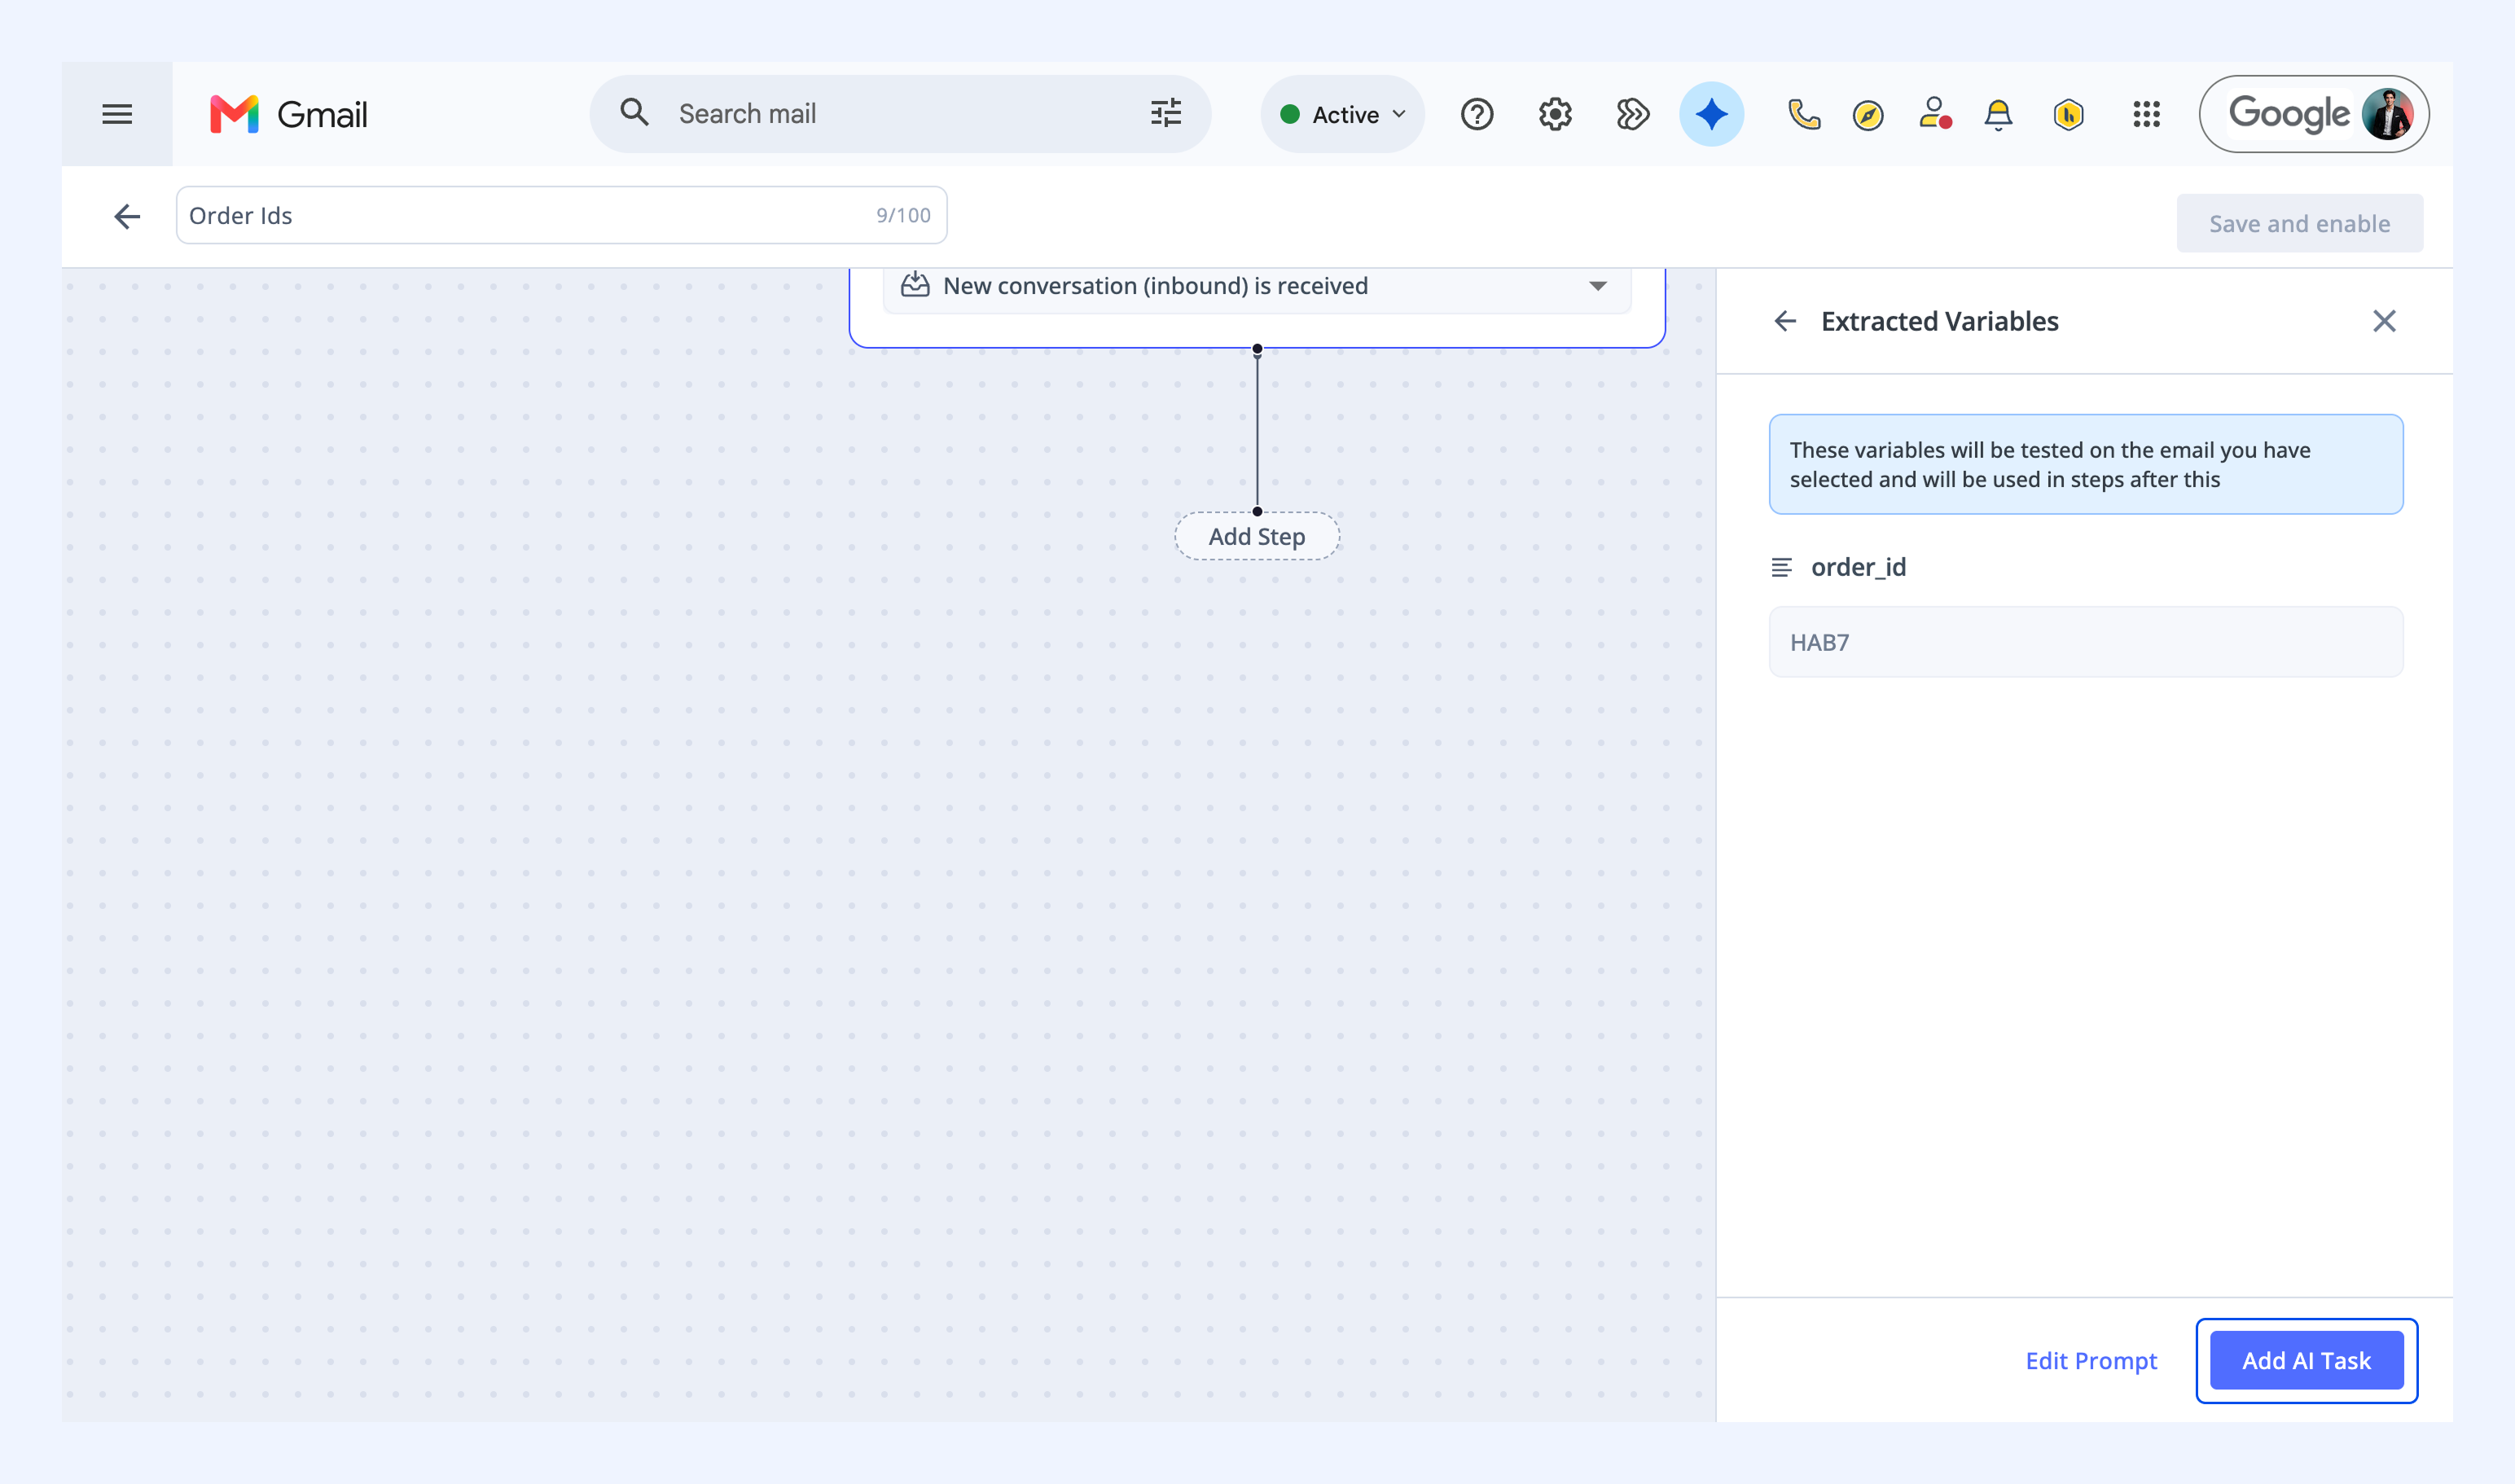
9. Click Test prompt and select a recent conversation that contains an order ID.
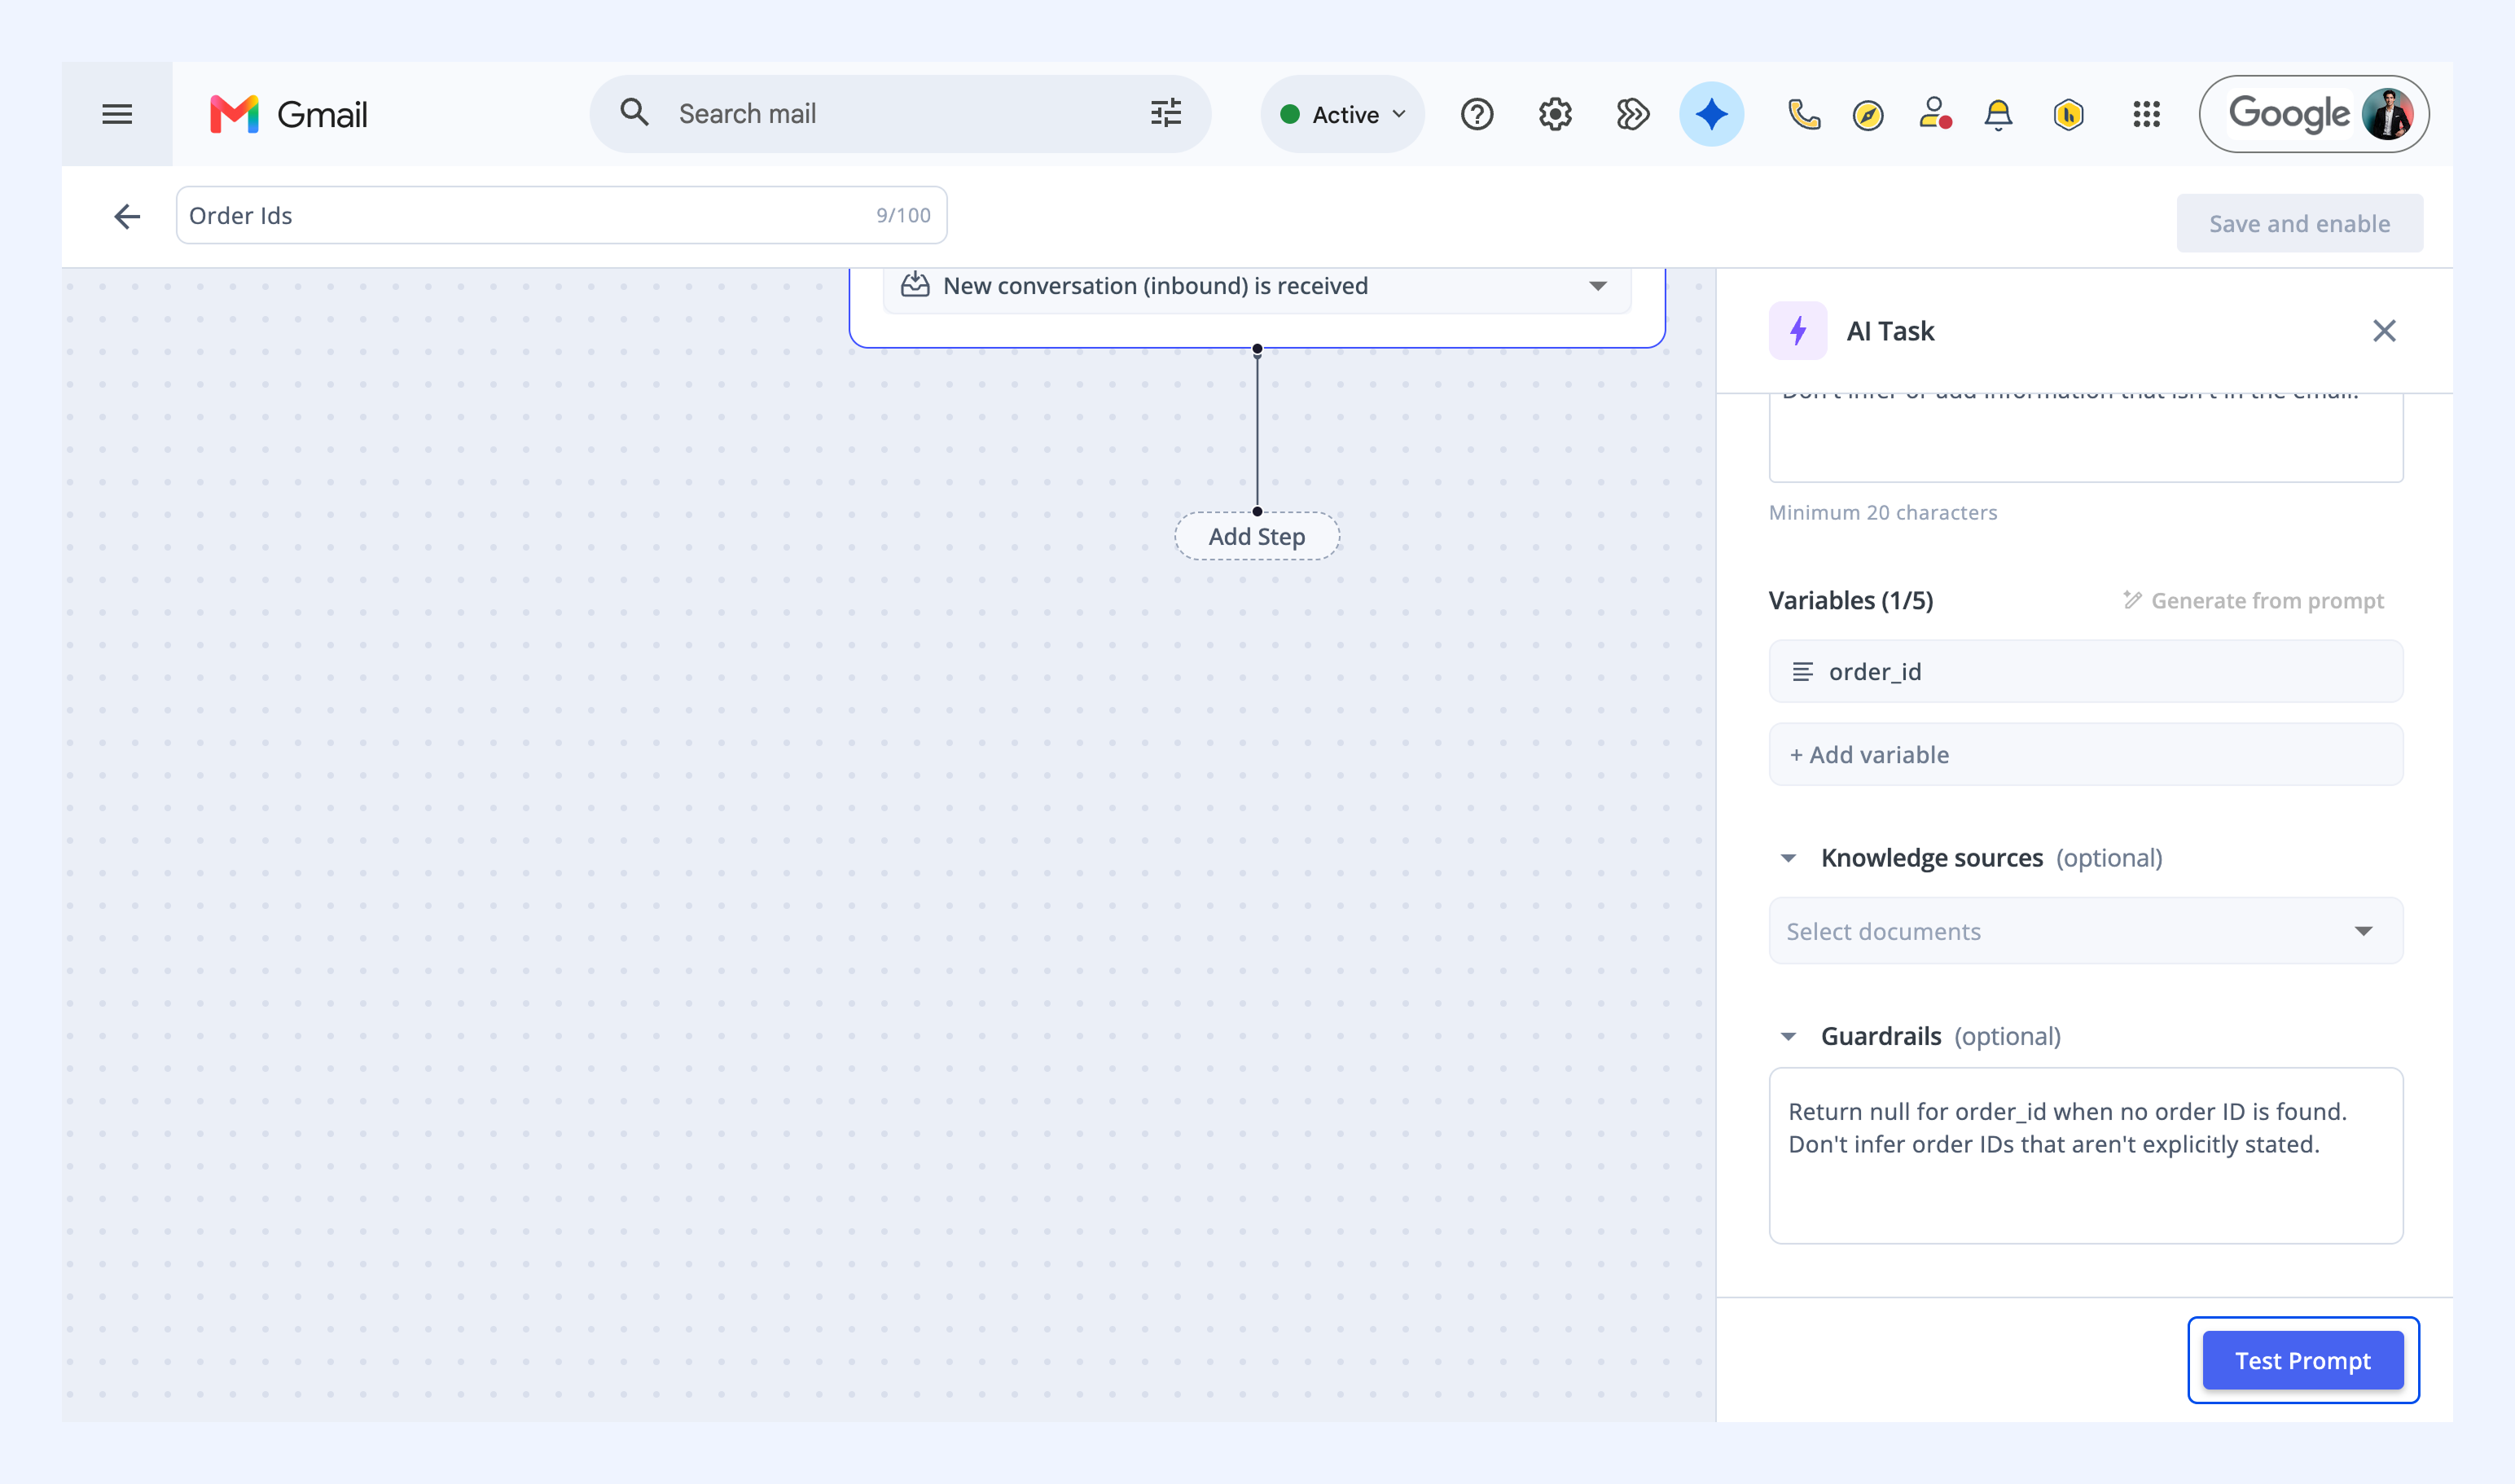
10. Click Confirm to run the test.
11. Review the extracted variable. If the output looks accurate, click Add AI Task. If not, click Edit prompt to refine and test again.
Step 3: Set up your Google Sheet
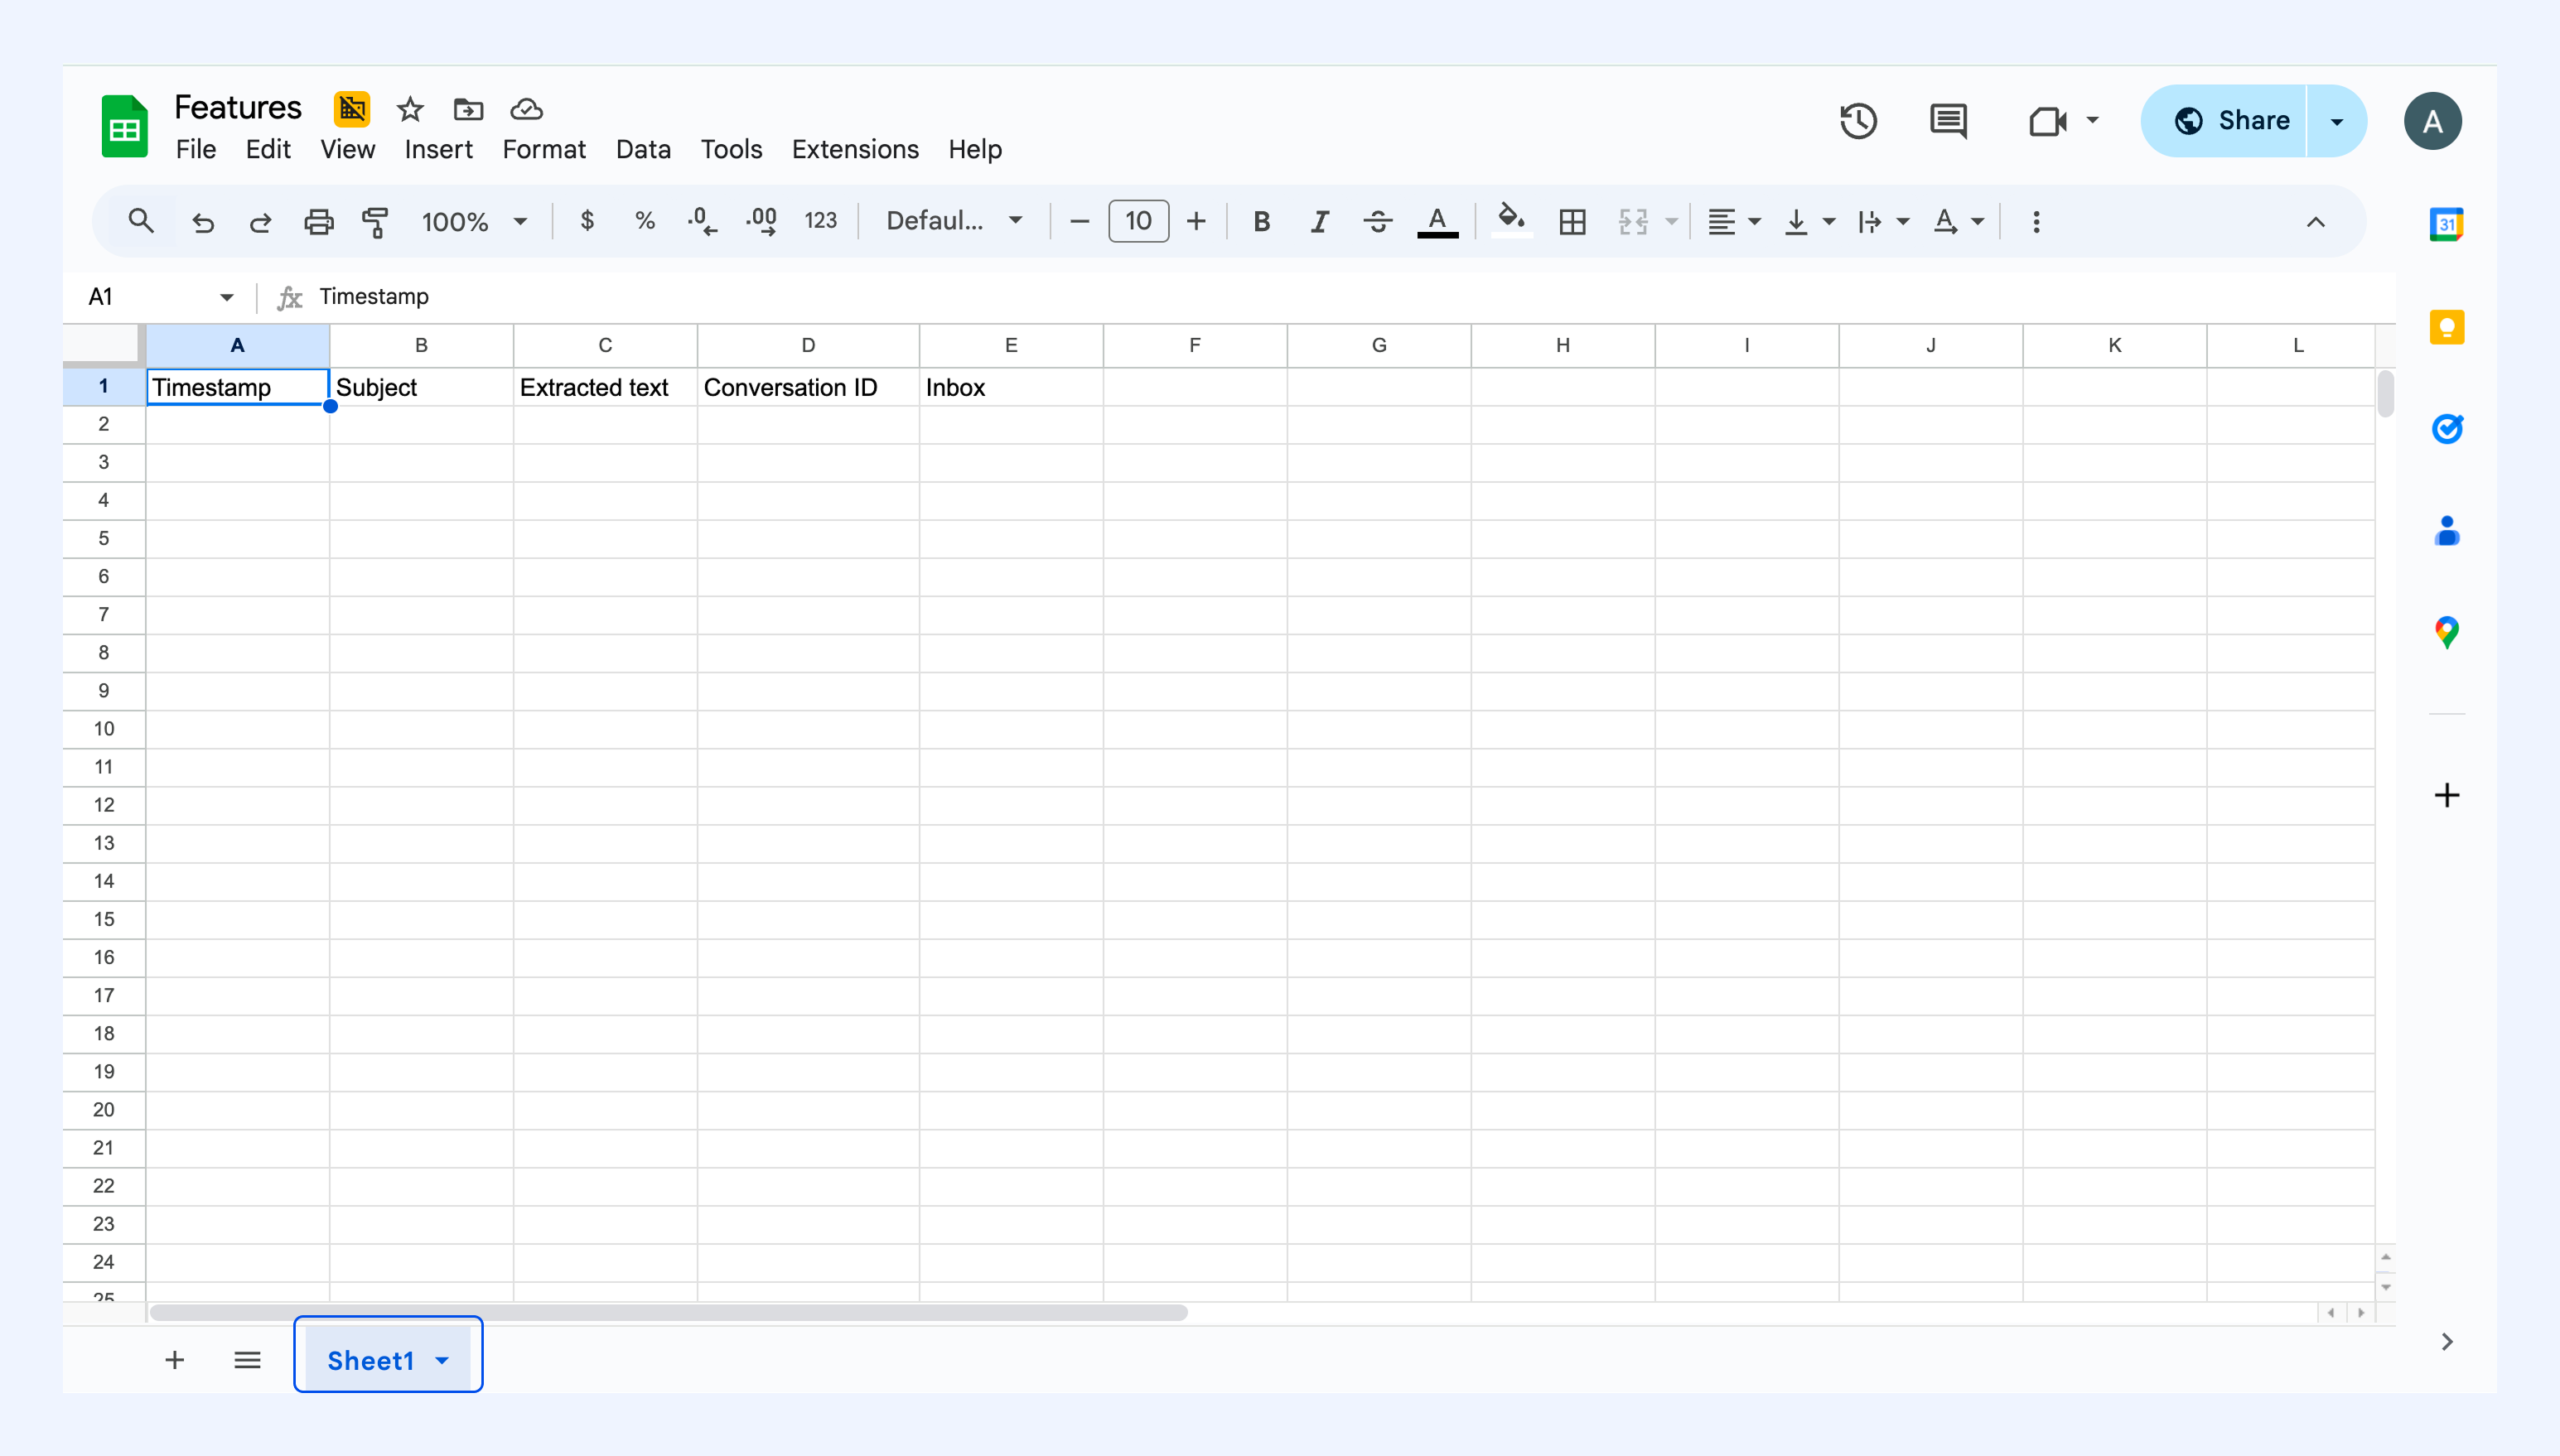
1. Create a Google Sheet and add the following headers in the first row.
| Column | Header |
| A | Timestamp |
| B | Subject |
| C | Extracted text |
| D | Conversation ID |
| E | Inbox |
2. Note the Spreadsheet ID and sheet name:
Spreadsheet ID: Open your Google Sheet and look at the URL. The Spreadsheet ID is the part of the URL between /d/ and /edit
Example URL: https://docs.google.com/spreadsheets/d/1a2B3c4D5e6F7g8H9i0J/edit
Spreadsheet ID: 1a2B3c4D5e6F7g8H9i0J
Sheet name: The name shown on the tab at the bottom-left of your Google Sheet.
Step 4: Set up Google Sheets integration
Before you can use Google Sheets in your API calls, you need to authenticate the Google Sheets connector:
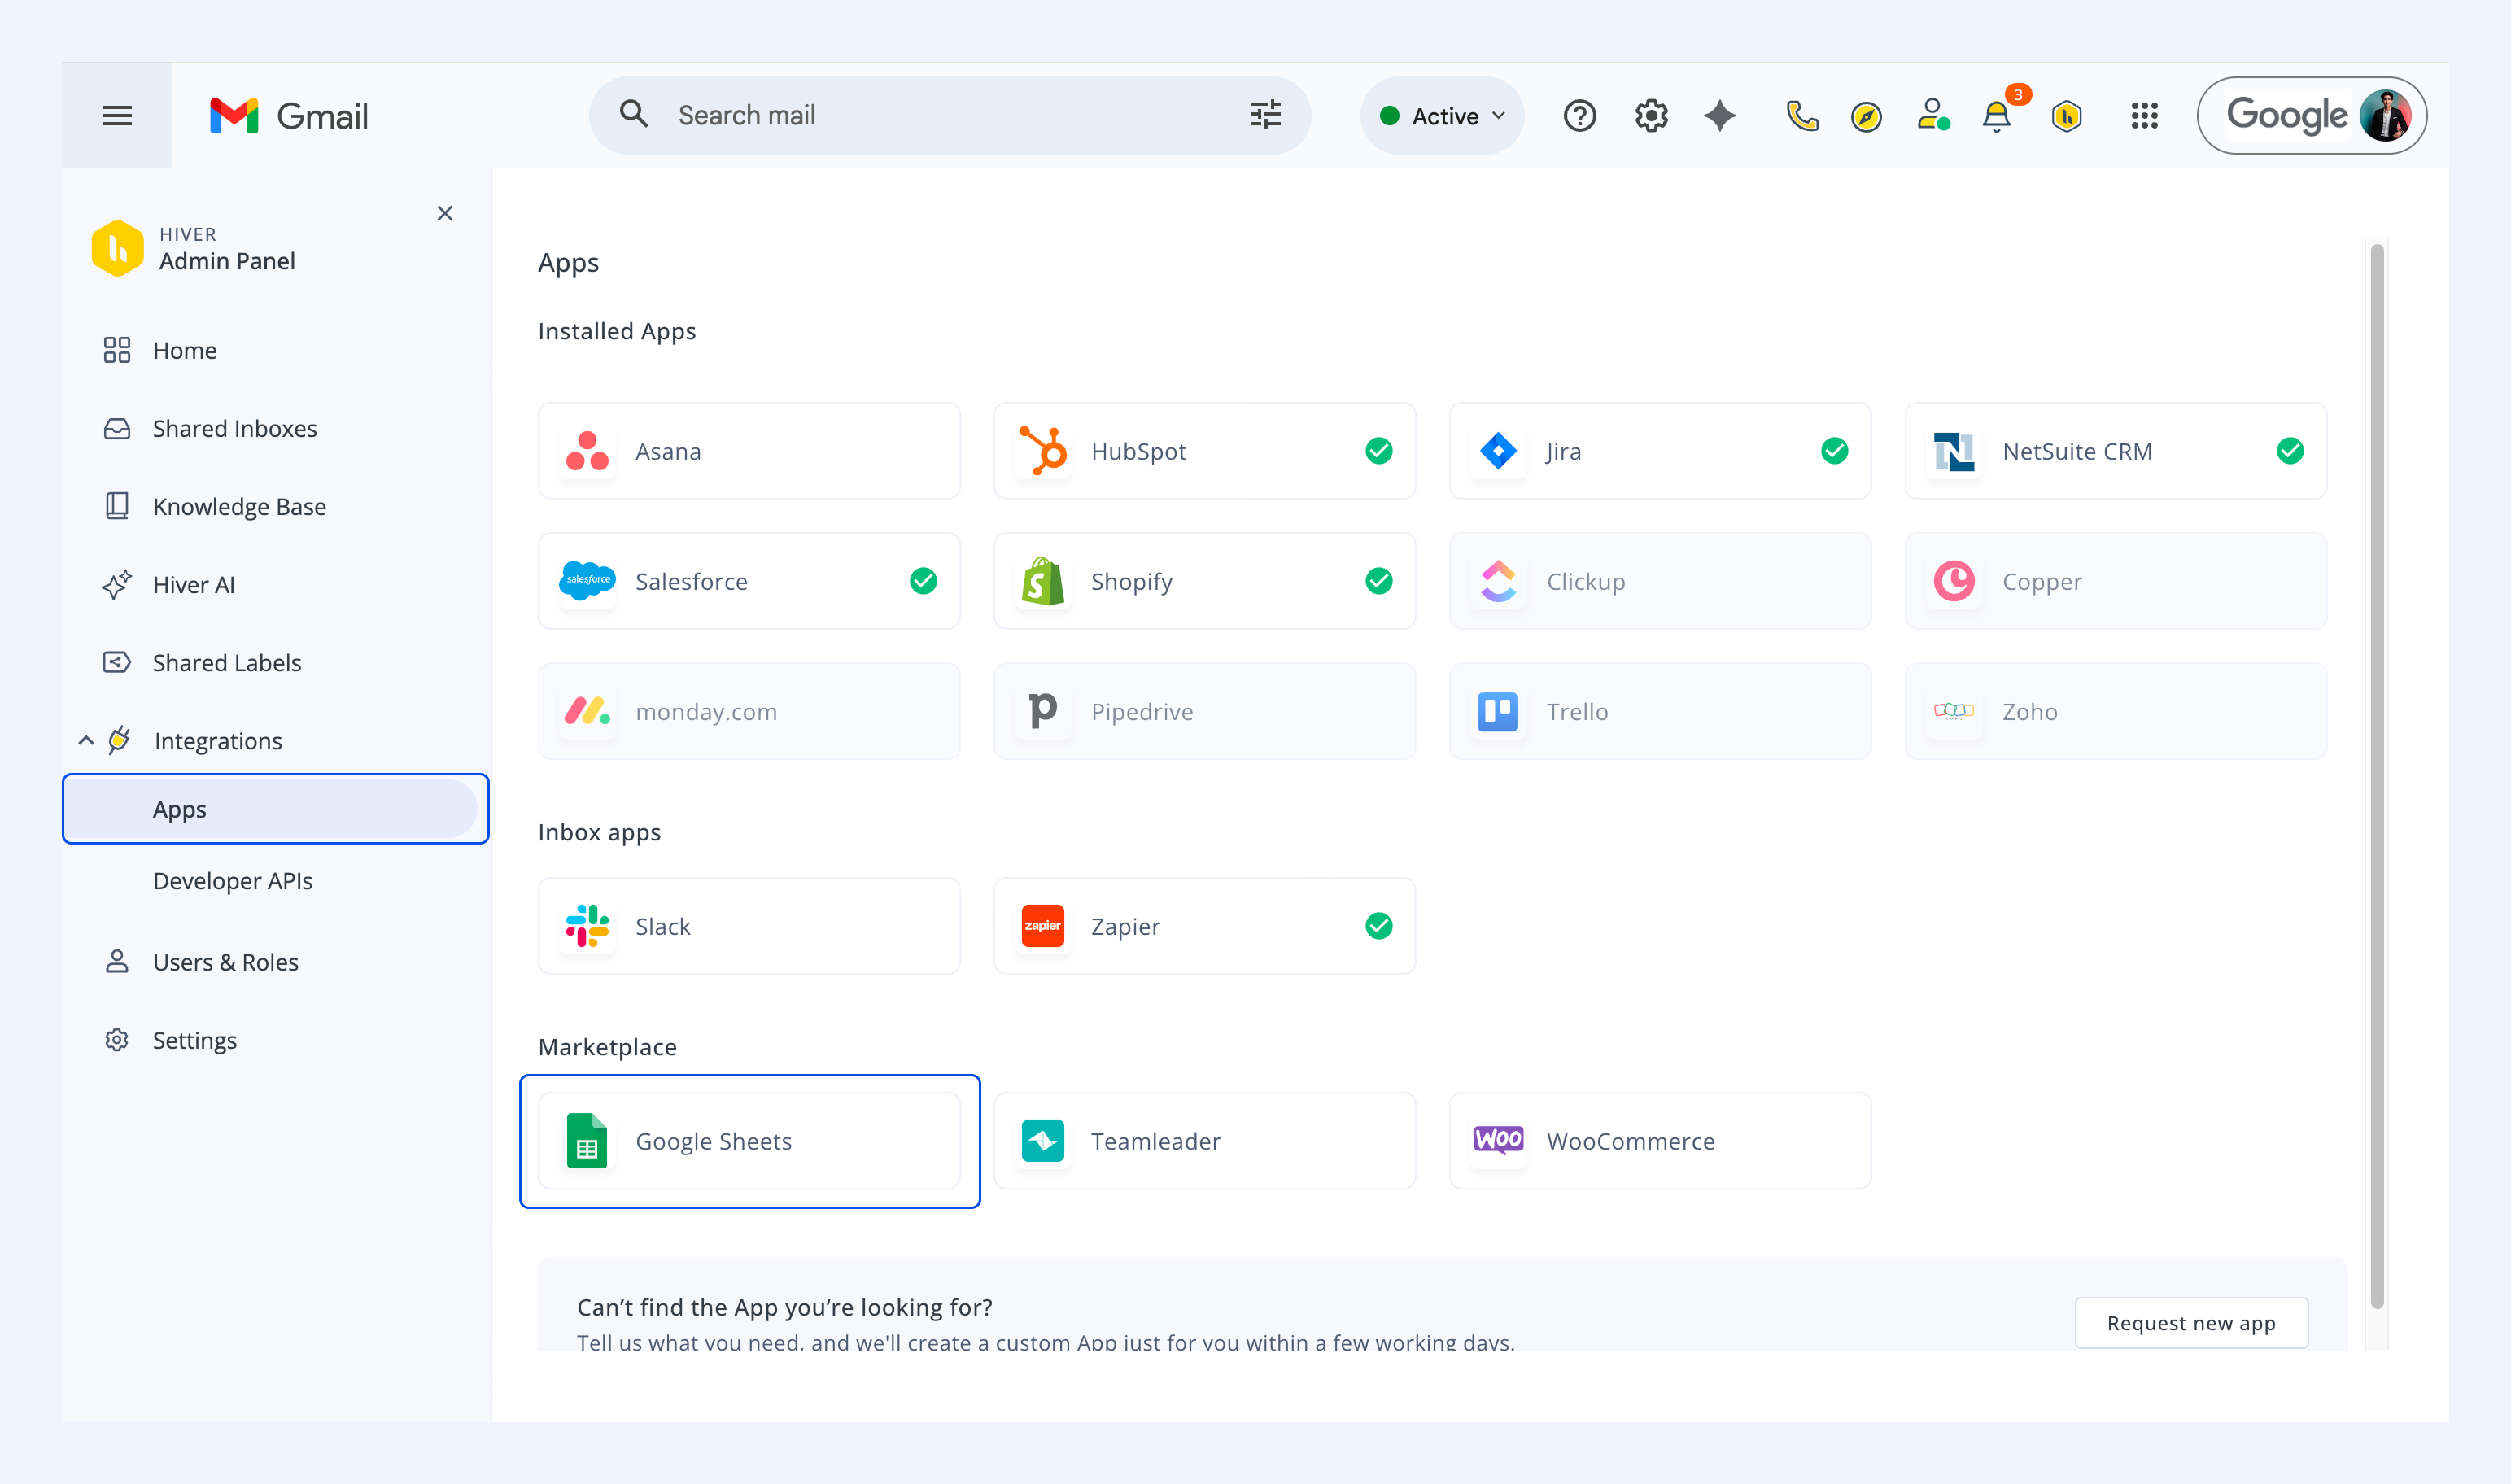
1. Go to Hiver Admin Panel → Integrations → Apps → Google Sheets.
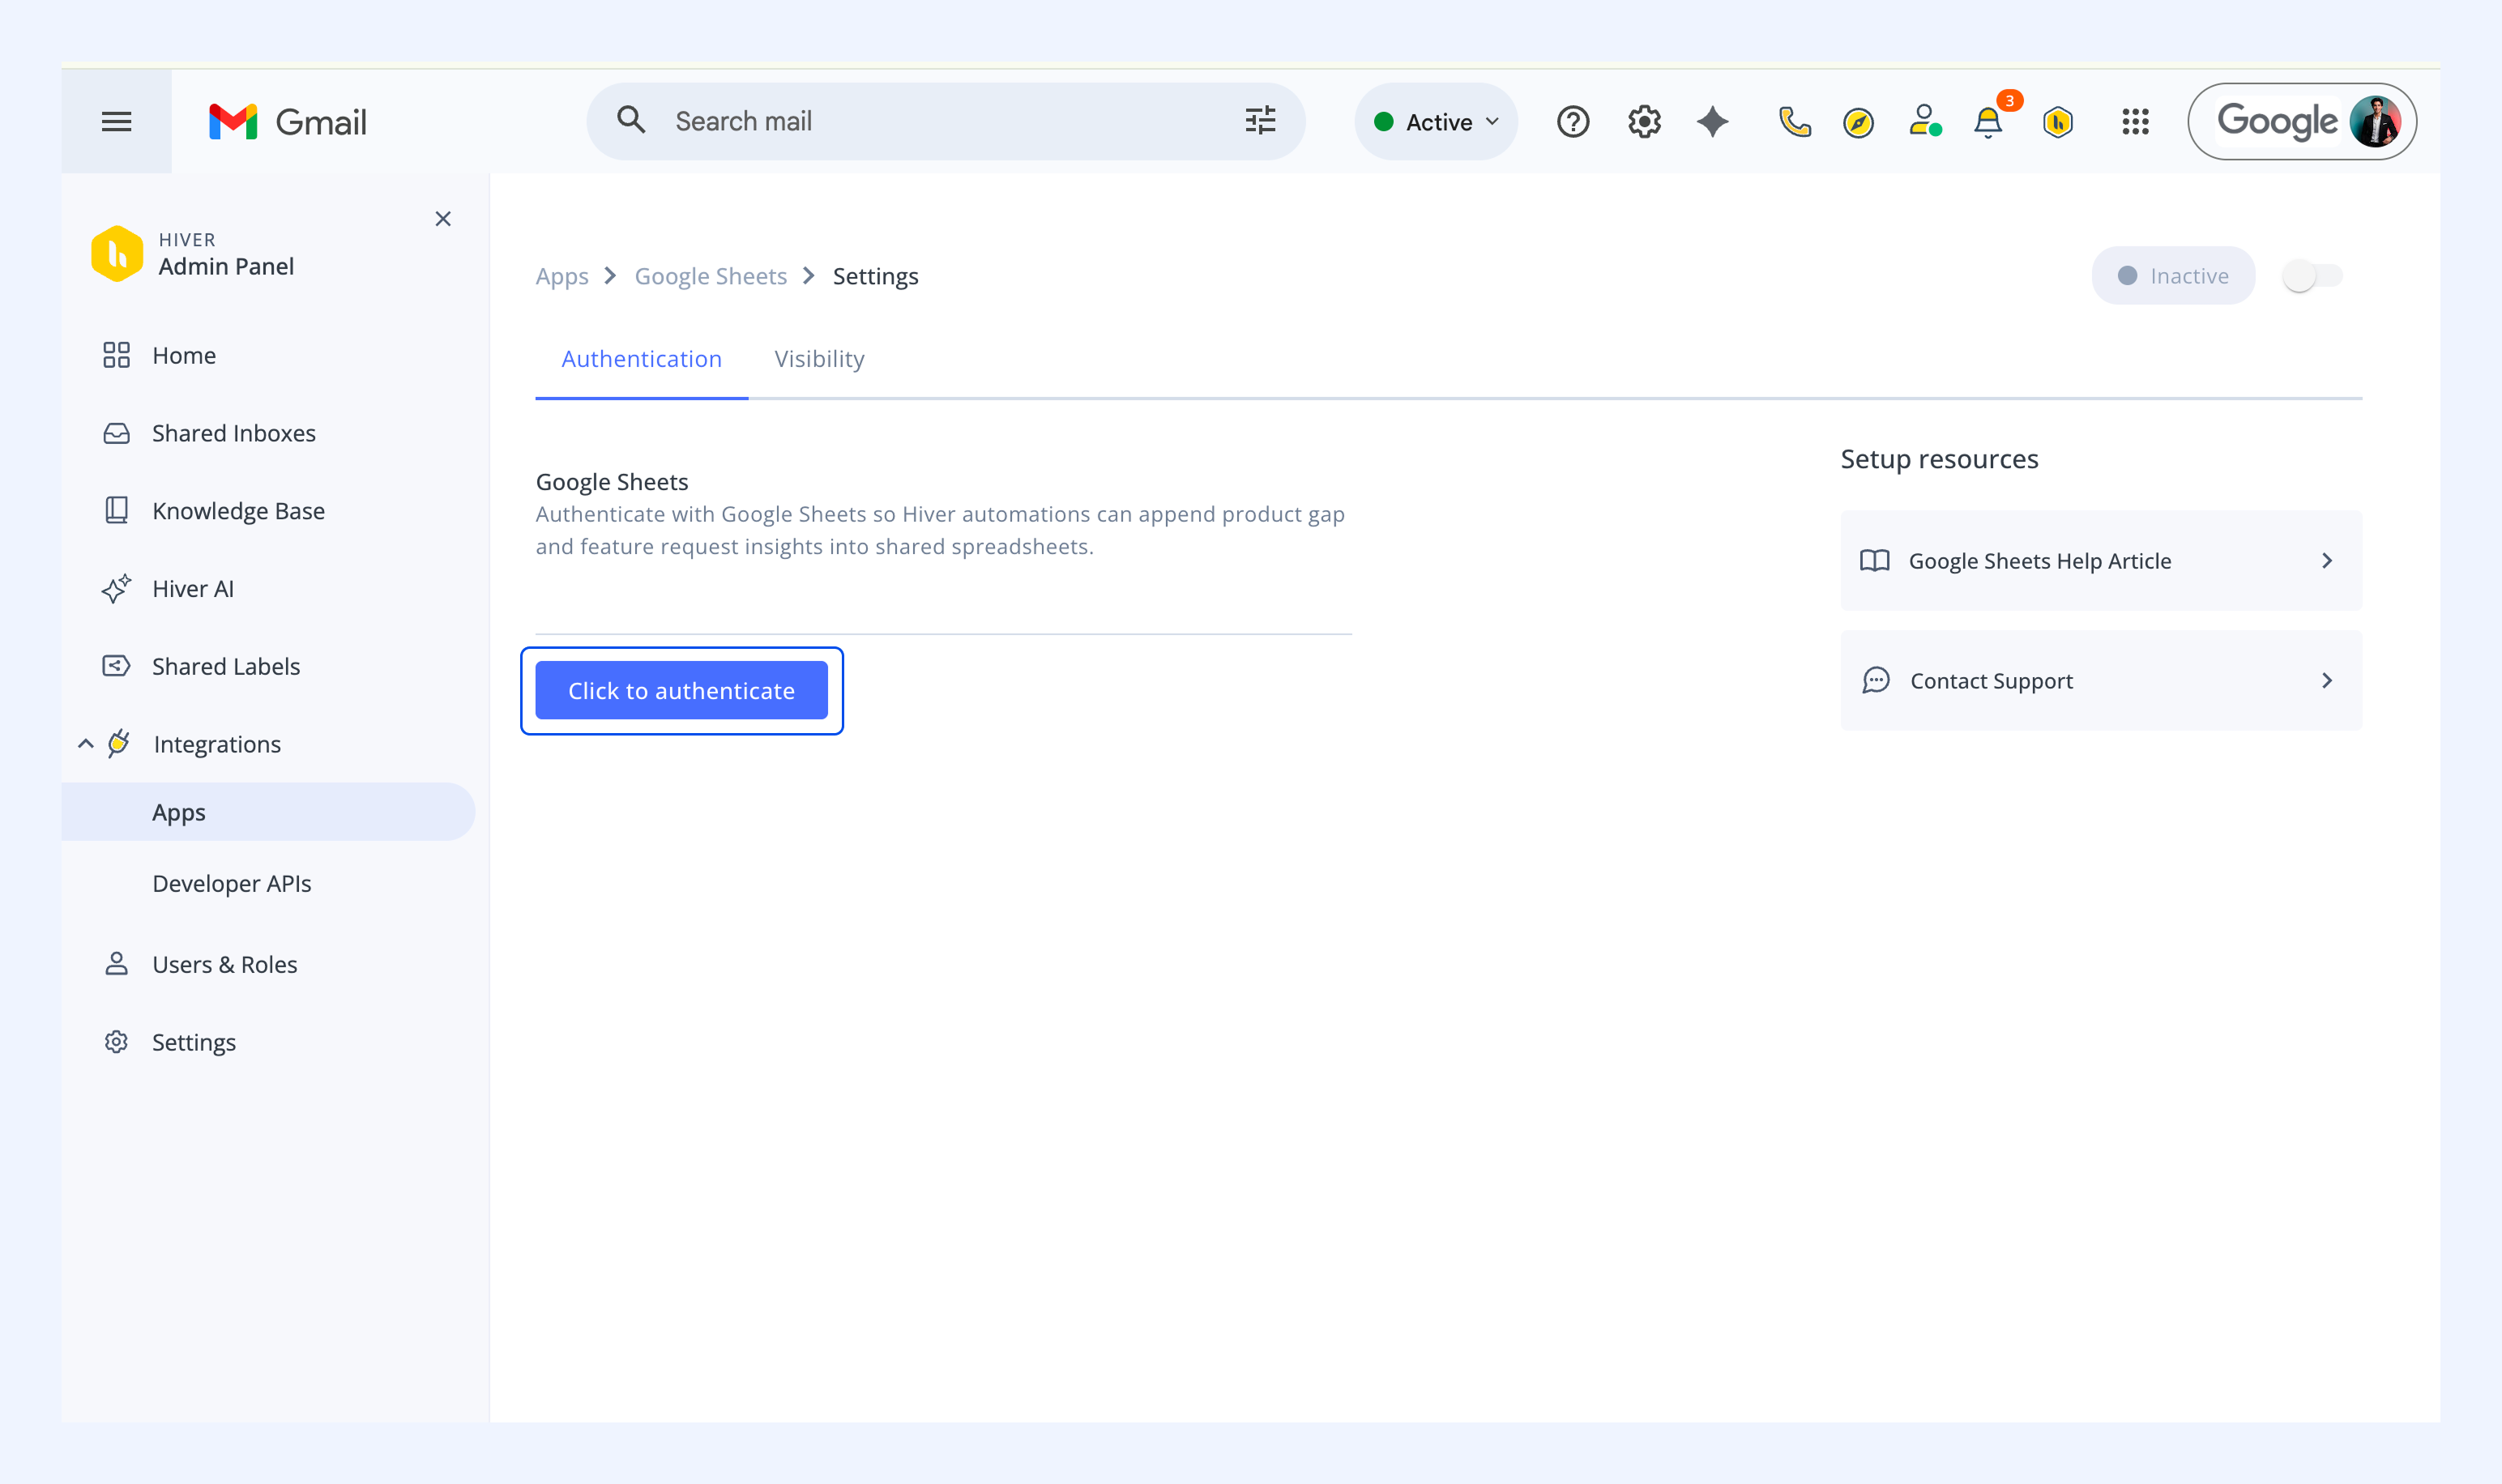
2. Select Start setup → Click to authenticate.
3. A new tab will open asking you to sign in to your Google account.
4. Complete the authentication process to connect Google Sheets to Hiver.
Step 5: Configure the API call action
1. Click Add step → Action → Make an API call.
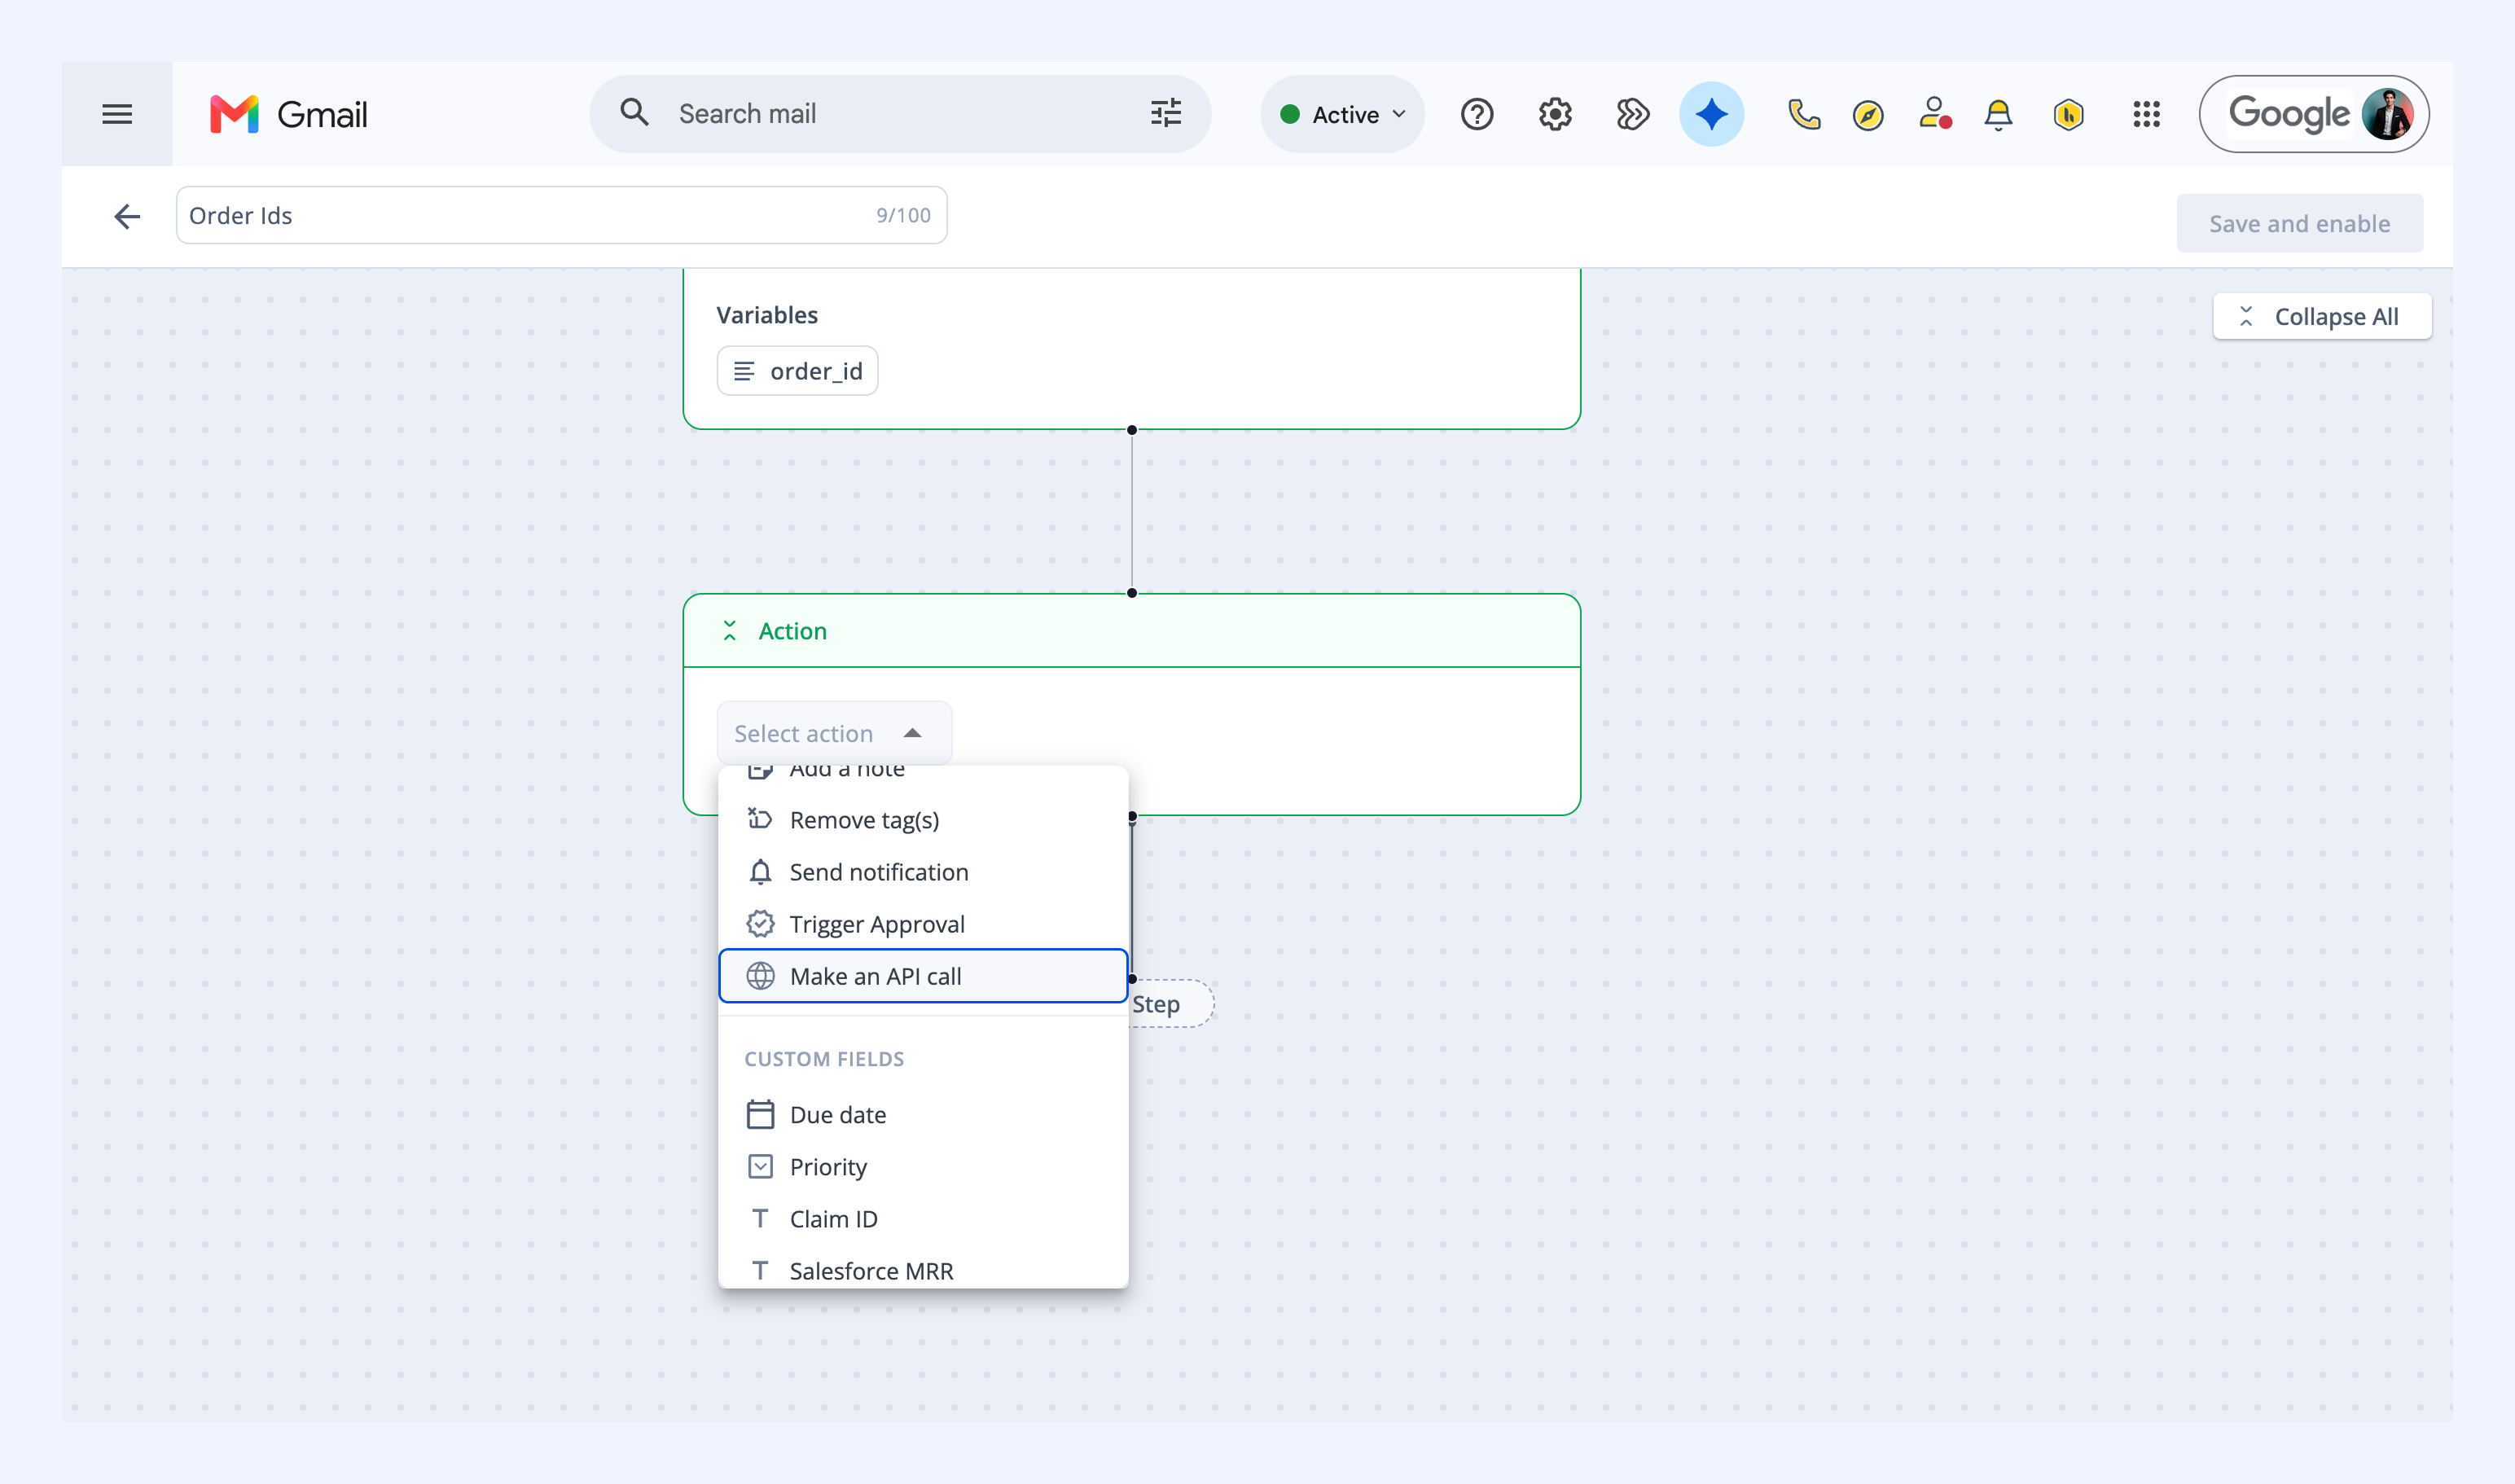
3. Enter a request name for the API call.
4. In the Endpoint URL field, add the API endpoint you want to use. In this case, use the Google Sheets API append endpoint:
https://sheets.googleapis.com/v4/spreadsheets/spreadsheet_id/values/sheet_name!A:E:append
Note: Replace spreadsheet_id with the ID from your Google Sheet URL and sheet_name with the name shown in the bottom-left tab. Use A:E to match the five columns set up in Step 3.
5. Set the Authentication type as Connected App → Google Sheets.
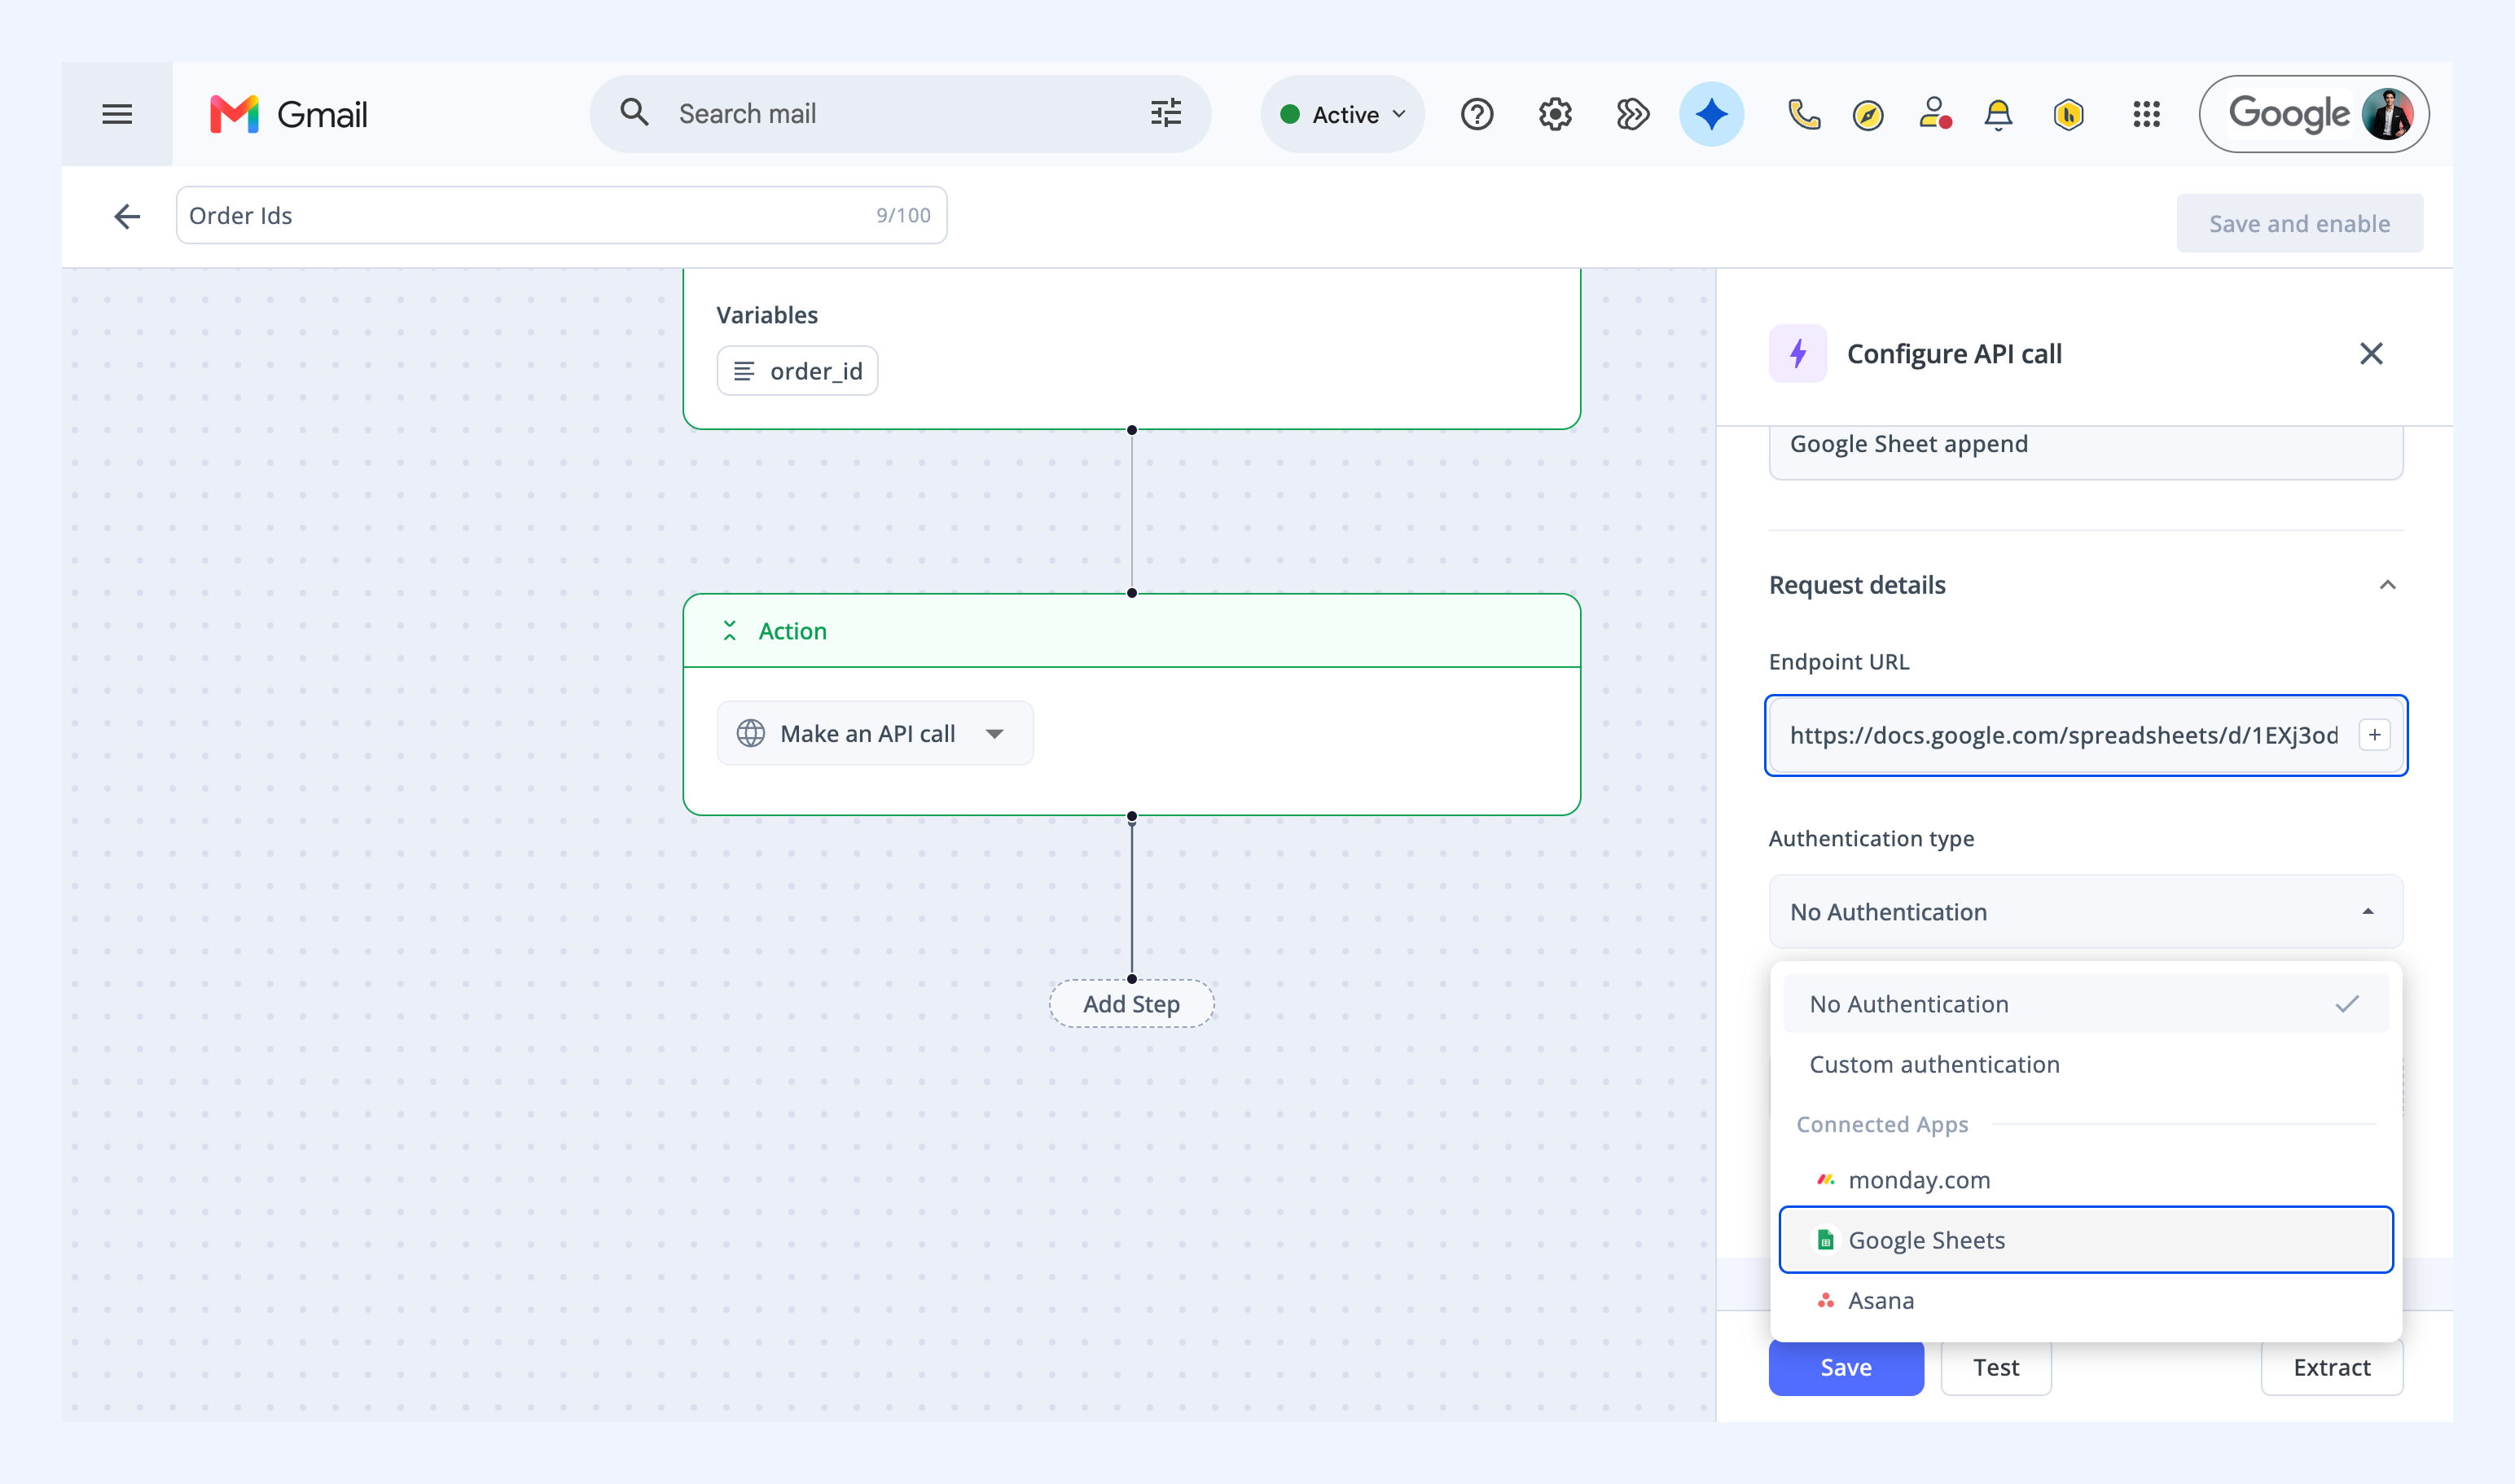
Note: The Google account used by this connected app must have Editor access to the spreadsheet.
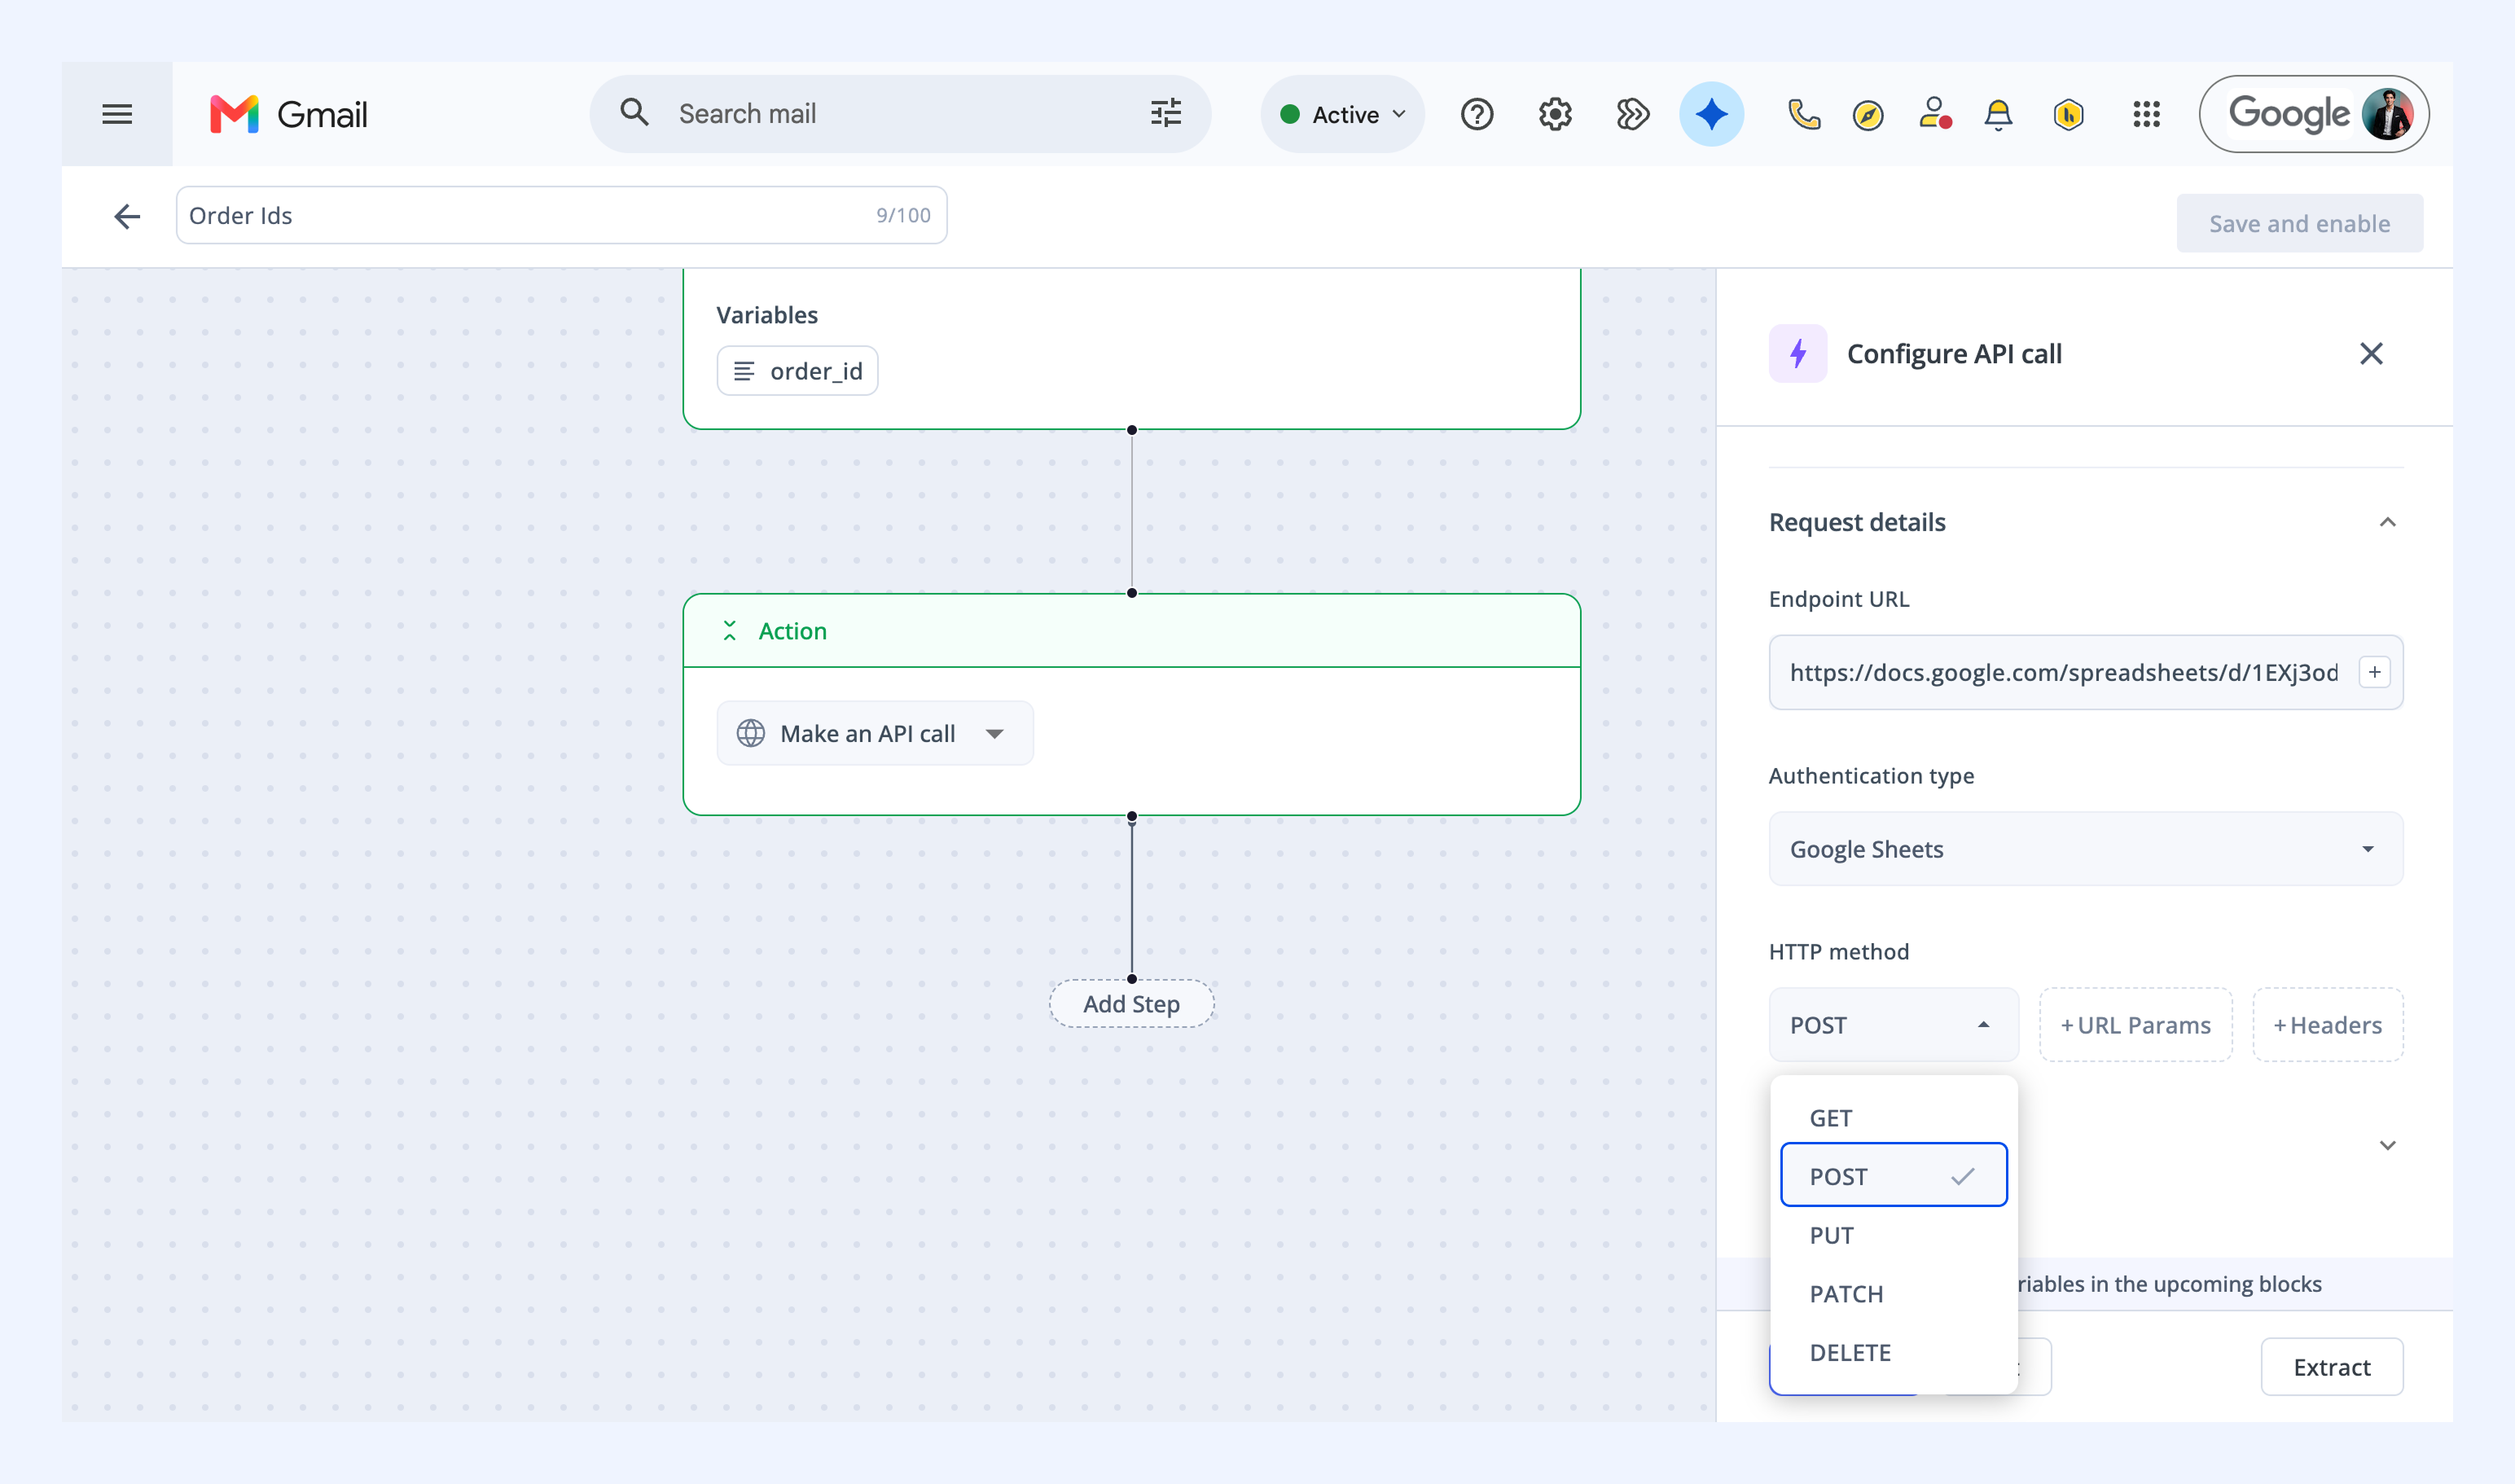
6. Set the HTTP method as POST.
Step 6: Configure headers and parameters
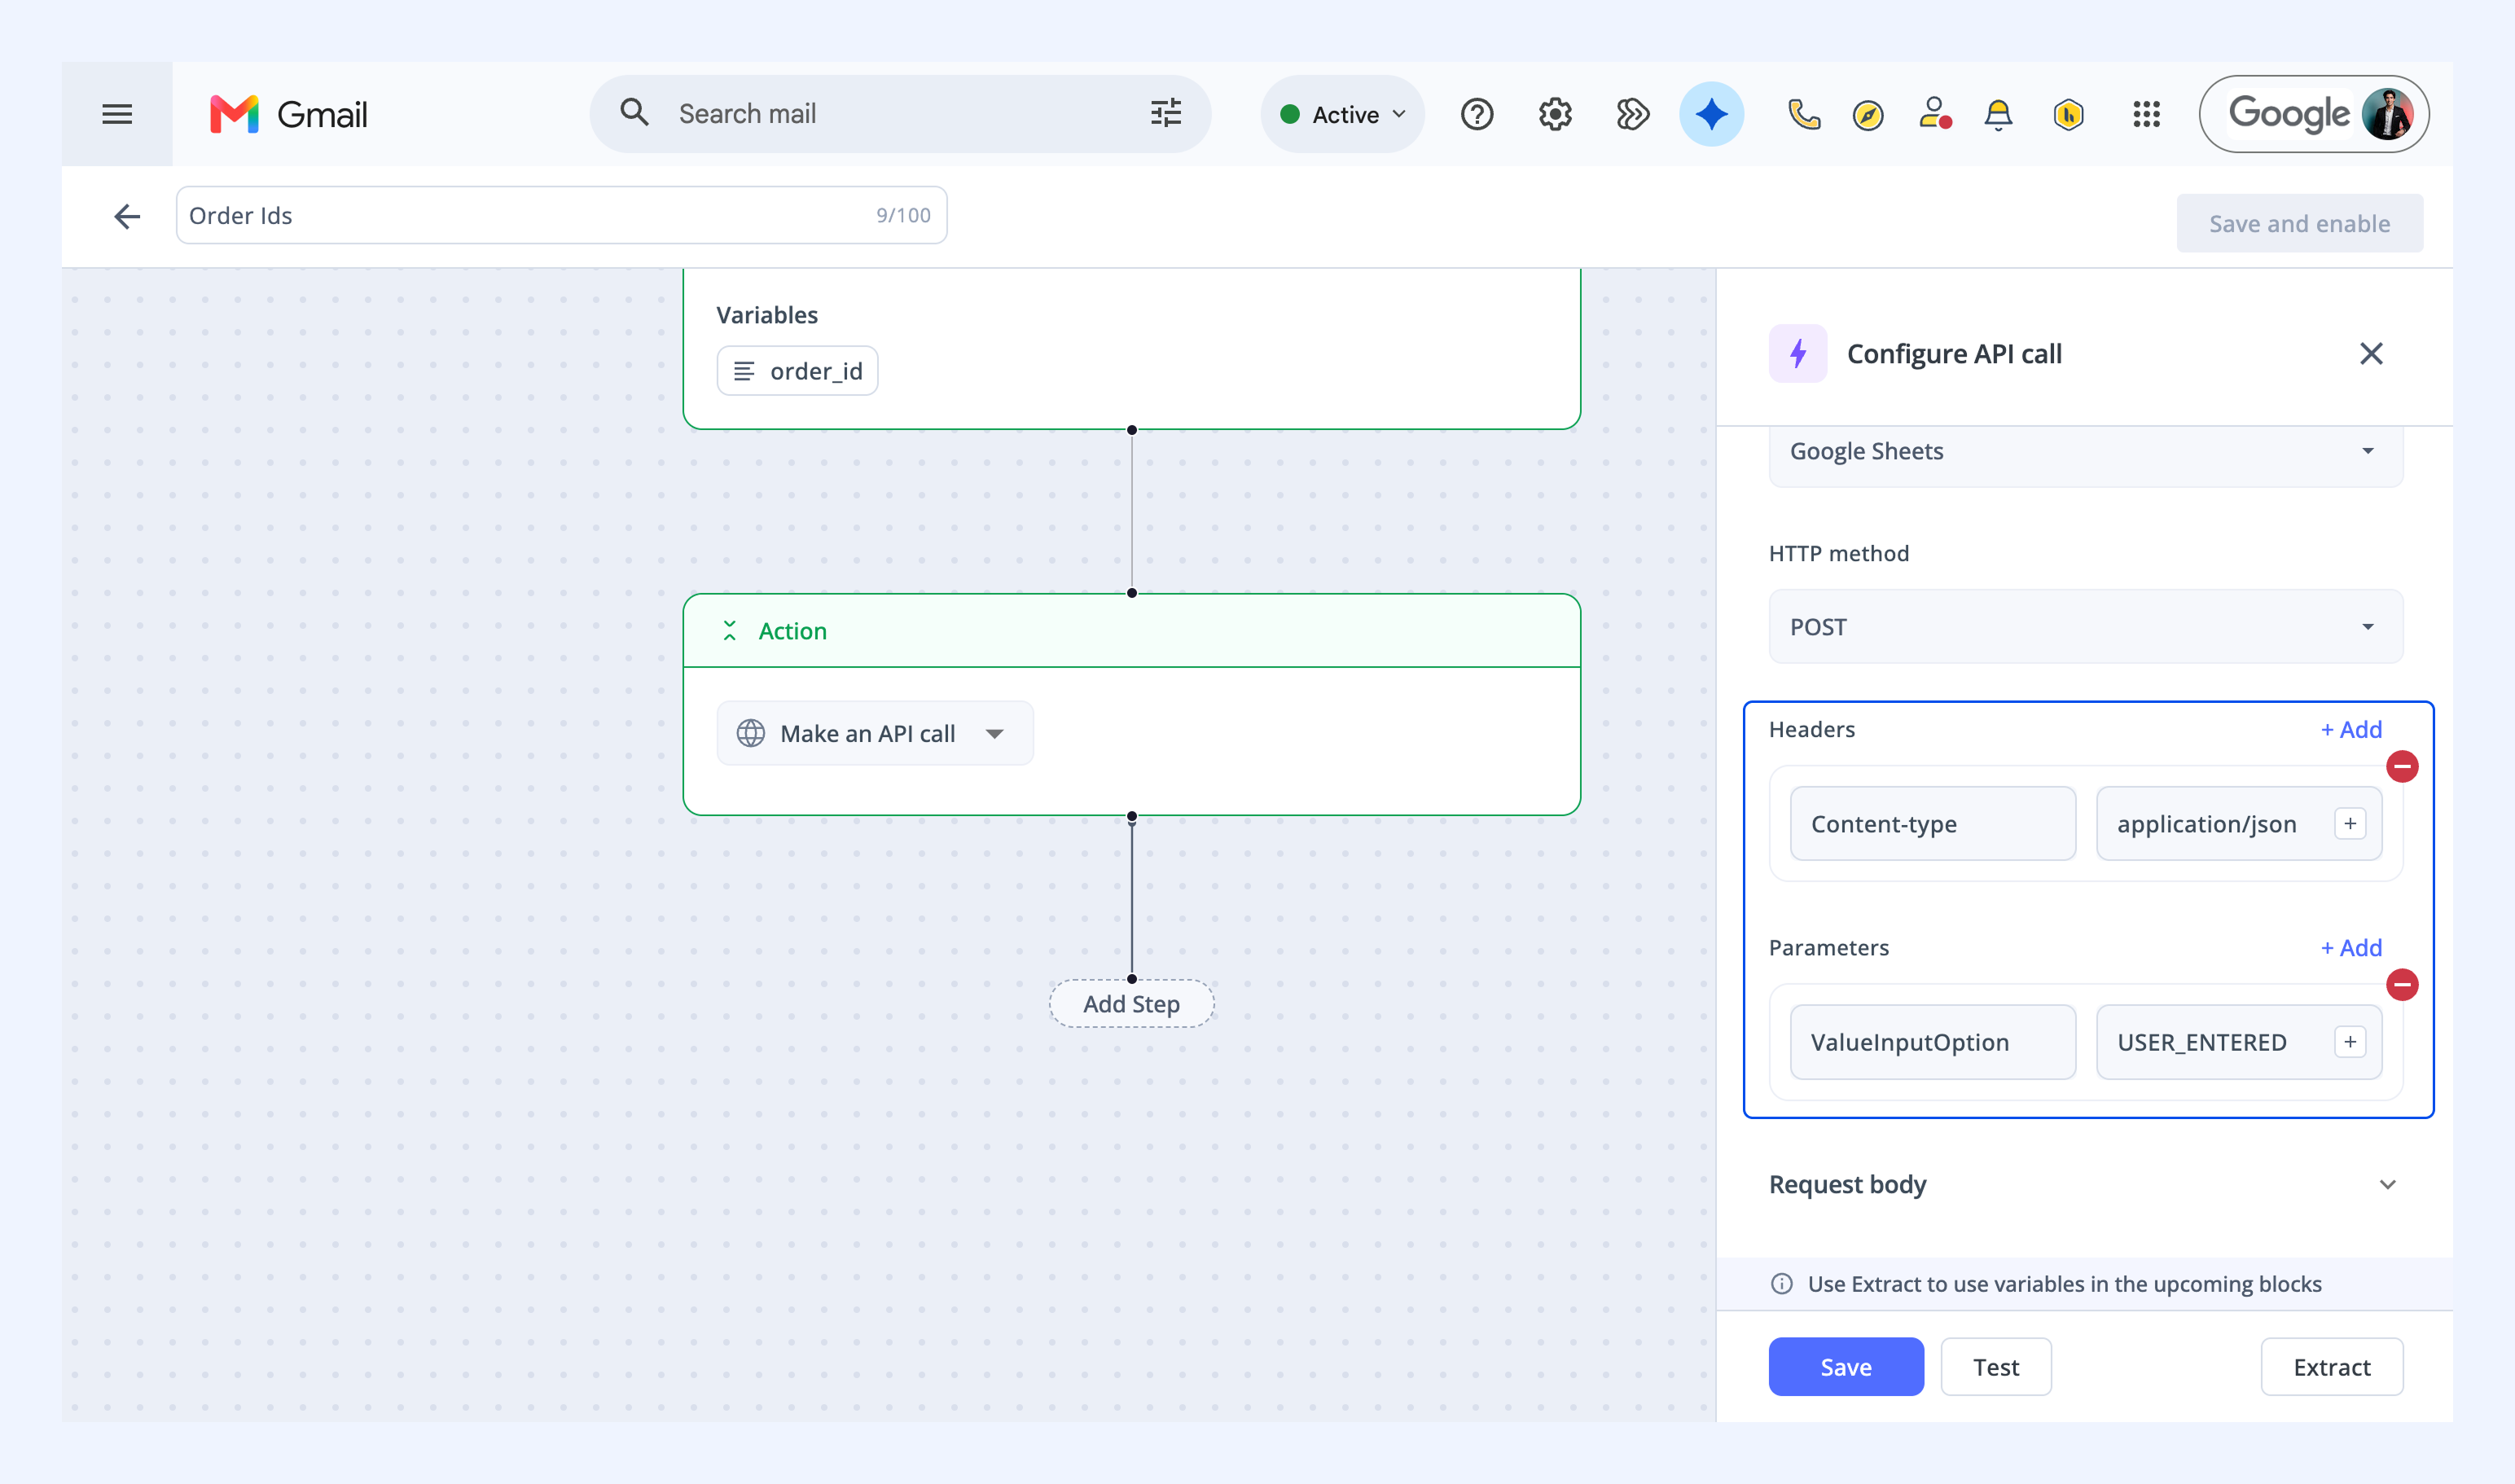
1. Add the following header:
- Key: Content-Type
- Value: application/json
2. Add the following query parameter:
- Key: valueInputOption
- Value: USER_ENTERED
Step 7: Configure the request body
Use the following JSON structure:
{
'values': [
[
'{{conv_created_on}}',
'{{subject}}',
'{{order_id}}',
'{{conversation_id}}',
'{{shared_inbox_name}}'
]
]
}
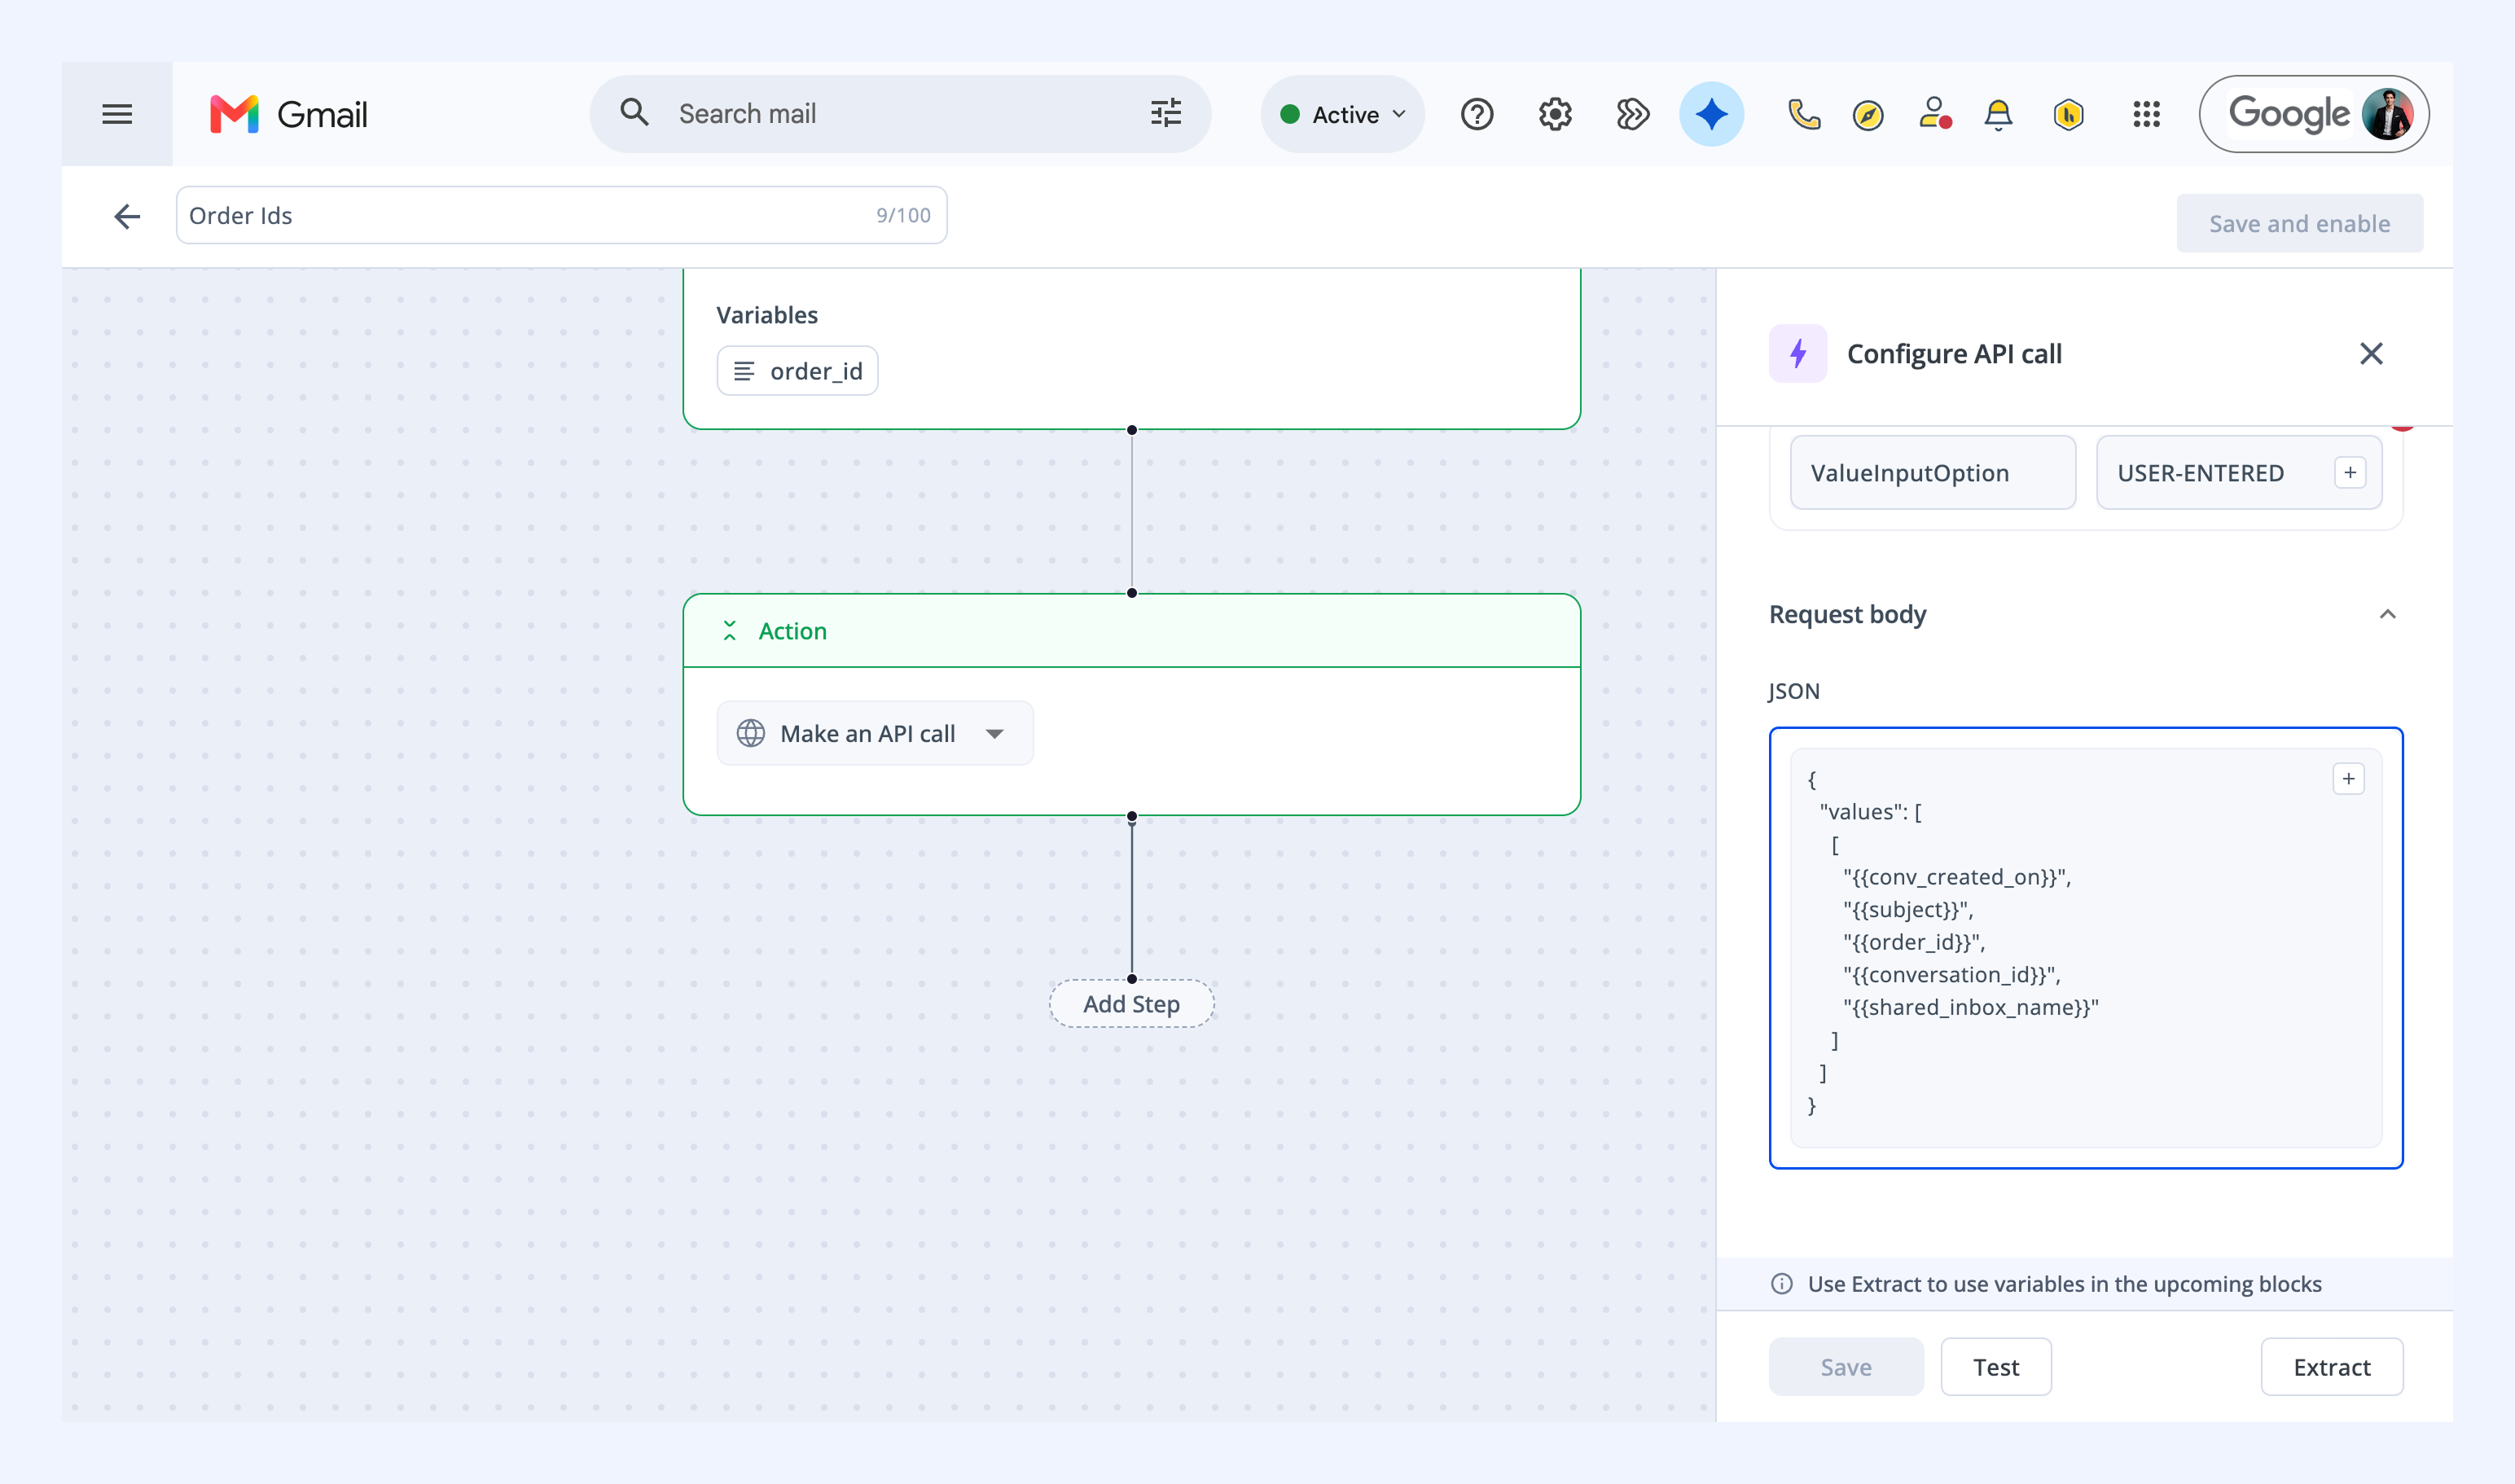
Note: Replace {{order_id}} with the entity name you used in Step 2. For example, if you trained the AI to extract customer names, use {{customer_name}}. The variable name must match exactly what you entered as your entity.
Step 8: Save the Automation
Click