Managing your subscription
As your team grows, you may need access to more advanced tools for increased efficiency, enhanced visibility, and improved automation. Upgrading your Hiver plan unlocks features that help your team automate workflows, gain deeper insights, and deliver faster, more consistent customer service. This guide shows you how to check your current plan, compare available options, and upgrade when you’re ready.
Before you begin, make sure you have Admin access to your Hiver account (only Admins can manage billing and plans).
Exploring your plan
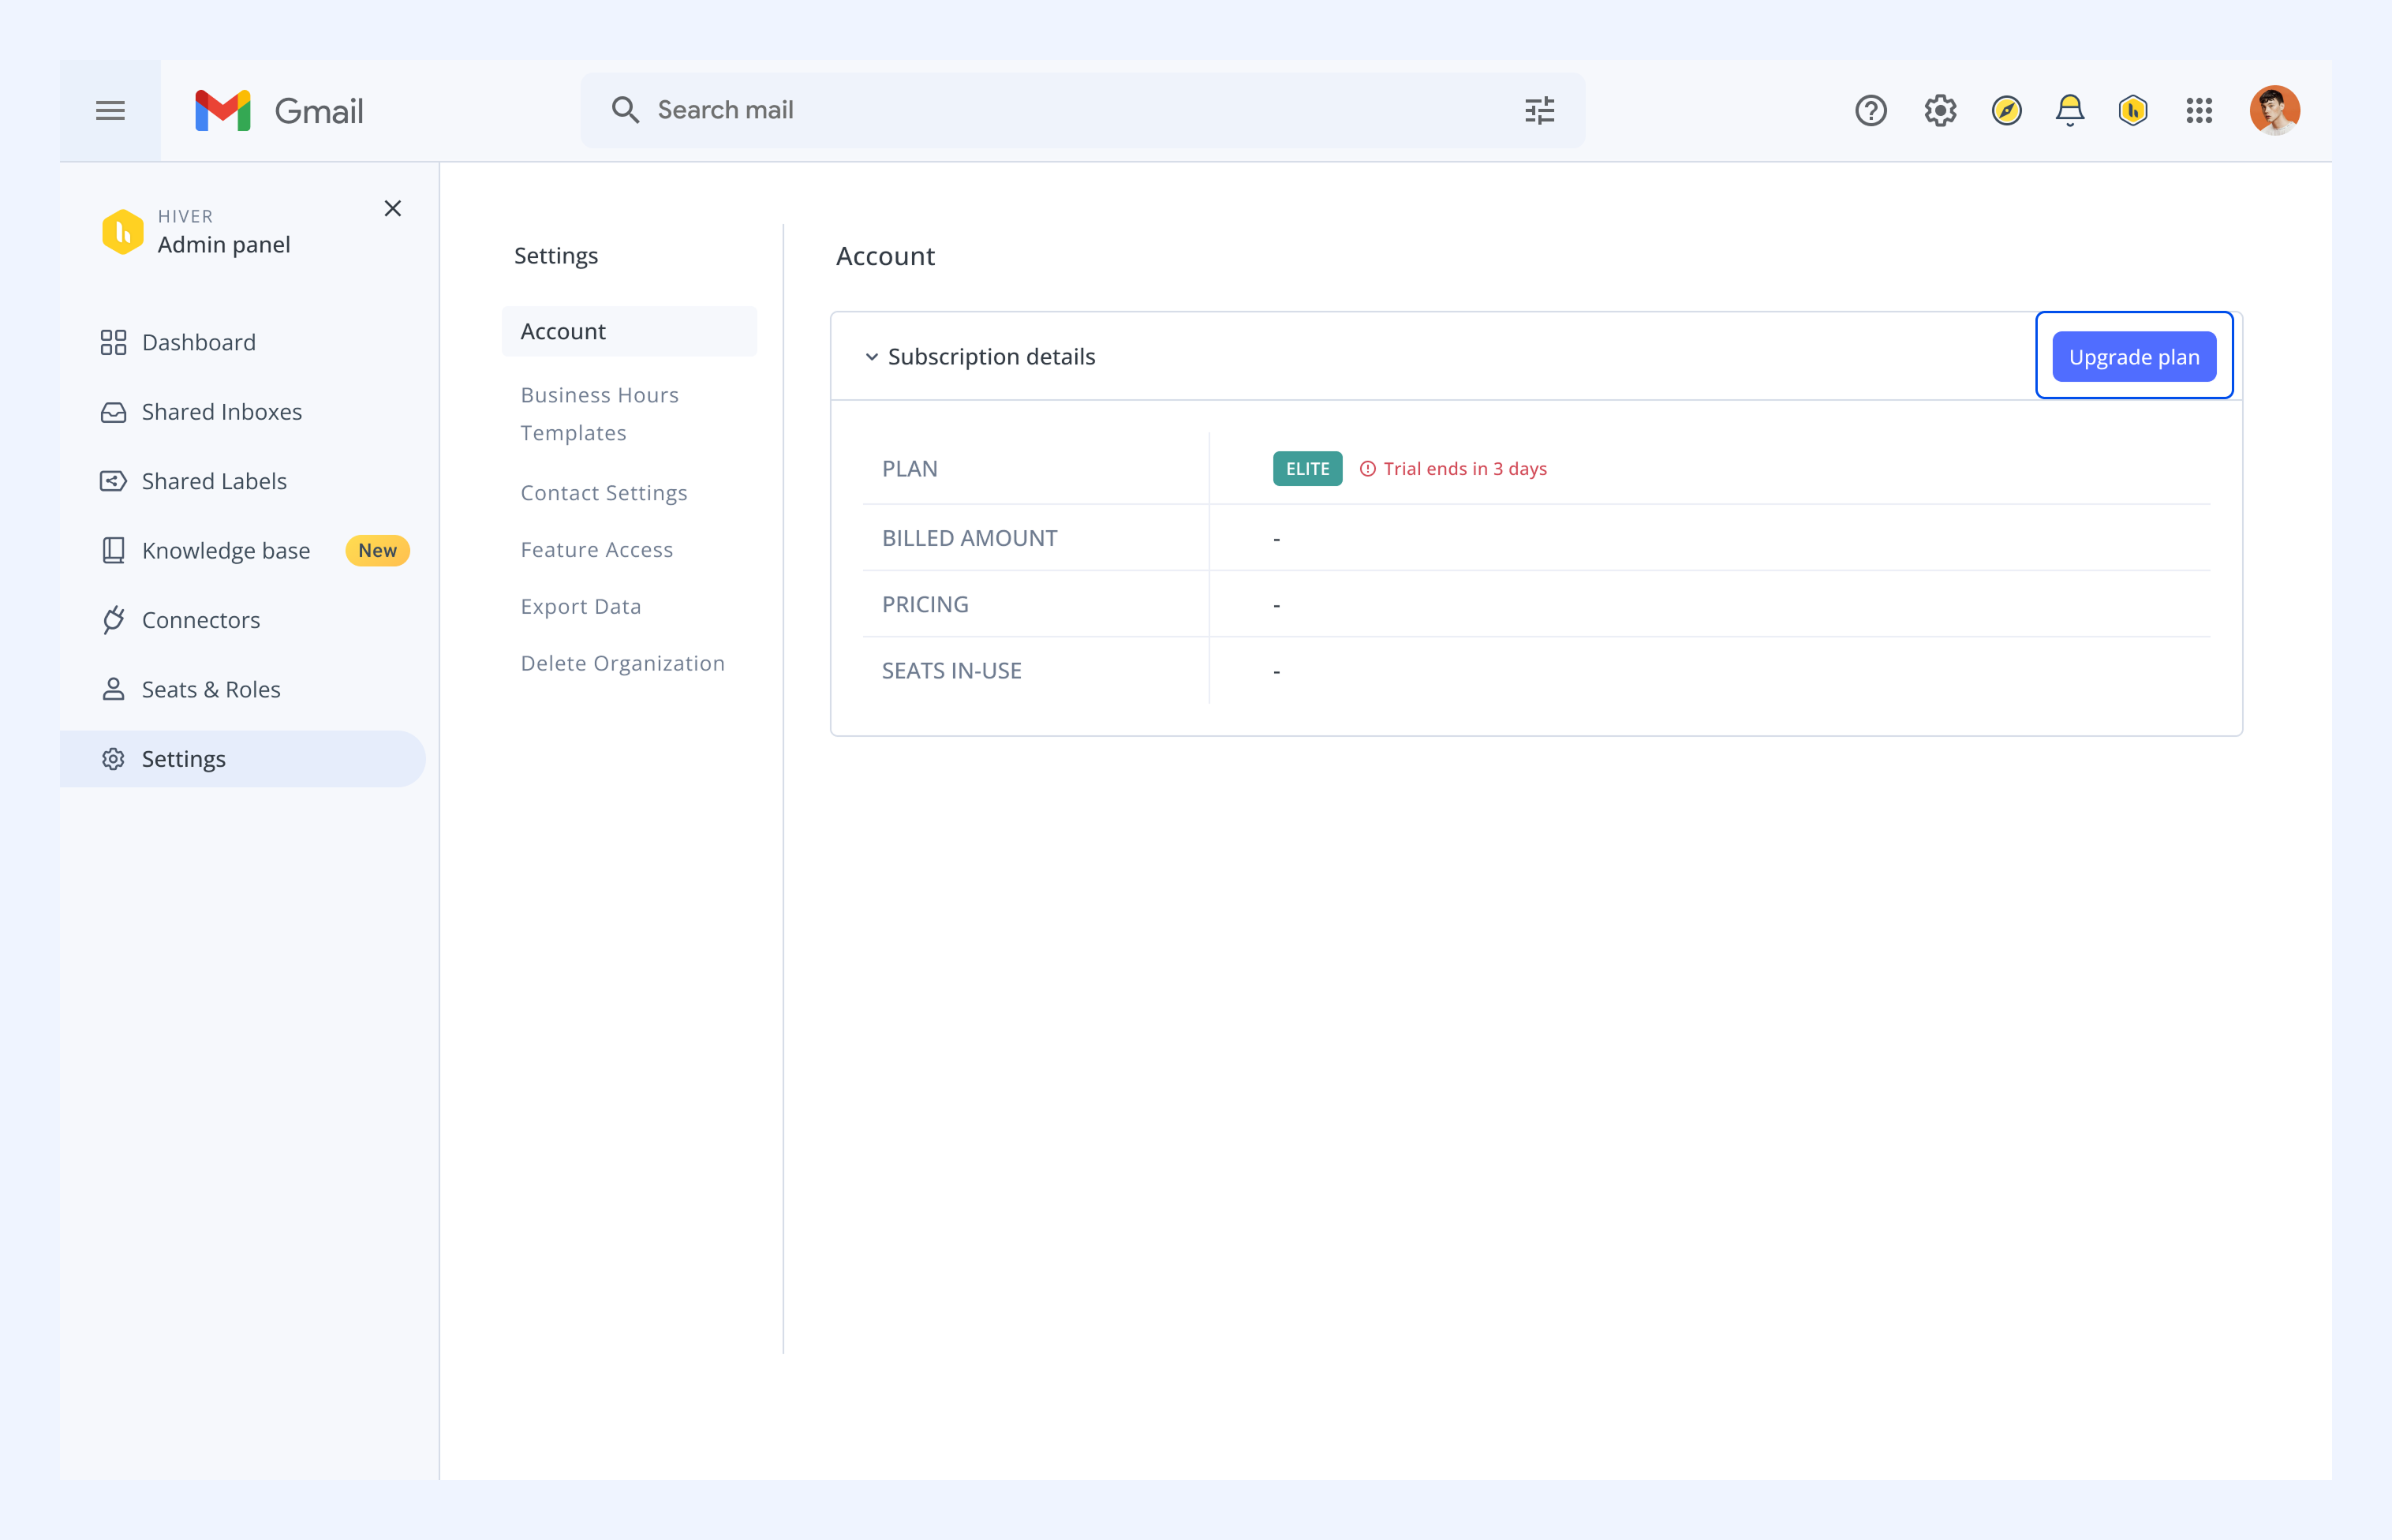
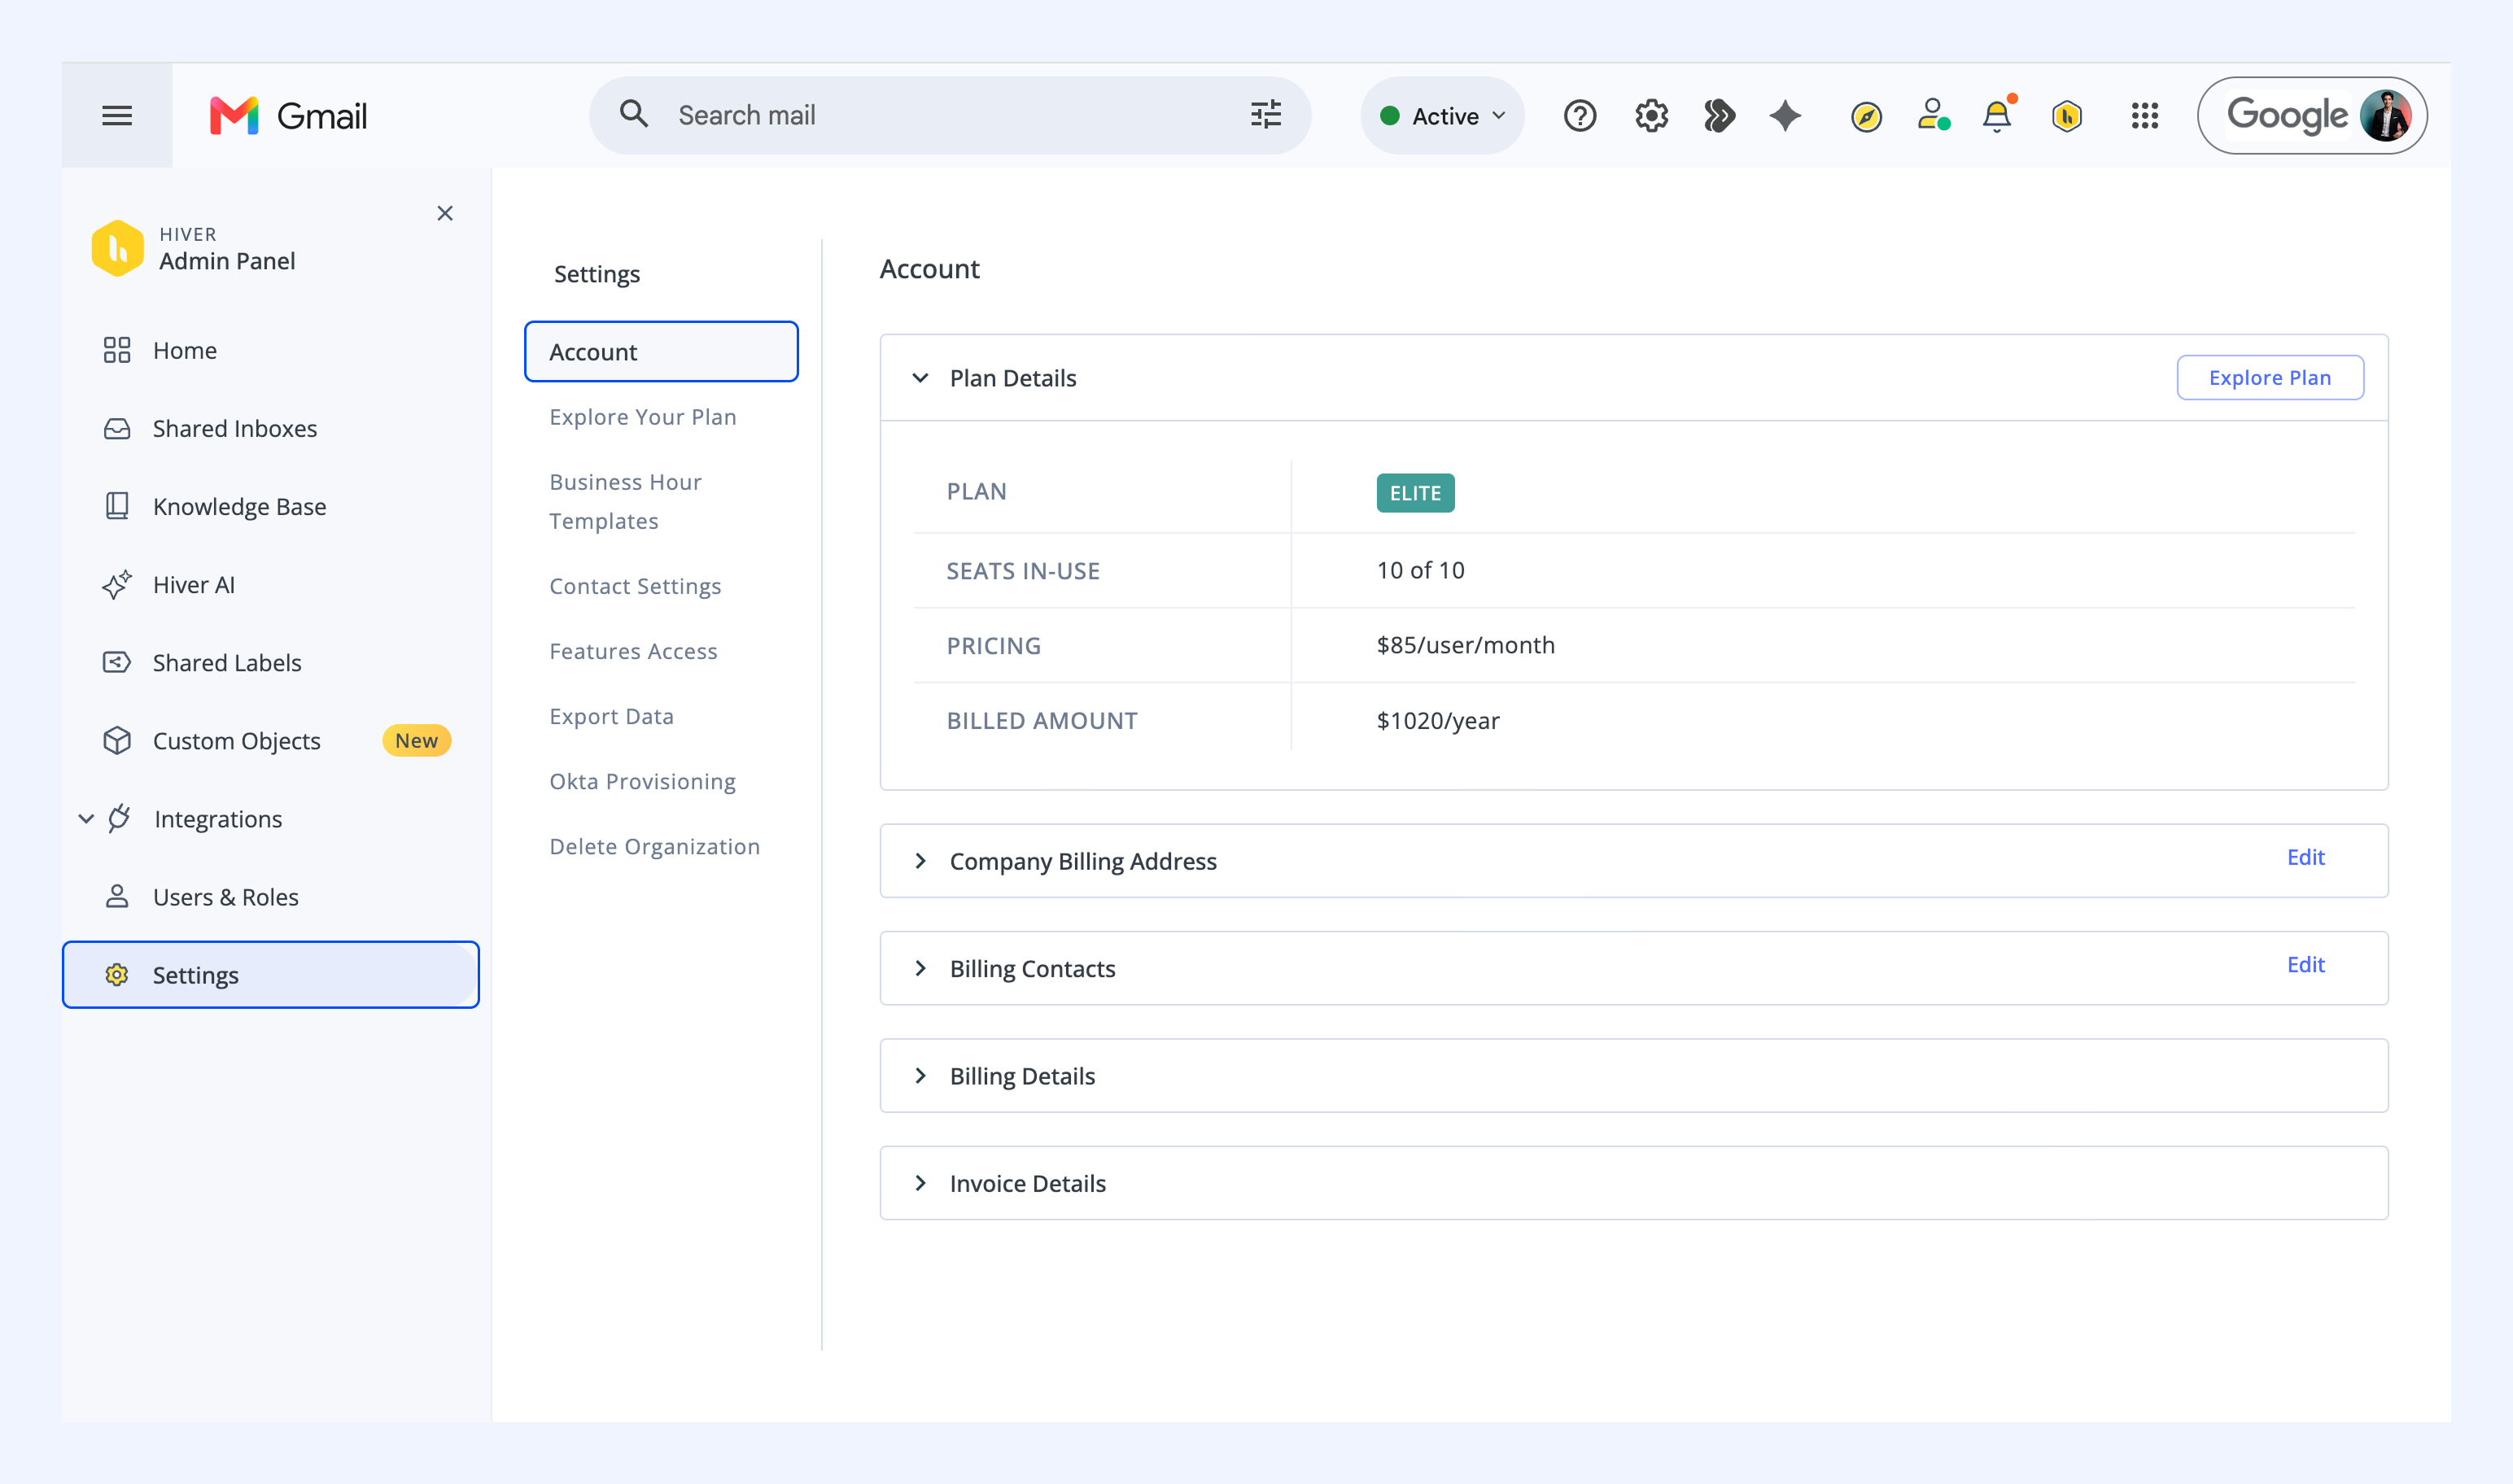
You can check your current plan and explore upgrade options by going to Admin Panel → Settings → Account.
If you’re on the trial or a paid plan, you’ll see the option to Upgrade plan.
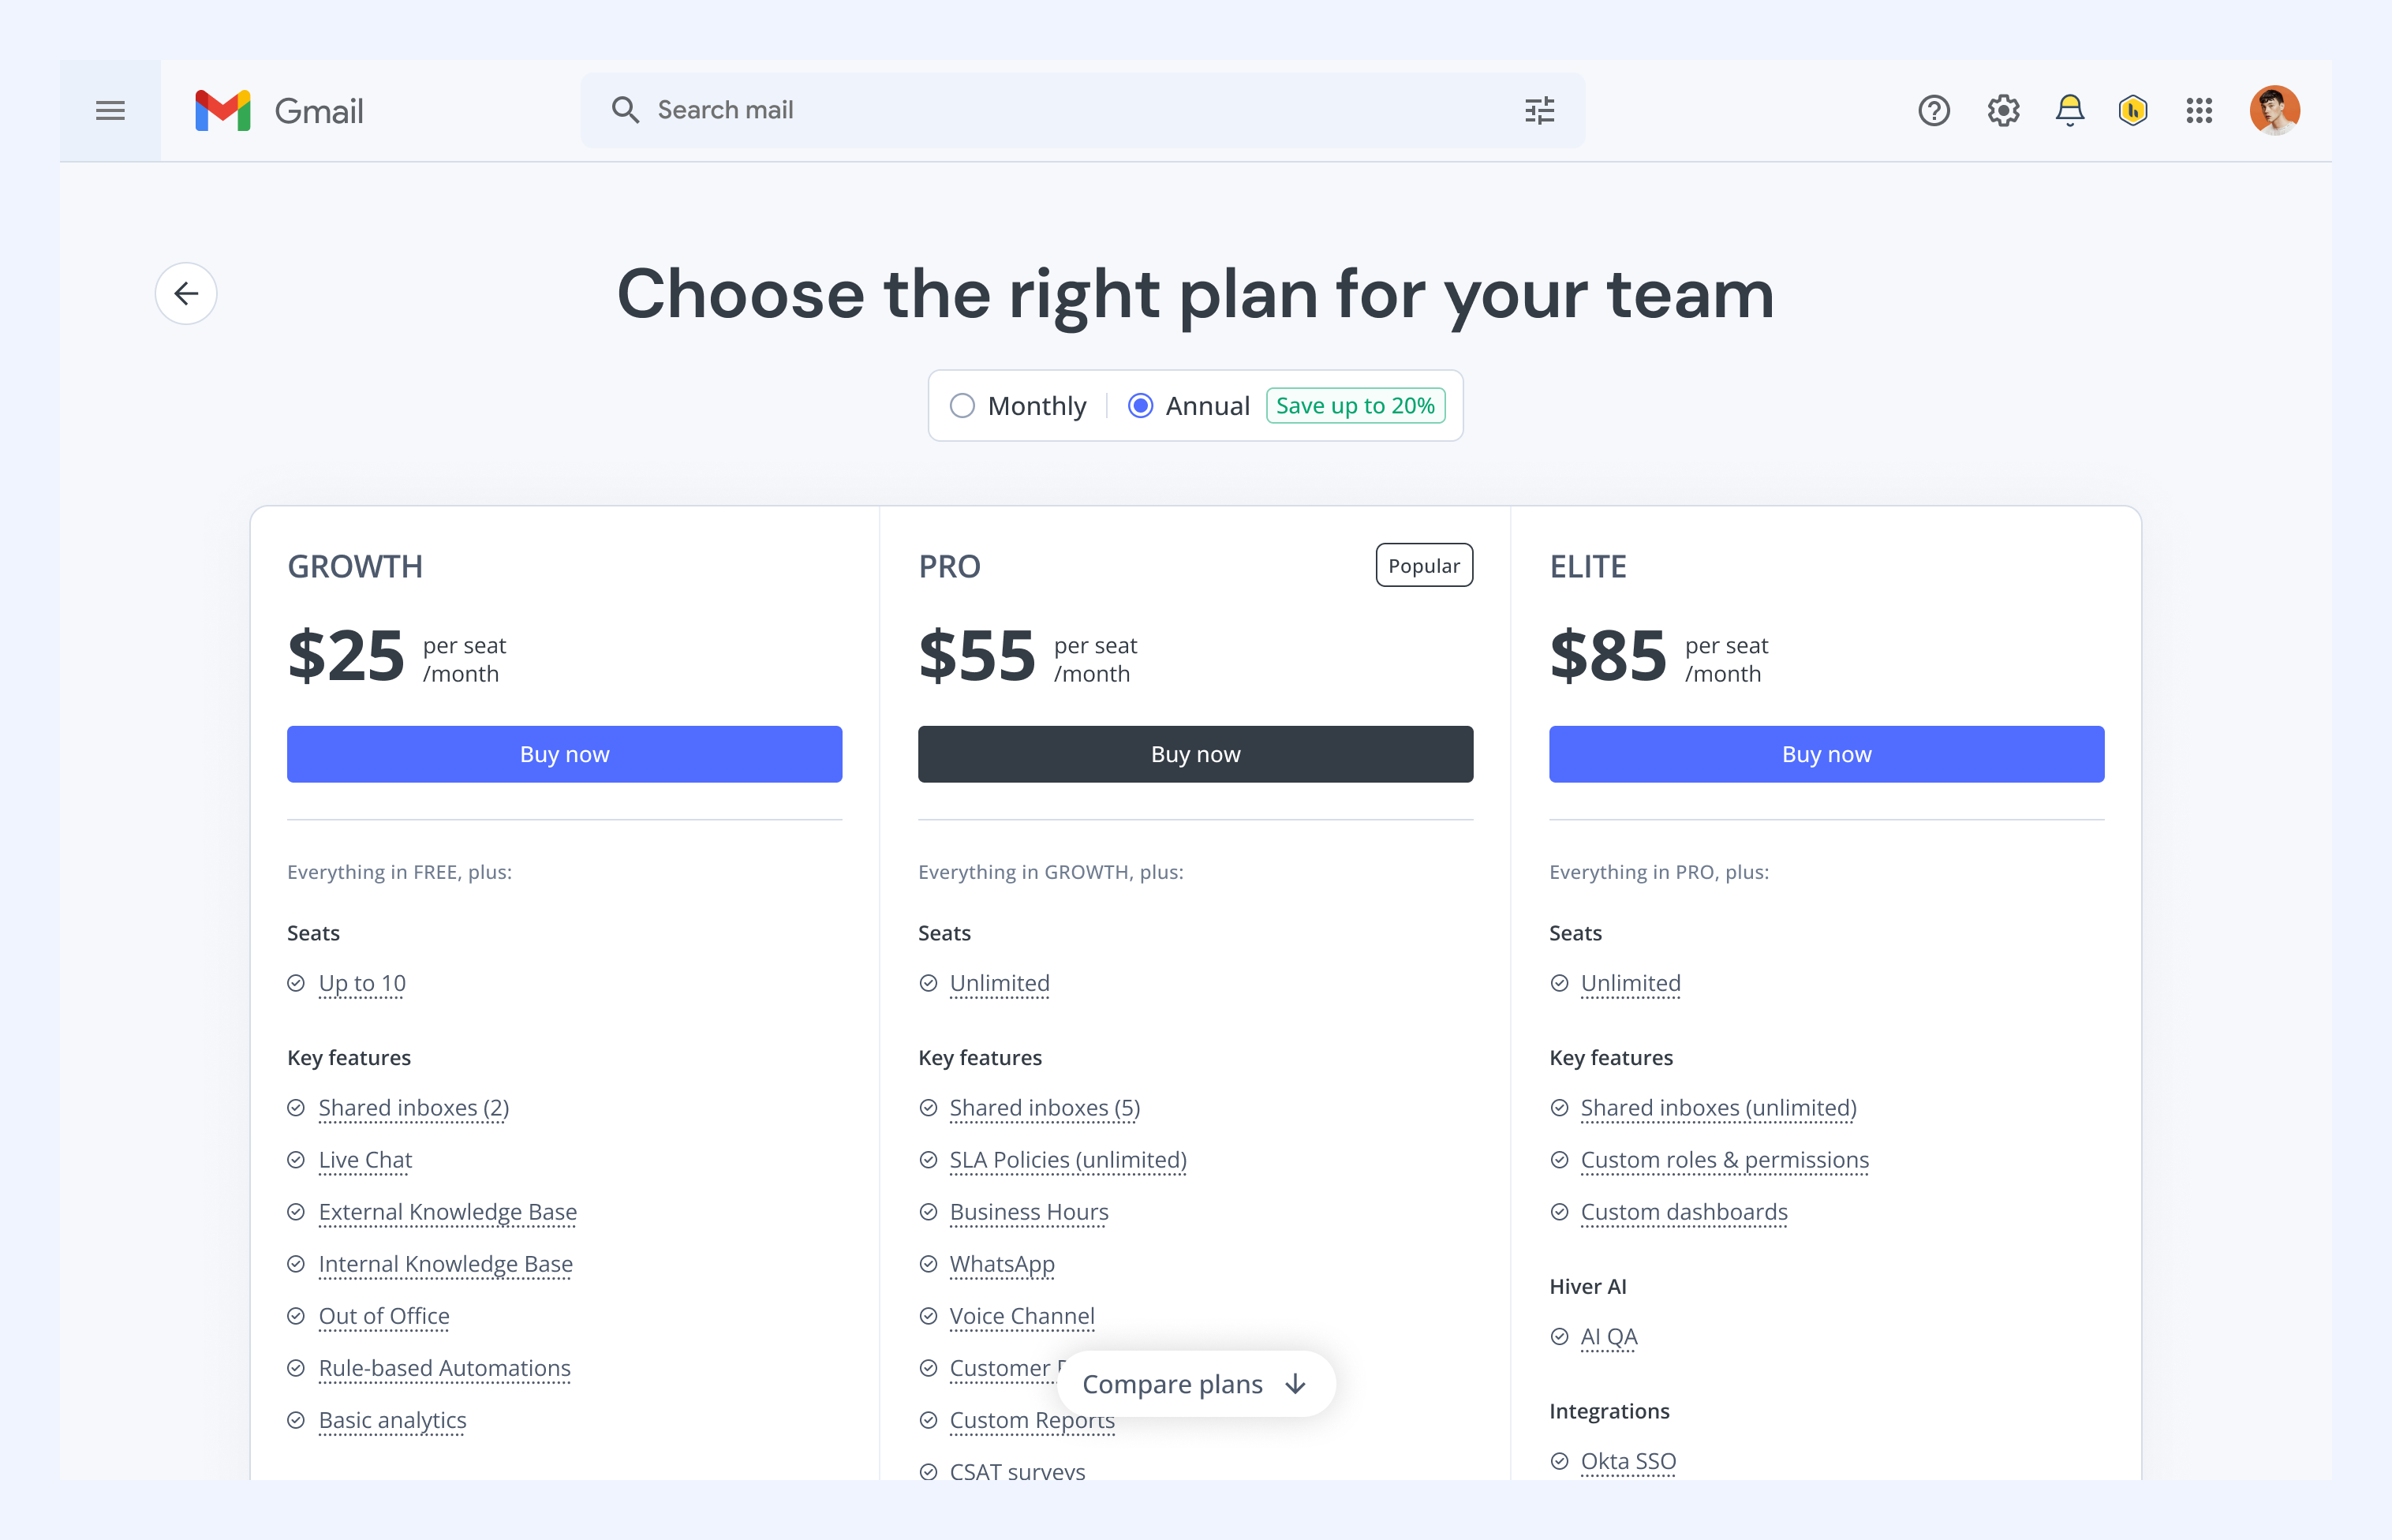
You can compare your current plan with higher tiers and see the features available in each plan.
Upgrading your plan
Upgrading to a higher plan lets you:
- Automate workflows with Round Robin and skill-based assignment.
- Track performance using custom reports and advanced analytics.
- Utilise AI capabilities, including tagging, sentiment detection, and AI Copilot.
- Improve response quality through SLA policies and CSAT surveys.
- Access priority support for faster resolutions.
- Connect with more tools, including Salesforce, Okta, and Zapier.
Each higher plan builds on the previous one, offering advanced features and greater flexibility for scaling teams.
Note: If you’re on a lower-tier plan, you can try any higher plan for 14 days once every 90 days. This trial provides you with full access to the new features, enabling you to evaluate them before making a commitment.
To start a trial or upgrade permanently:
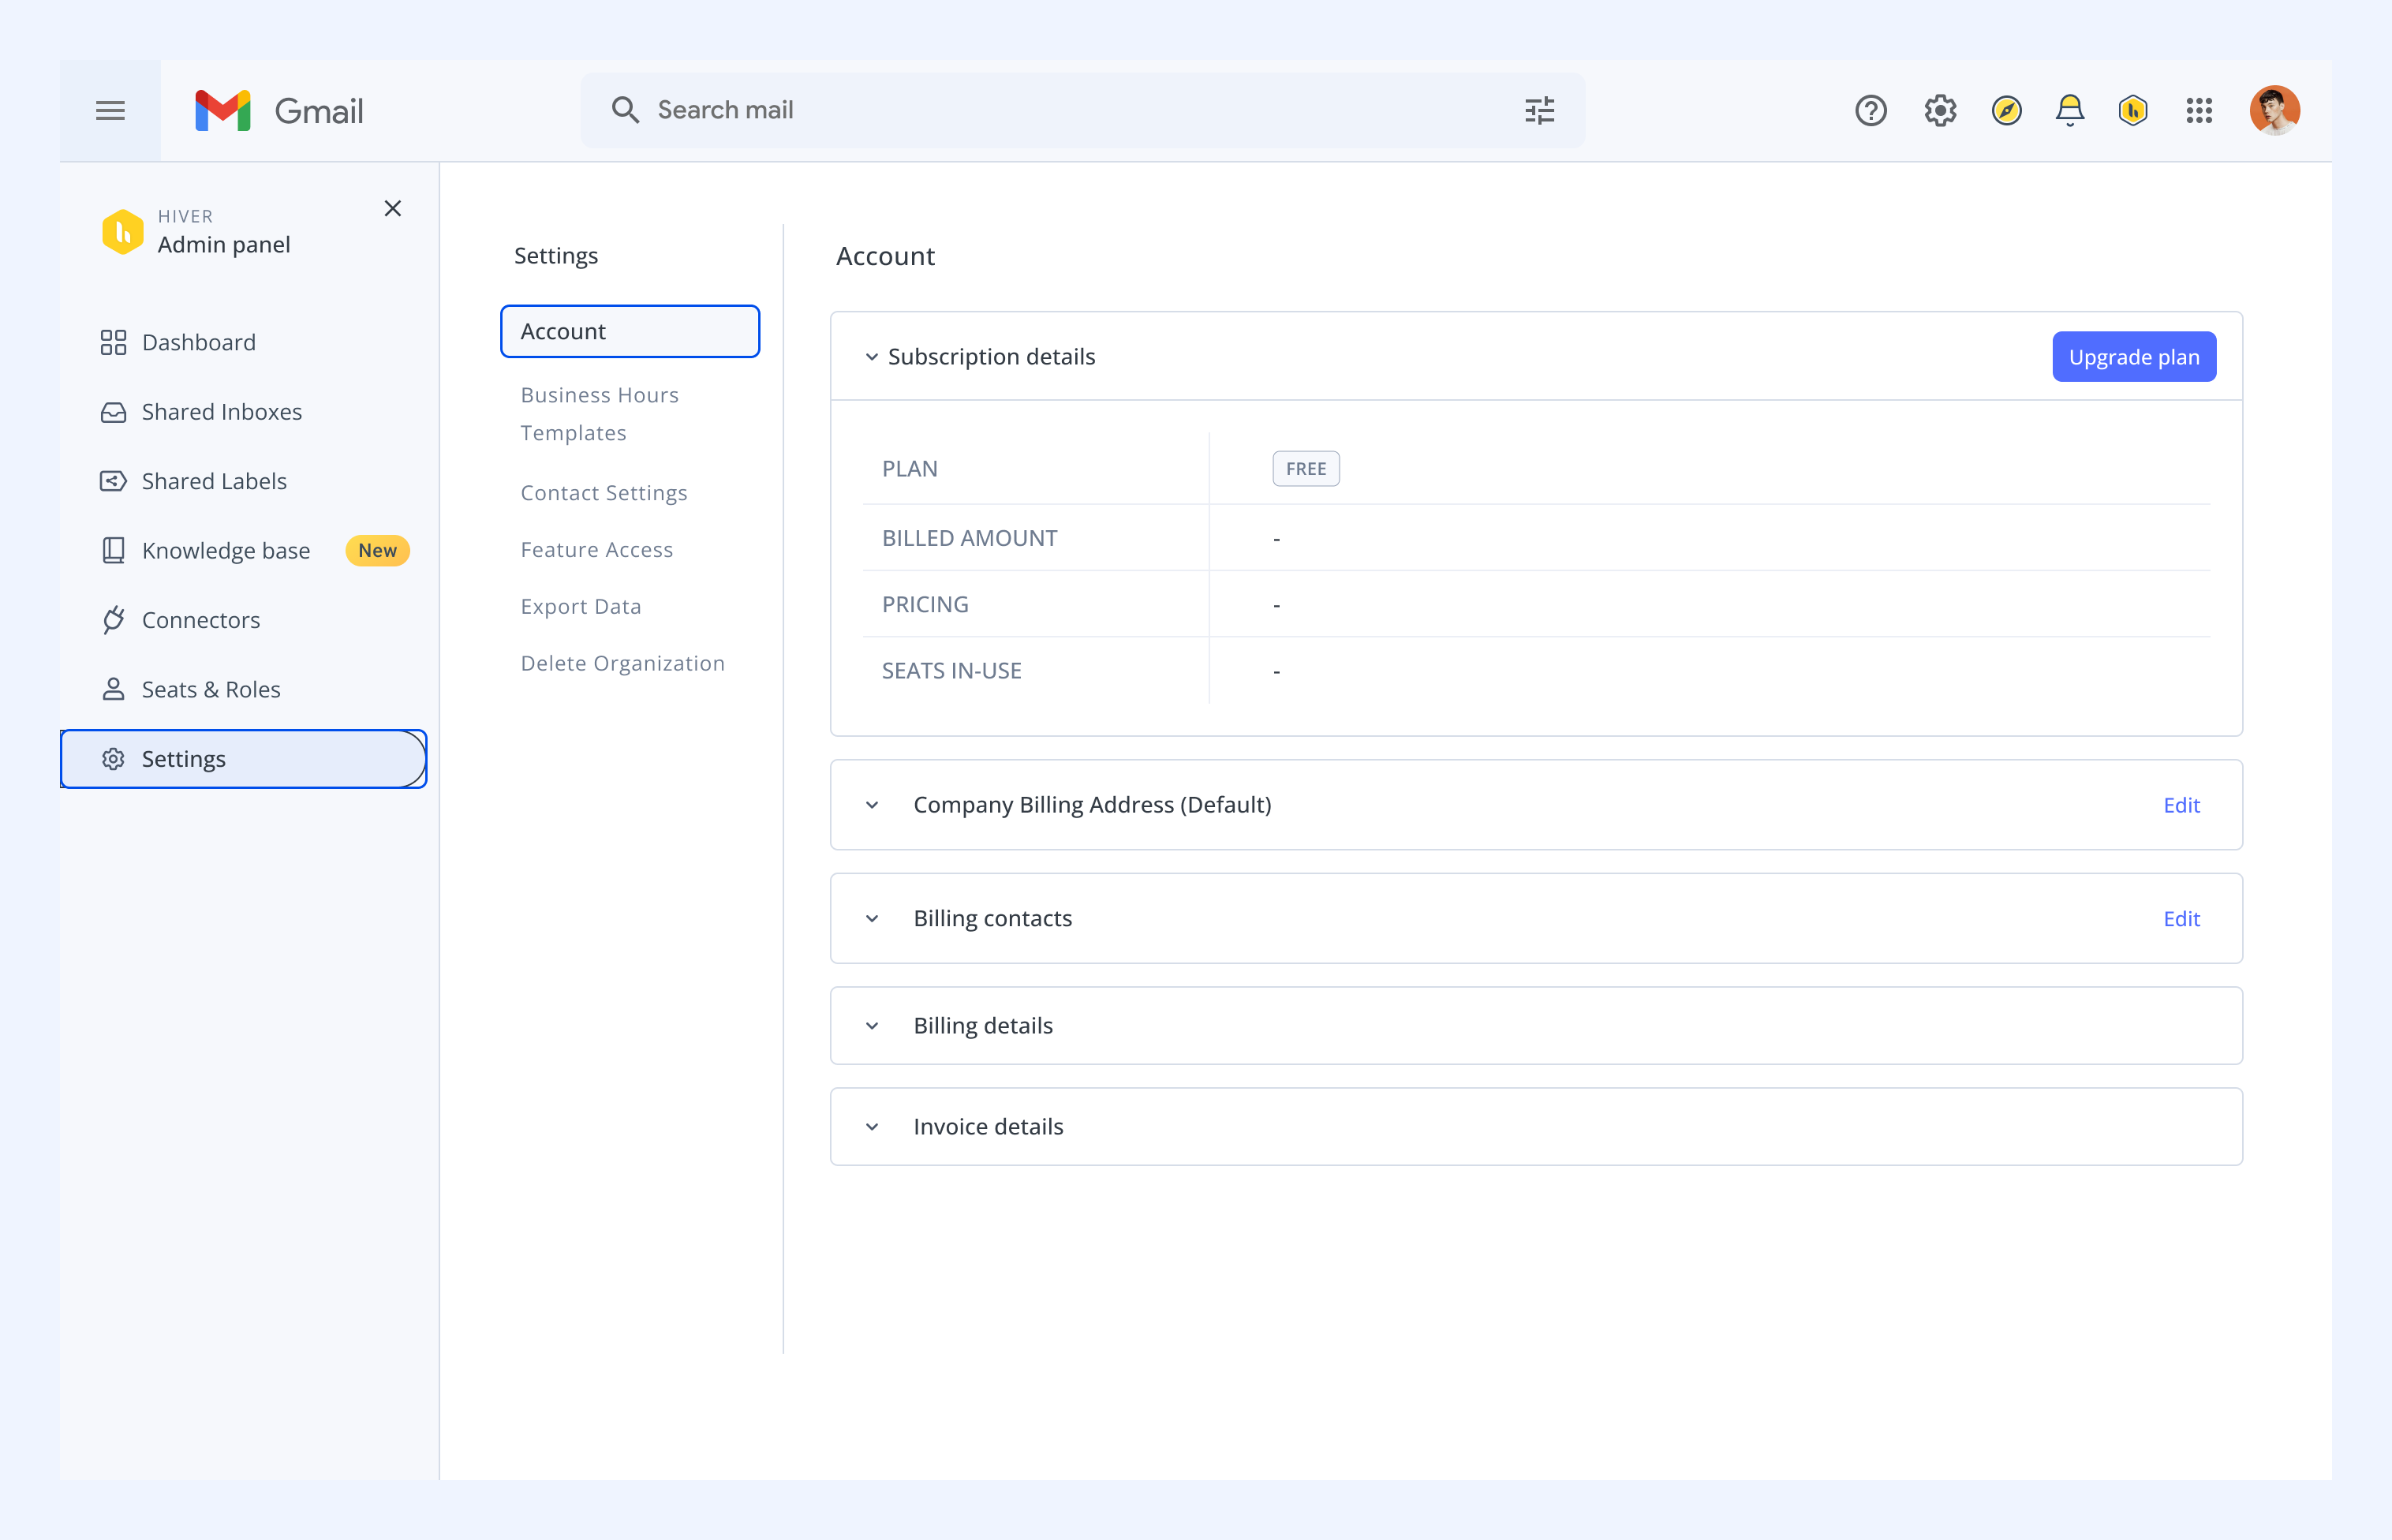
1. Go to Admin Panel → Settings → Account.
2. Select the plan you want to try or upgrade to.
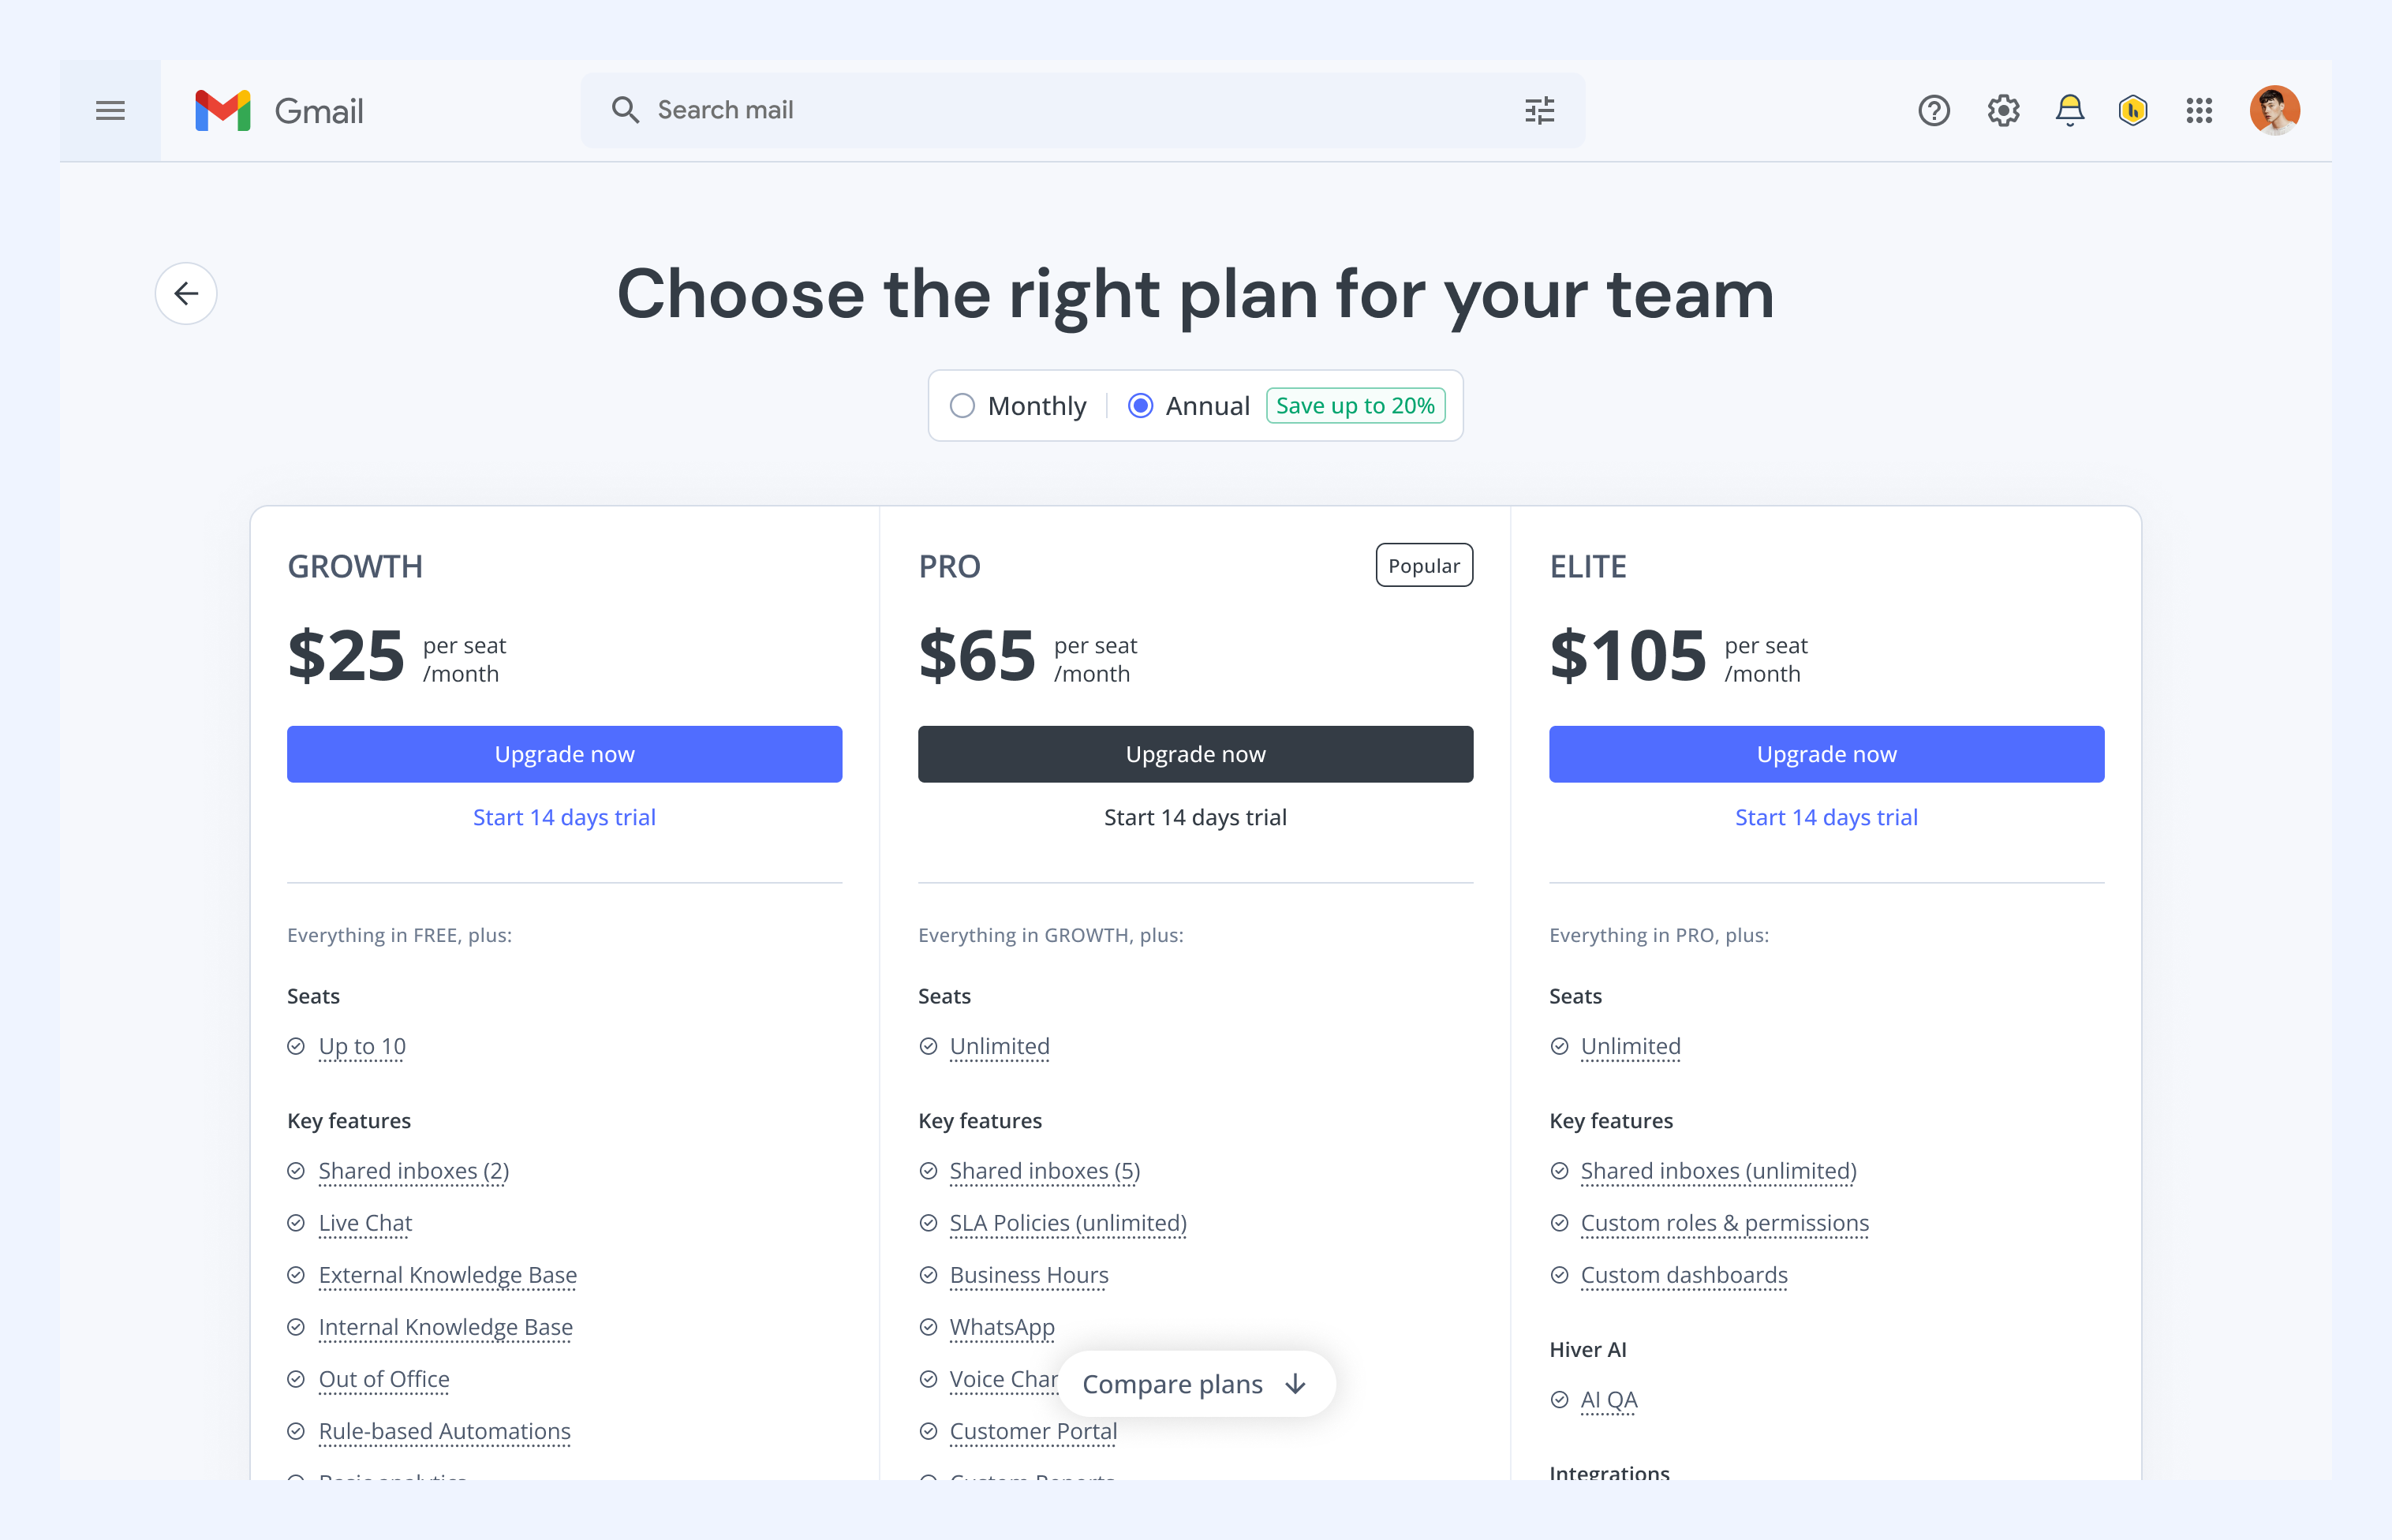
3. Follow the on-screen prompts to confirm.
If you choose to upgrade, Hiver will automatically update your account to match your new plan.
If you’re ready to complete payment or update billing details, follow the steps in Purchase your Hiver subscription.
After your trial or upgrade:
- If you upgrade permanently, your billing cycle continues with the new plan.
- If you don’t upgrade after your trial, your account automatically reverts to your original plan.
- You’ll receive an email summarizing the features you tested and how to upgrade later if needed.
FAQs on seats and billing
1. Where can I view my current plan and seat usage?
Go to Admin Panel → Settings → Account to view:
- Your current plan
- Seats in use
- Per-user pricing
- Billed amount
- Billing cycle details
- Invoice details
2. What happens when I try to add users over my seat limit?
If you’ve reached your seat limit, you’ll see a notification when trying to add a new user.
What happens next depends on your plan:
- Growth plan: You can have a minimum of 2 seats and a maximum of 10 seats.
- Other plans: There’s no fixed maximum seat limit. You can continue adding users, and the additional seats will be reflected in your next billing cycle.
To add more users, you can:
- Remove existing users to free up seats
- Add more seats by upgrading your plan
- Contact your Account Manager for plan-related changes
3. What happens to a seat when I delete a user?
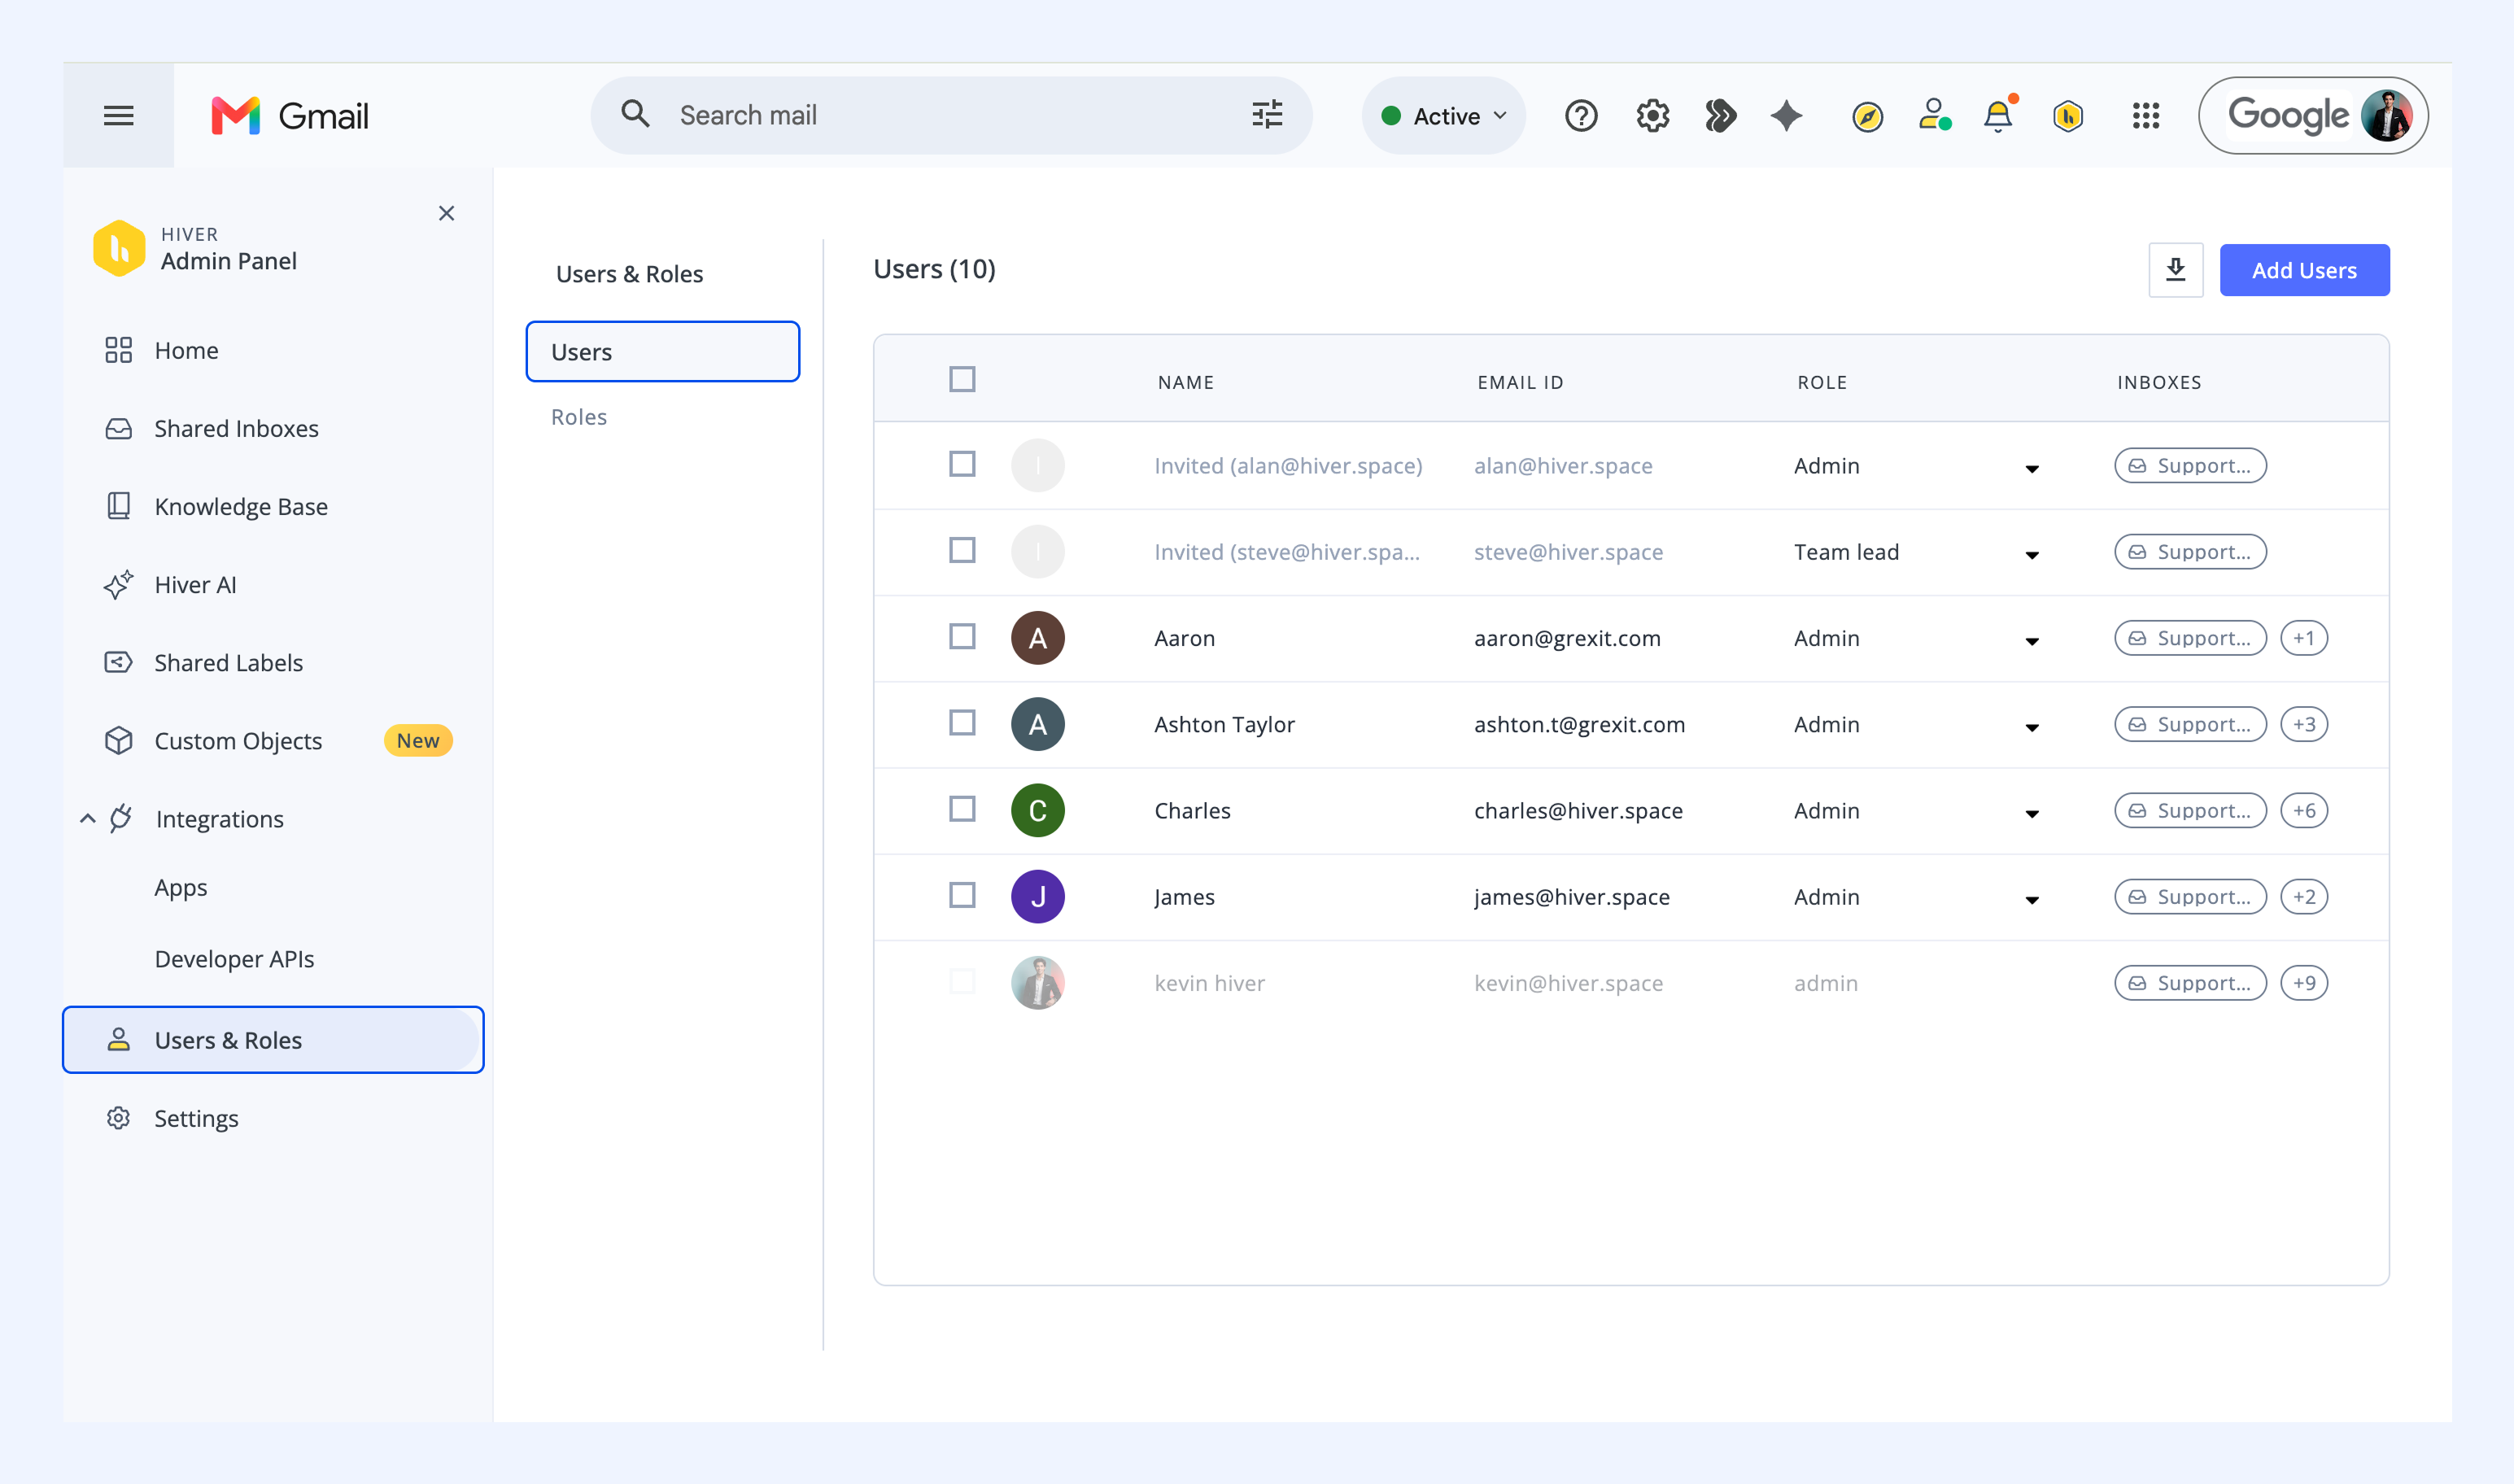
When you delete a user from Admin Panel → Users & Roles, their seat becomes immediately available and can be reassigned to another user.
Billing adjustments, if applicable, are reflected in the next billing cycle.
4. When do billing changes take effect after adding or removing users?
- Adding users: Charges are reflected in the next billing cycle
- Removing users: Credits are applied in the next billing cycle
- Seat availability after deletion: Immediate
5. Can someone have Admin access without consuming a seat?
No. Users must be added to Hiver with the Admin role to access the Admin Panel, and this consumes a seat.