Creating Approval Flows
Getting approvals is often slower than it should be. Teams end up juggling long email chains, scattered chat messages, or even separate tools just to get a sign-off. This not only delays responses to customers but also increases the risk of missed context and errors.
With Hiver Approvals, you can bring the entire approval process right into Gmail. Whether it’s expenses, discounts, or invoices, approvals happen alongside the email threads they belong to. With Hiver's Approvals, your team can:
- Save time: Eliminate back-and-forth emails and manage approvals in one place.
- Improve efficiency: Create structured approval flows with multiple stakeholders.
- Streamline workflow: Handle approvals directly in Gmail without switching tools.
Key features
Approvals are available for all Shared inboxes.
The key features include:
| Features | Description |
| Multi-step approval flows | Create sequential approval processes with multiple stages. |
| Flexible approver selection | Add anyone from your organisation, including non-Hiver users. |
| Real-time notifications | Approver receives email notifications with private conversation links. |
| Status tracking | View approval progress with dedicated Approvals widget and view. |
| No additional costs | Hiver does not charge for approver accounts added to approval flows. |
Note: You need to be a Shared Inbox admin to set up Approval Flows.
Creating approval flows
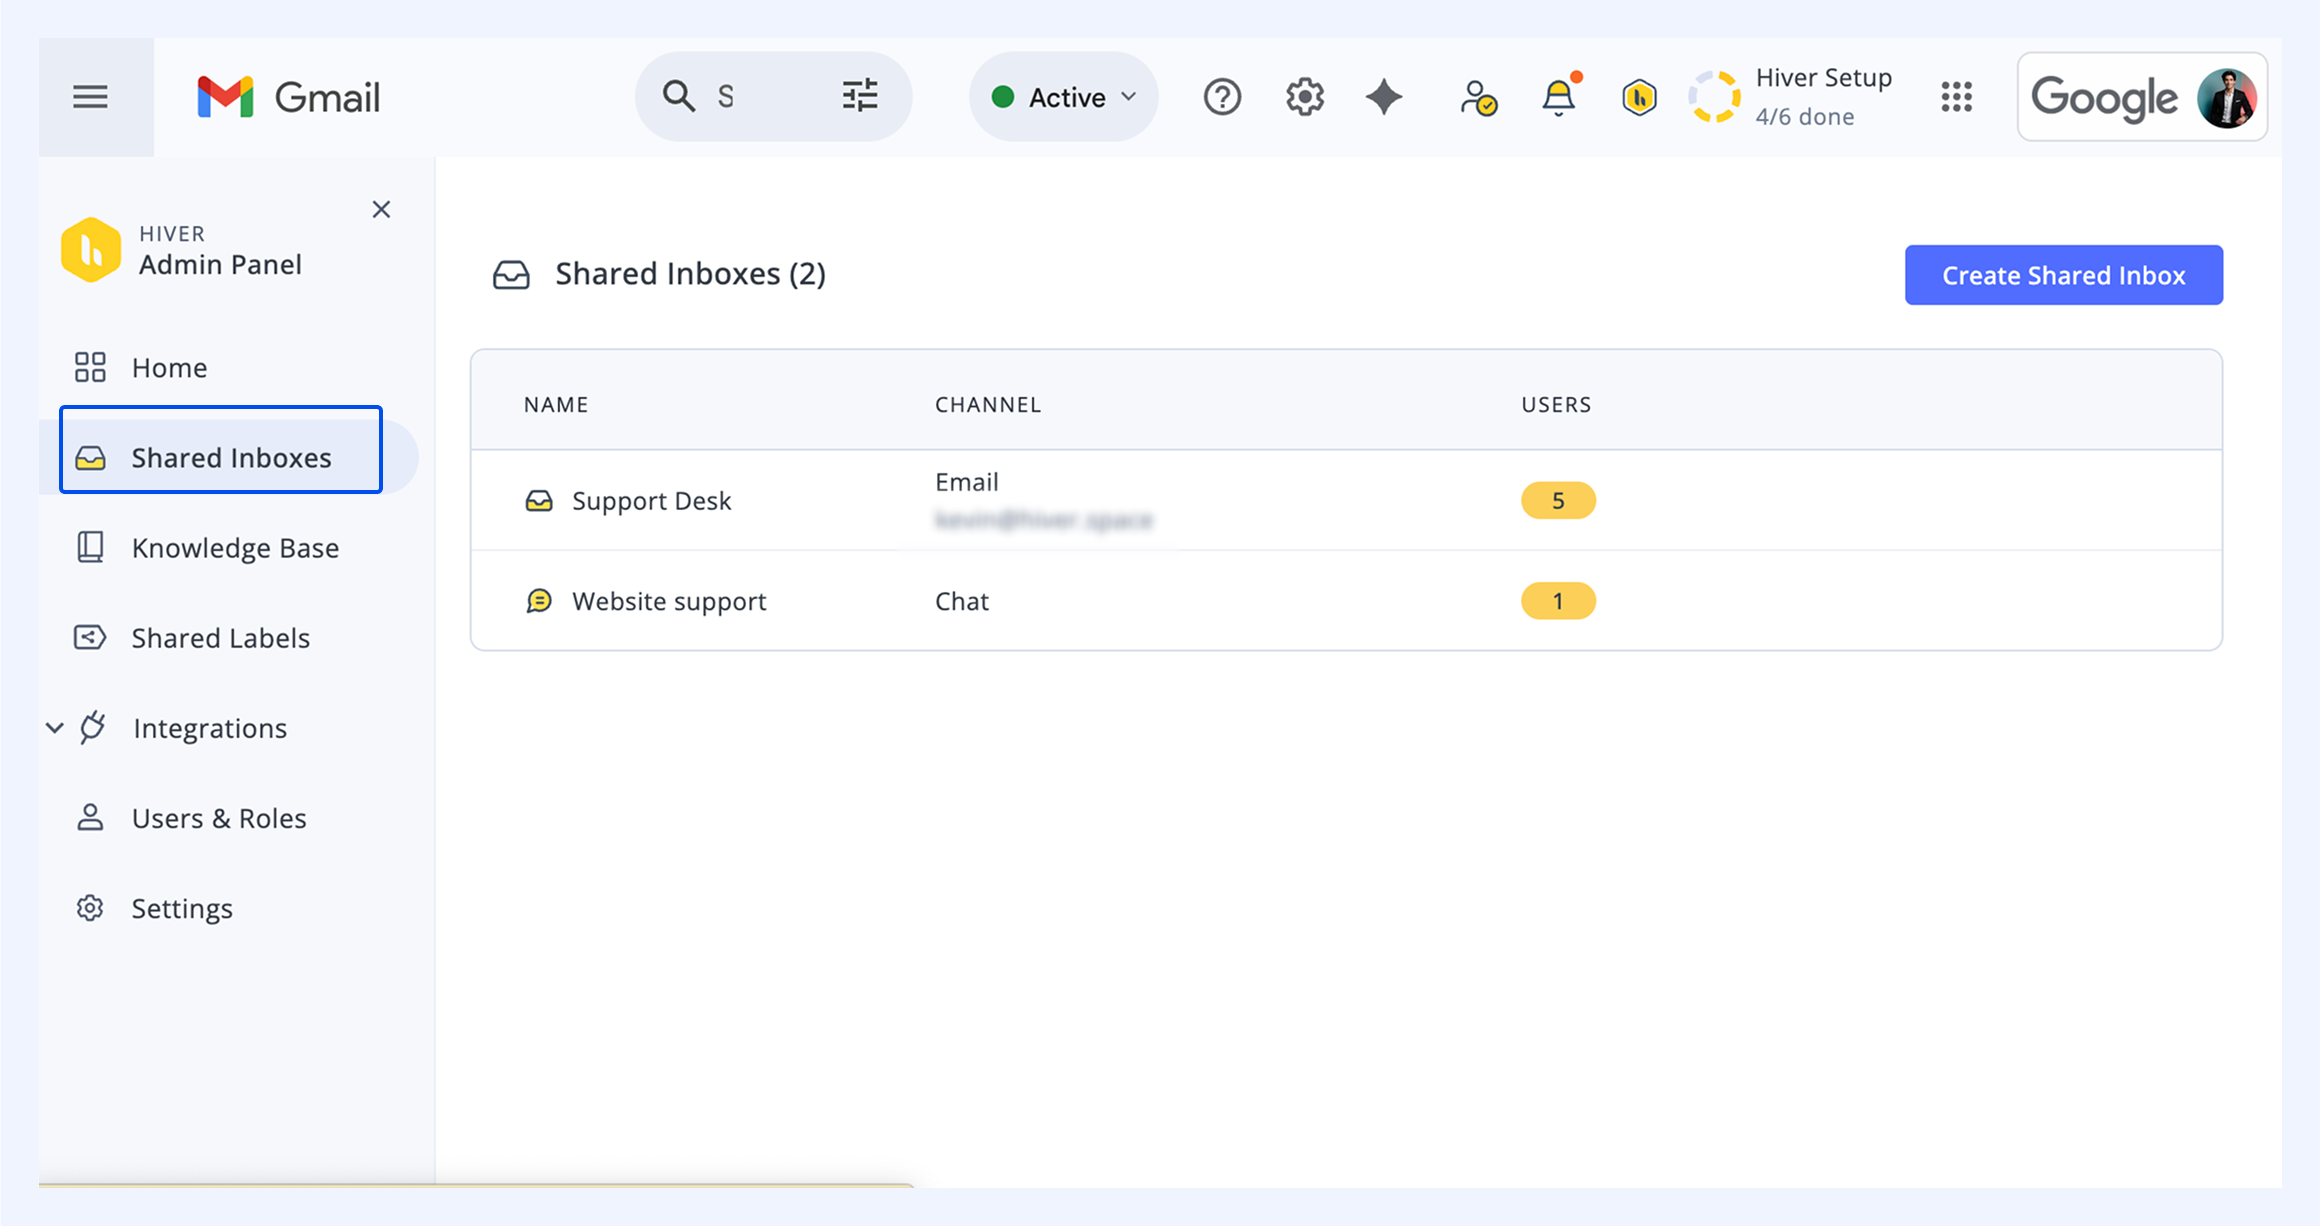
- Go to Hiver settings → Admin panel → Shared Inboxes and select the relevant inbox.
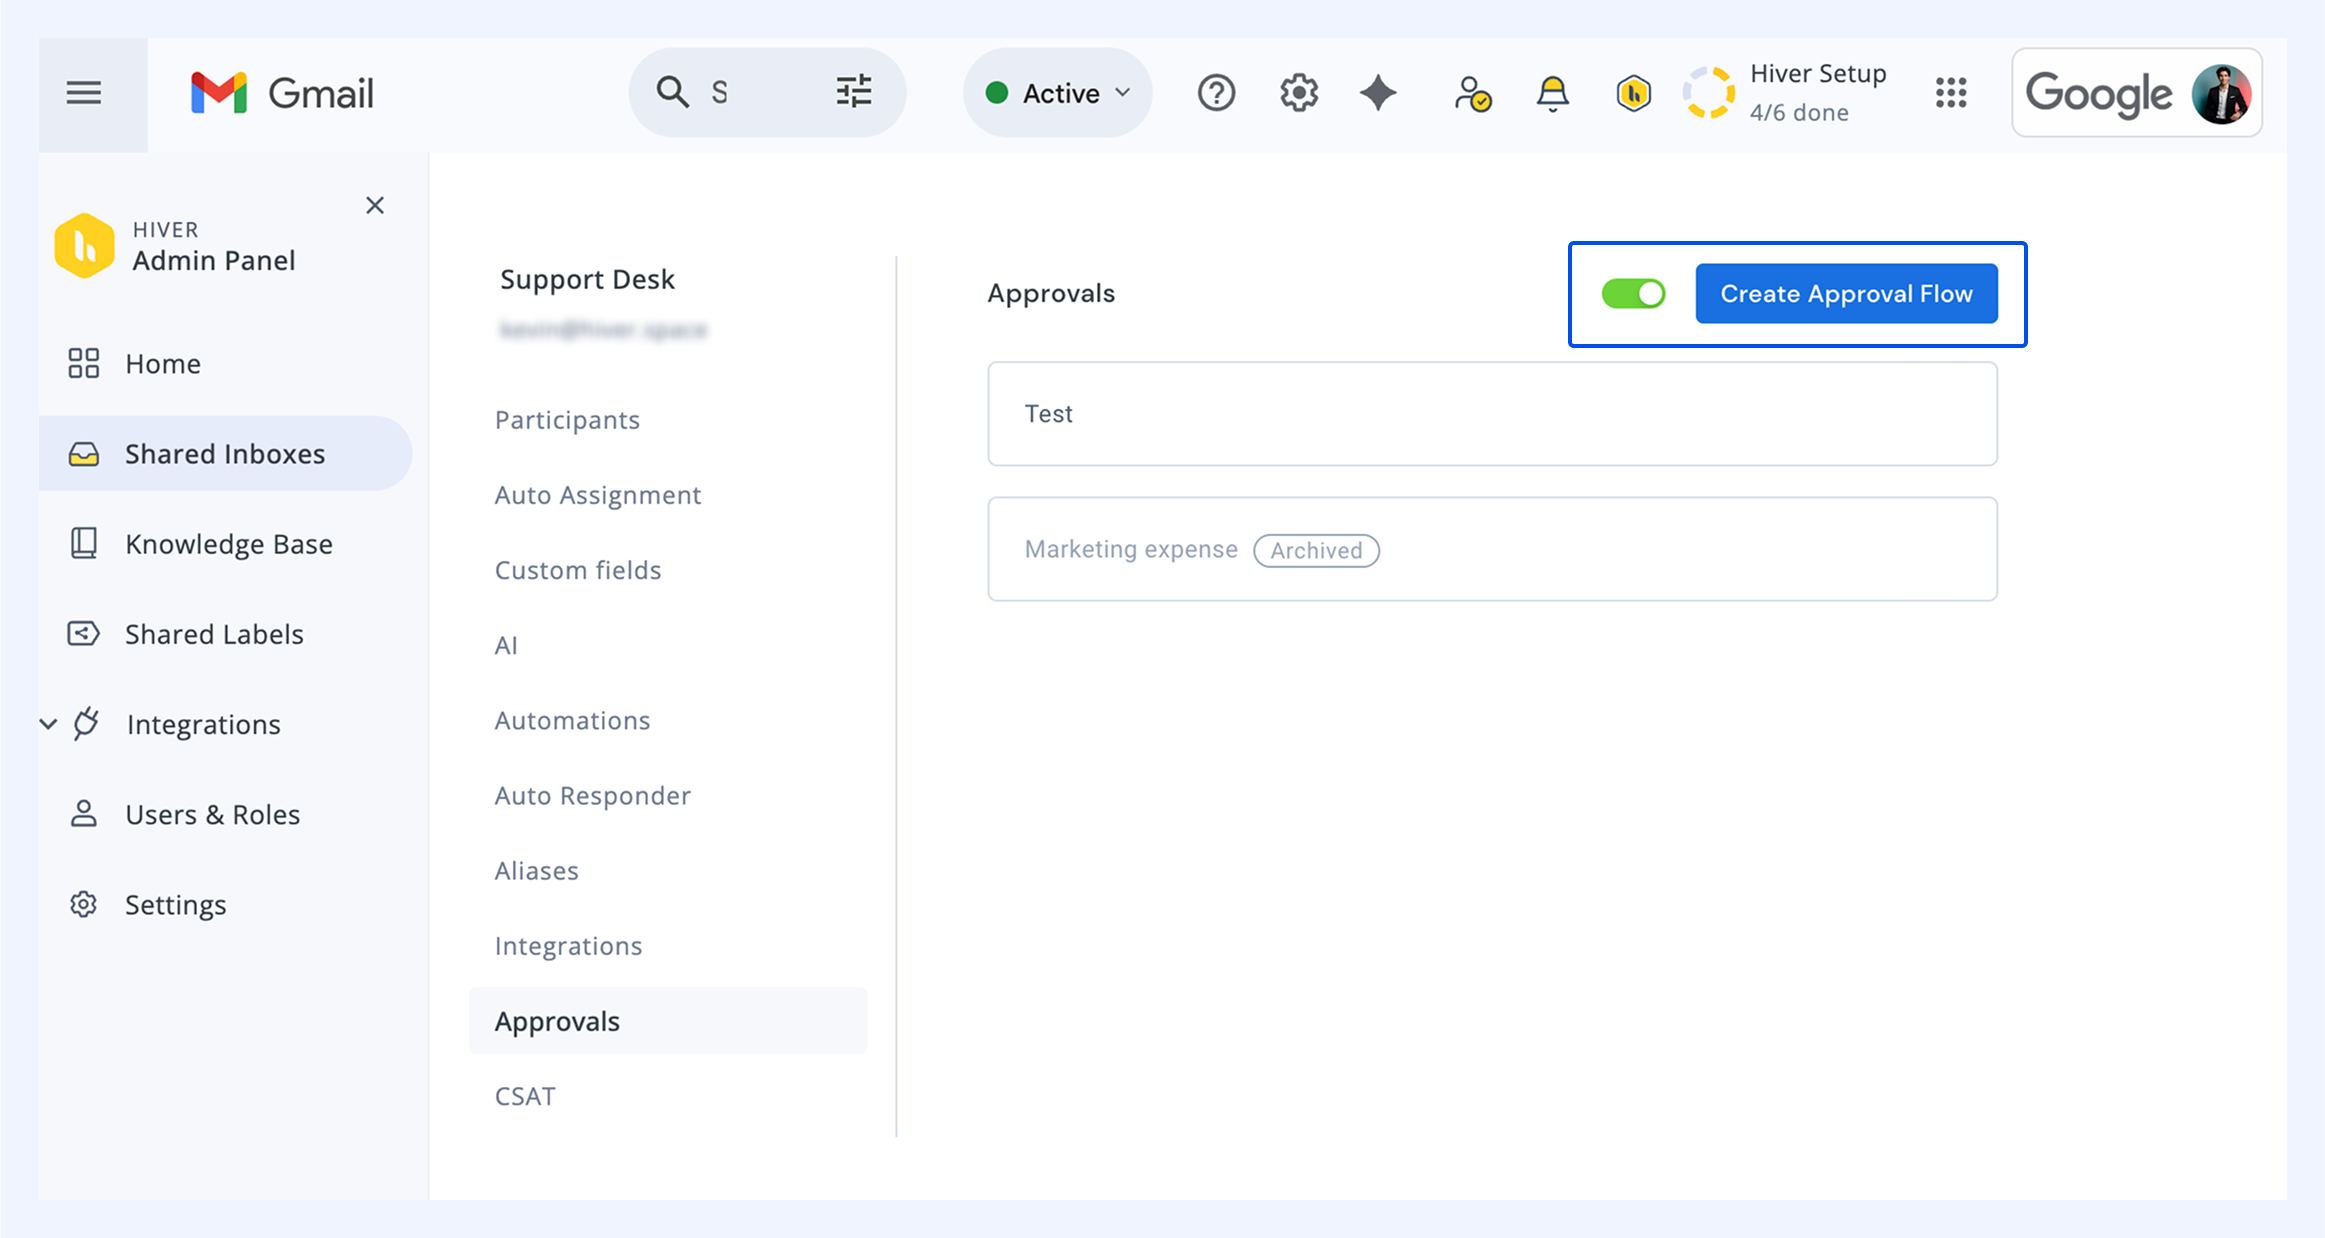
2. Go to Approvals. Turn on the toggle to enable the feature.
3. Select Create Approval Flow to begin setting up a workflow.
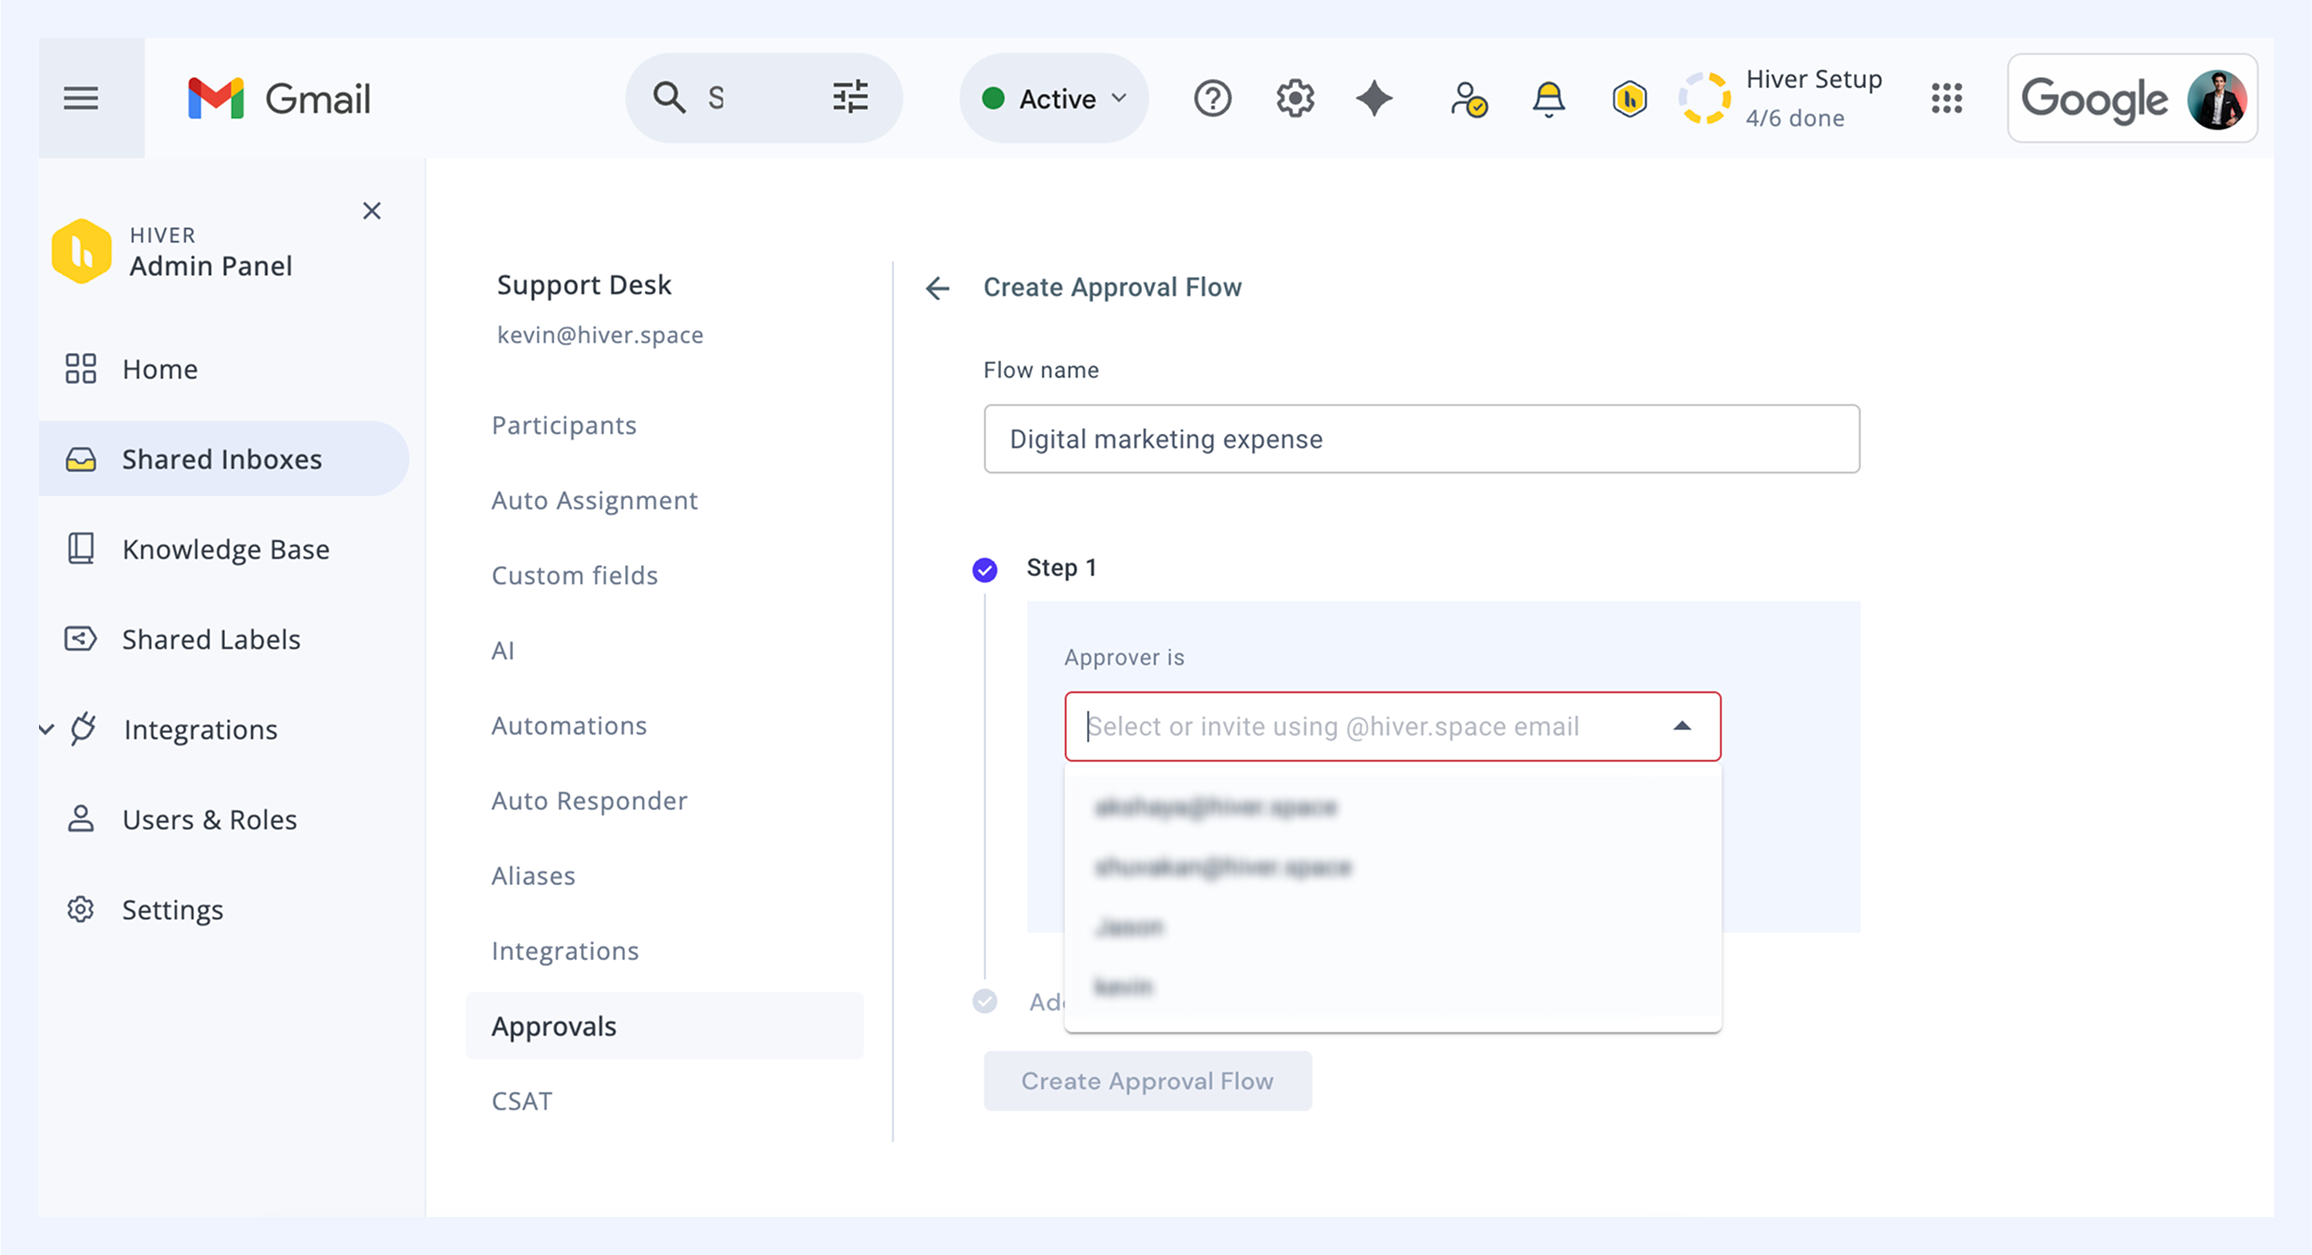
4. Name the flow and configure approval steps. Each flow can have one or more steps, and all steps must be completed for approval to be granted.
- Choose Approvers for each step from the dropdown list of Shared Inbox users.
- To invite an approver outside the Shared Inbox or Hiver account, type their full email address.
Note: Each step can include multiple approvers, and approval from any one of them will mark the step complete.
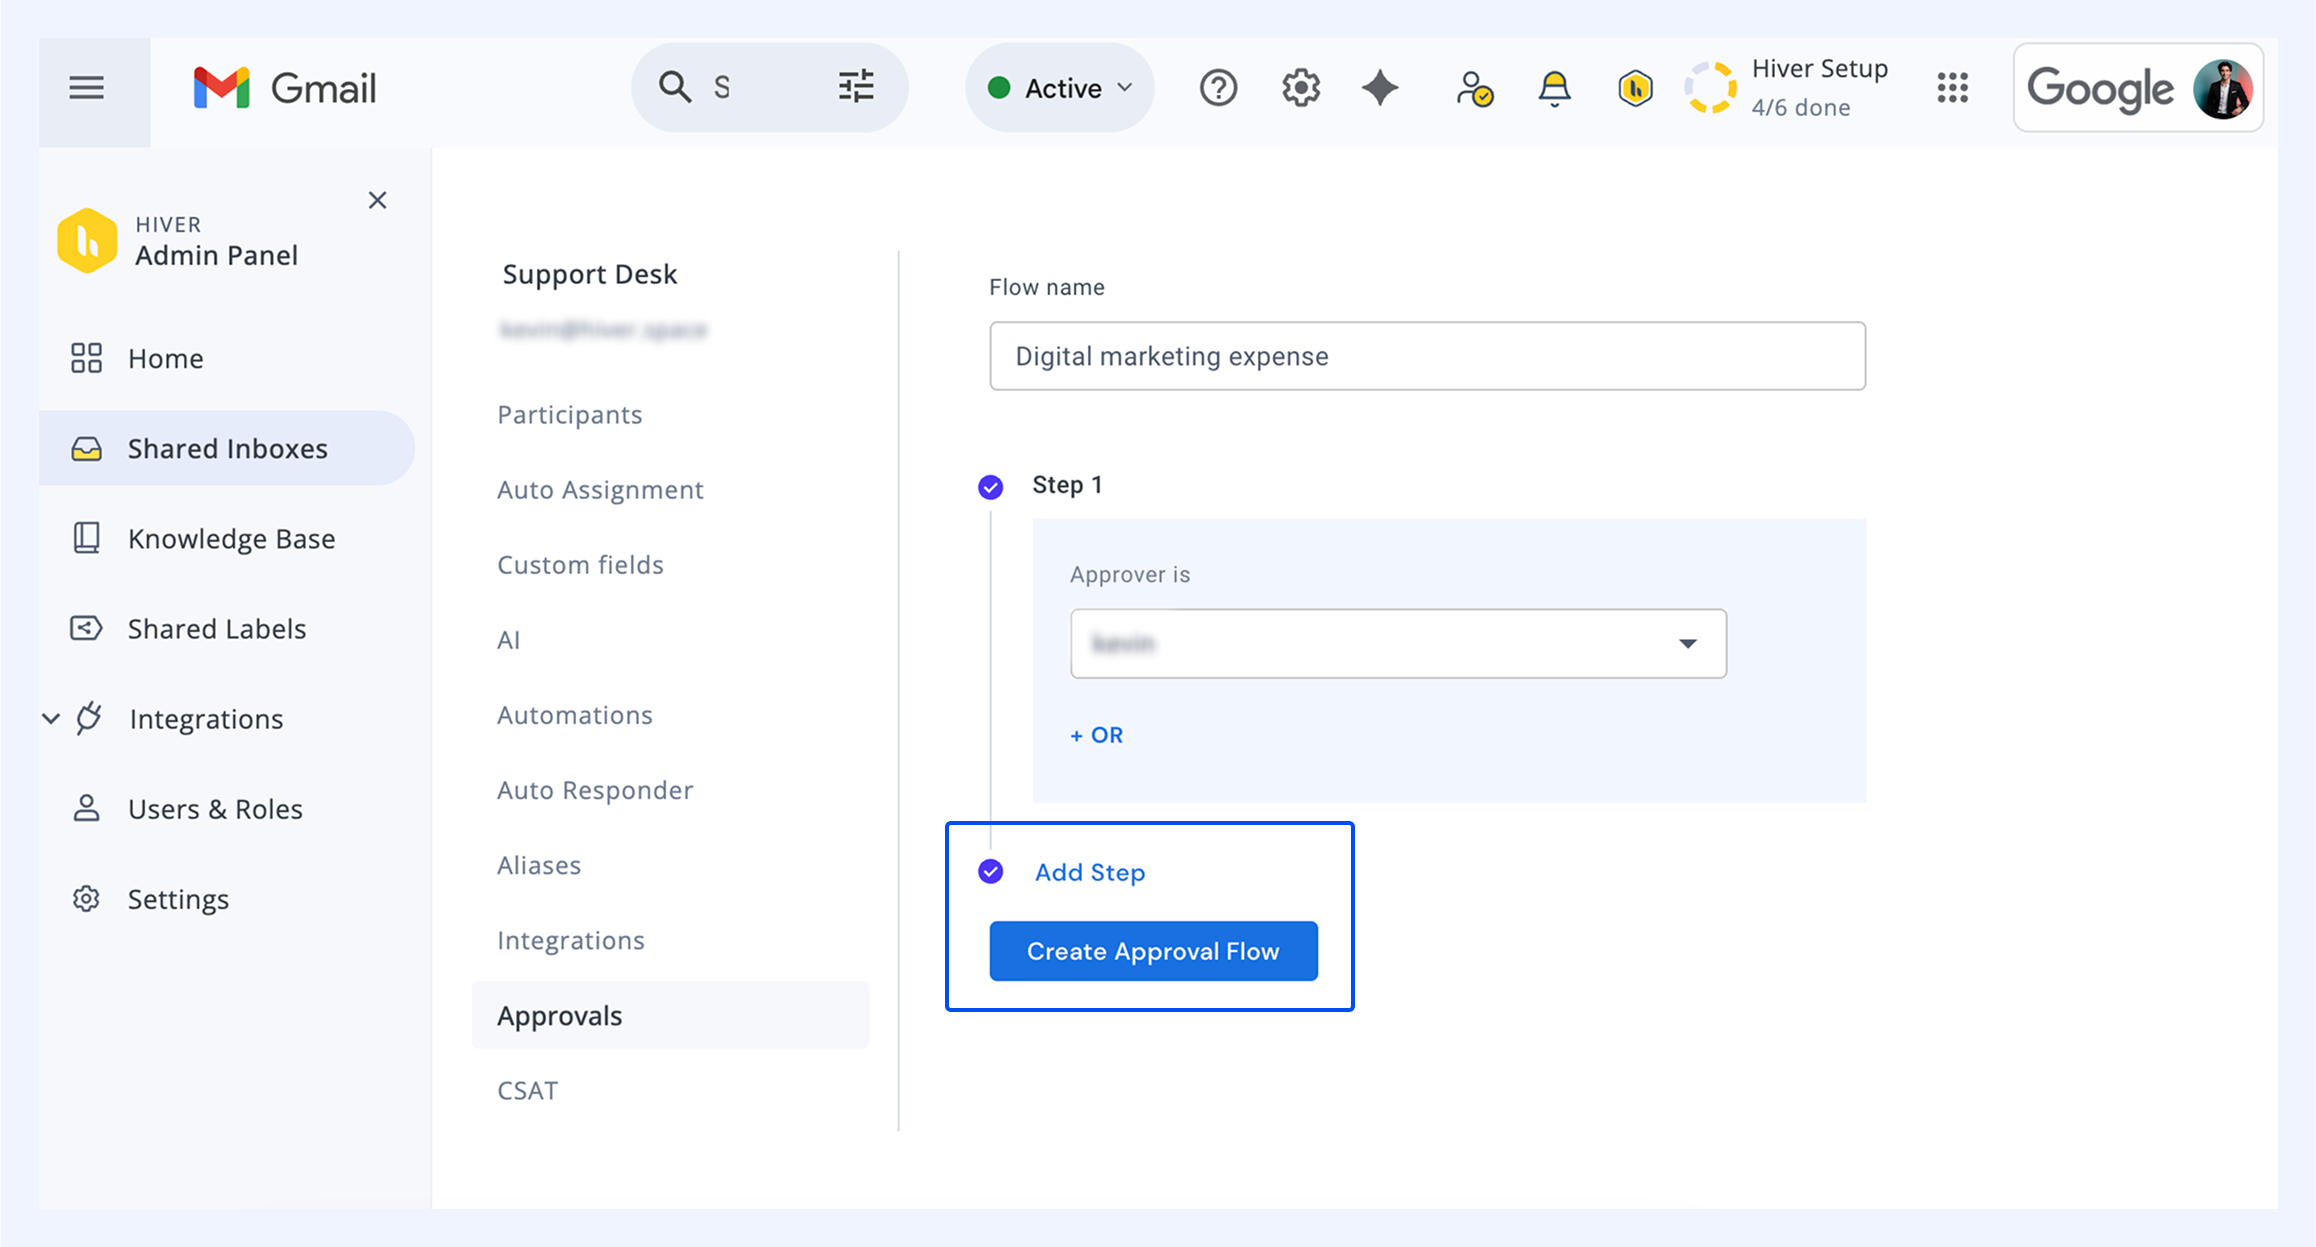
5. (Optional) Add additional steps by clicking Add Step.
6. Once configured, click Create Approval Flow.
Key notes and limitations
Approver requirements
- Approvers must have an email address within your organization’s domain.
- You can invite non-Hiver users as approvers via their work email.
- Approver accounts are free — no extra charges apply.
Workflow structure
- Approval flows need to be completed step-by-step in sequence.
- If a step has multiple approvers, the step is completed as soon as any one of them approves. The flow then automatically moves to the next step.
- All stakeholders get real-time notifications and status updates.