Set up a Voice Inbox
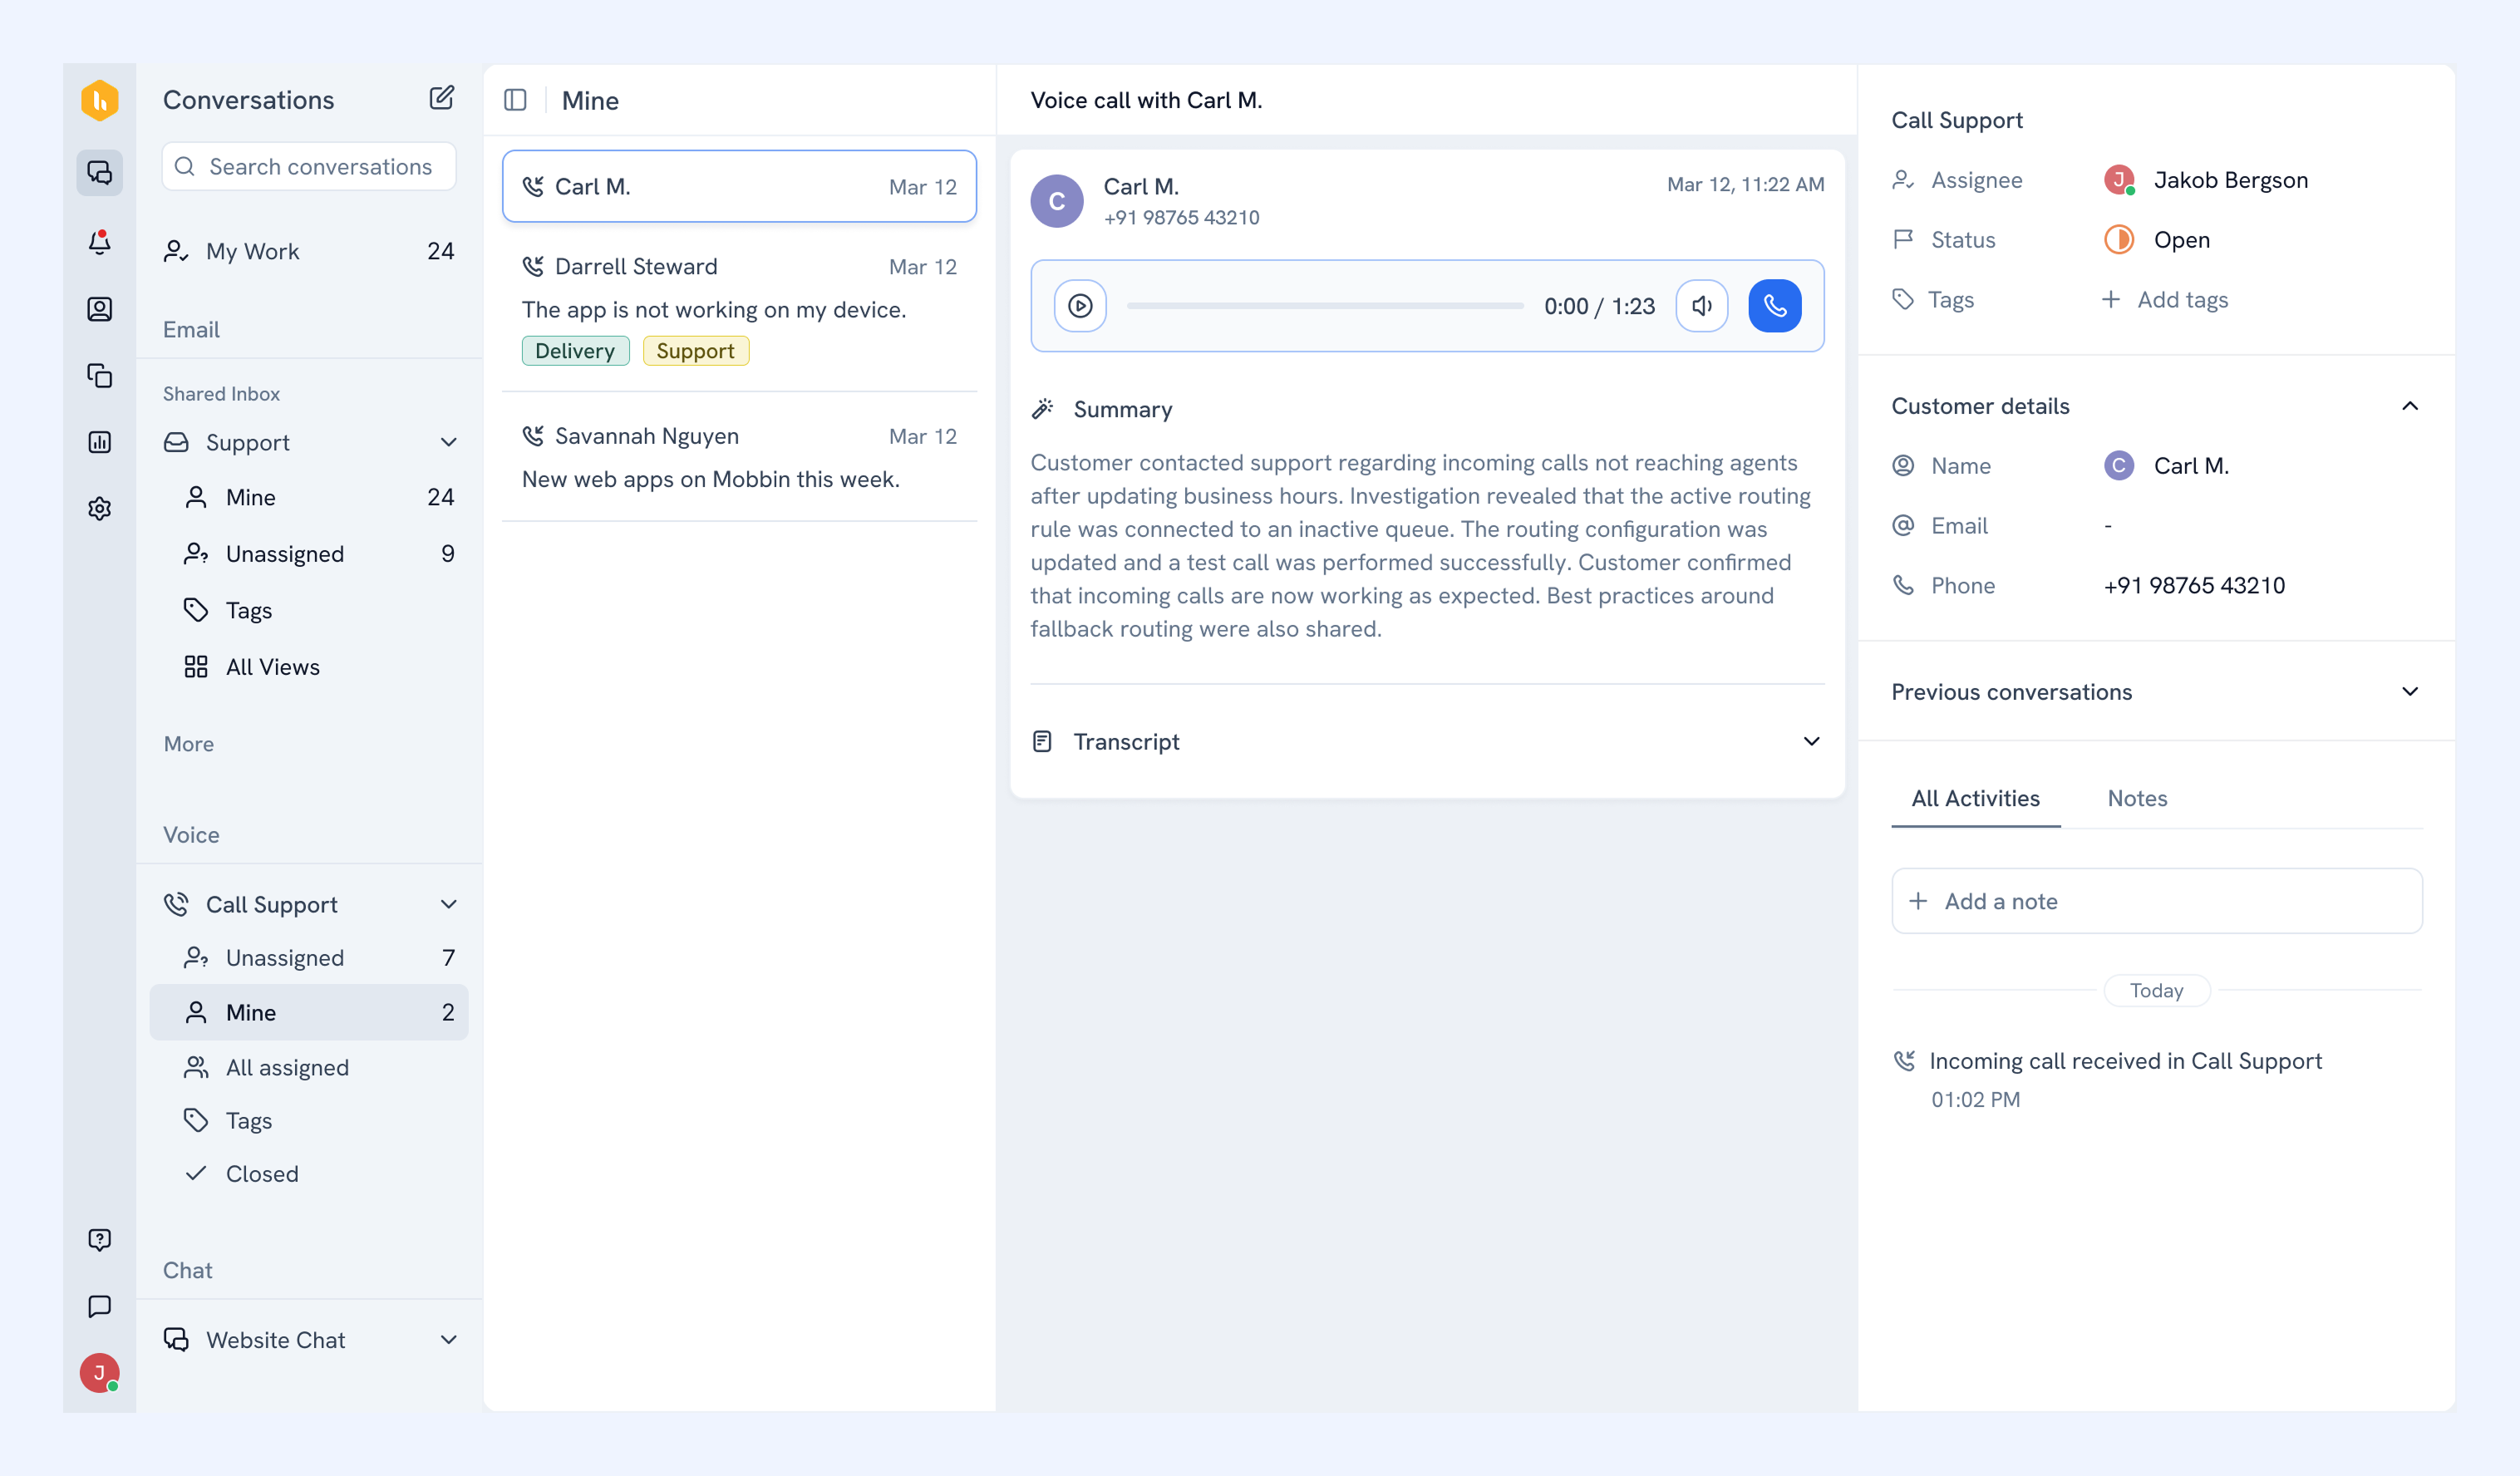
With Hiver Omni, you can set up a Voice Inbox that brings calls into the same place as your email and chat conversations. Every call and voicemail comes in as a conversation, so your team can pick it up, respond, and follow up from one place.
Note:
- Voice Inbox currently supports US phone numbers only. Support for more countries is coming soon.
- Voice Inbox is currently in an early access program. To enable it for your account, reach out to us at support@hiverhq.com.
- You can port an existing number from another provider to Hiver. To get started, reach out to us at support@hiverhq.com.
Prerequisites
Before you begin, make sure you have:
- Admin access in Hiver.
- The Hiver Voice add-on, available at $30 per user per month.
Set up a Voice Inbox during onboarding
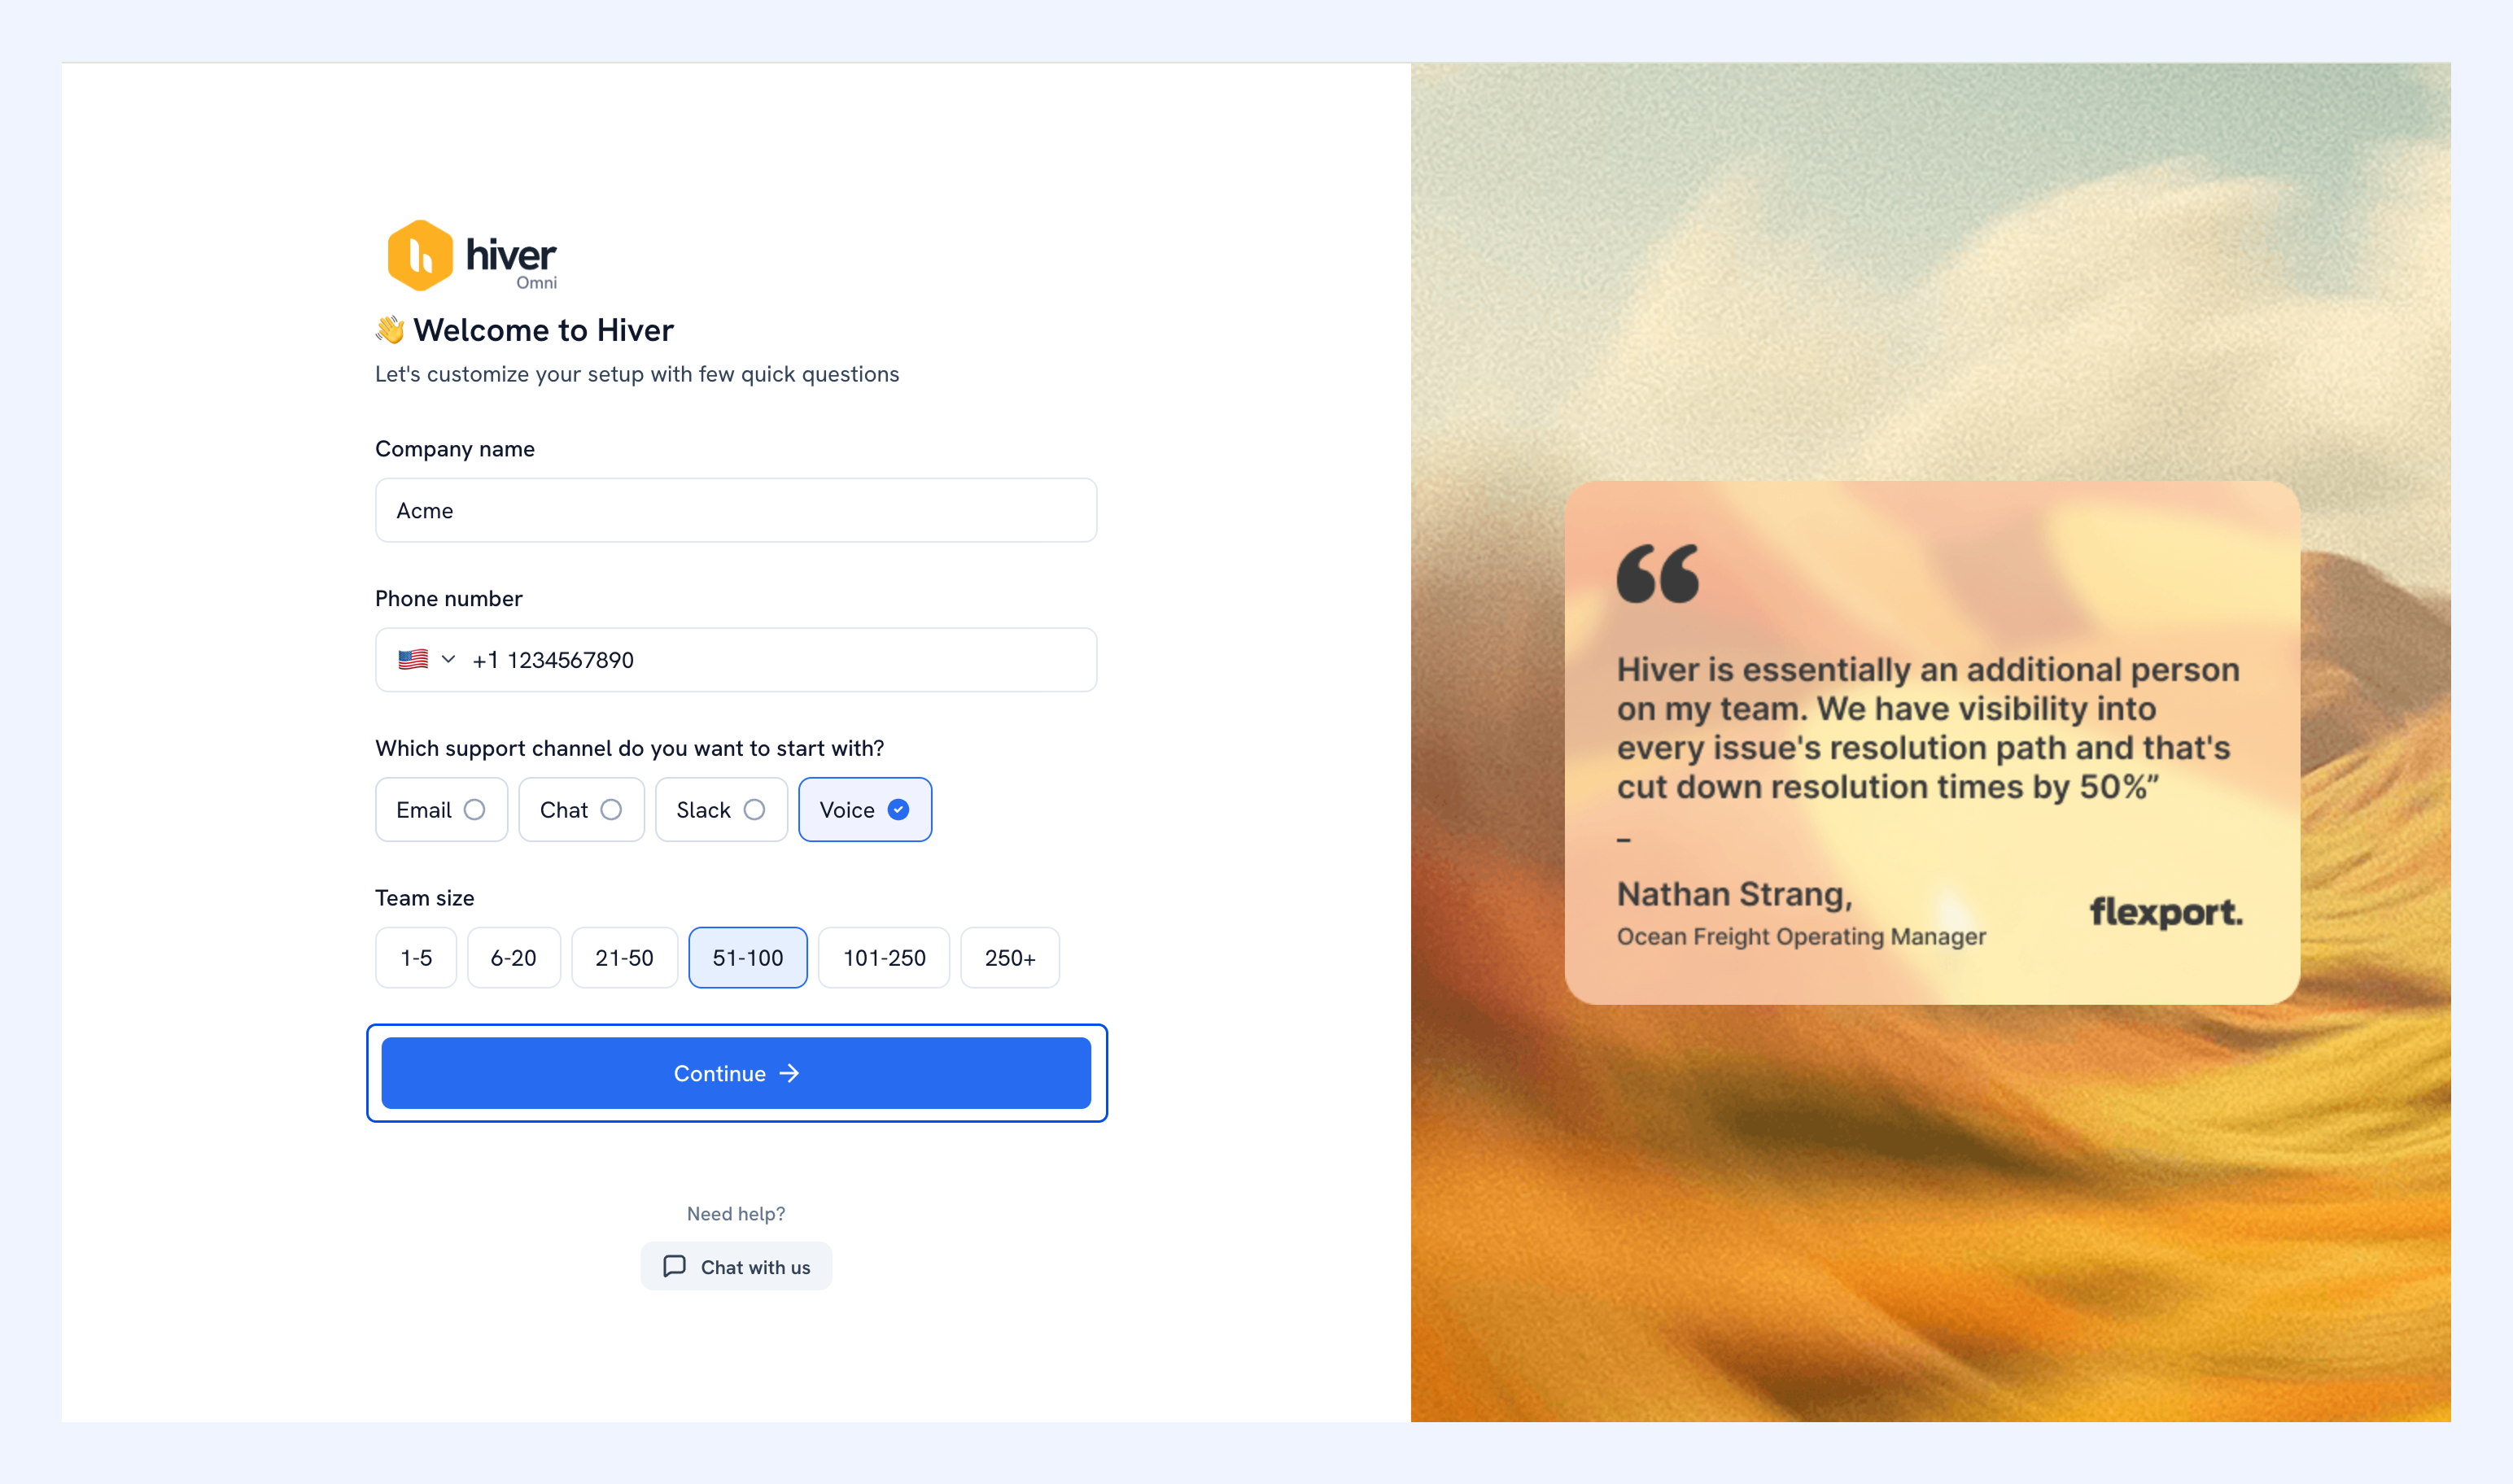
1. Fill in your details and choose Voice as your support channel. Click Continue.
2. Enter a name for your inbox, select your team, and click Continue.

3. Hiver assigns a dedicated US phone number to your inbox. Click Create Voice Inbox to continue.

4. Enter your teammates' email addresses to invite them to the Voice Inbox, then click Send invites.

Your Voice Inbox is ready. You and your team can start making and receiving calls right away.
Set up a Voice Inbox from the Admin Panel
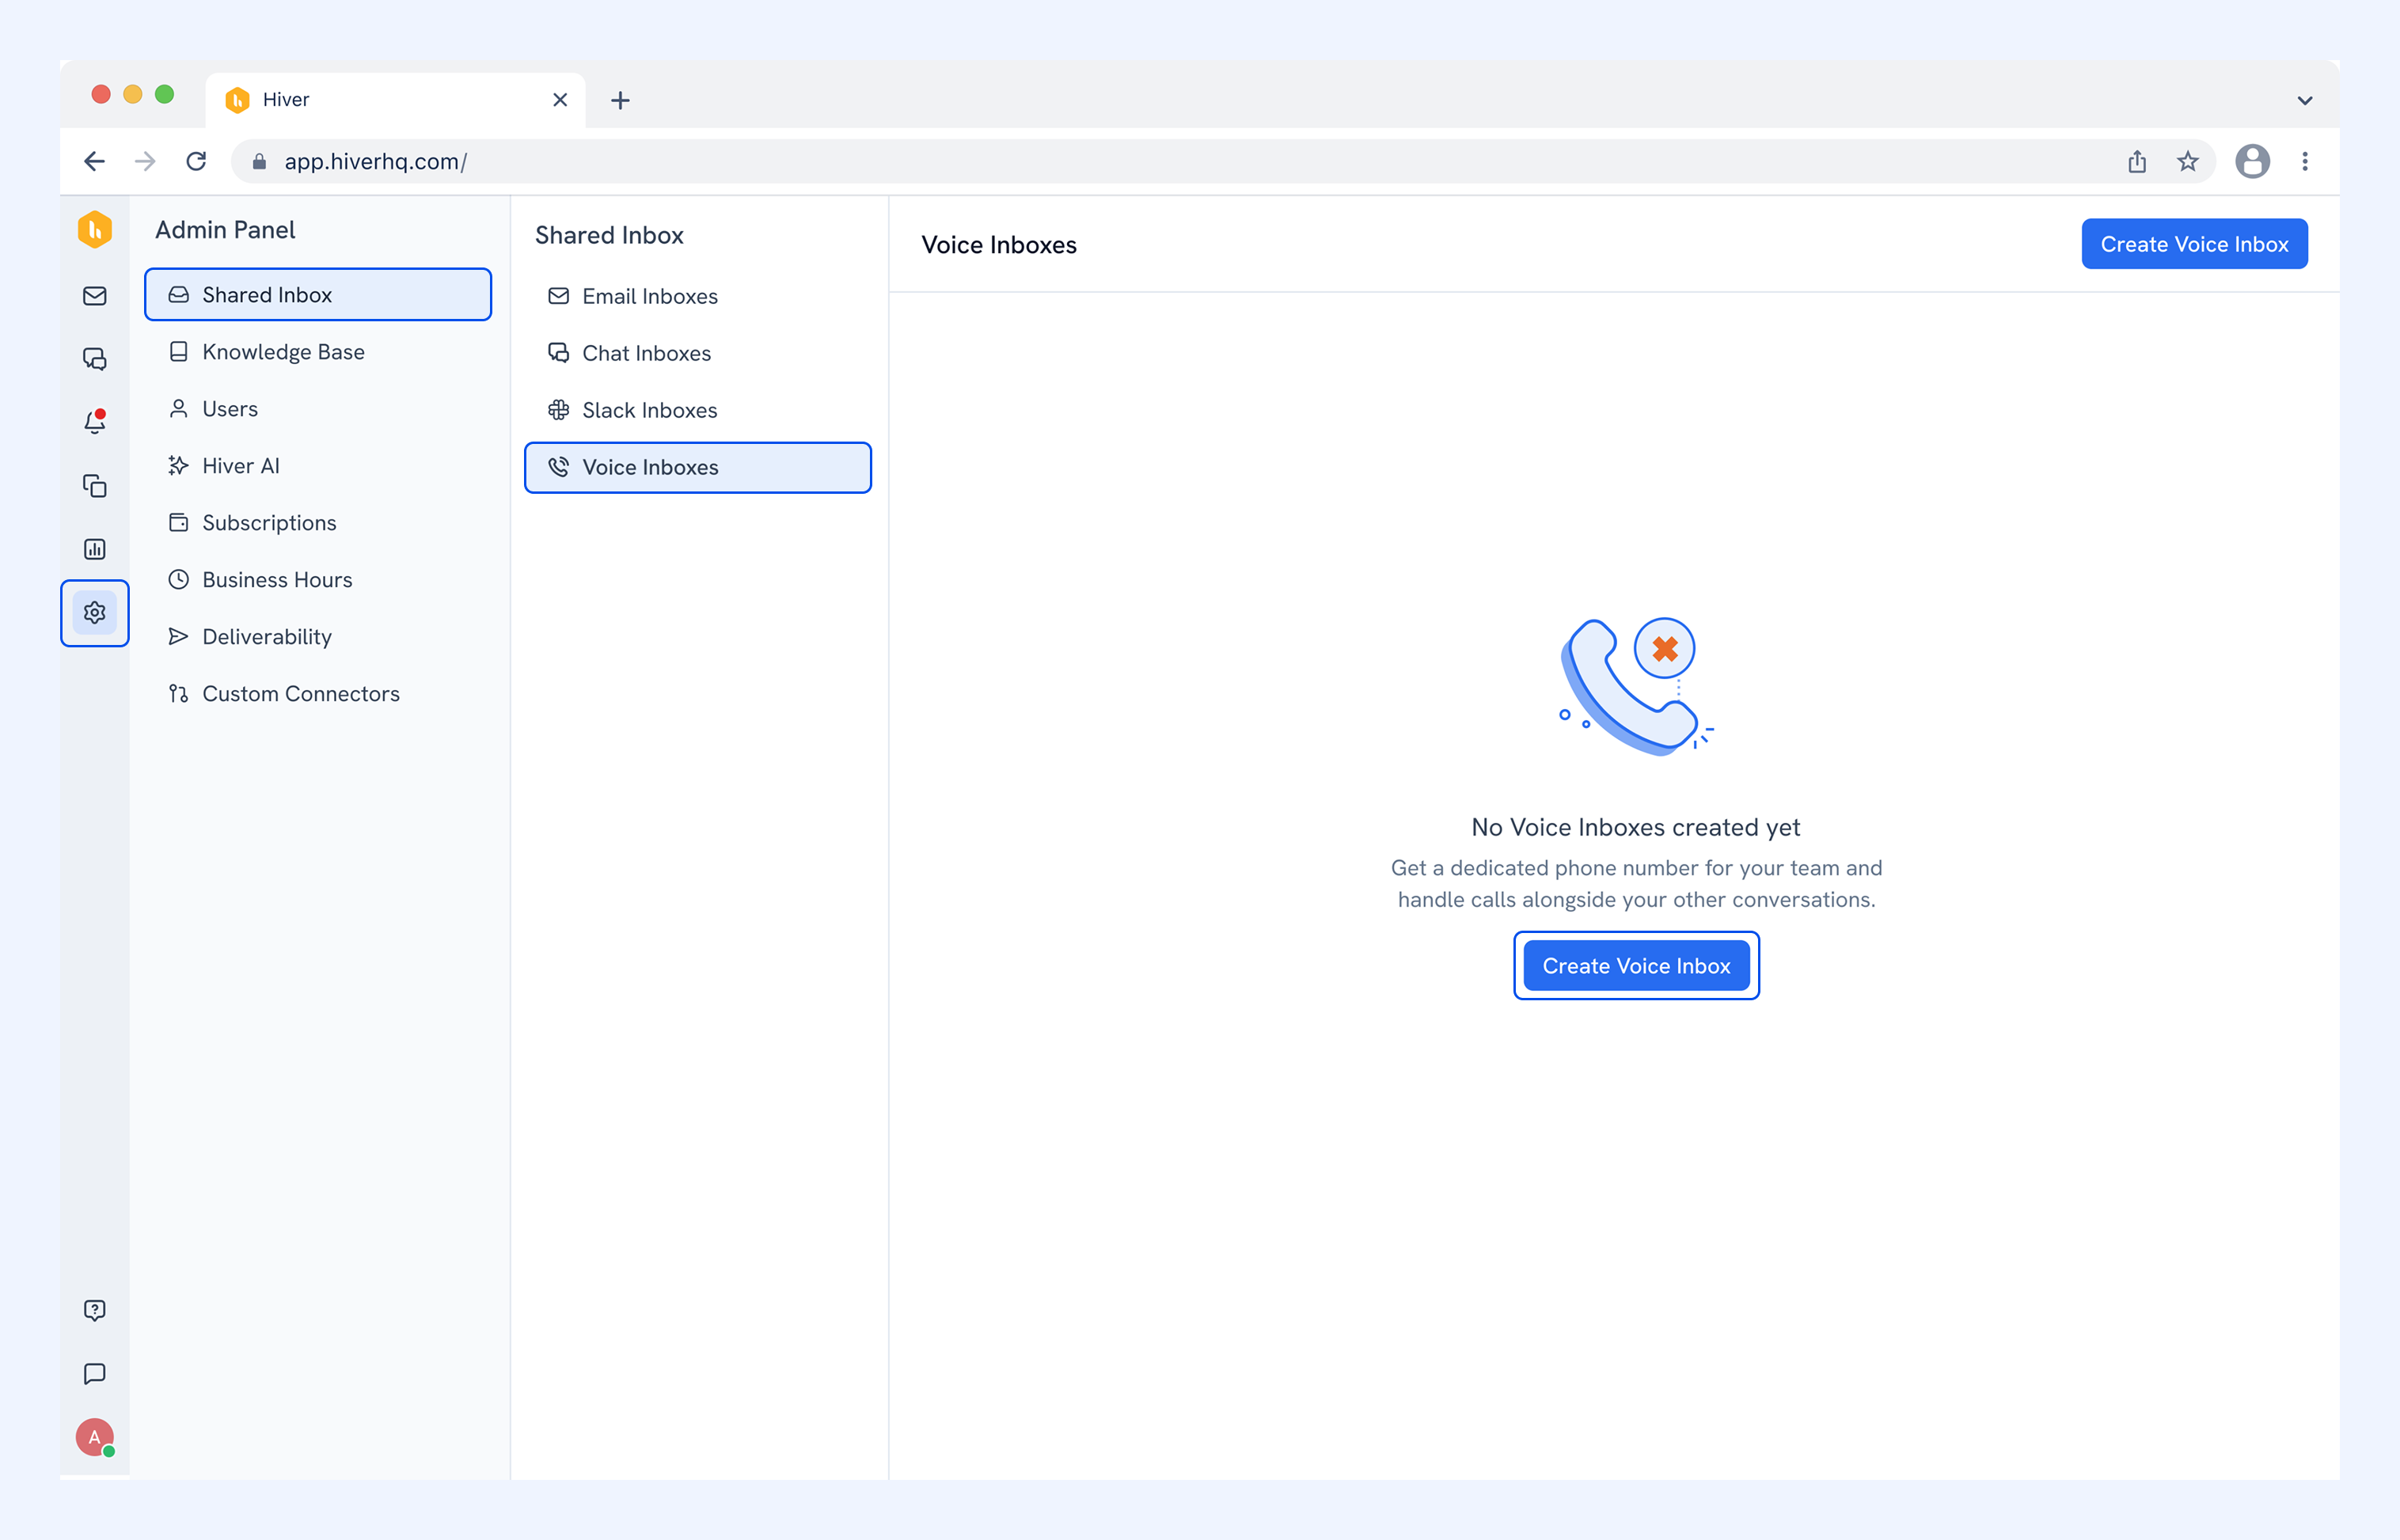
1. Go to Admin Panel → Shared Inboxes → Voice Inboxes.
2. Click Create Voice Inbox.
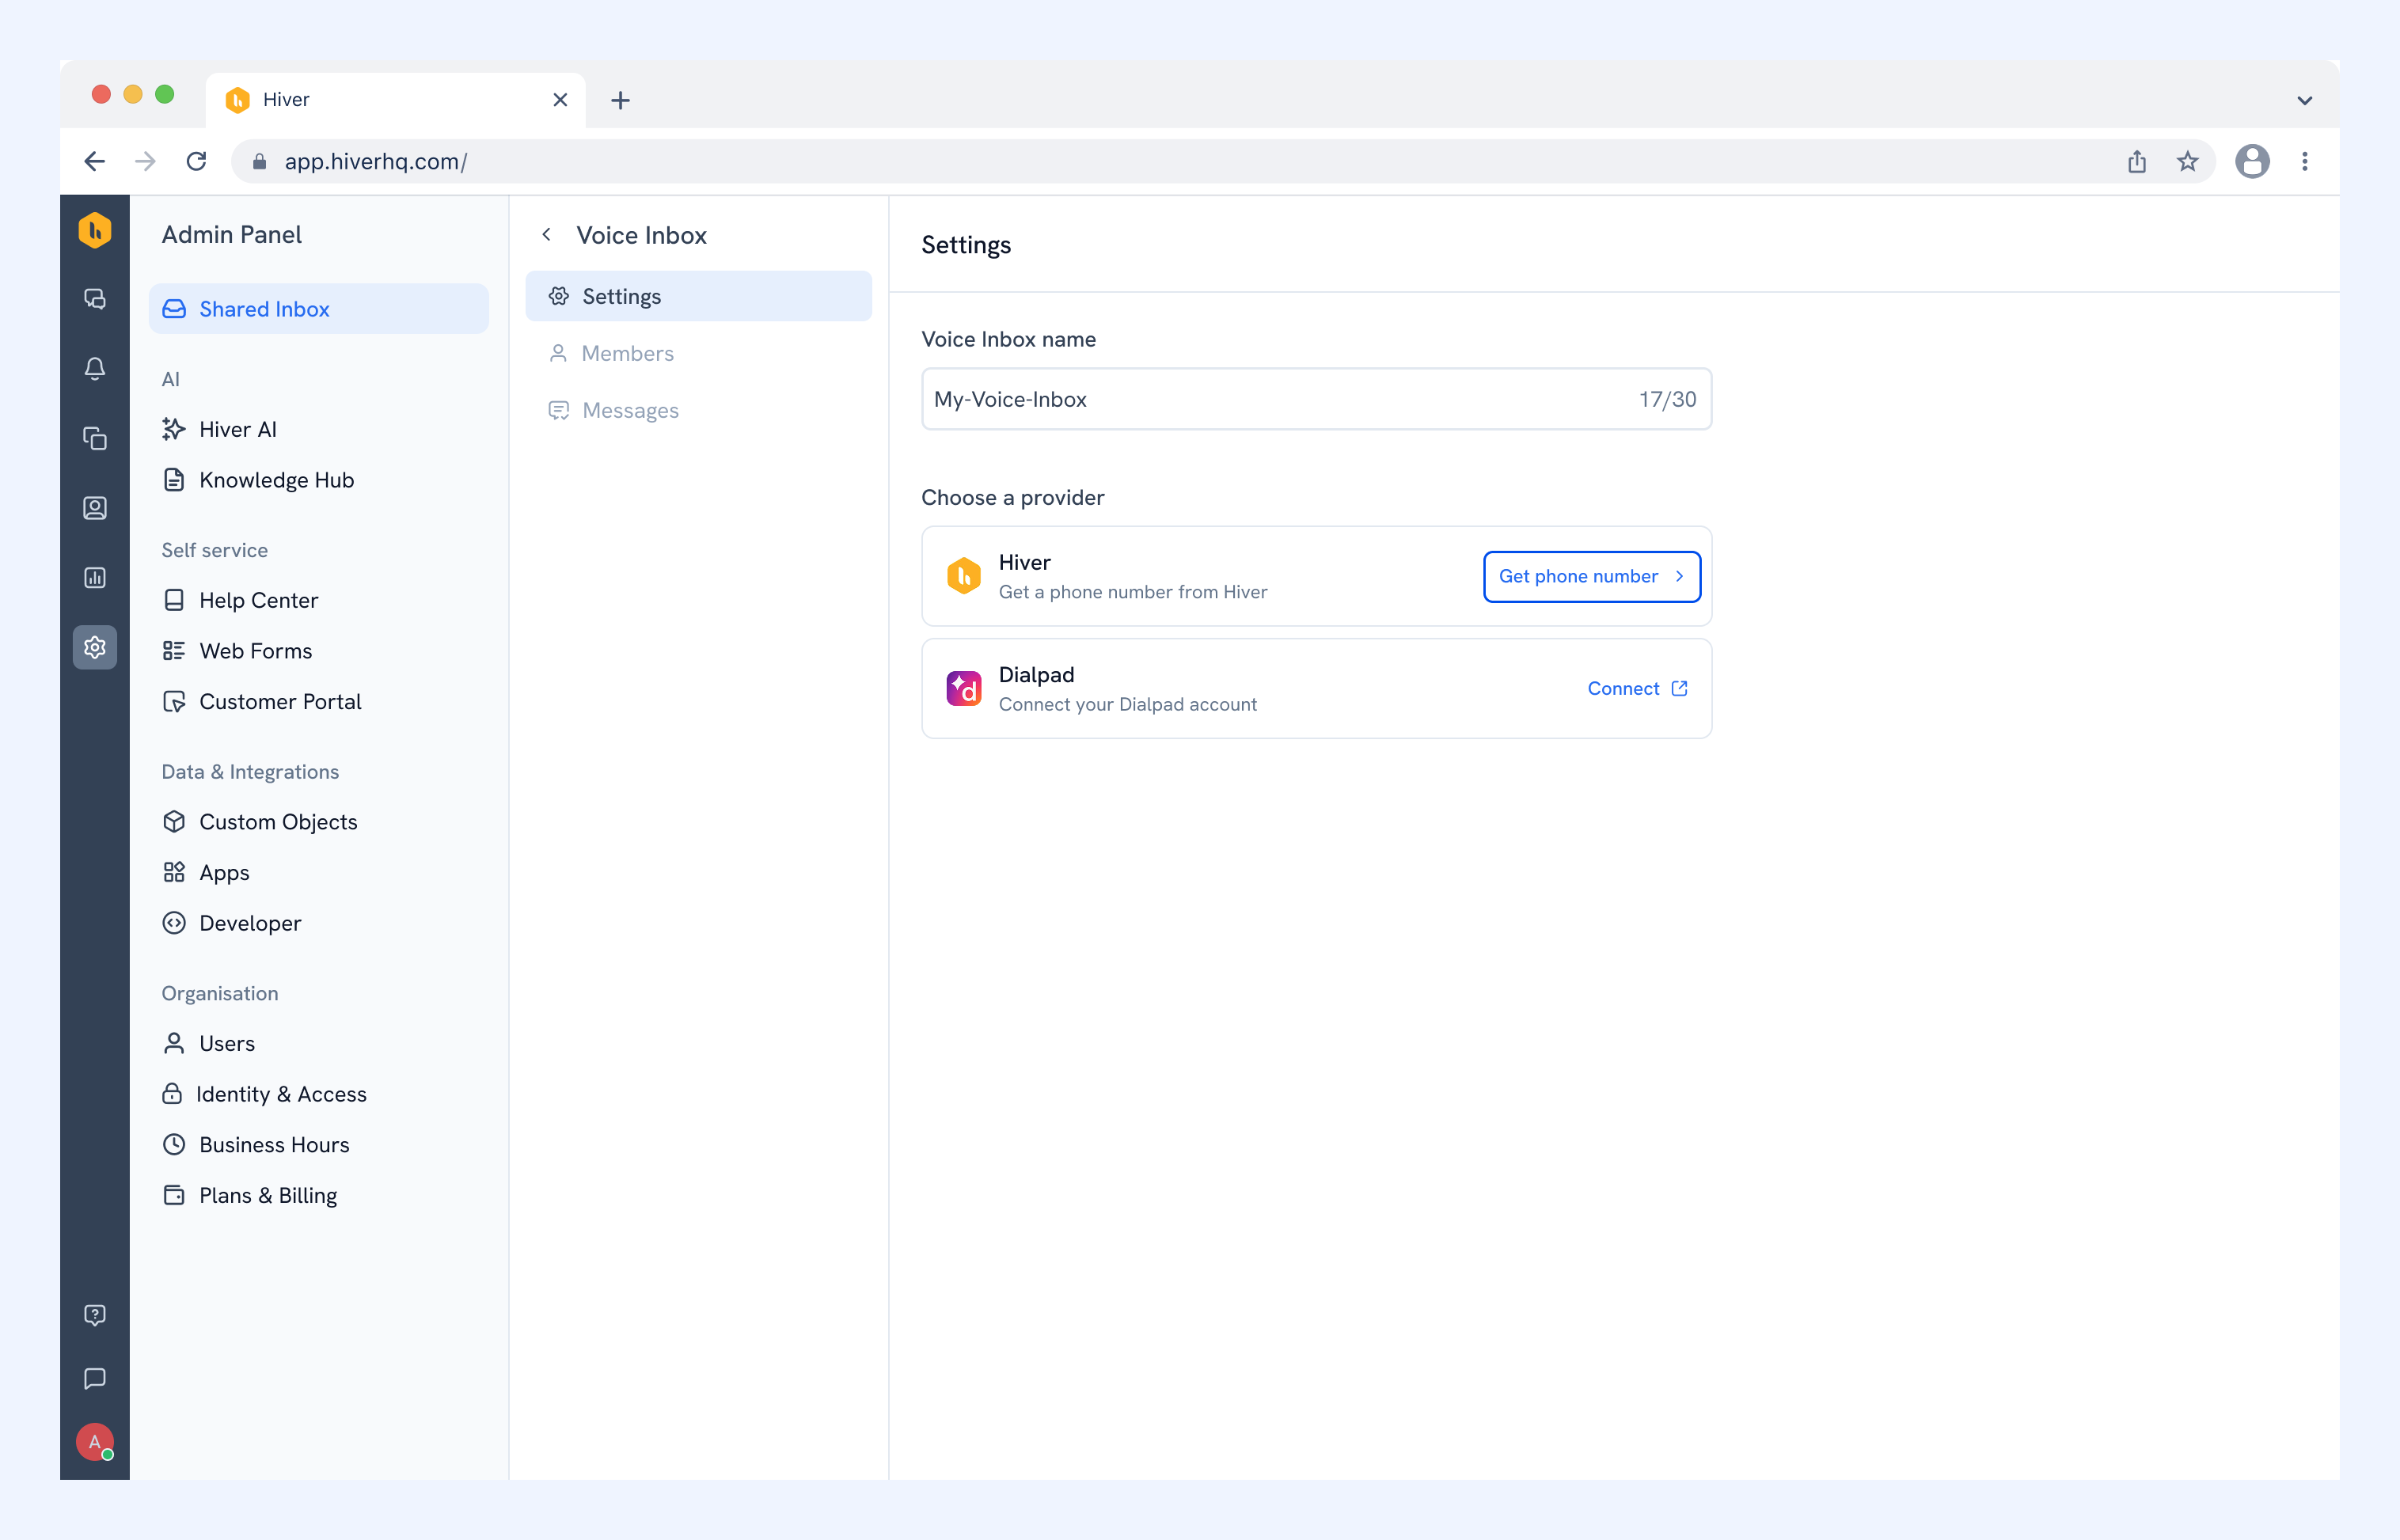
3. Enter a name for your inbox. Under Choose a provider → Hiver, click Get phone number to get a dedicated US number. To connect Dialpad instead, see setting up a Voice Inbox with Dialpad.
4. Enter your teammates' email addresses to invite them, then click Continue.
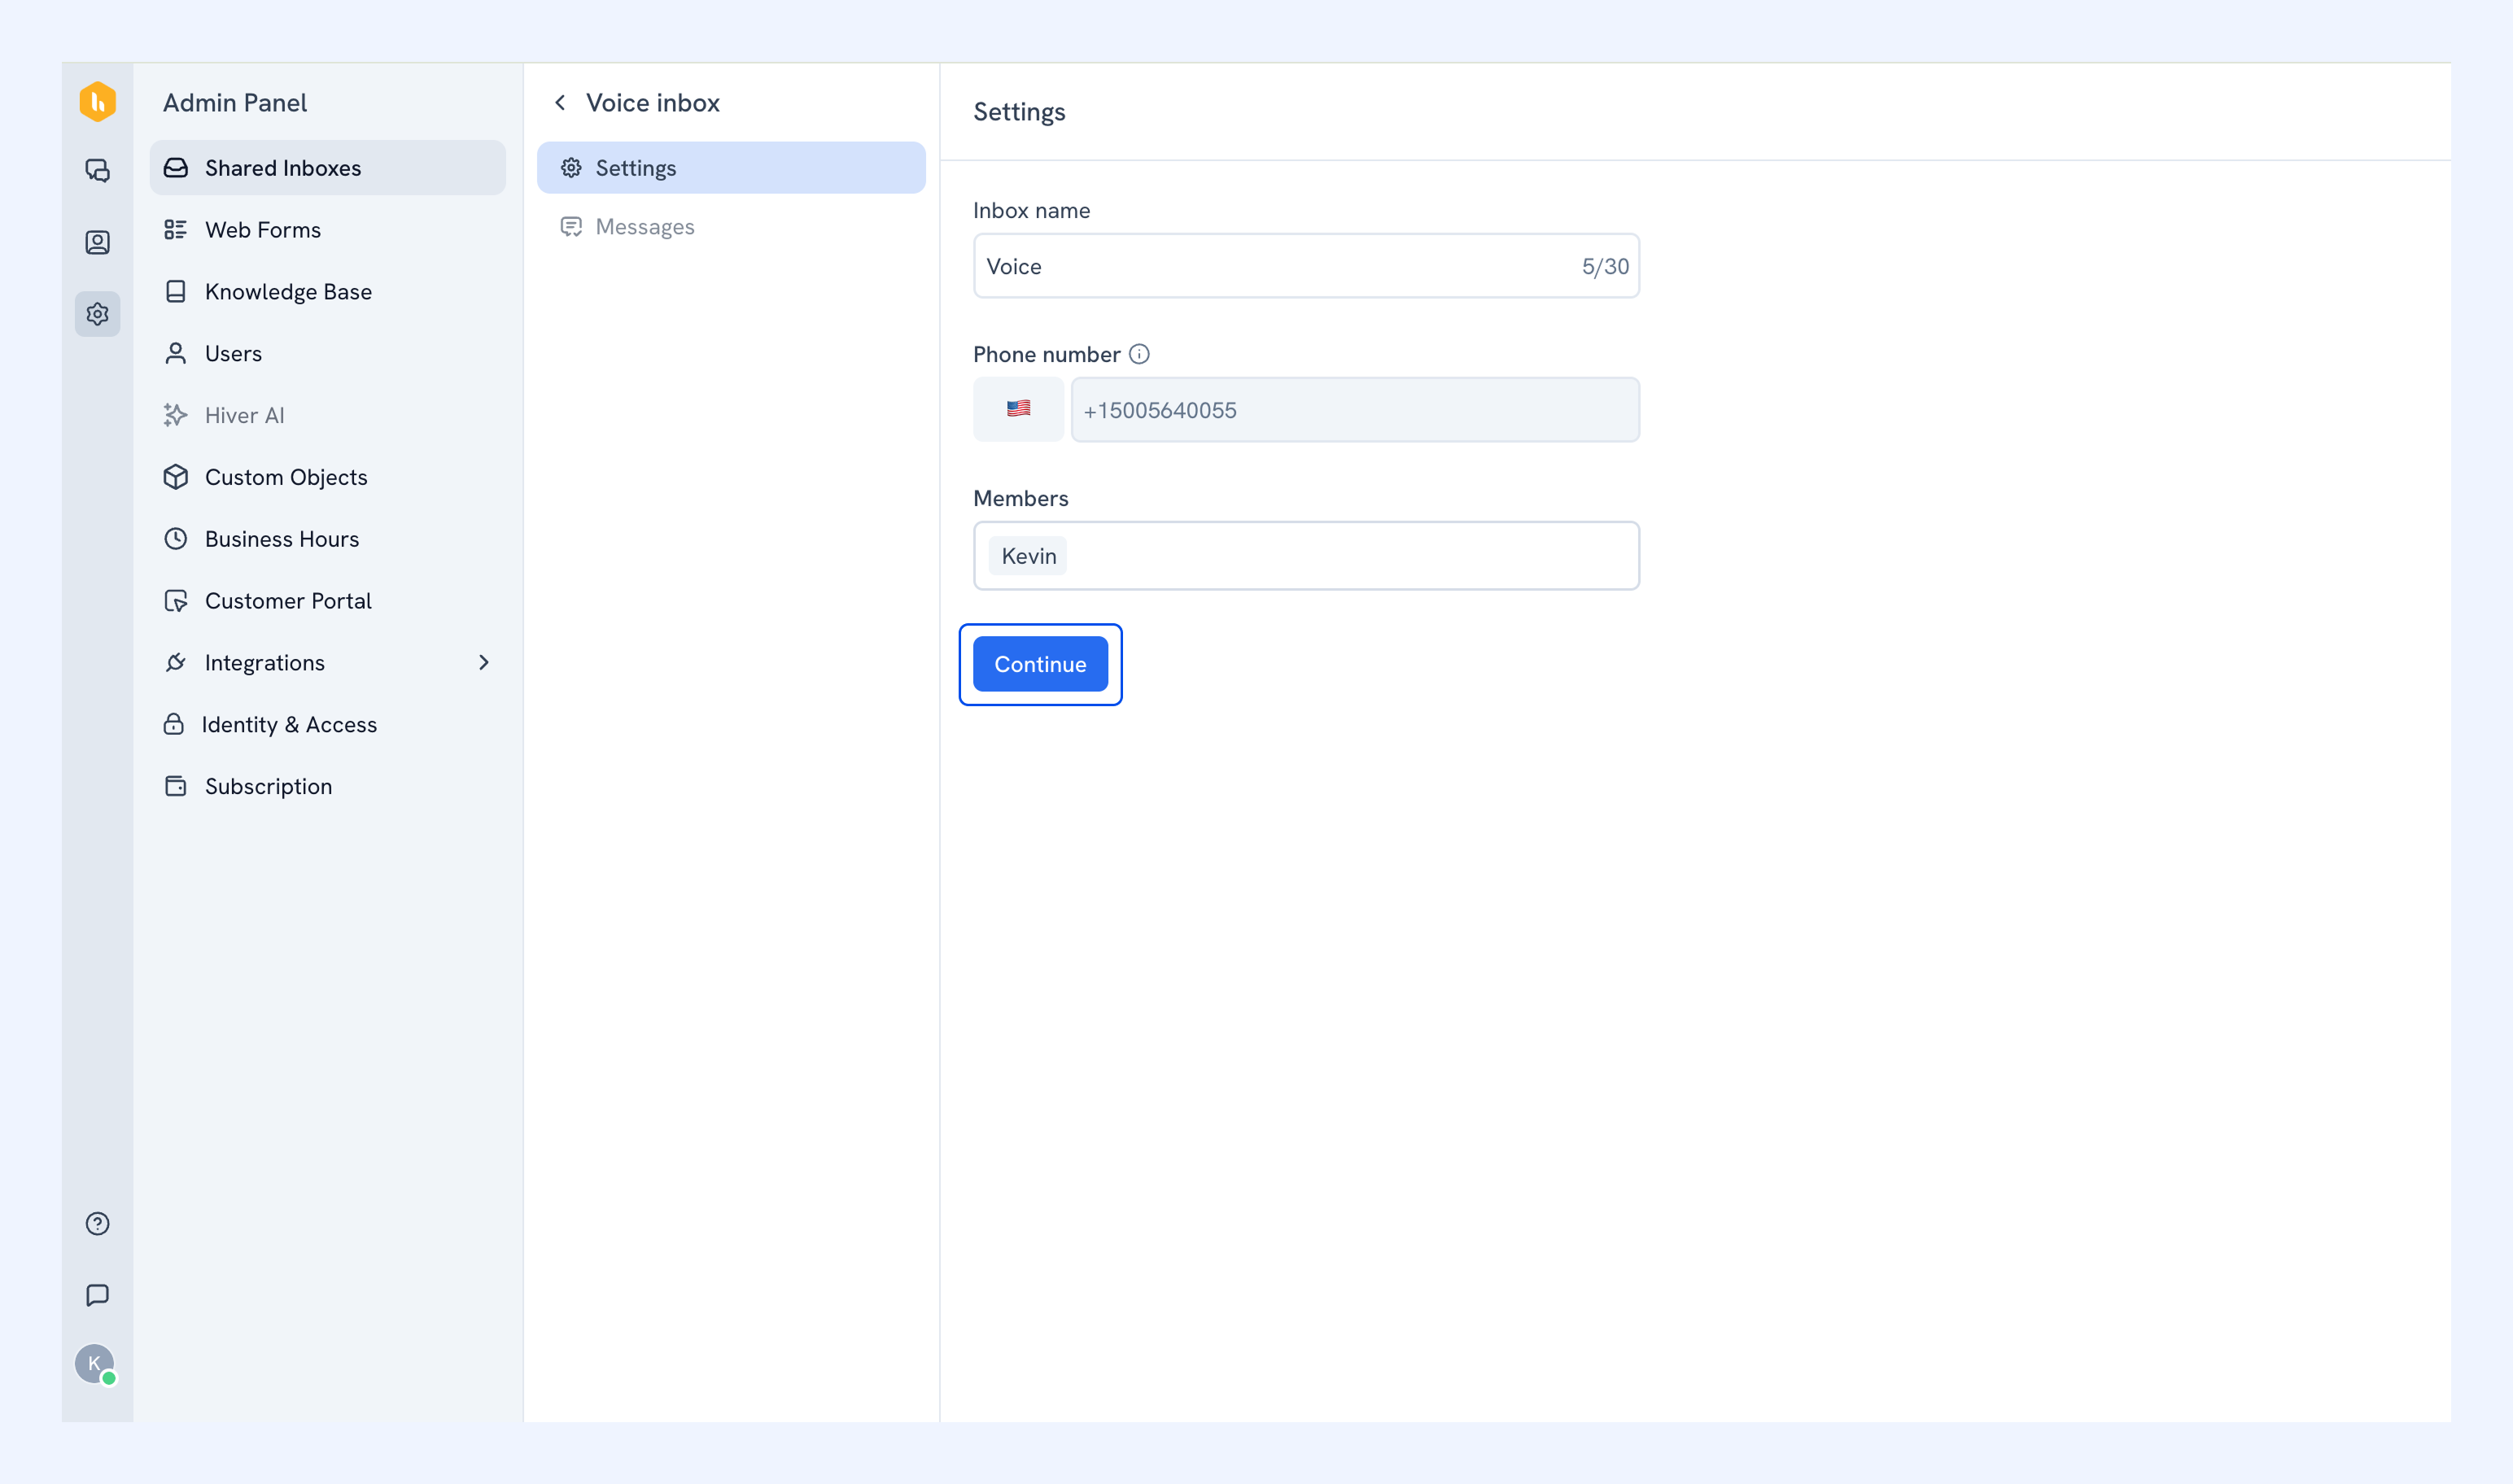
5. Set up automated messages:
- Welcome greeting: What customers hear when they reach your line.
- All agents busy: What customers hear when everyone is on a call or unavailable.
6. Click Create Voice Inbox.
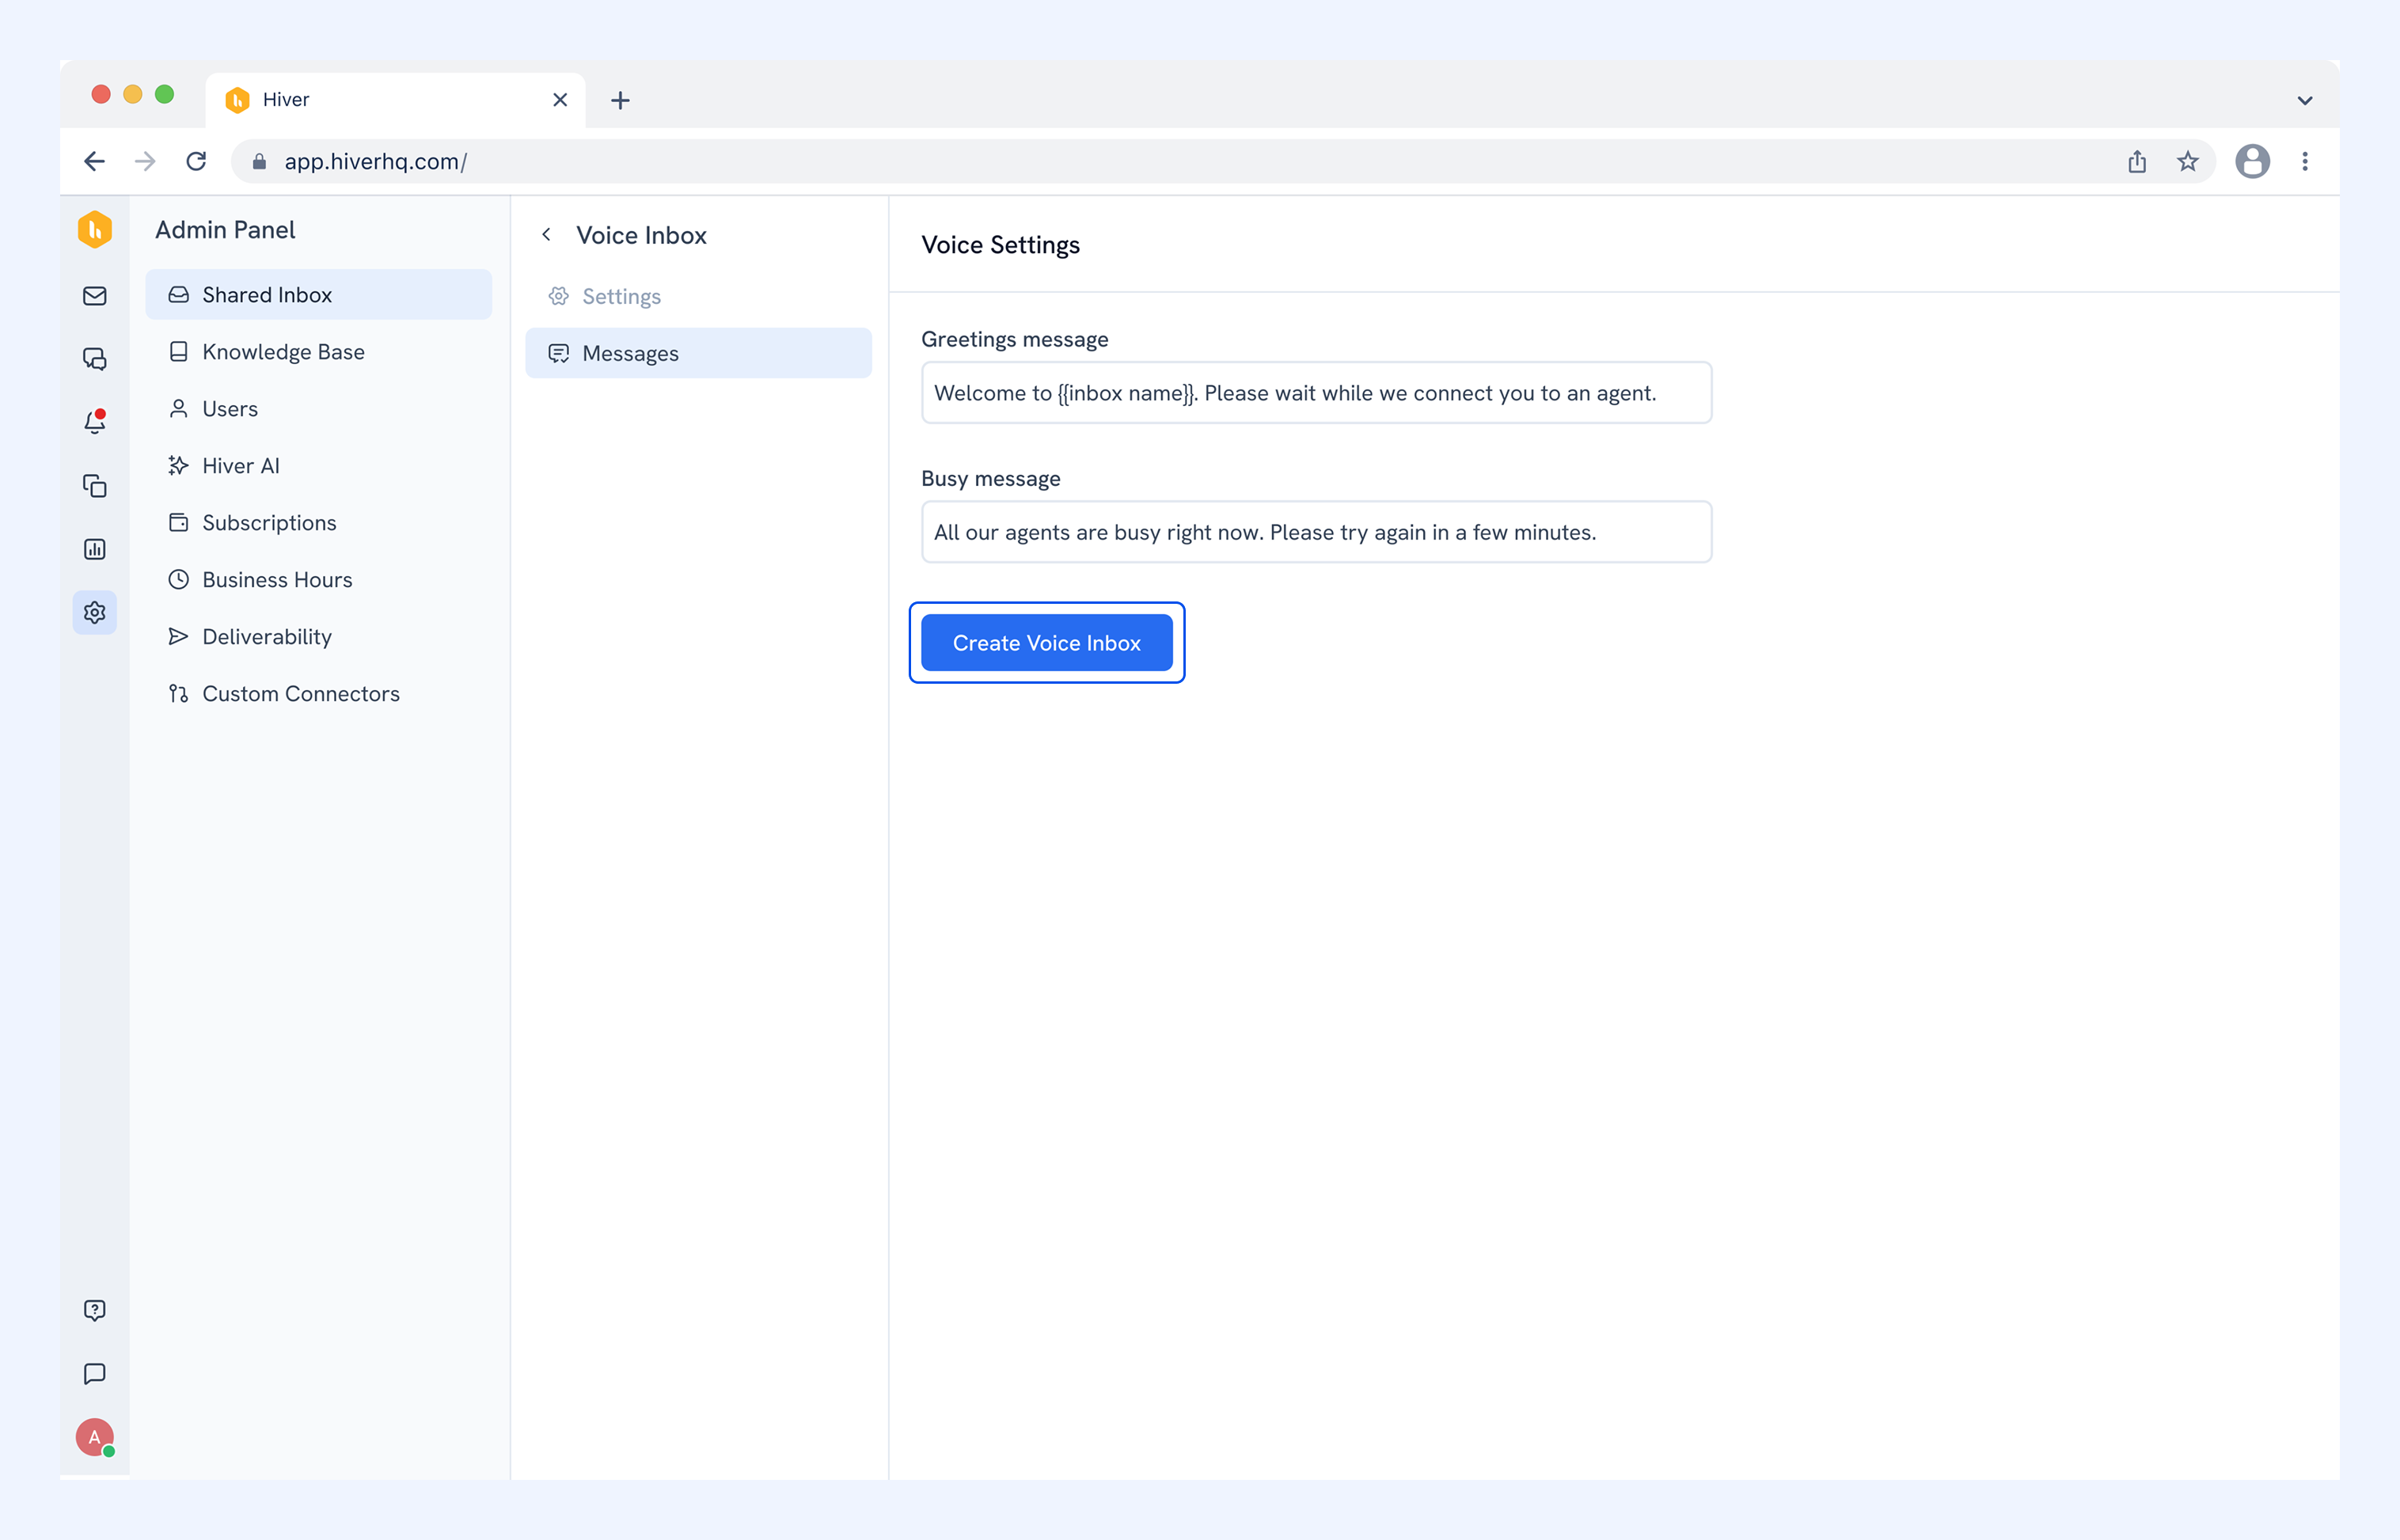
Your Voice Inbox is created and ready to use.
Add or remove members
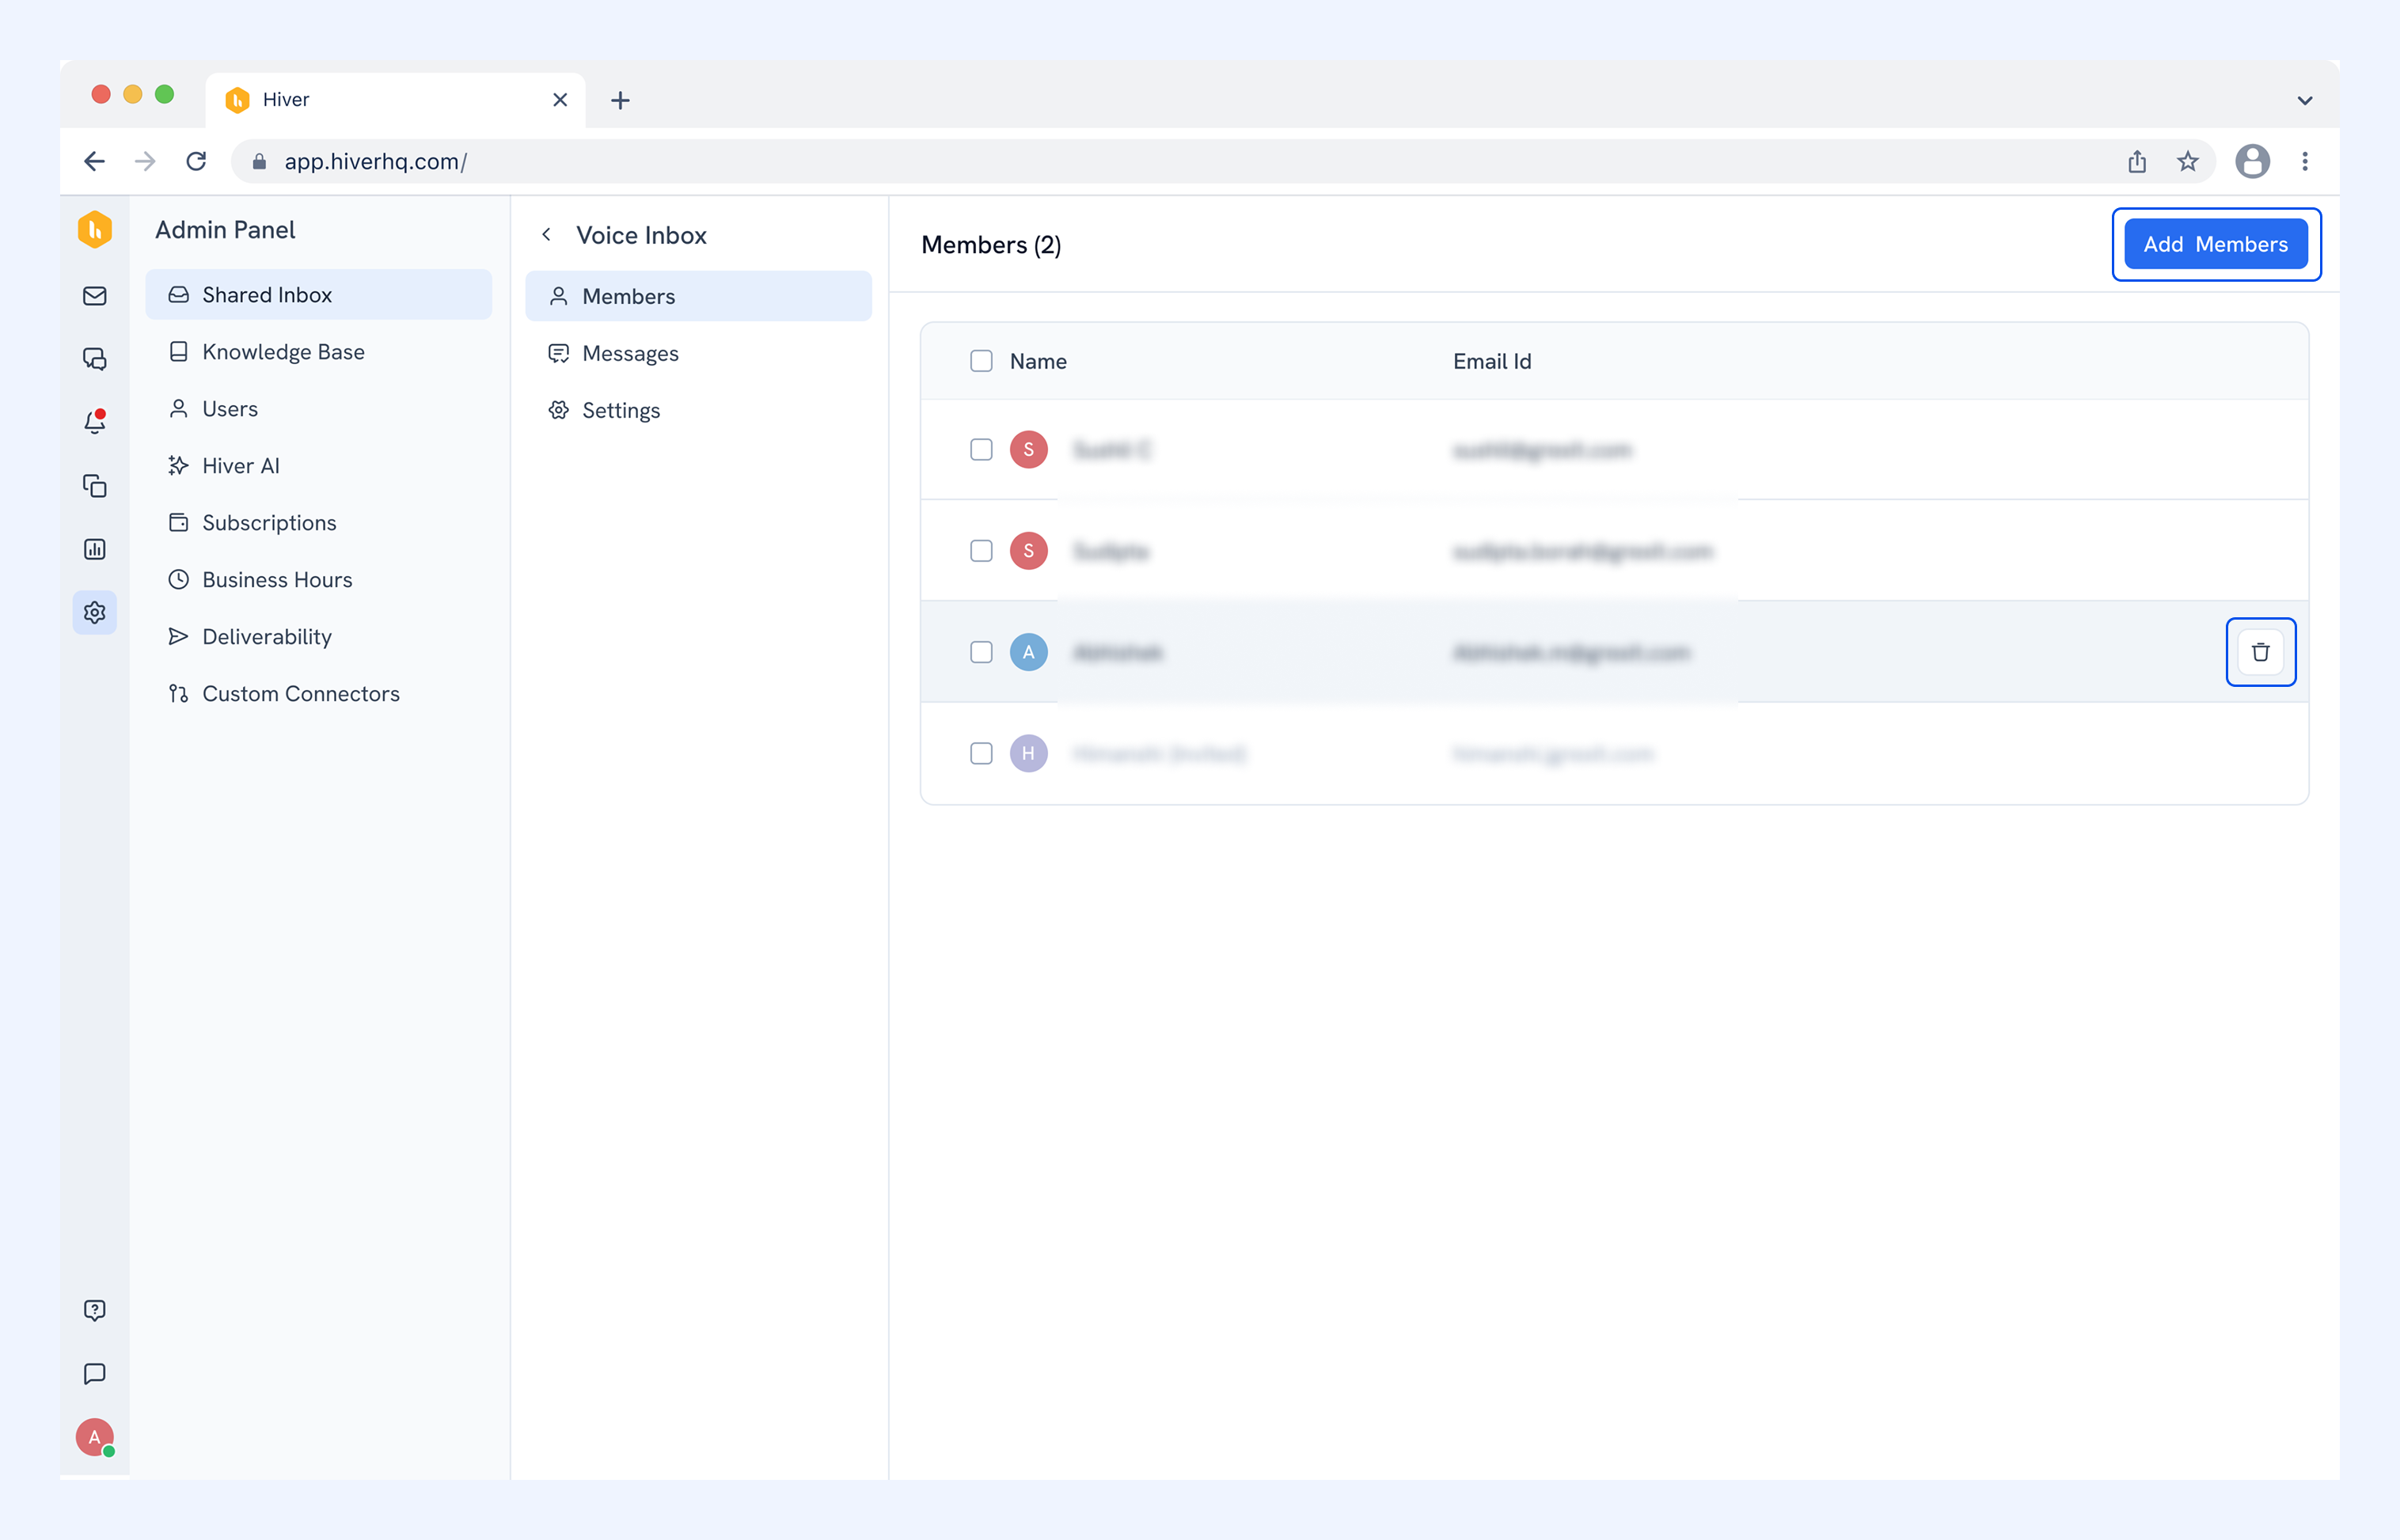
You can add or remove team members at any time from the Admin Panel. Open your Voice Inbox and go to the Members tab. From here you can:
- Add a member: Click Add members and invite them by email address.
- Remove a member: Hover over their name, click Delete, and confirm.
Delete a Voice Inbox
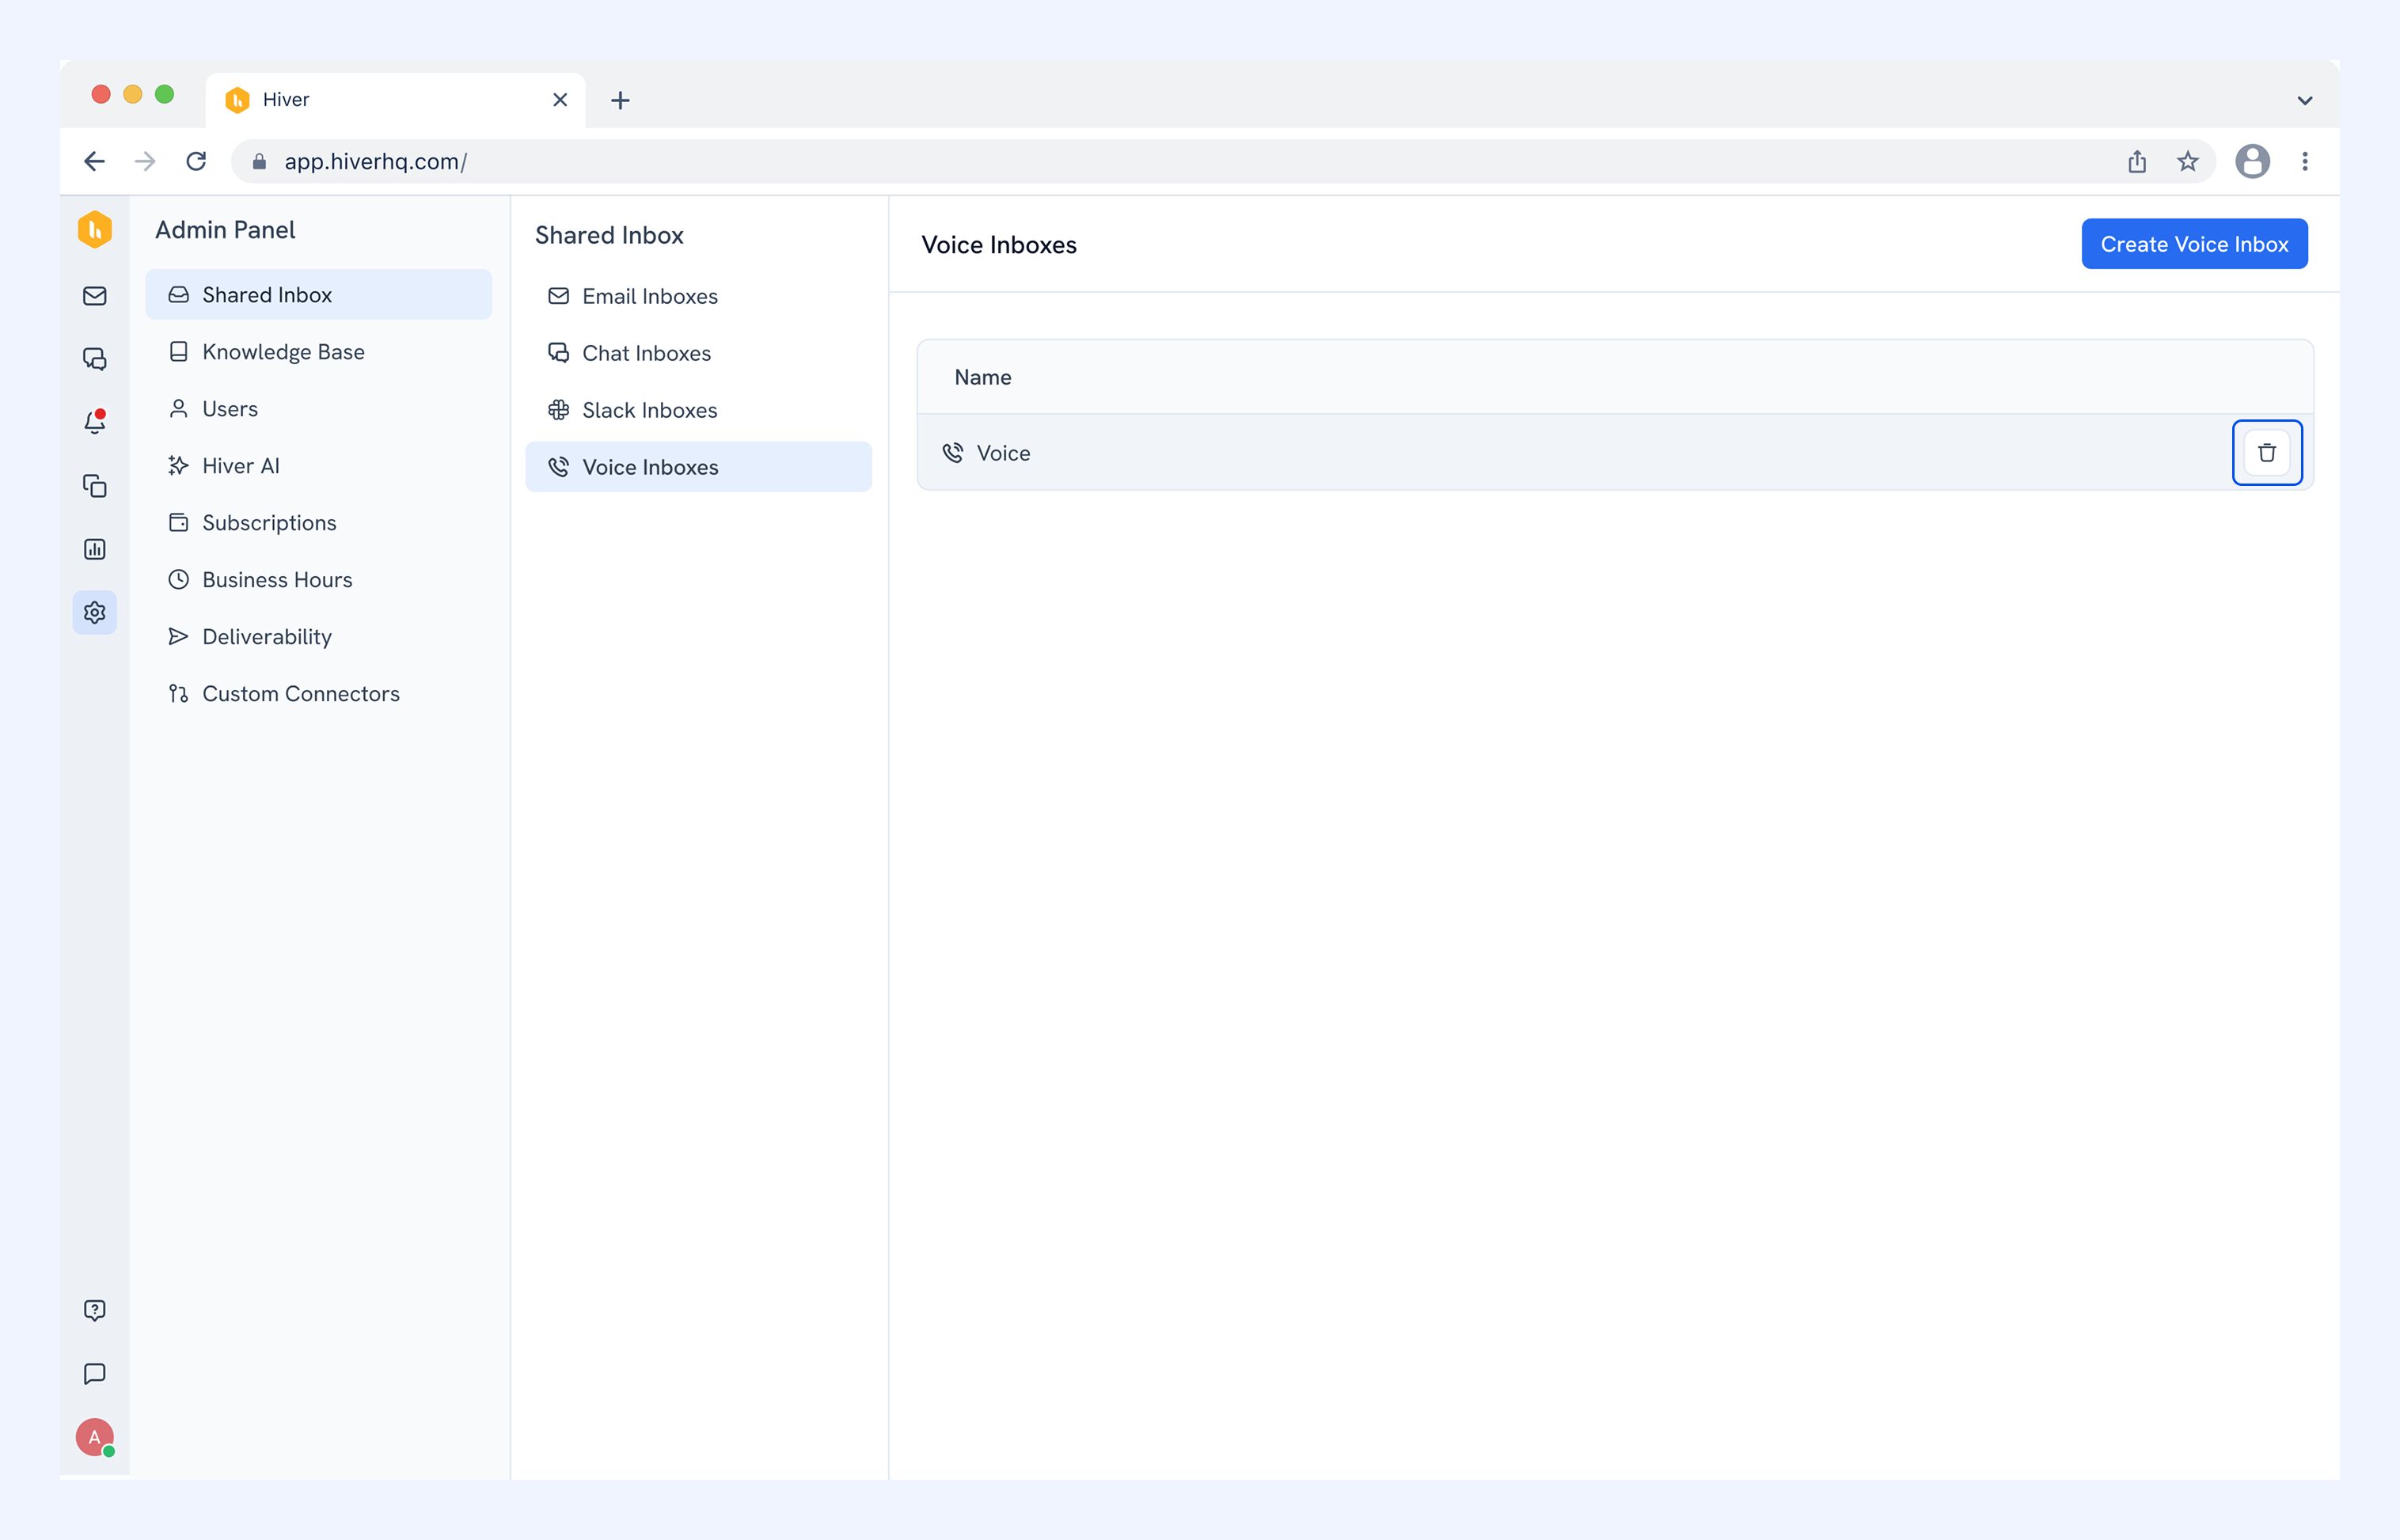
If you want to delete a Voice Inbox, hover over the inbox, click the delete icon, and confirm.
Note: Deleting a Voice Inbox removes its call history, recordings, and phone number for all members. This can't be undone.
Next steps
Learn how to manage your Voice Inbox