Setting up a Voice Inbox with Dialpad
A Voice Inbox brings calls into Hiver as conversations, so your team can assign, tag, and track them with SLAs alongside the rest of their work. If your team already handles calls in Dialpad, you can connect your Dialpad account to a Voice Inbox.
This article explains how to connect Dialpad in Hiver.
Note:
- Voice Inbox currently supports US phone numbers only. Support for more countries is coming soon.
- You can port an existing number from another provider to Hiver. To get started, reach out to us at support@hiverhq.com.
Prerequisites
Before you begin, make sure you have:
- The Hiver Voice add-on, available at $30 per voice seat per month.
- Admin access in Hiver Omni.
- Company Admin access in Dialpad, which is needed to authorize the connection.
- Each member signed in to Hiver and Dialpad with the same email address.
Connecting Dialpad to a Voice Inbox
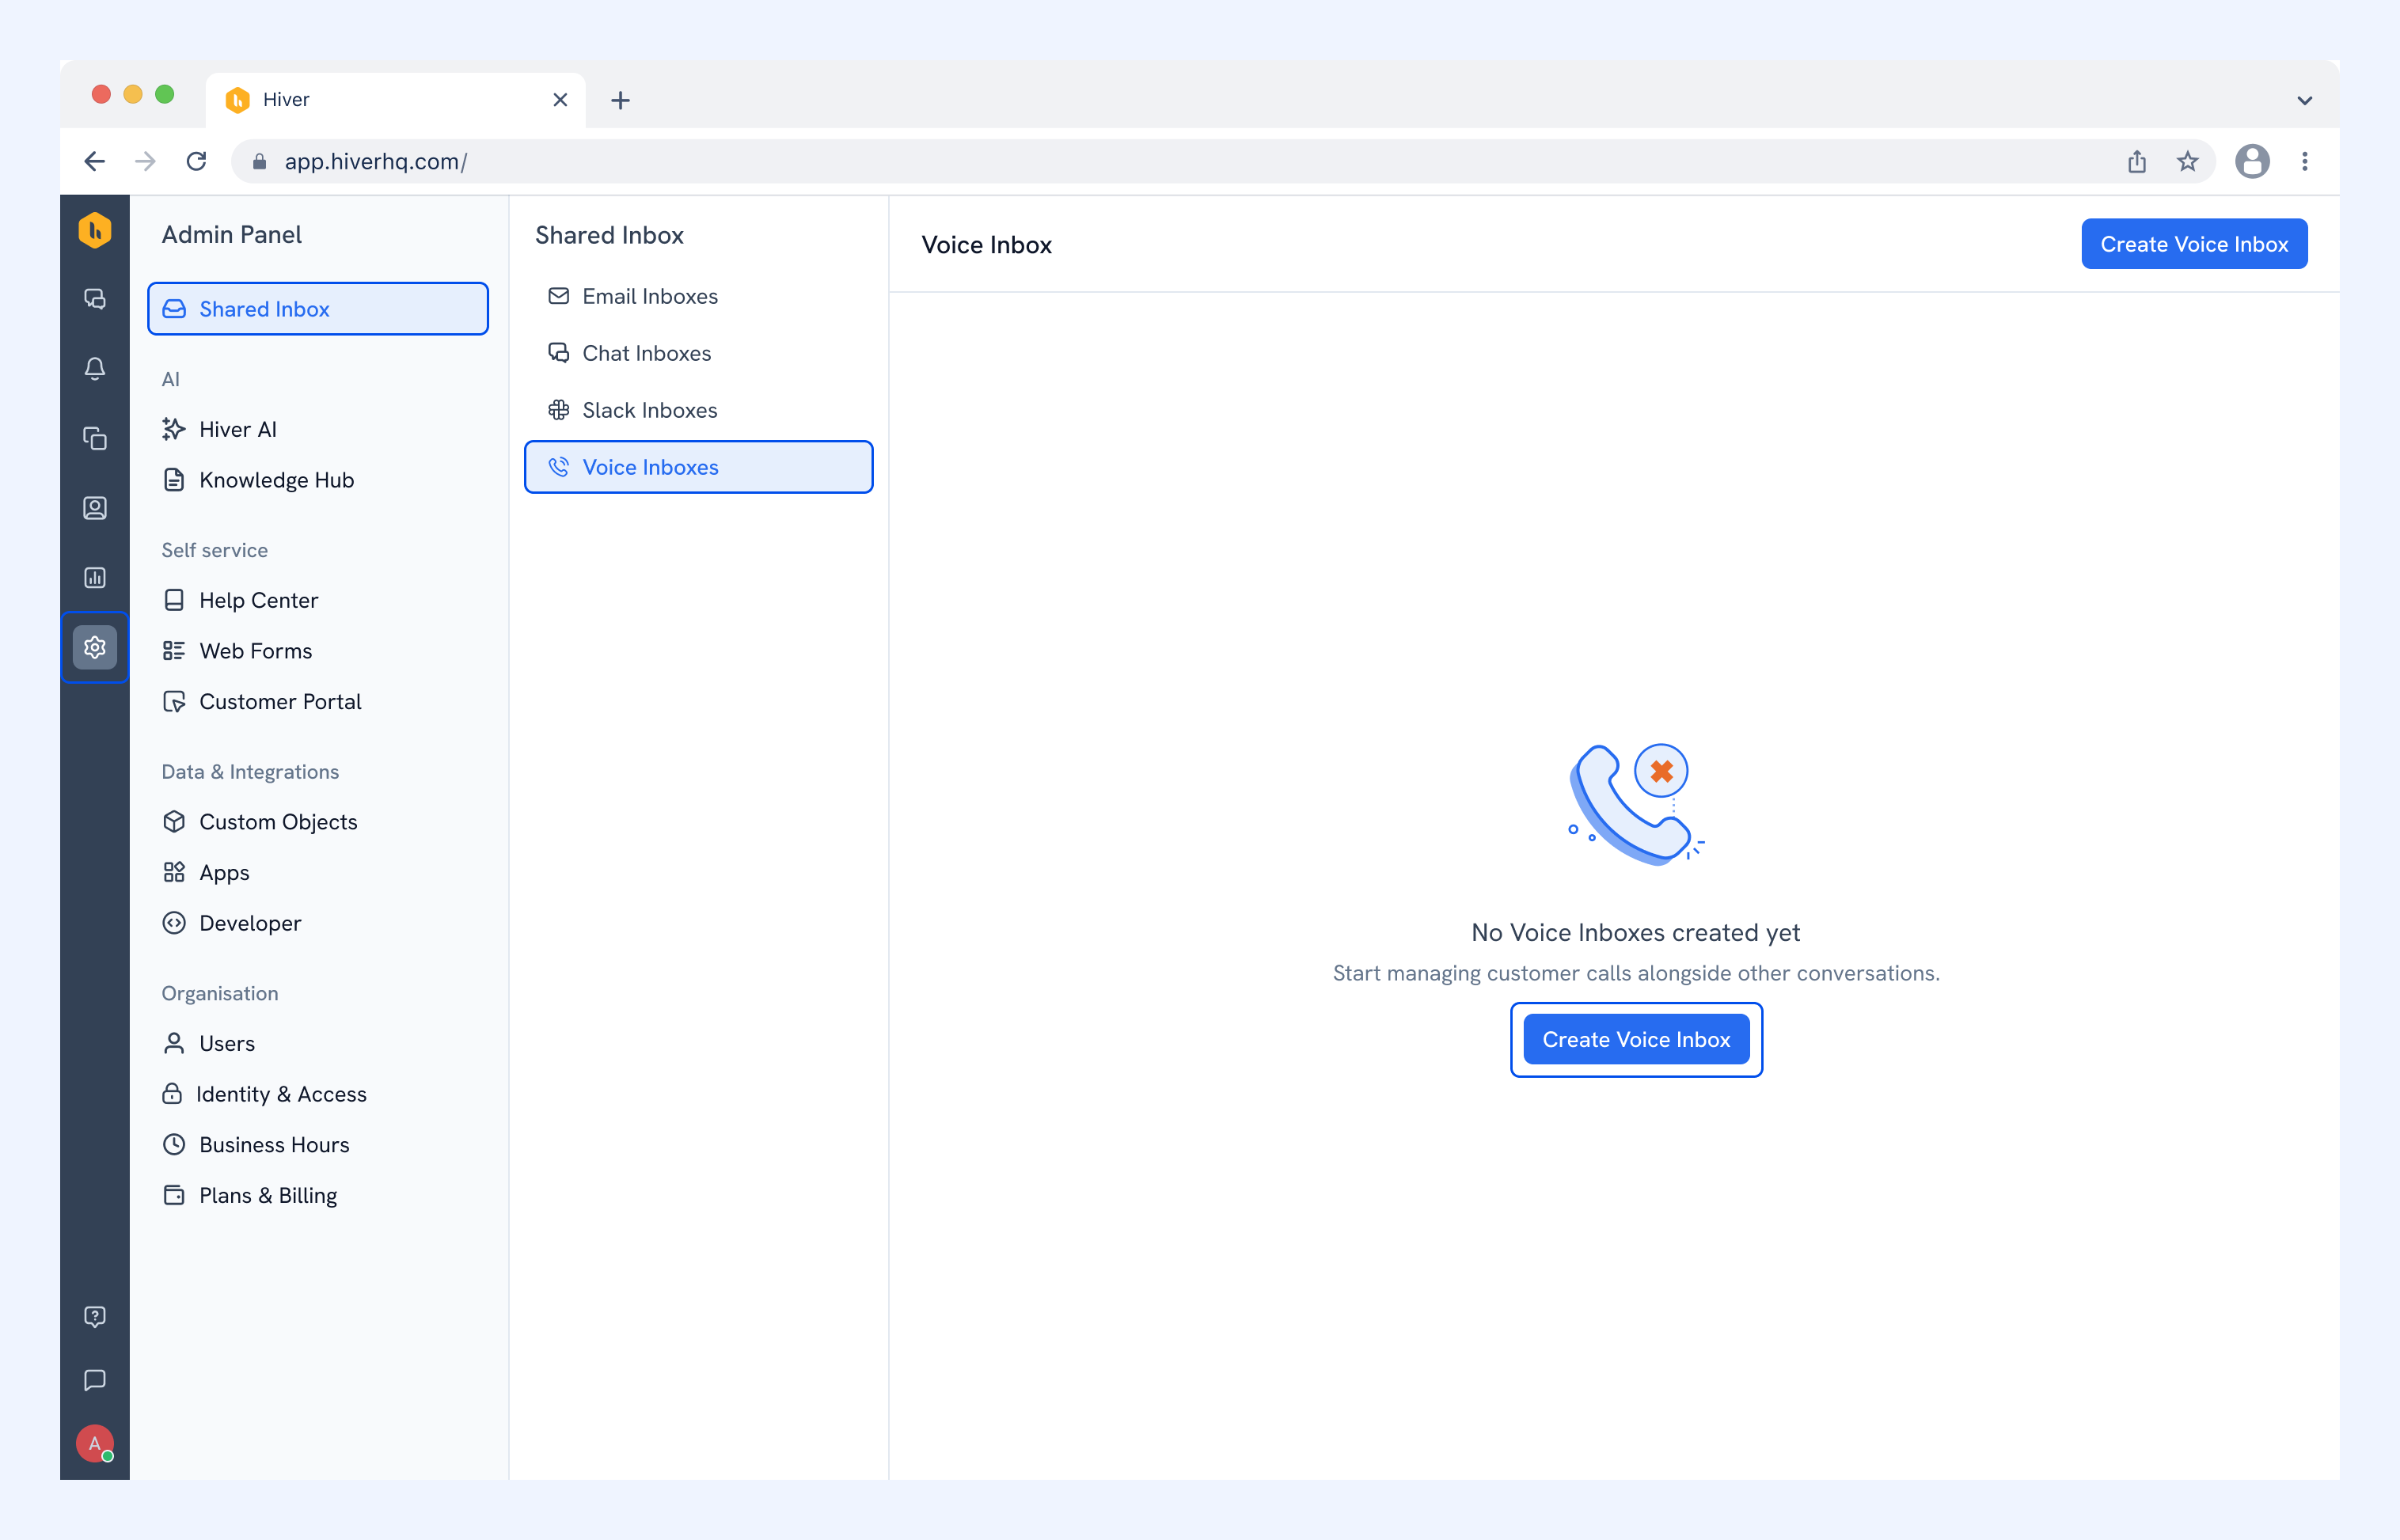
1. Go to Admin Panel → Shared Inboxes → Voice Inboxes and click Create Voice Inbox.
2. Enter a name for the inbox. Under Choose a provider, click Connect next to Dialpad.
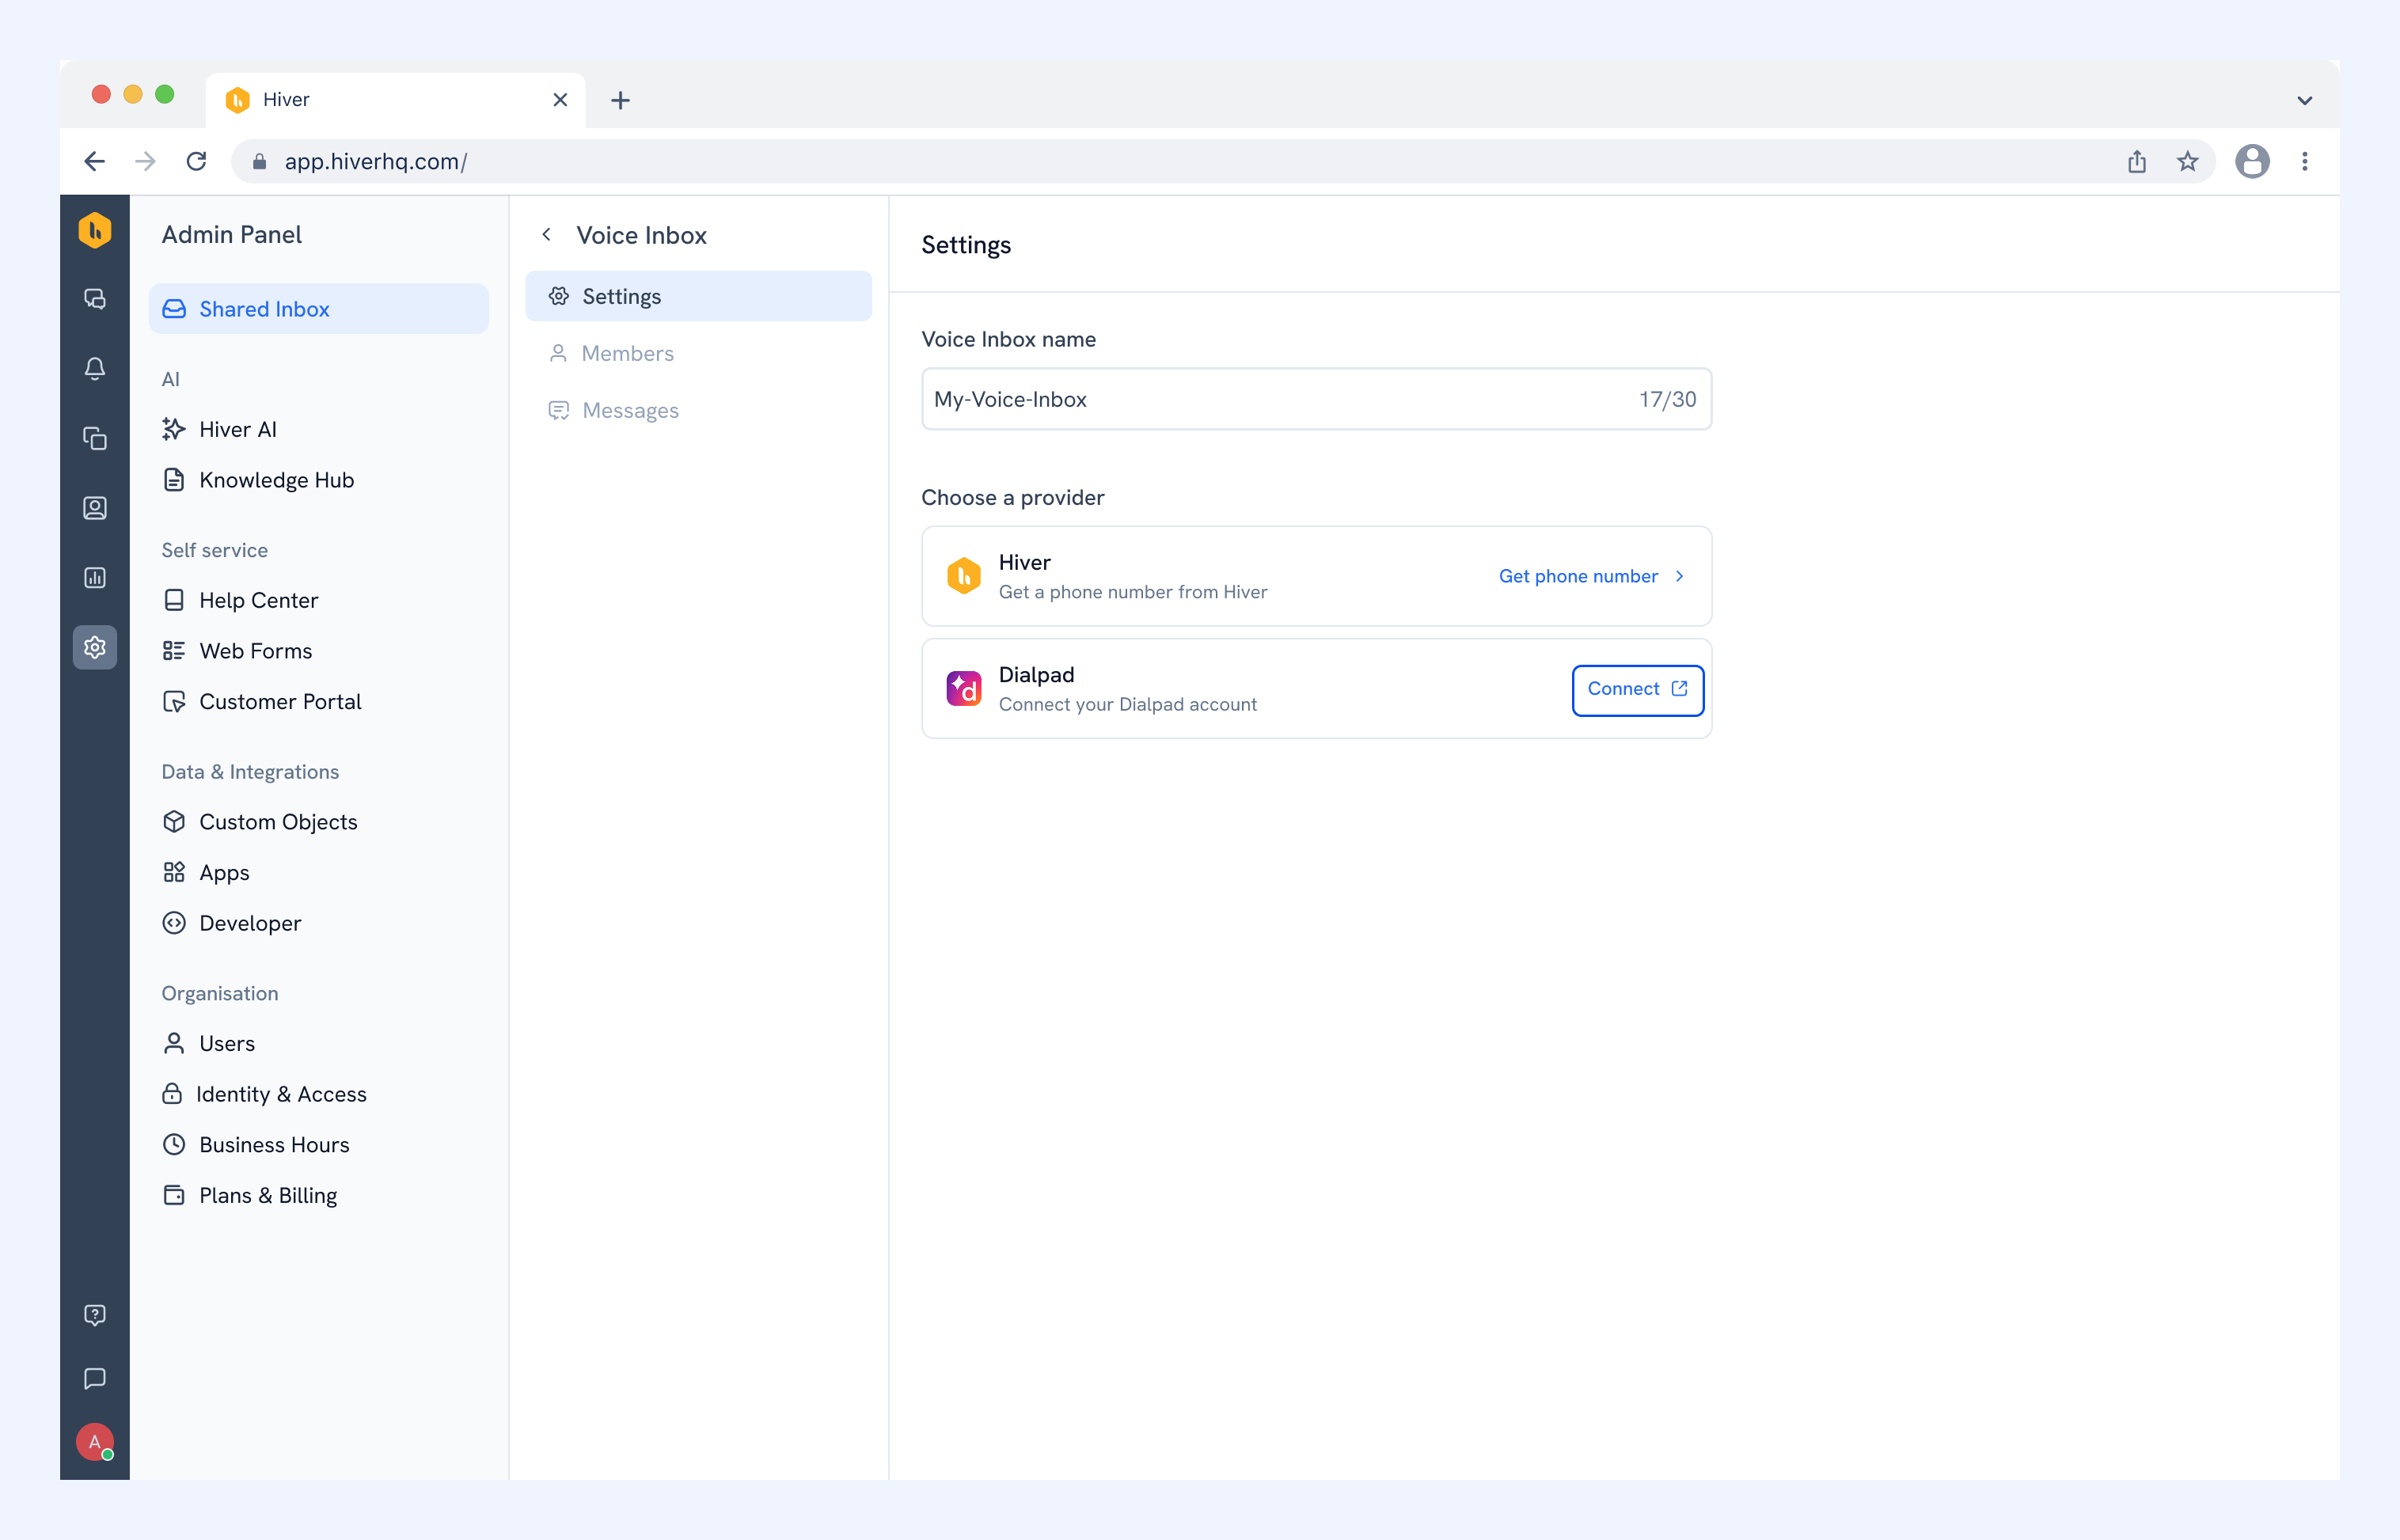
3. In the popup window, sign in to Dialpad and allow Hiver to connect to your Dialpad account.
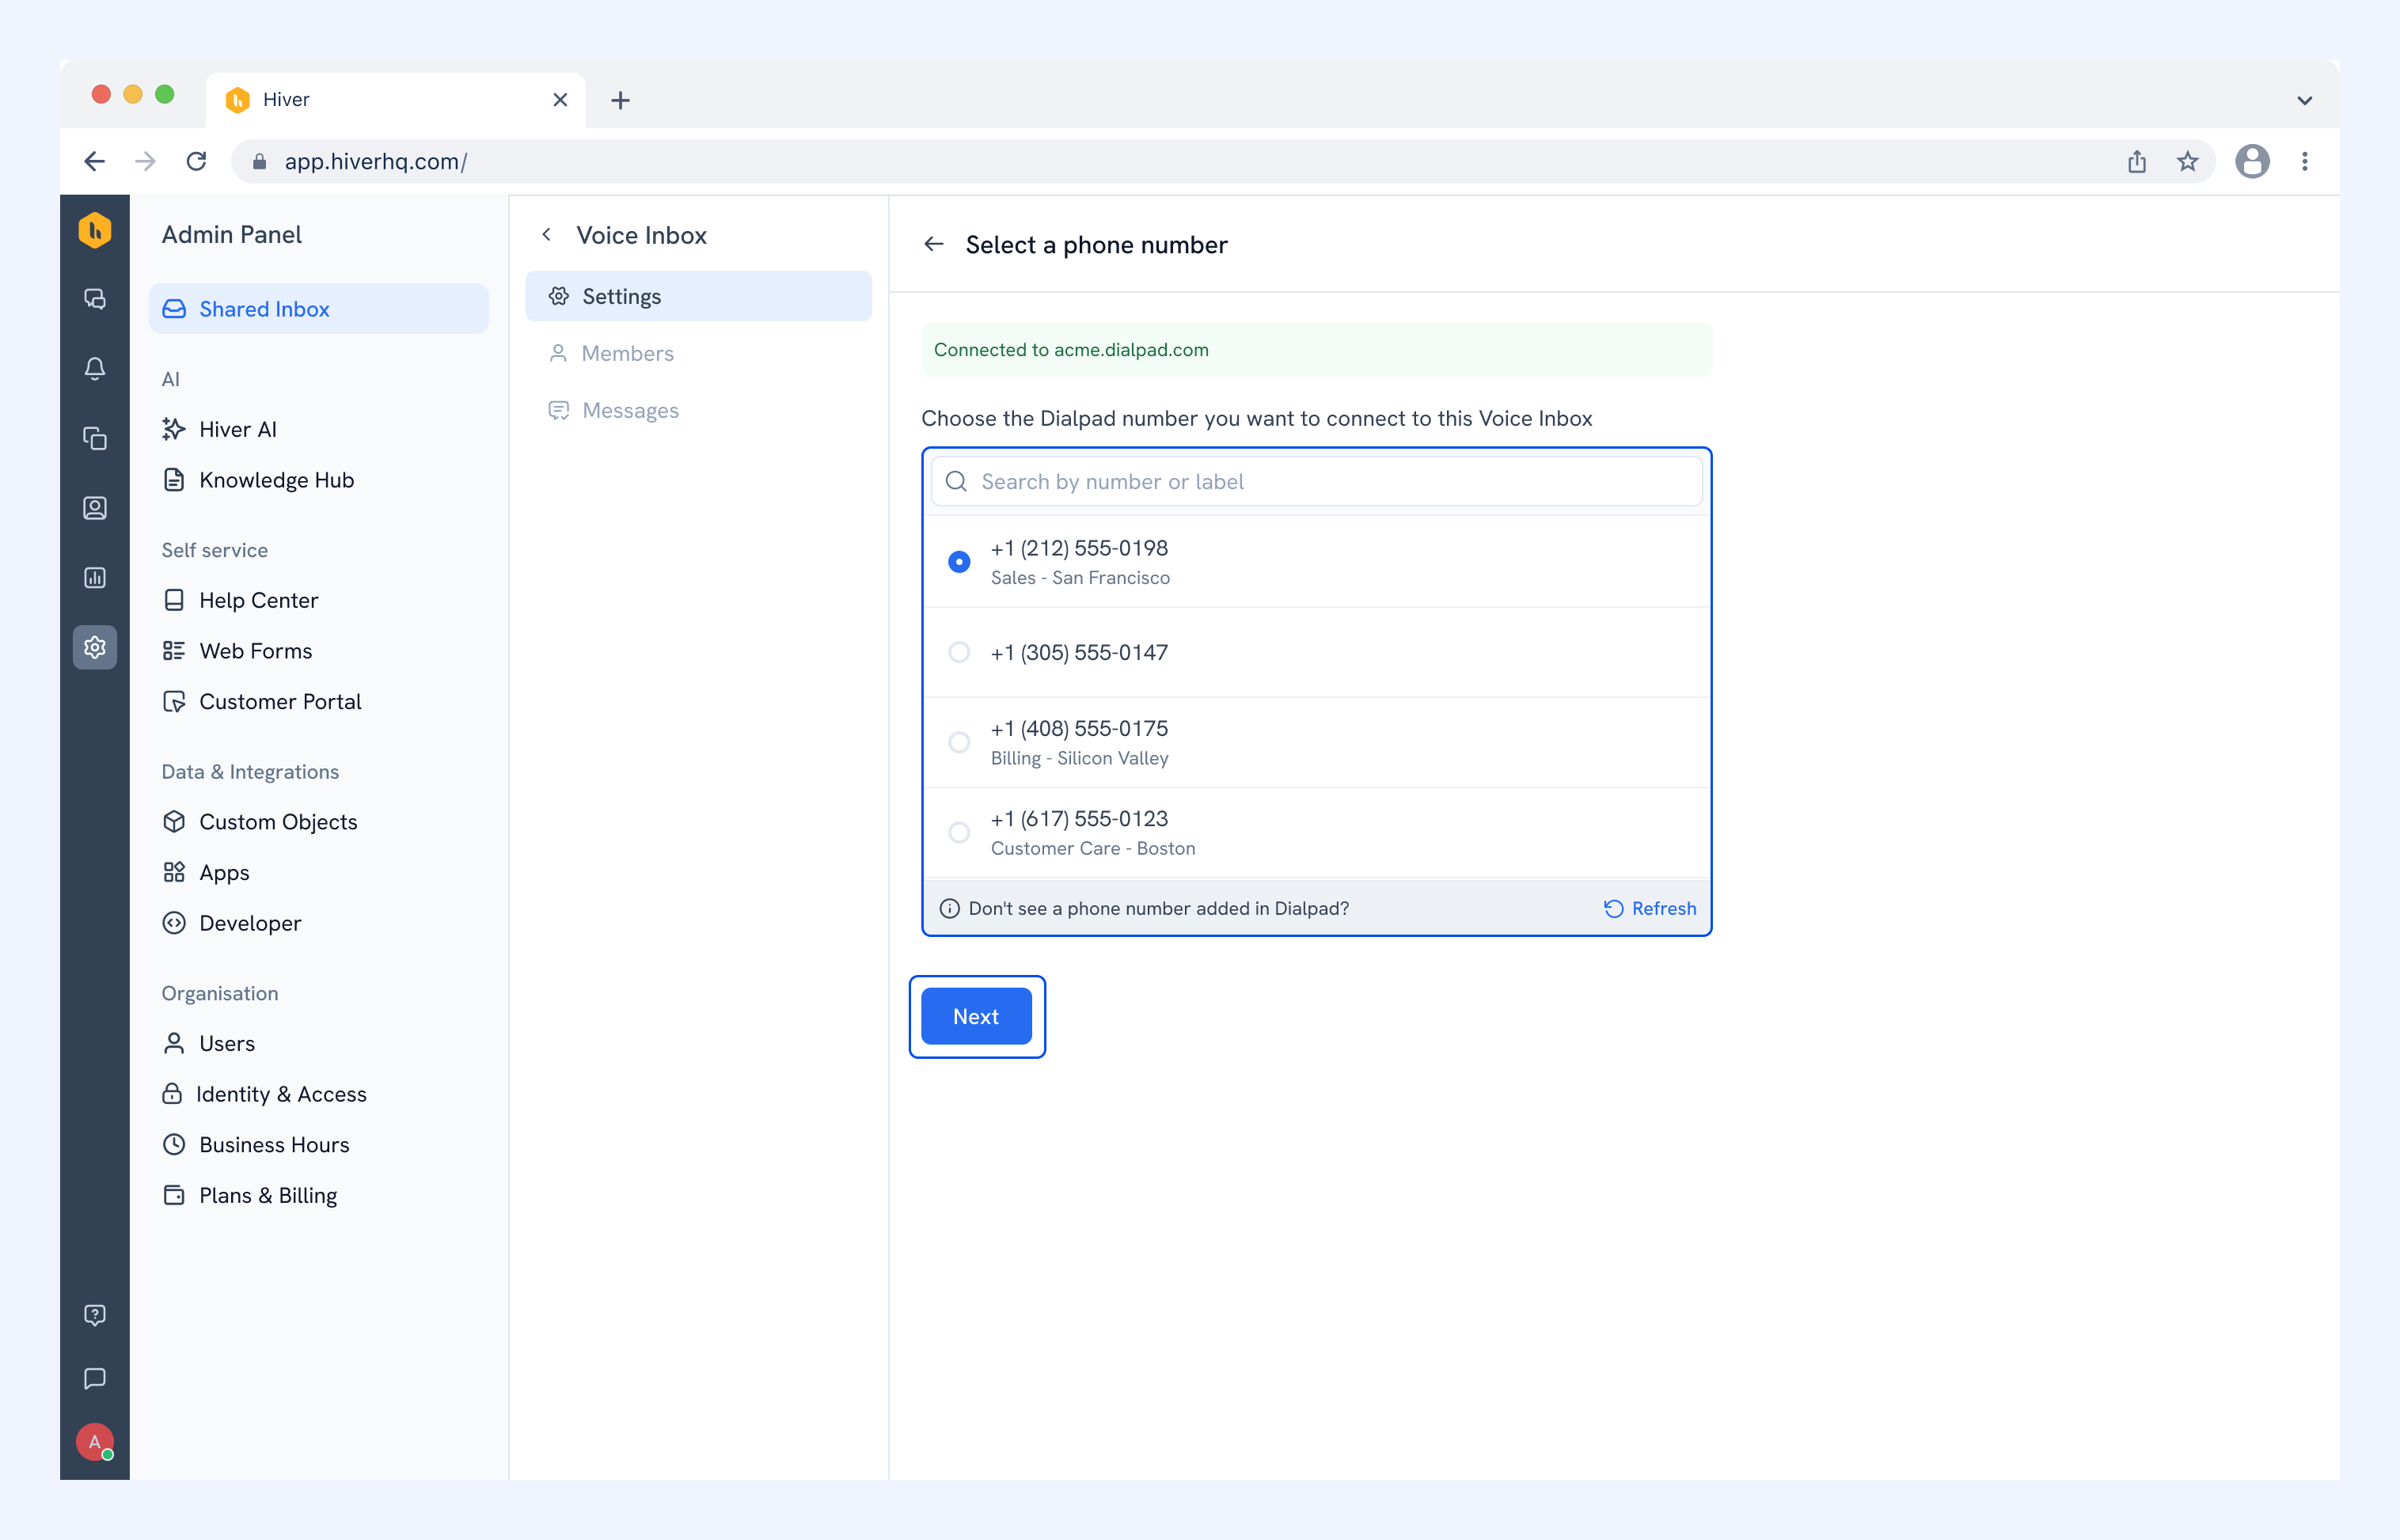
4. Choose the Dialpad number you want this Voice Inbox to use, then click Next.
Note: If a number you recently added in Dialpad isn't listed, click Refresh.
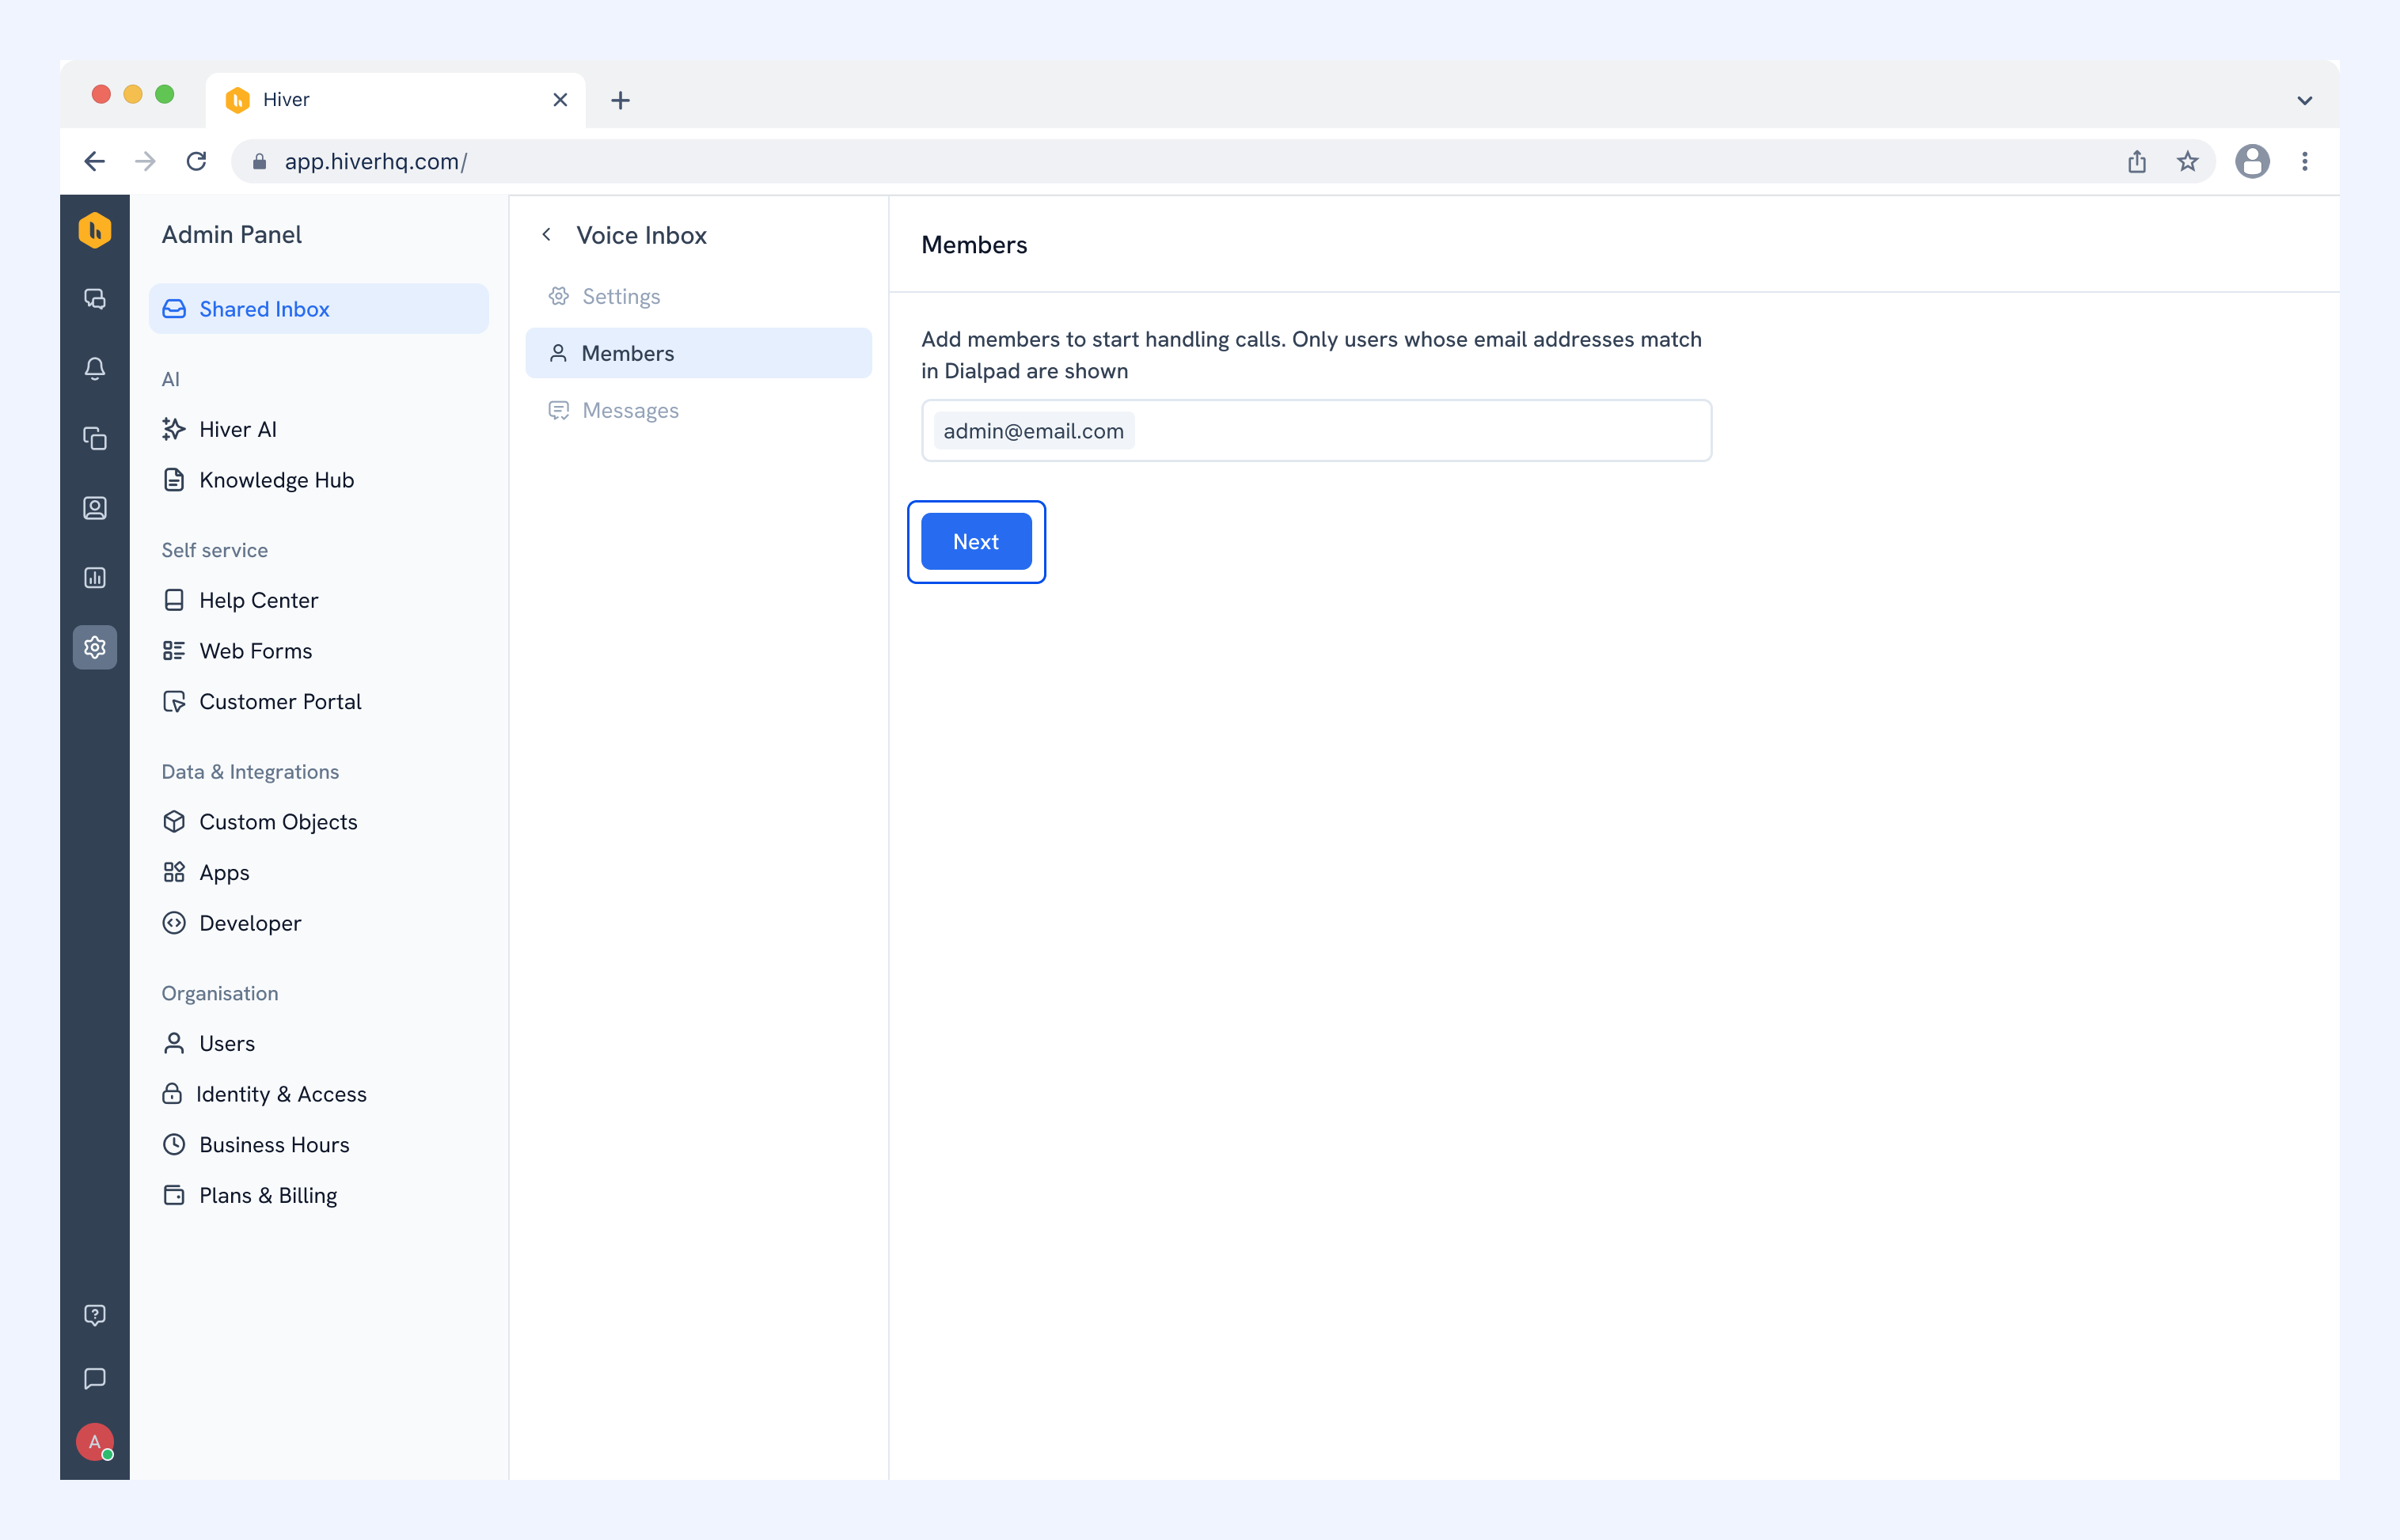
5. On Members, add the members who will handle these calls, then click Next.
Note: The list only shows members who have a Dialpad account with the same email address.
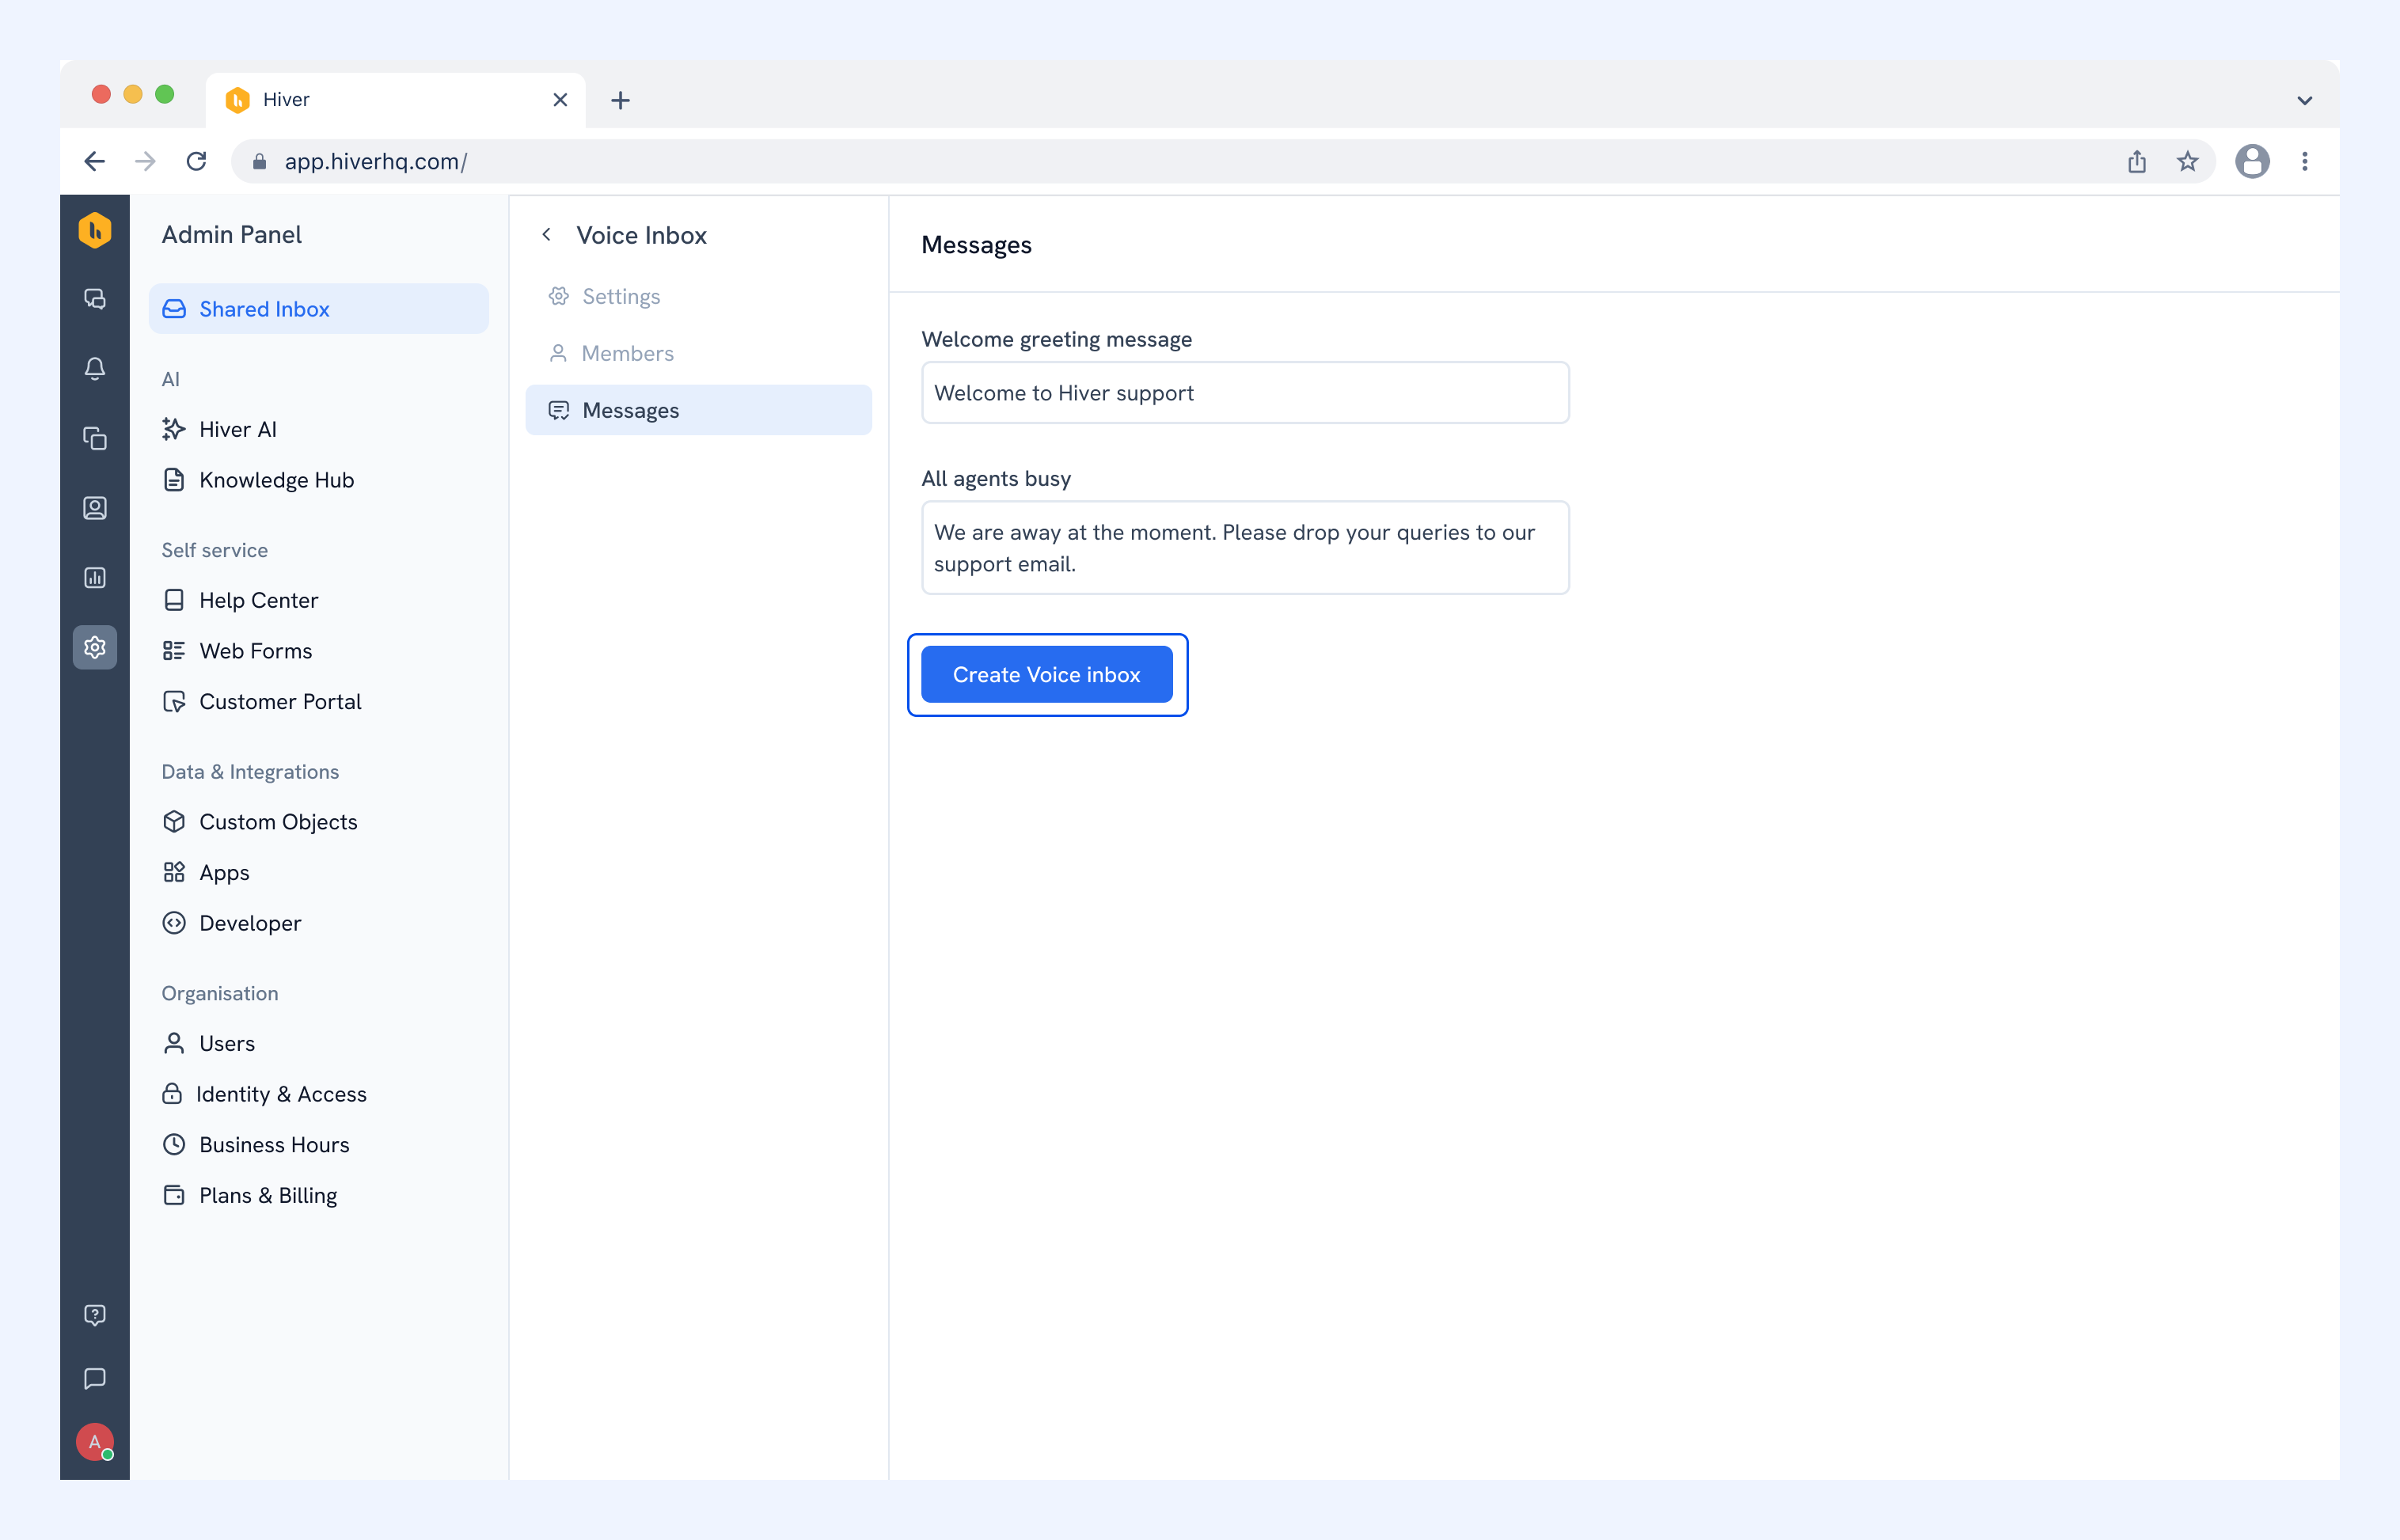
6. Set the Welcome greeting message and the All agents busy message.
7. Click Create Voice inbox.
Calls to your Dialpad number now come in the Voice Inbox as conversations.
Handling calls in a Dialpad Voice Inbox
Your team takes and makes calls from Hiver using the Dialpad calling widget.
Note:
- Recordings and transcripts: A call conversation carries its recording and transcript when both are enabled in Dialpad.
- Availability: When you set yourself to away in Hiver, you're also set to Off duty in every Dialpad Contact Center you belong to.
- Calls in a queue: A call waiting in a queue shows a Queued indicator with the caller's wait time.
- Routing: Your Dialpad Contact Center settings decide who an incoming call is assigned to.