Replying to email conversations in Hiver Omni
When you’re handling an email conversation in Hiver Omni, you can choose which address to reply from, use reusable templates, schedule responses, and update the conversation as you send.
This article covers the options available when replying to customer emails.
Reply to a customer
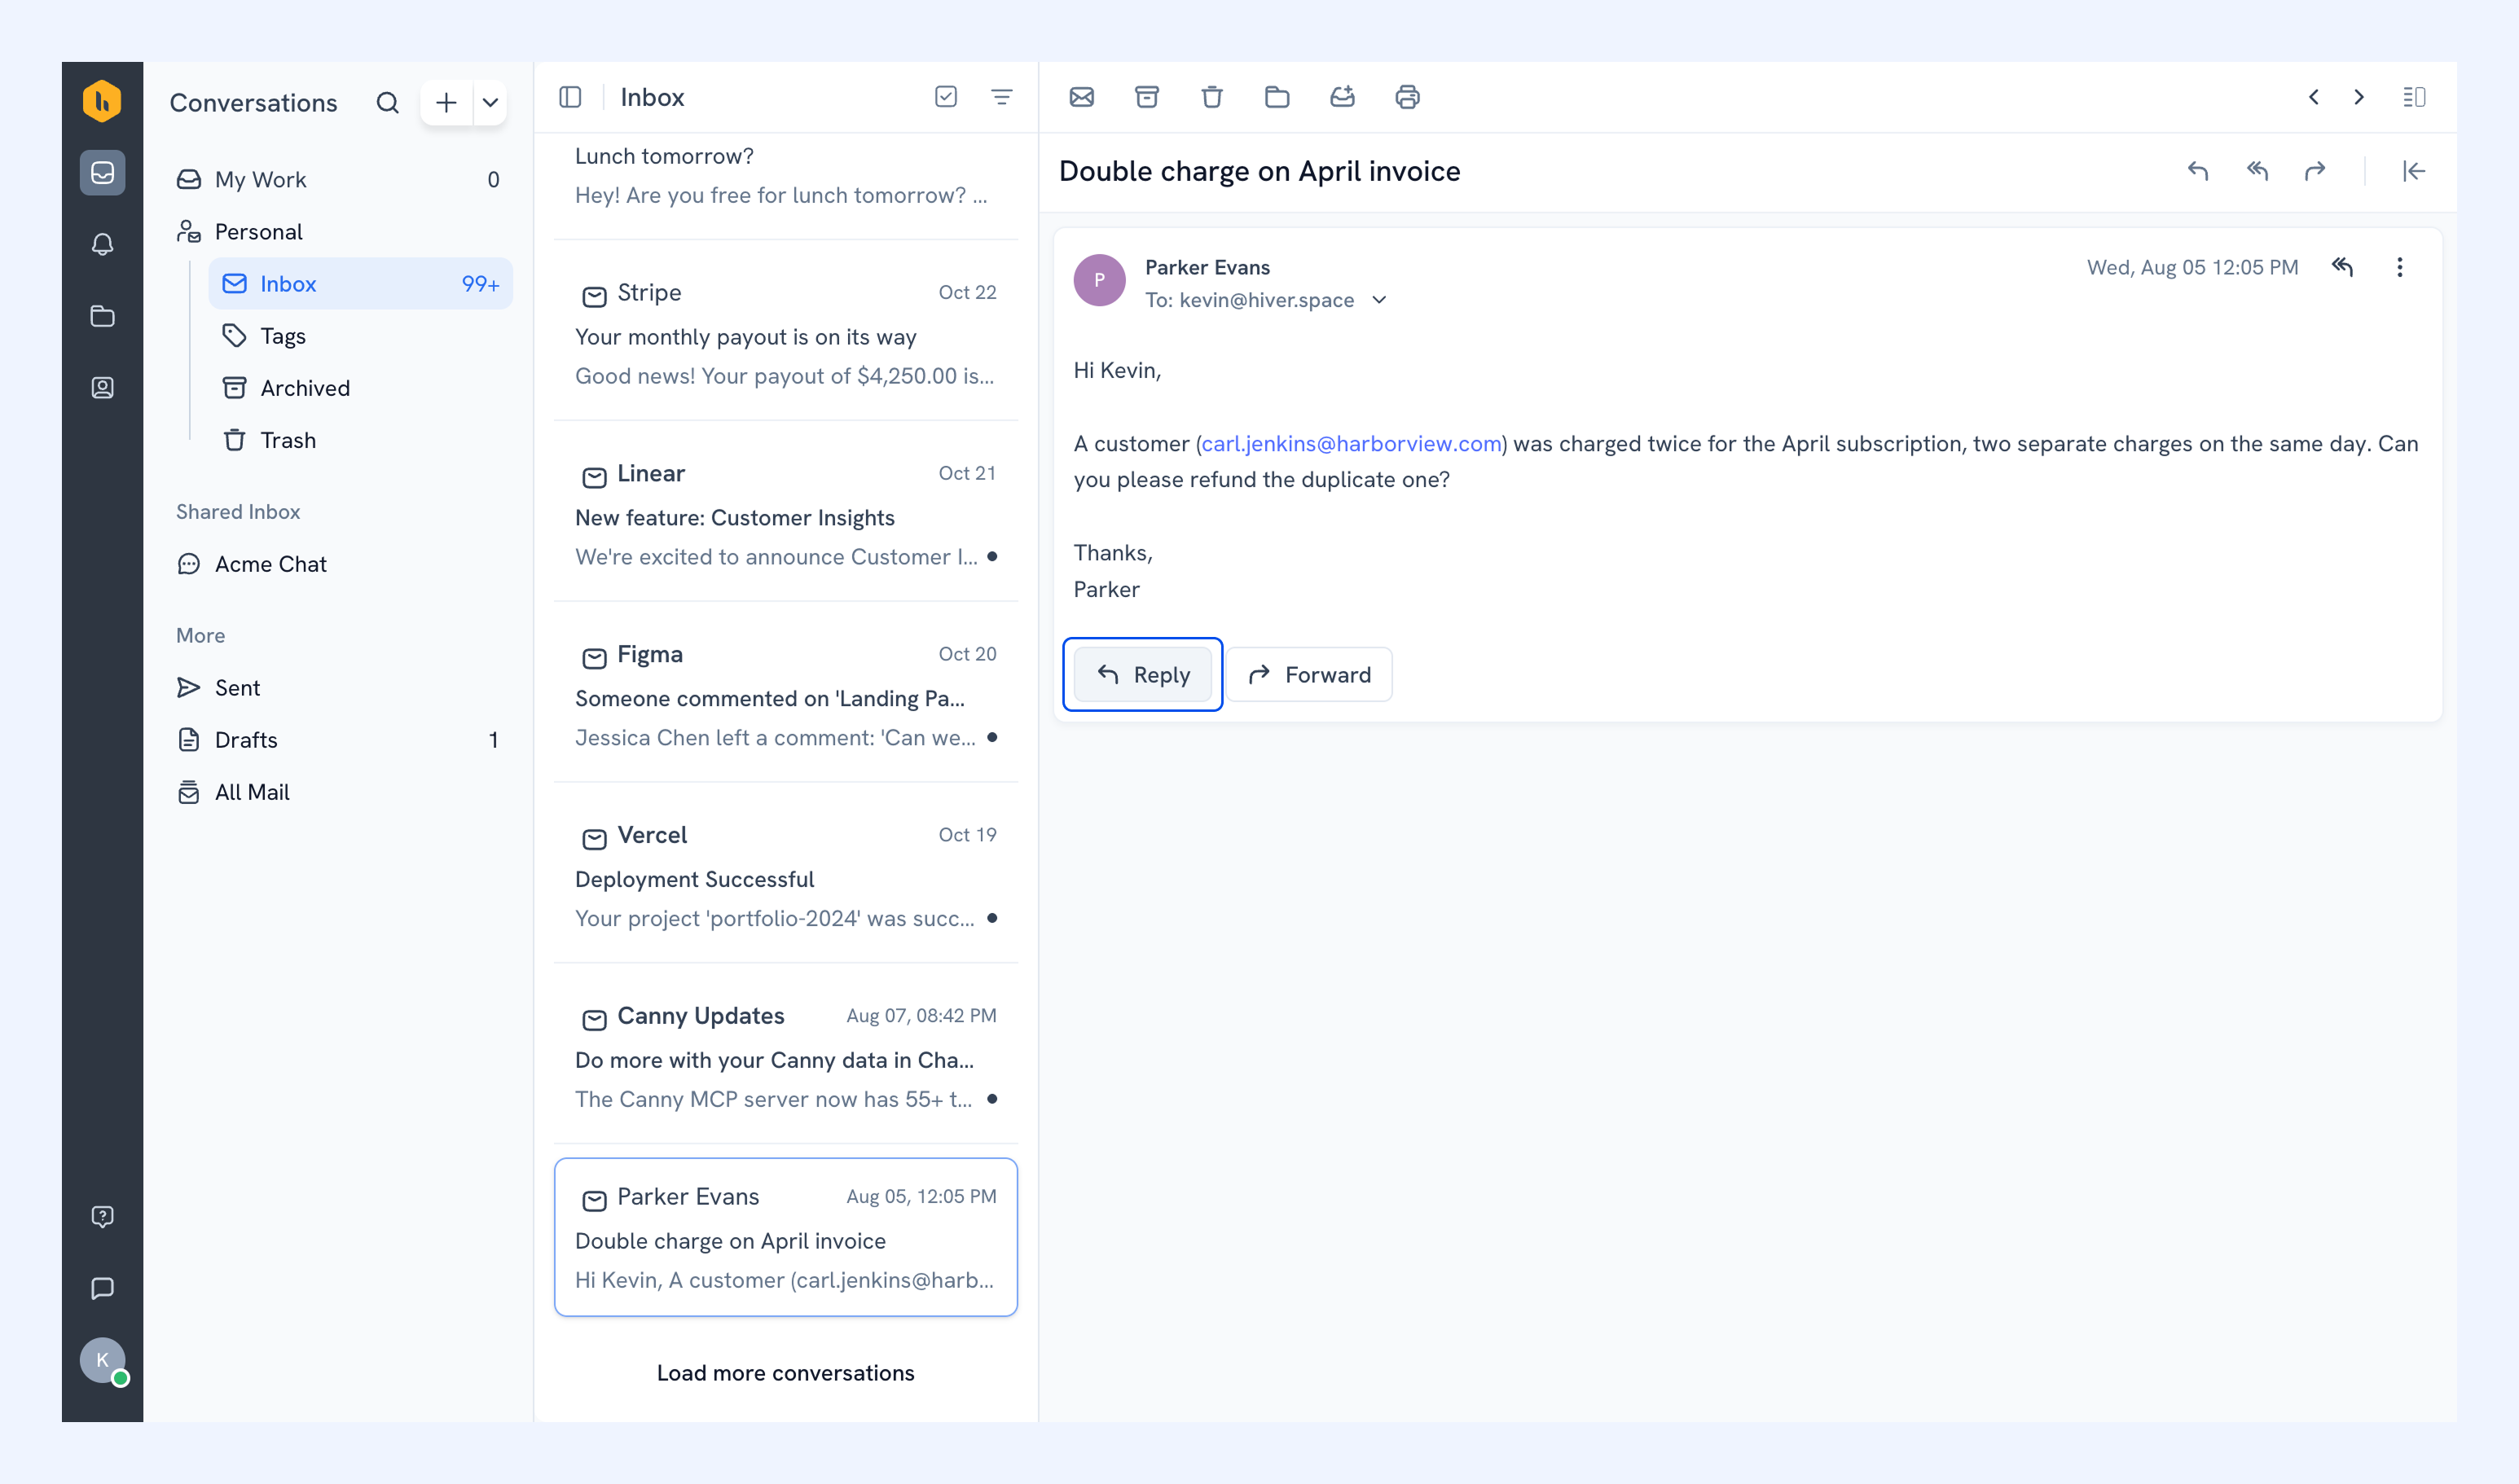
Open the email conversation and select Reply to respond. Your reply stays part of the same conversation, so your team can continue to see the customer’s message history and any updates made in Hiver.
You can then use the options below to choose the sender address, update the conversation as you send, reuse a template, or schedule the response for later.
Choose the address you reply from
Early access: Replying with aliases is currently in early access. To enable it for your account, contact support@hiverhq,com.
If you have multiple email addresses available in Hiver, you can choose which one customers receive your replies from. This can include:
- Your primary Gmail address
- Personal aliases that have already been configured and verified in Gmail
- Aliases configured by an admin for your Shared Inboxes
Set a default sender address
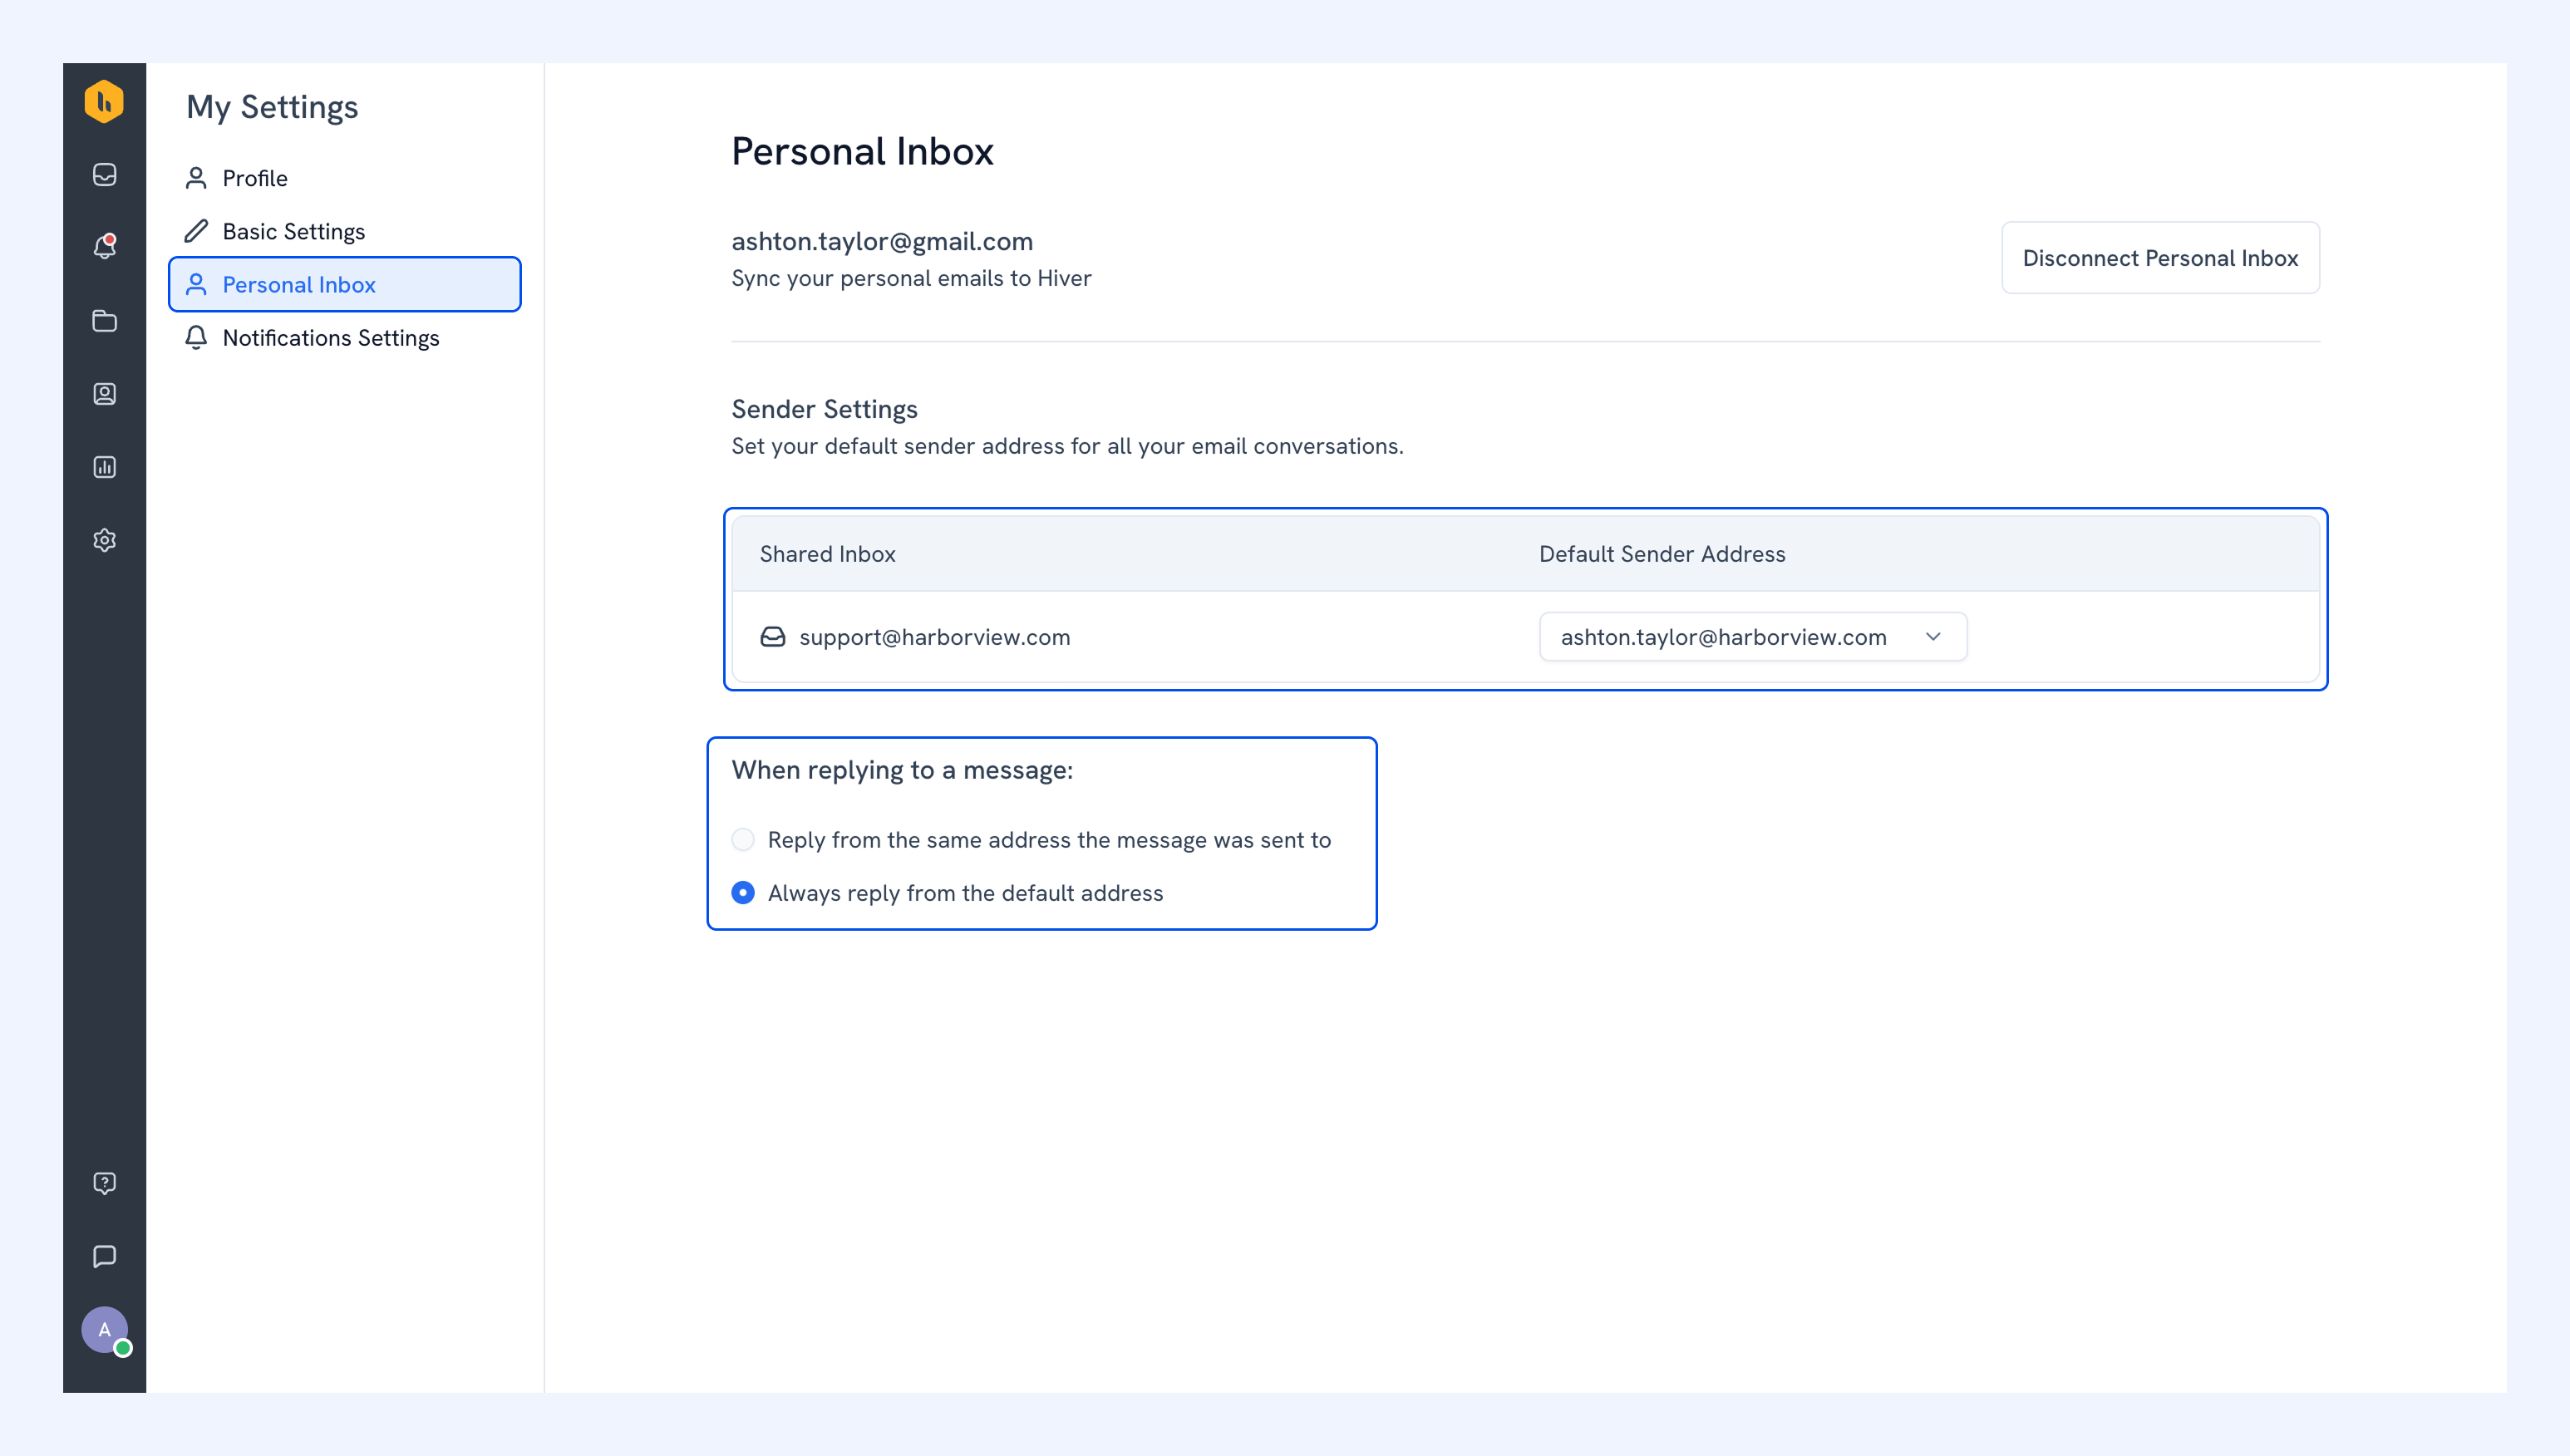
Go to Profile → My Settings → Personal Inbox → Sender Settings and select a Default Sender Address for the Shared Inbox.
You can also choose how Hiver selects the sender when you reply:
- Reply from the same address the message was sent to: Hiver uses the inbox or alias that received the original message.
- Always reply from the default address: Hiver uses the Default Sender Address you selected.
Note: If a Gmail alias is removed or is no longer verified, it will stop appearing as a sender option. If it was your default address, Hiver falls back to your primary email address.
Change the sender for an individual reply
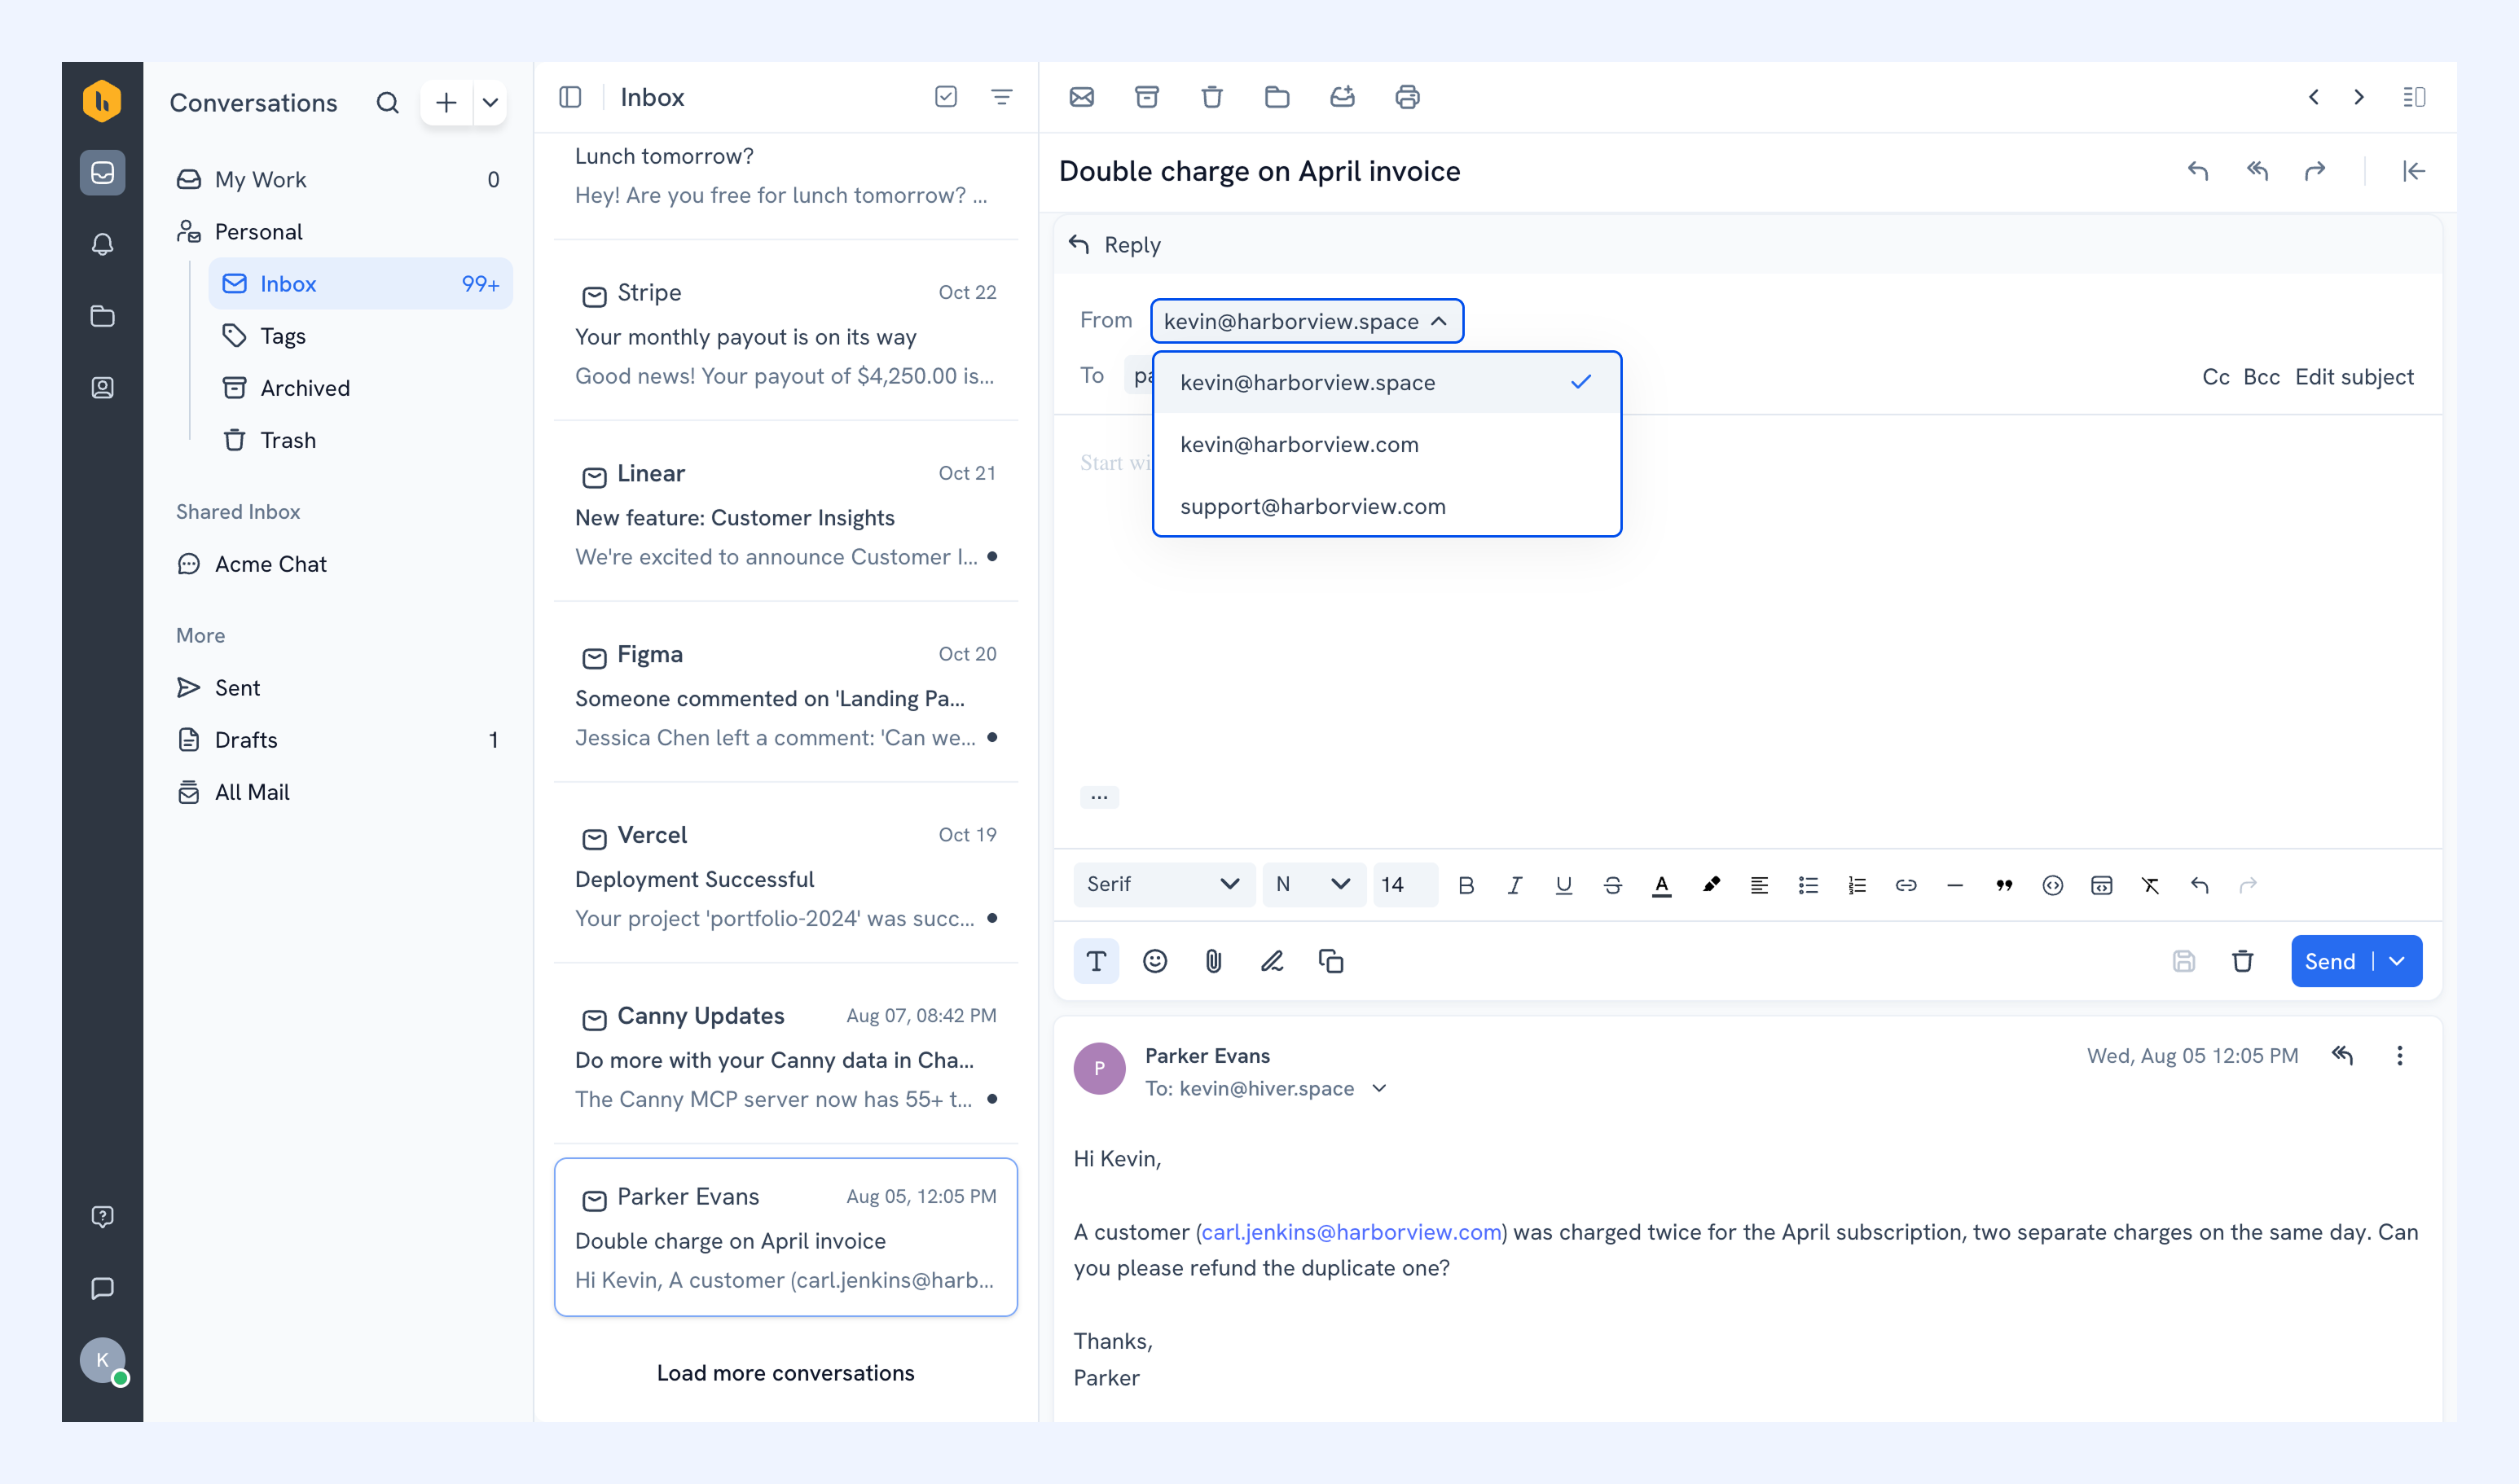
If you want to send from an address that is different from the default address selected, you can click the From field and choose another available address.
Send and update the conversation in one go
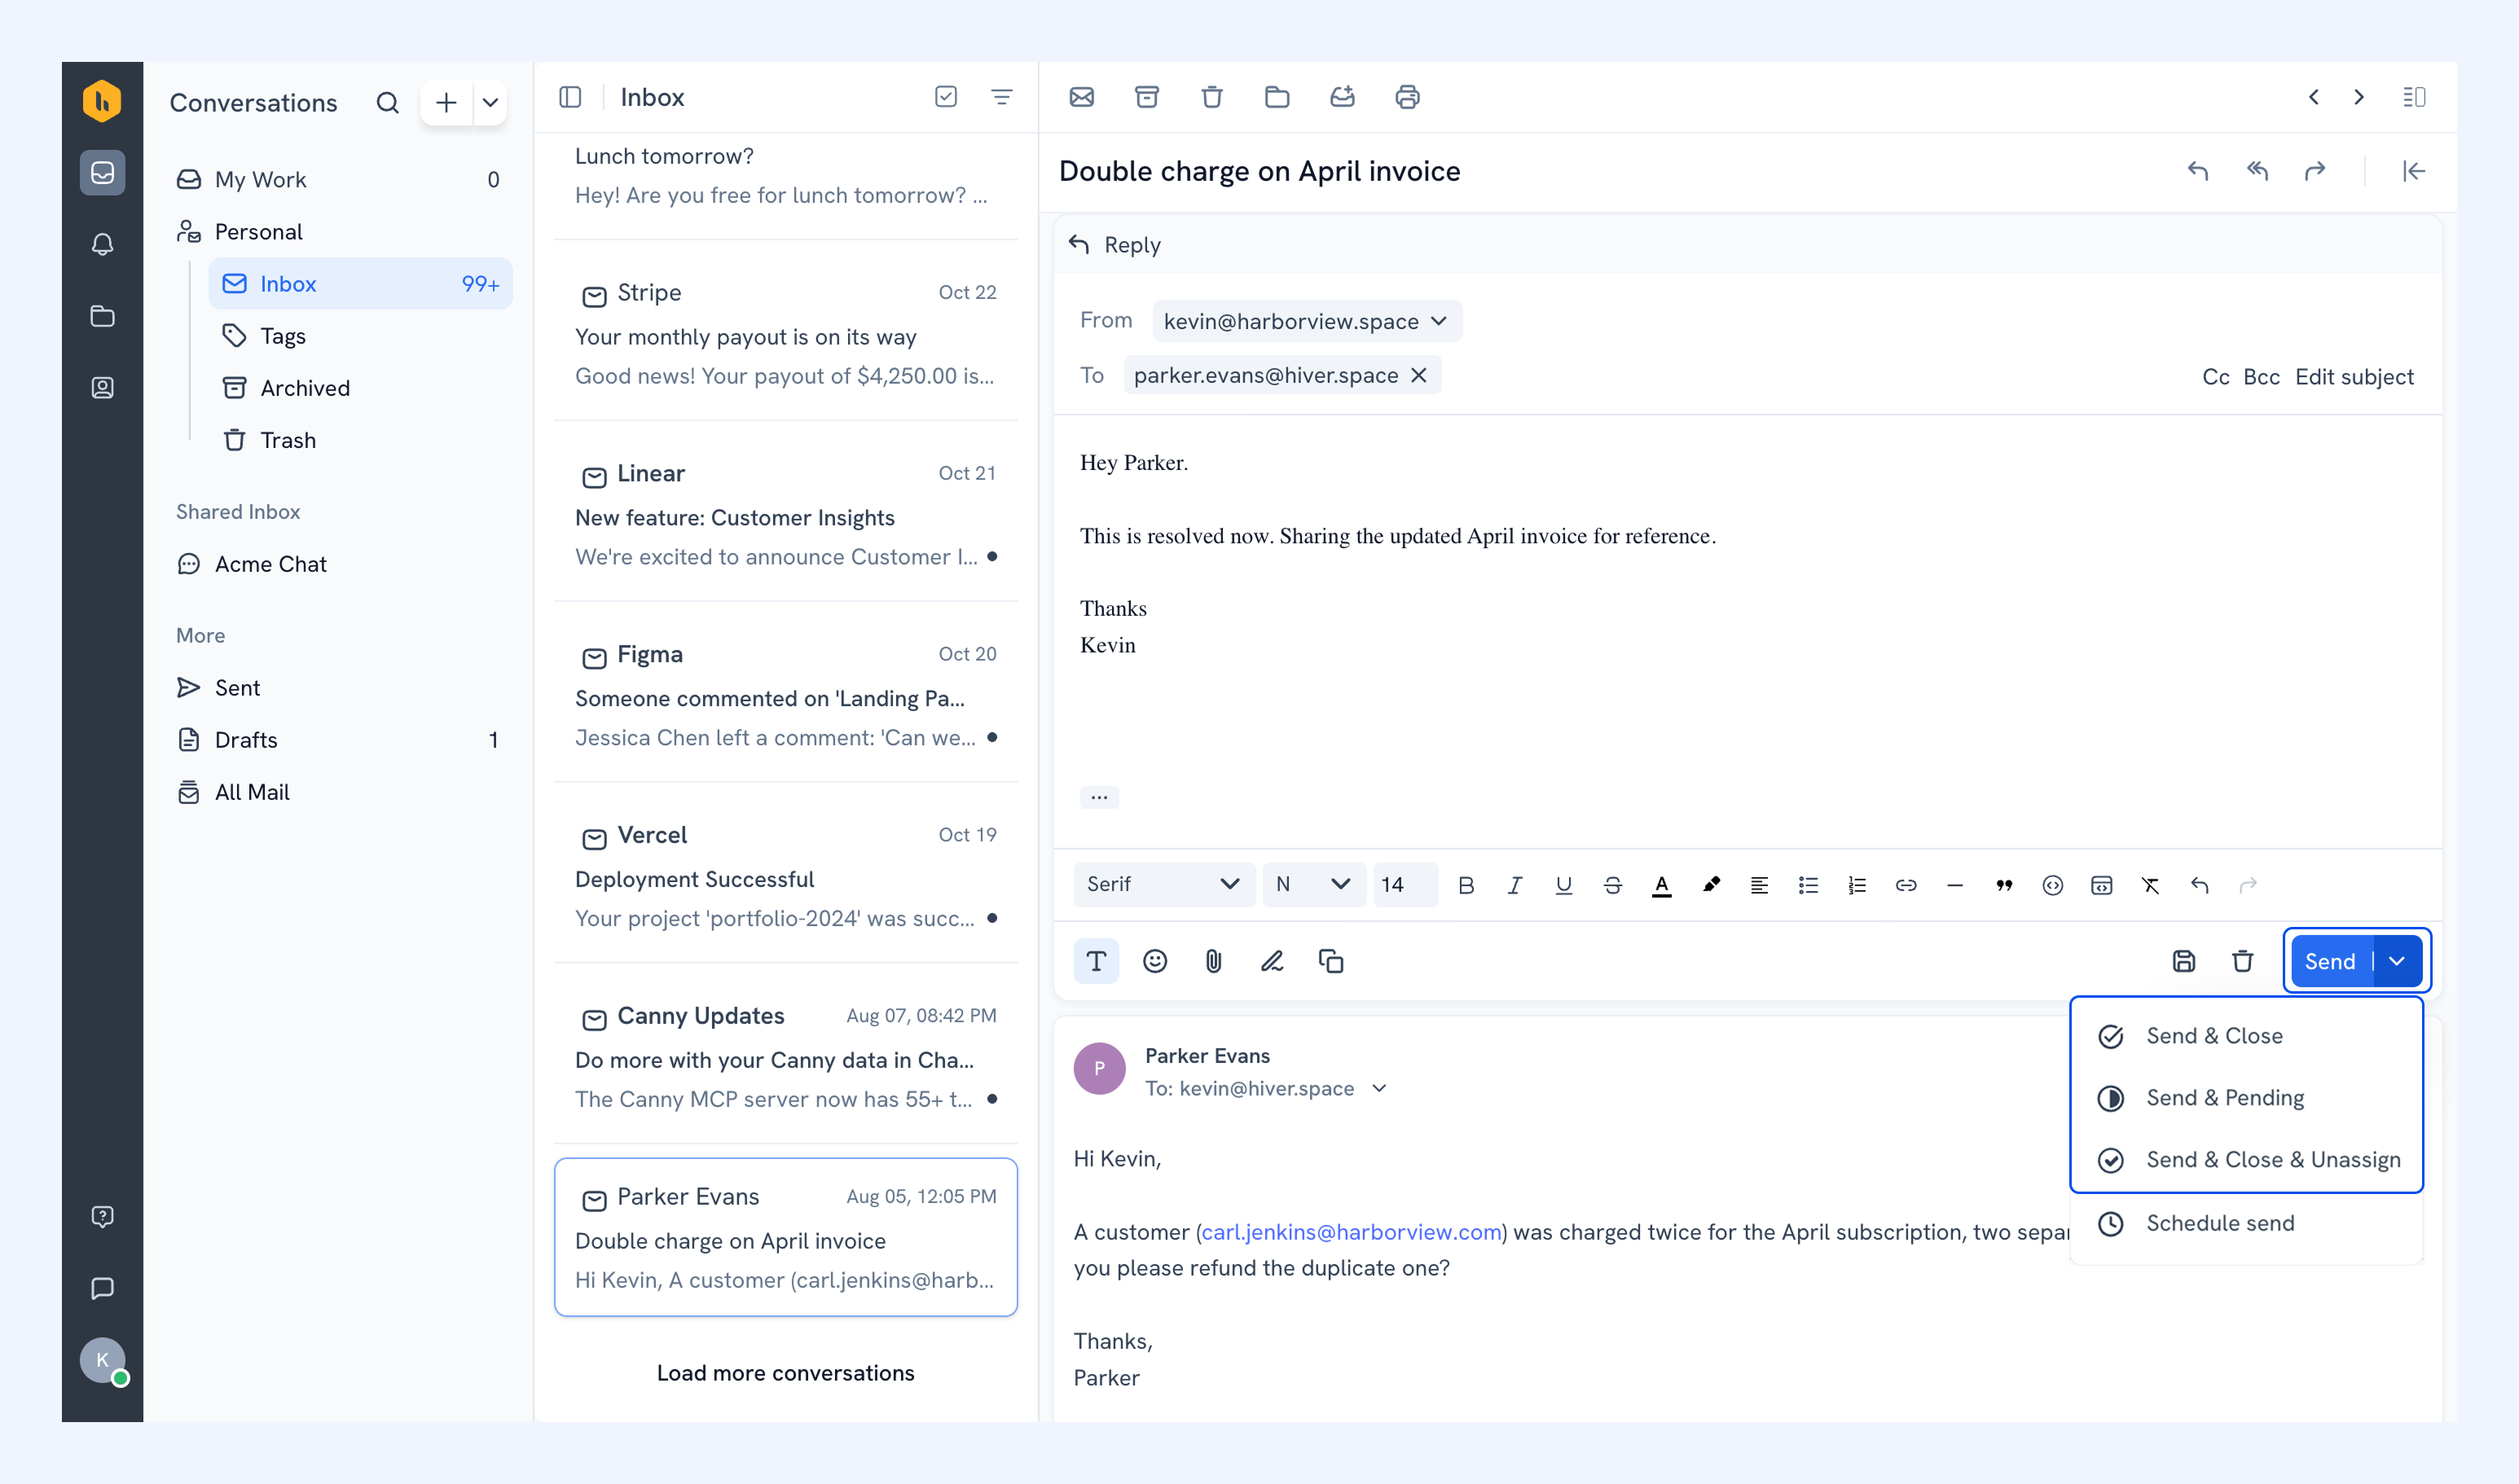
The menu next to Send lets you send your response and update the conversation in the same action.
Depending on what you want to happen next, you can choose:
- Send: Send the response without changing the status or assignee.
- Send & Close: Send the response and mark the conversation Closed.
- Send & Pending: Send the response and move the conversation to Pending.
- Send & Close & Unassign: Send the response, close the conversation, and remove its assignee.
Hiver remembers the option you used most recently and makes it the default the next time you send.
Reuse responses with email templates
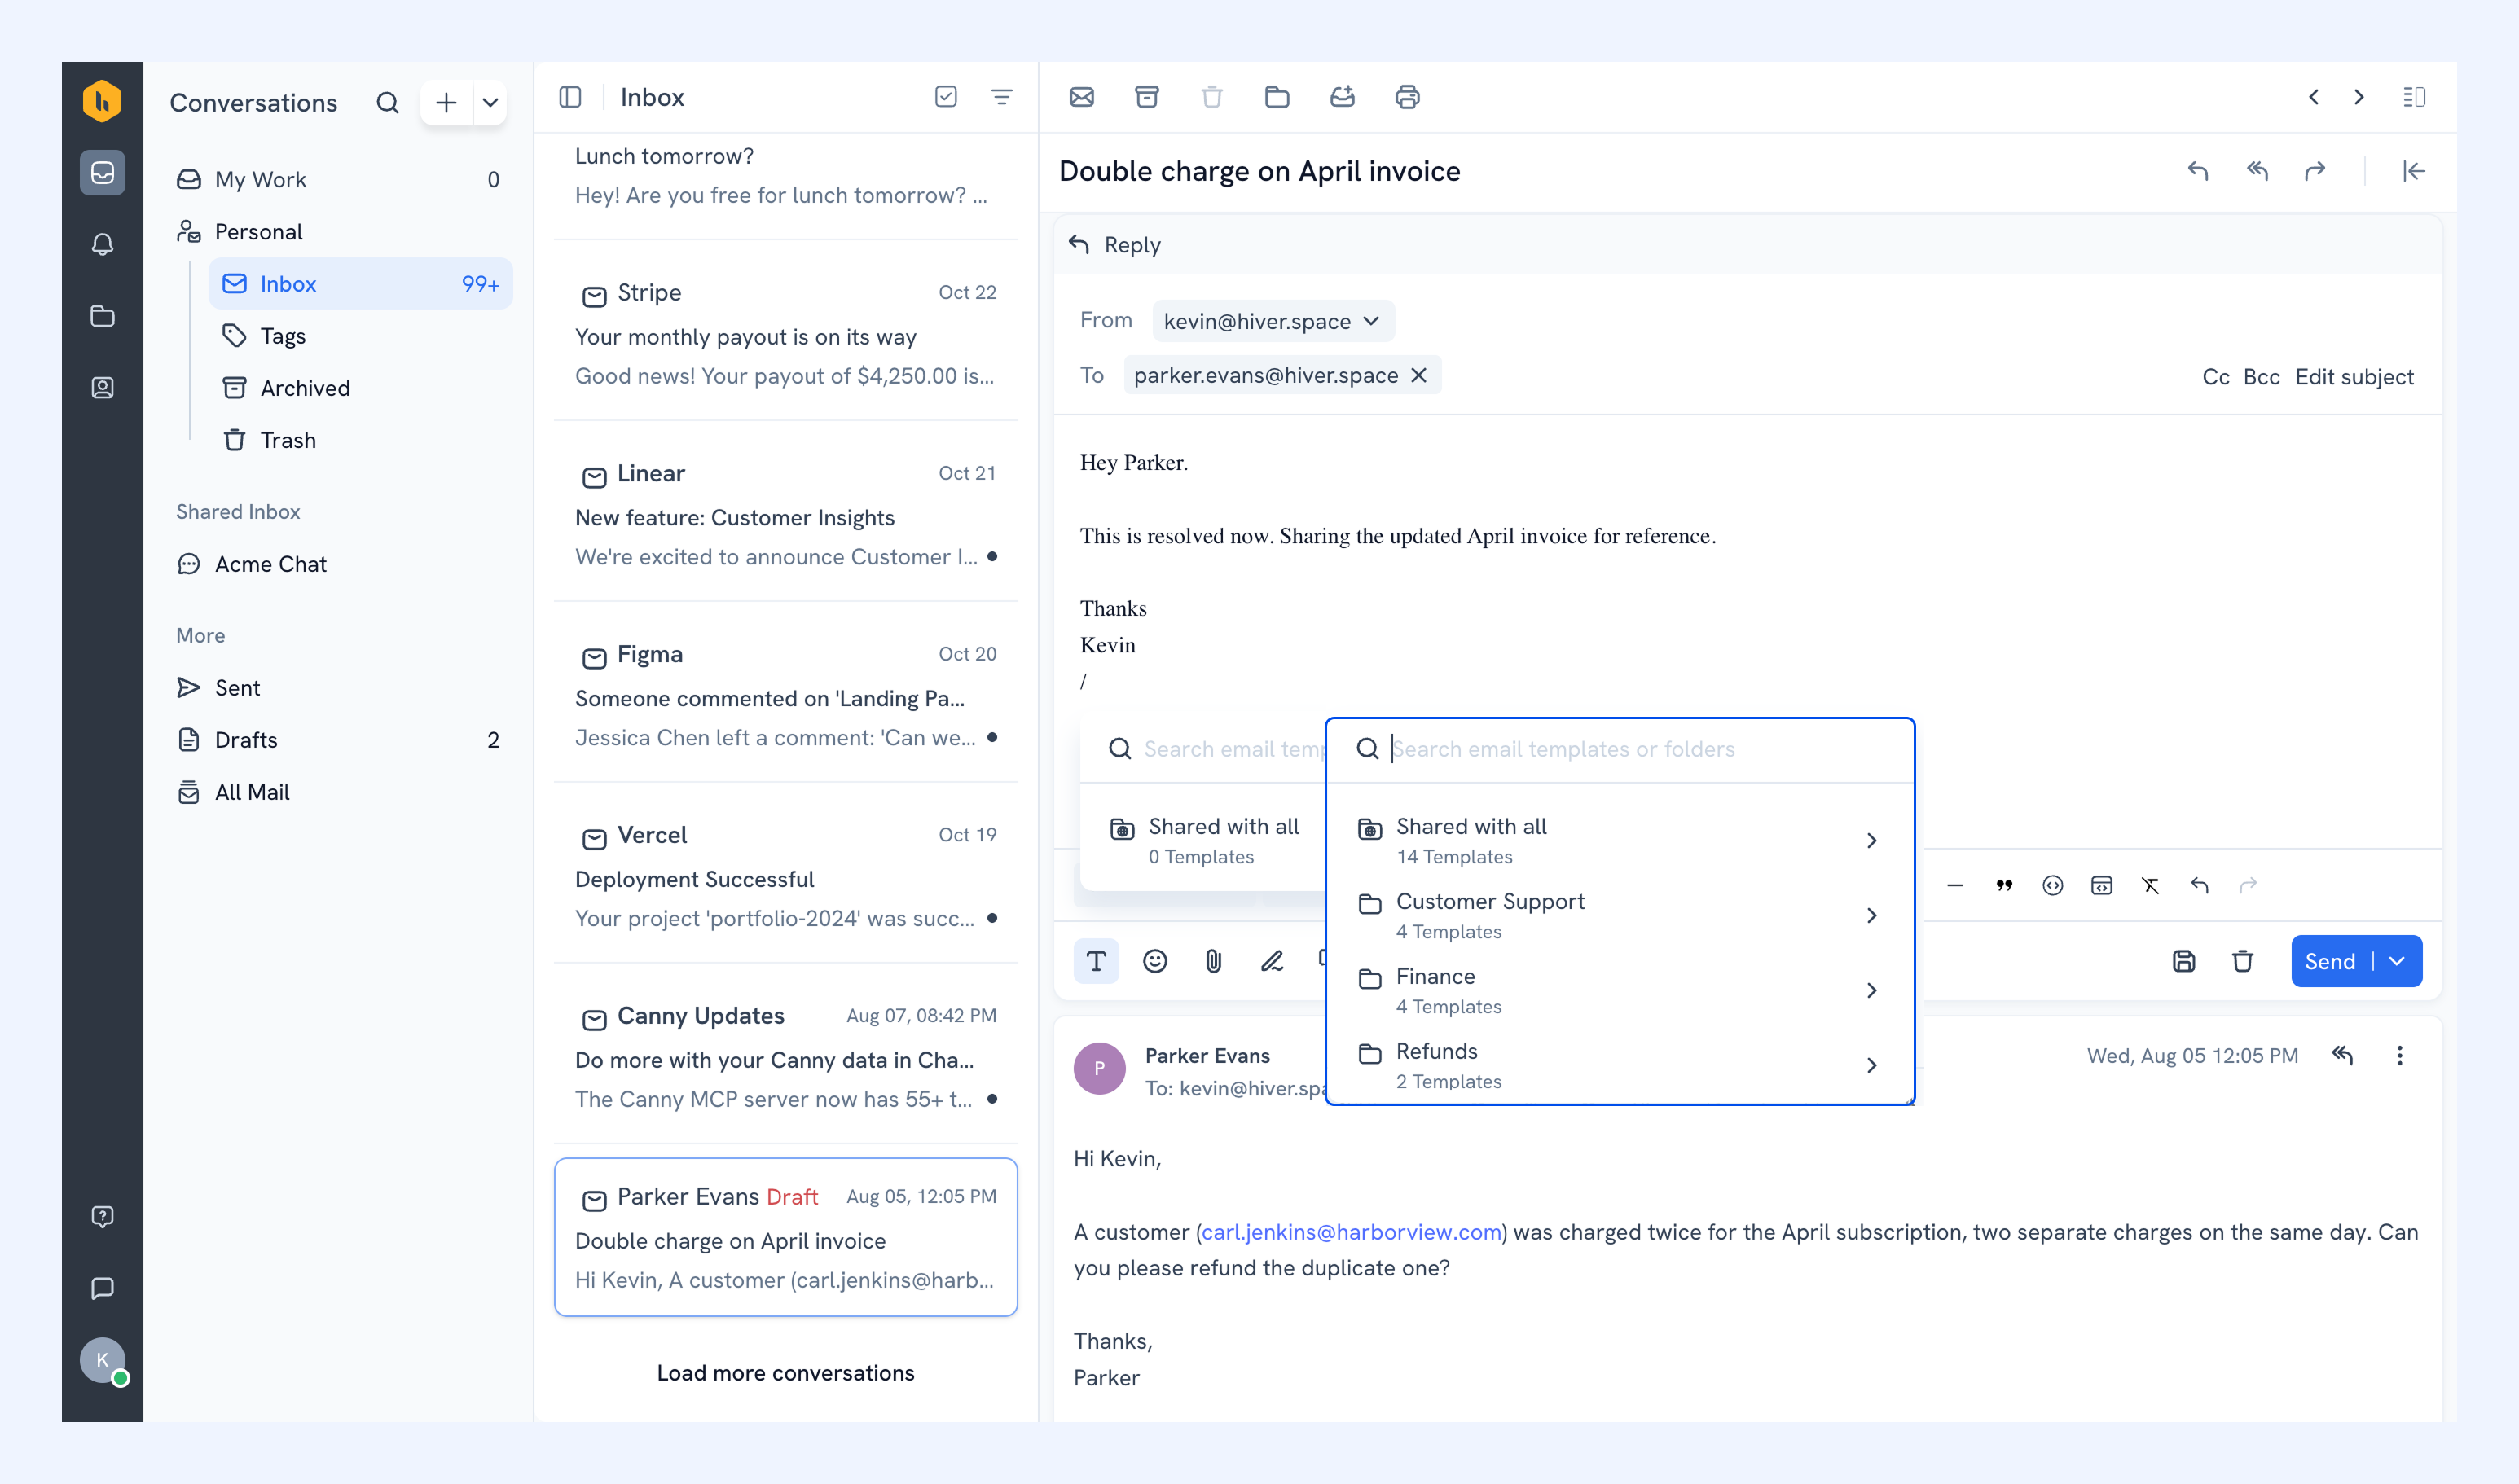
Email templates let you reuse responses your team sends frequently, such as answers to common questions or standard instructions.
You can insert a template while composing a reply, then make any changes needed for the conversation before sending.
Learn more about email templates.
Schedule a response for later
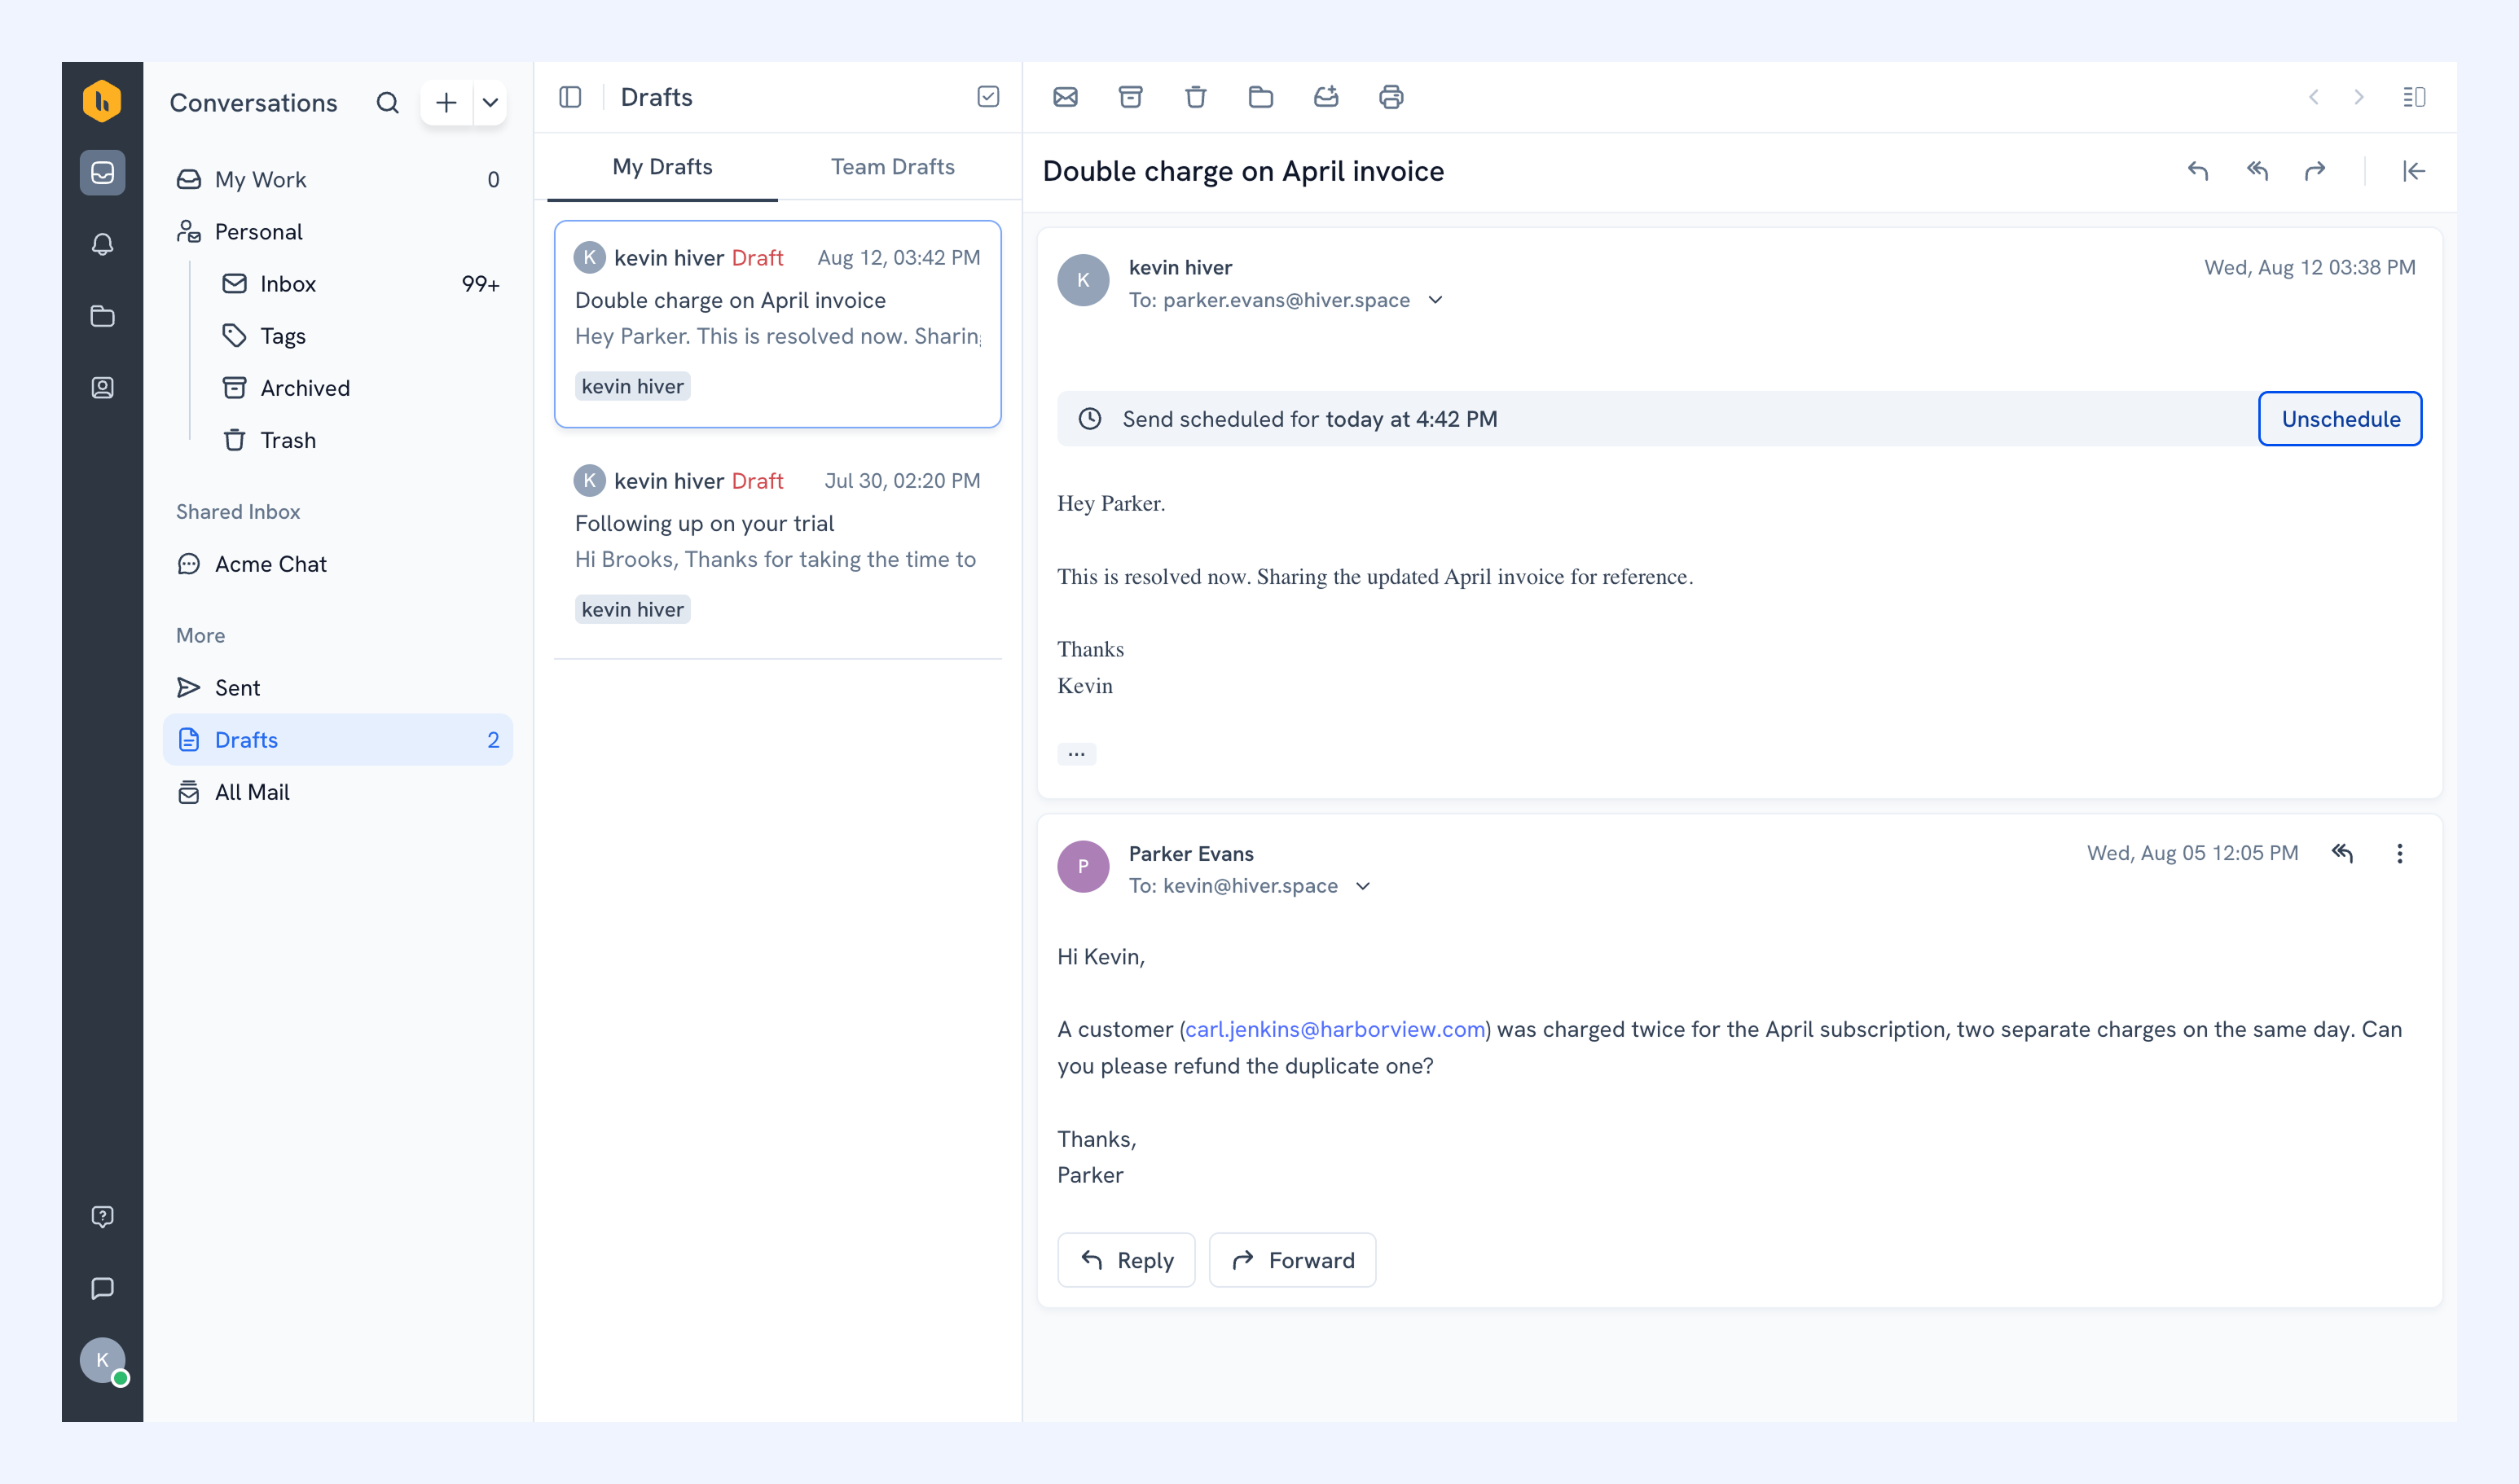
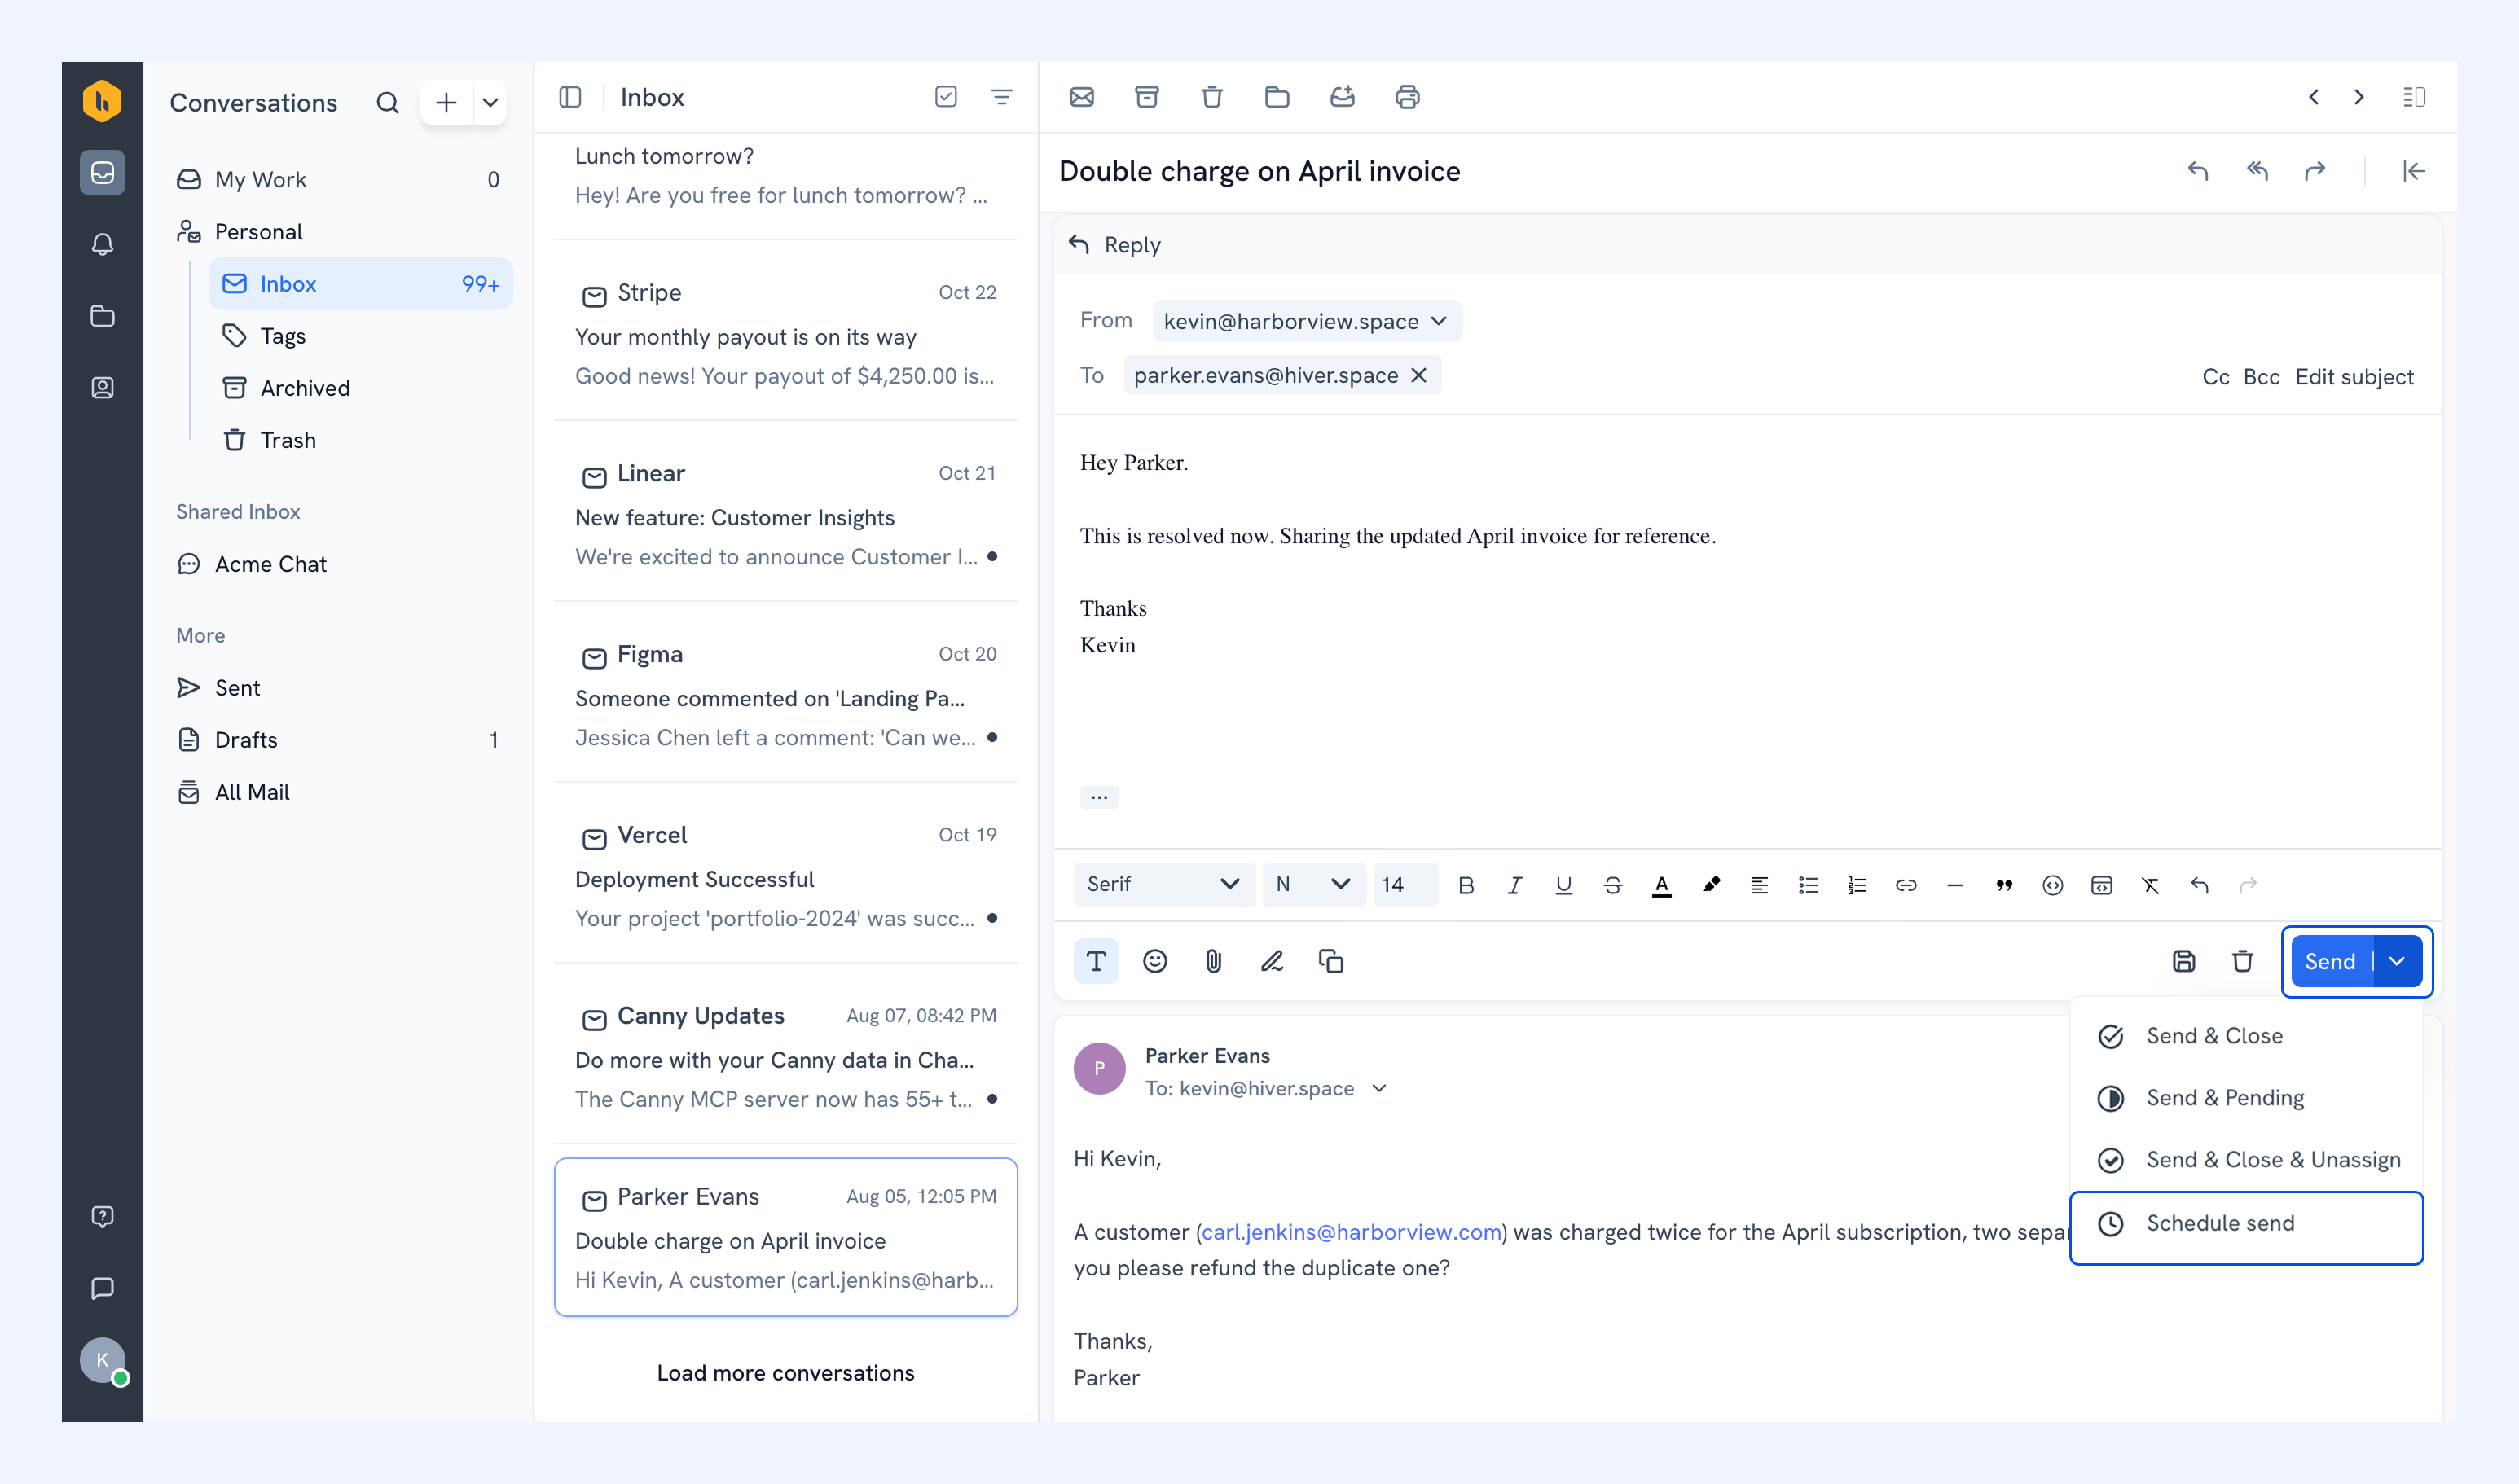
Use Schedule Send when you want to prepare an email now and have Hiver send it automatically at a later date and time.
From the menu next to Send, select Schedule Send. You can choose one of the suggested delivery times or select a custom date and time.
View or cancel a scheduled email
Scheduled emails are available under Drafts → My Drafts.
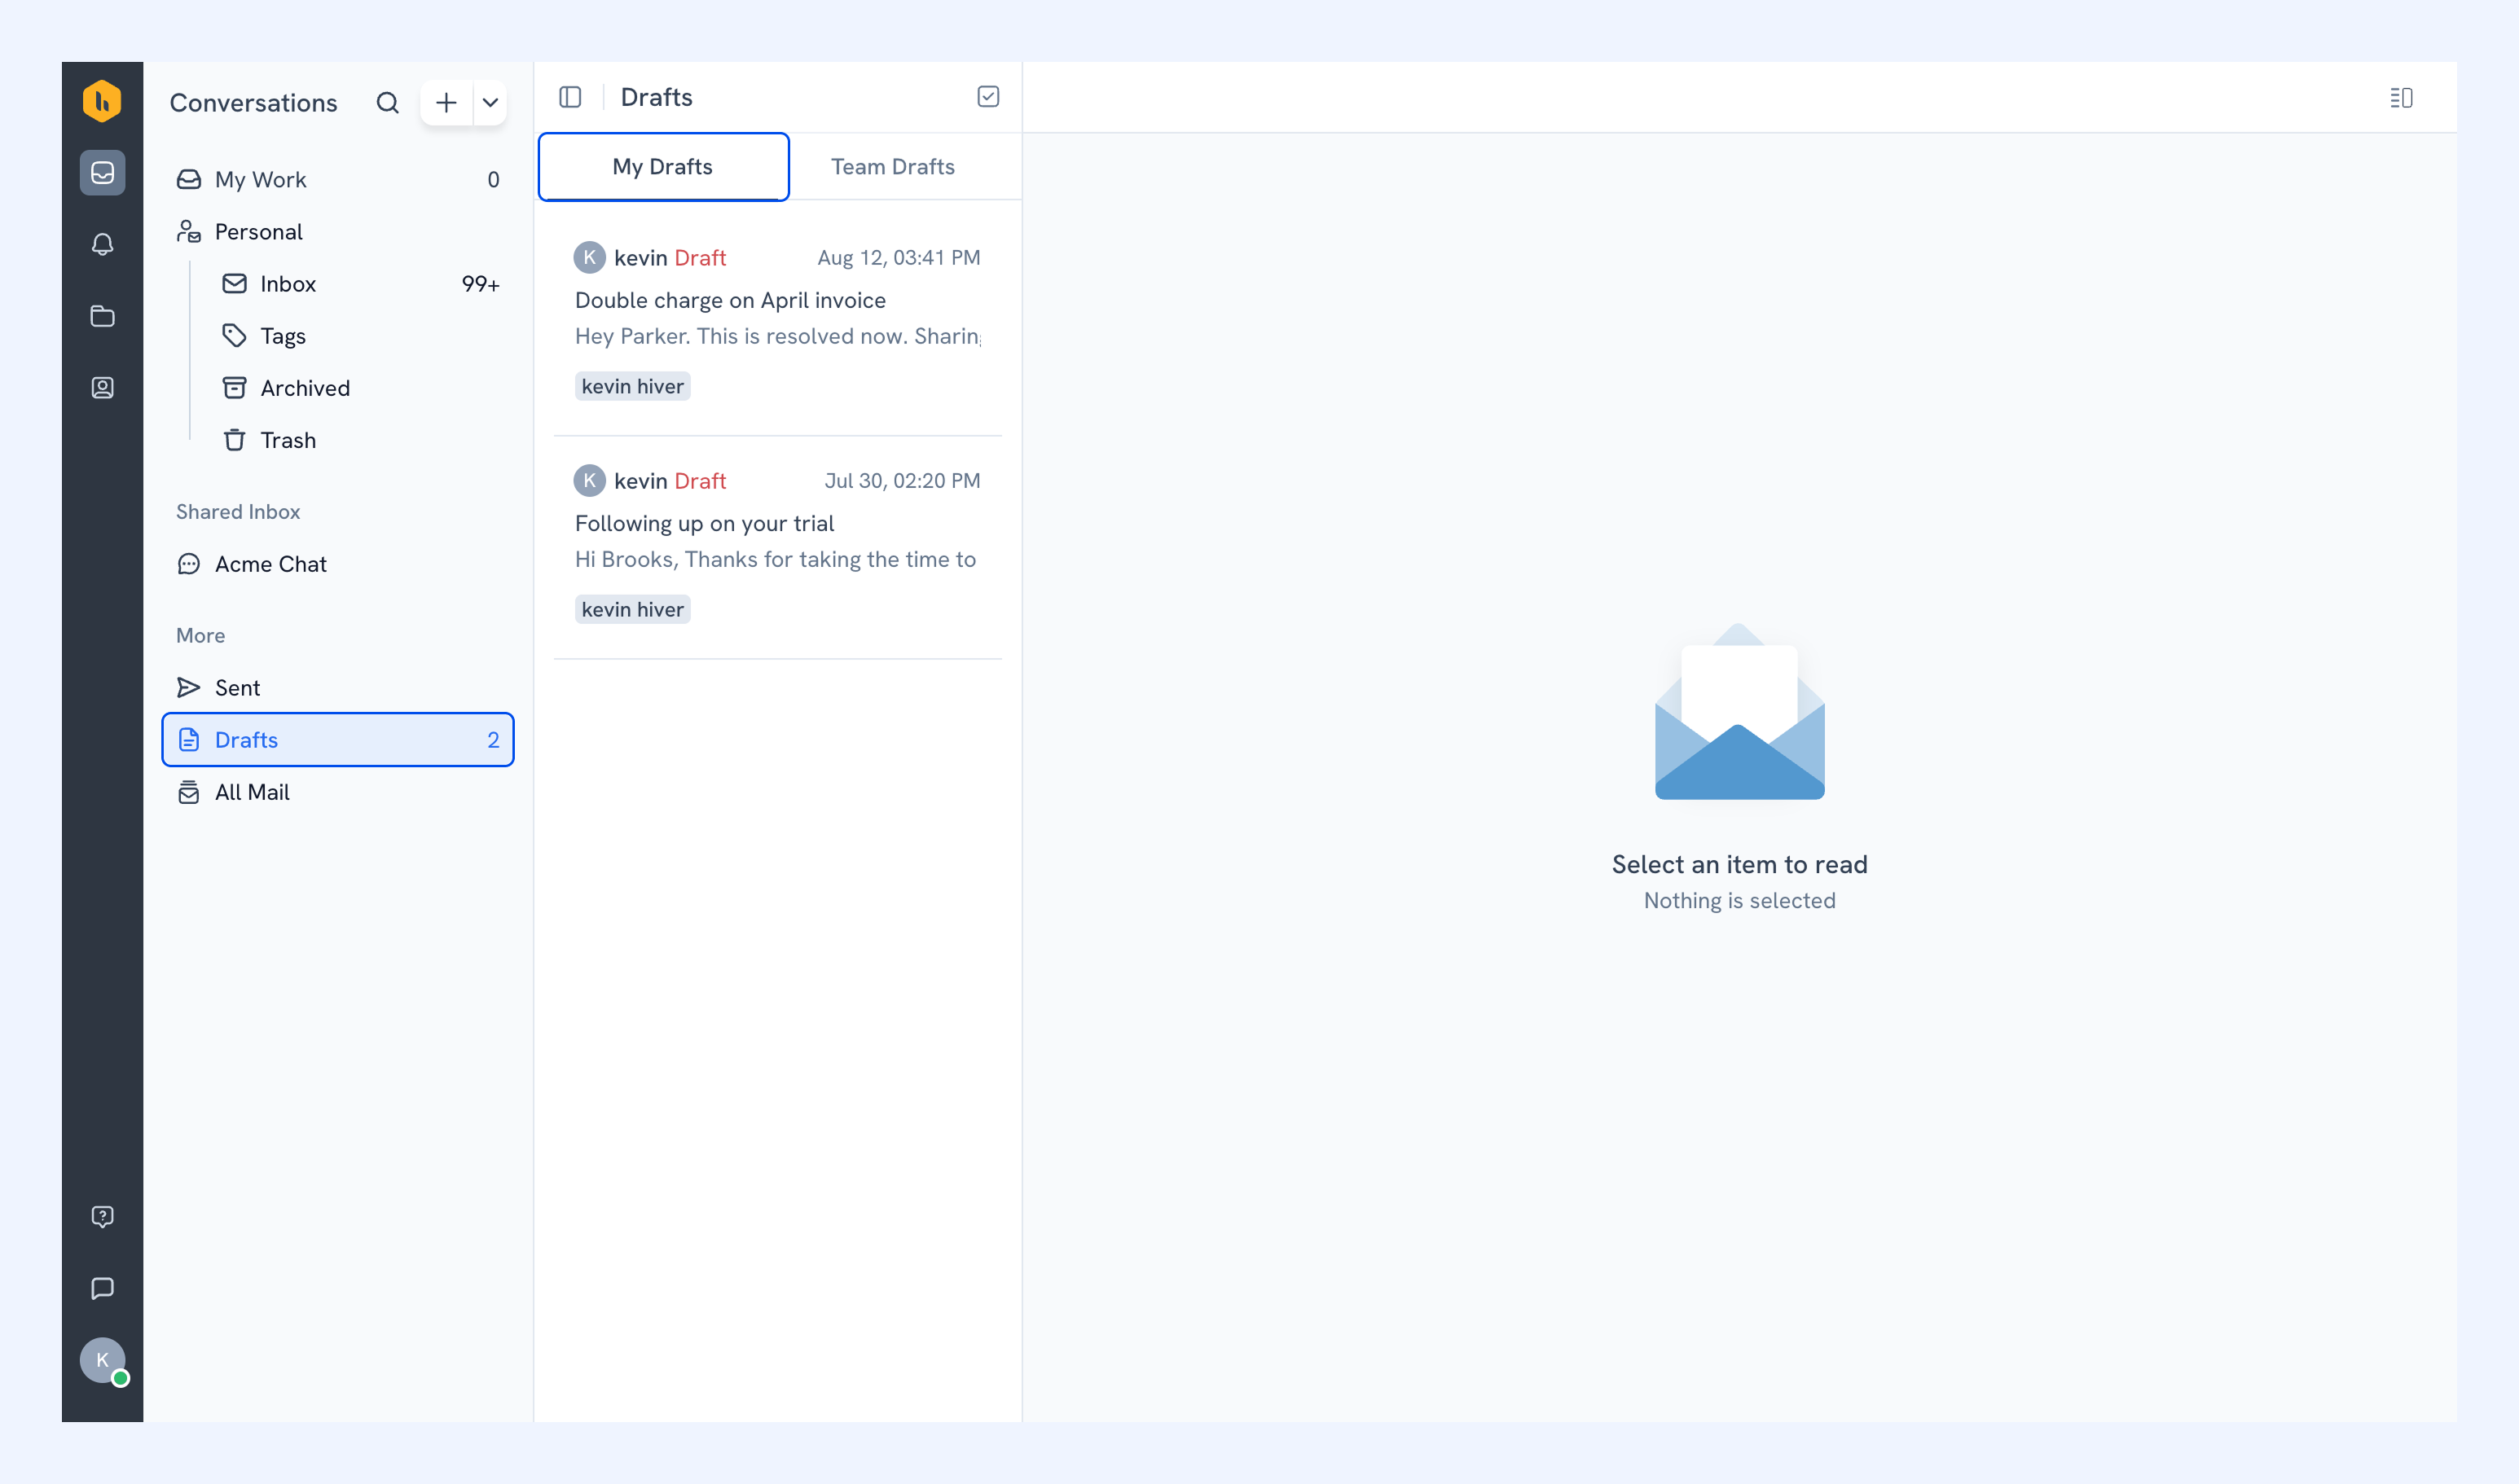
To stop a scheduled email from being sent, open it and select Unschedule. The email returns to the compose state, where you can edit it, send it immediately, or schedule it again.