Creating email templates
Email templates are pre-written messages for common situations faced frequently. Rather than drafting similar emails from scratch every time, templates help your team respond quickly while maintaining consistent communication.
Note:
- All users on Hiver can create email templates, regardless of their role.
- Admins: Can view and edit all templates, even the ones that haven't been shared with them.
- Non-admins: Can view and edit only their own templates or those shared with them.
How to create and edit a template
Templates work best when they're tailored to your team's specific needs and communication style. Here's how to create and modify them:
Steps to create a template
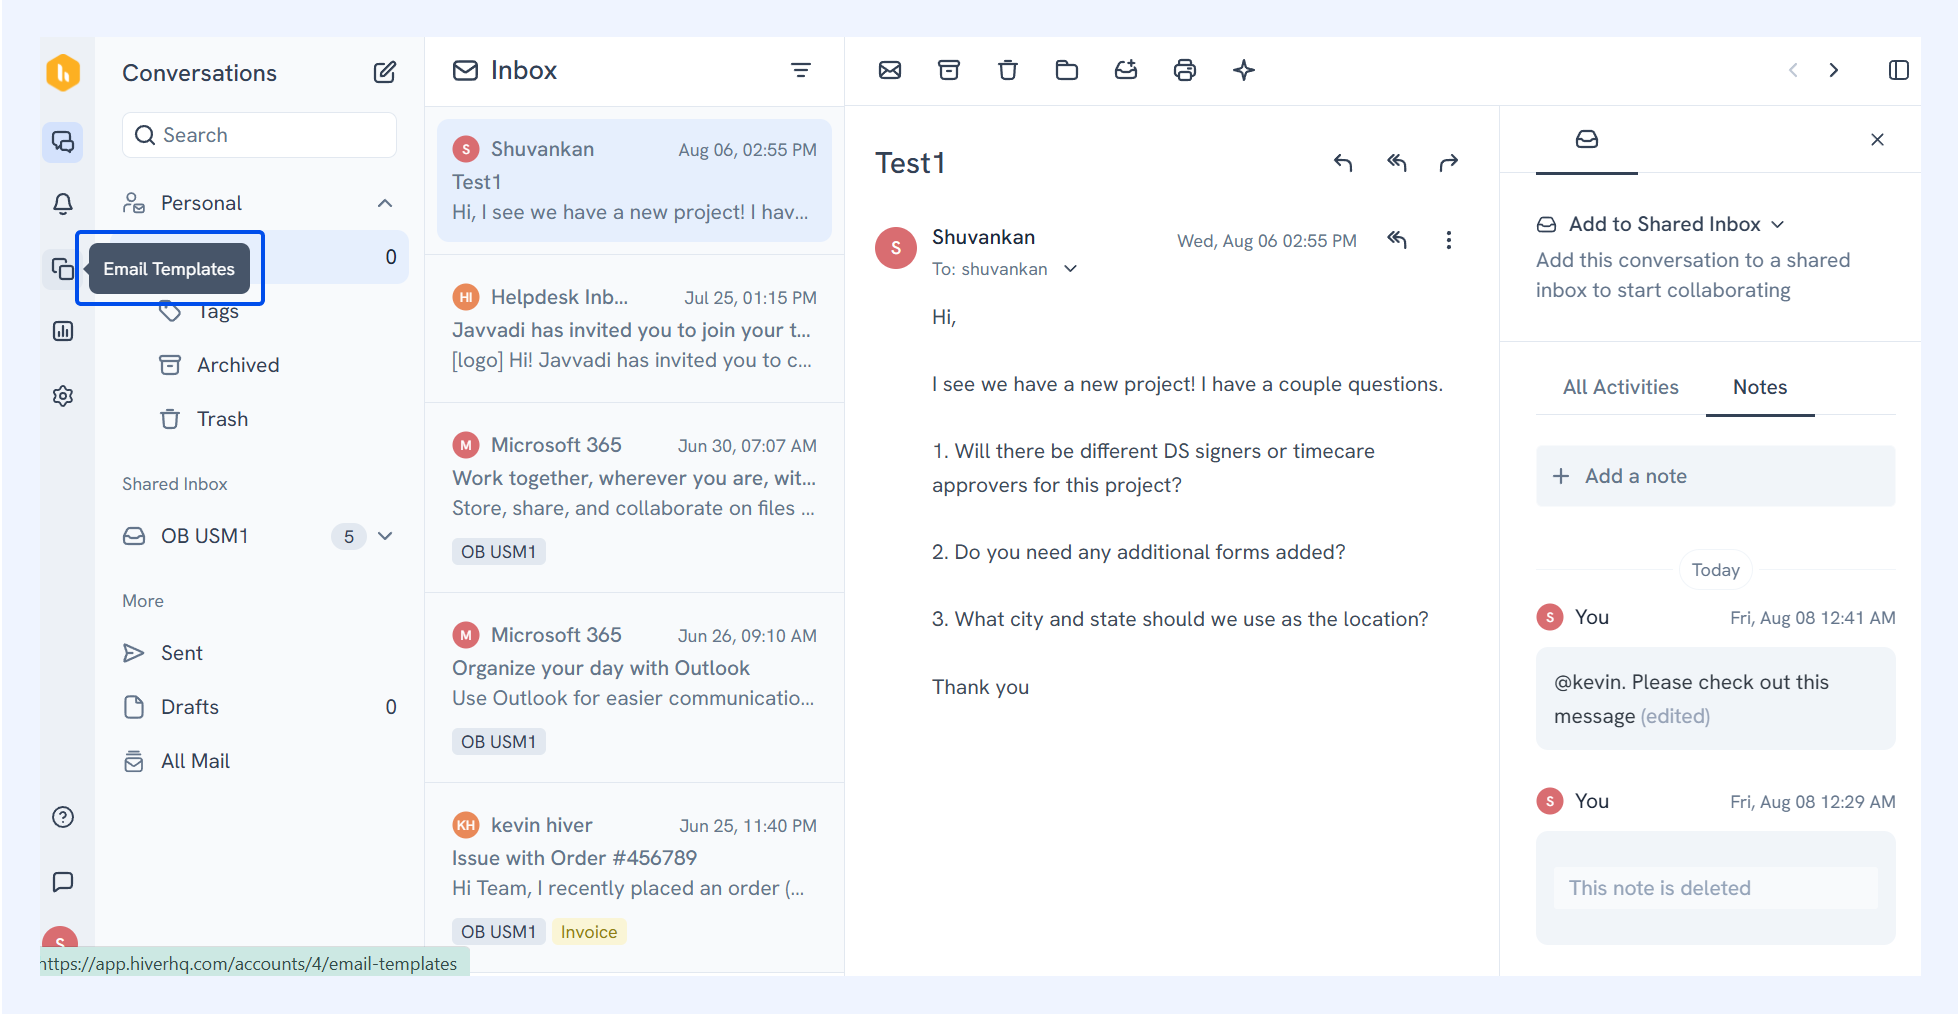
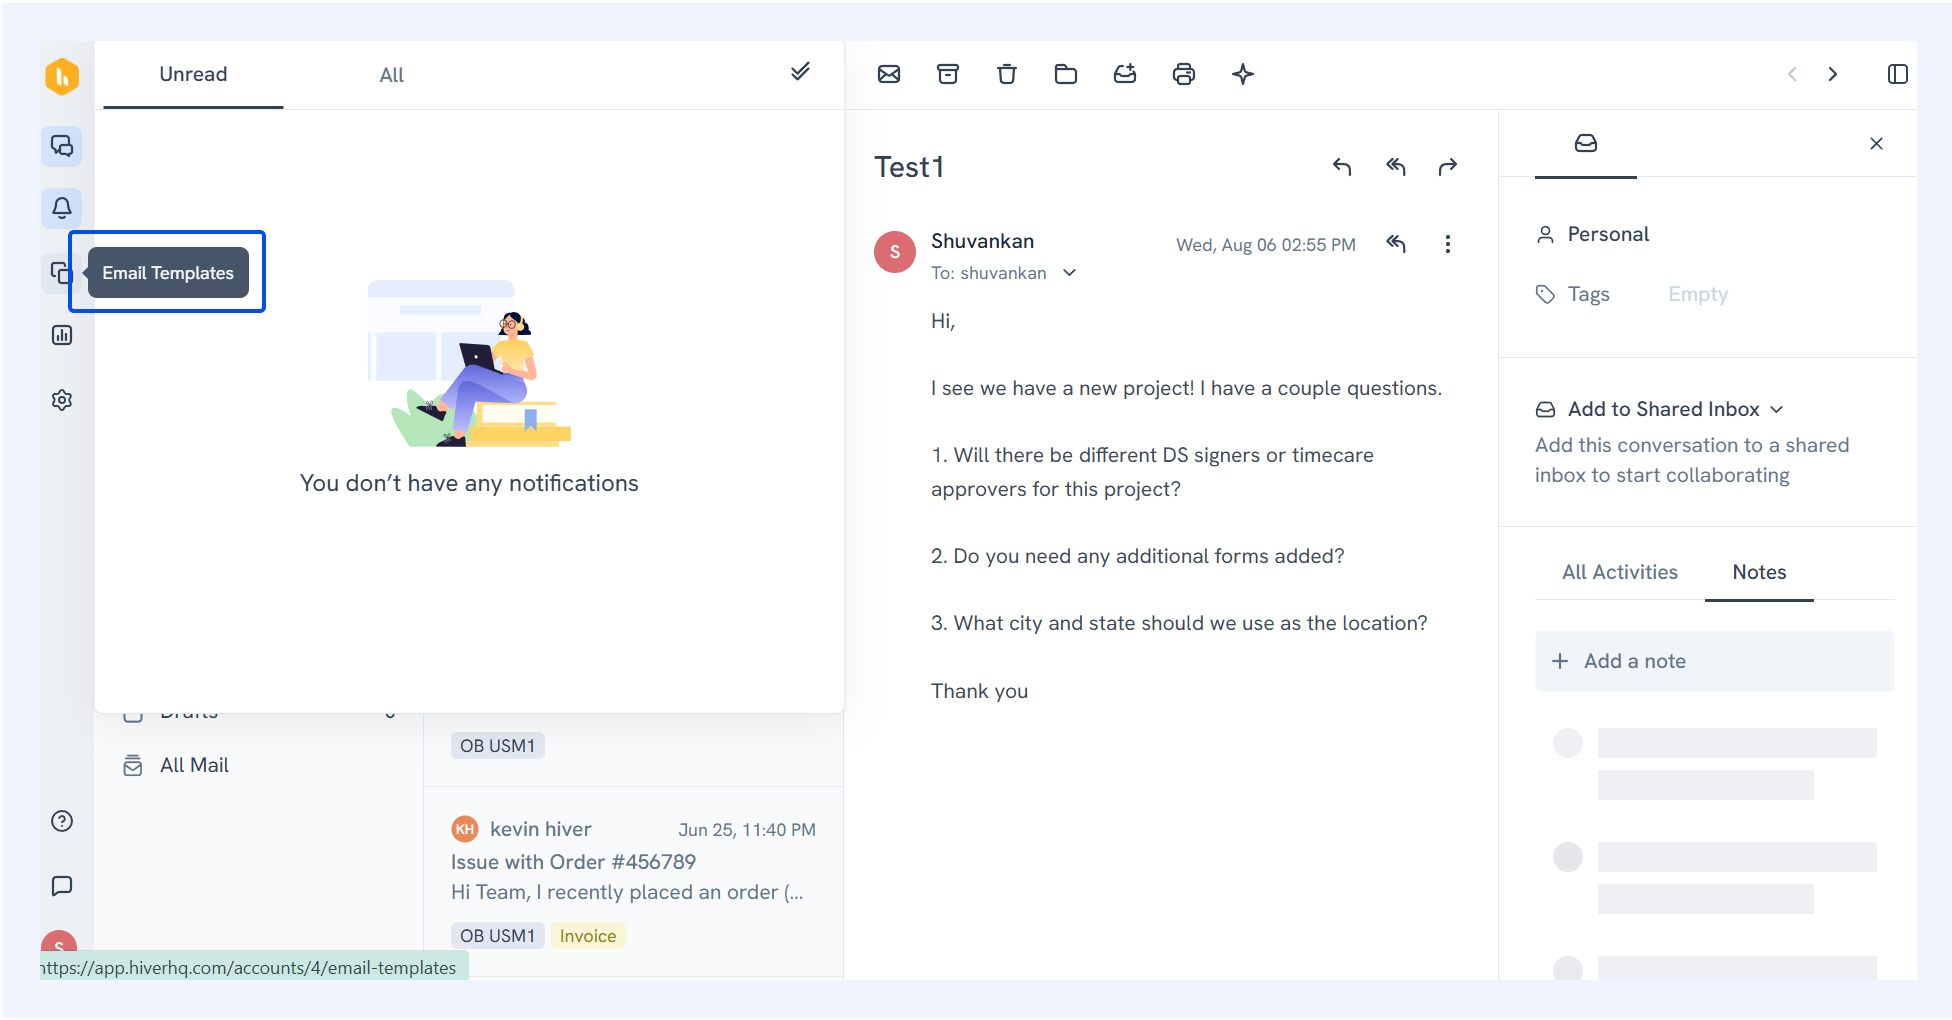
1. Find the Email Templates section on the left side panel in Hiver Omni.
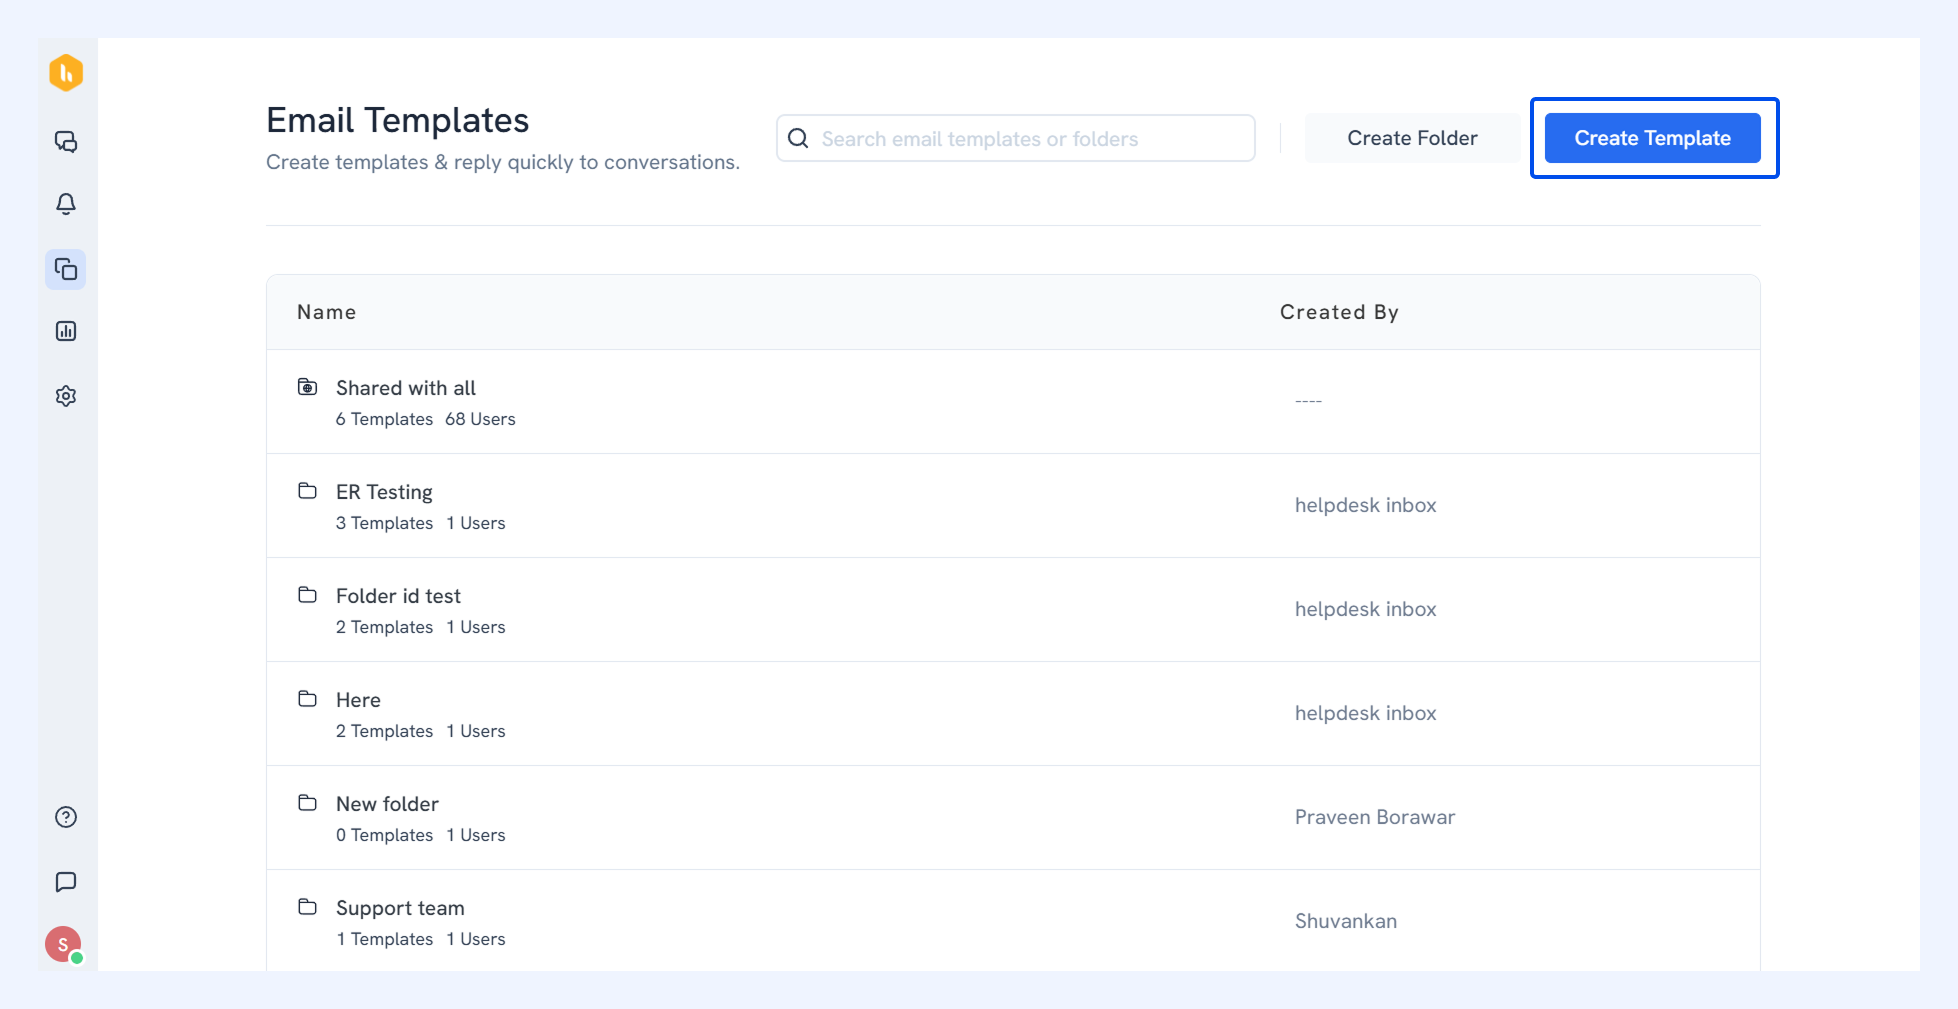
2. Click Create Template or open your desired folder first and create one from there.
3. Give your template a clear name and add a subject line. Write your template content in the message field and add variables like {{FirstName}} or {{CompanyName}} to personalize emails automatically.
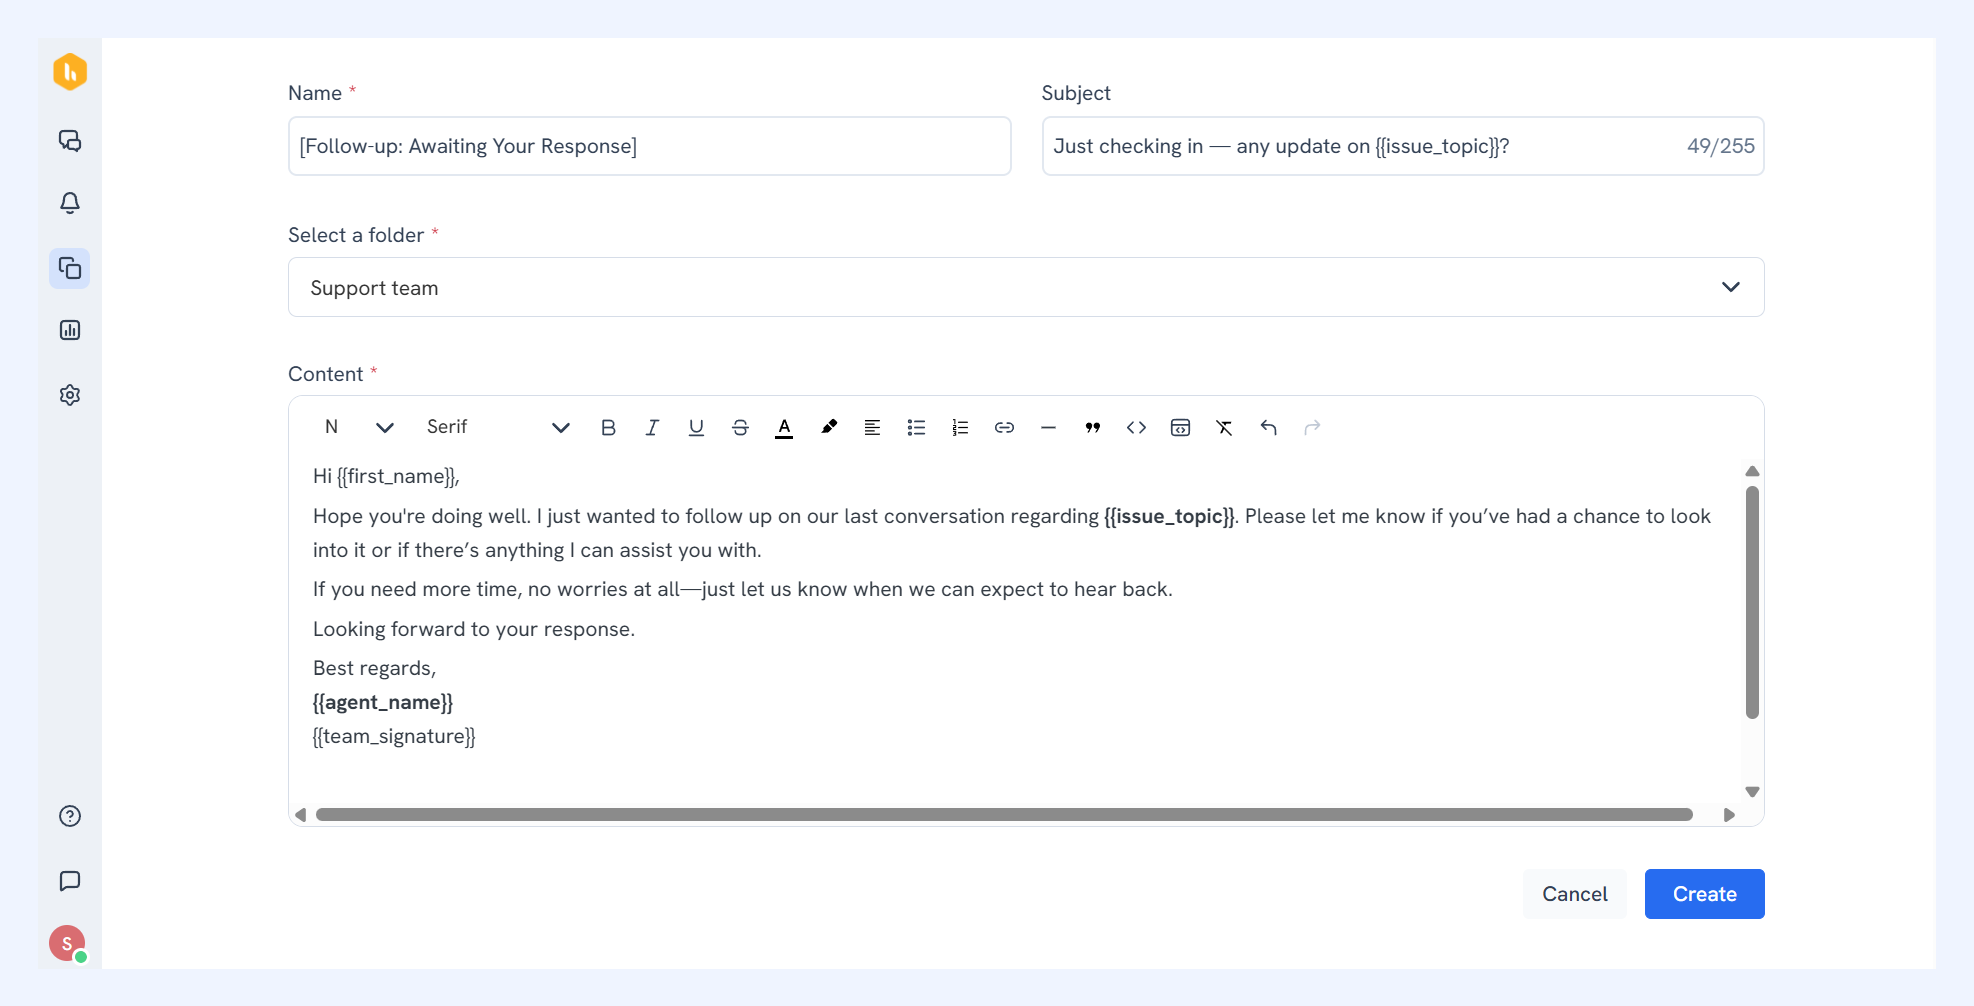
4. Choose which folder to save it in and click Create. The template will be shared automatically based on your folder's settings.
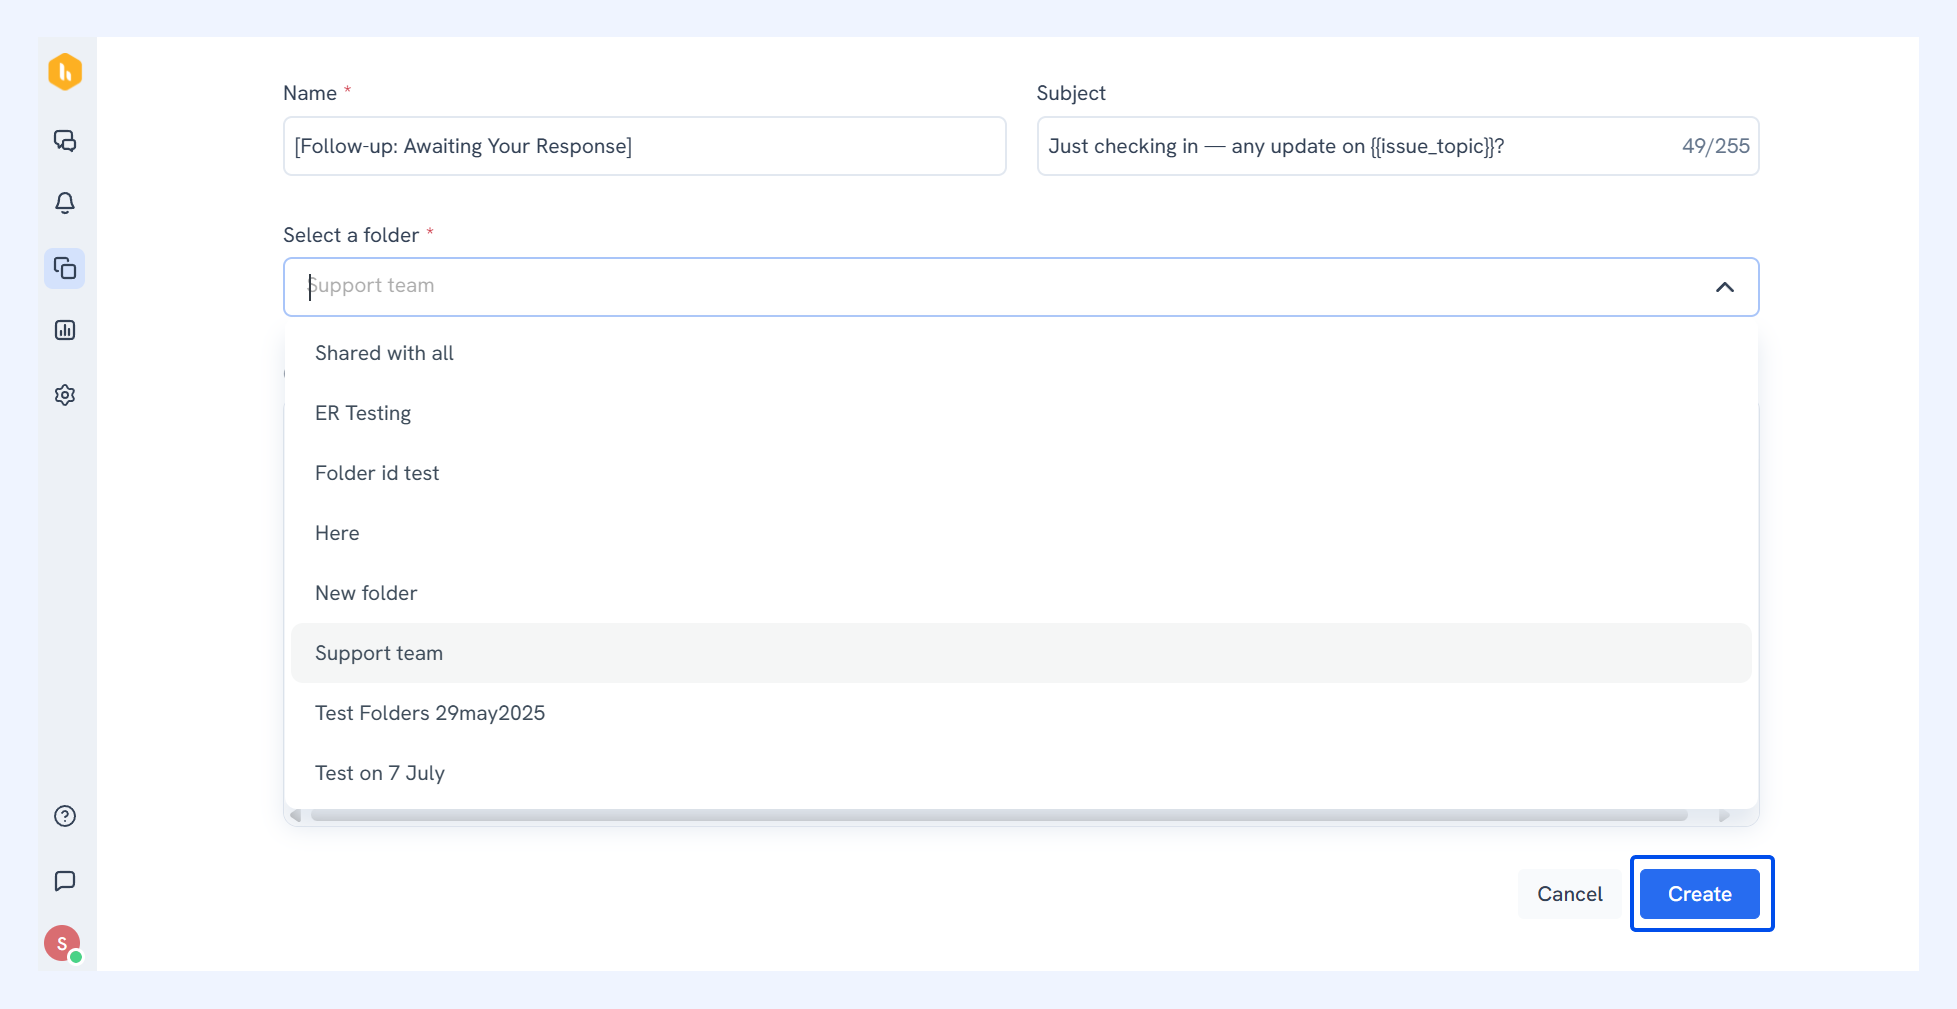
Steps to create a custom variable
Custom variables let your team add information that changes with each email, such as a refund amount, renewal date, or tracking number. Once created, they can be reused across templates.
To create a custom variable,
1. In the template Content field, type {{ and click Create custom variable.
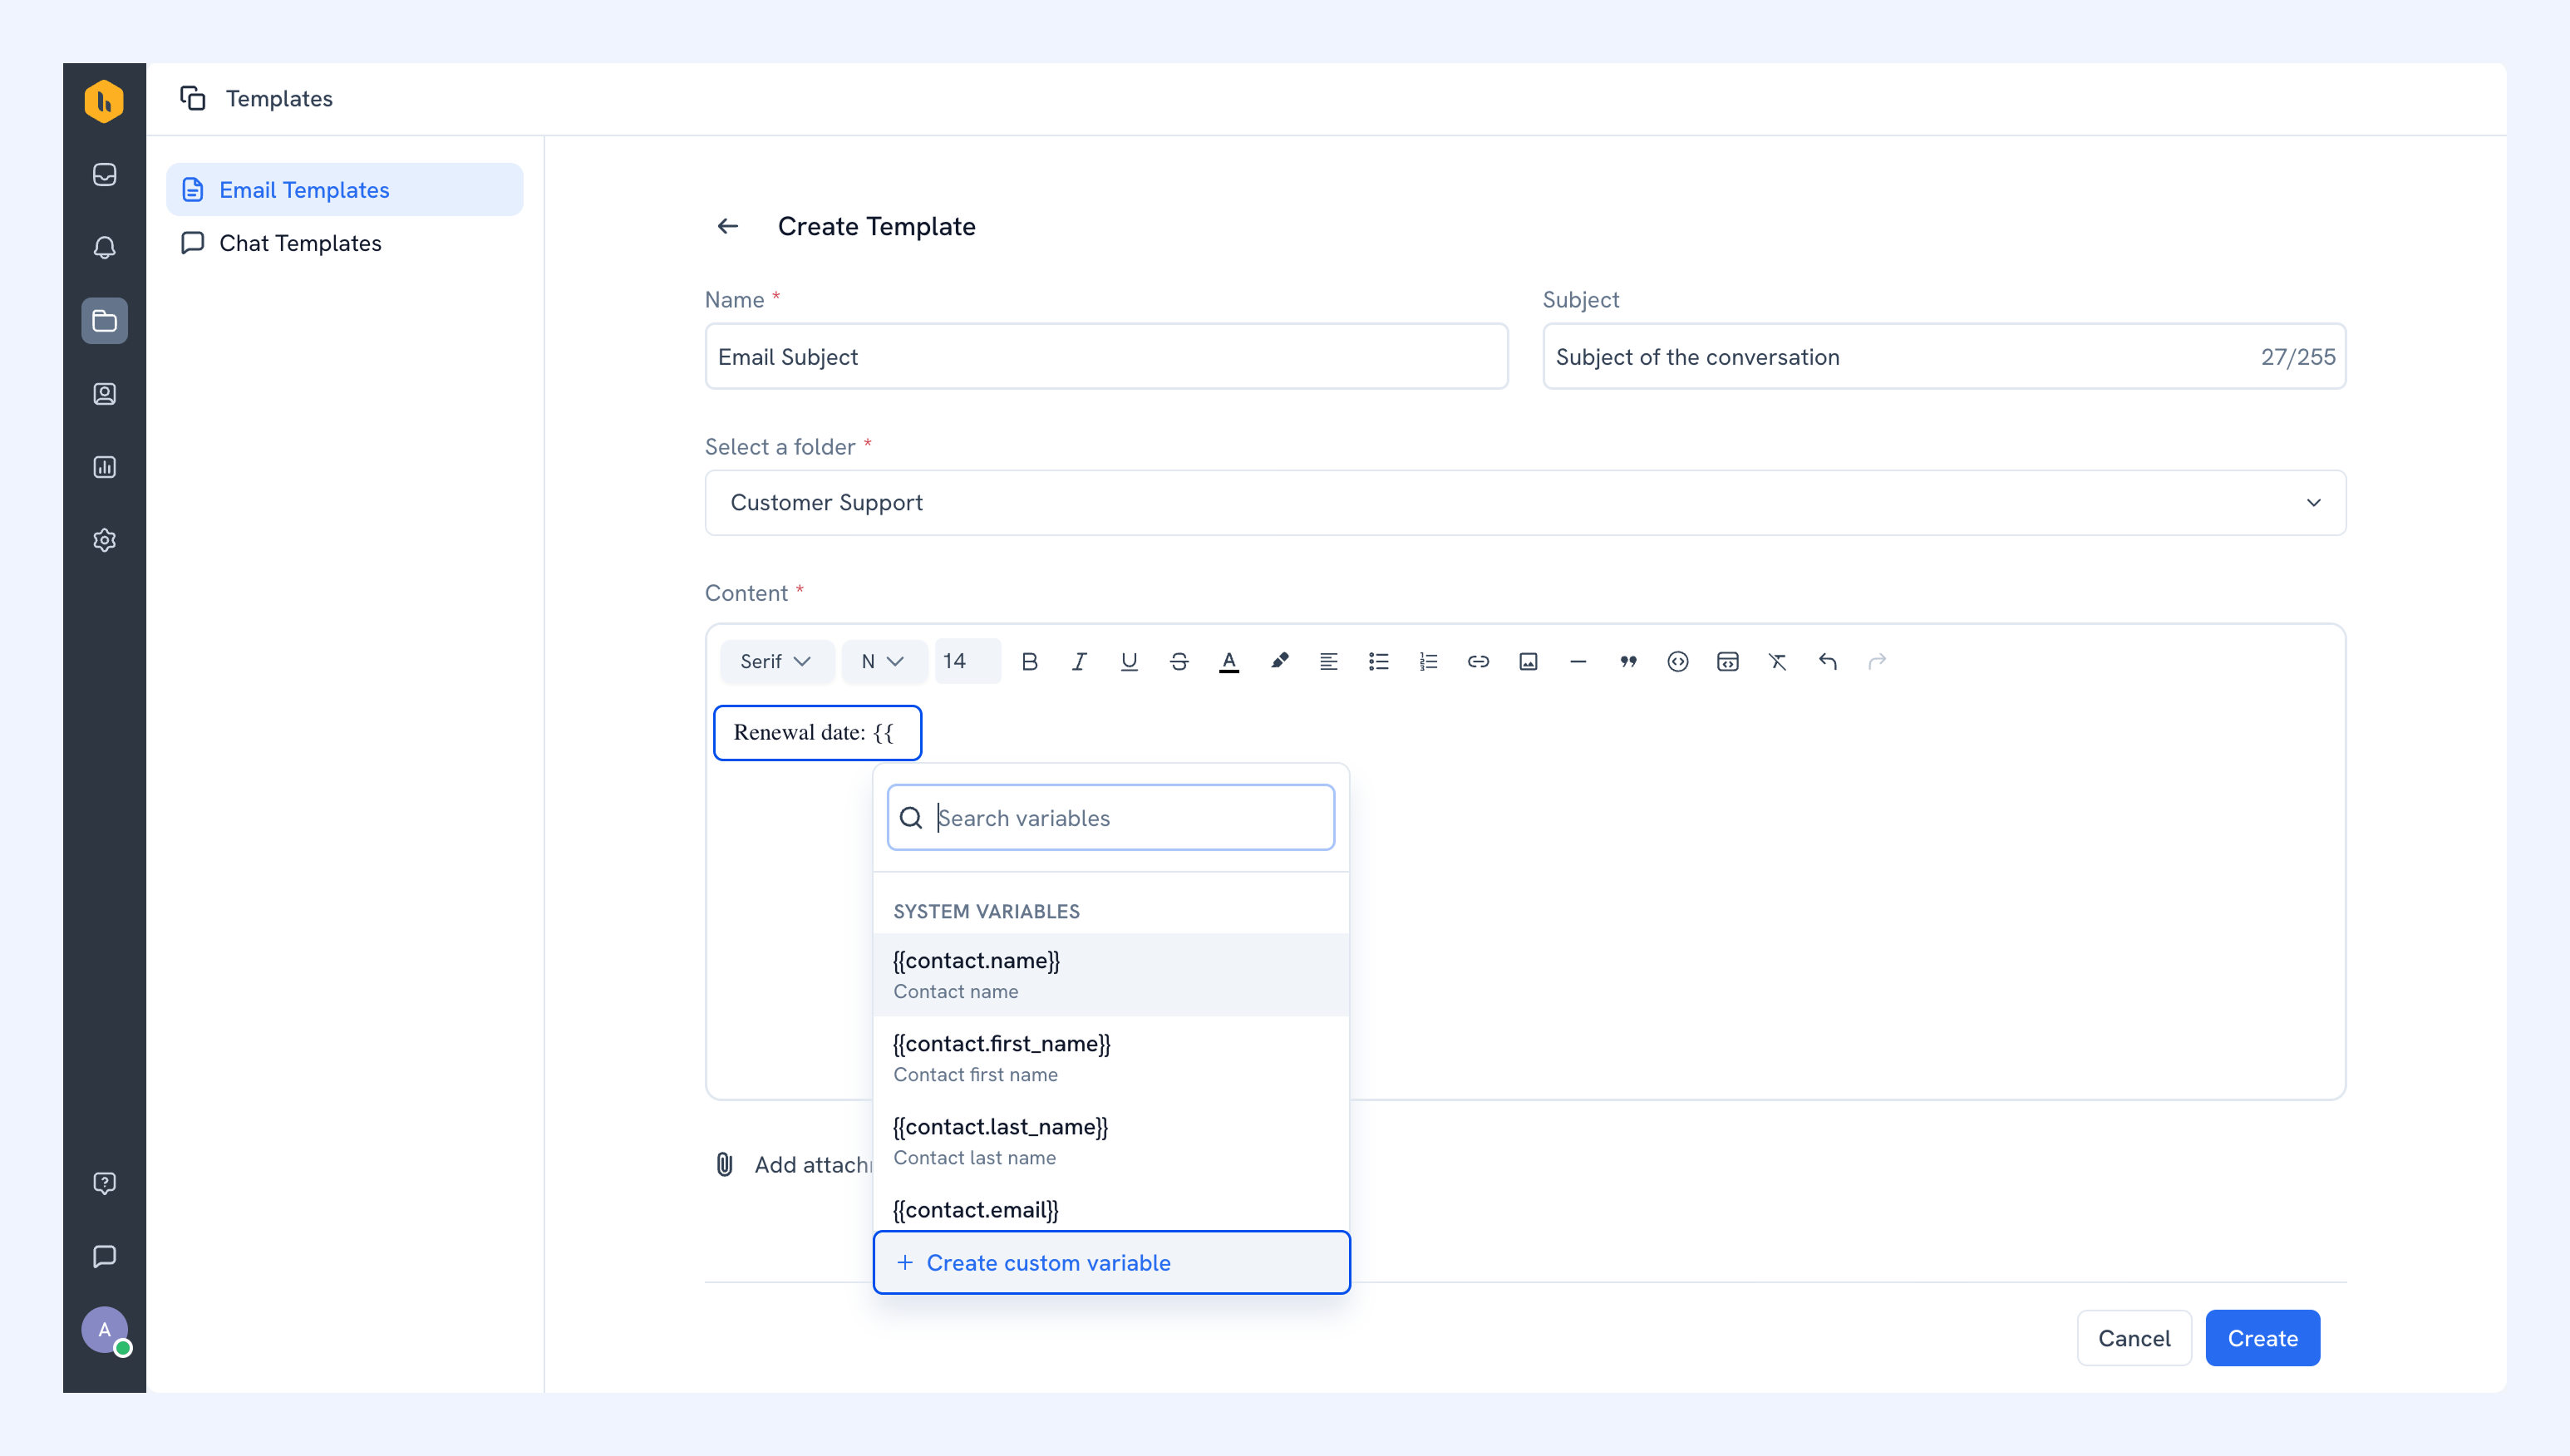
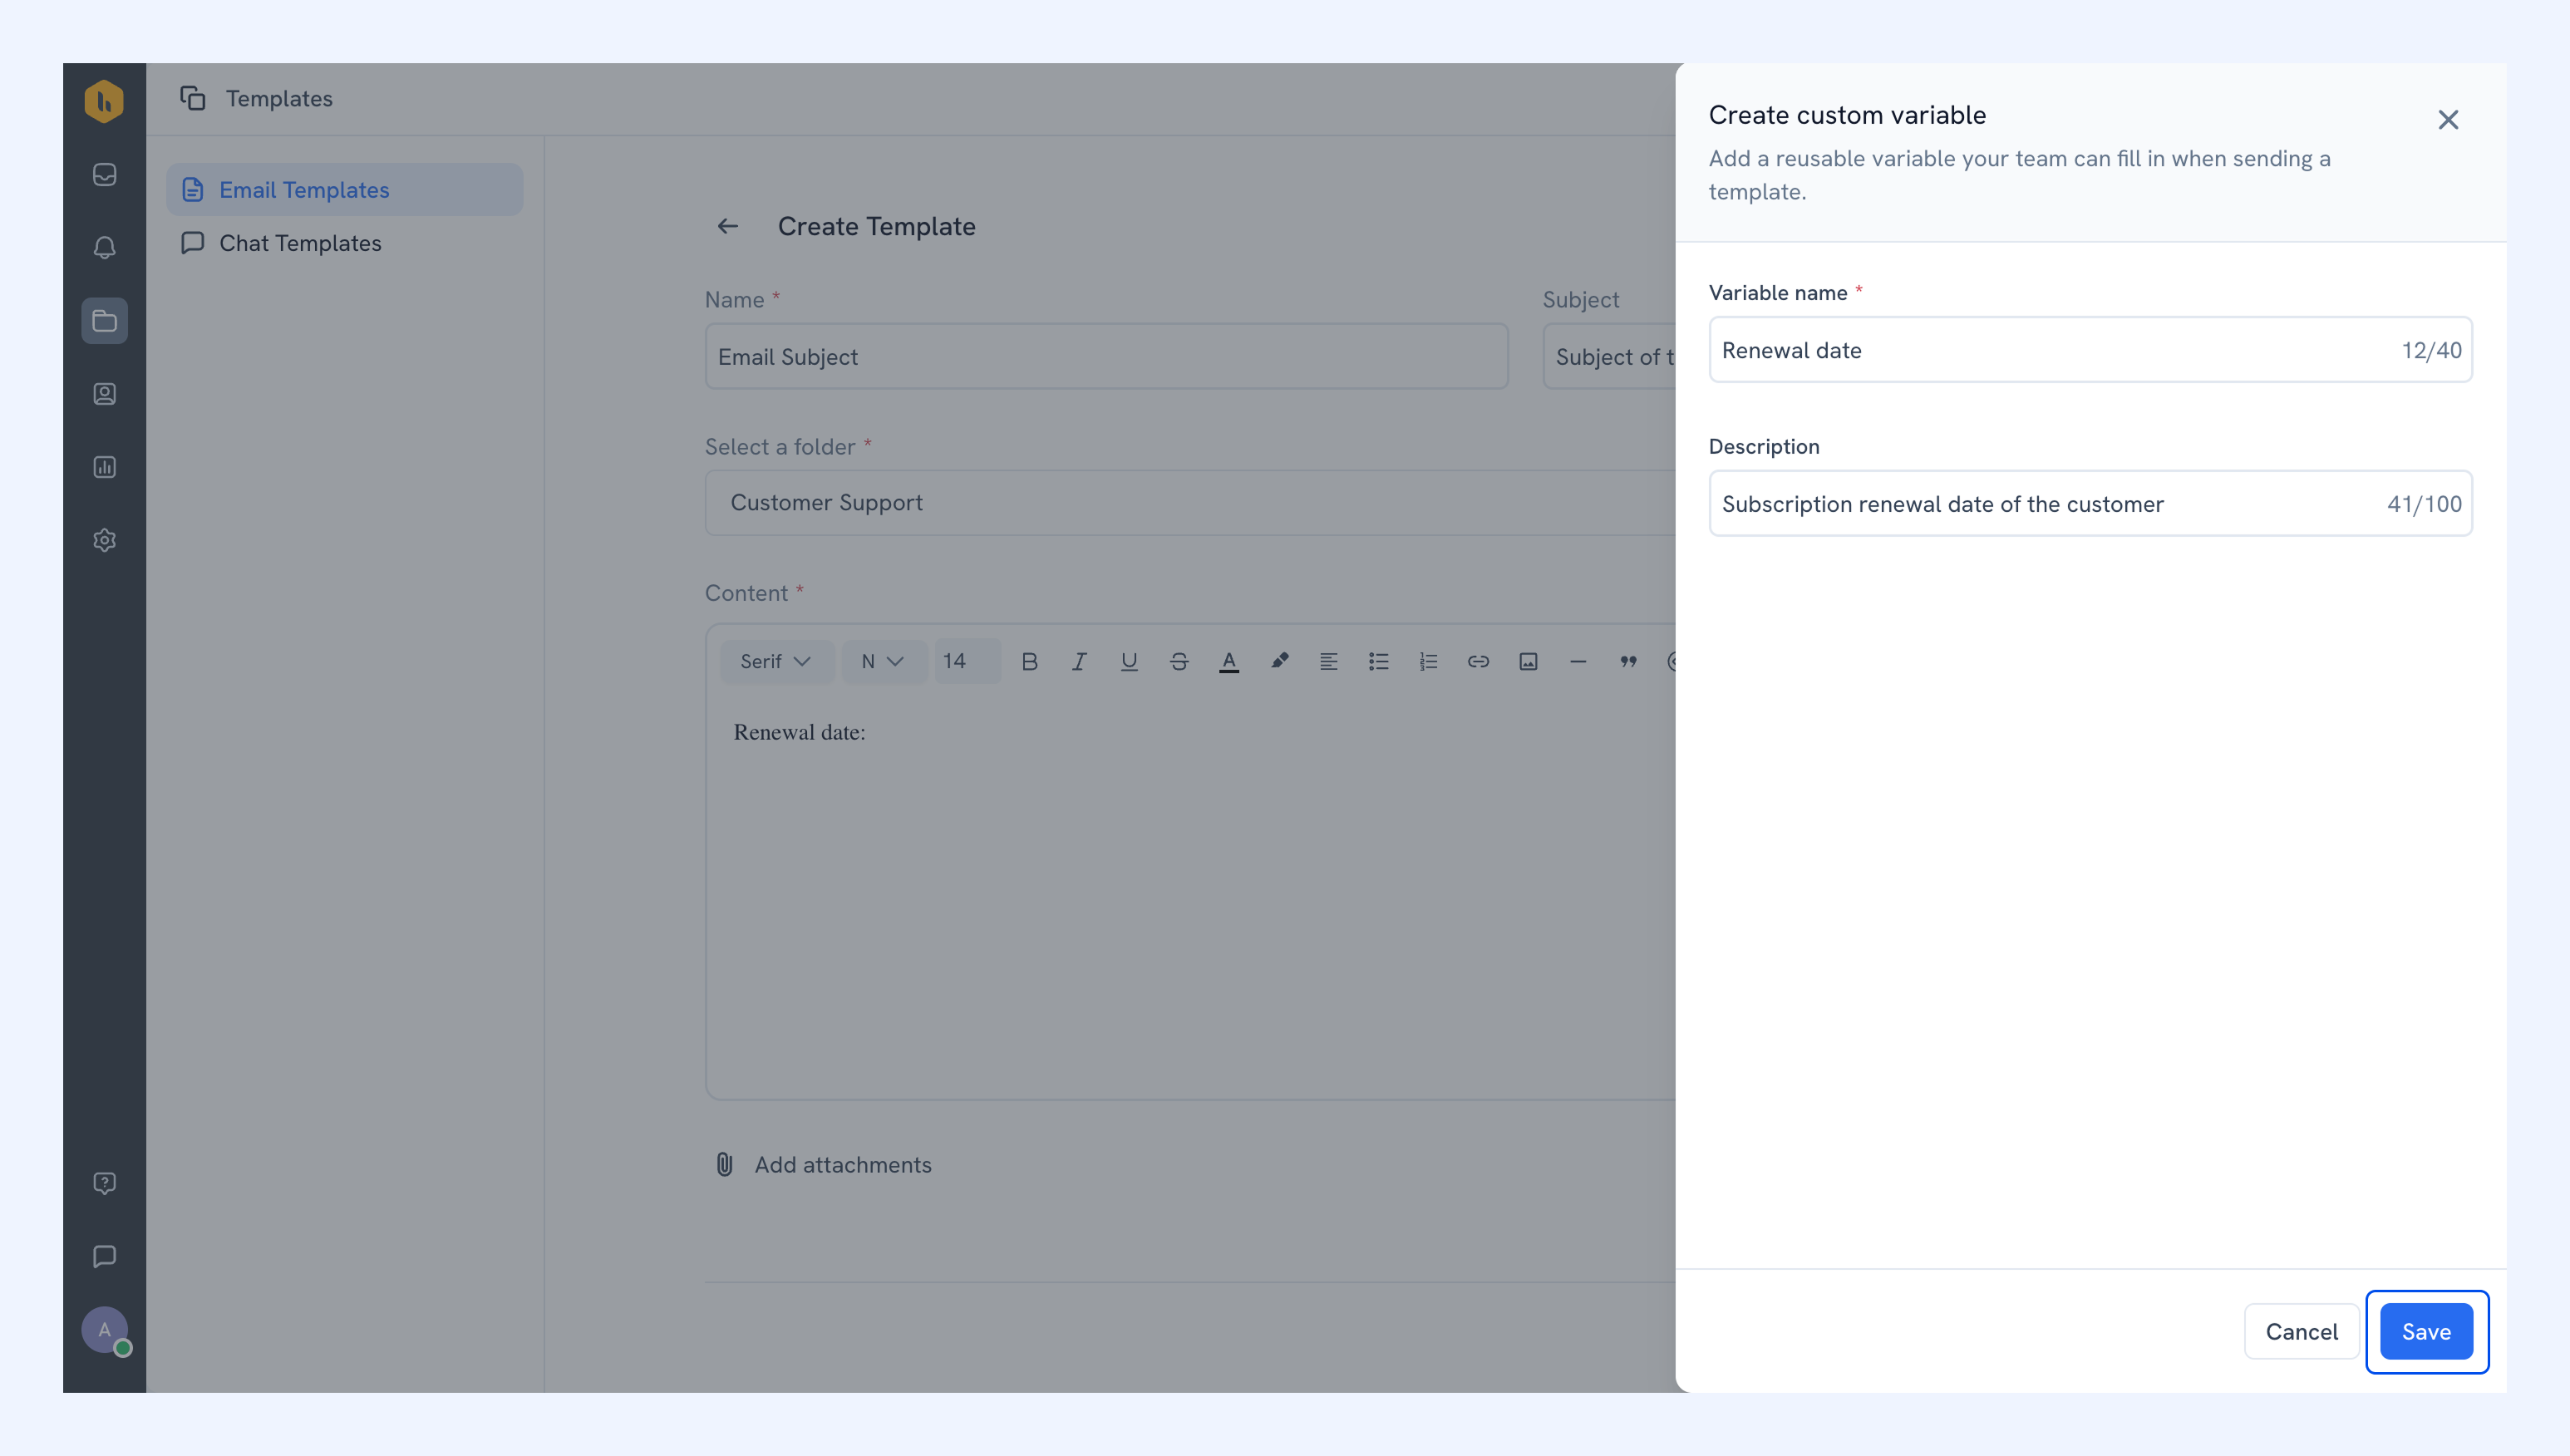
2. Enter a Variable name and a Description that tells your team what to enter.
3. Click Save.
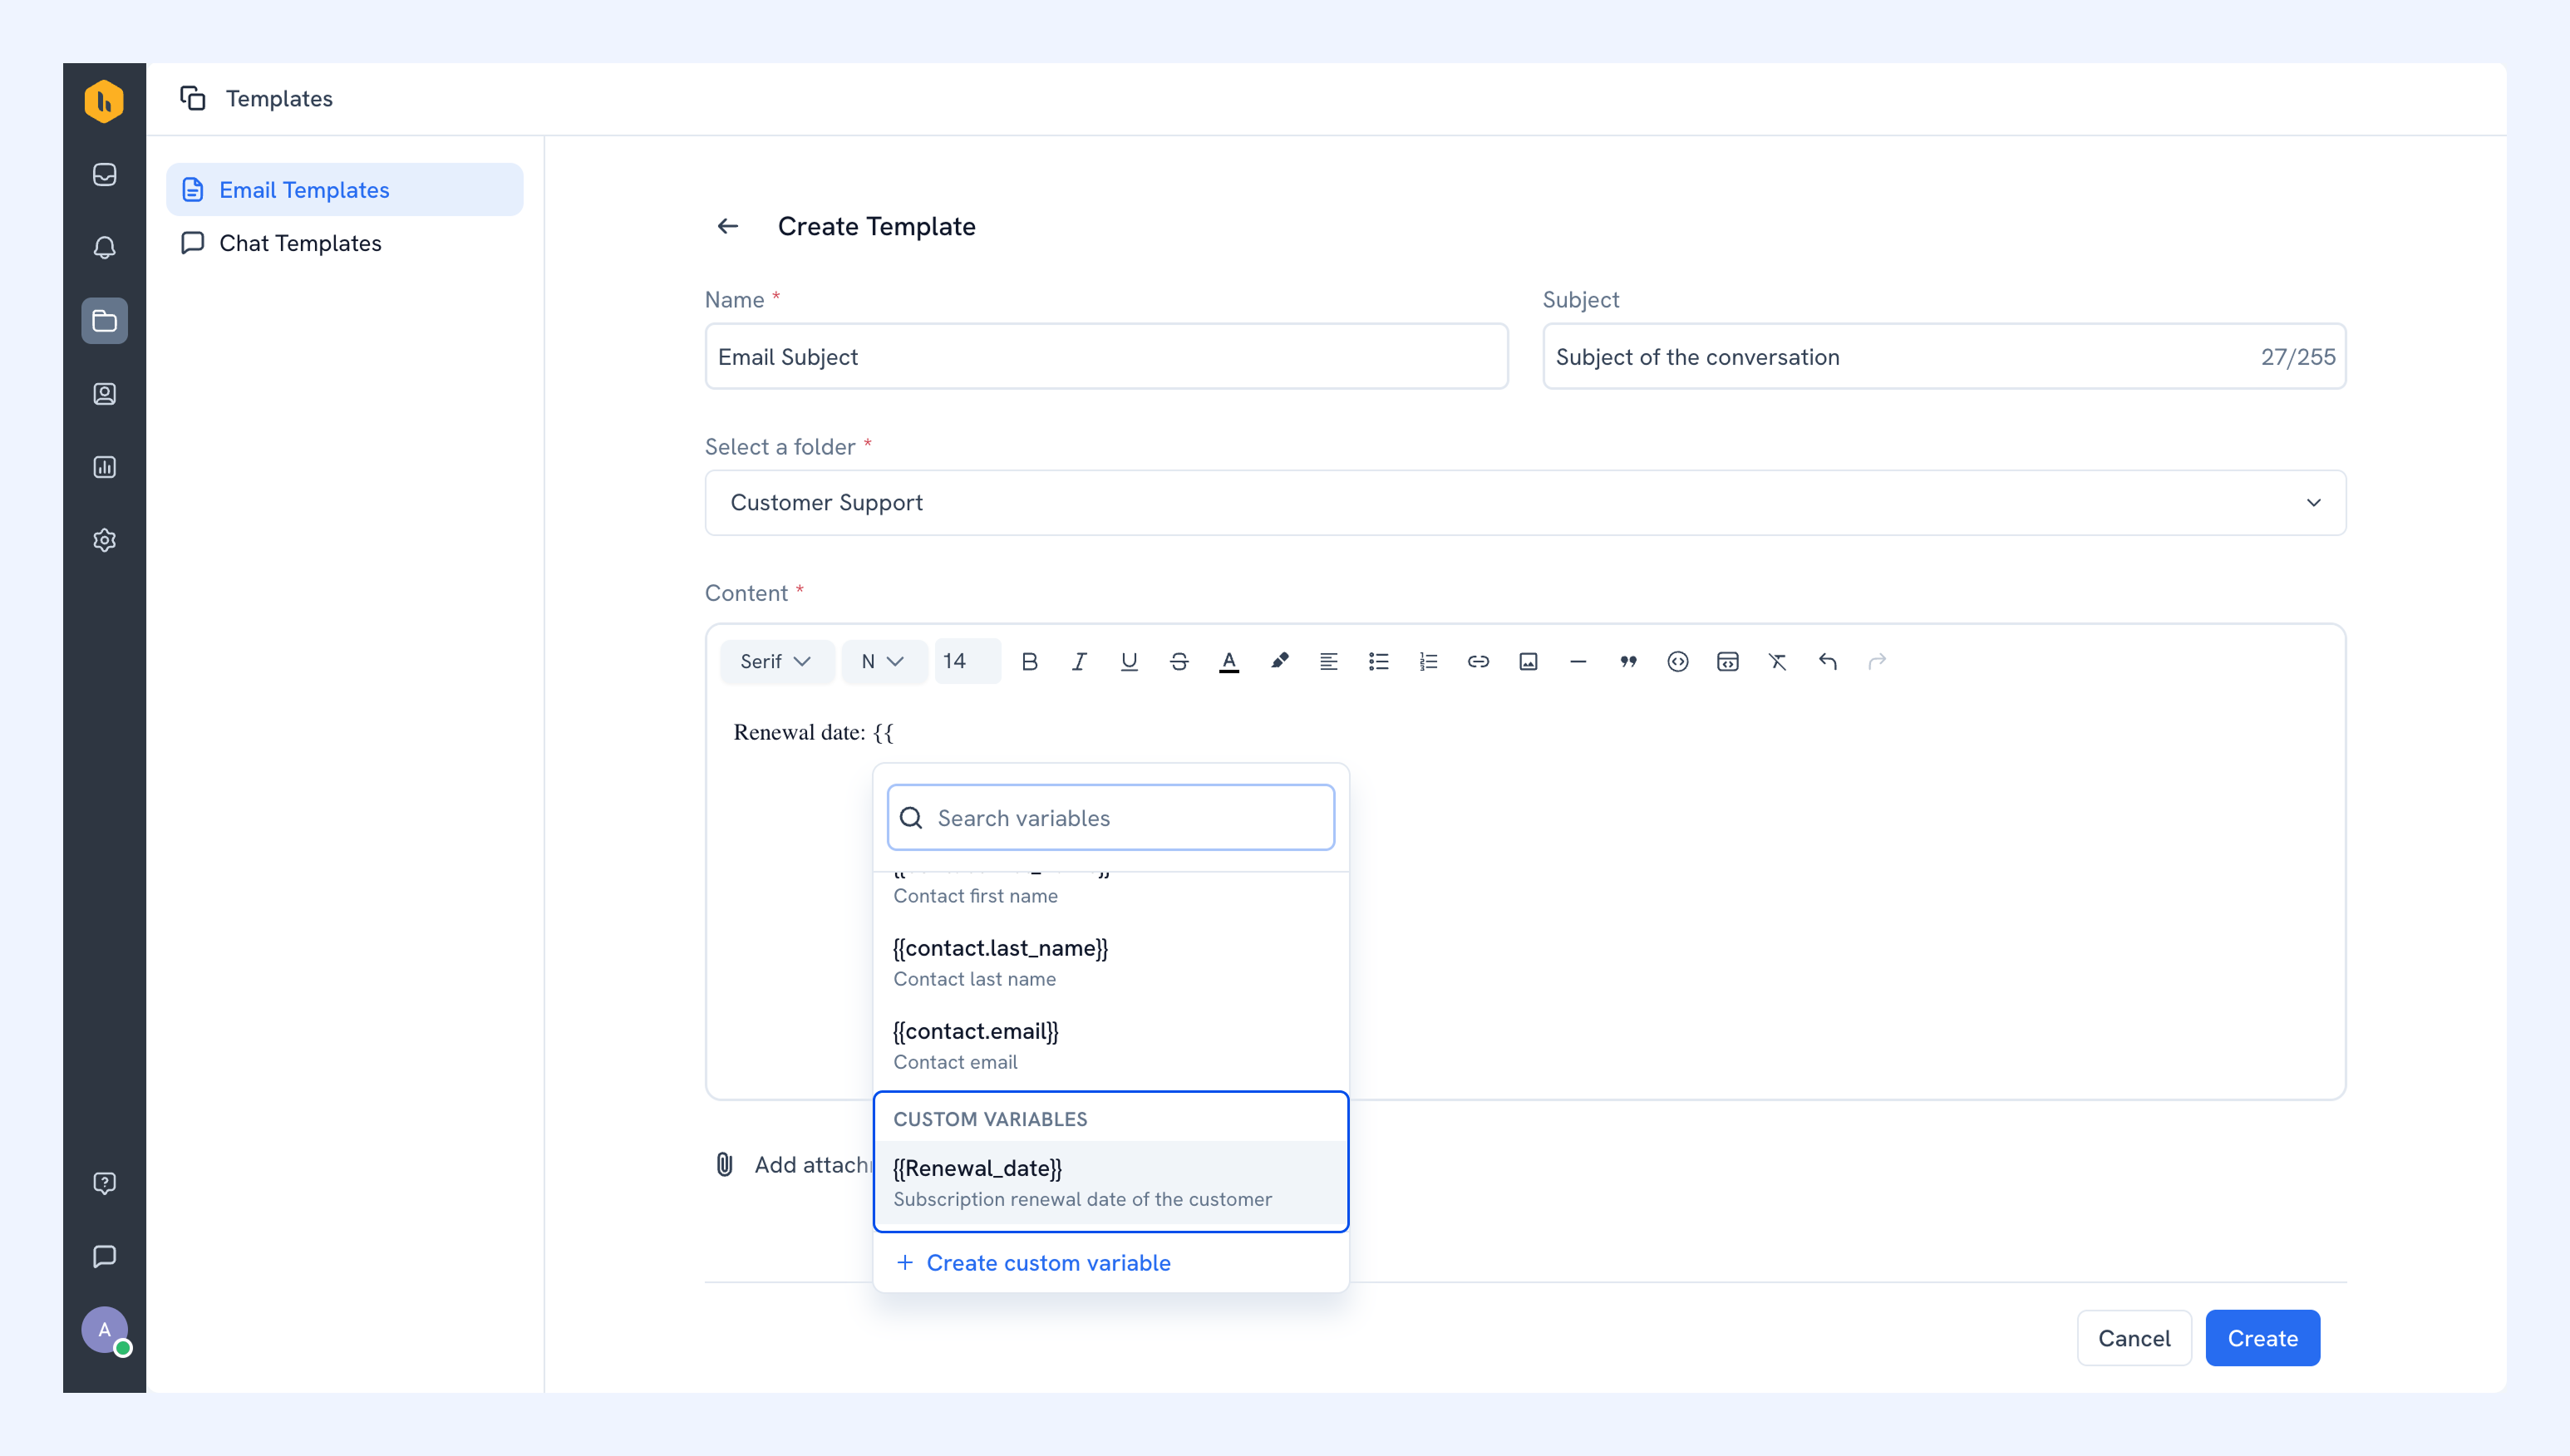
Once created, you can select the custom variable from the {{ menu to add it to a template.
Steps to edit a template
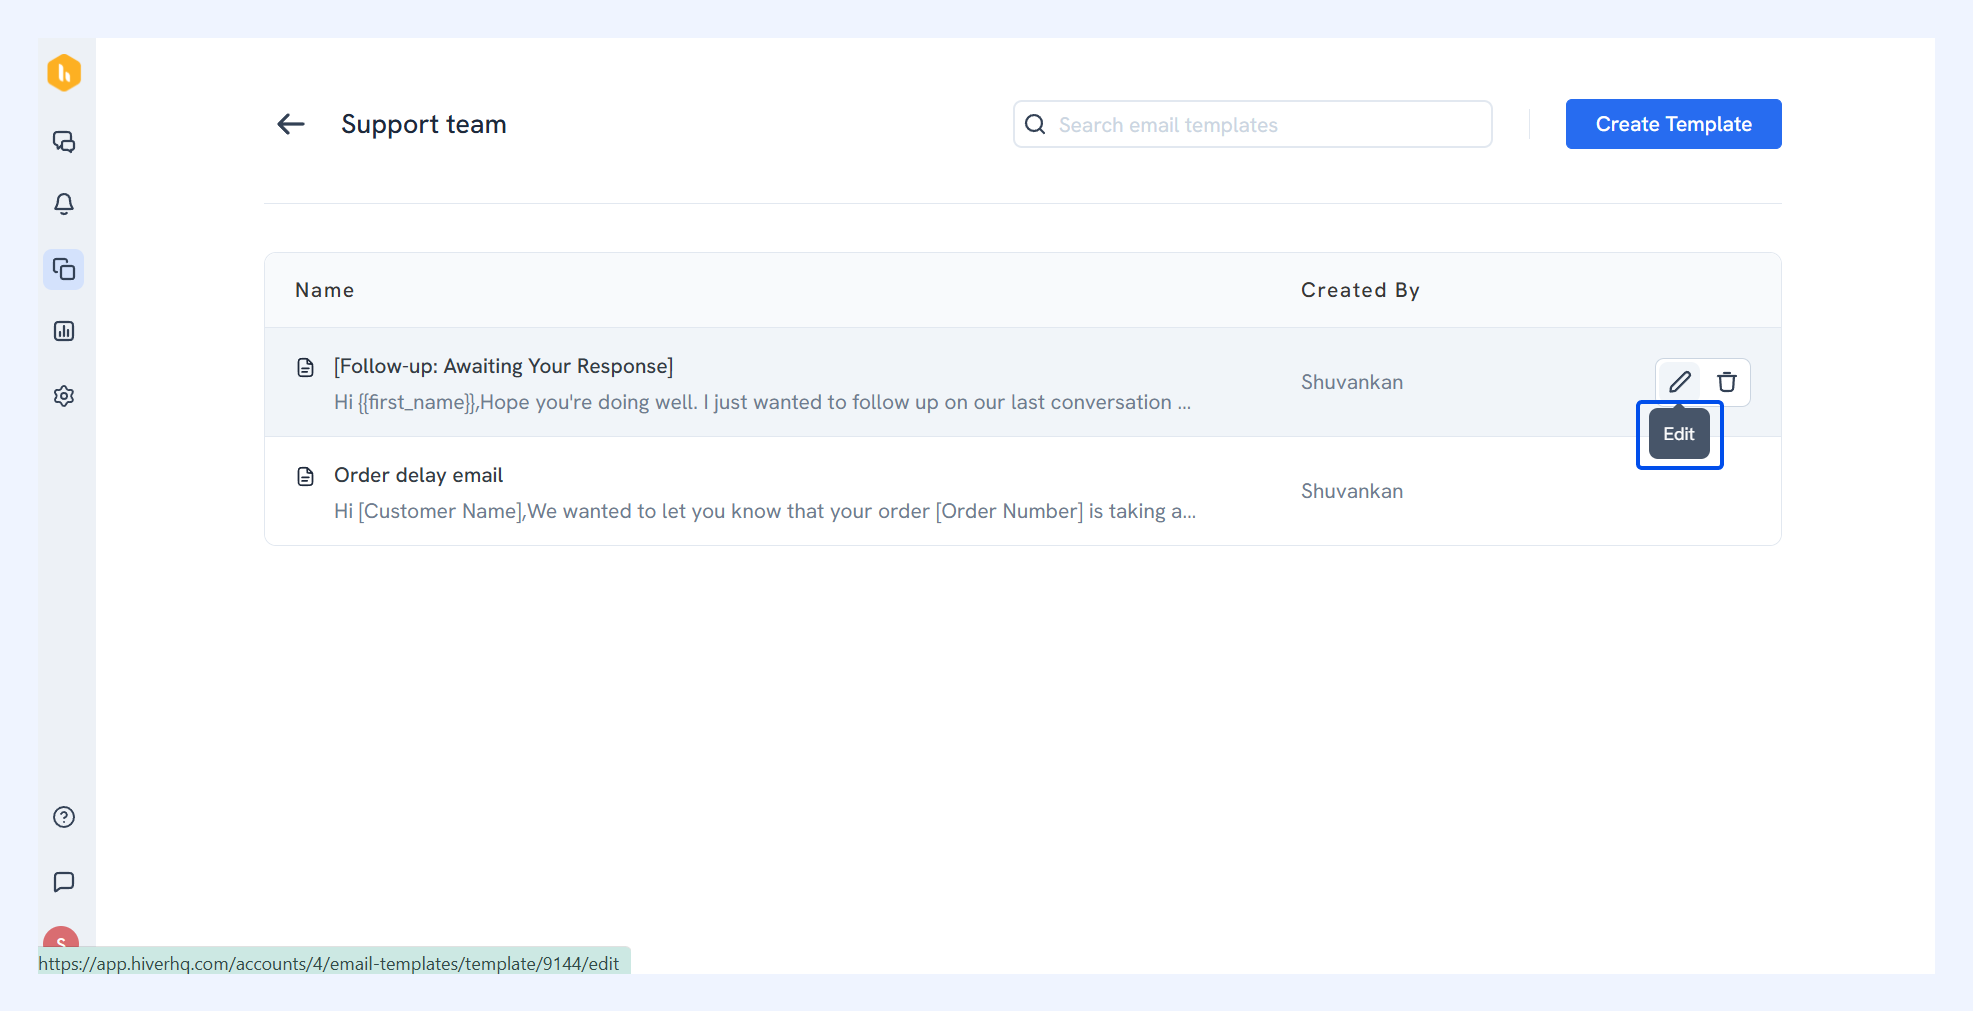
- Go to Email Templates, open the Saved Templates folder, select your template, click Edit, make changes, and then click Update.
Steps to embed templates in an email
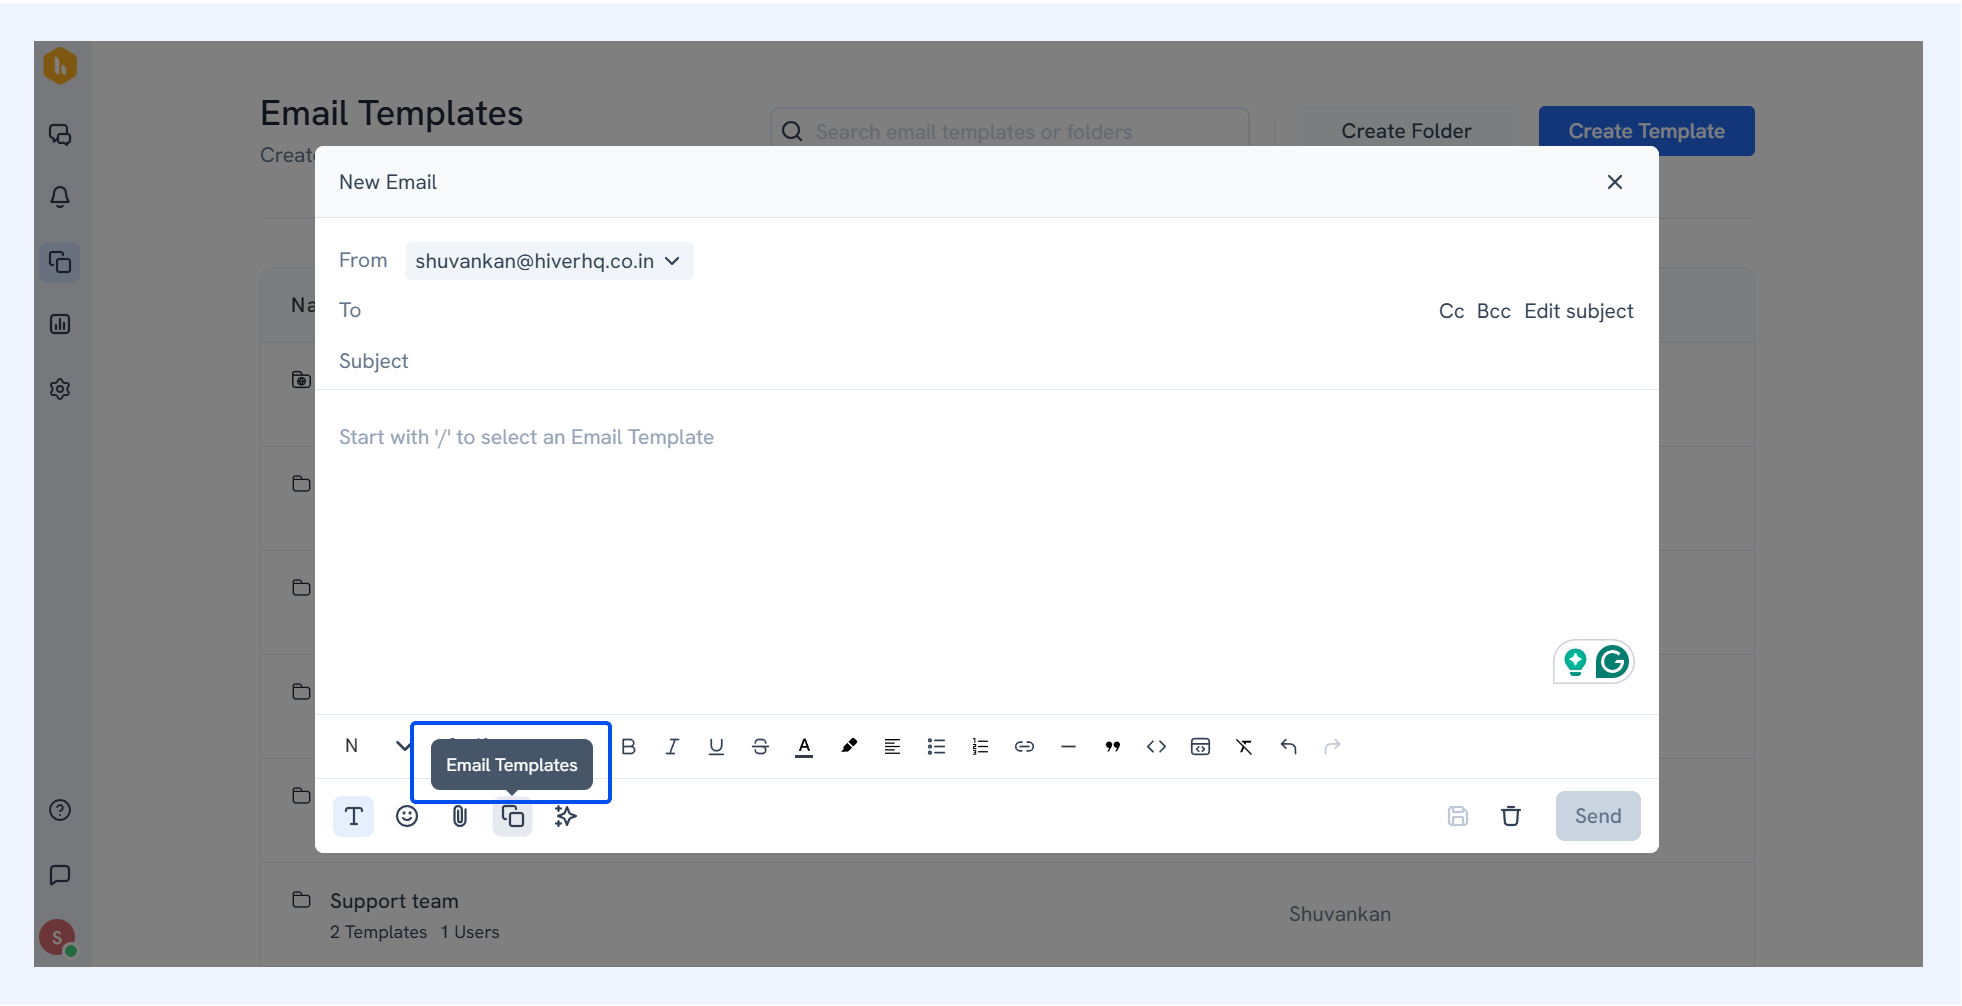
1. Click Email Templates in the compose window to insert a template when composing or replying to a conversation.
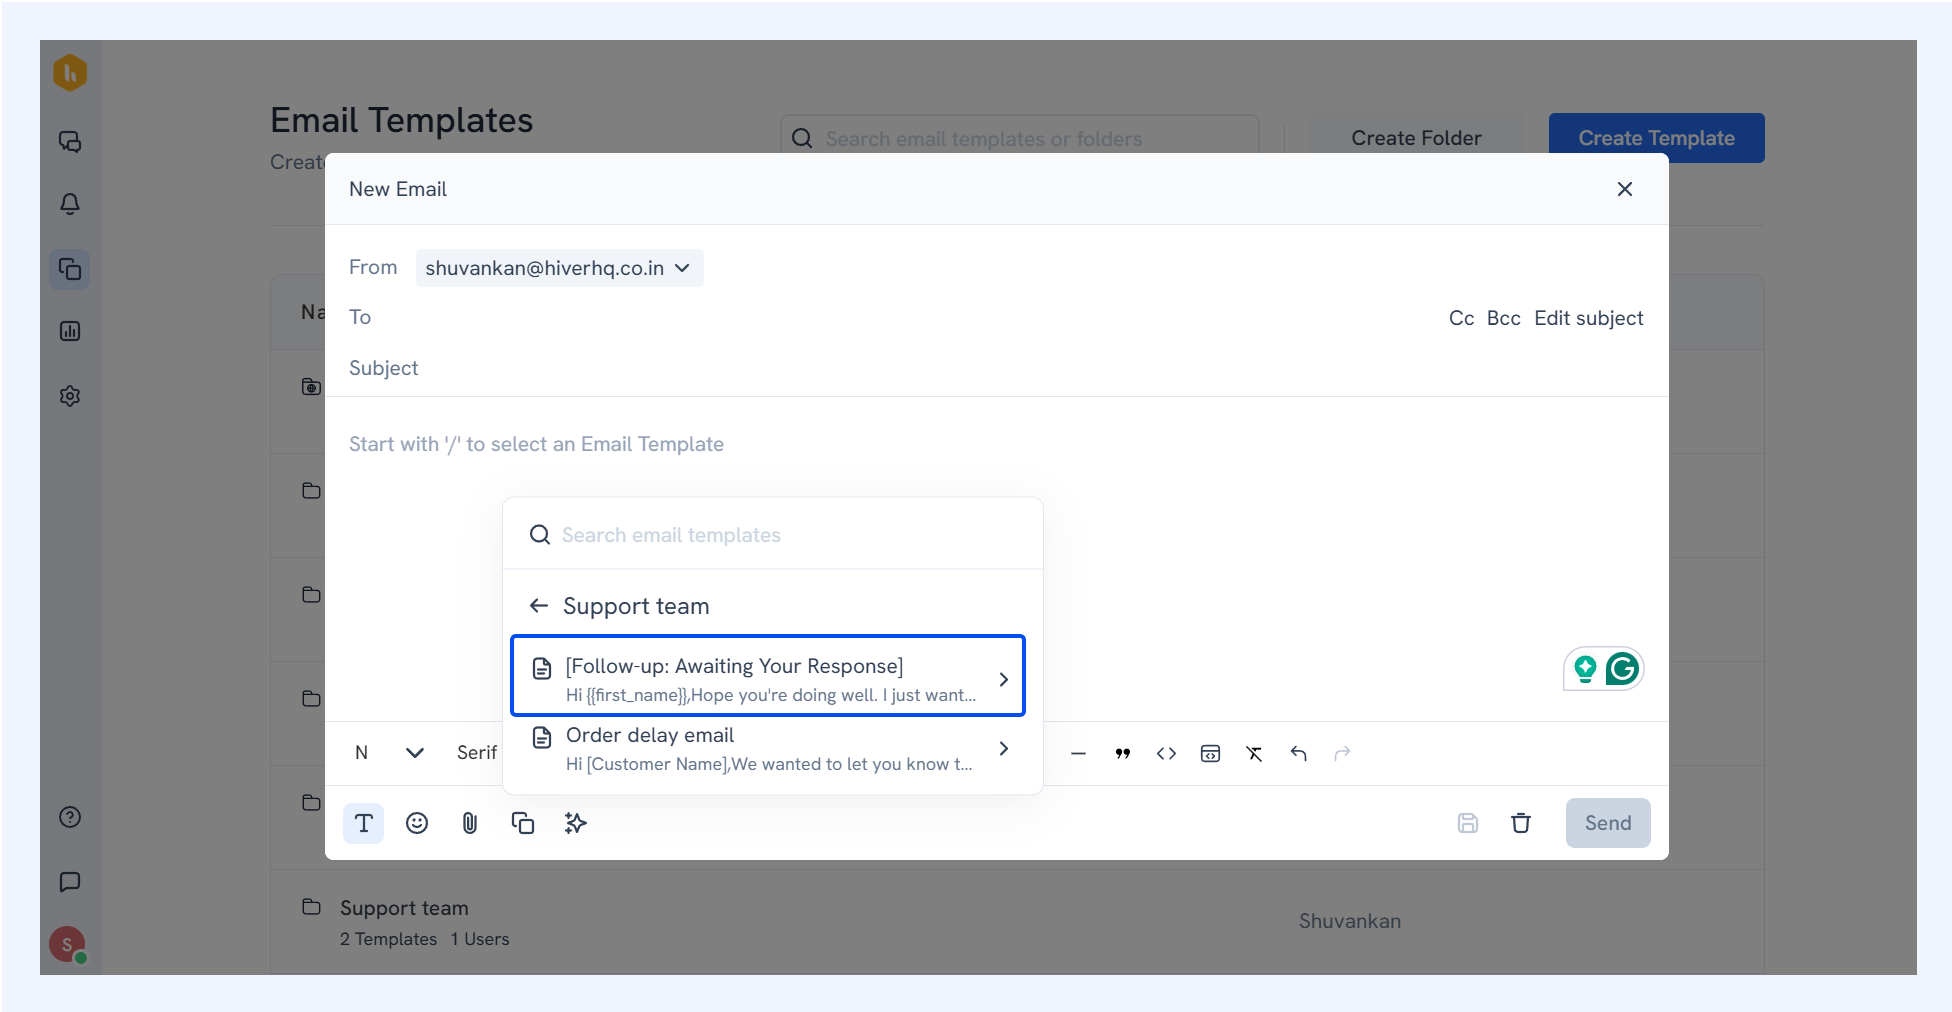
2. In the template pane, find your folder and select your template.
3. The template content will automatically be inserted into your email. If it contains custom variables, click each highlighted variable and enter its value, before hitting send.
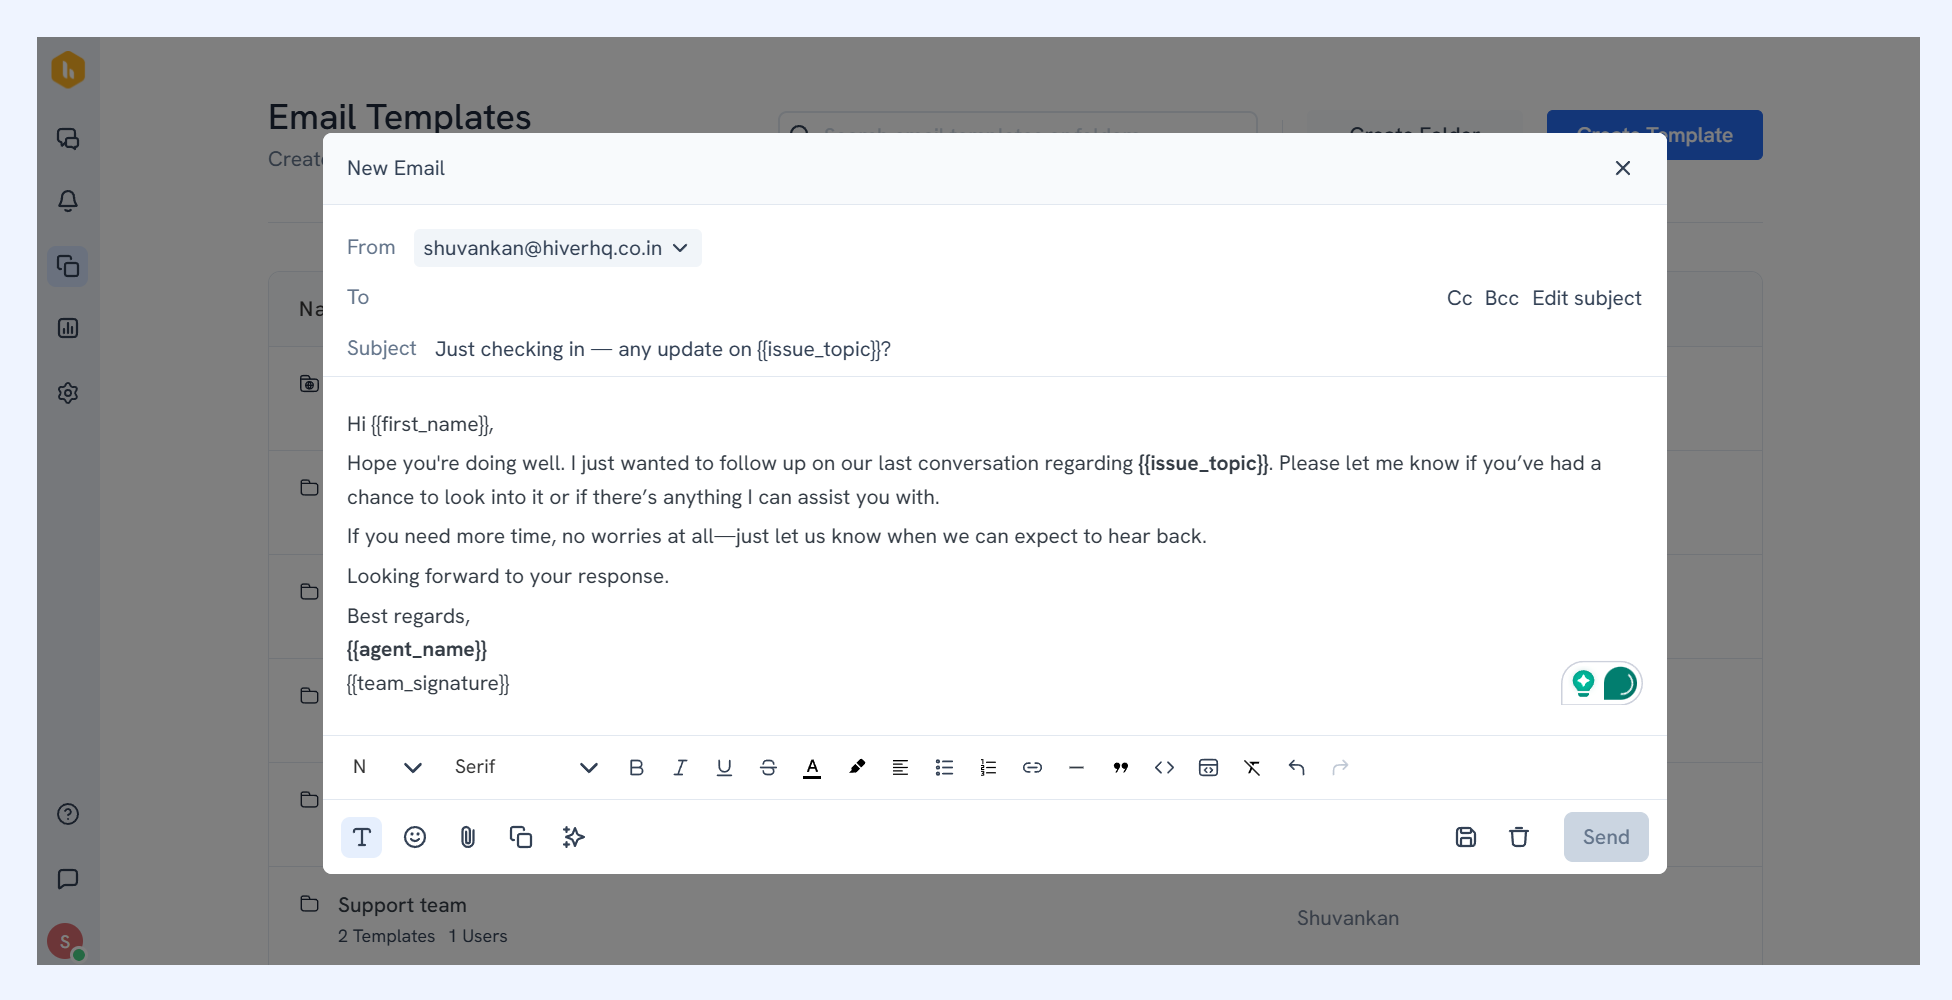
Note: You can’t send the email until all the variables are filled.
Organizing email templates in folders
Hiver uses folders to organize email templates and control who can access them. You can create email templates directly inside these folders and can move them between folders as needed. Here's how it works:
- Hiver automatically creates a Shared with All folder. Templates here are accessible to everyone in your Hiver account.
- Create additional folders to organize templates by team, department, or purpose. Share these custom folders with only the team members who need those specific templates.
How to create email template folders
Organizing templates into folders makes them easier to find and ensures team members can directly access the content they need. Here's how to organize your folders:
Steps to create a folder
1. Click Email Templates on the left-hand side to view your existing template folders.
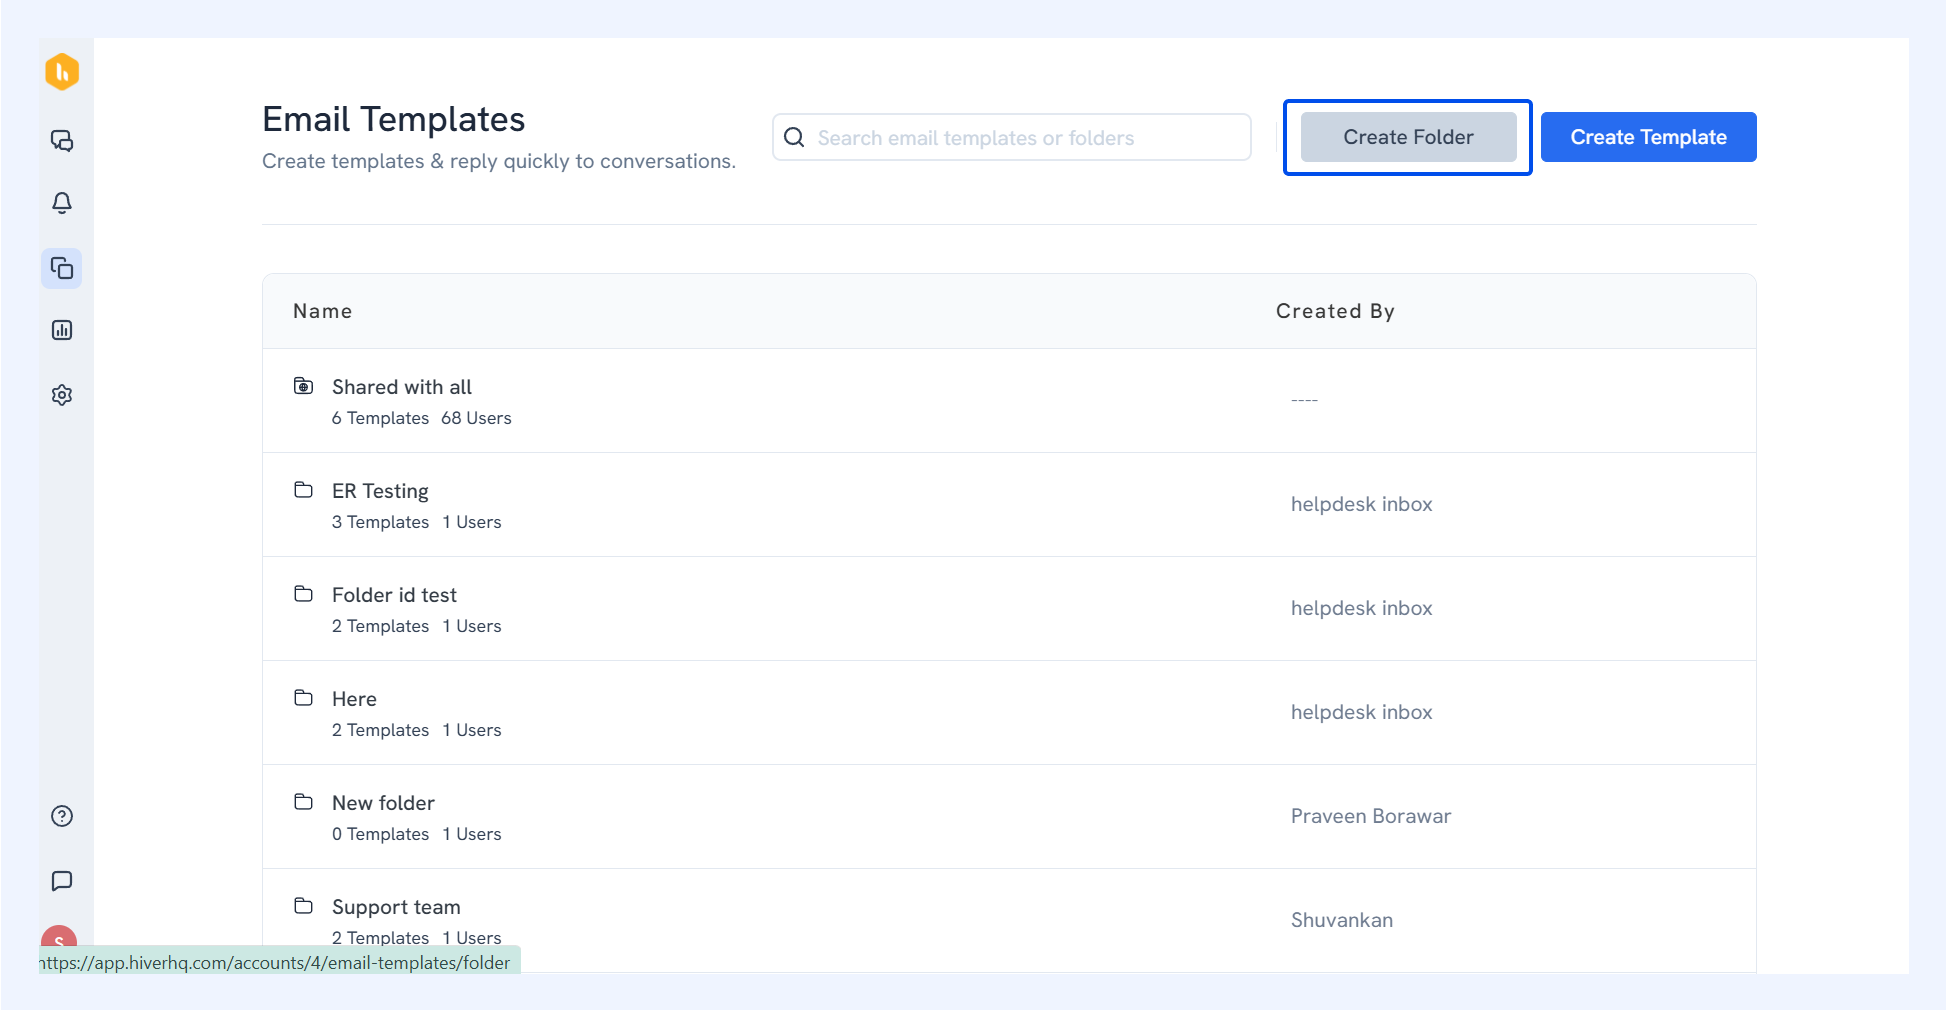
2. Click the Create Folder button in the top right corner to make a new folder.
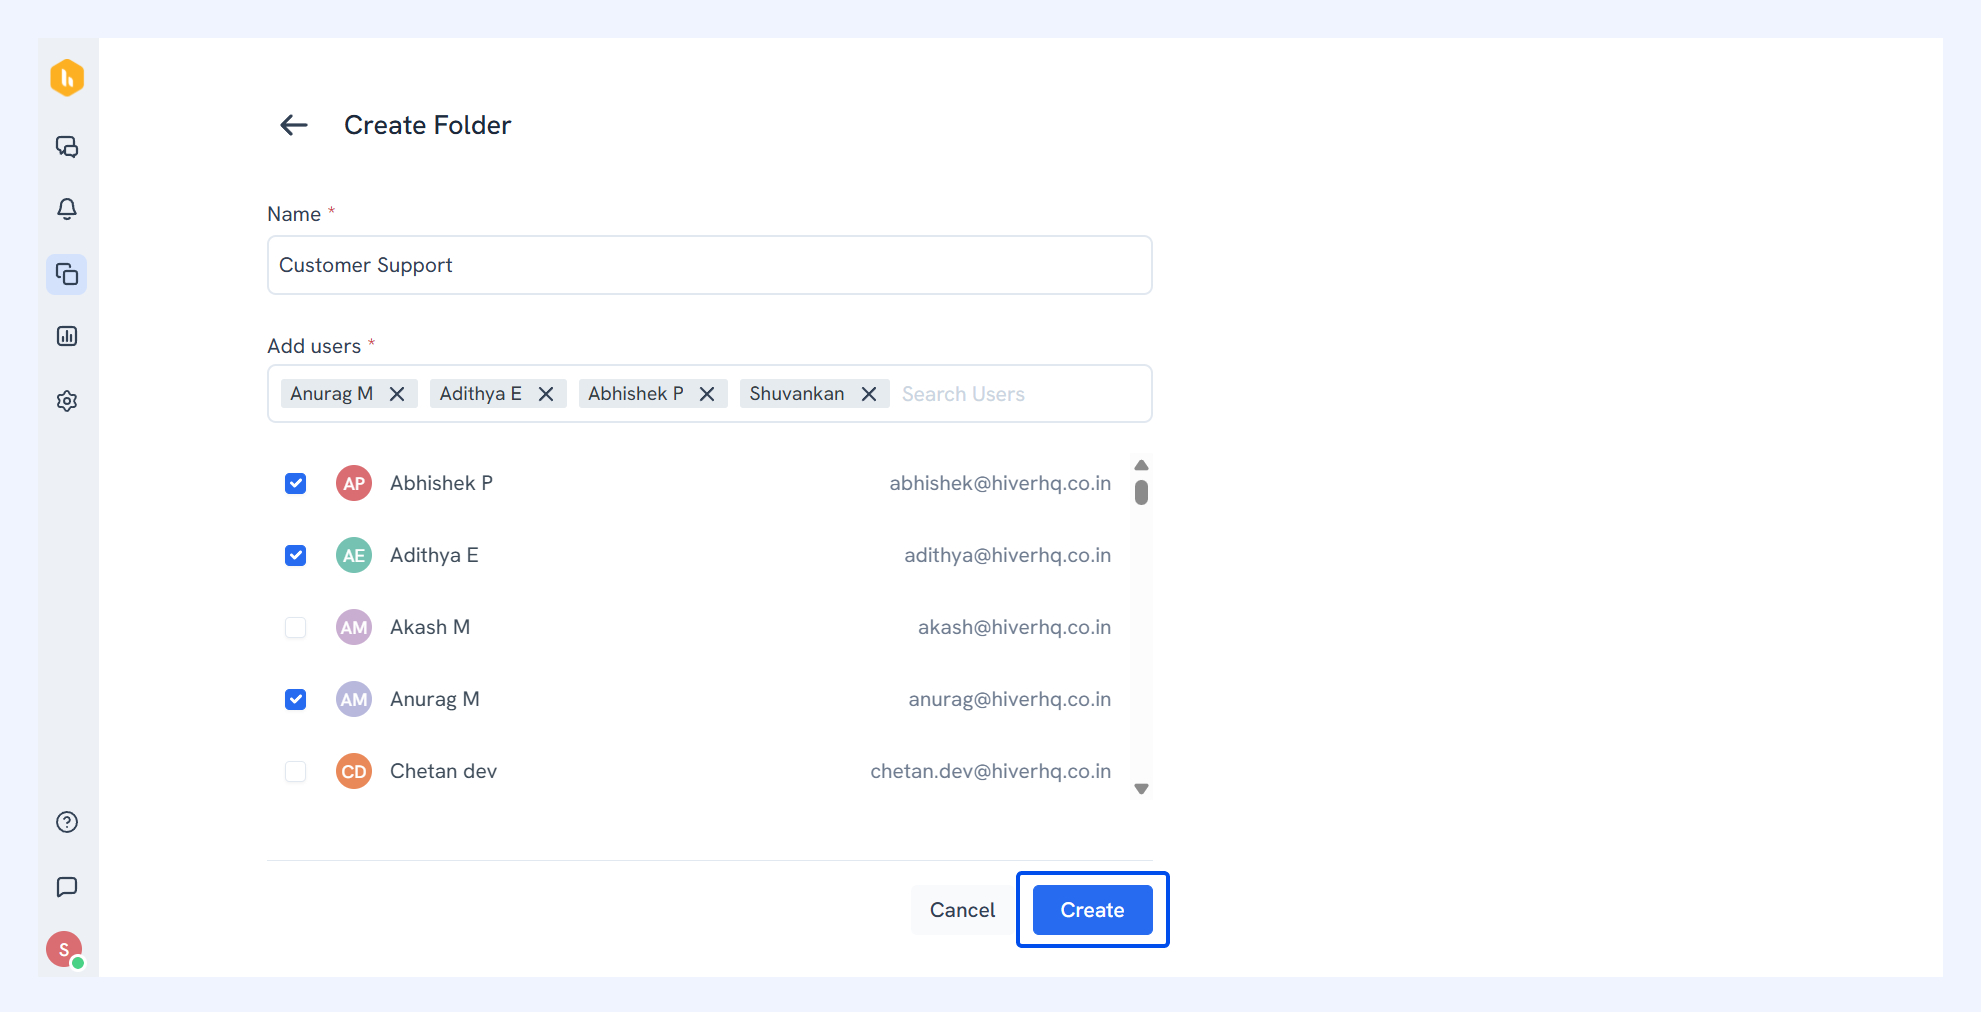
3. Enter a folder name, select which team members should have access to this folder, and click Create to save your new folder.
Steps to move a template to another folder
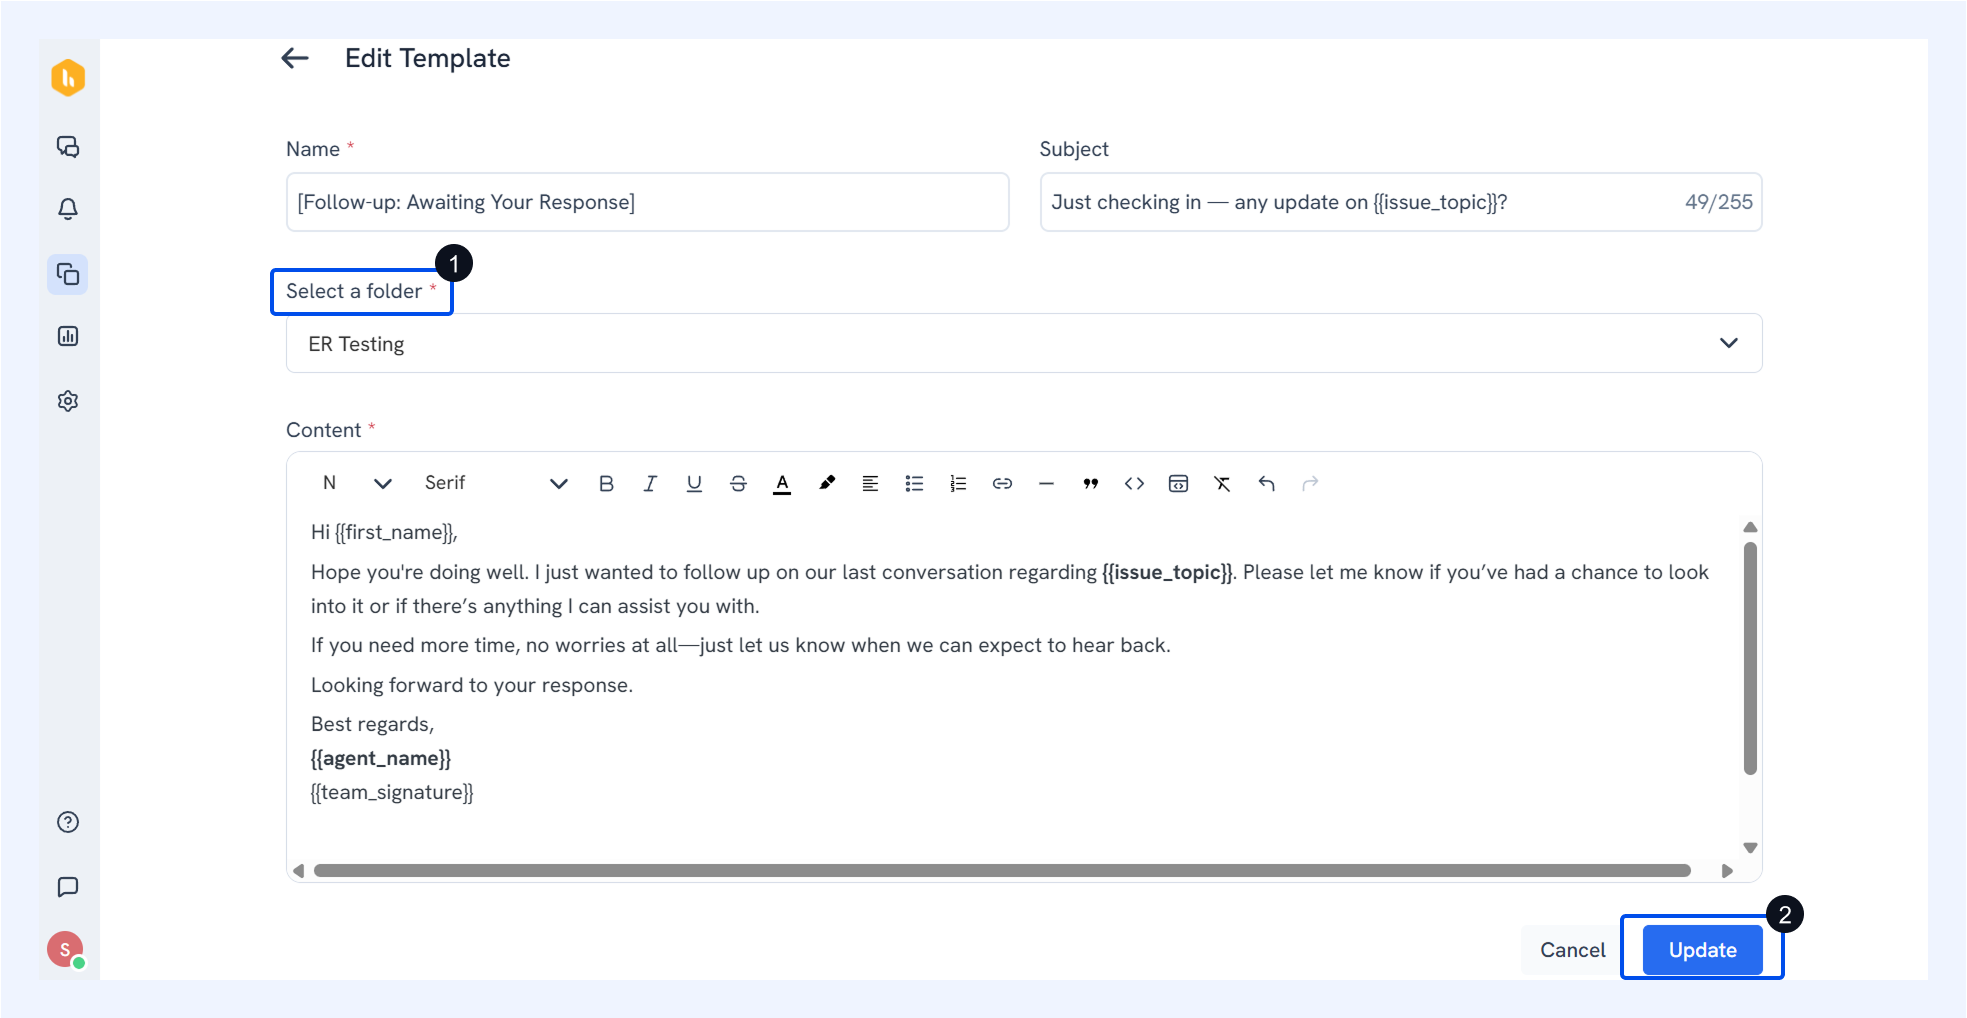
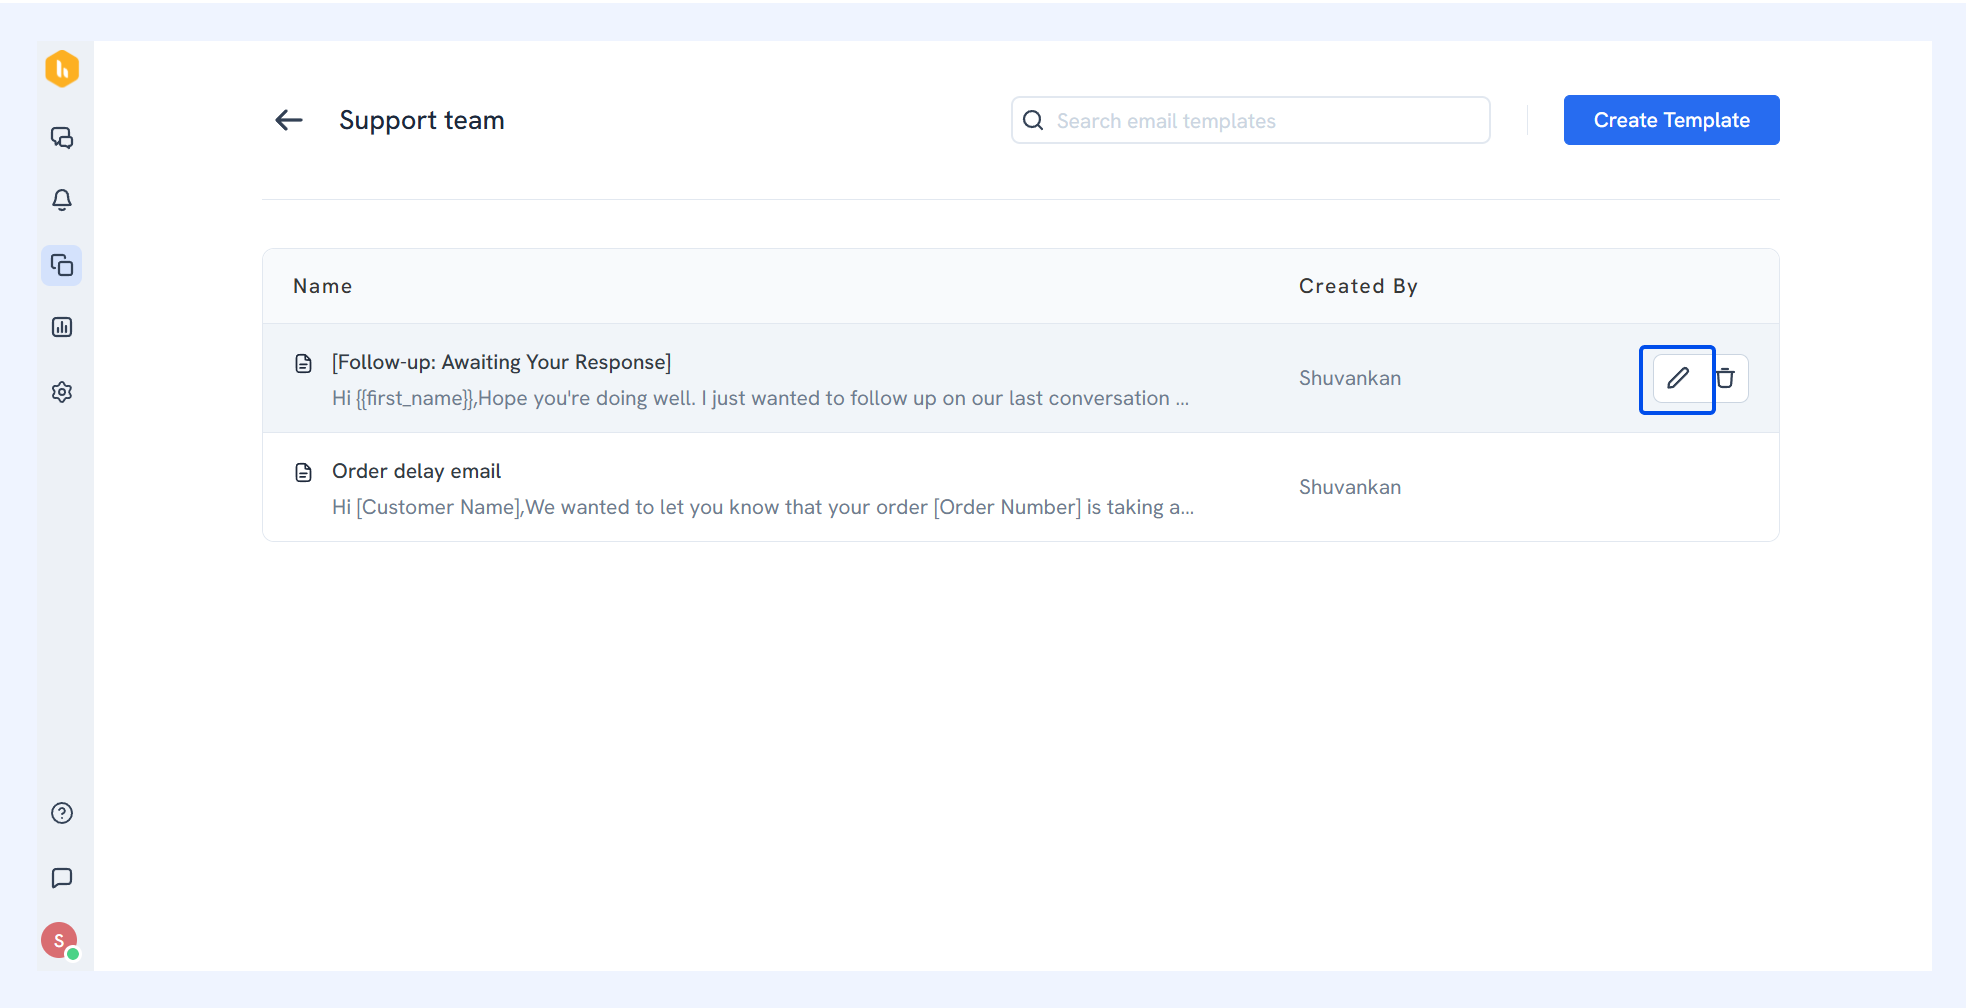
1. Click on the template you want to move and then click Edit (pen icon).
2. Choose the destination folder from the Select a folder dropdown, then click Update to move your template.