Creating Shared Labels
Shared Labels in Hiver make it easy for teams to stay organized and collaborate directly in Gmail. Instead of digging through scattered emails, you can group conversations by client, project, or lead and make sure everyone has access to the same information. Shared Labels helps ensure:
- Faster collaboration: Everyone sees the same emails without forwarding.
- Better visibility: All team members know who’s working on what.
- Organized workflows: Emails are easy to find and track under specific labels.
Note: Shared Labels is a legacy feature. To manage conversations, learn how to create a Shared Inbox.
Creating Shared Labels
You can create Shared Labels from the Admin panel or while working on a conversation.
From the Admin Panel
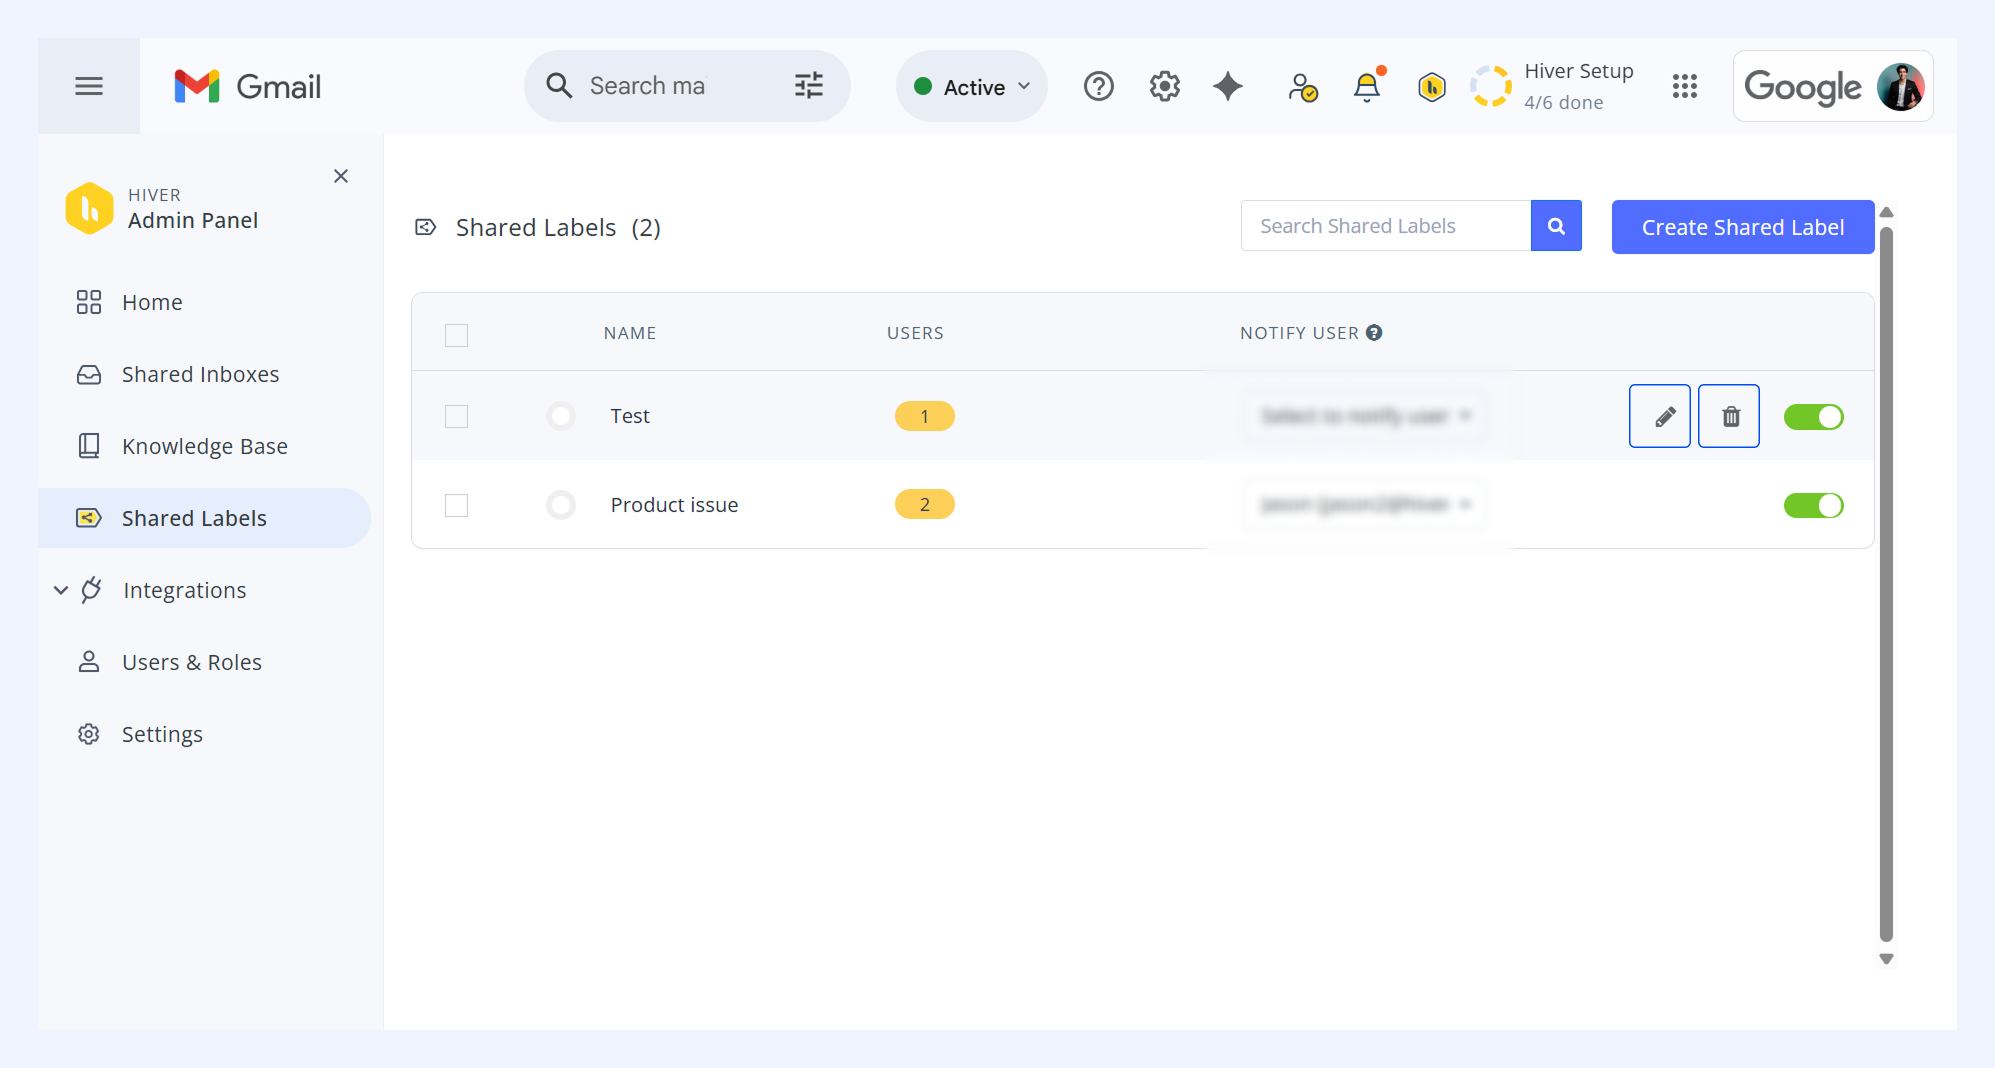
1. Go to Admin Panel → Shared Labels → Create Shared Label.
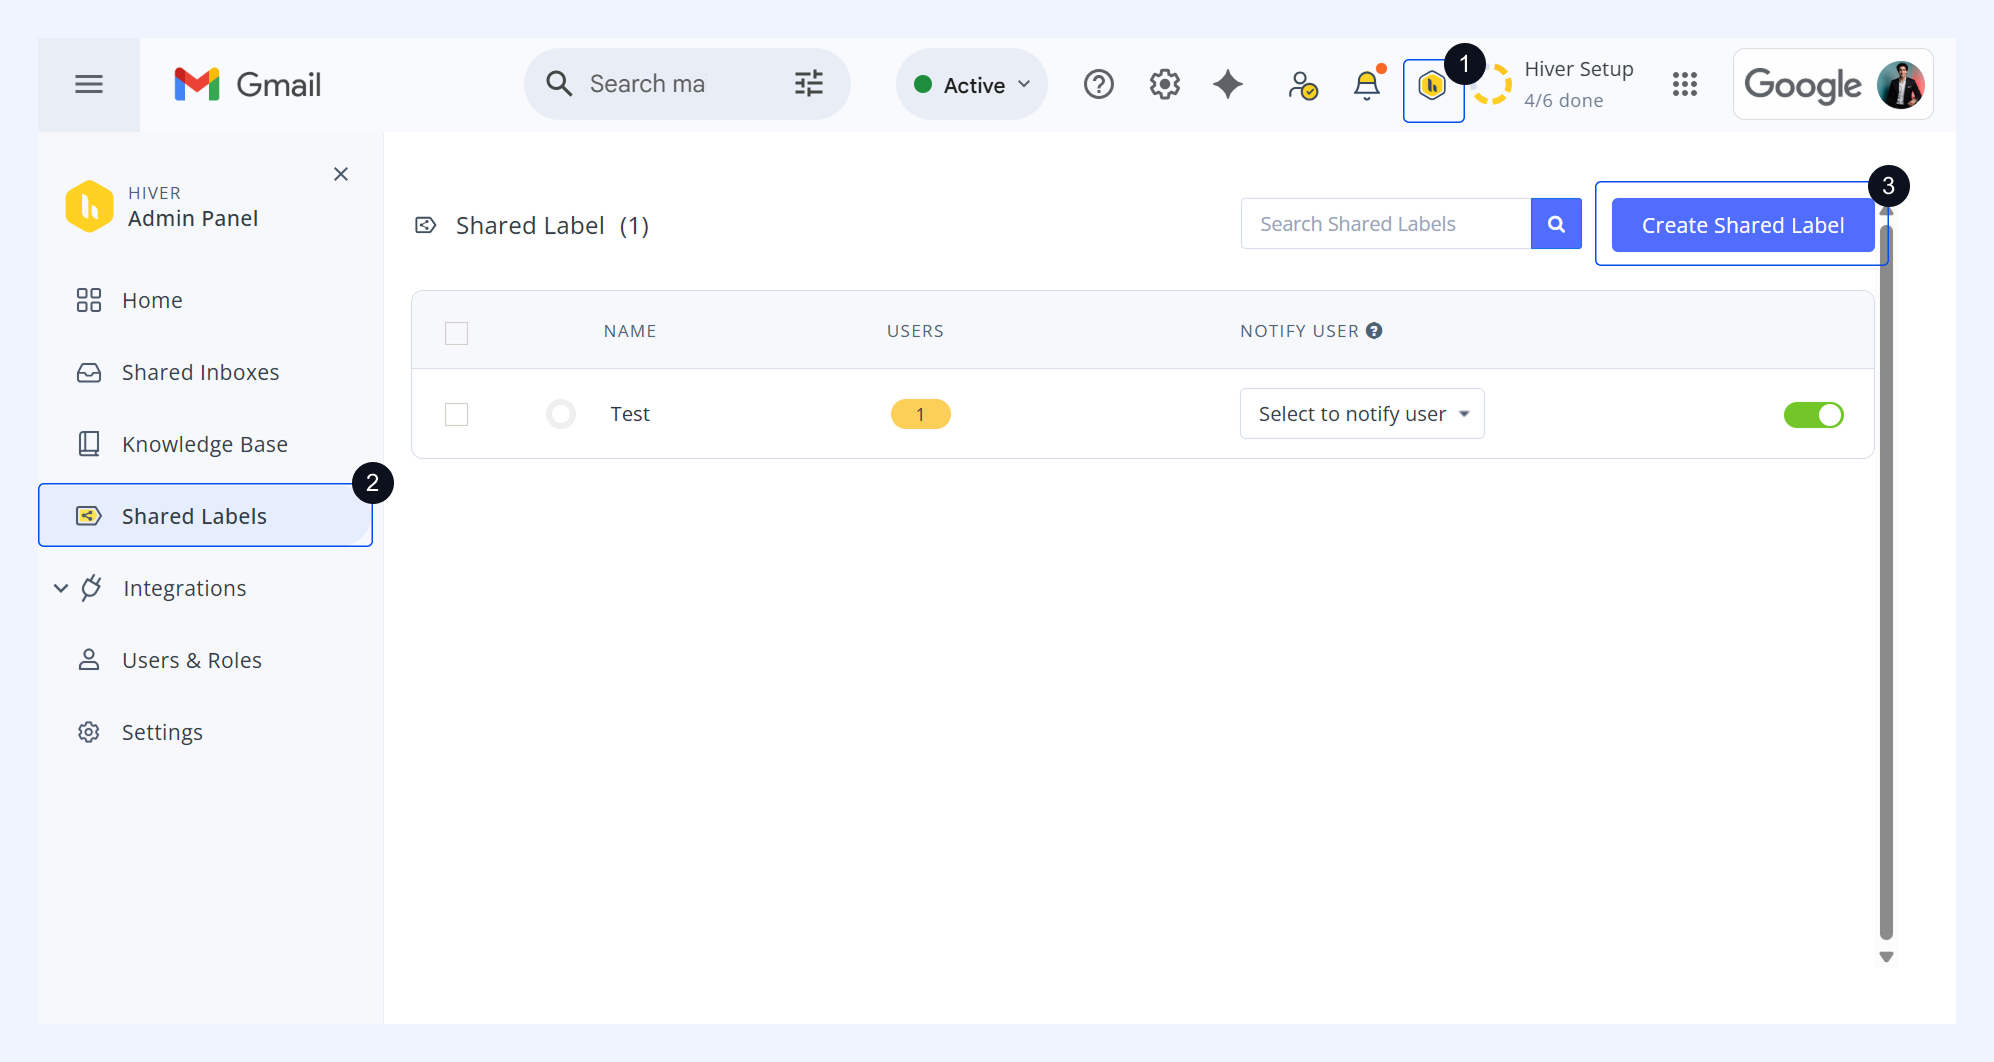
2. Enter a name in the Label name field. To reuse an existing Gmail label, use the dropdown under Select Labels from your Gmail.
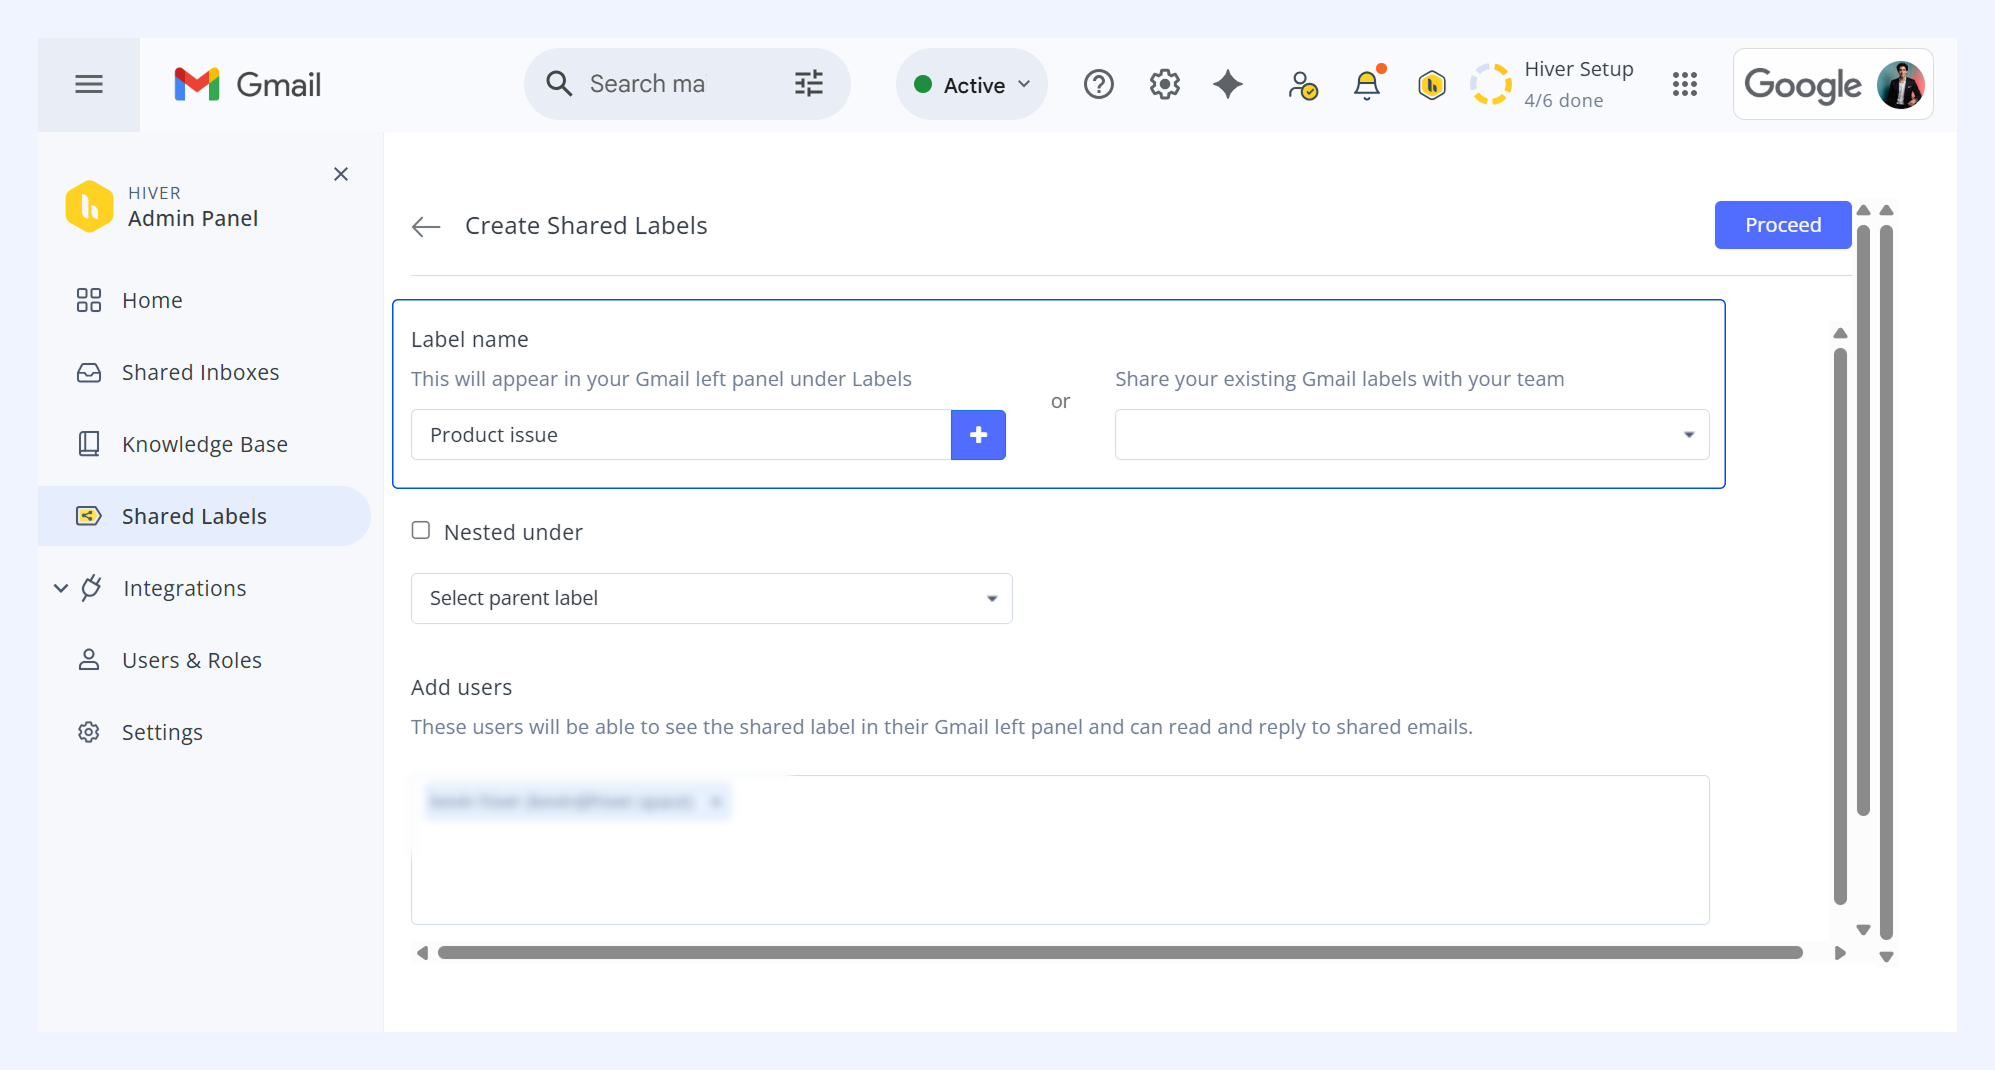
3. To group or nest labels together, choose a parent label from the dropdown in Nested under. The nested label will inherit the same sharing settings as its parent.
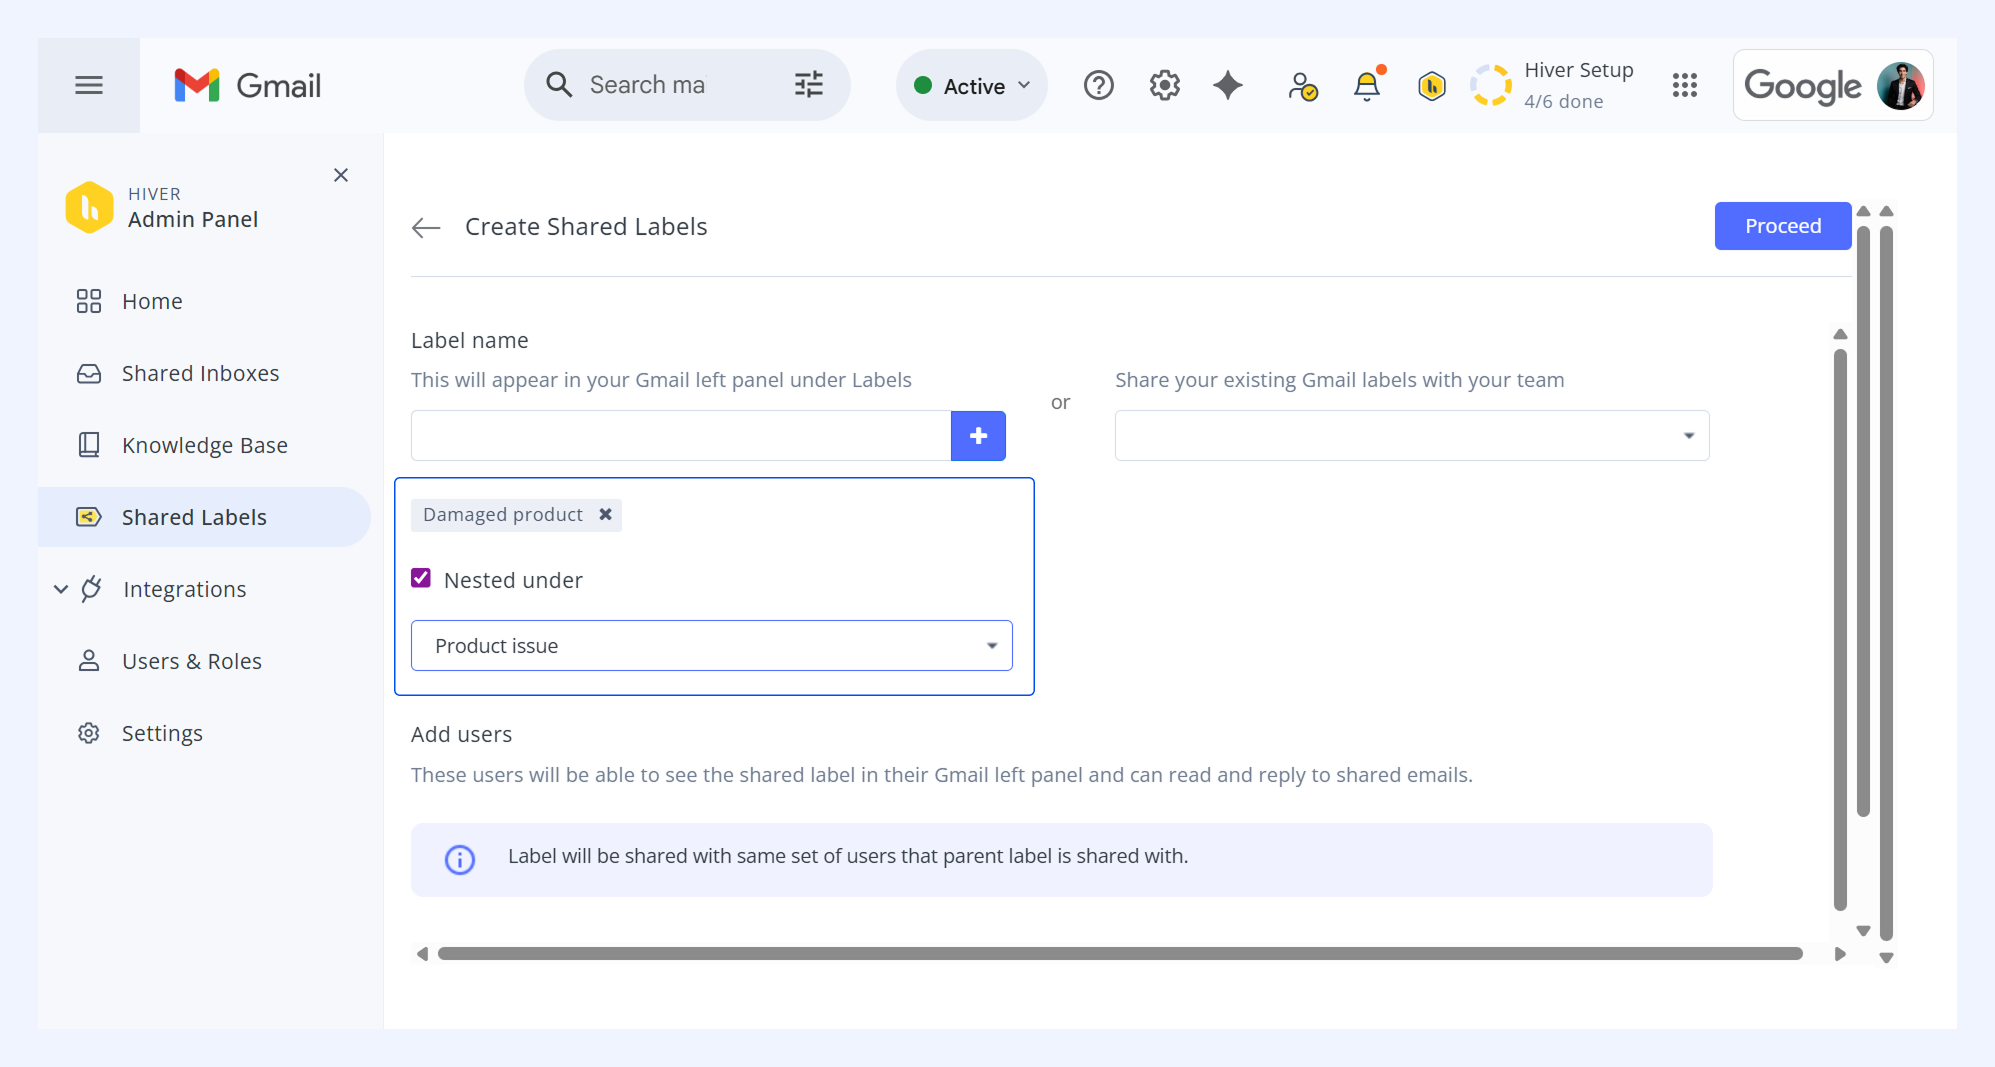
4. Add teammates you want to share the label with.
5. (Optional) Adjust notification settings to notify specific users when the label is applied.
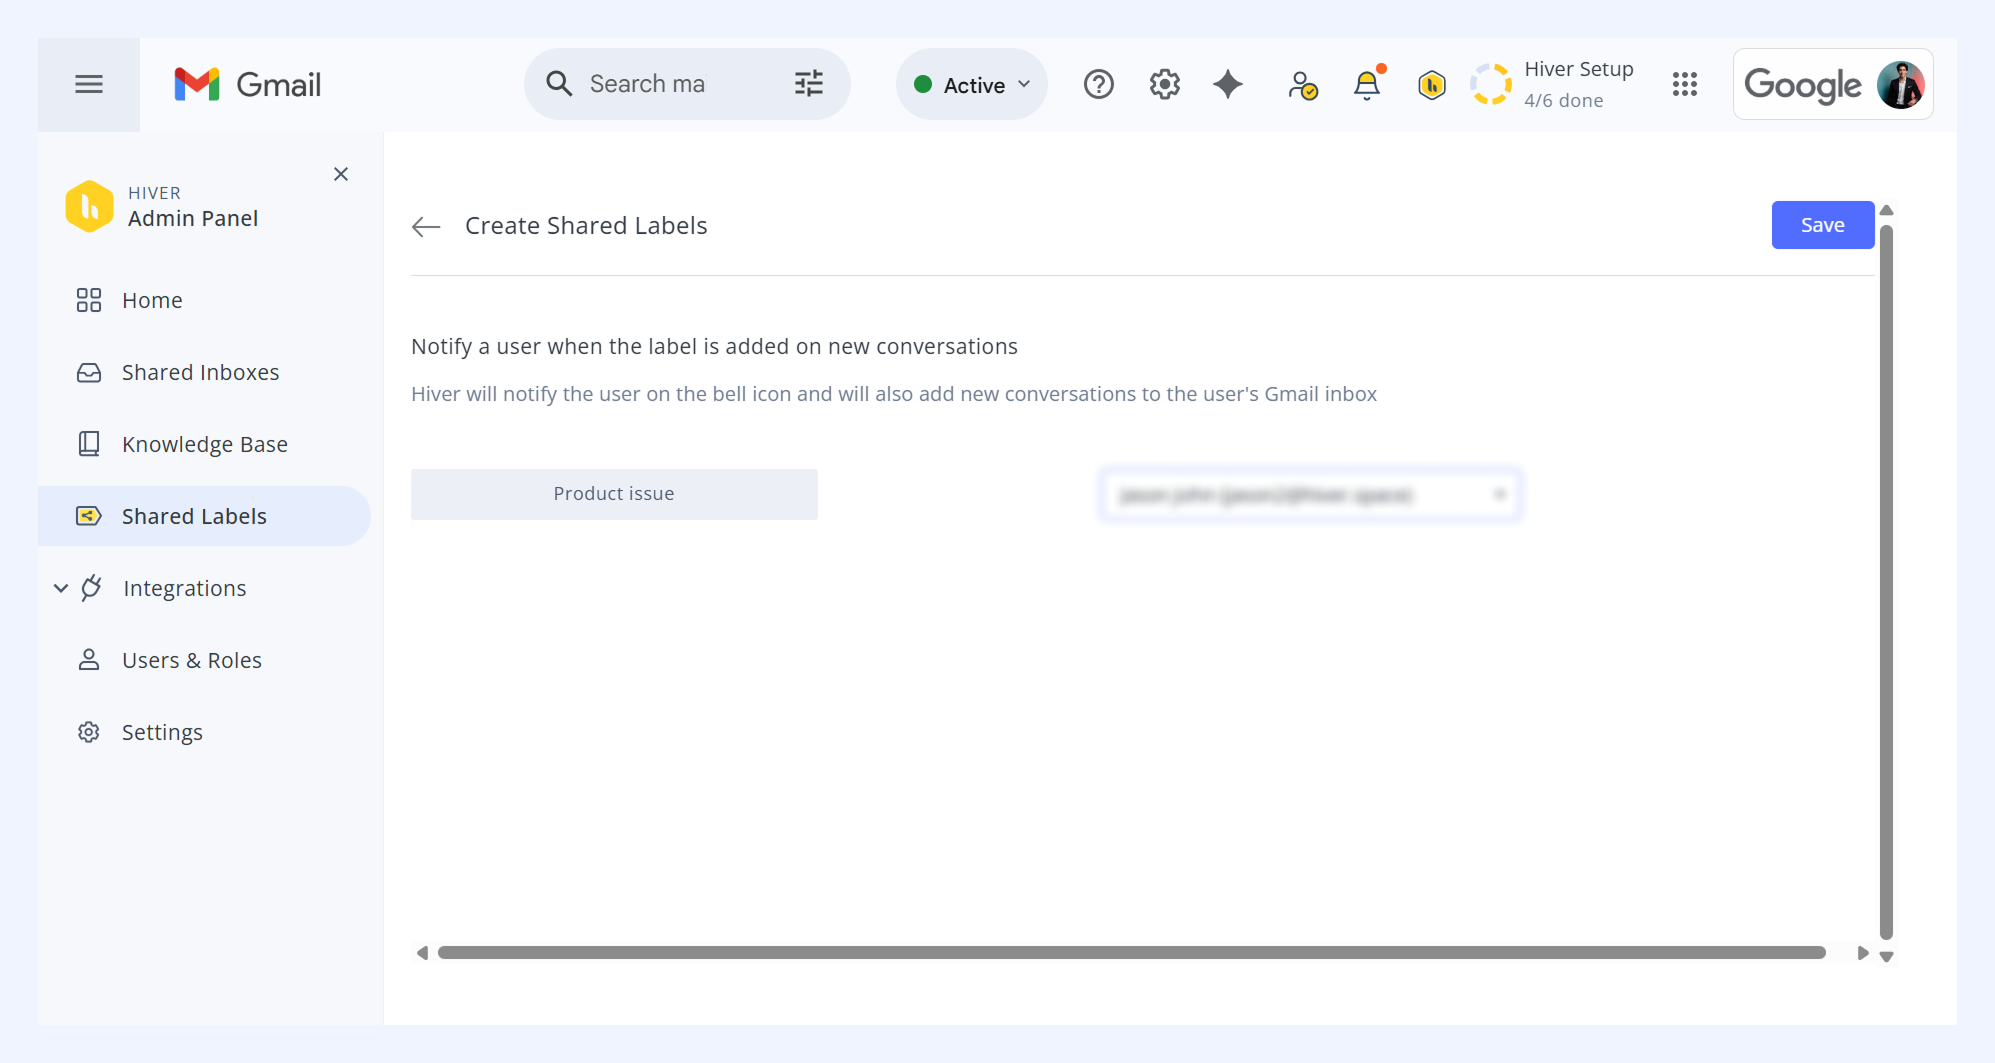
From a Conversation
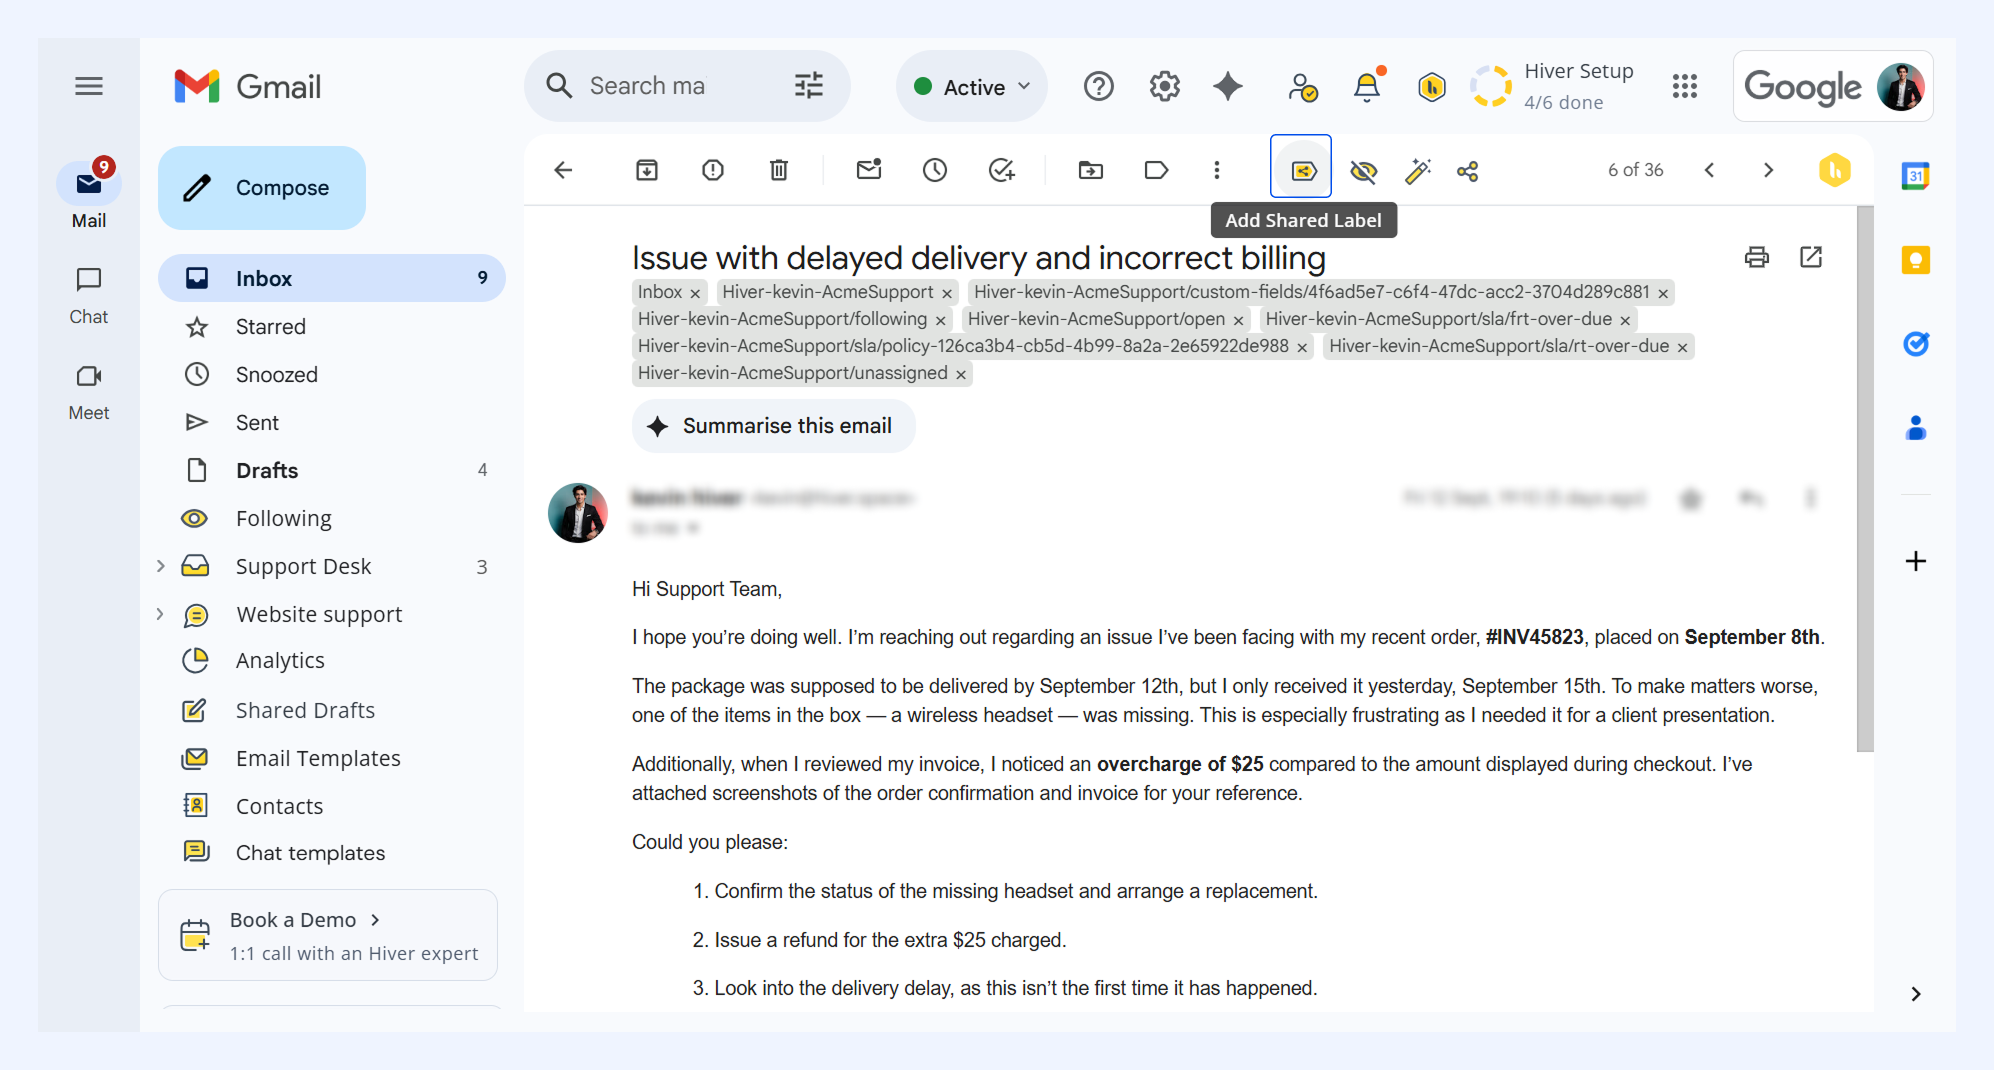
1. Open the email you want to add to a Shared Label and click Add Shared Label.
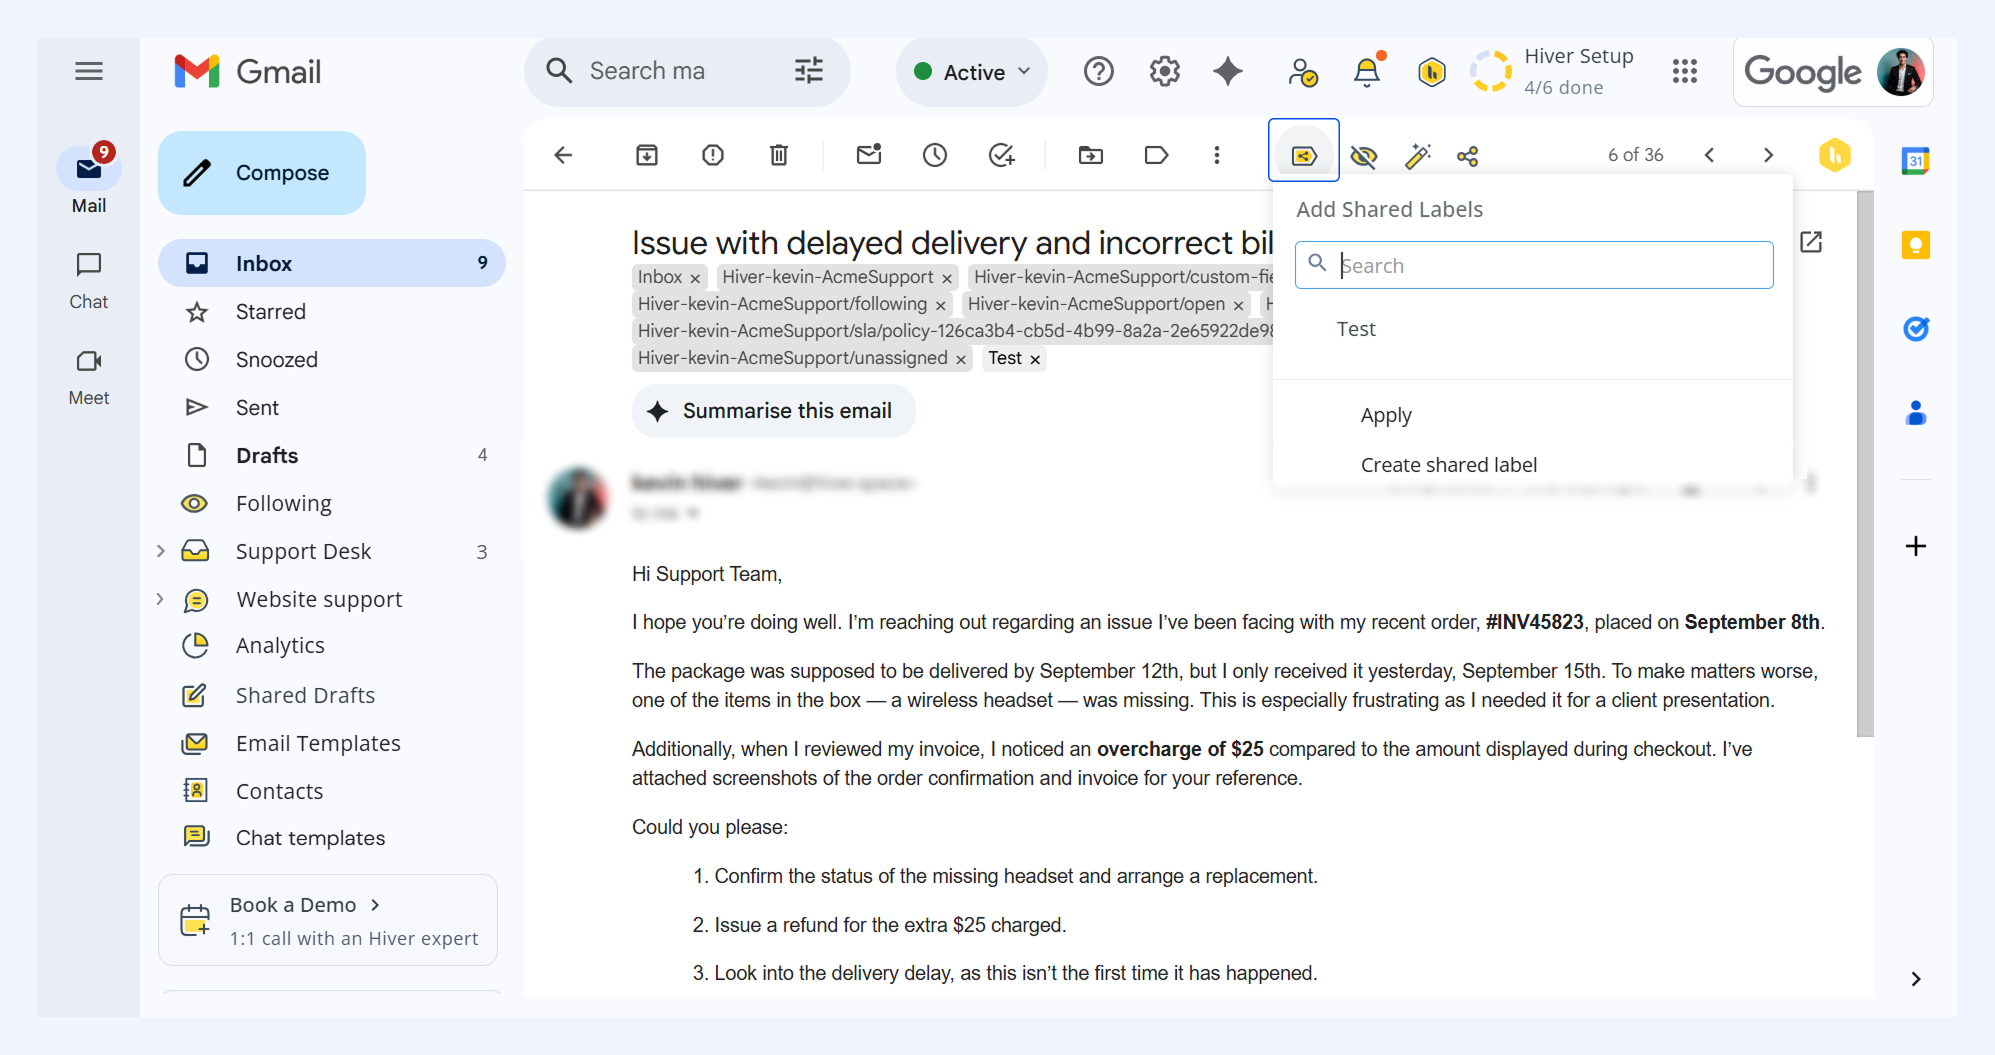
2. Choose an existing label or click Create Shared Label to make a new one (you will be redirected to Create Shared Label).
3. Apply the label. You’ll see an update on the Activity panel when the label is applied.
Advanced Settings
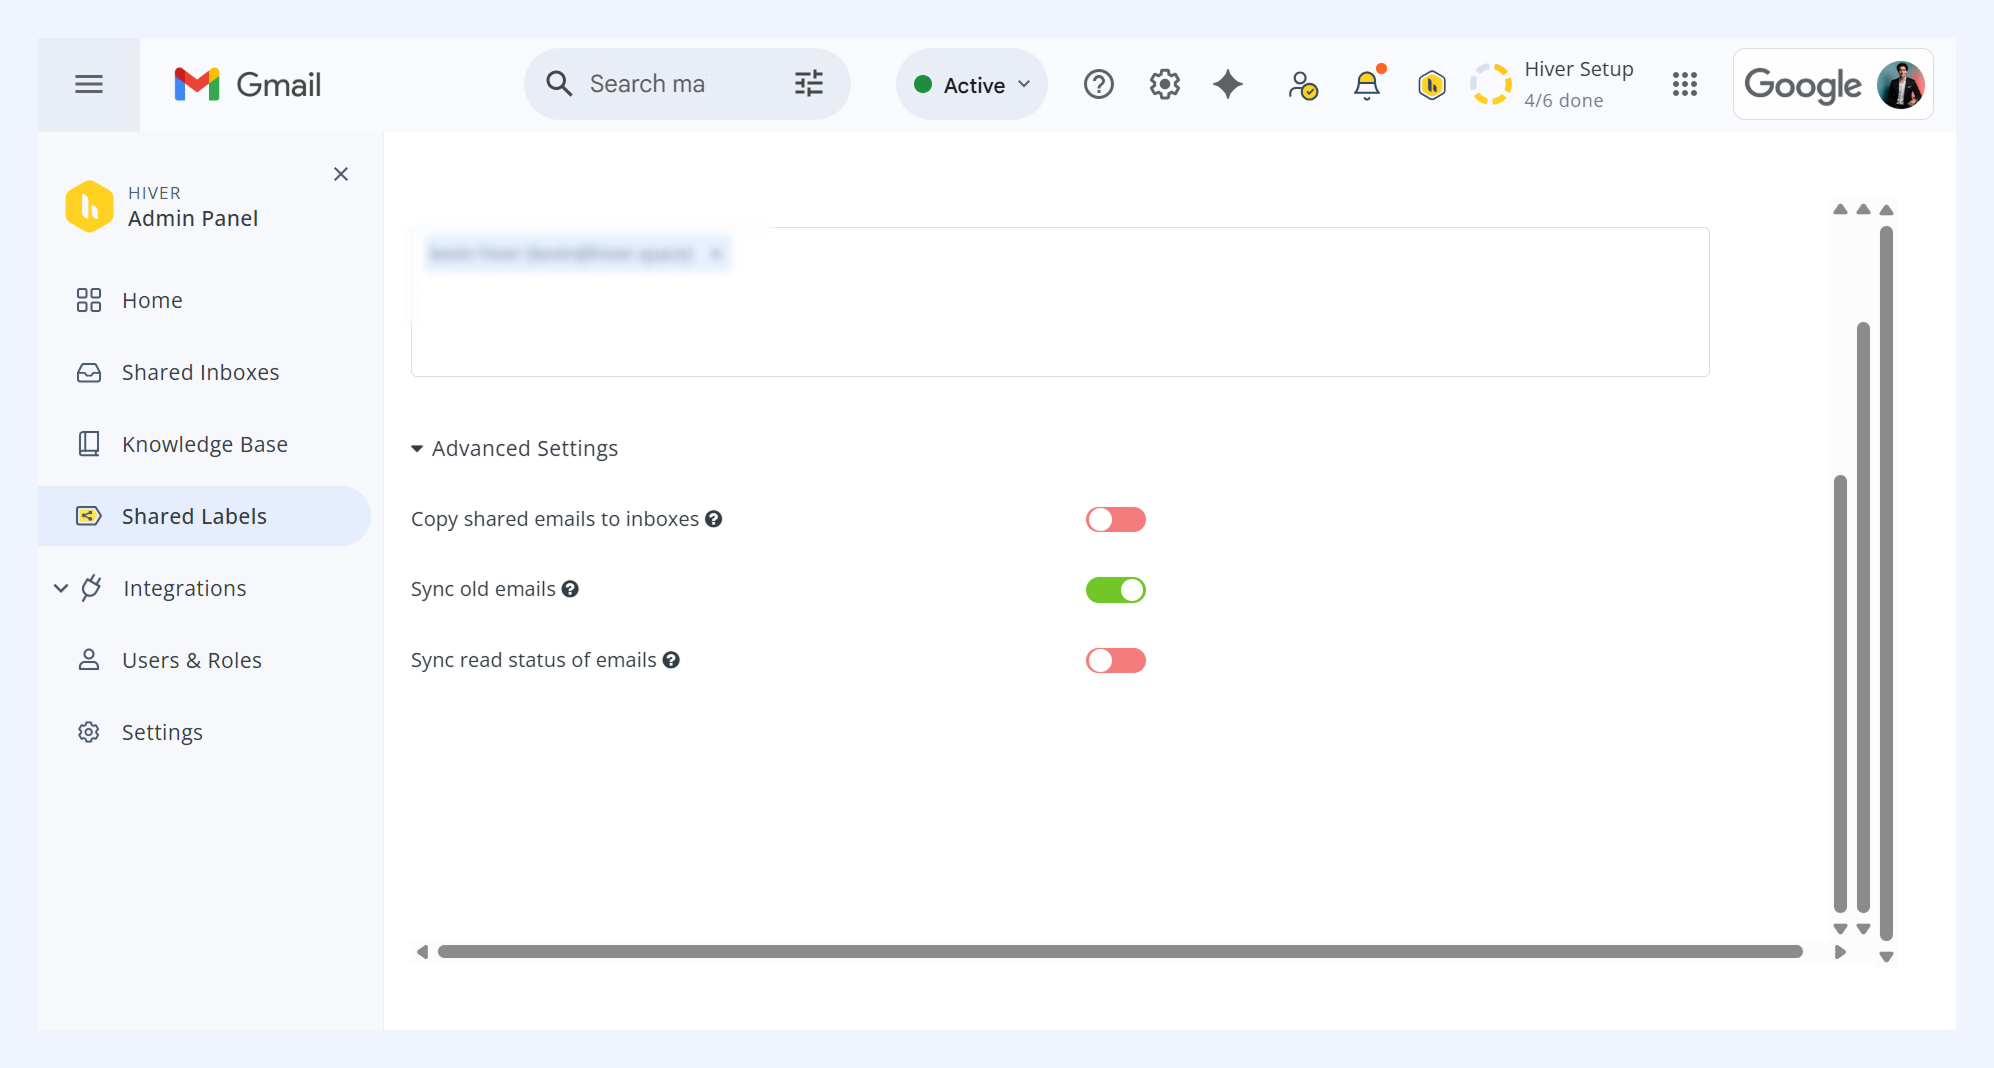
- Sync old emails: Pulls emails from the last 90 days into the Shared Label.
- Sync read status: Marks an email as read for all users when one user reads it.
- Copy to inbox: If enabled, Shared Label emails appear in everyone’s personal inbox.
Managing Shared Labels in My Settings
Each user can view and manage labels they are part of:
1. Click the Hiver settings icon and go to My Settings. Select My Shared Labels to see your labels.
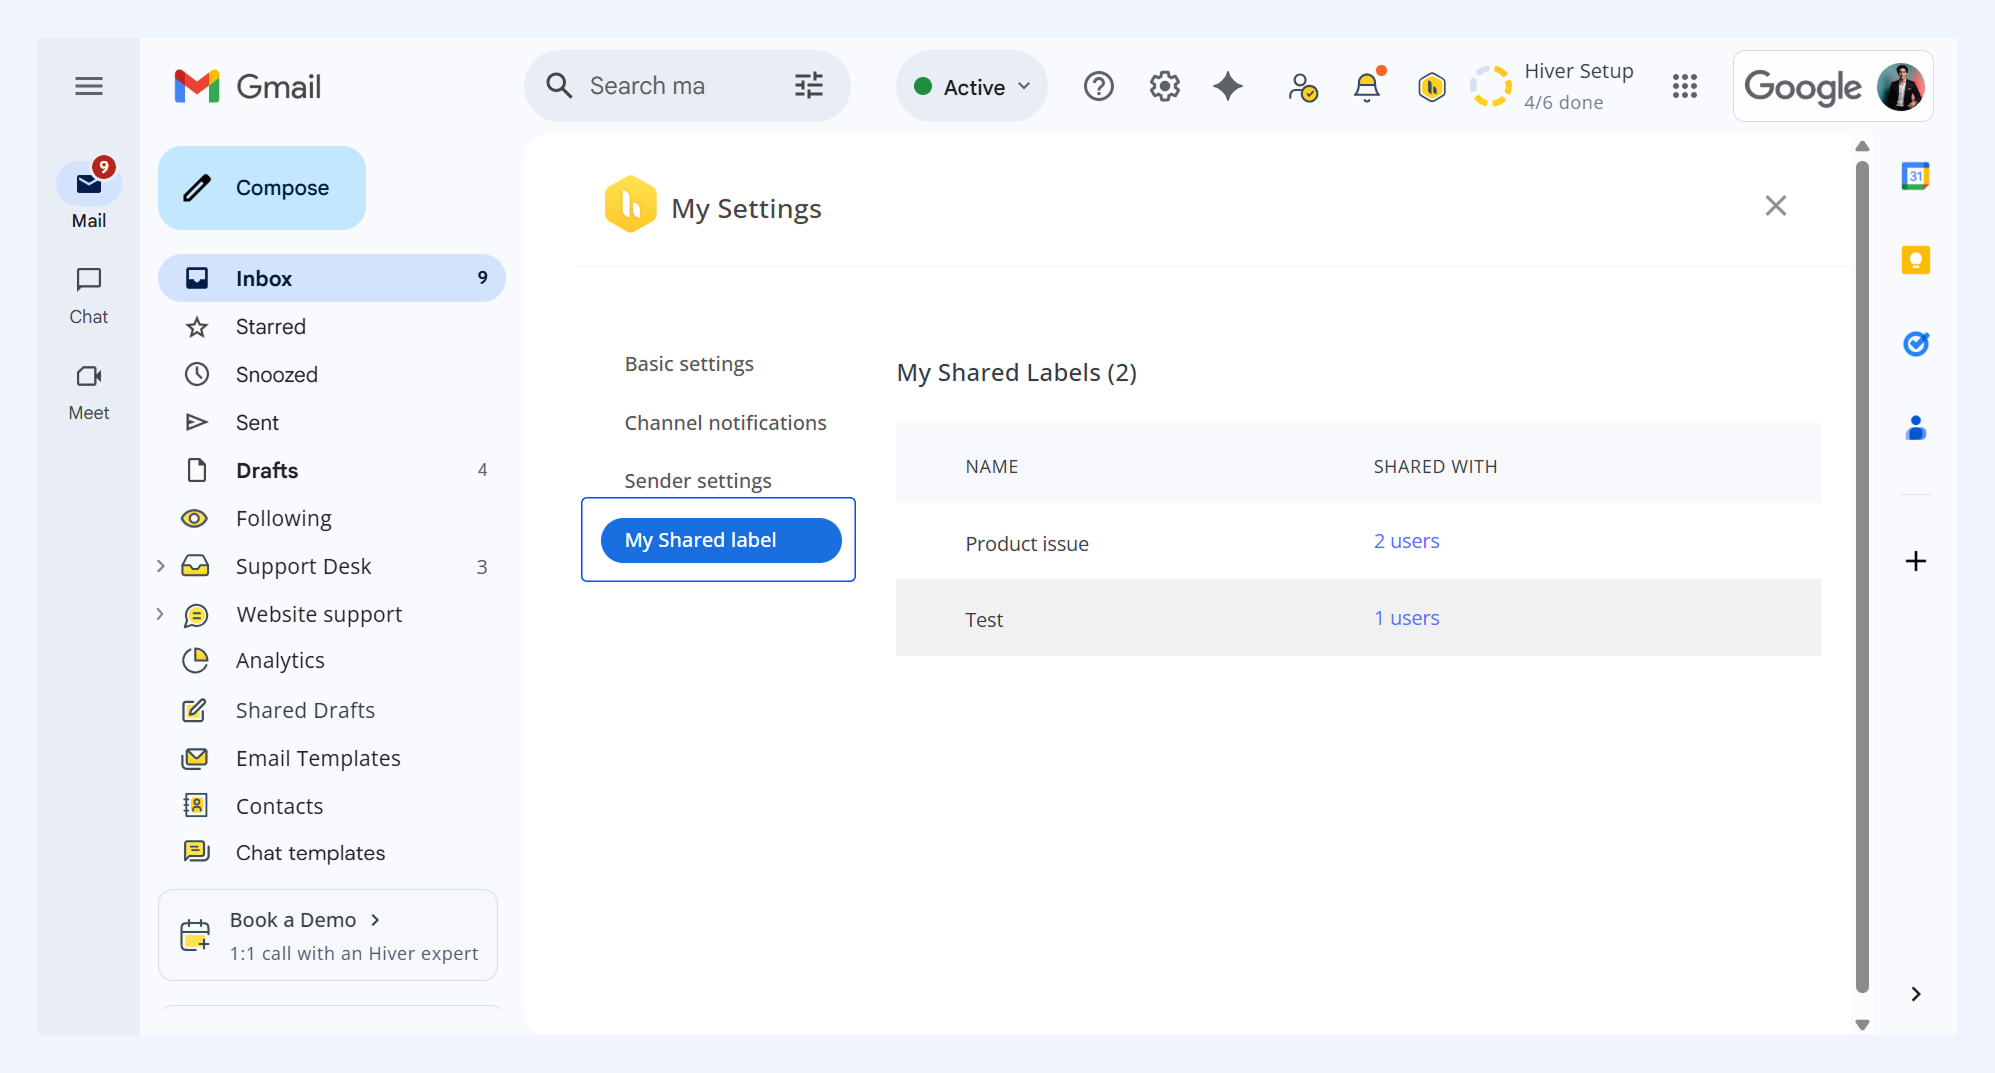
2. Under Shared with, you can check who else has access.
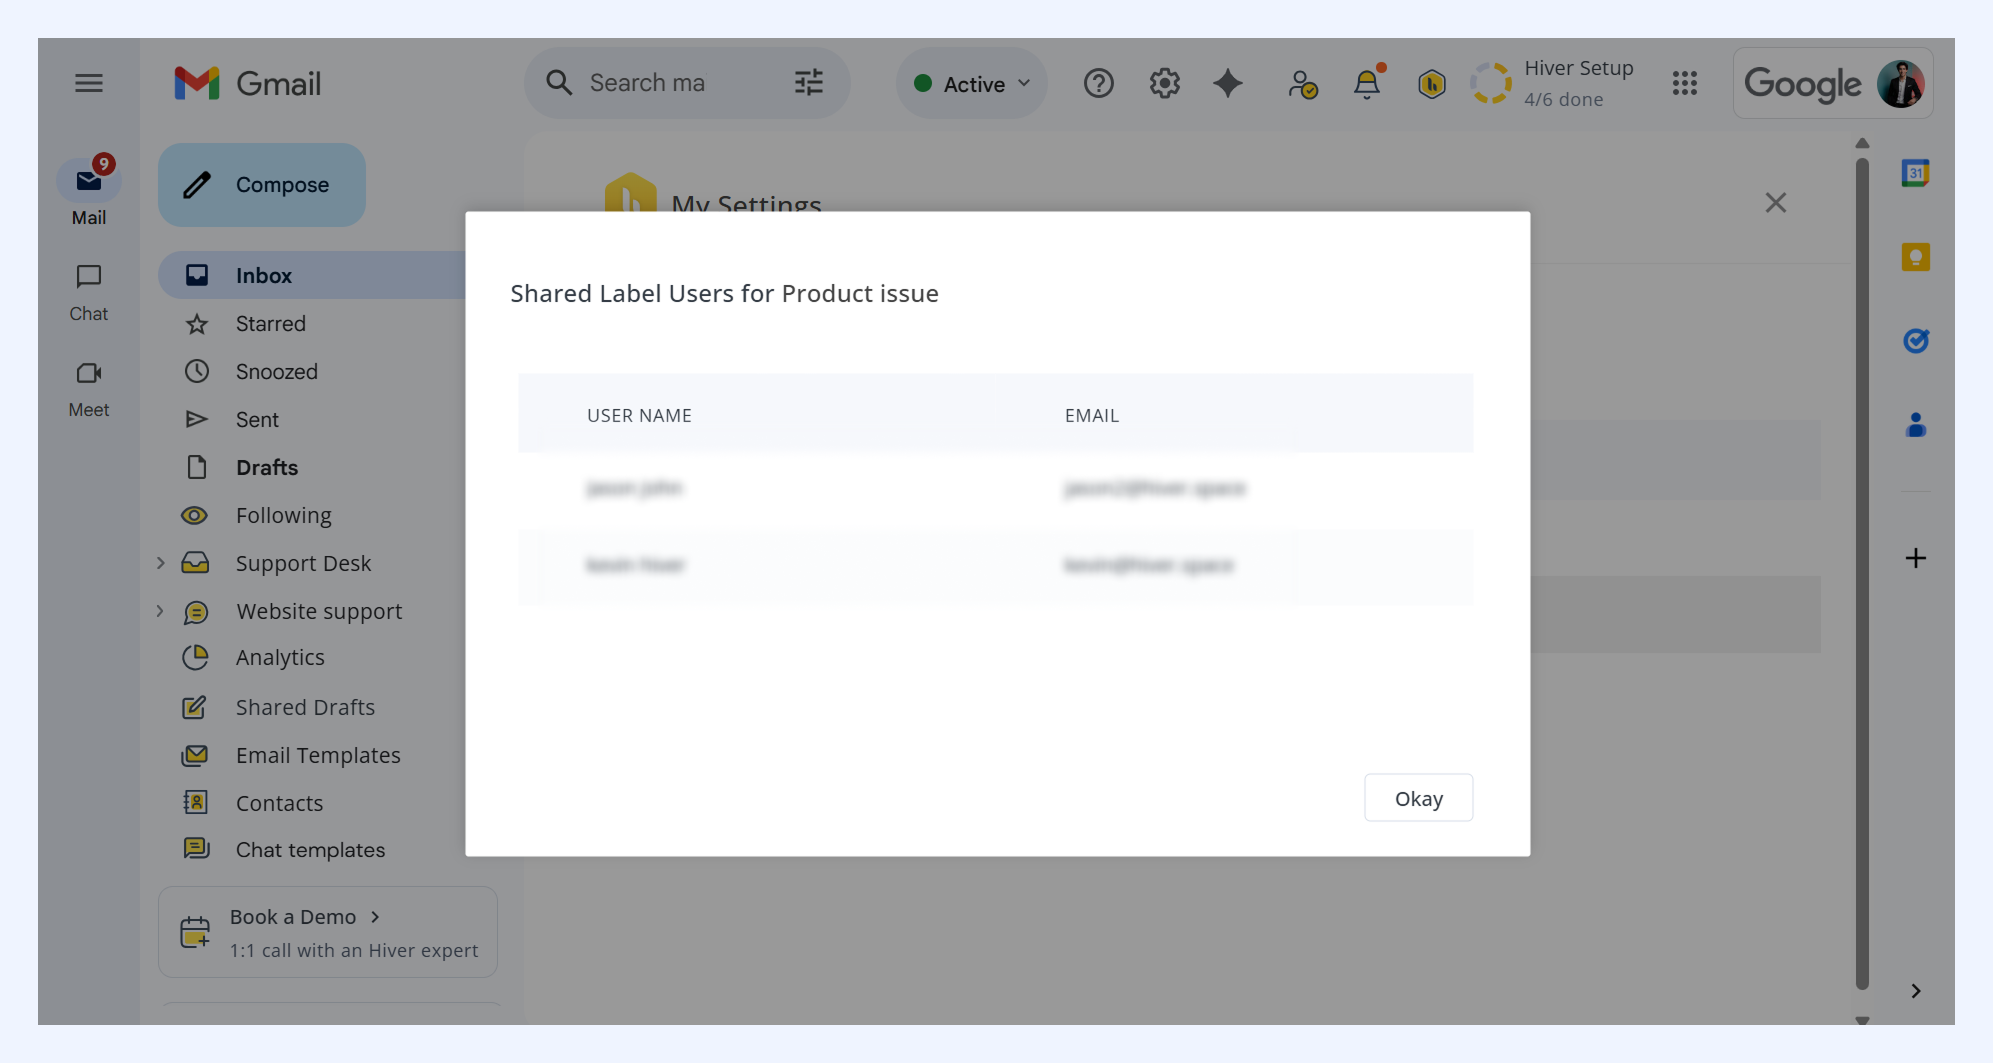
Editing or deleting Shared Labels
Only admins can edit and delete labels.
- To edit: Go to Admin Panel → Shared Labels → Edit
- Update the label name, nested structure, users, or advanced settings, and add or change notification preferences for new emails.
- To delete: Go to Admin Panel → Shared Labels → Delete
- You can delete the label for yourself or for everyone
- Note: Deleting a Shared Label does not delete any emails from Gmail.