Managing accounts and contacts
The Customers tab in Hiver Omni gives you a unified view of your customer base across accounts (companies) and contacts (people within those accounts). You can view customer details, account information, and past conversations in one place, without switching to your CRM or other internal tools.
This guide shows you how to access and manage accounts and contacts in Hiver Omni.
Note: You only see accounts and contacts from Shared Inboxes you have access to.
Accessing the Customers tab
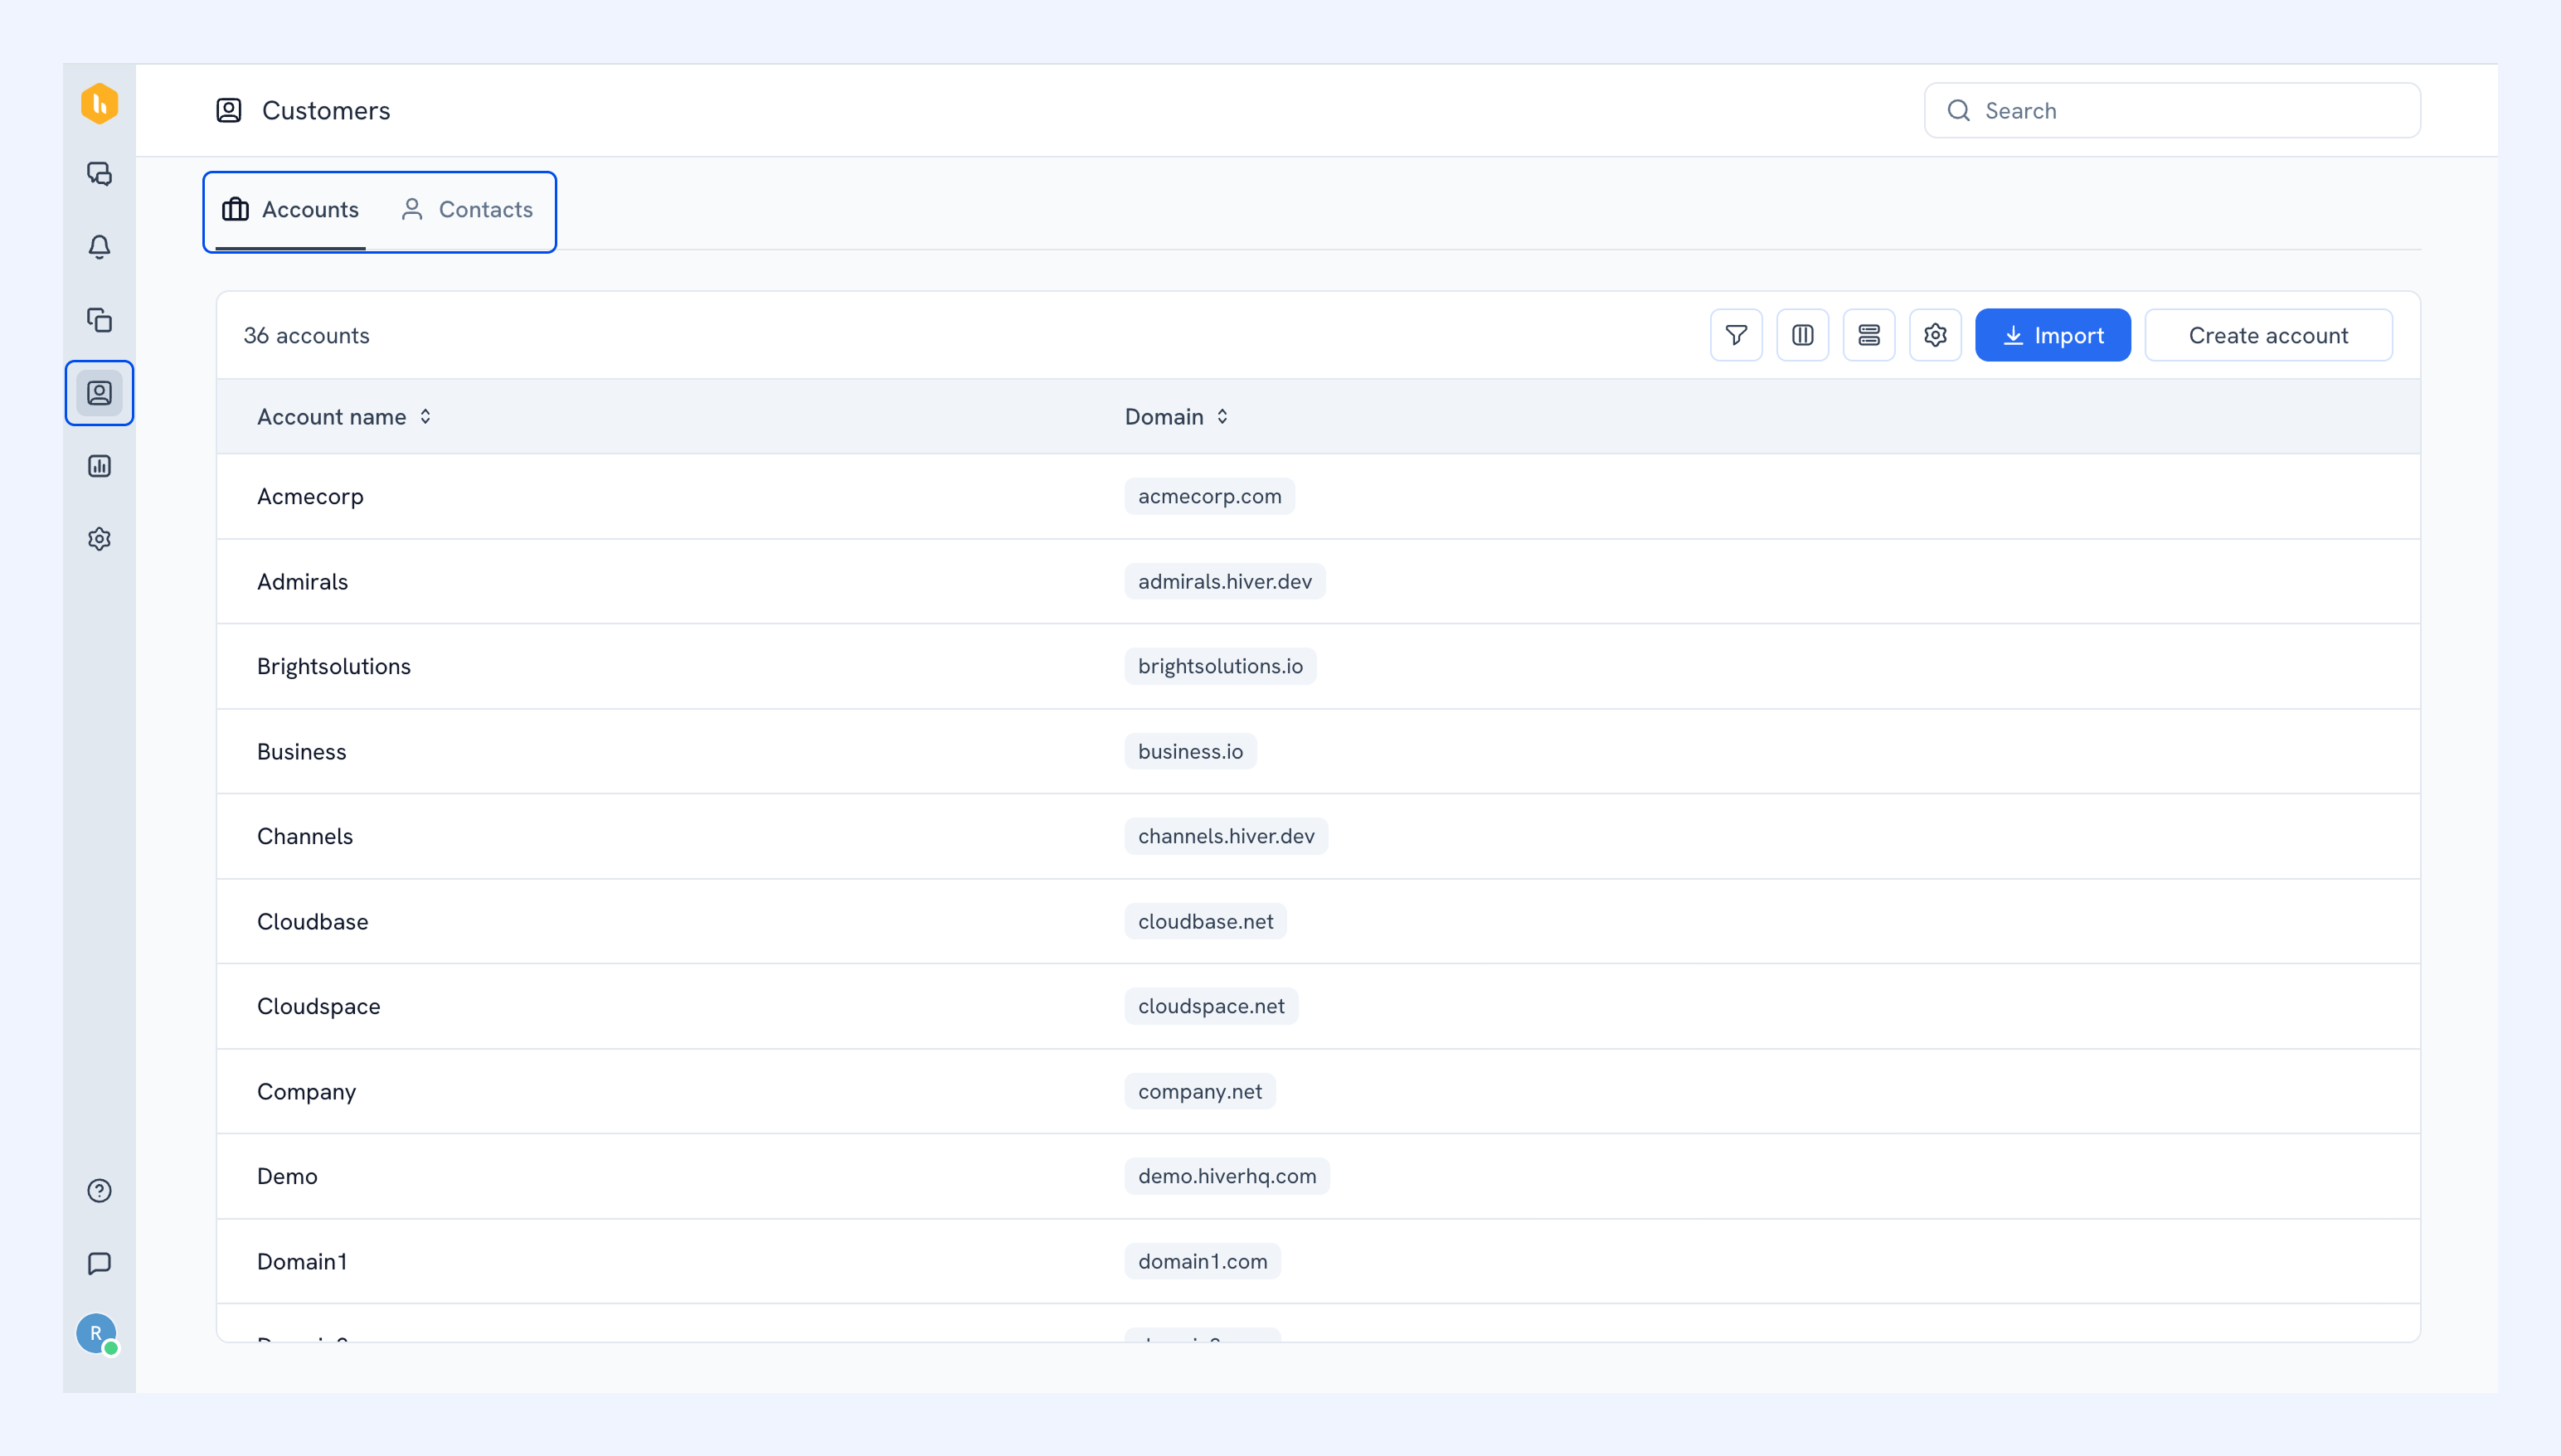
1. Click the Customers tab in the left navigation pane.
2. Switch between the accounts and contacts tabs based on what you want to view.
Managing accounts
Viewing accounts
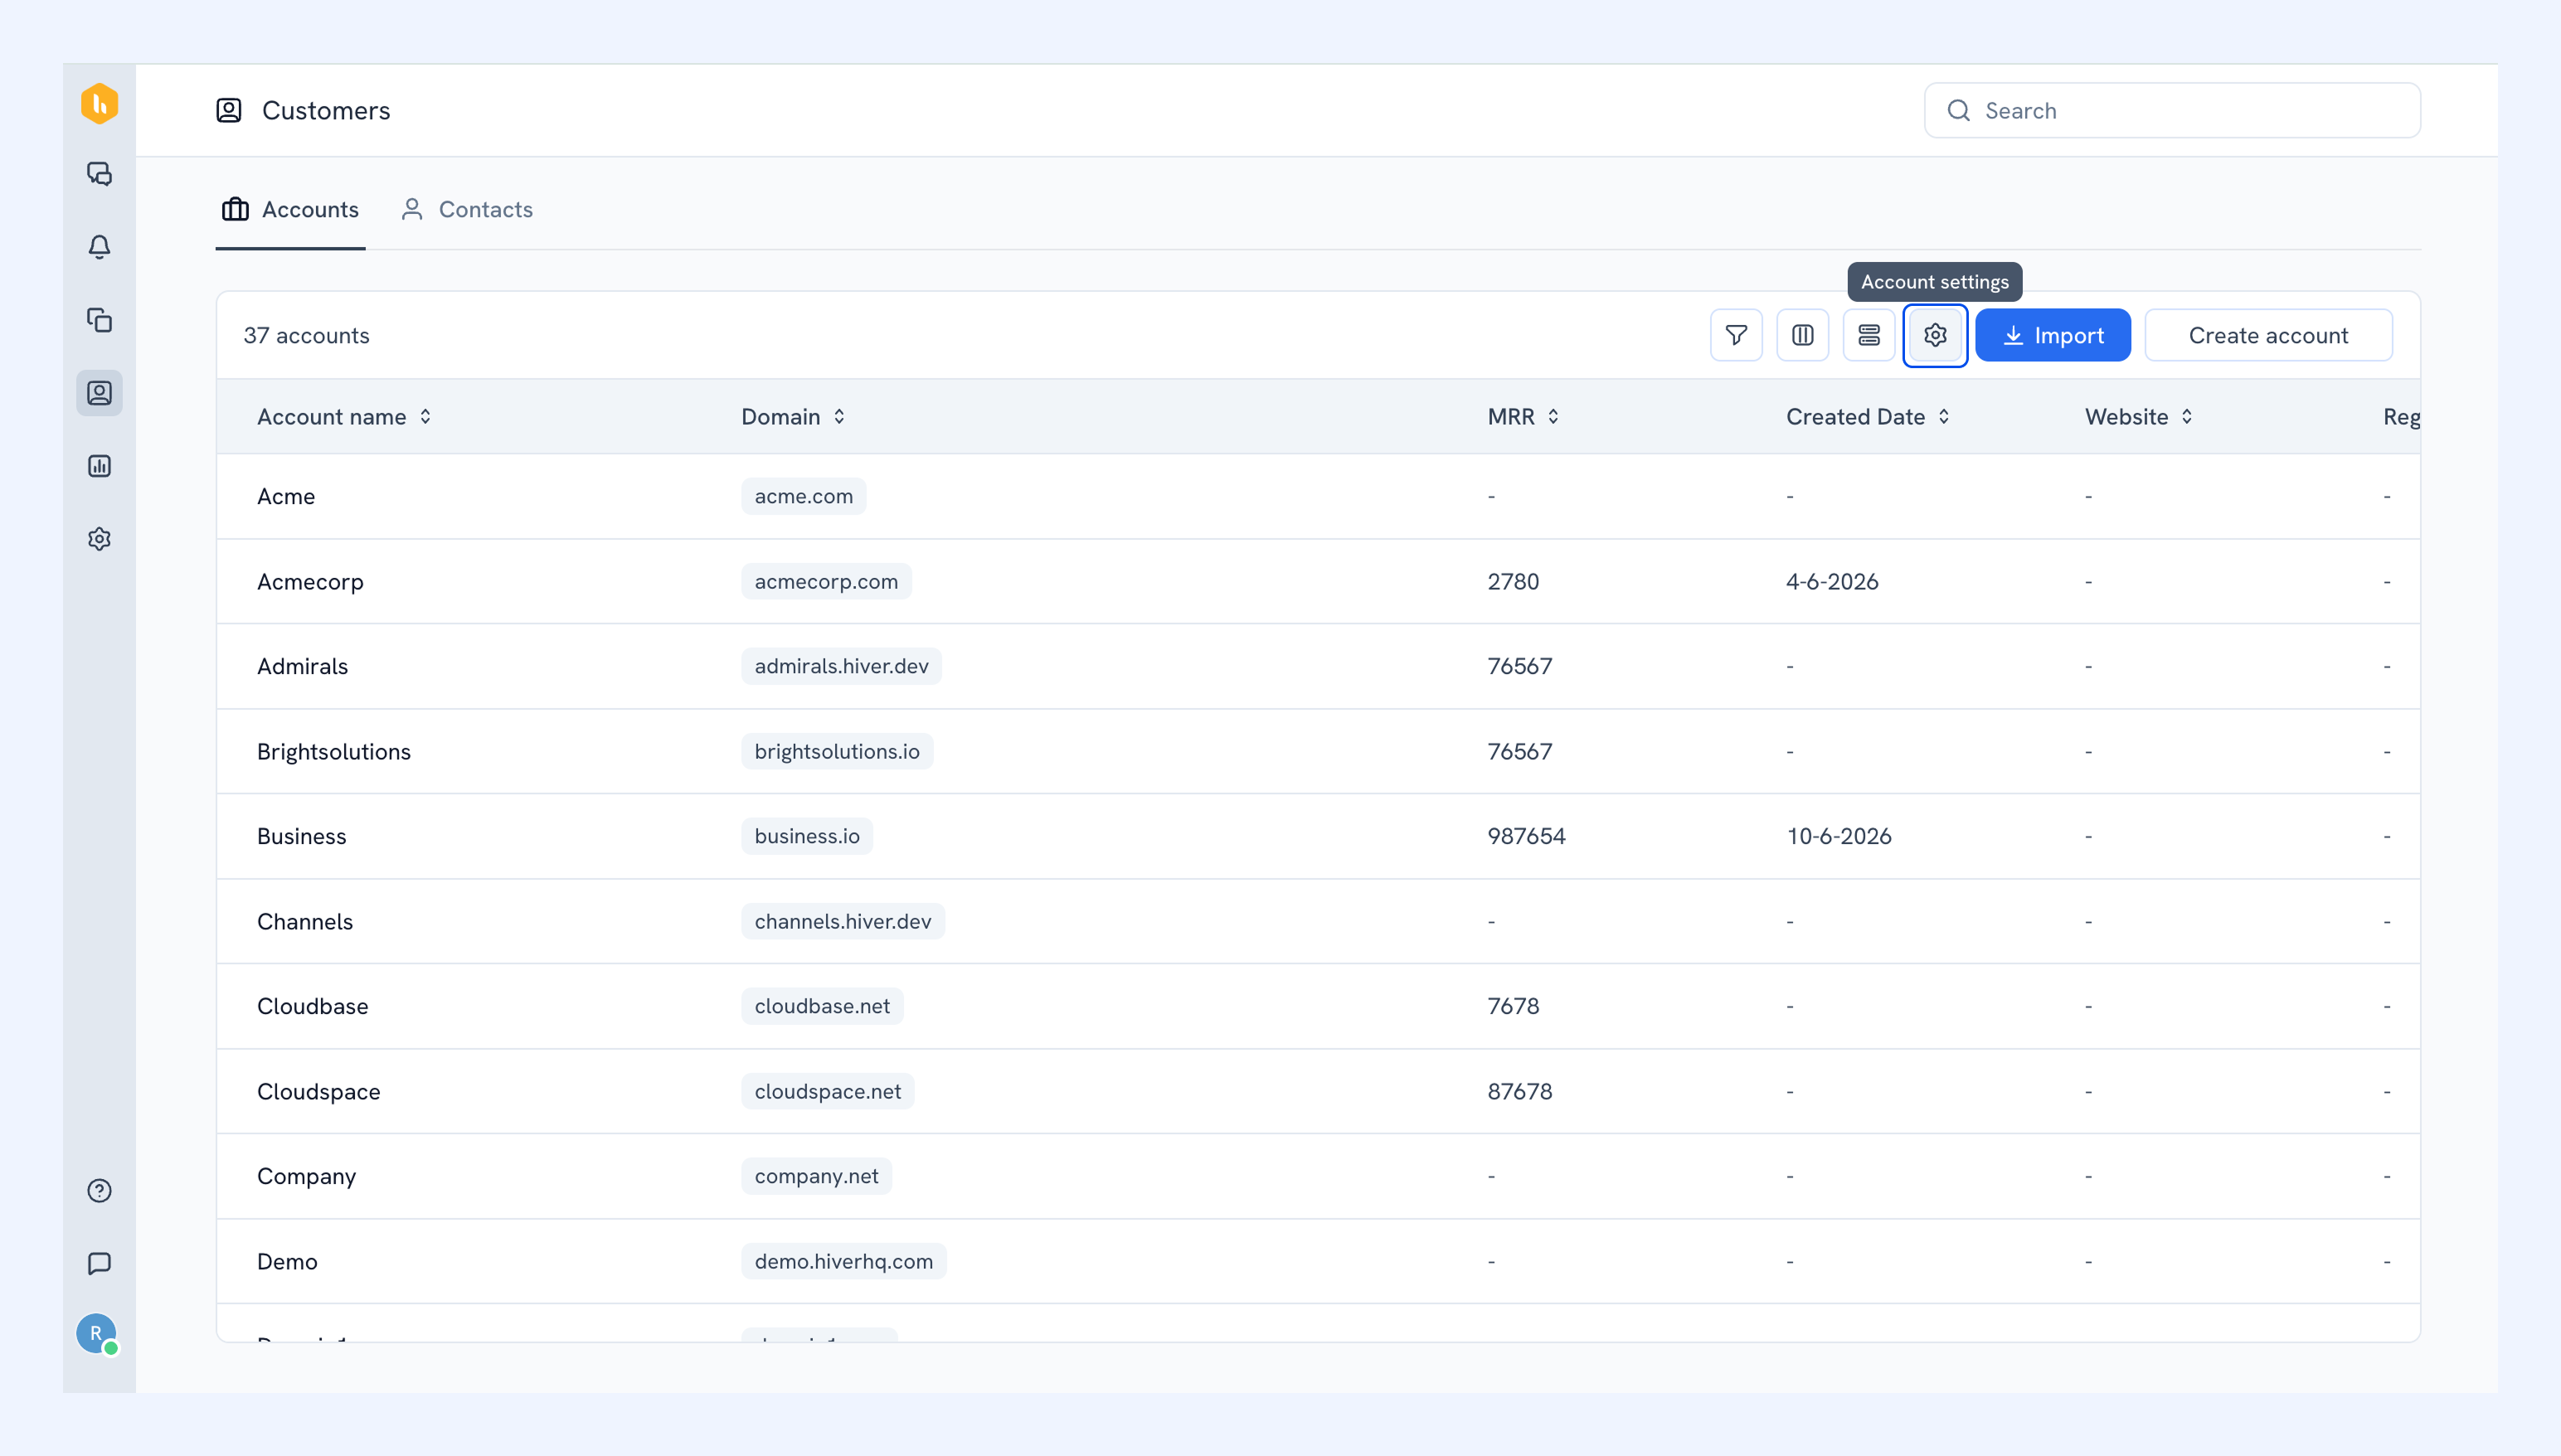
The Accounts tab shows all customer companies you have access to. Each row displays the account name and the domain associated with the account.
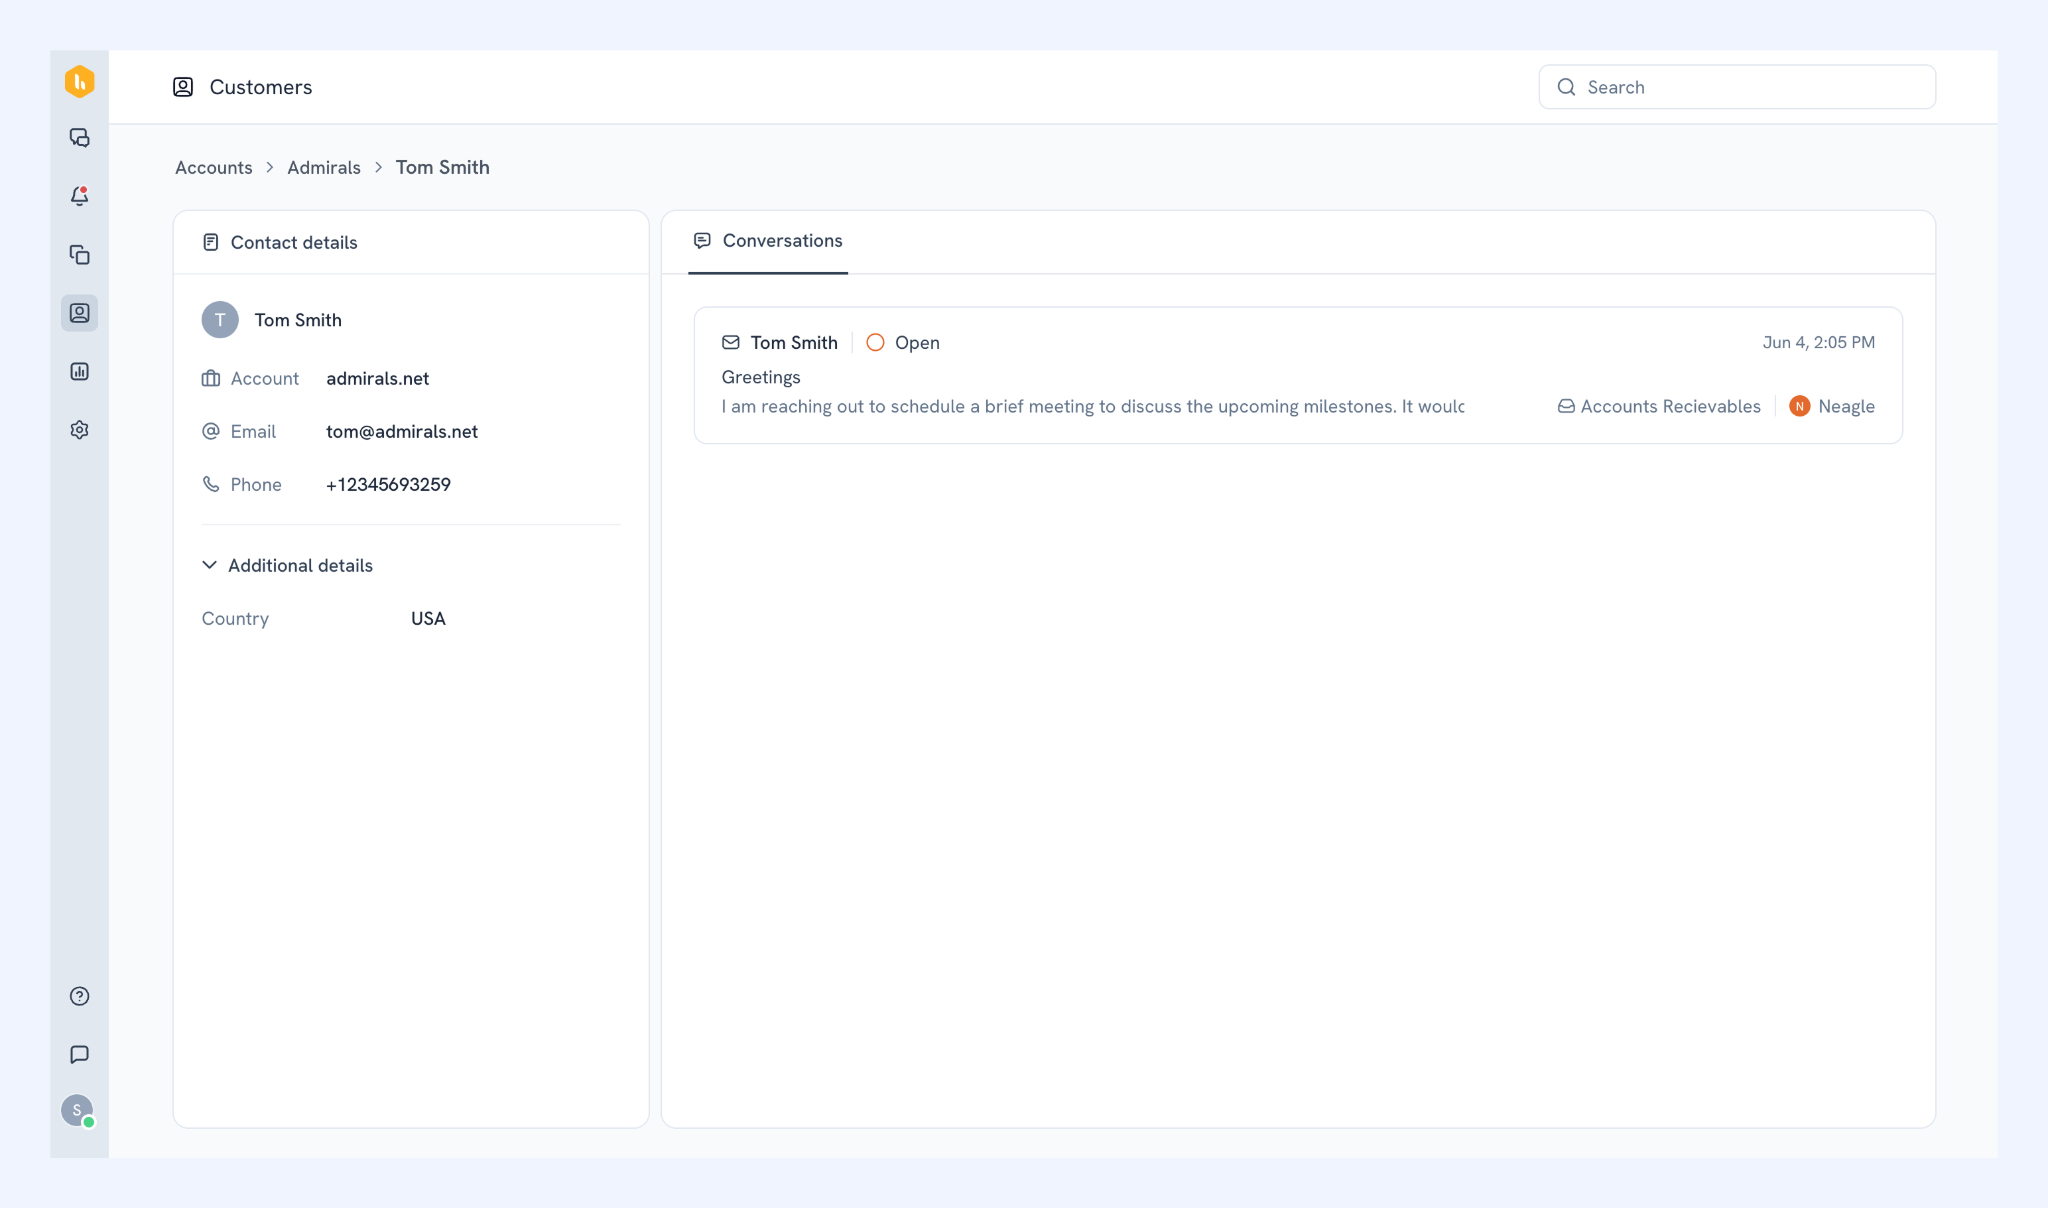
Click any account to view:
1. All conversations associated to the account
- The account profile shows all conversations associated with the account, including their status, assignee, Shared Inbox, and recent activity.
- Conversations are automatically sorted by status: Open first, followed by Pending, then Closed.
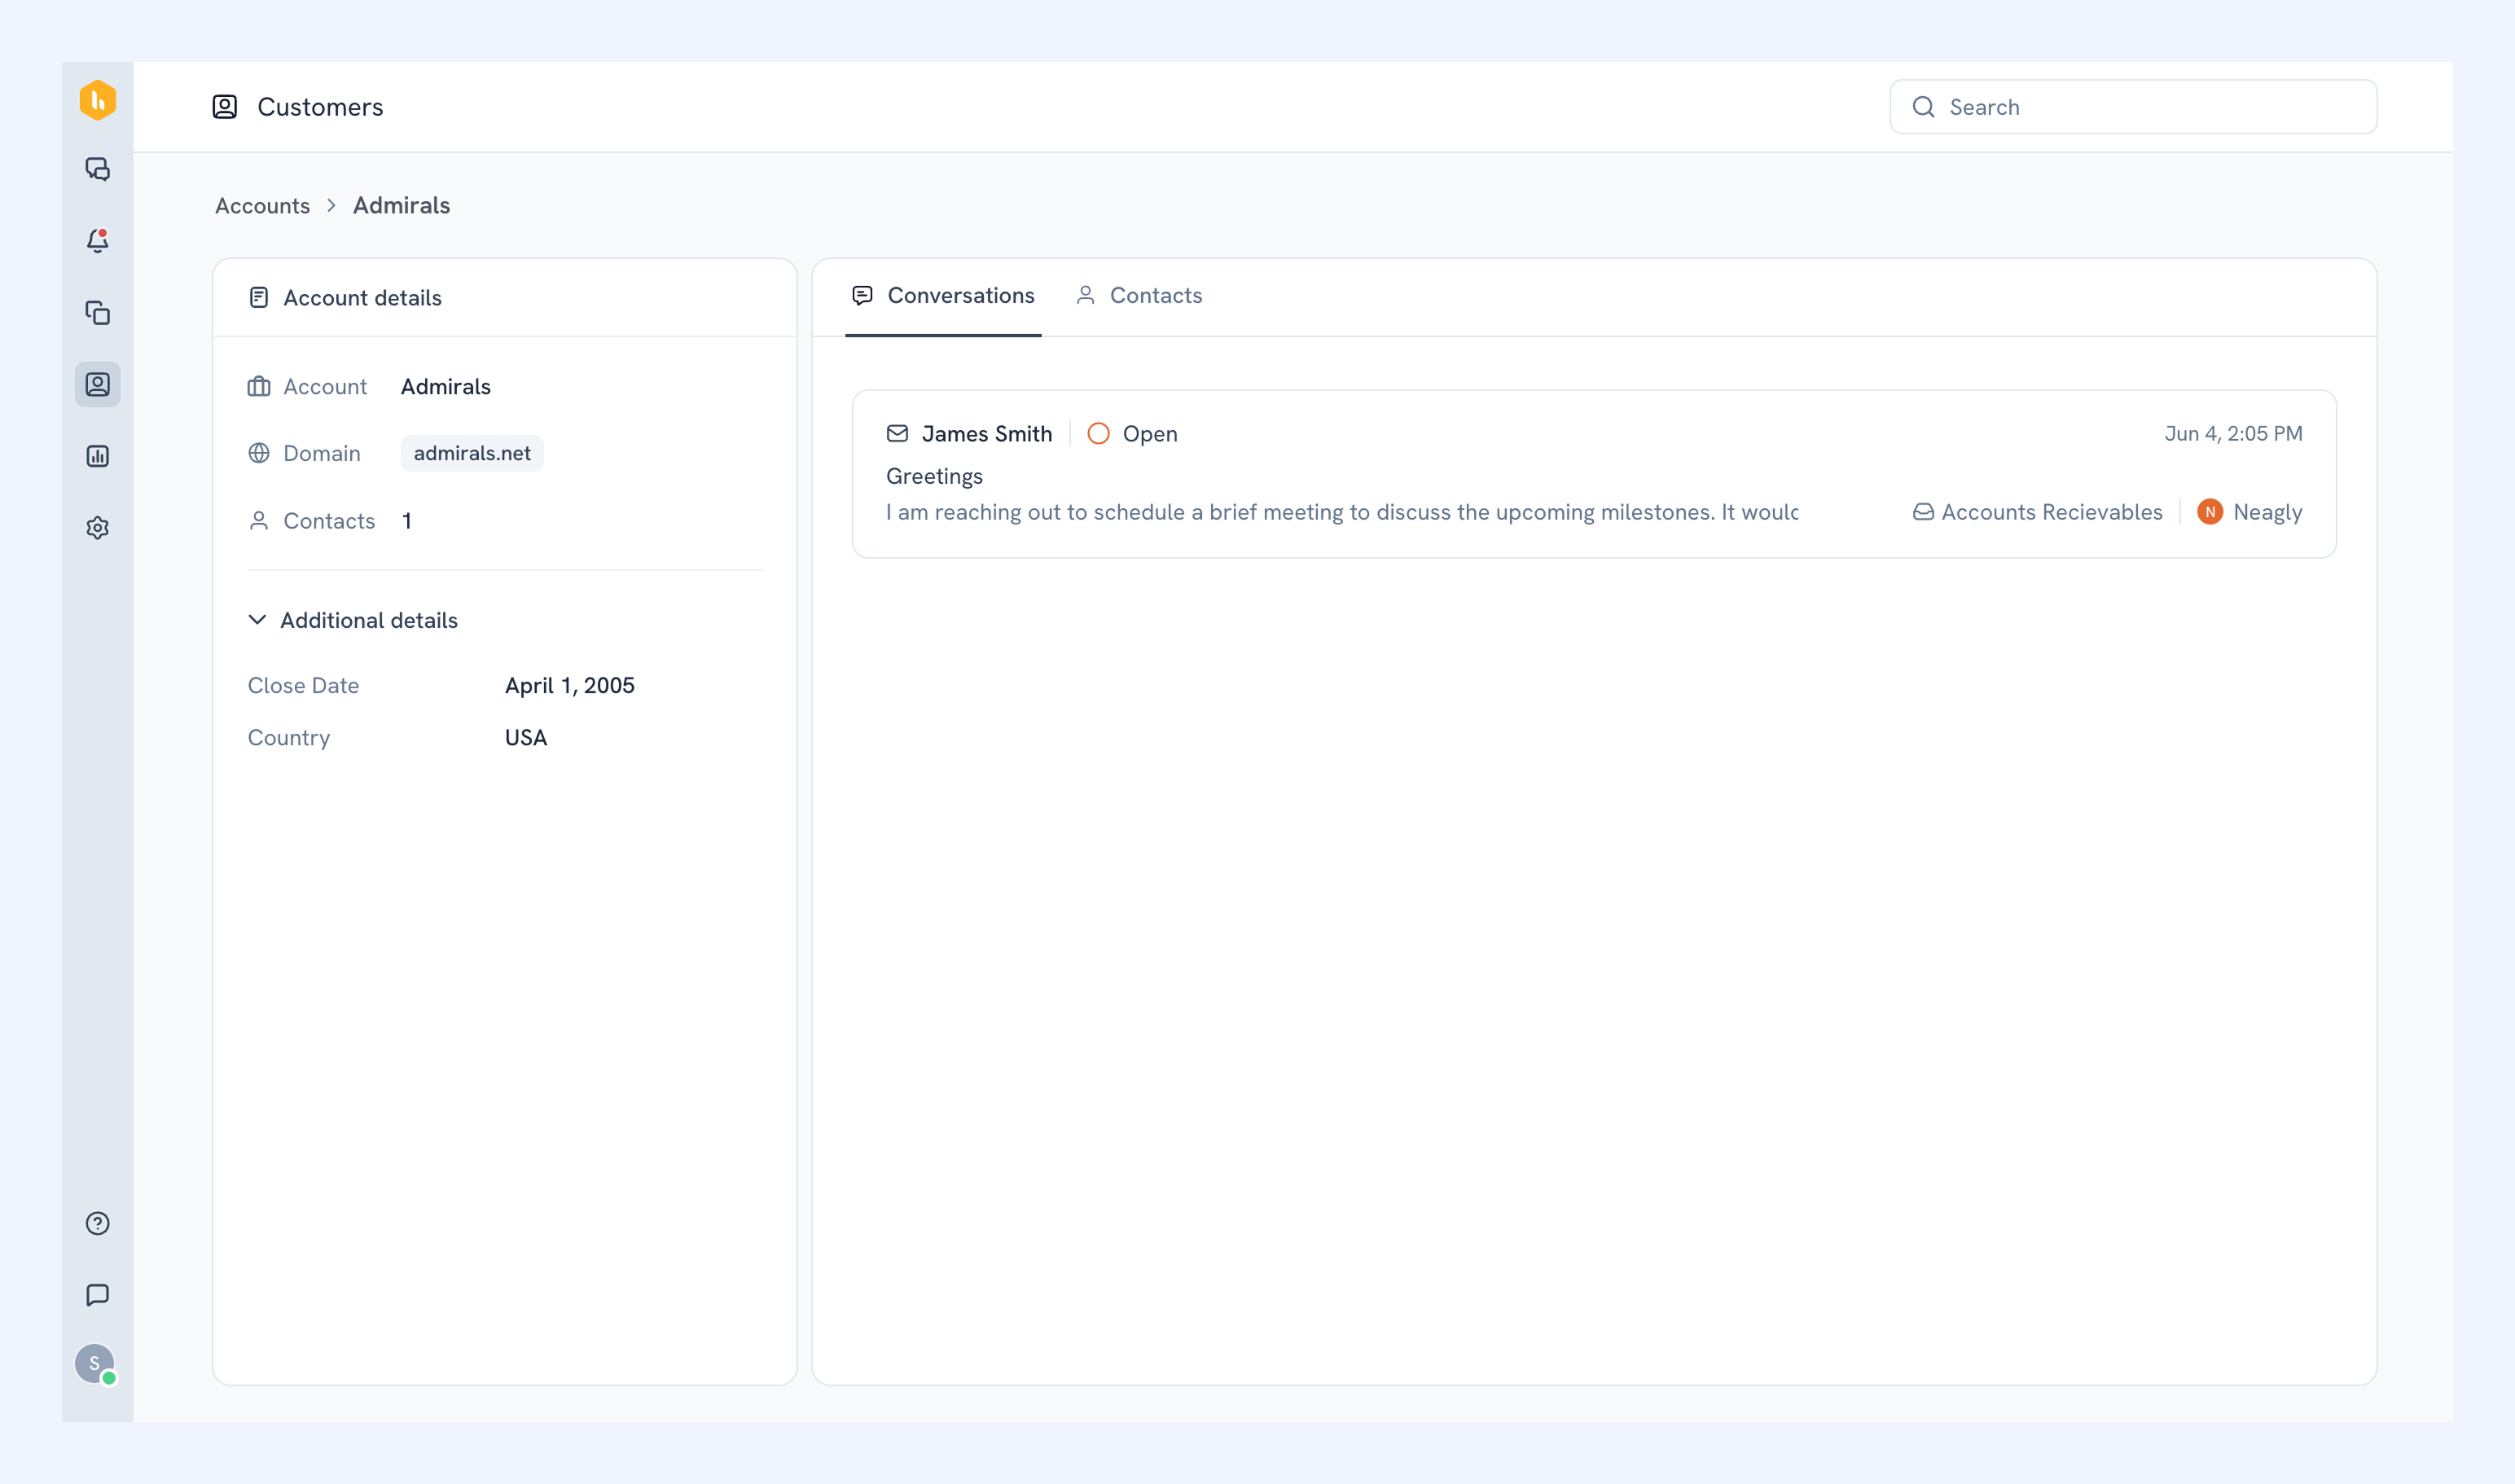
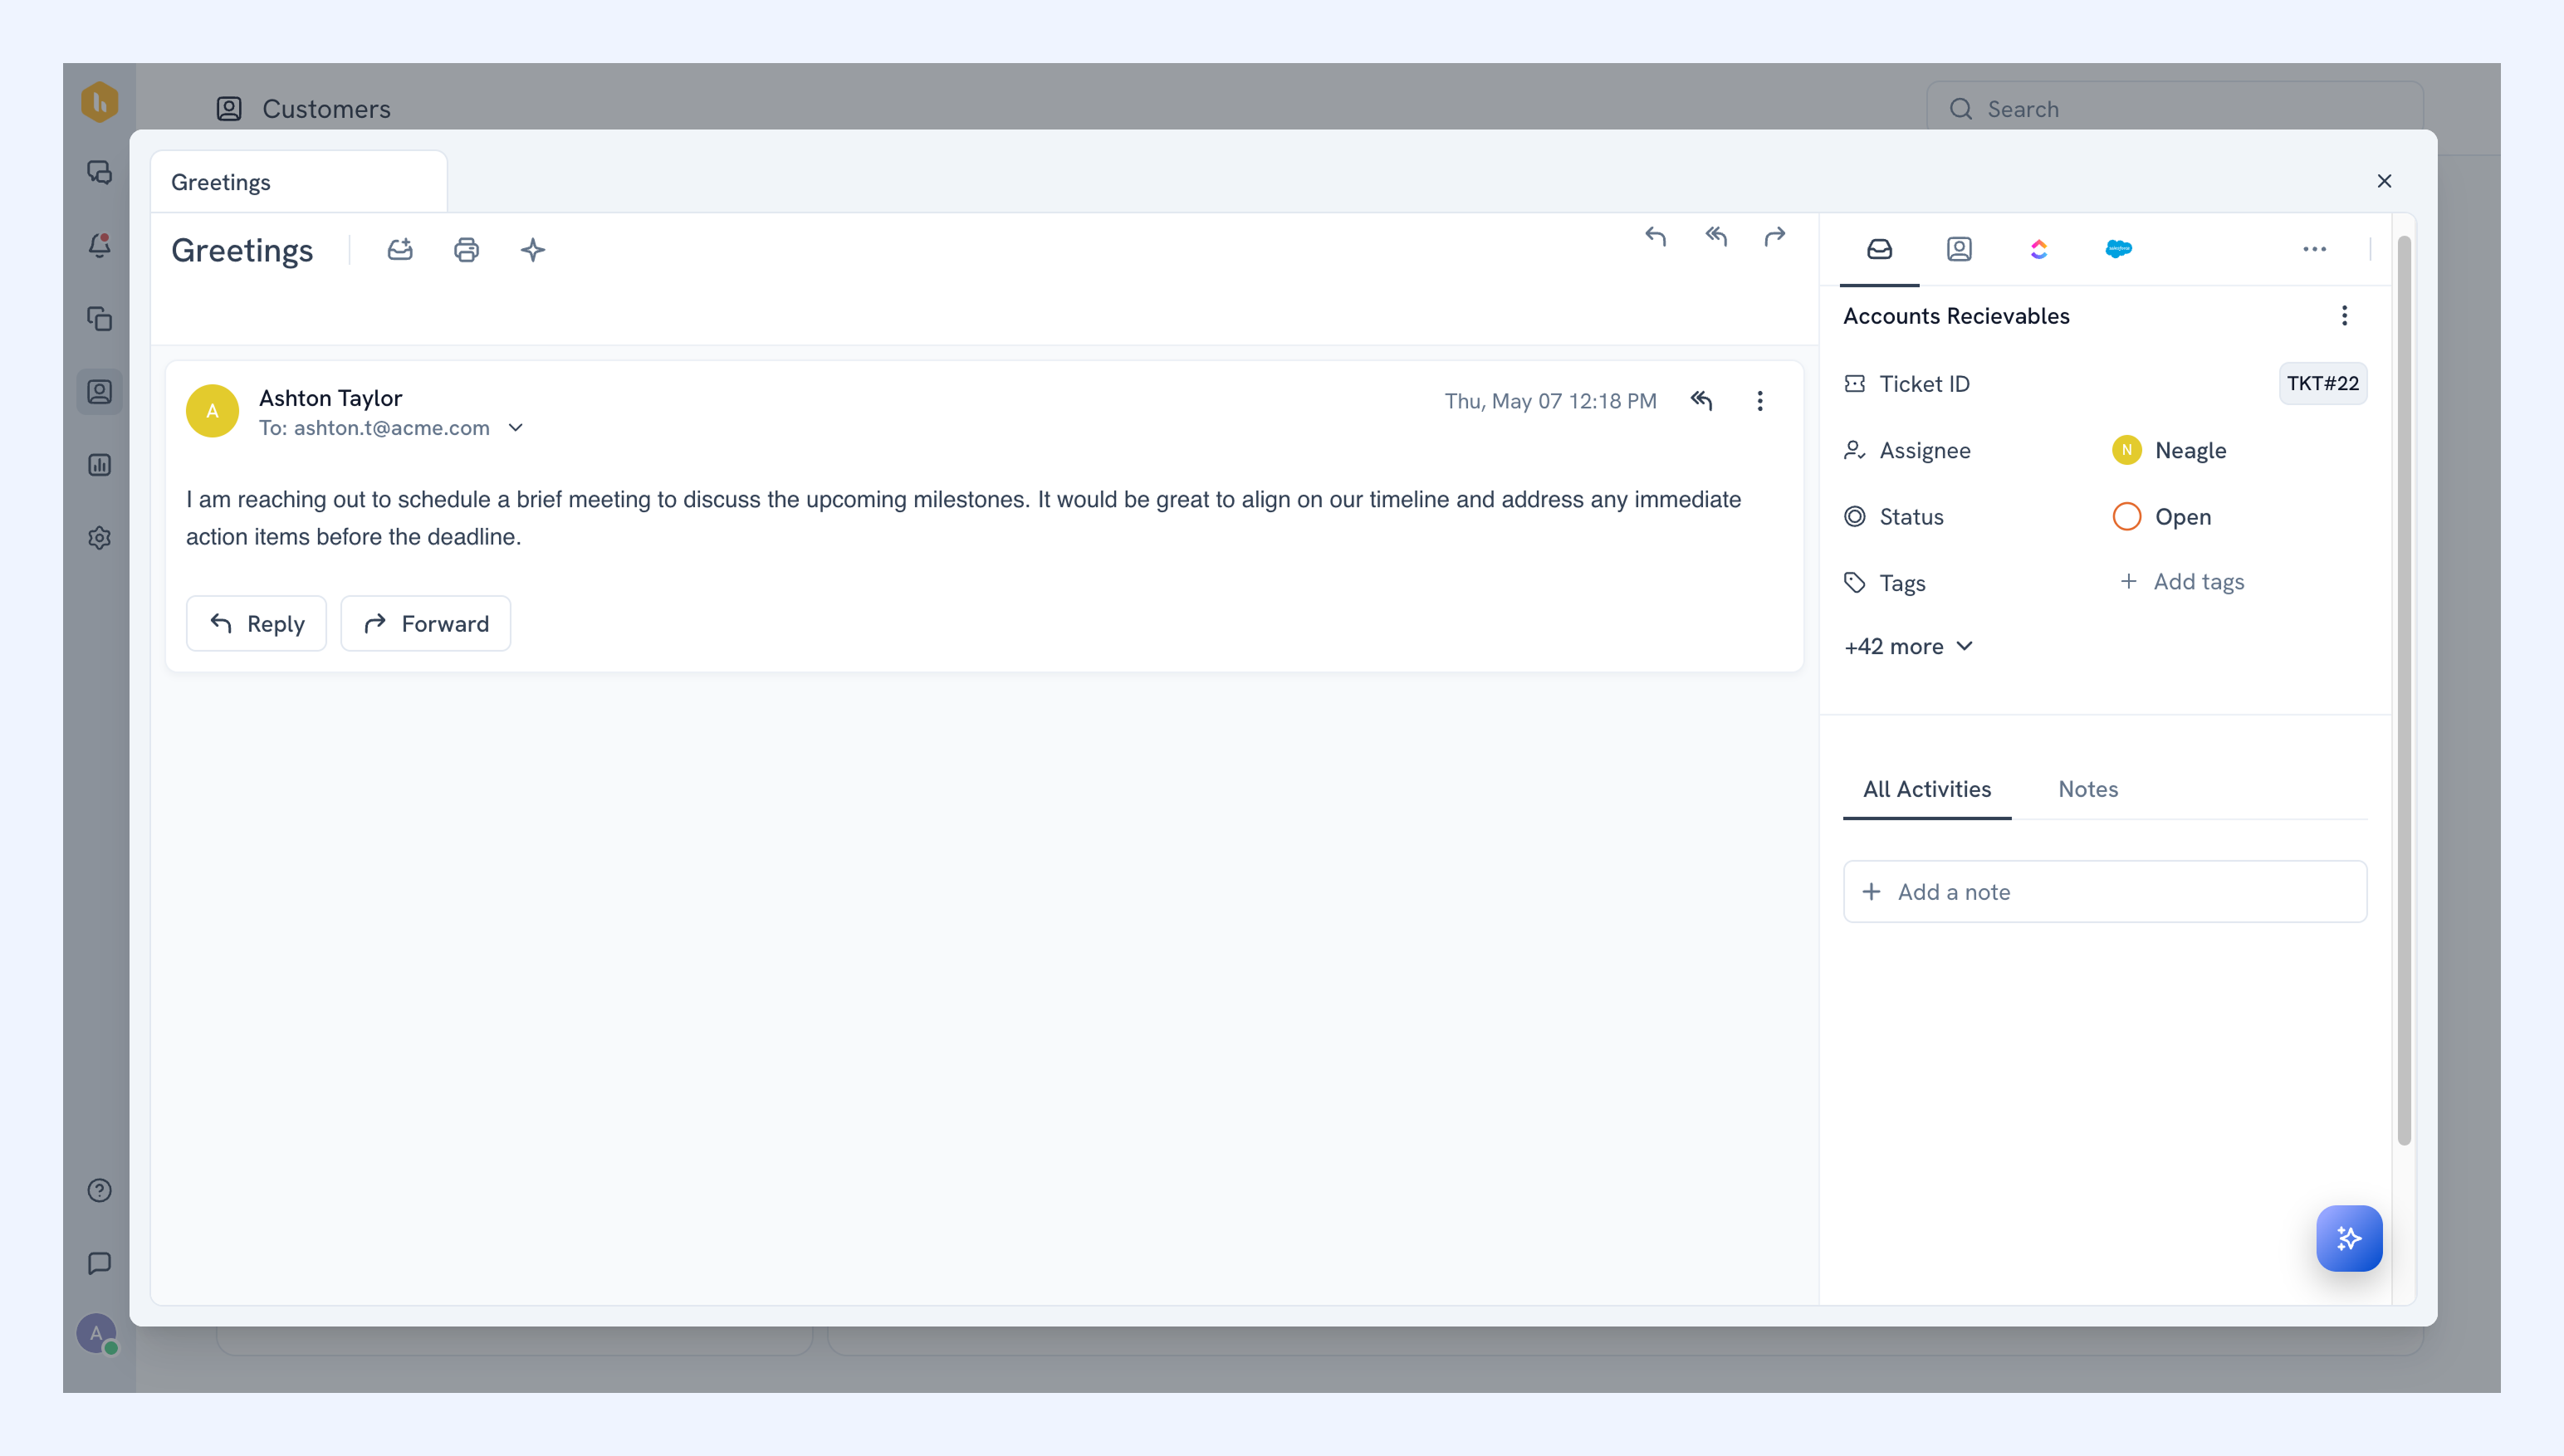
- Click any conversation to open it in a new tab.
2. All contacts from the account
- You can find the list of all contacts from the account, along with the name, email address, phone number, and any additional custom details added.
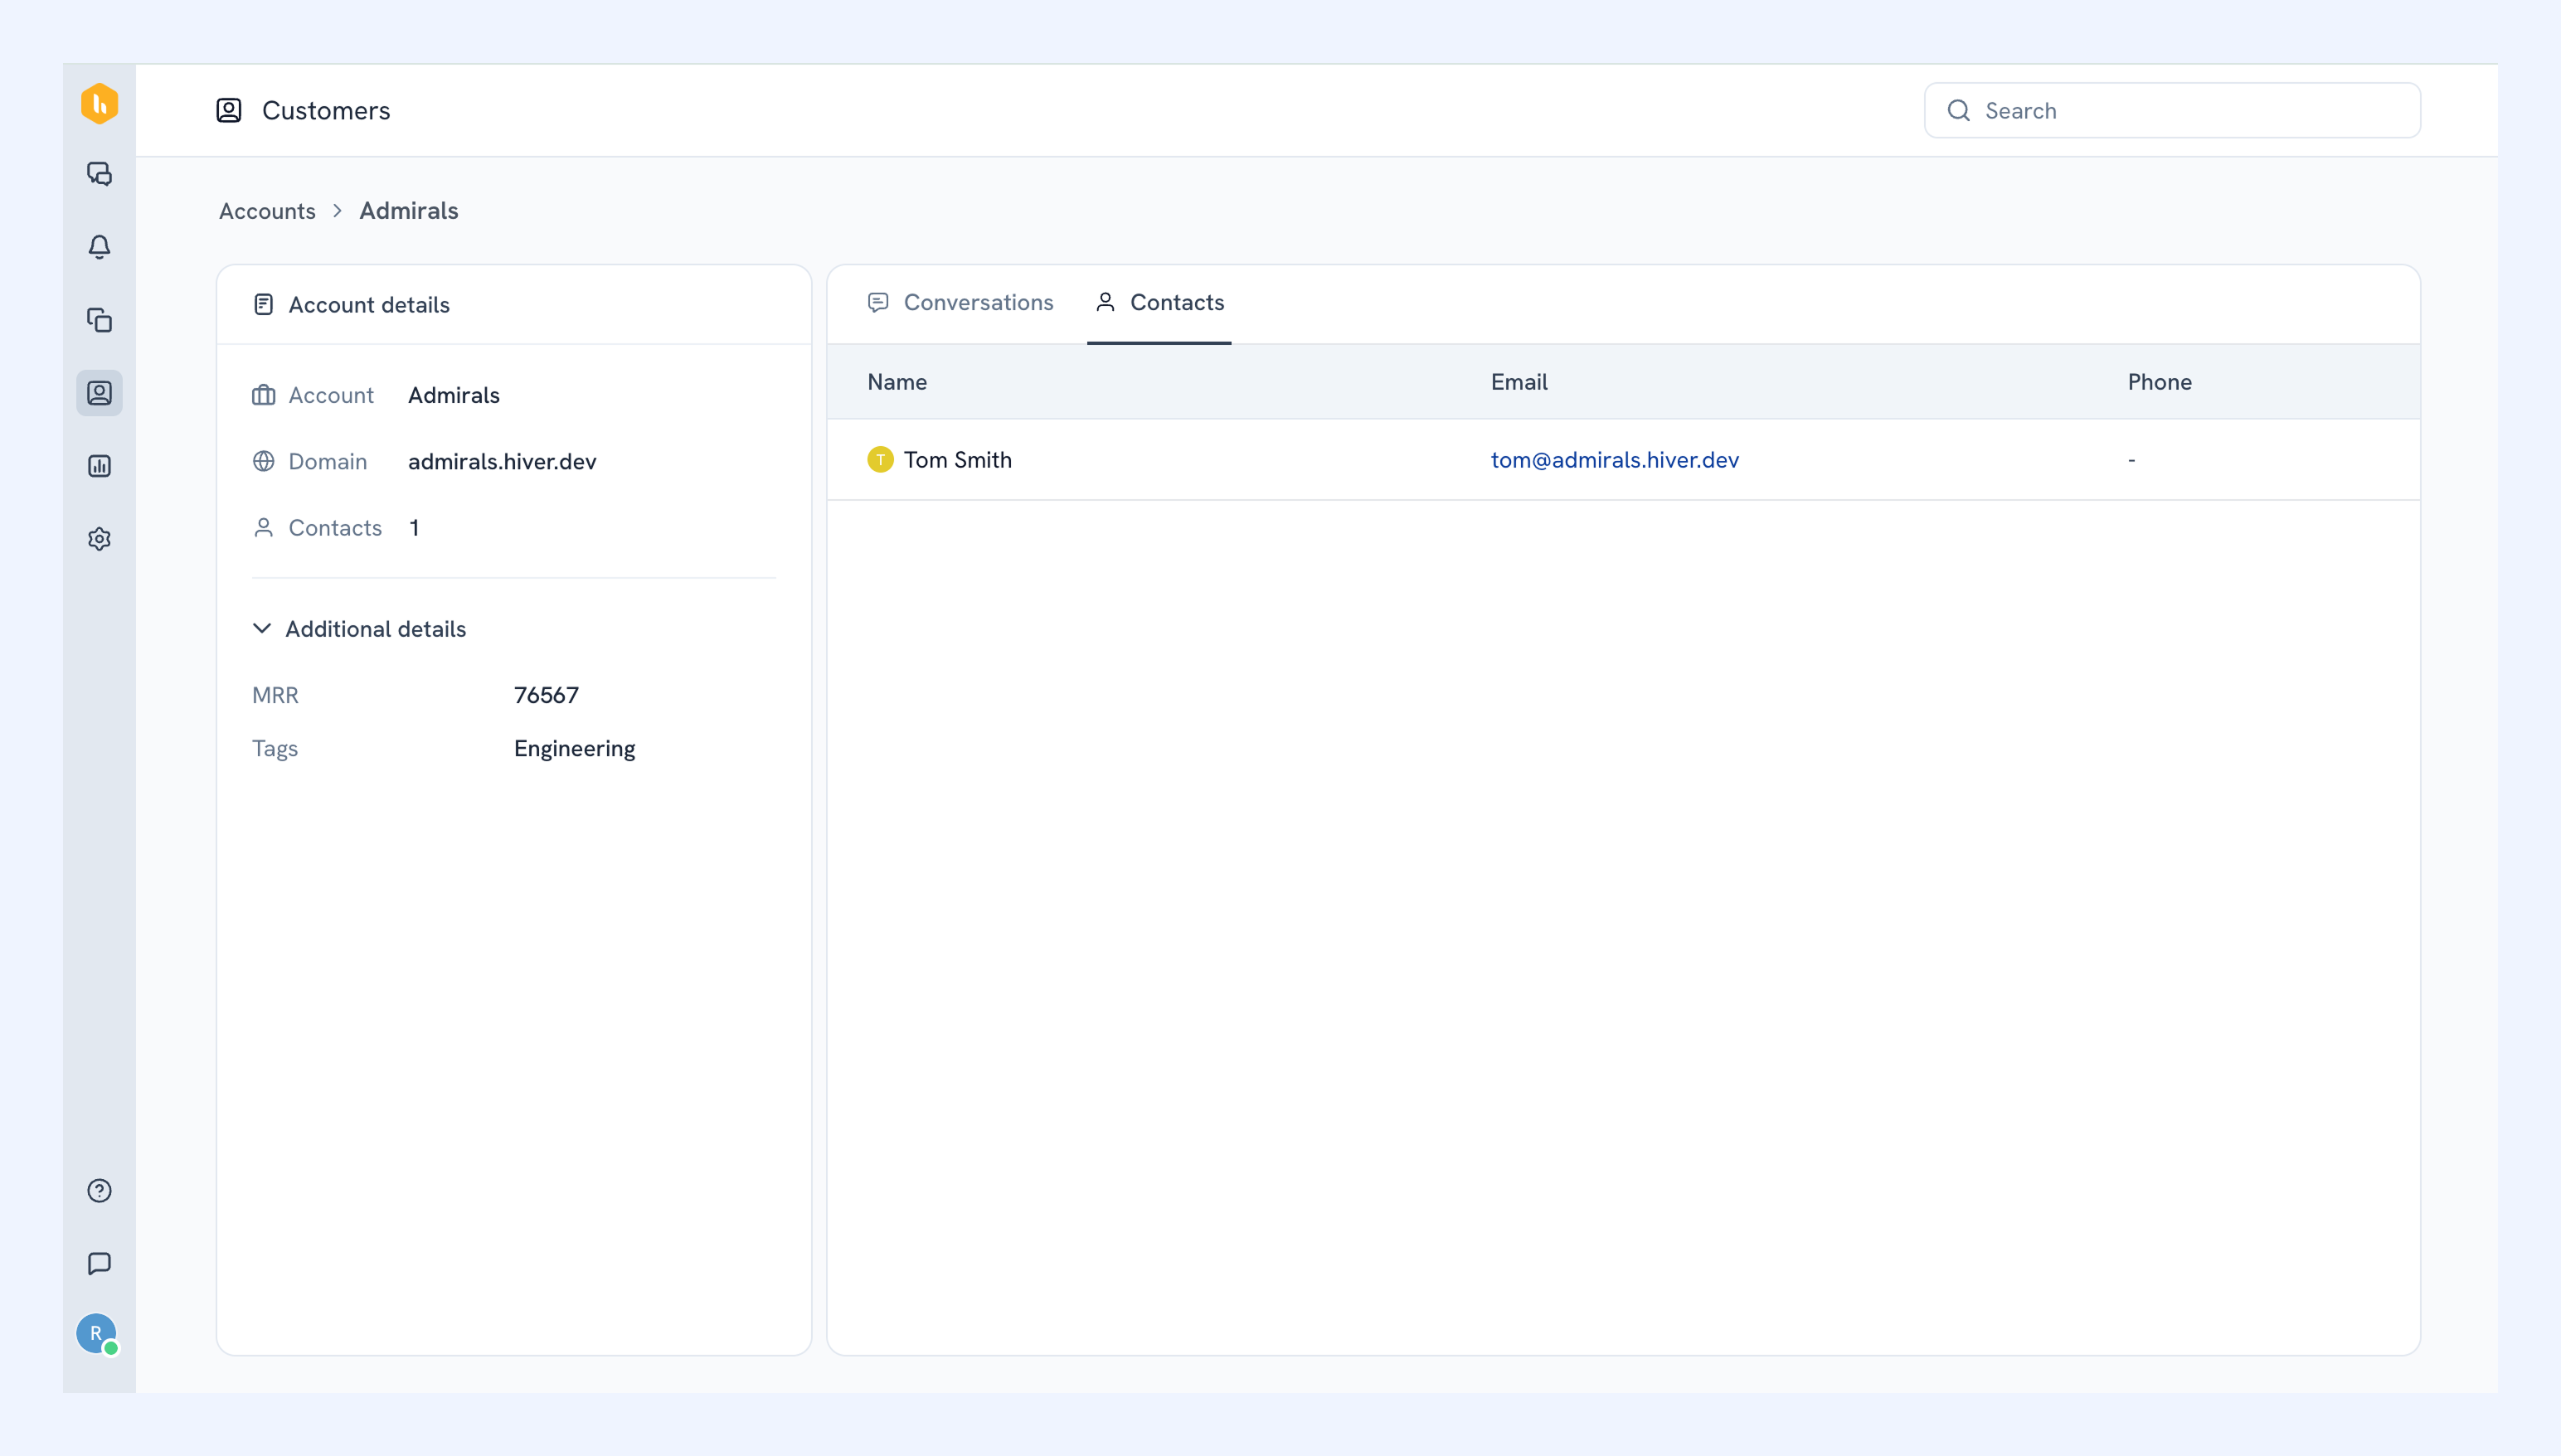
- Click any contact to view their details and associated conversations.
Creating an account
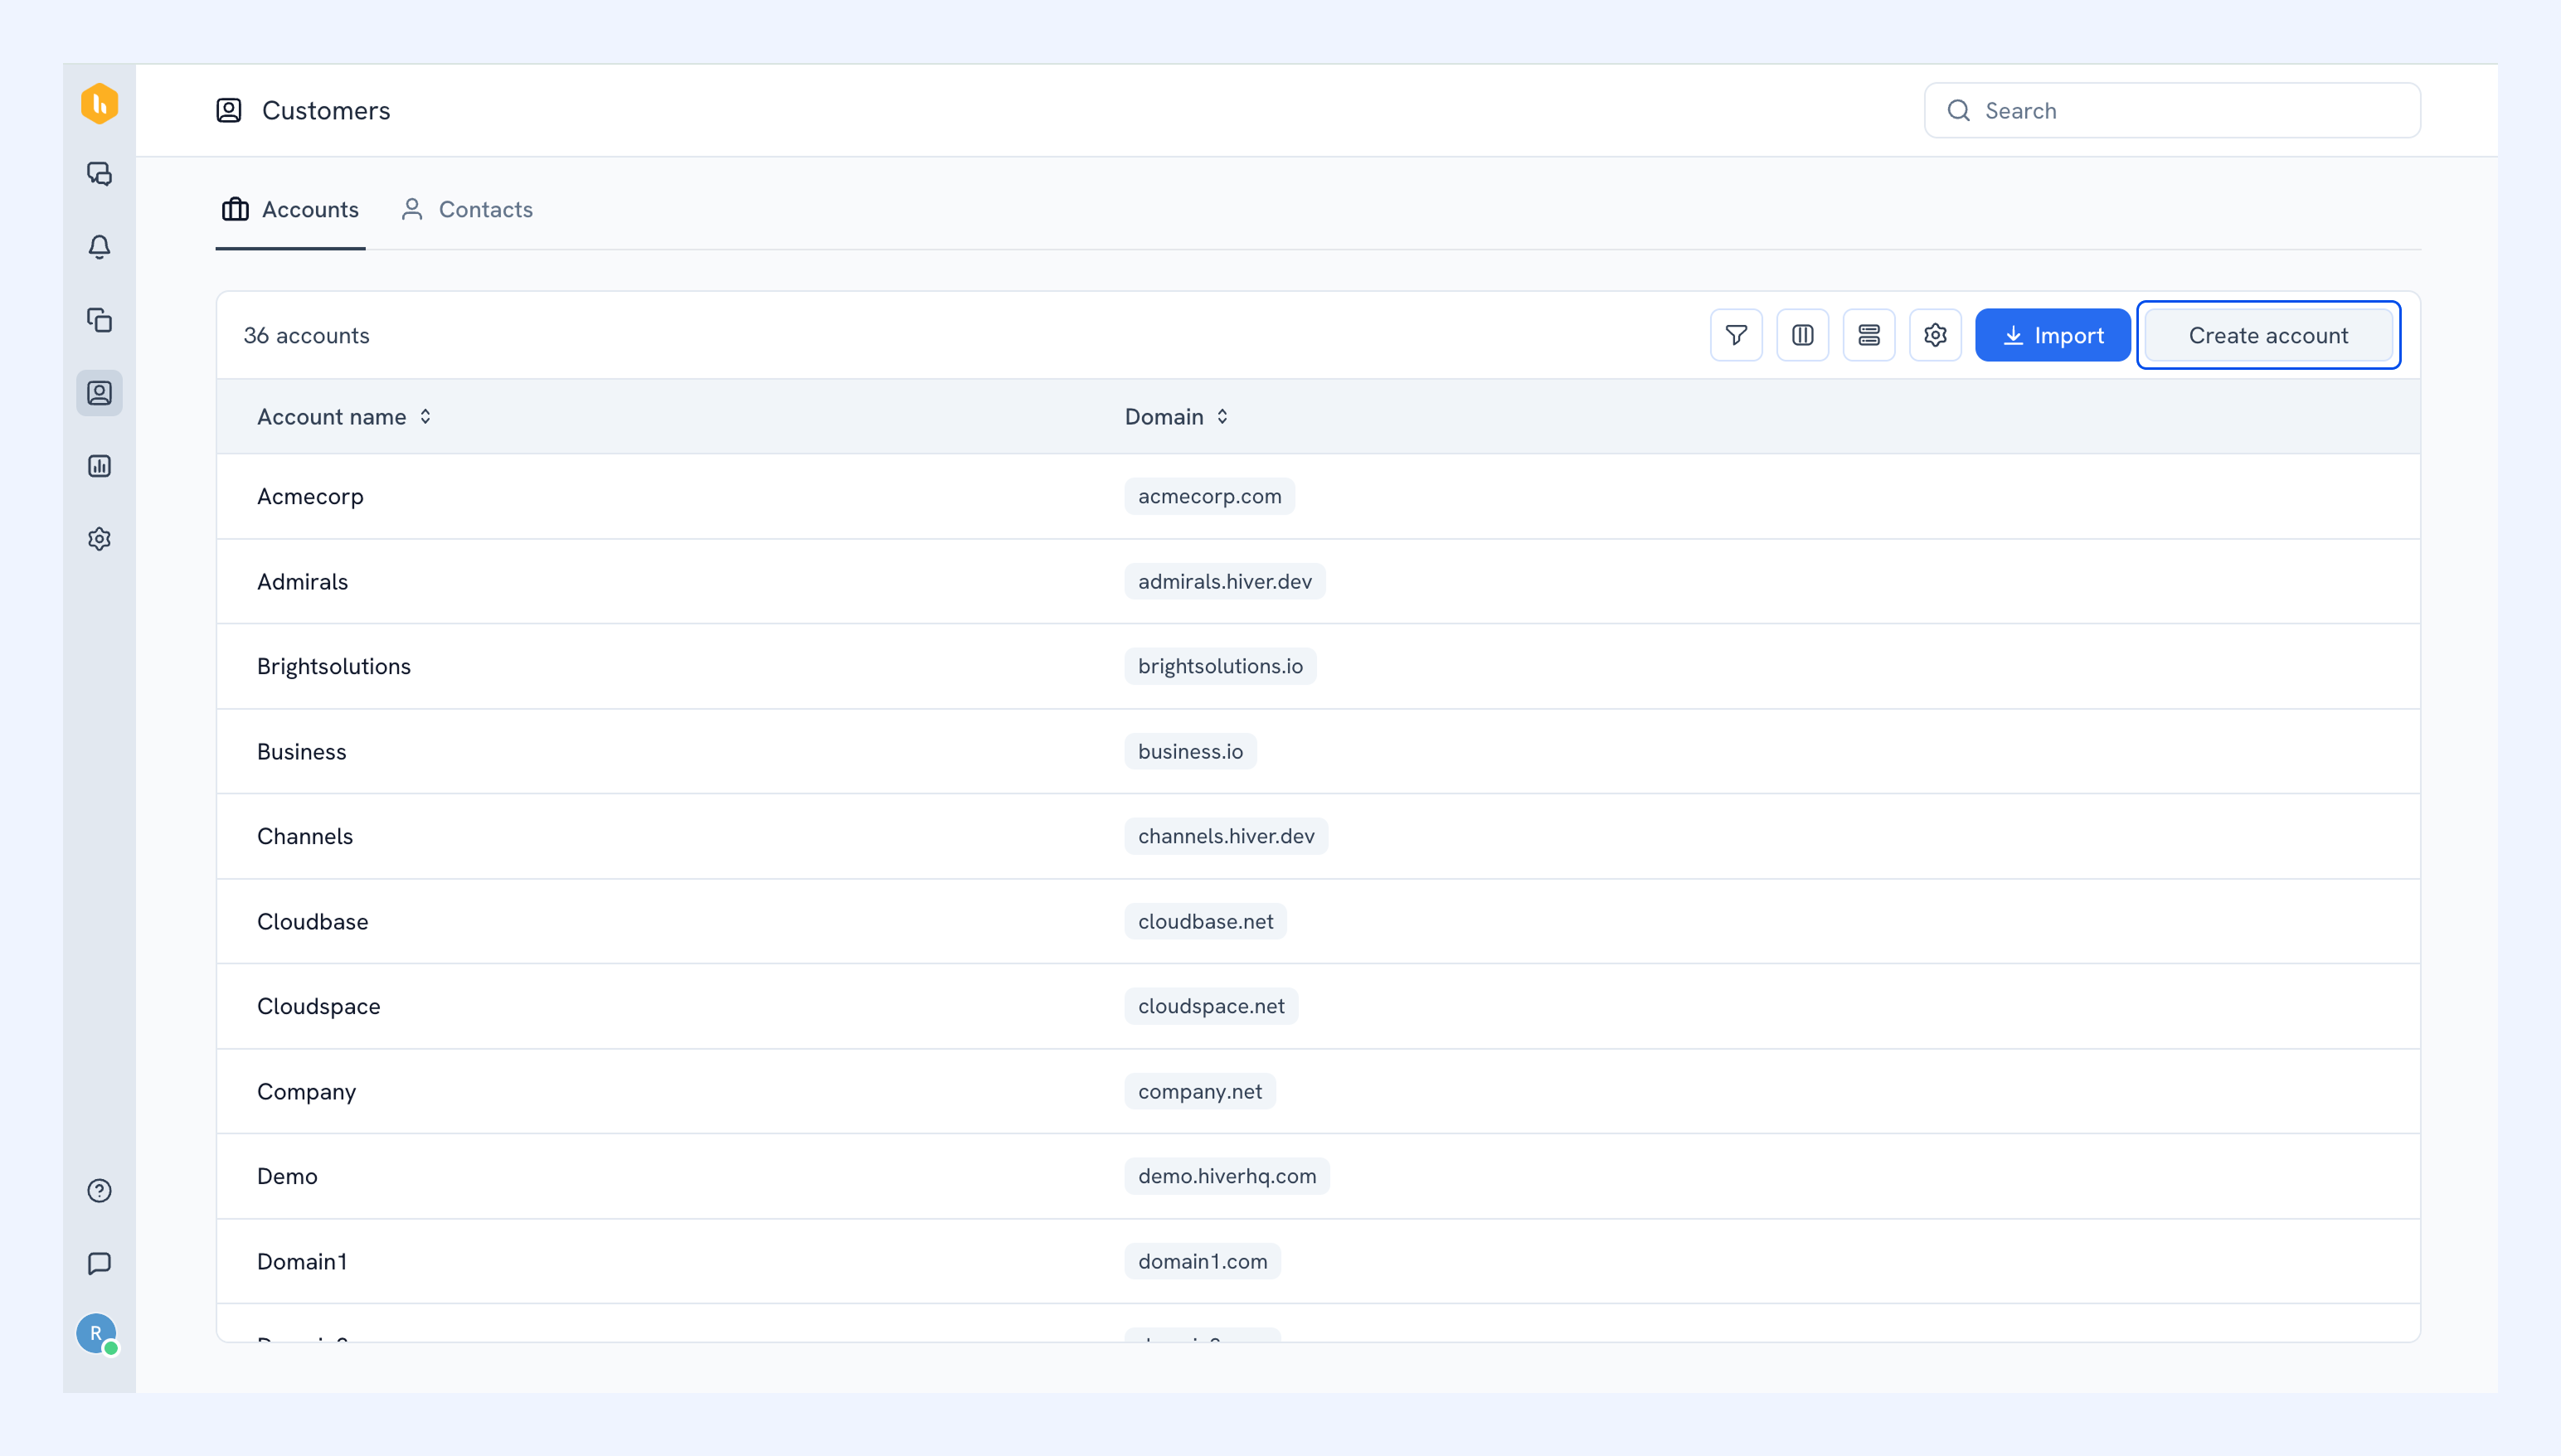
Hiver creates accounts automatically from conversations, but you can also add one manually from the Accounts tab. To create an account:
1. Click Create account.
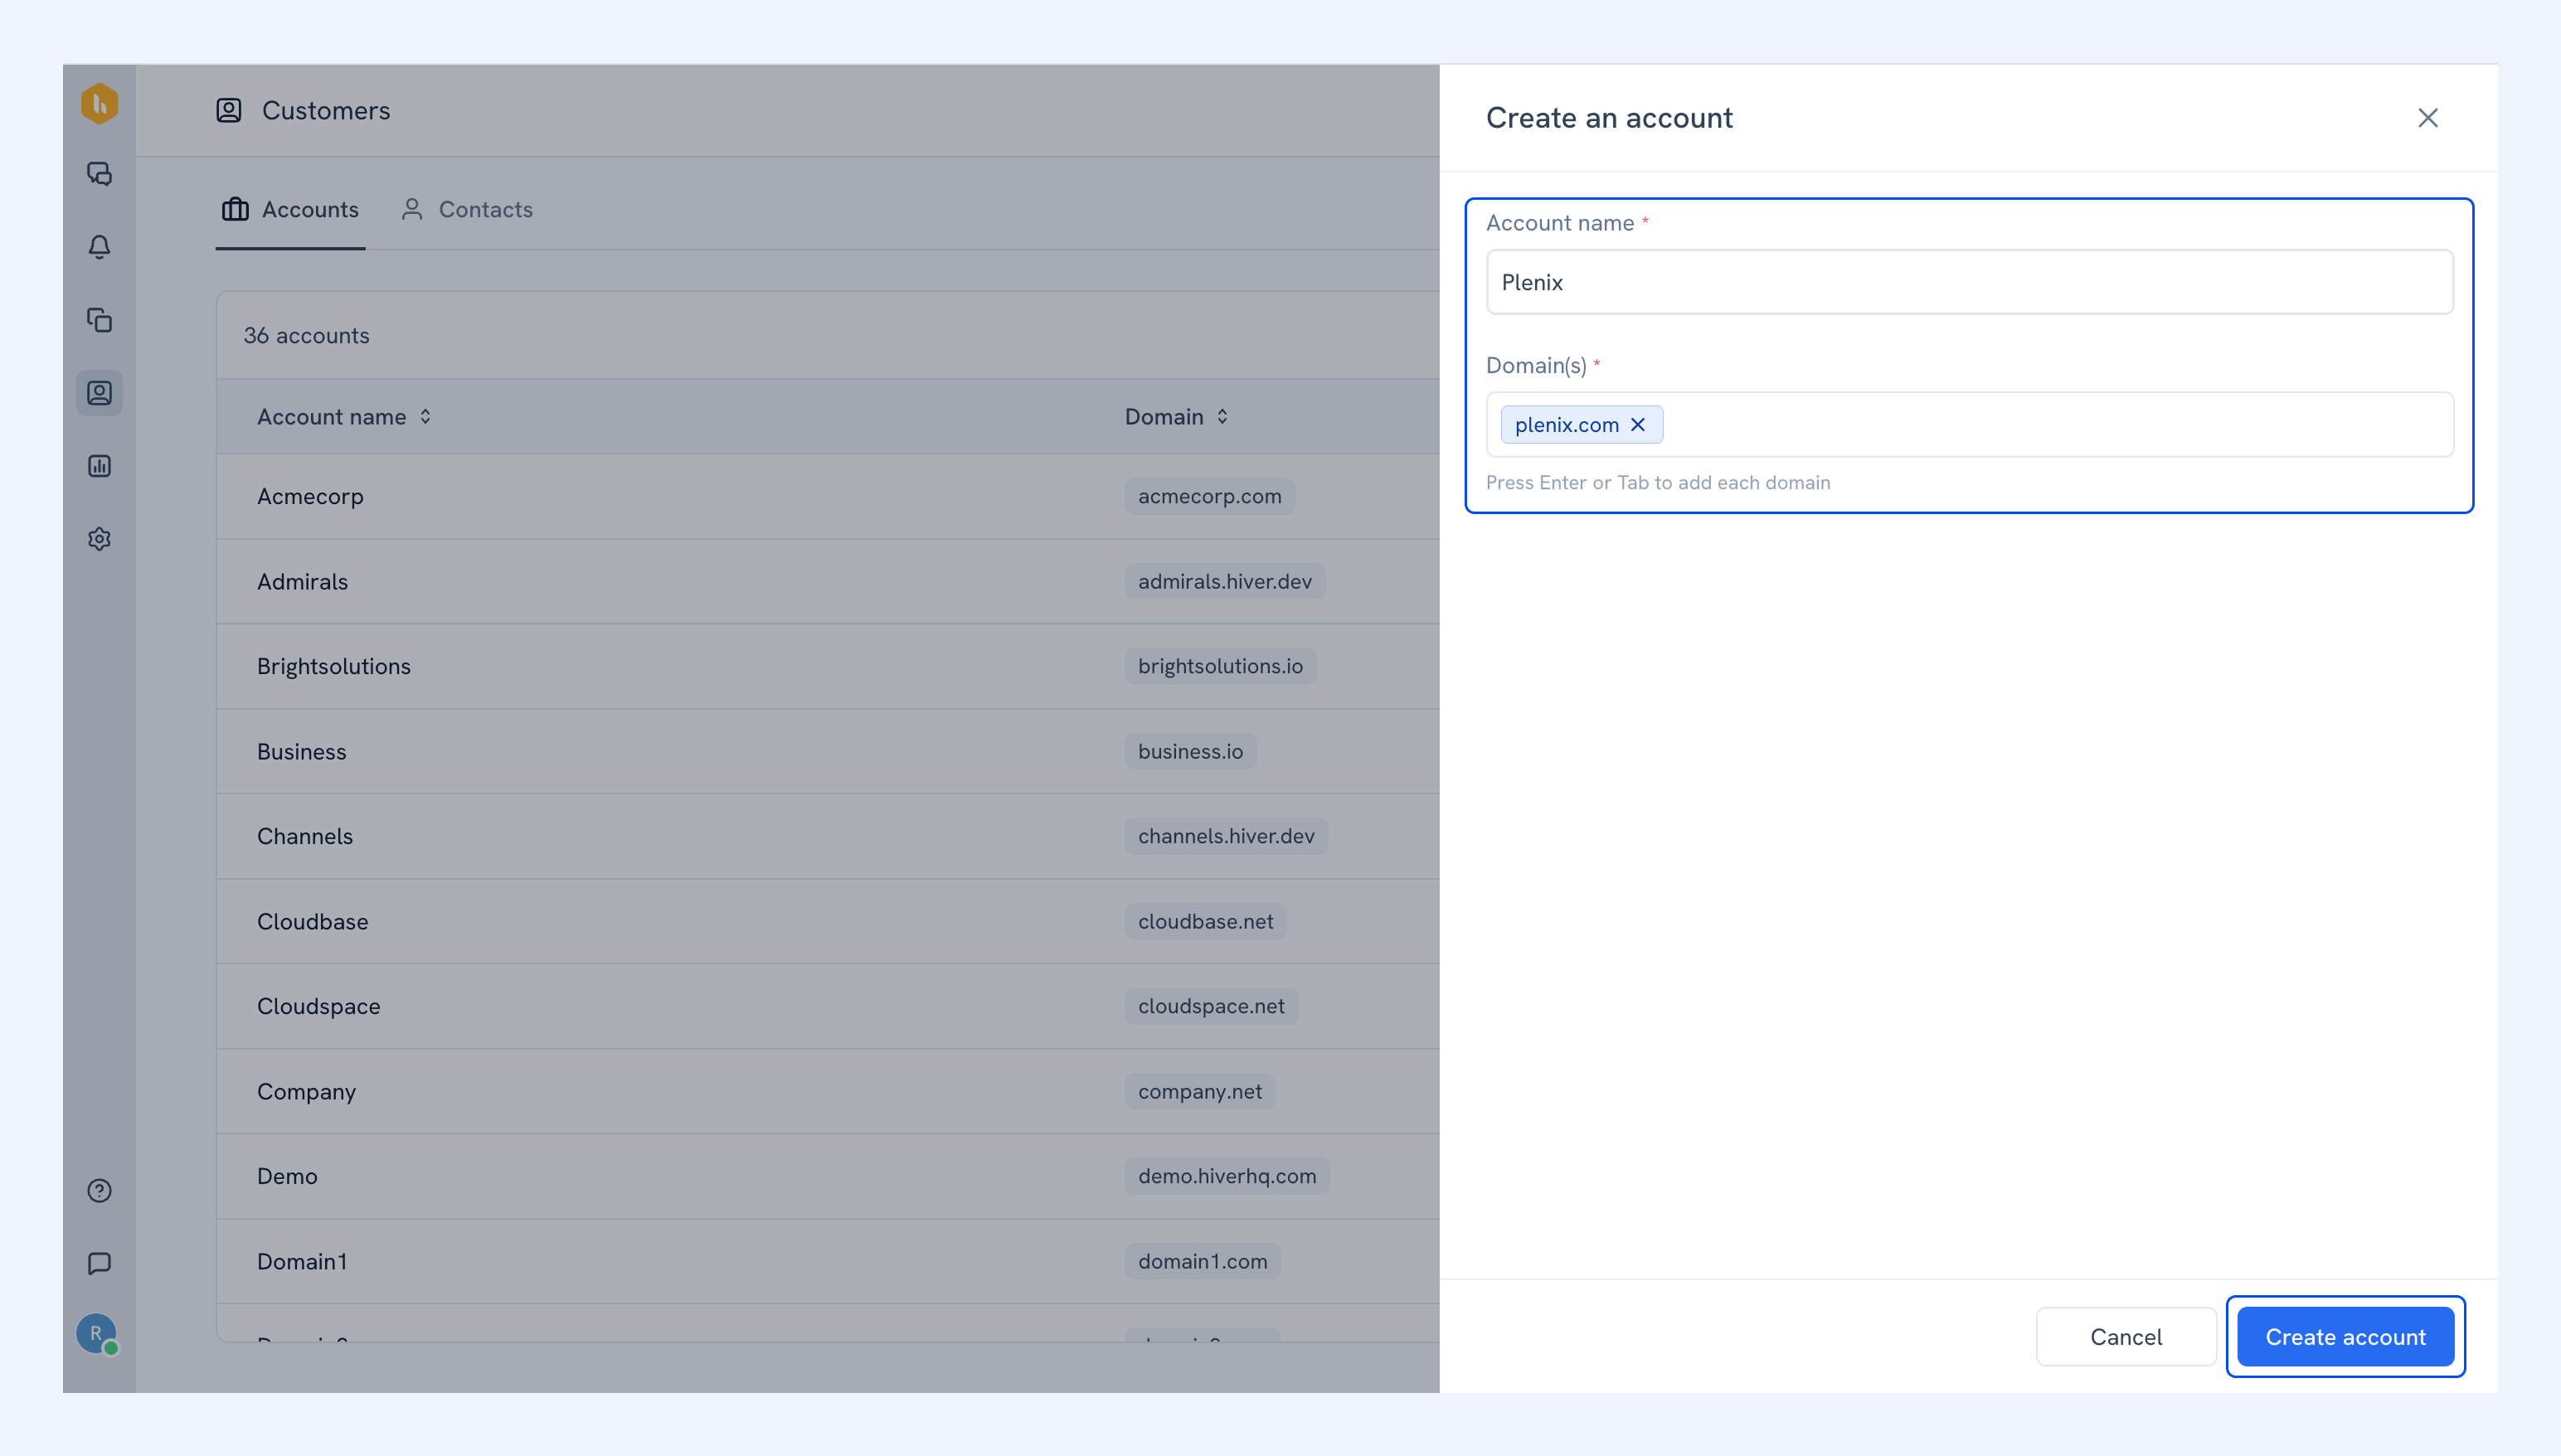
2. Add the account details, and click Create account.
Creating account fields
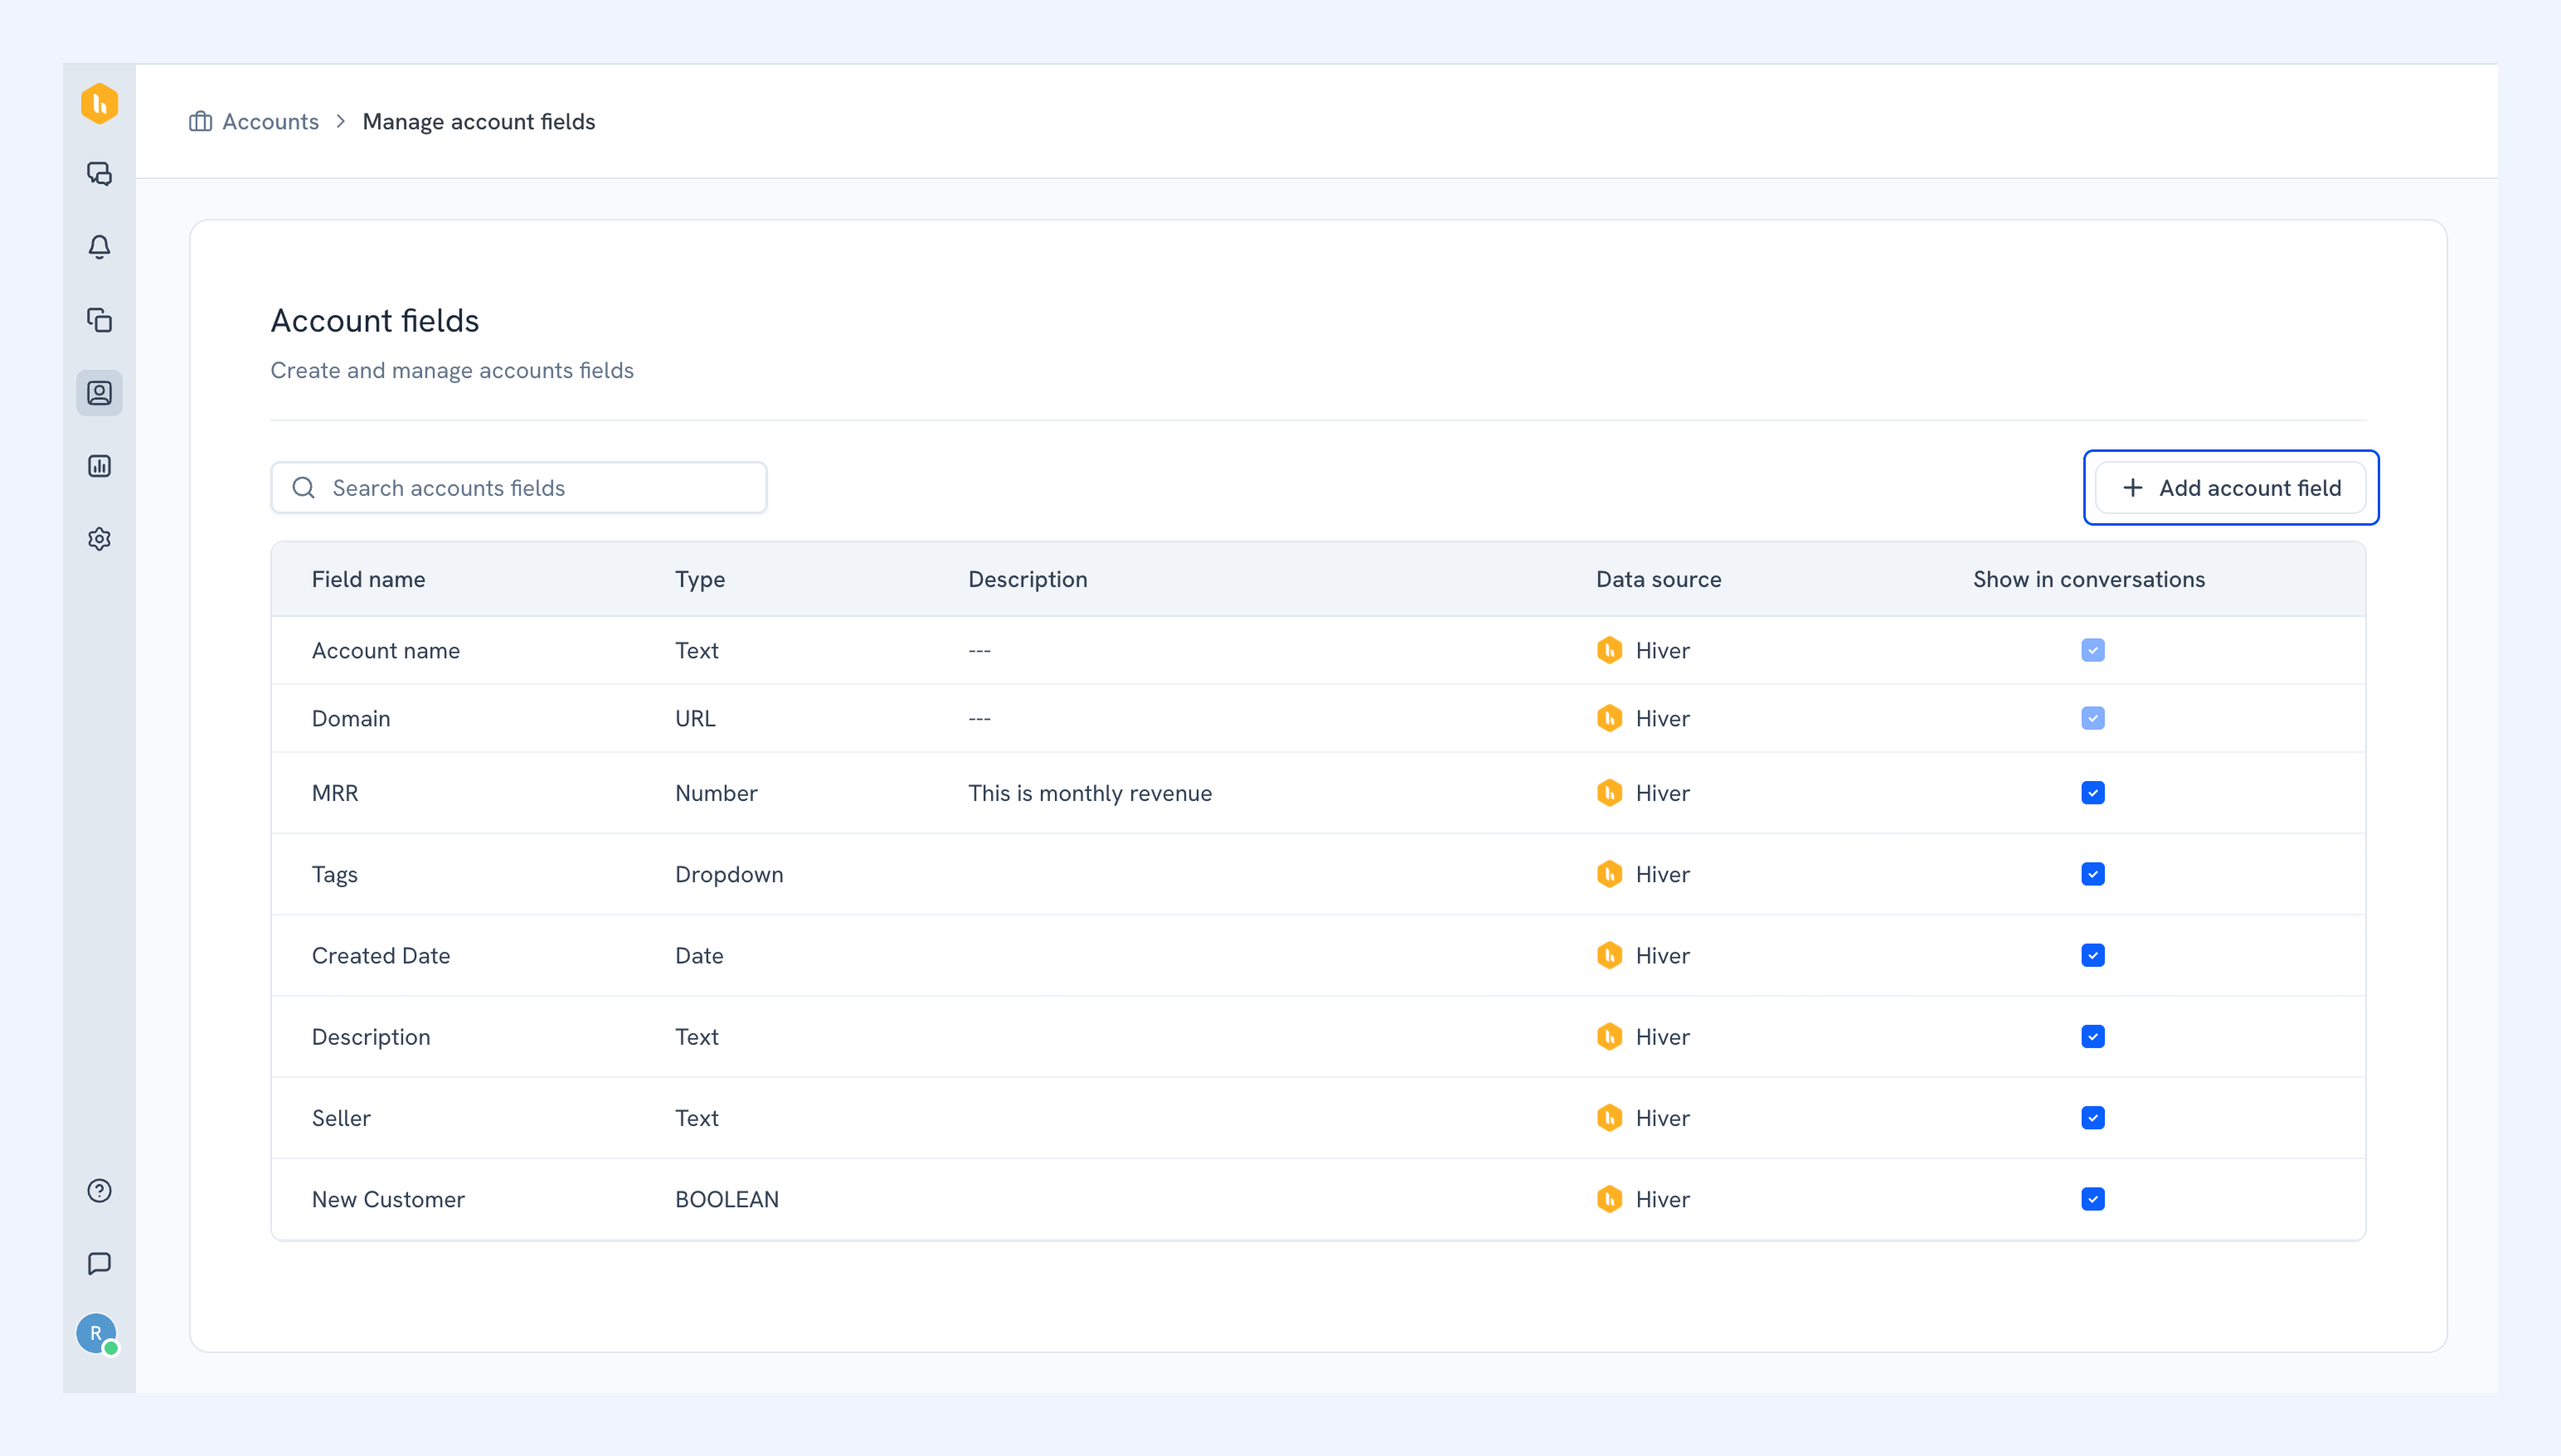
Account fields let you store additional details about an account, such as plan, account owner, or renewal date. Once created, account fields can also be displayed as columns in the accounts list. To add an account field:
1. Click the Manage account fields icon.
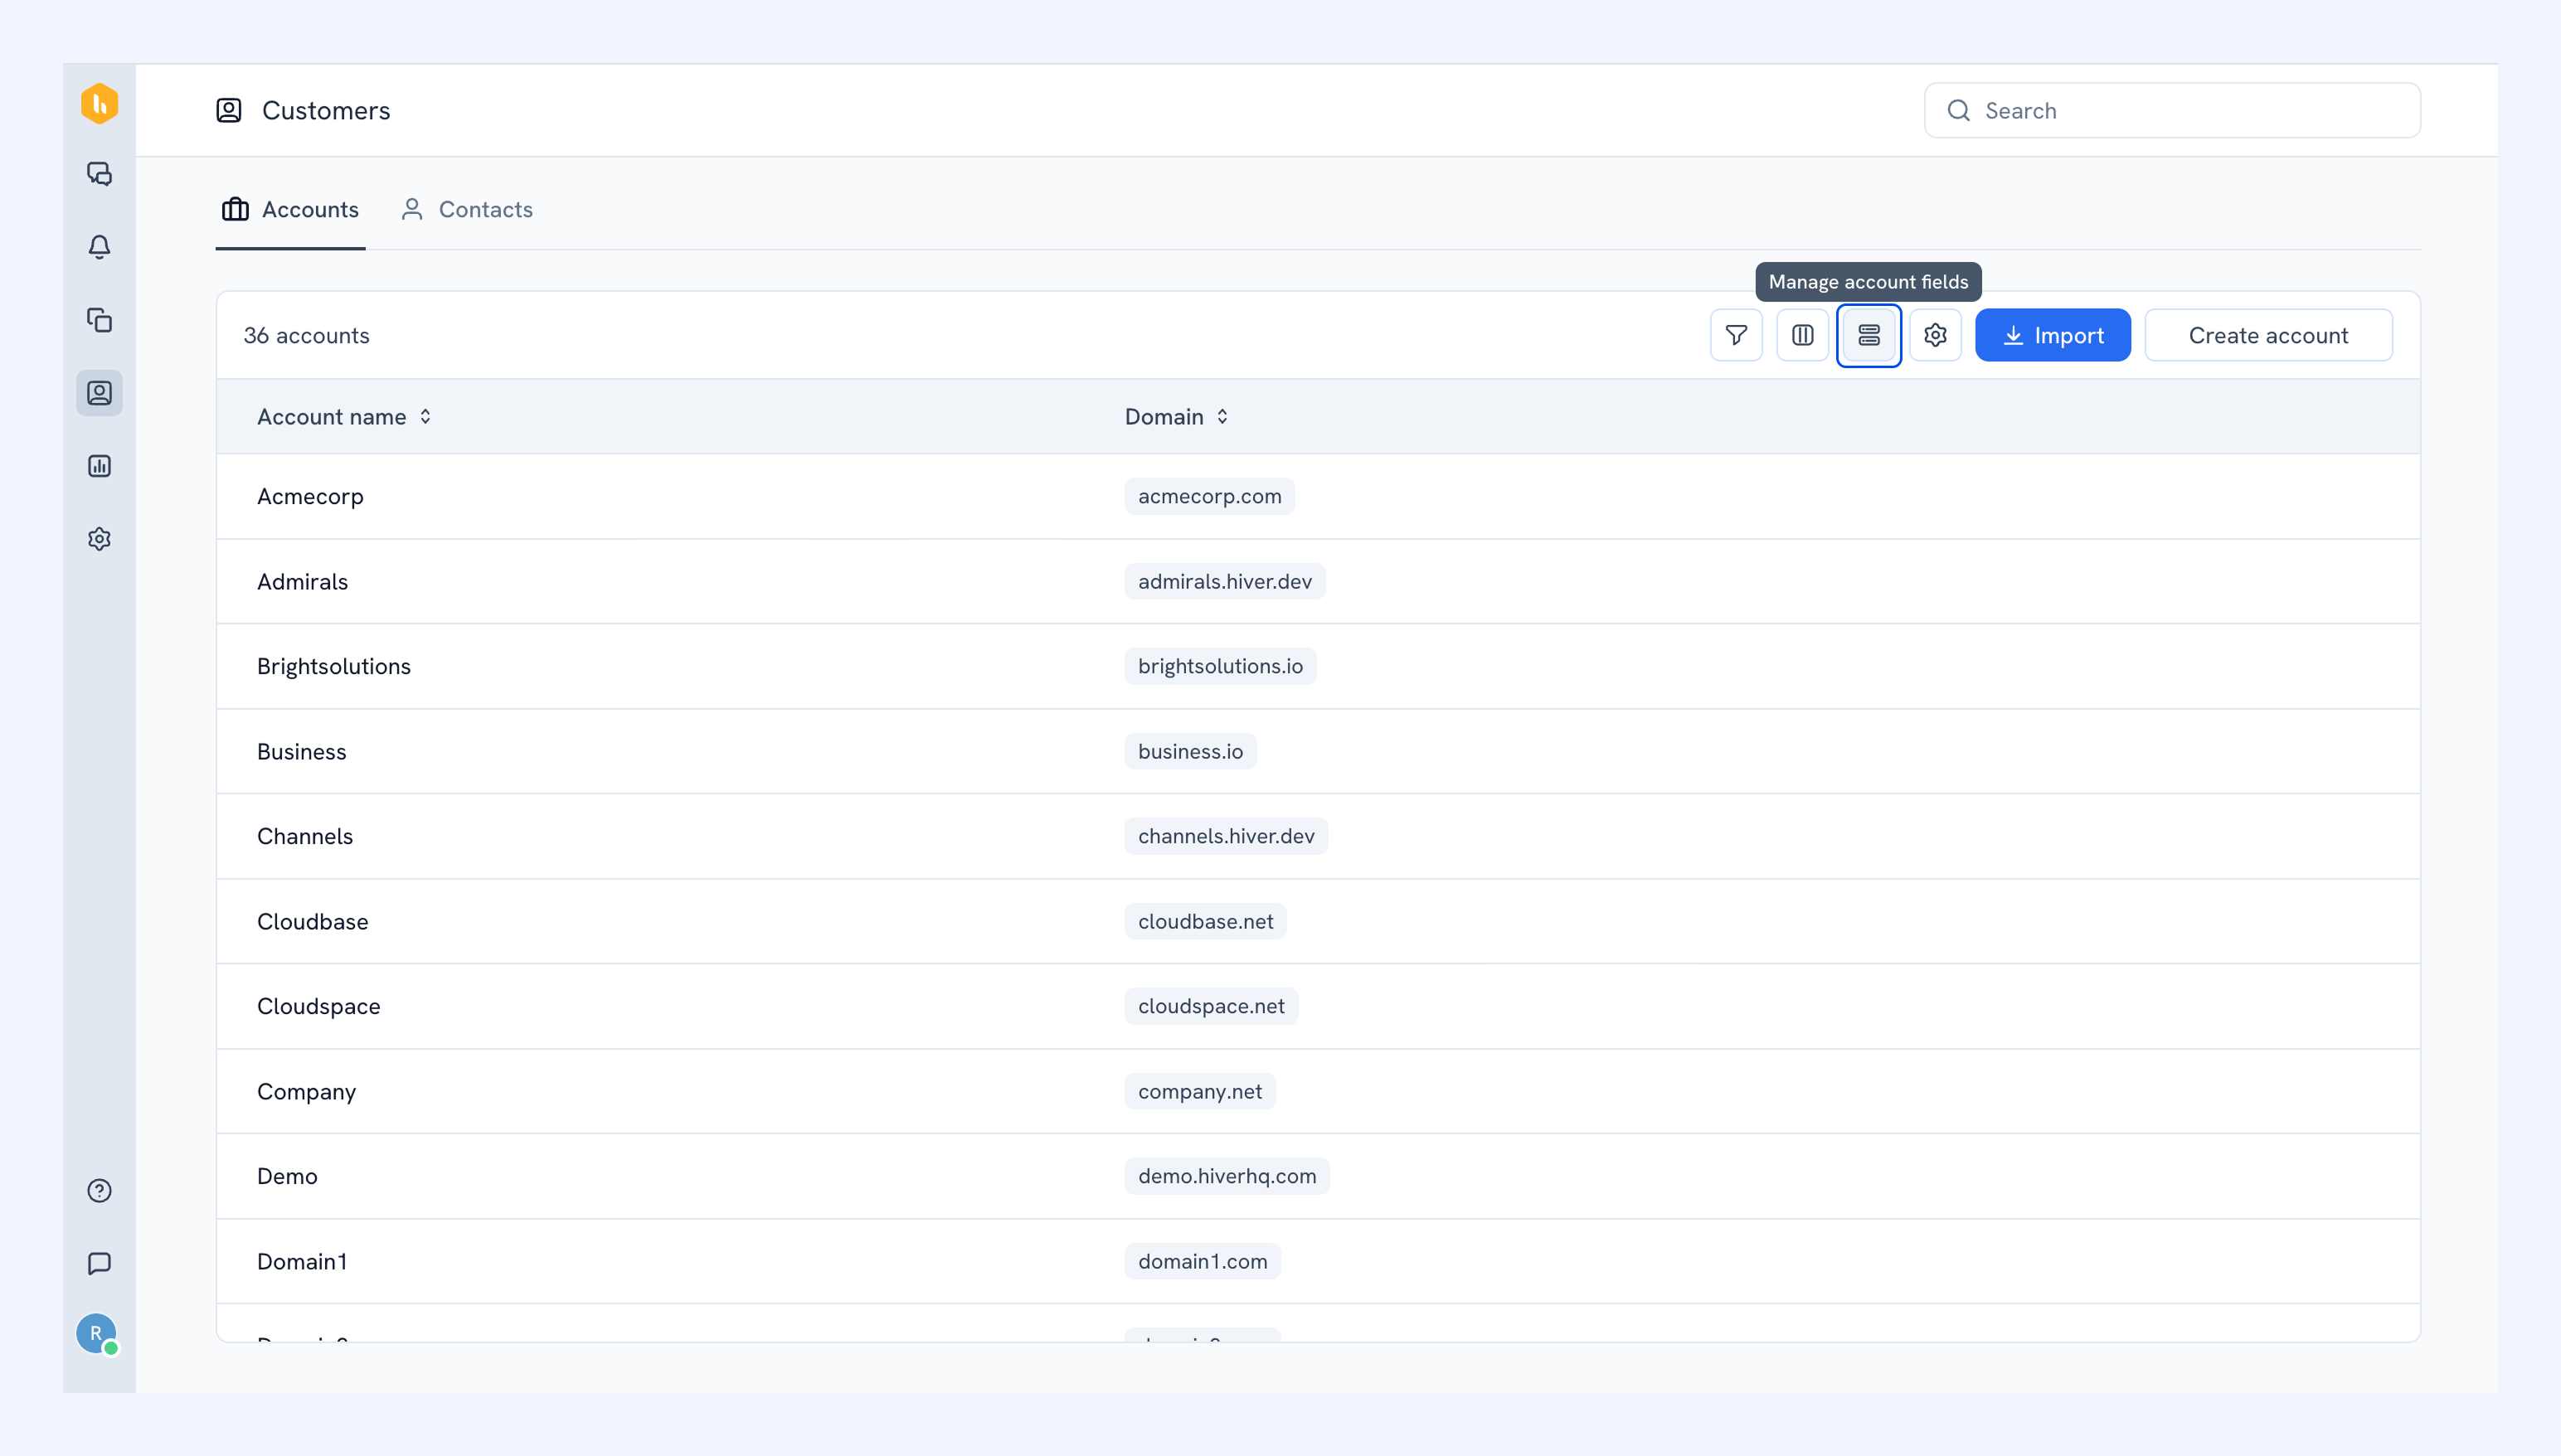
2. Click Add account field.
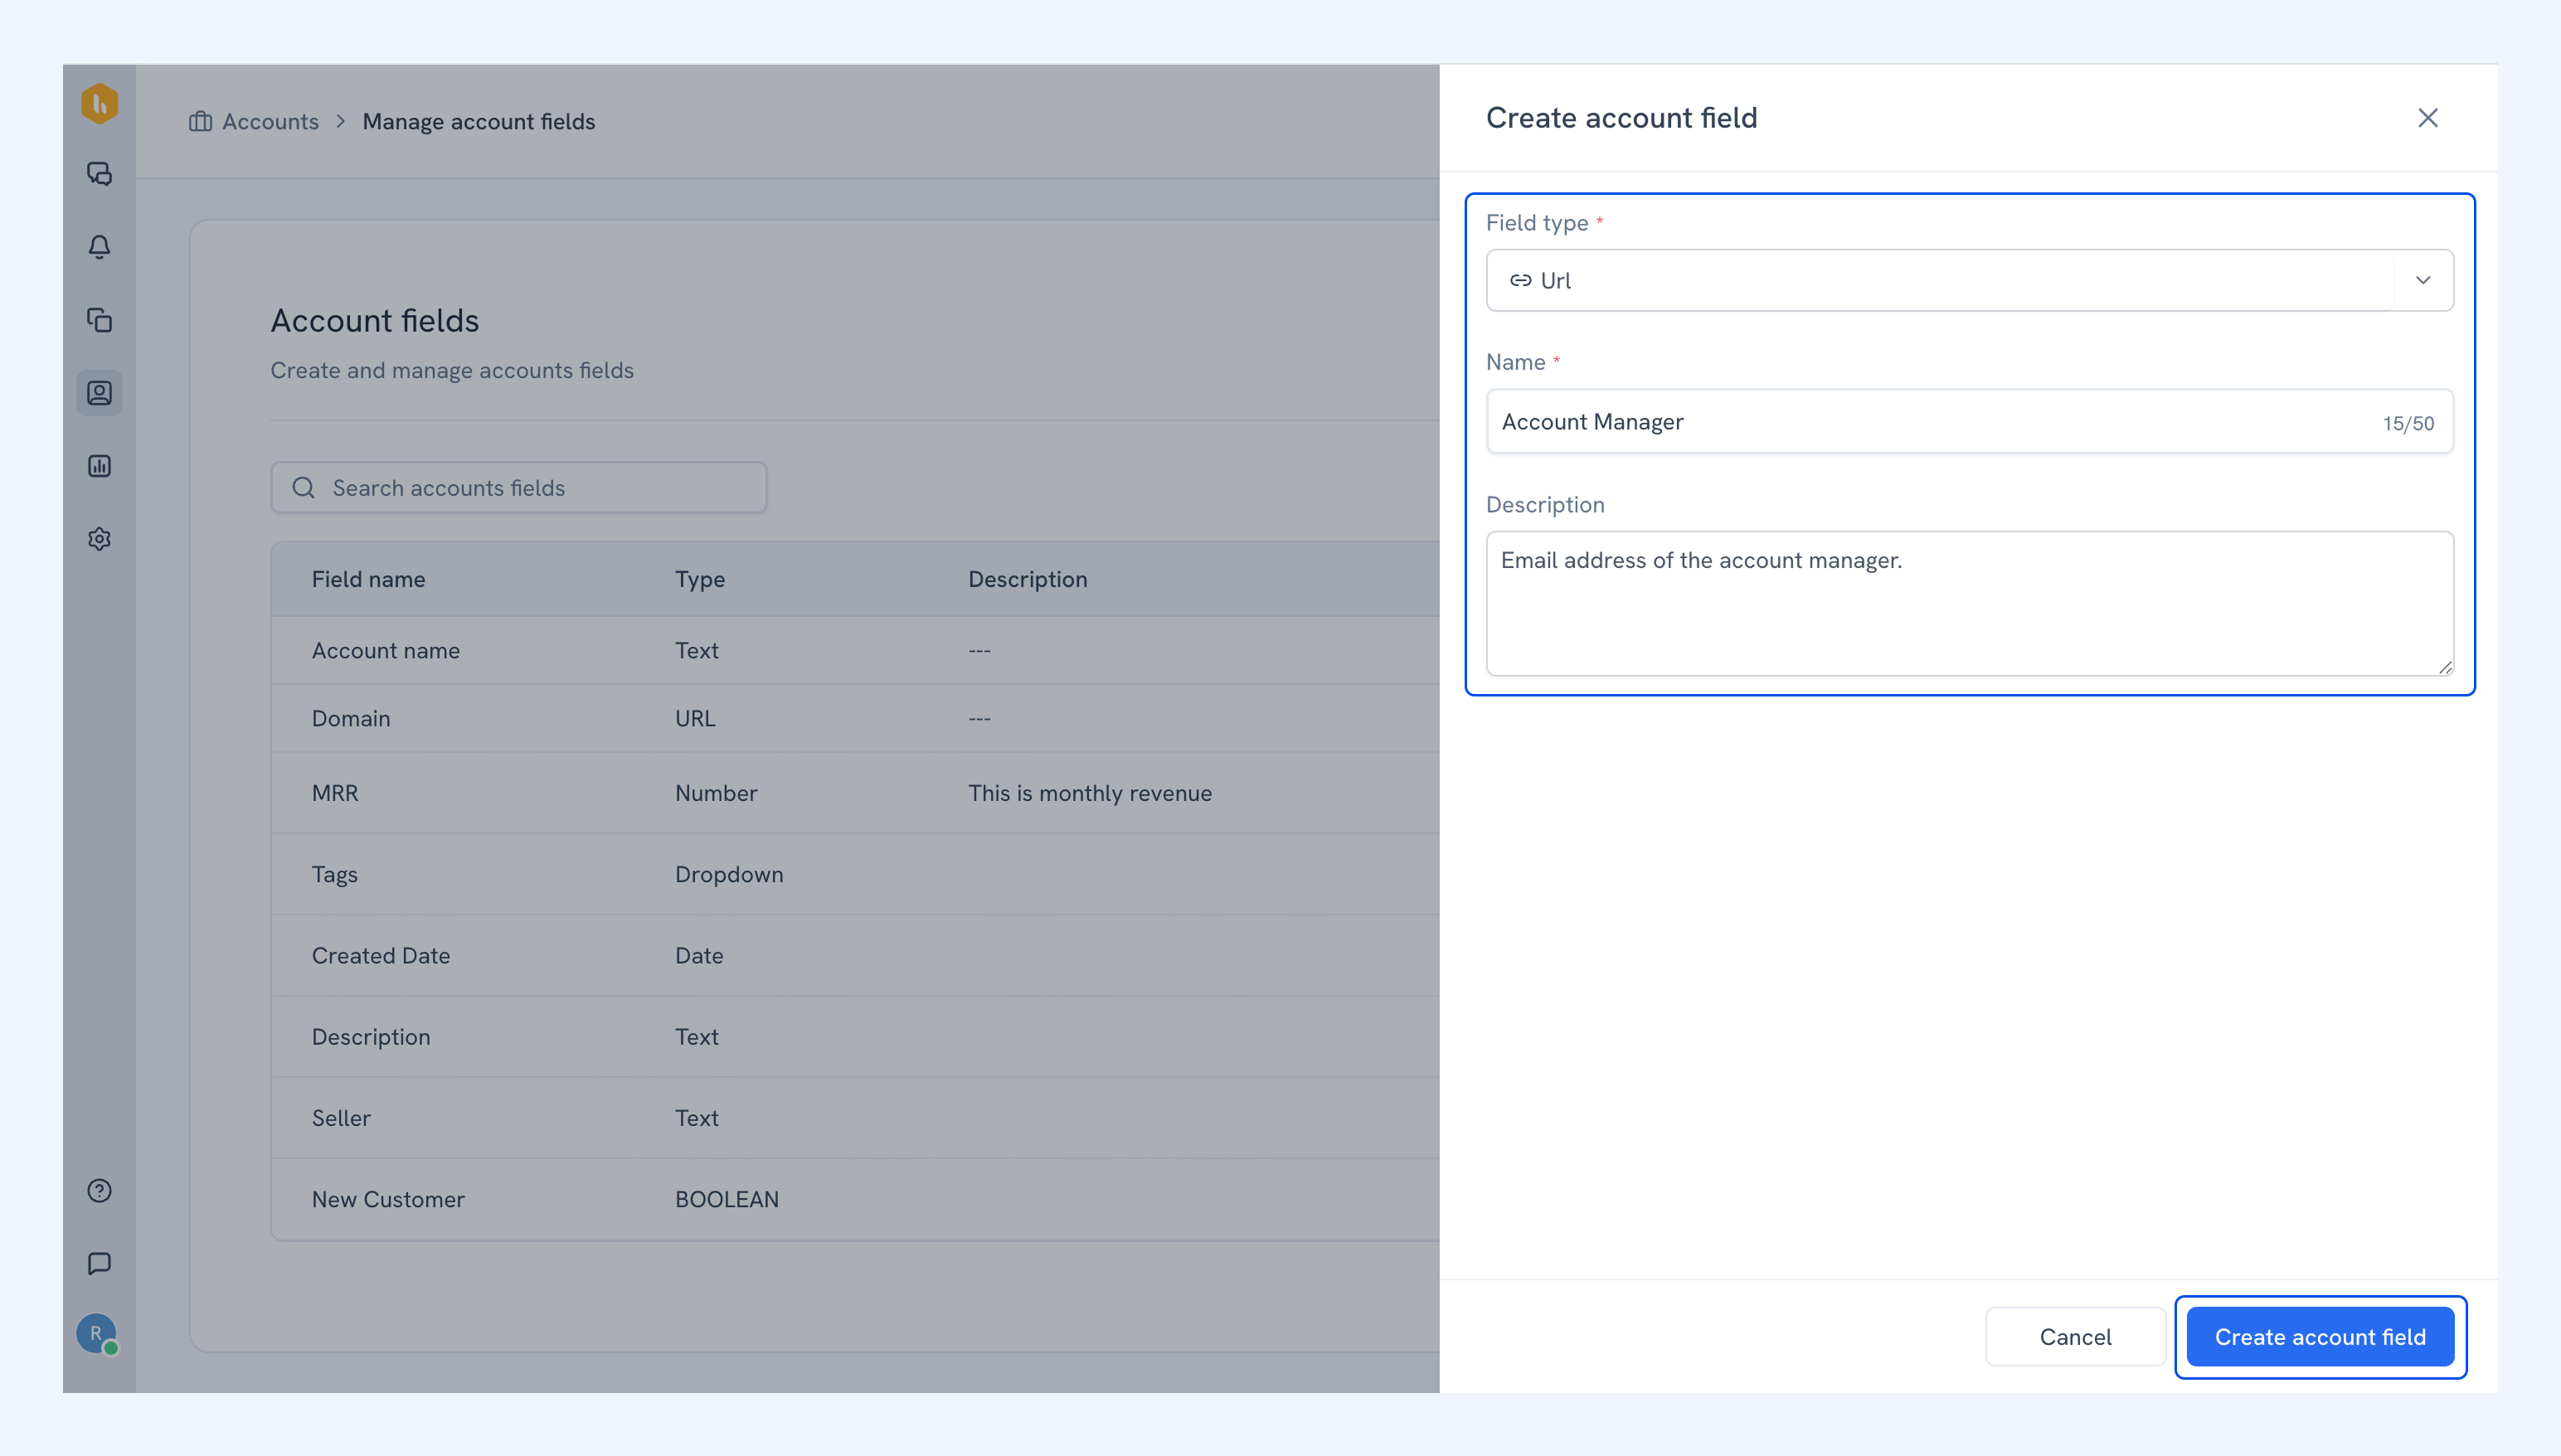
3. Choose the field type, give the field a name, and add a description.
4. Click Create account field.
Filtering accounts
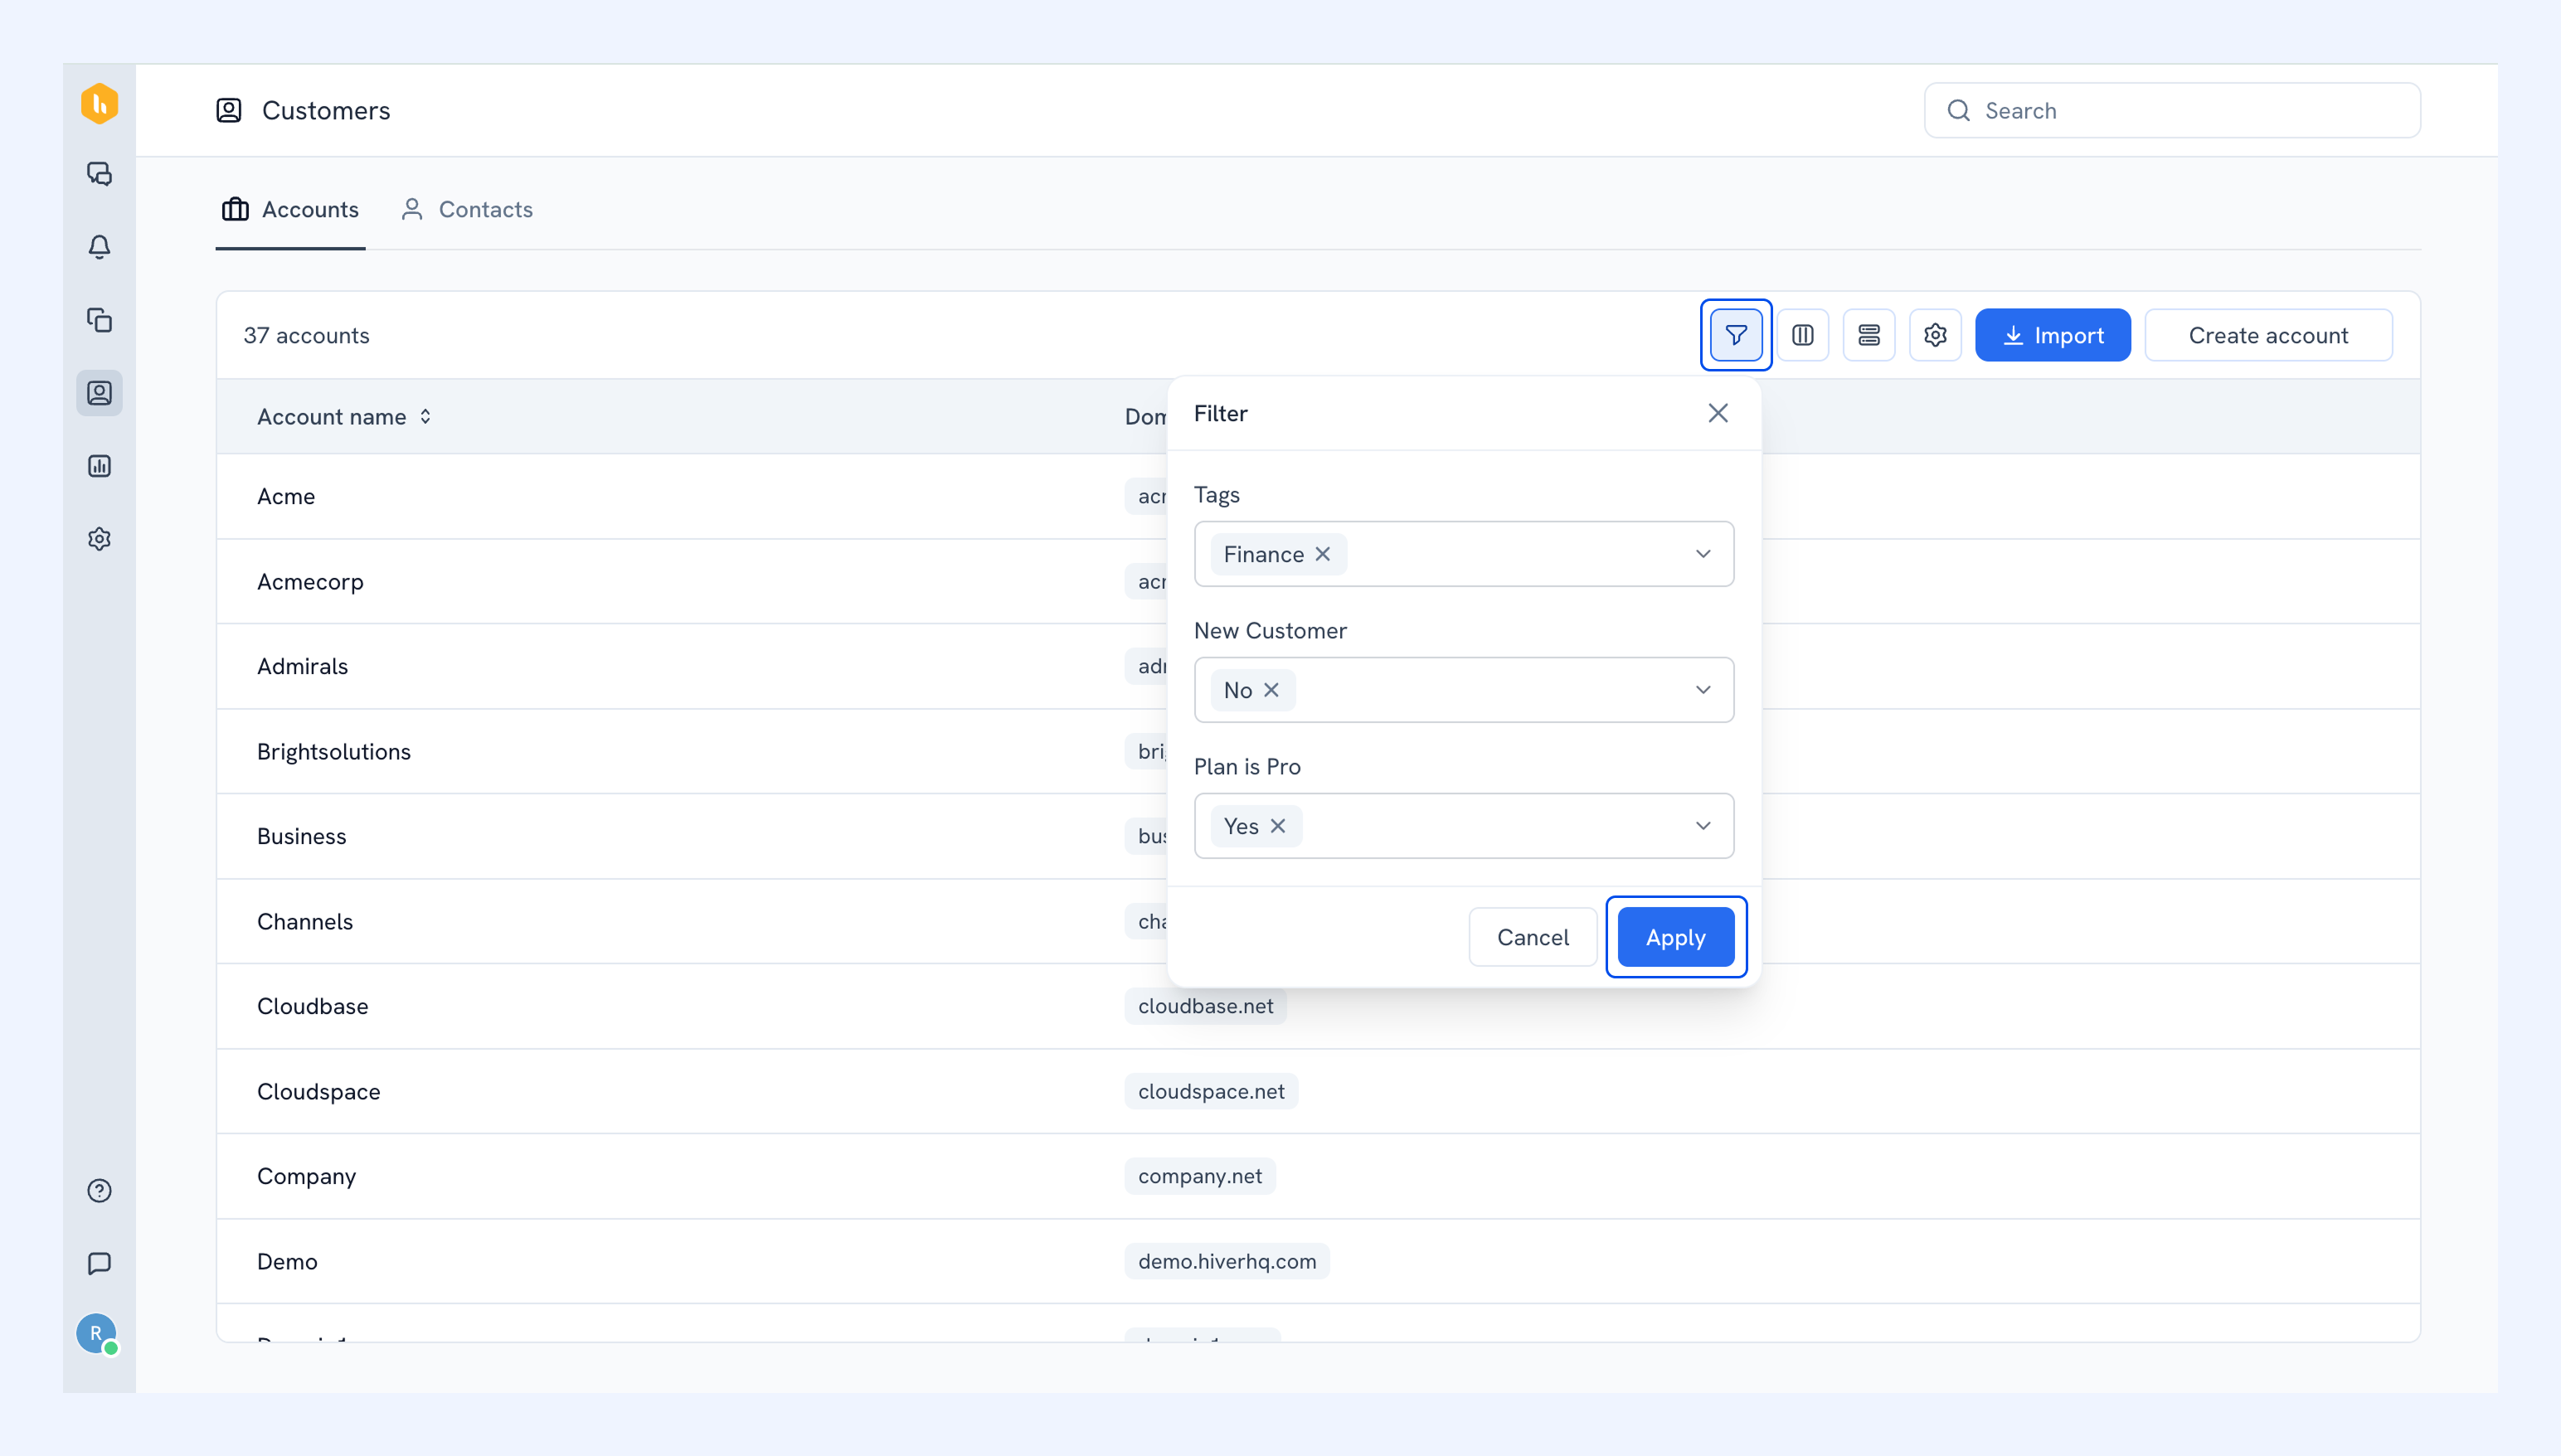
You can filter the accounts list to find specific accounts more quickly.
1. Click the Filter icon.
2. Choose the account fields you want to filter by and specify their values.
3. Click Apply.
Customizing the accounts view
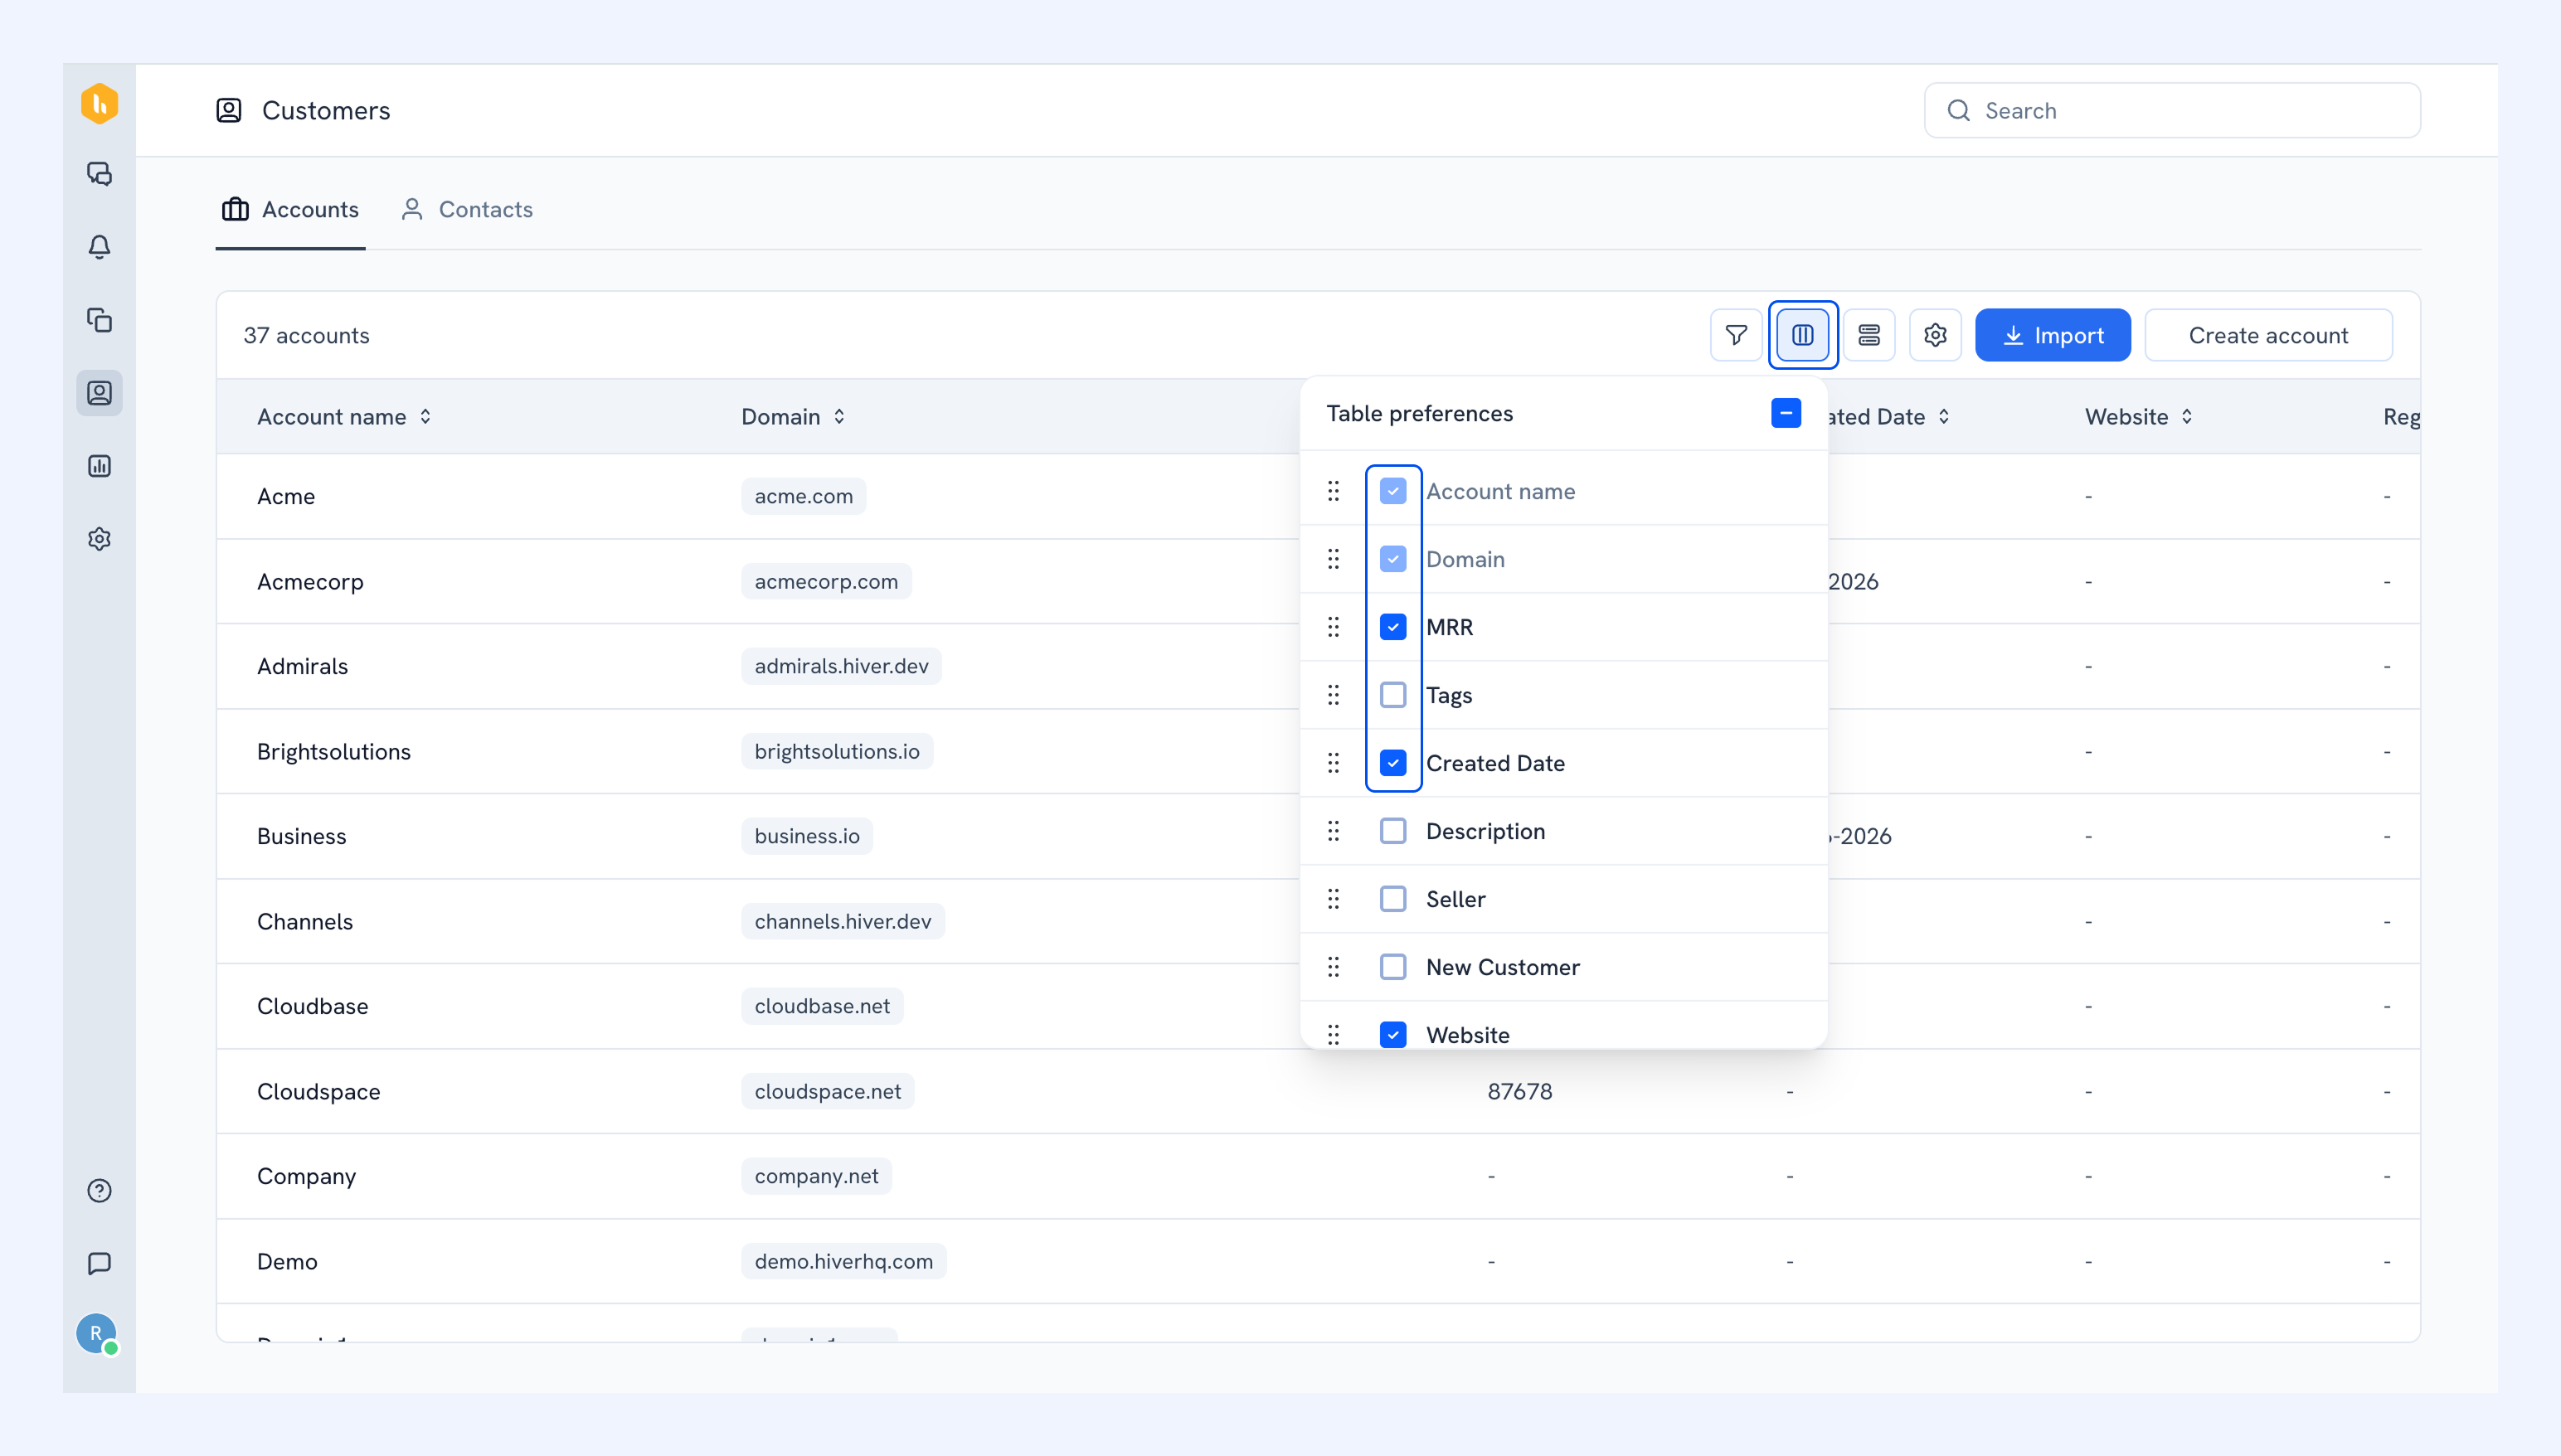
You can choose which columns appear in the accounts list, including any custom account fields you've created.
1. Click the Table preferences icon.
2. Select the columns you want to show, and clear the ones you want to hide.
Excluding common email domains
You can exclude domains like gmail.com or yahoo.com so Hiver doesn't group unrelated contacts from those domains under one account. To exclude domains:
1. Click the settings icon.
2. Enter a domain you want to exclude and click Add.
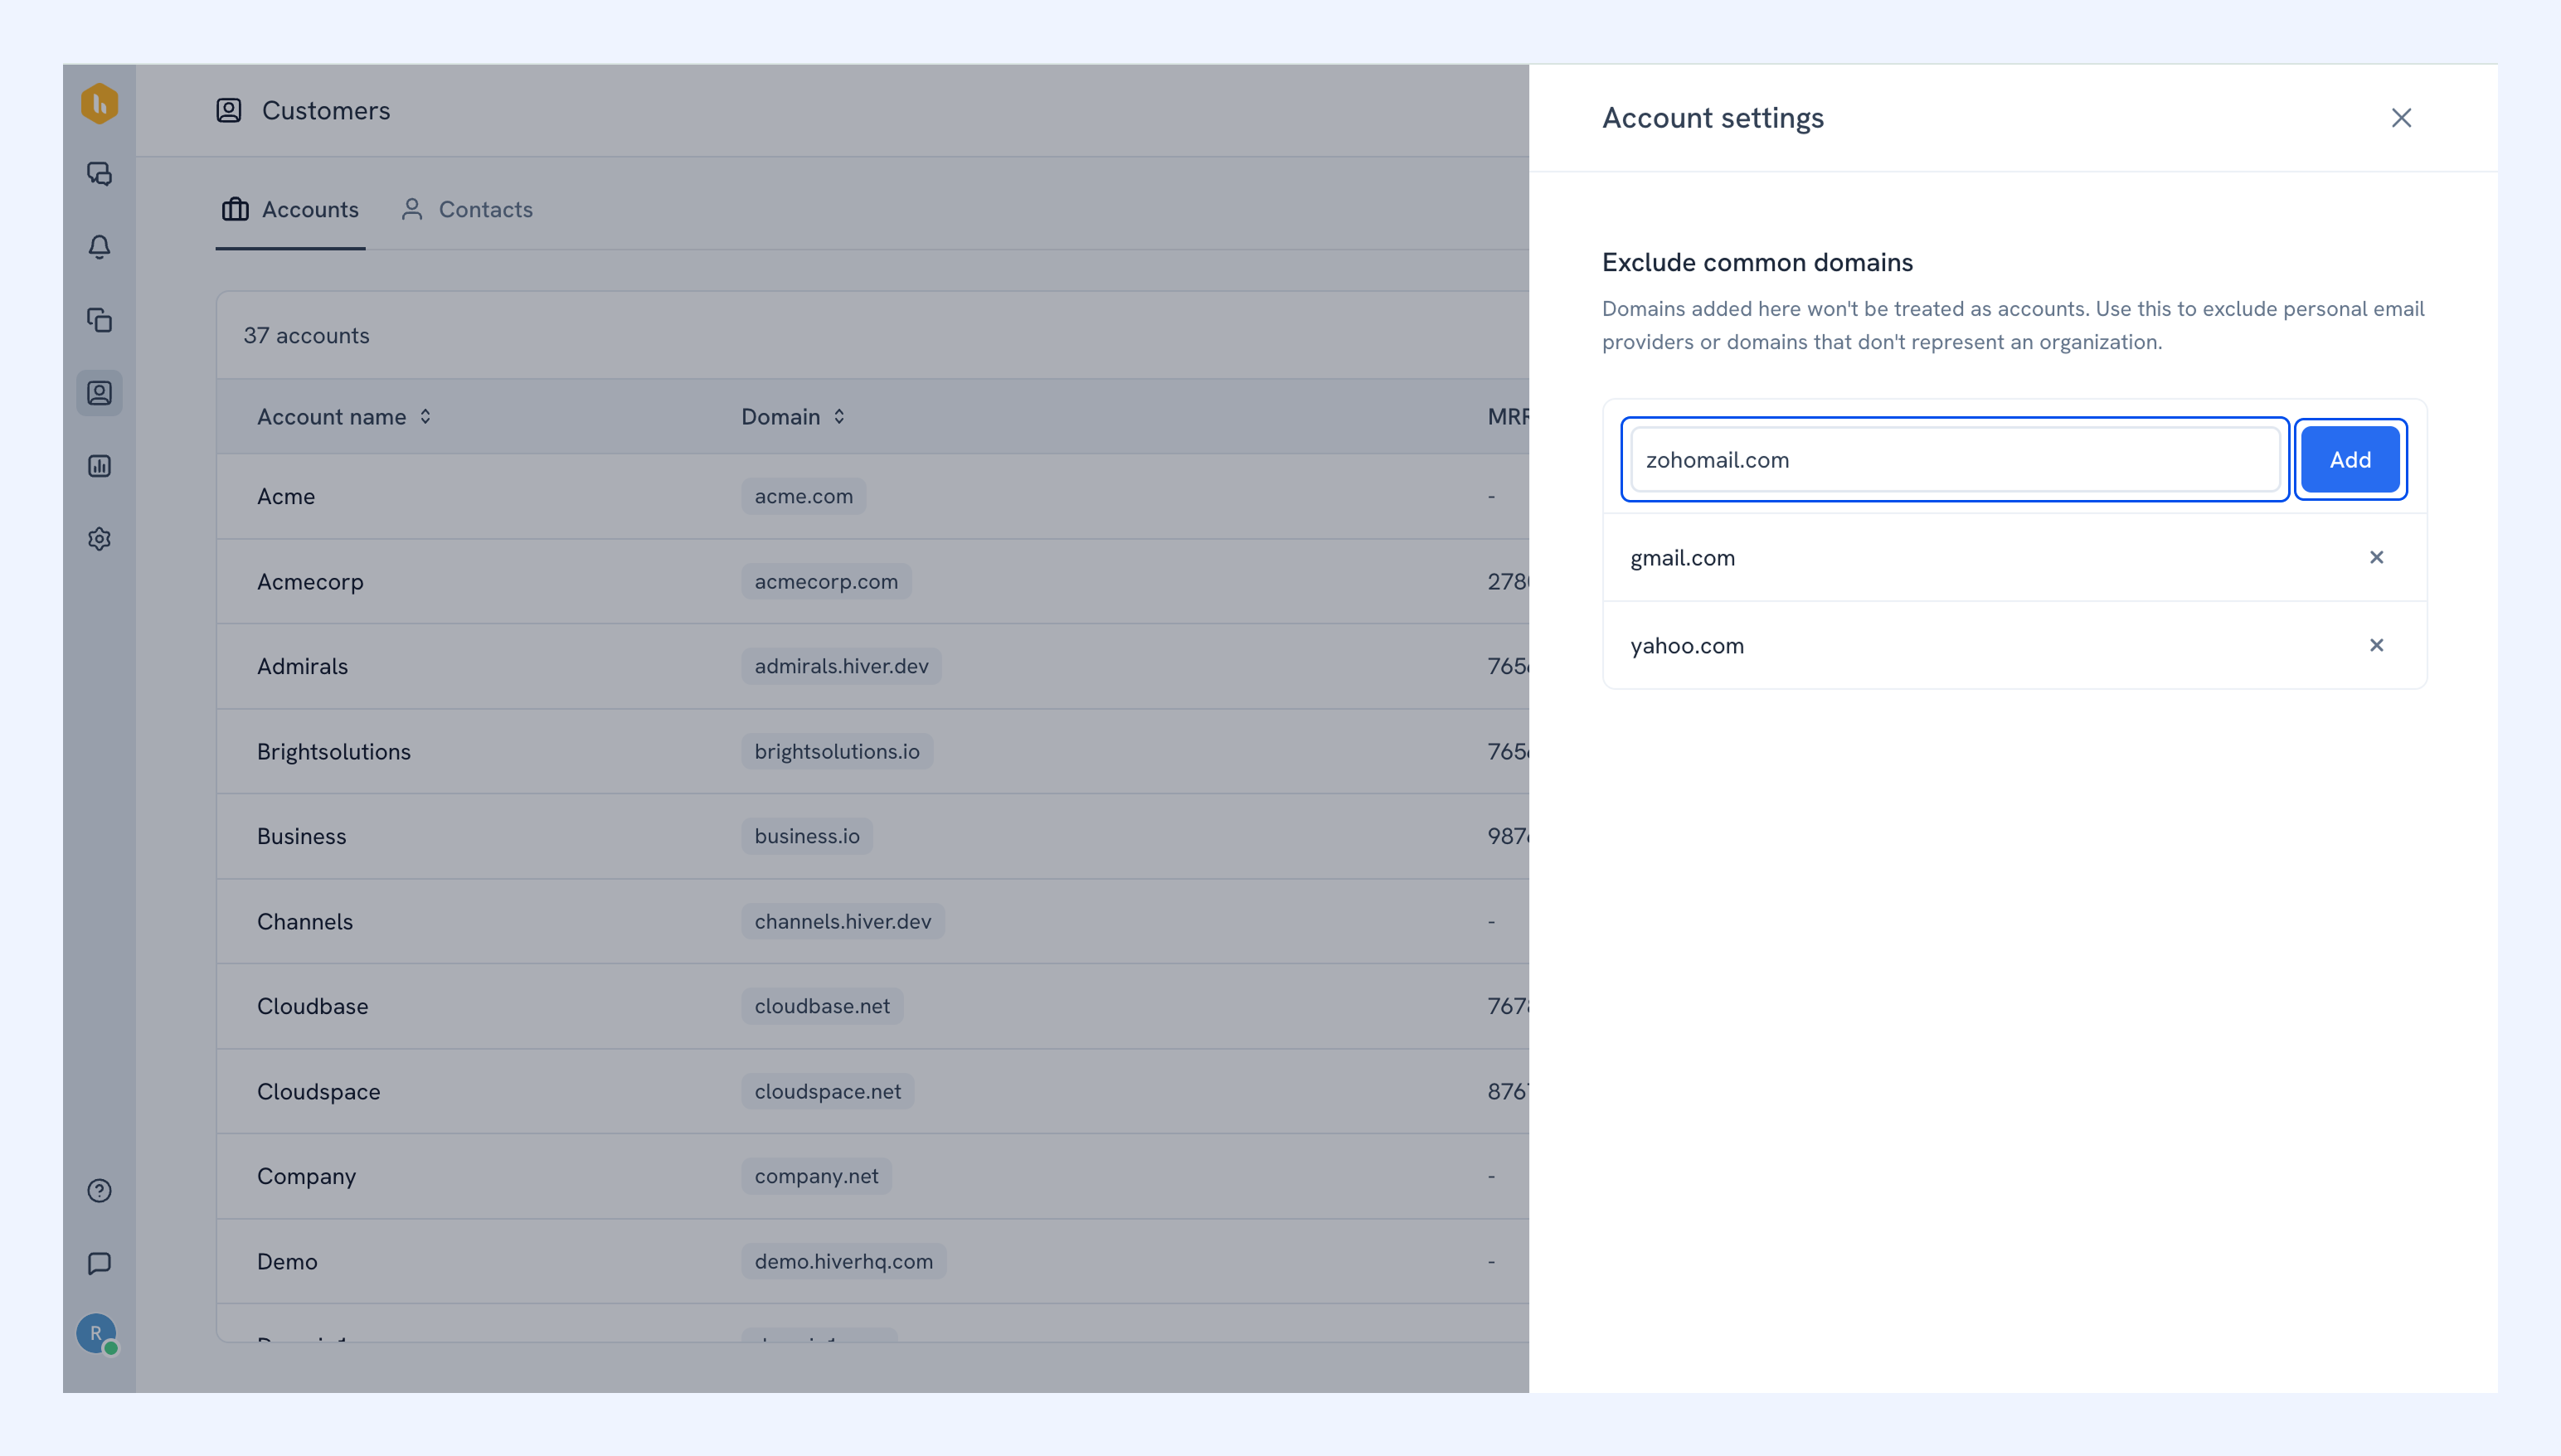
Note: Conversations from excluded domains won't appear under an account.
Managing contacts
Viewing contacts
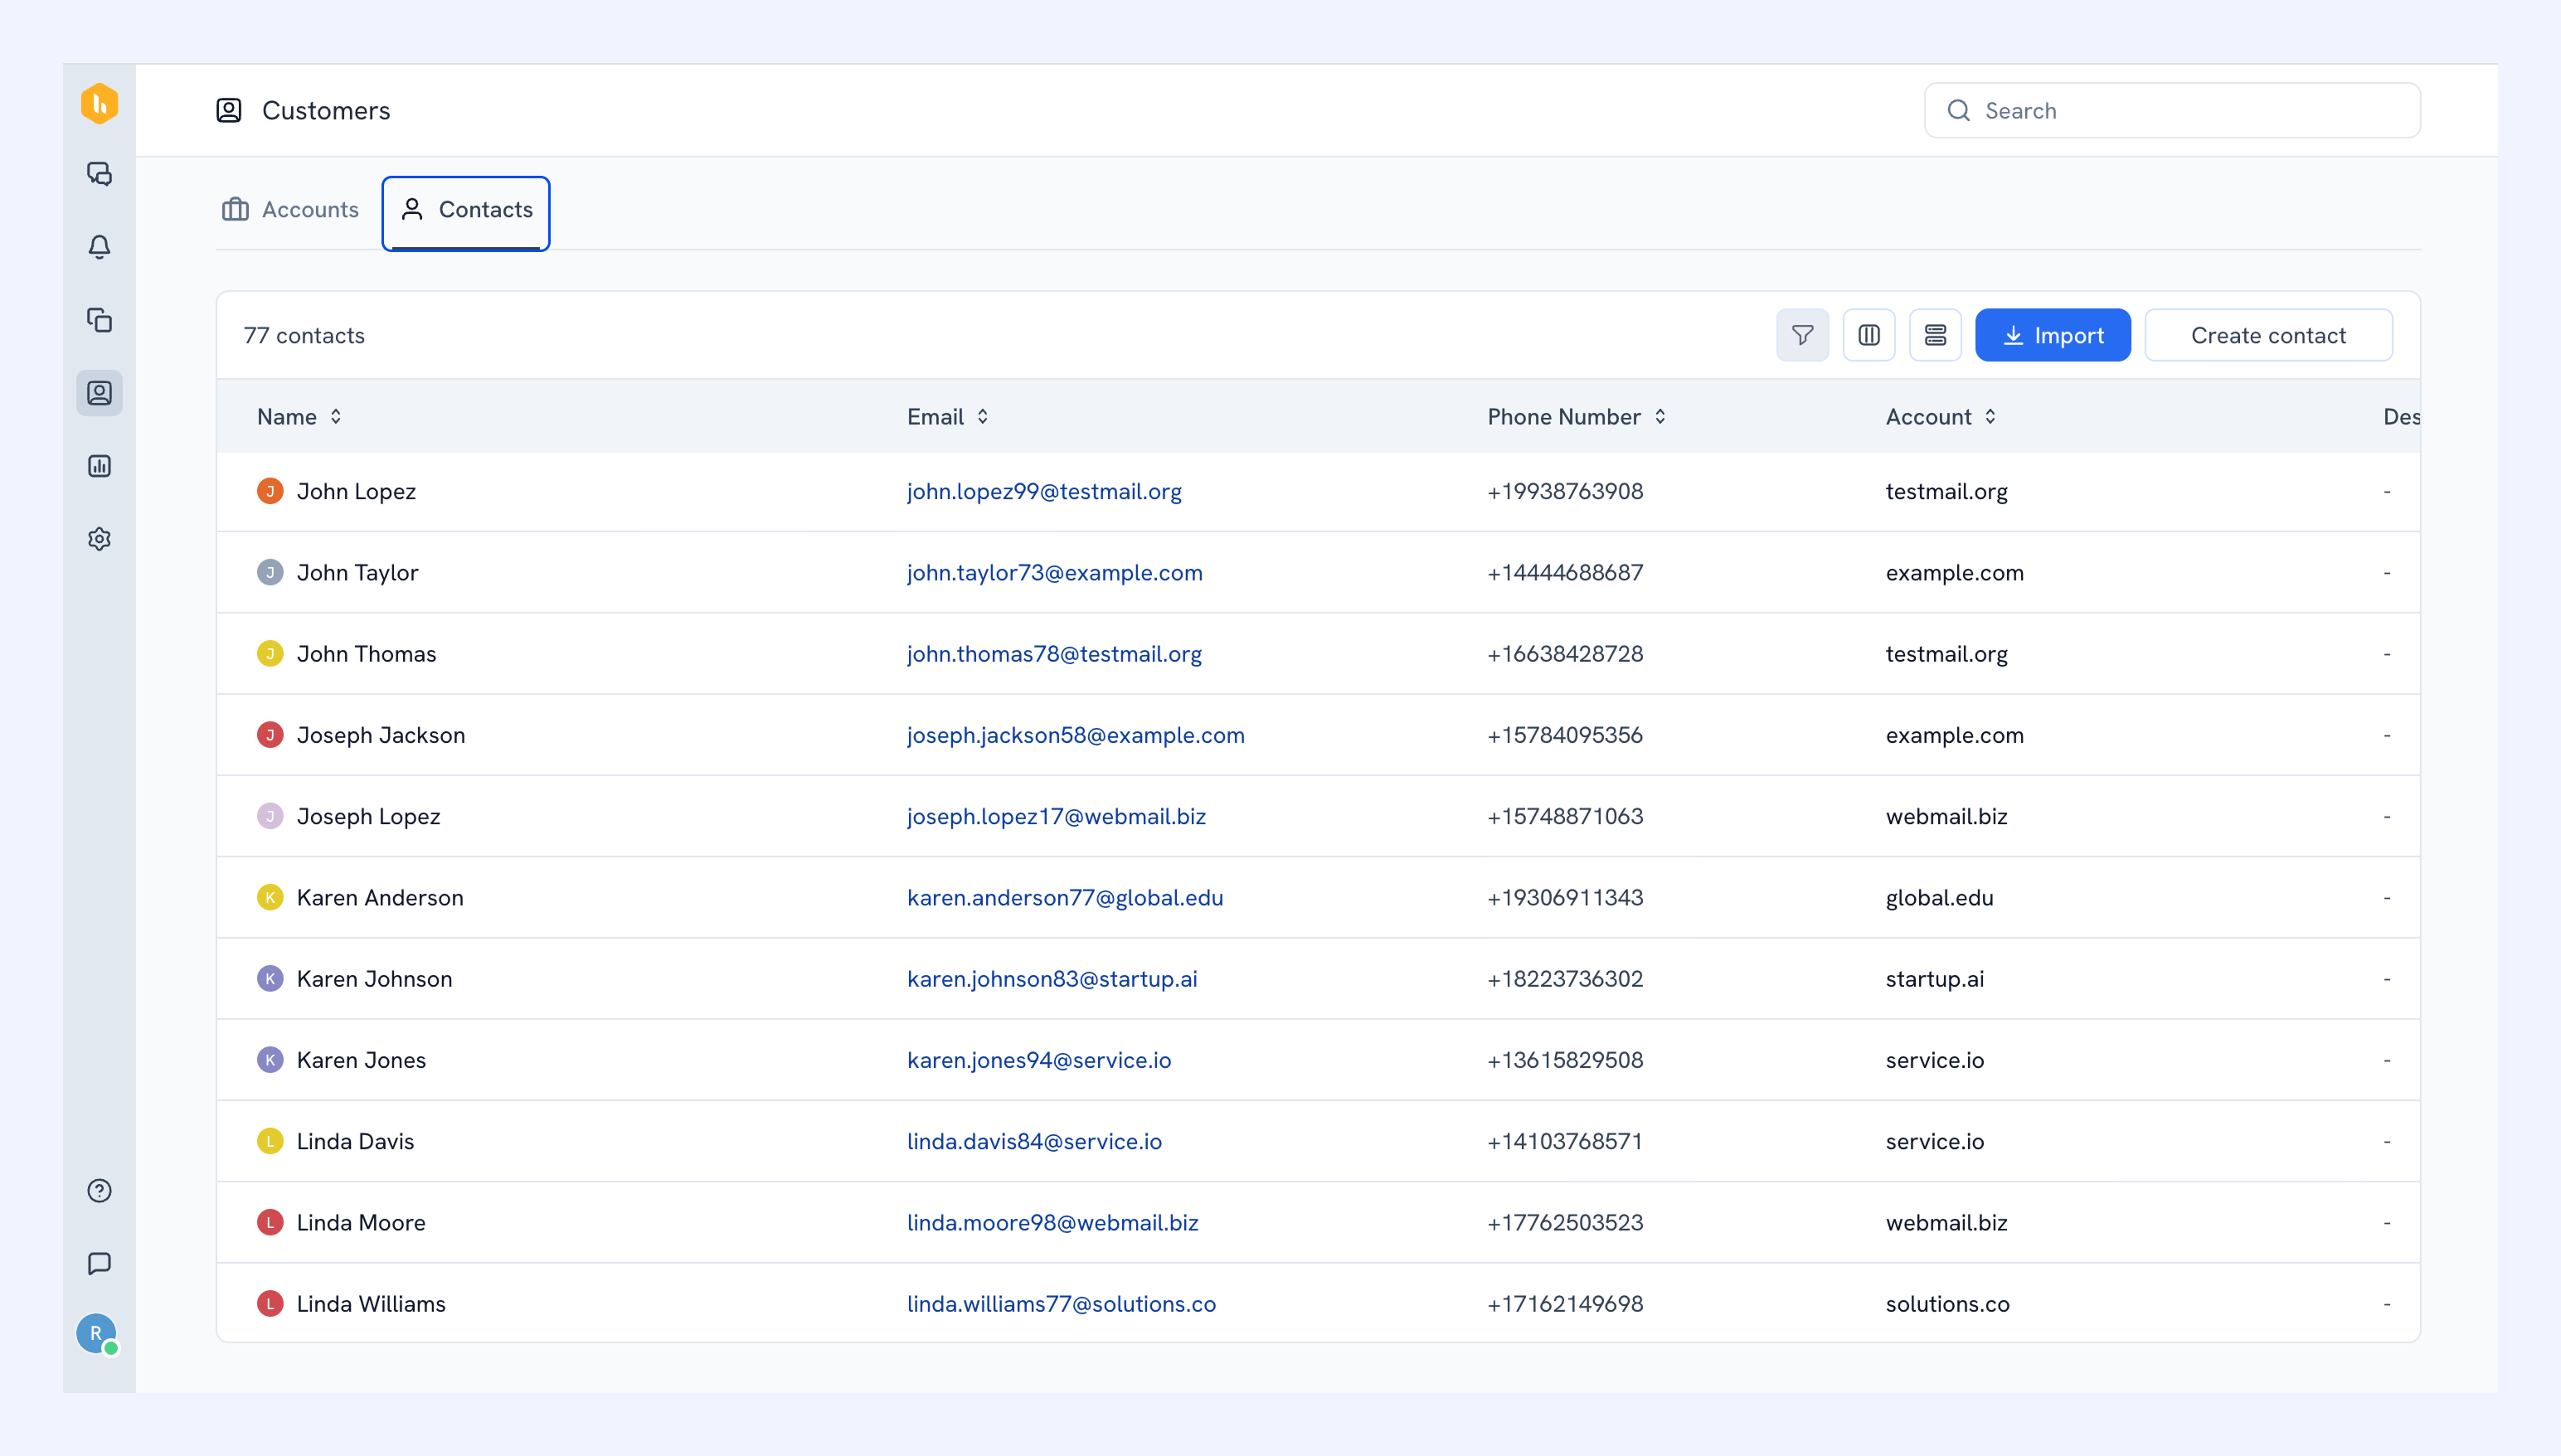
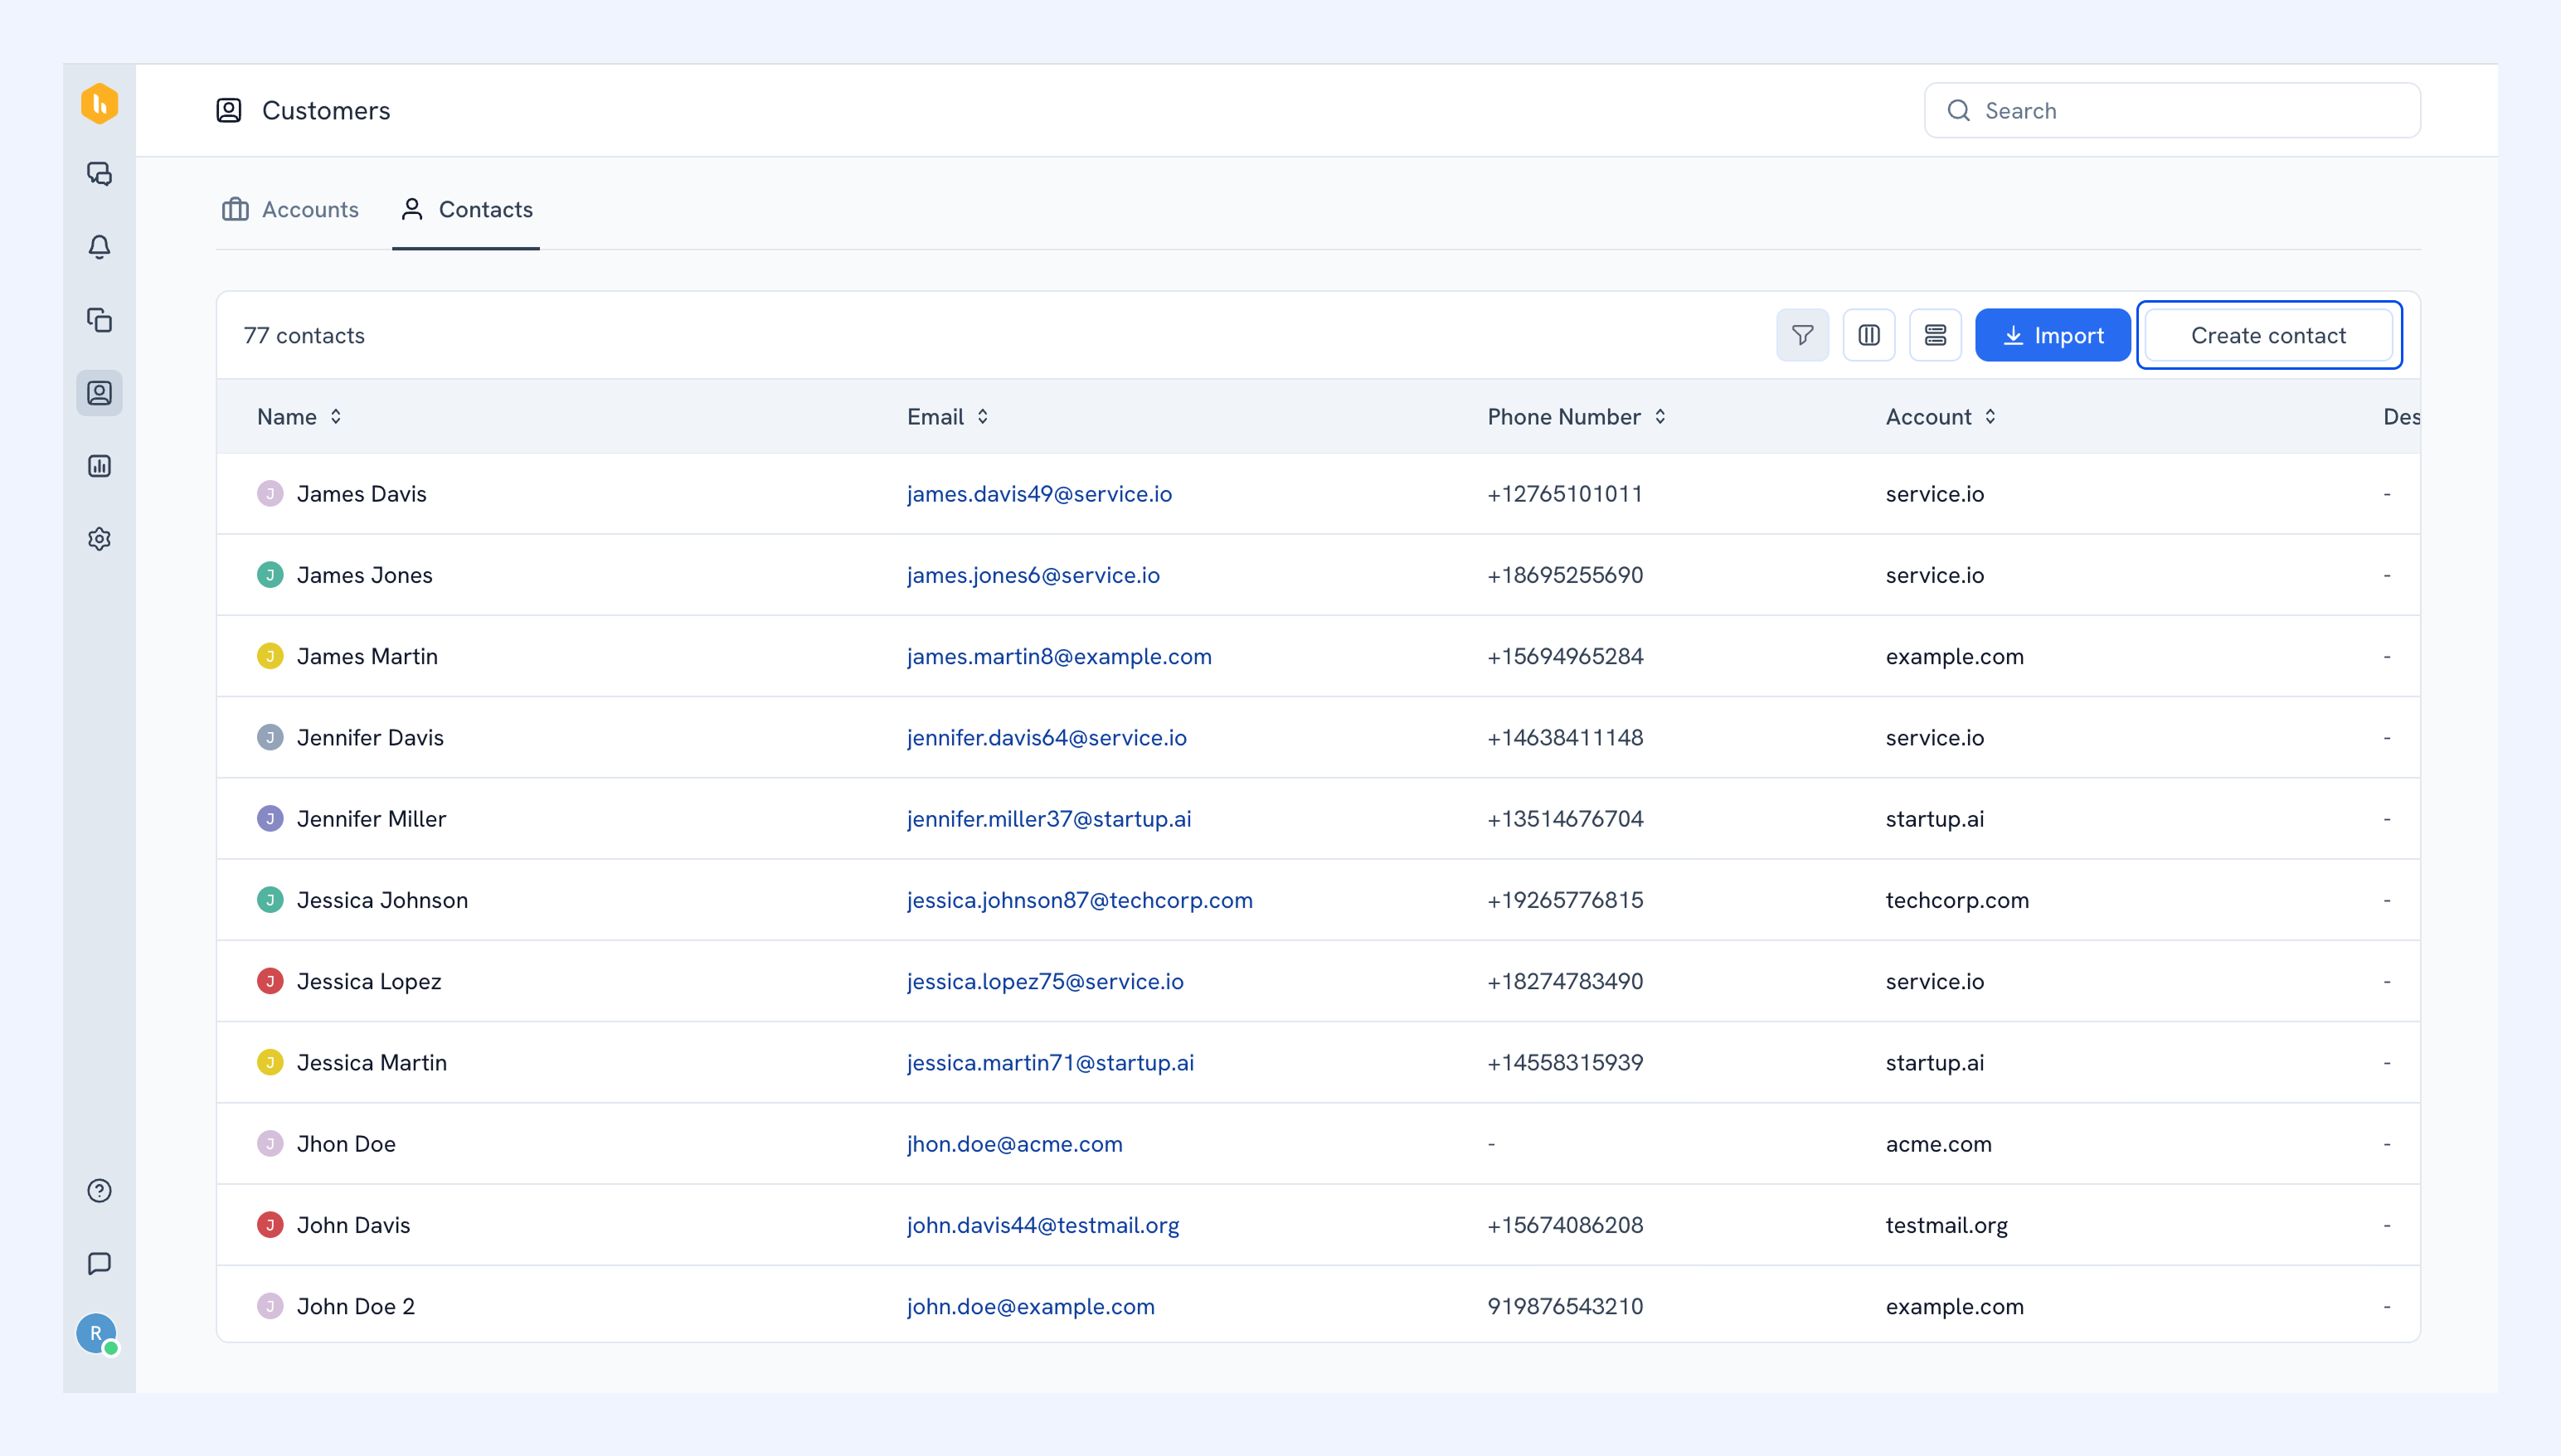
The Contact tab shows everyone your team has interacted with across all your accounts. For each contact, you can access their name, email address, phone number, account, and any additional contact details created.
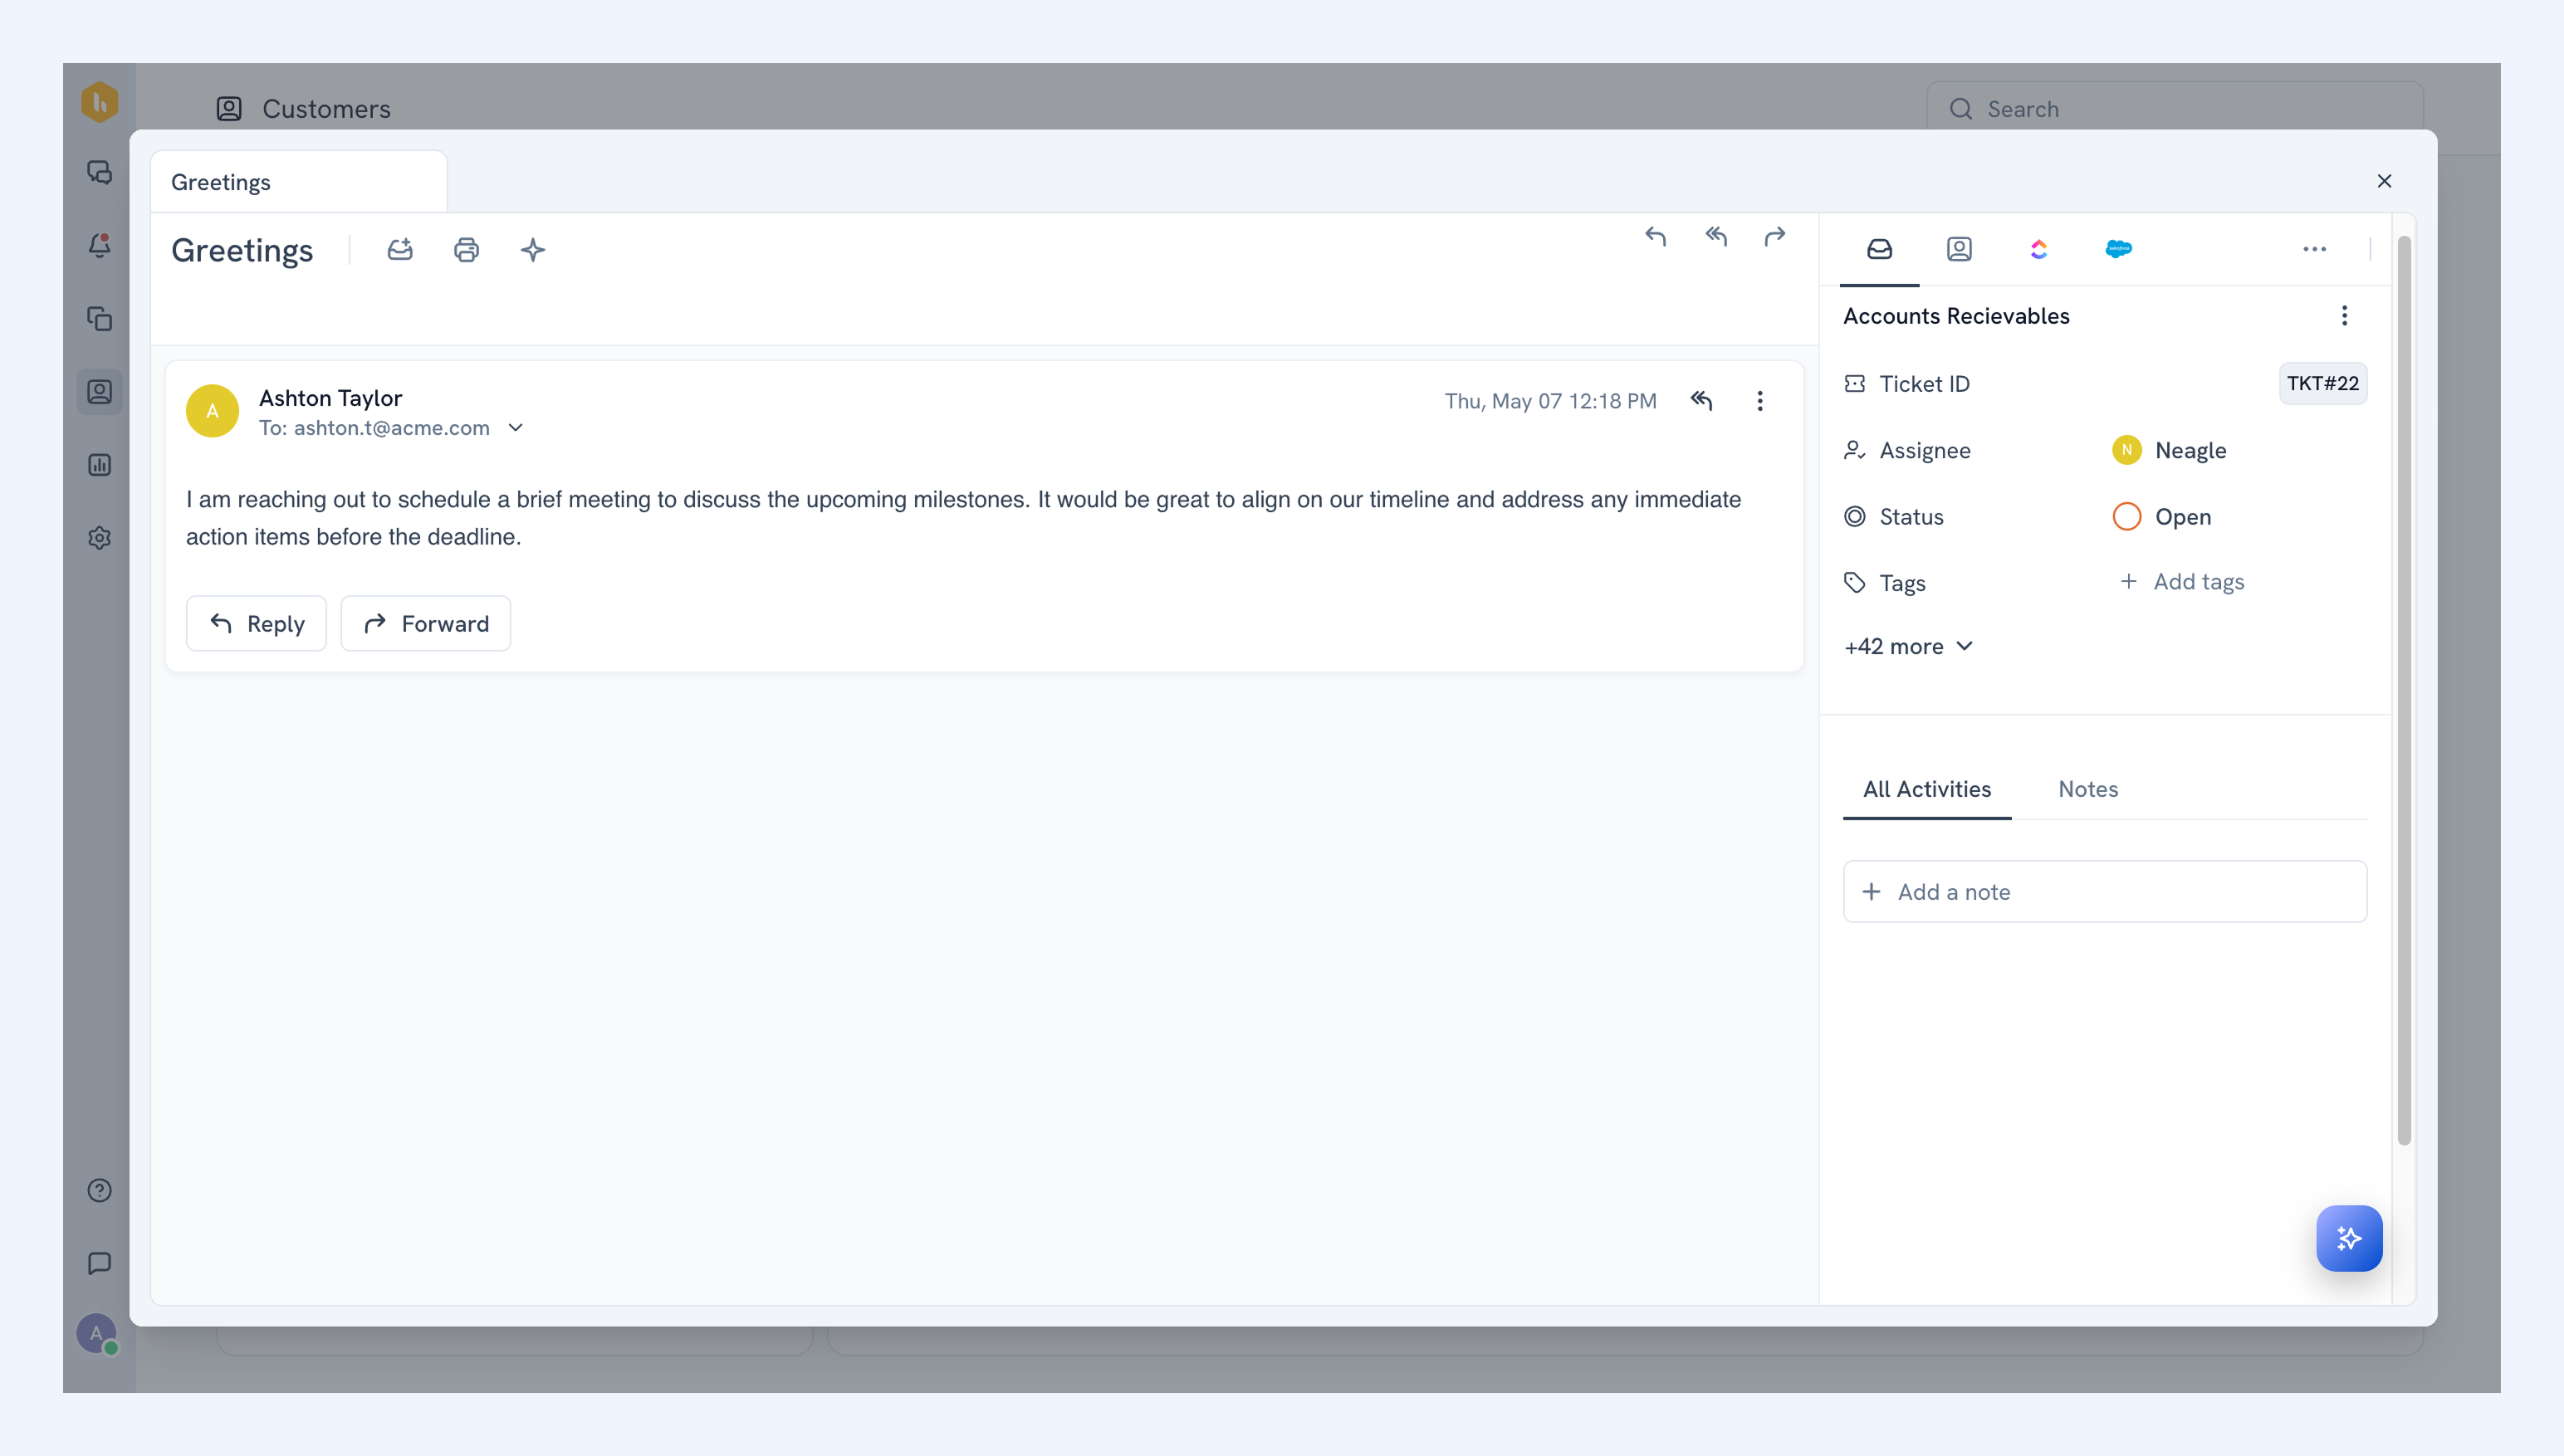
- Click any contact to view all conversations with them. Conversations are sorted by status (Open appears first, then In Progress, then Closed).
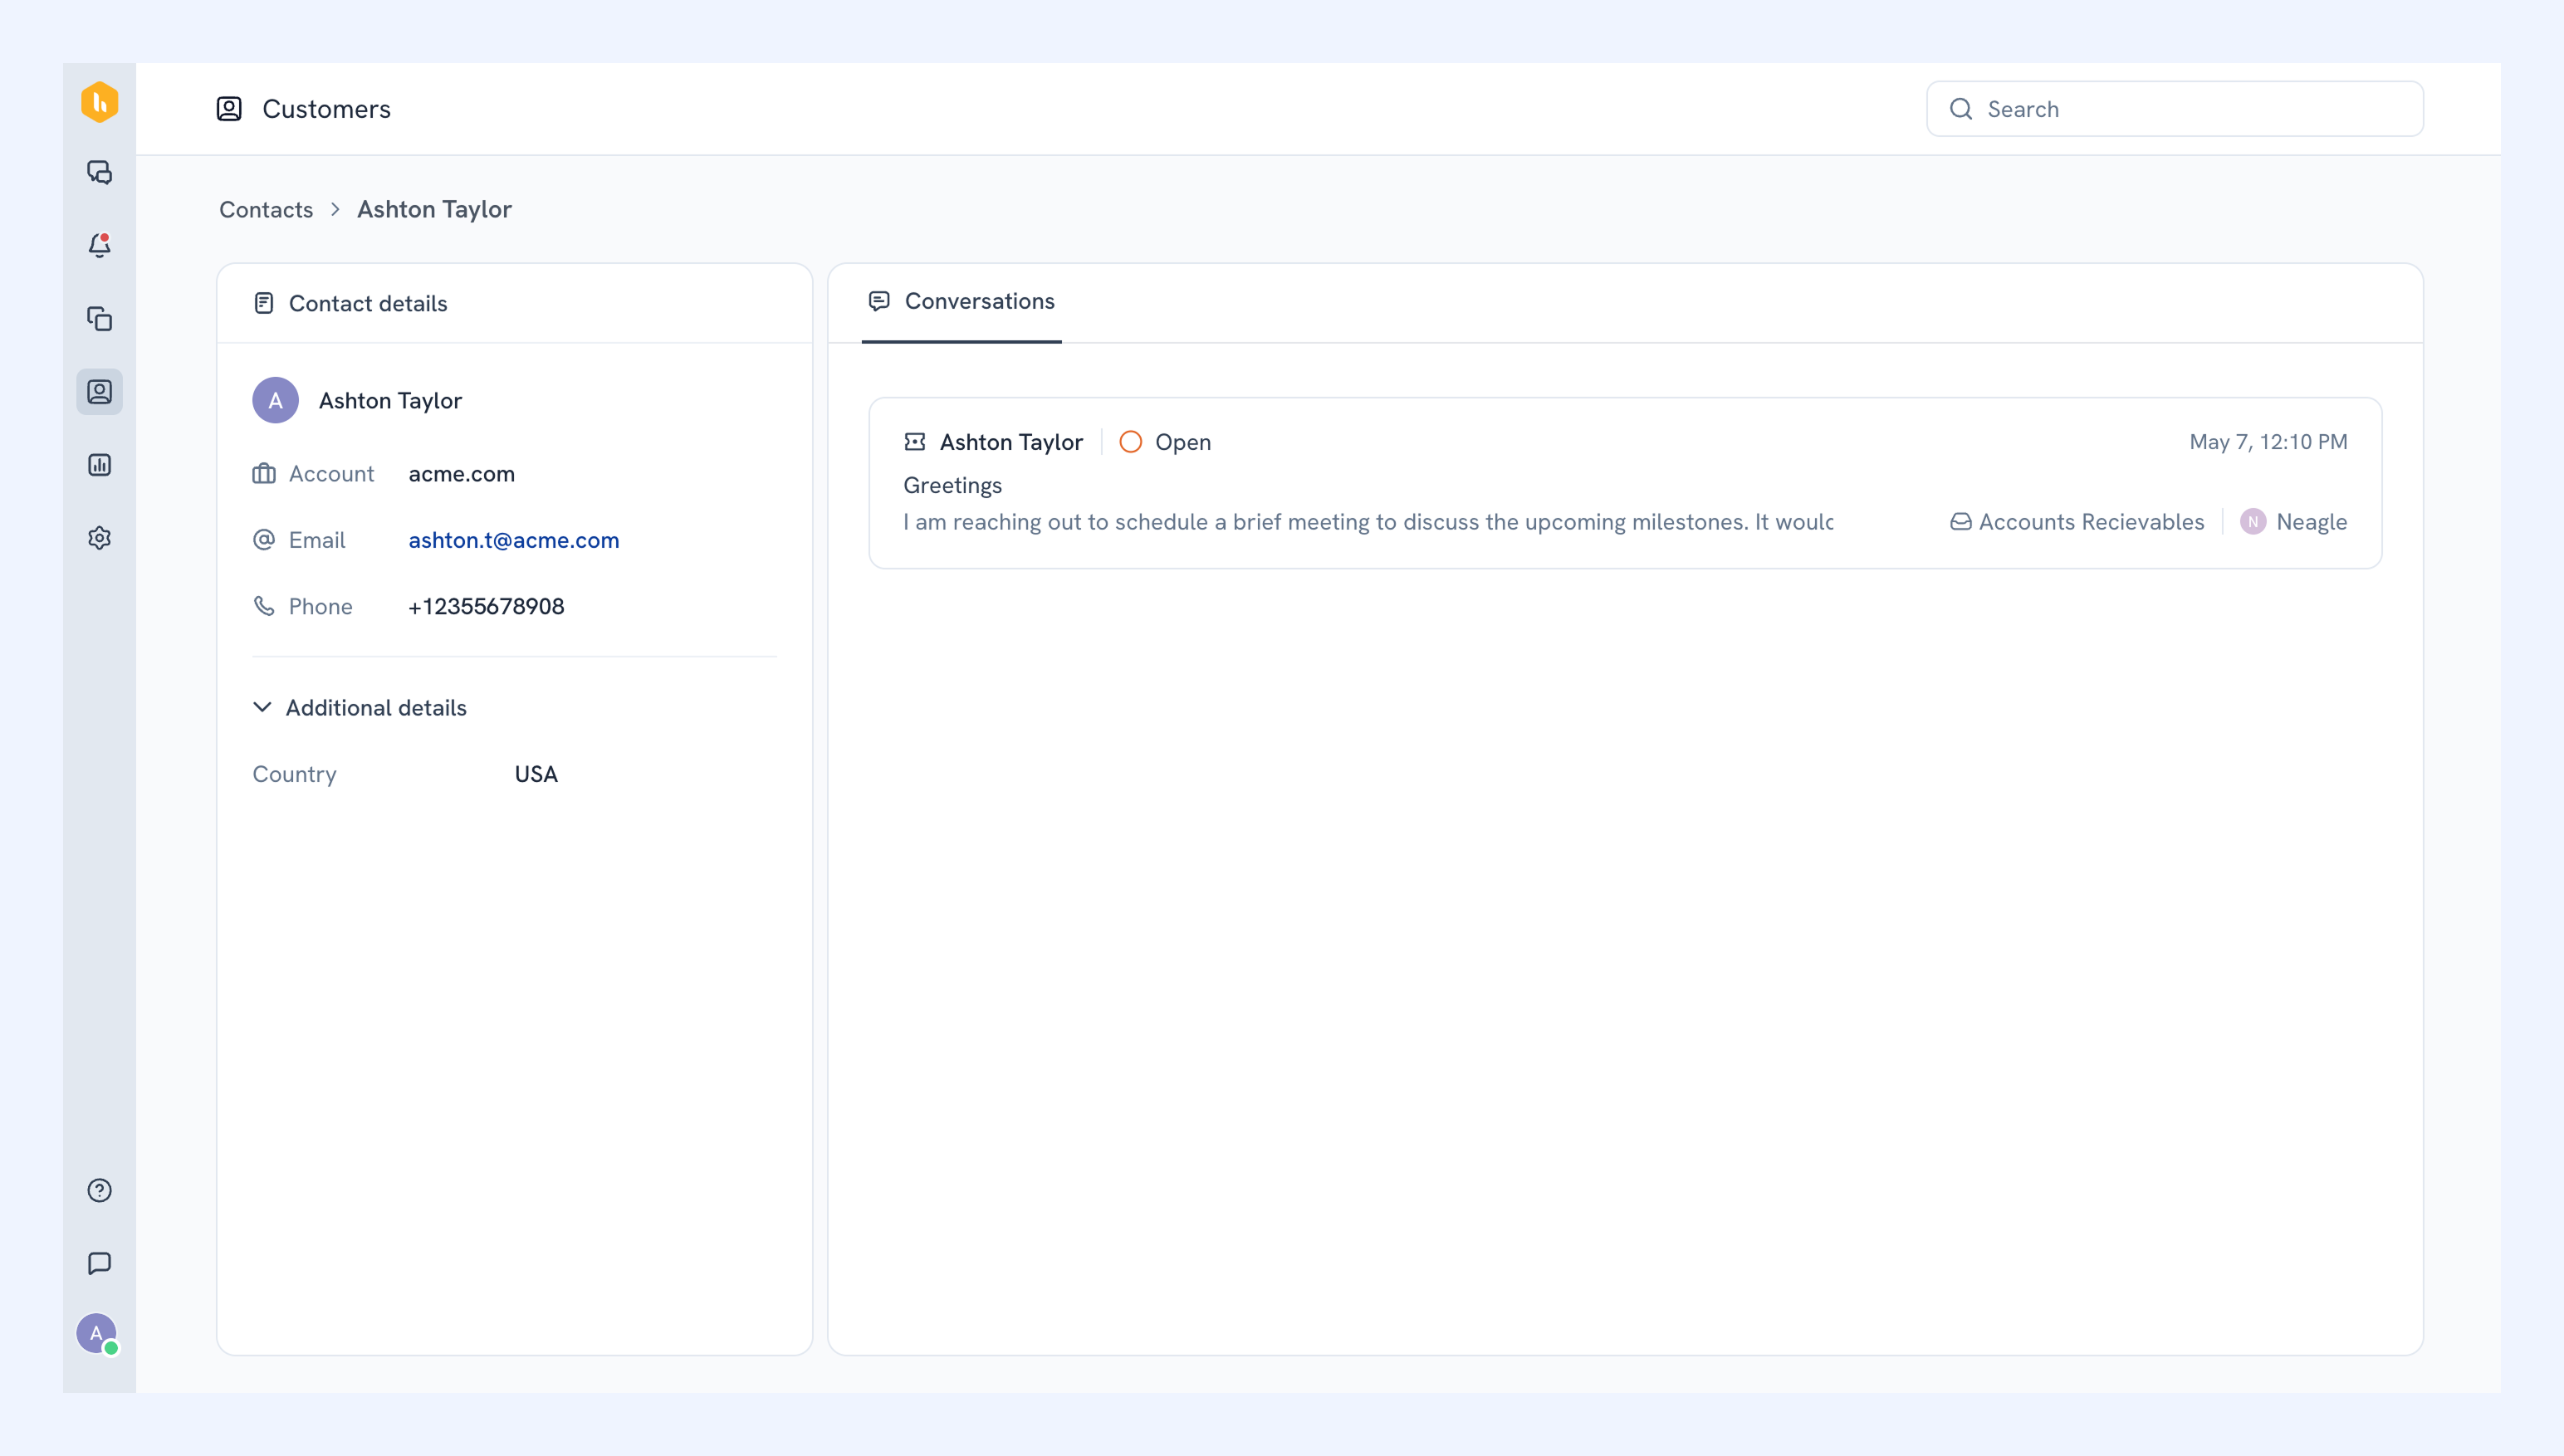
- Click any conversation to see its details.
Creating contacts
The Contacts tab supports the same actions as Accounts. You can:
- Create and import contacts
- Add contact fields
- Filter the contacts list
- Customize visible columns.
To create a contact, click Create contact and add their details, such as their name and email.
Searching for accounts and contacts
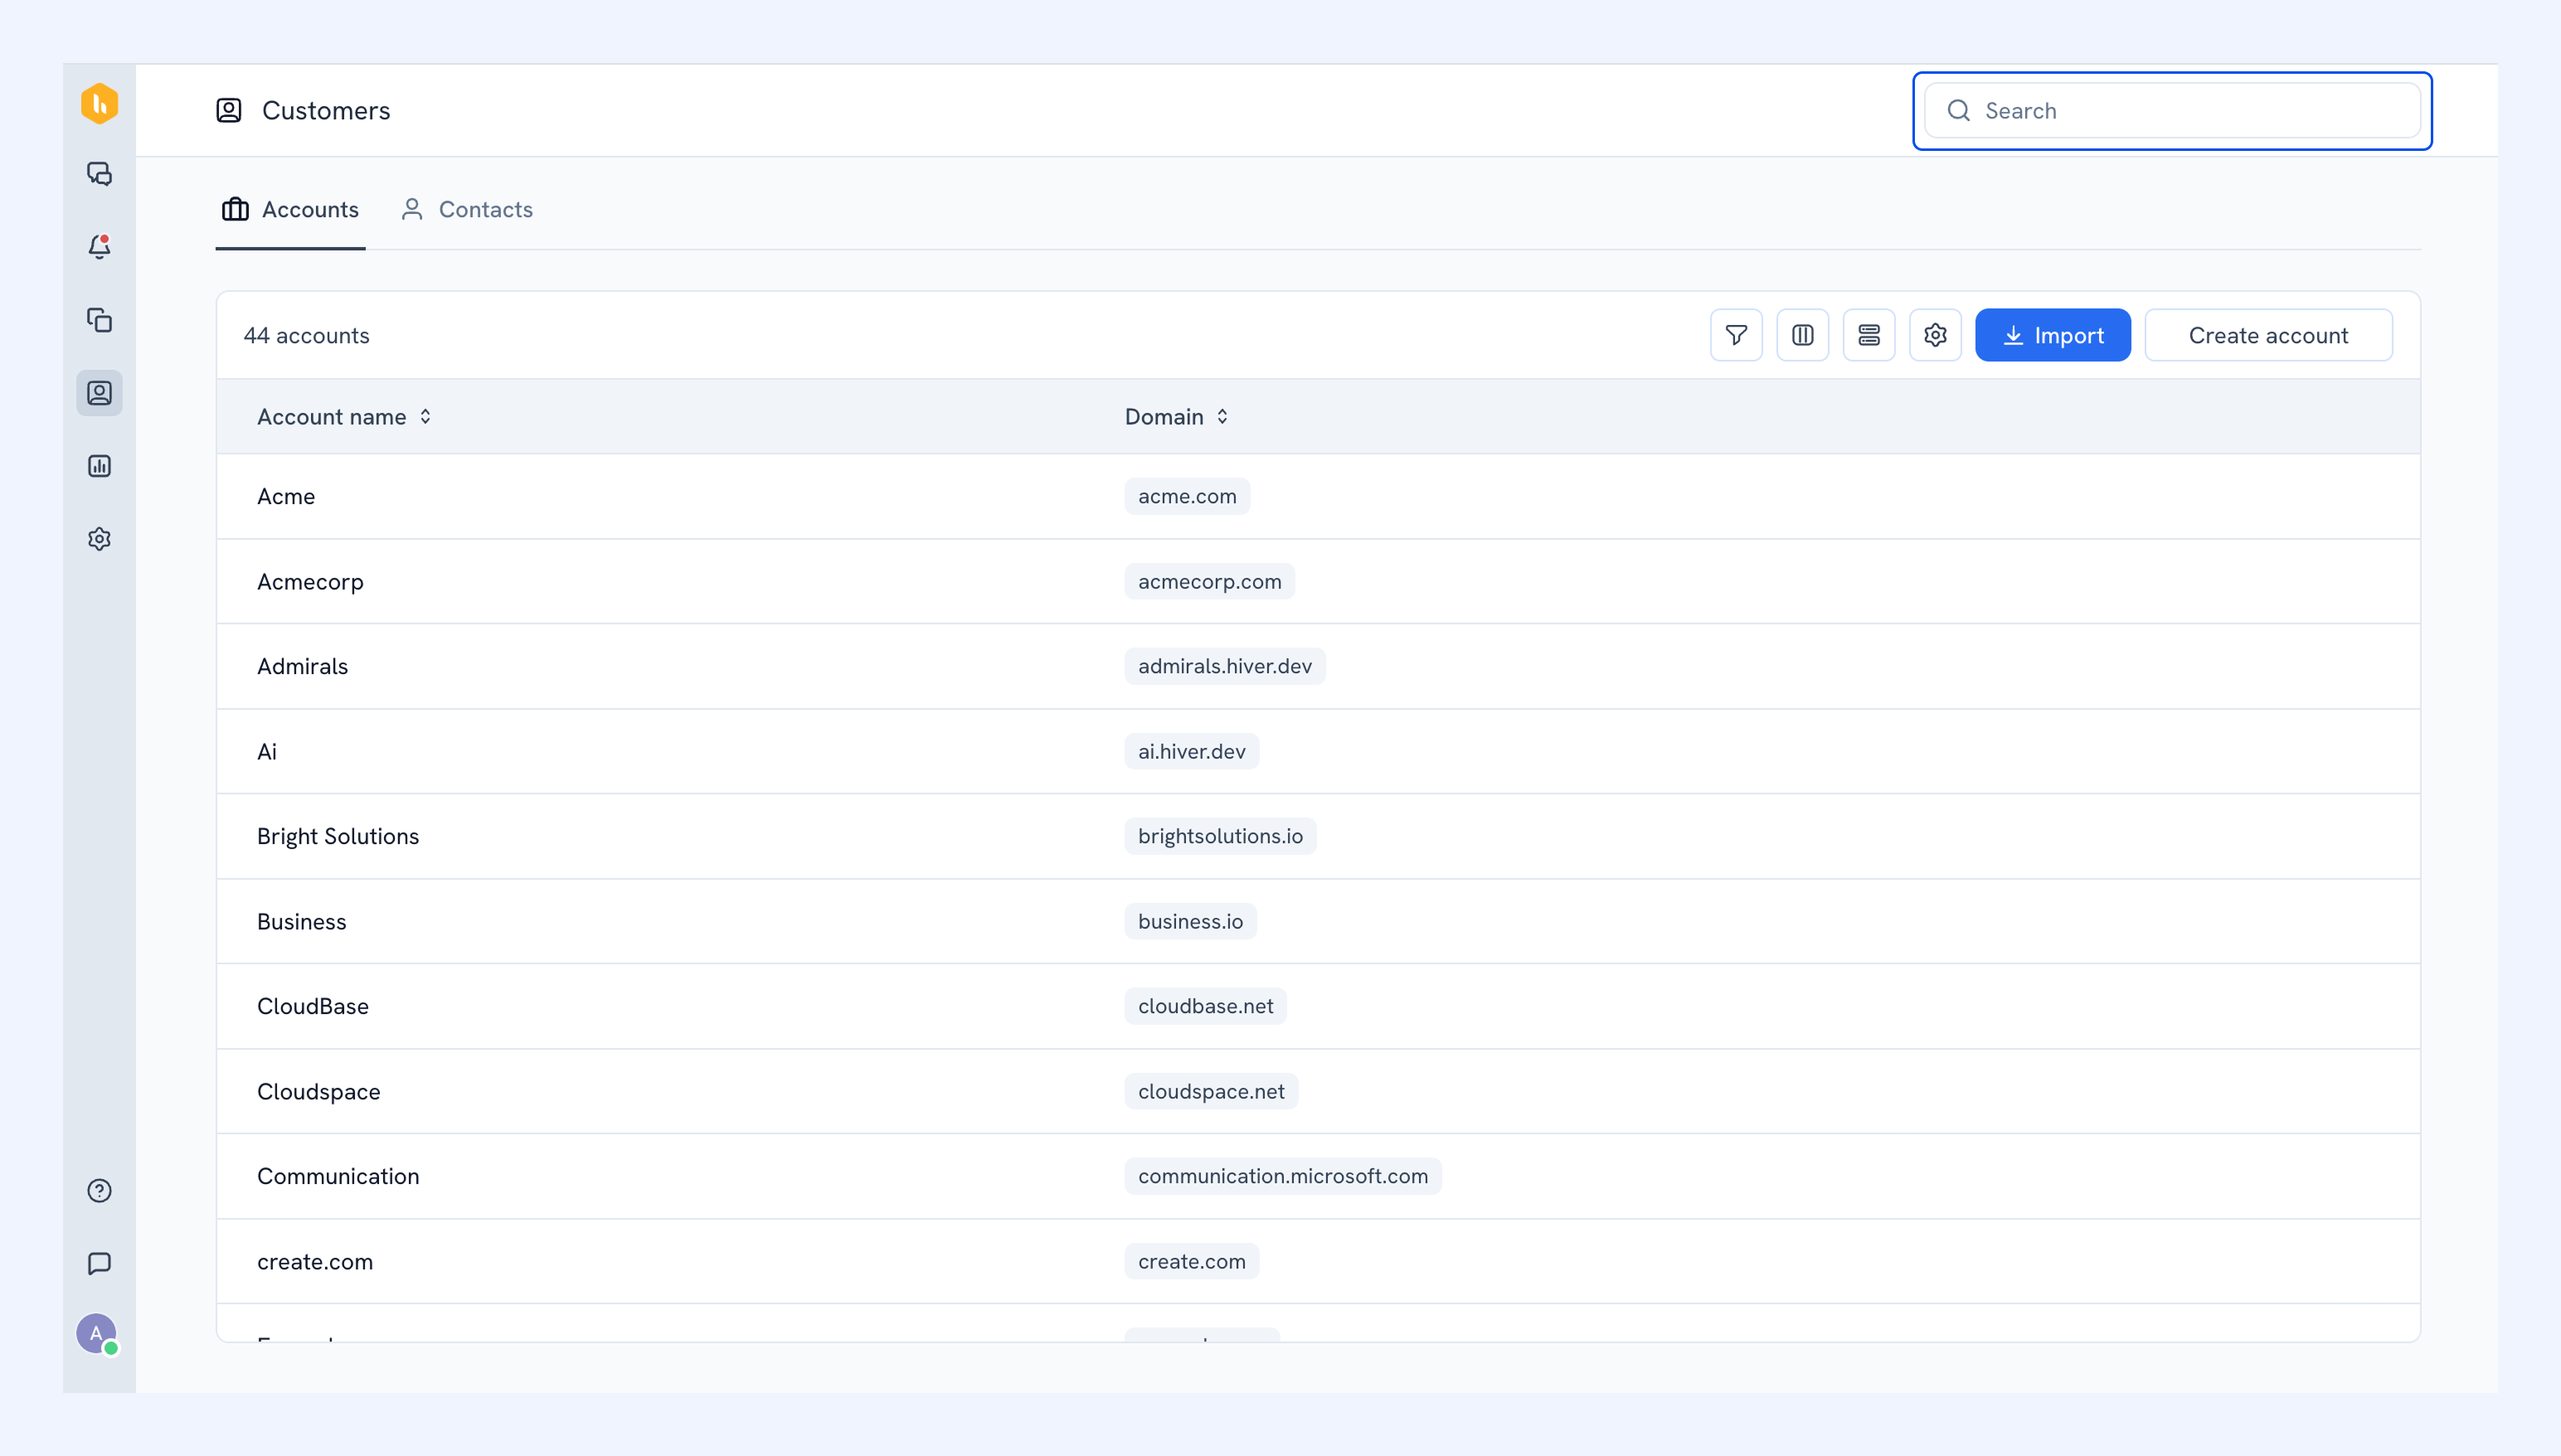
Use the search bar to find accounts and contacts by name.
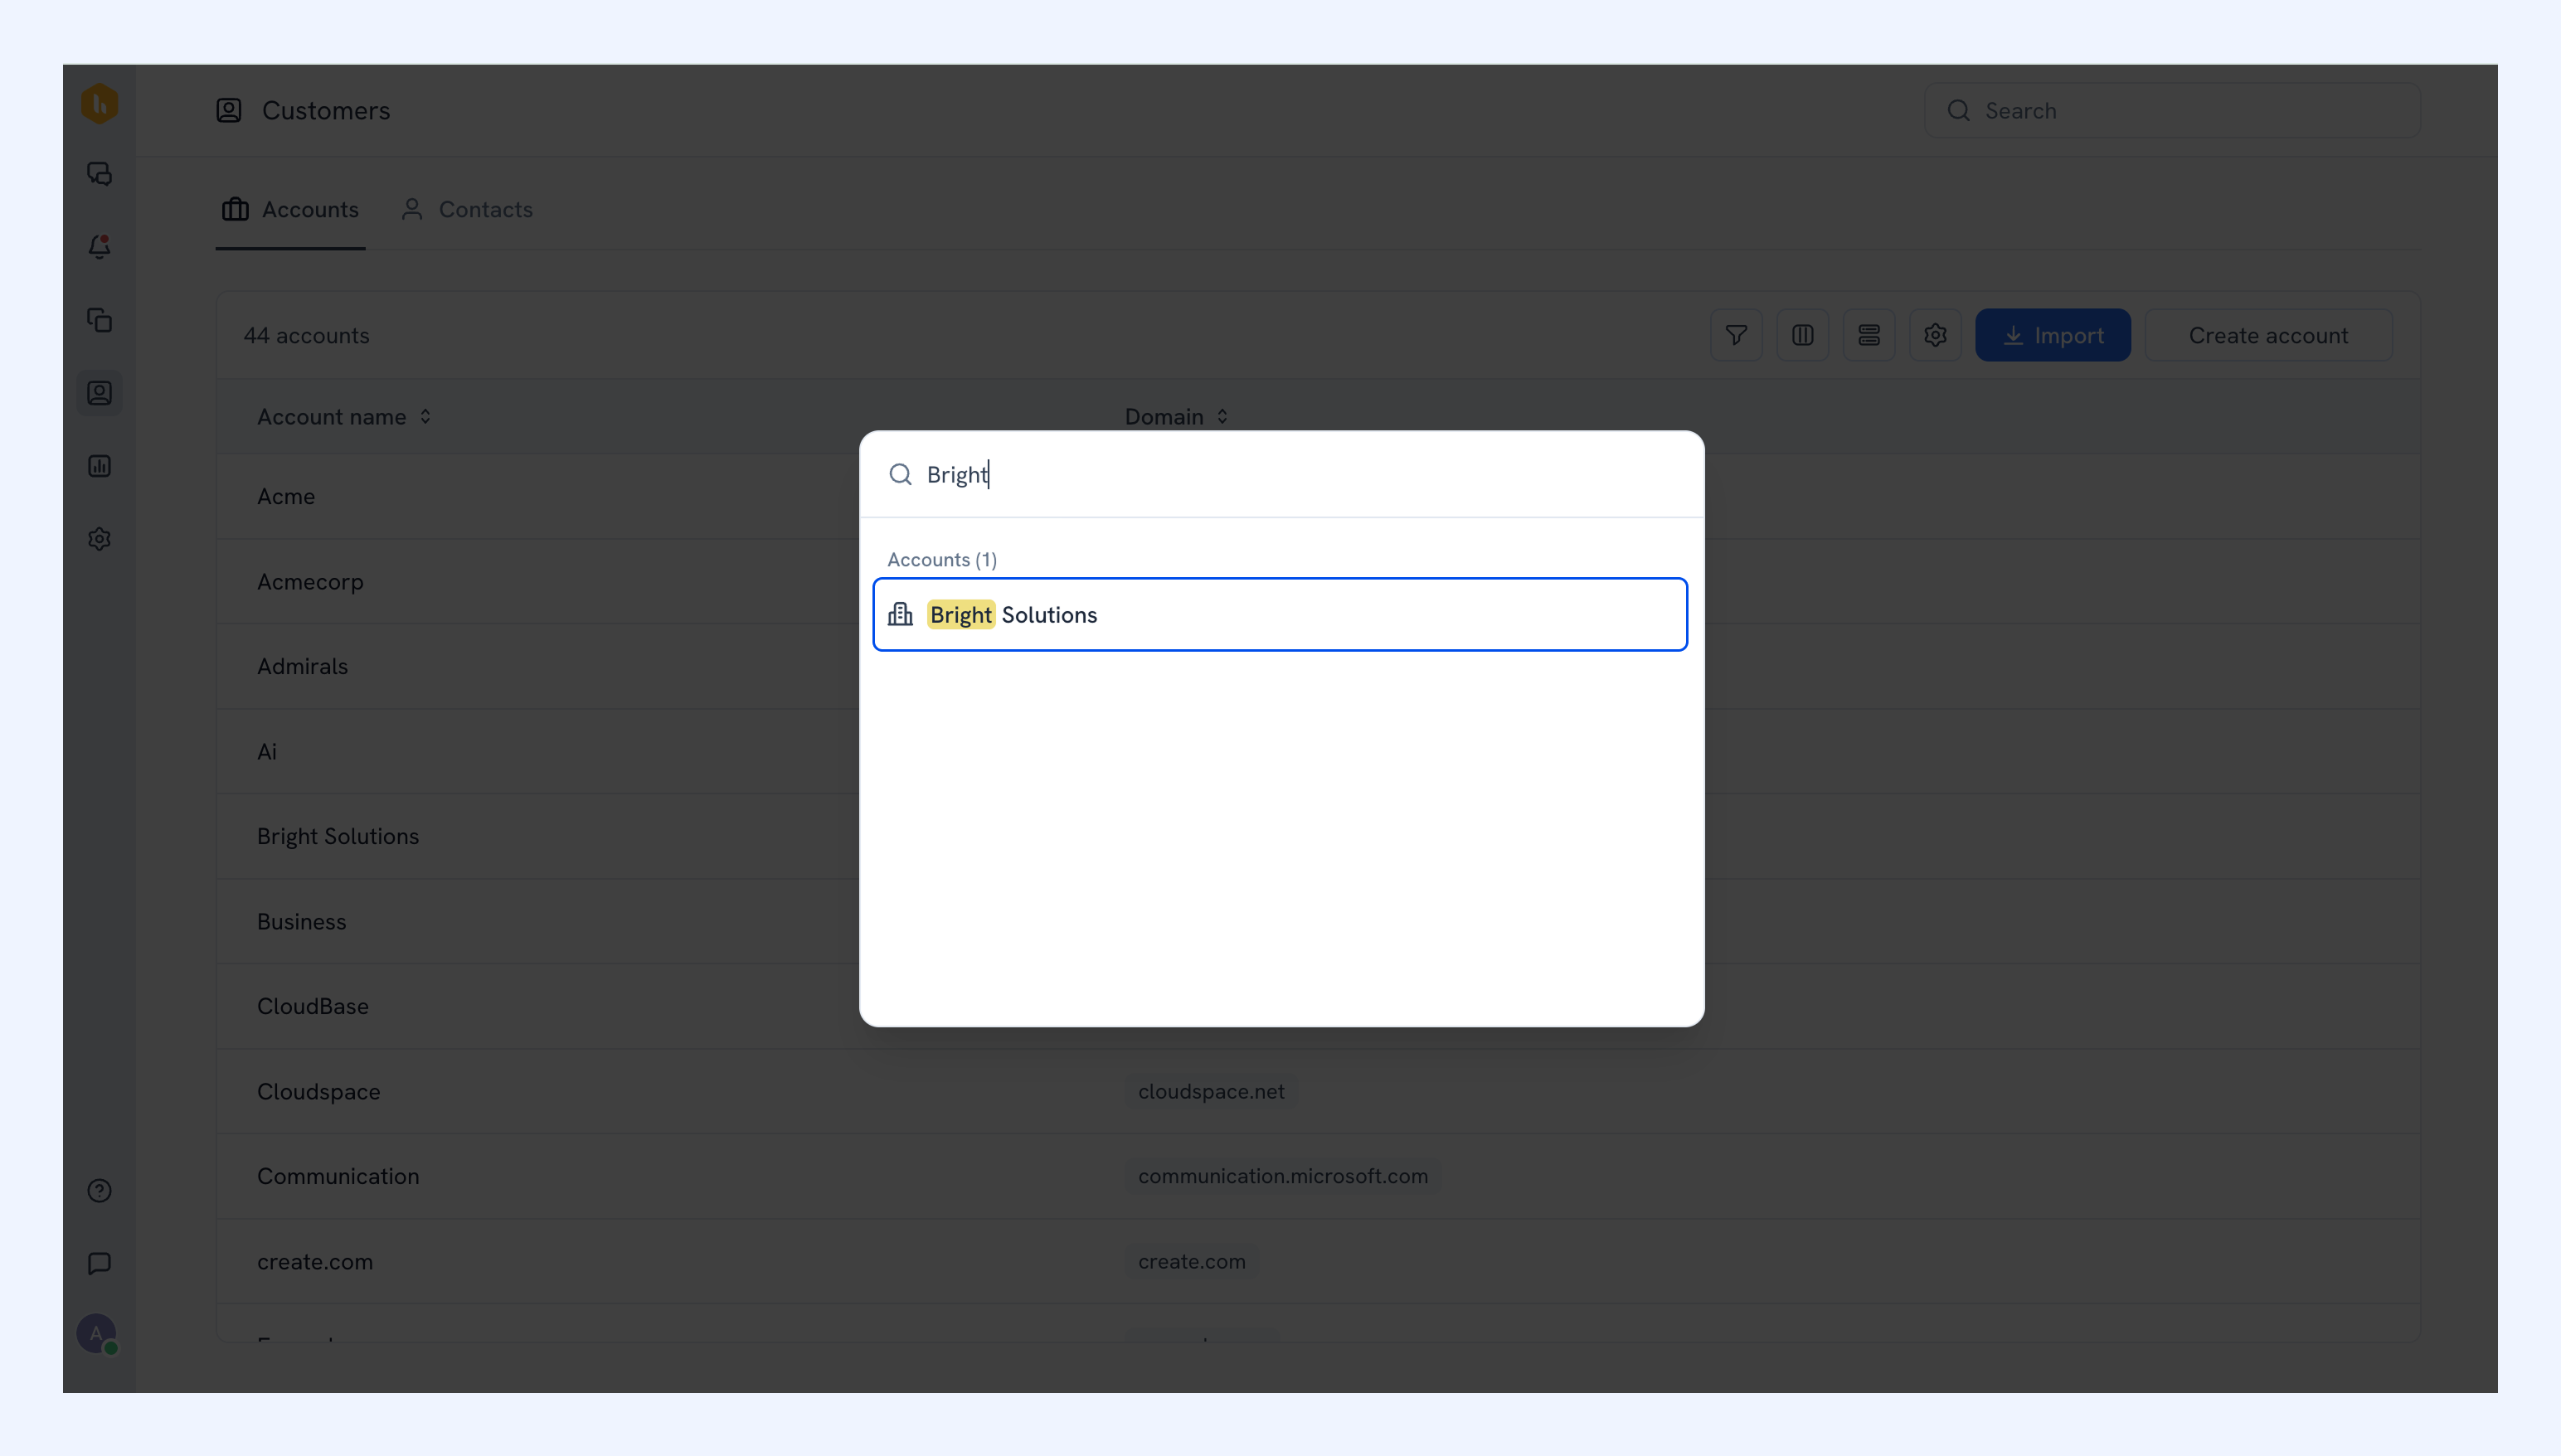
1. Click the search bar and type an account or contact name.
2. Click the result to open that profile.
Related articles
Importing and syncing accounts and contacts
Viewing account and contact details in conversations
Managing emails in Shared Inbox