Setting up Chat Inbox
Live chat lets your team resolve quick questions on your website without the back-and-forth of email conversations. Once a Chat Inbox is set up and the chat widget is live, your team can start receiving and responding to chats right away.
Steps to set up Chat Inbox
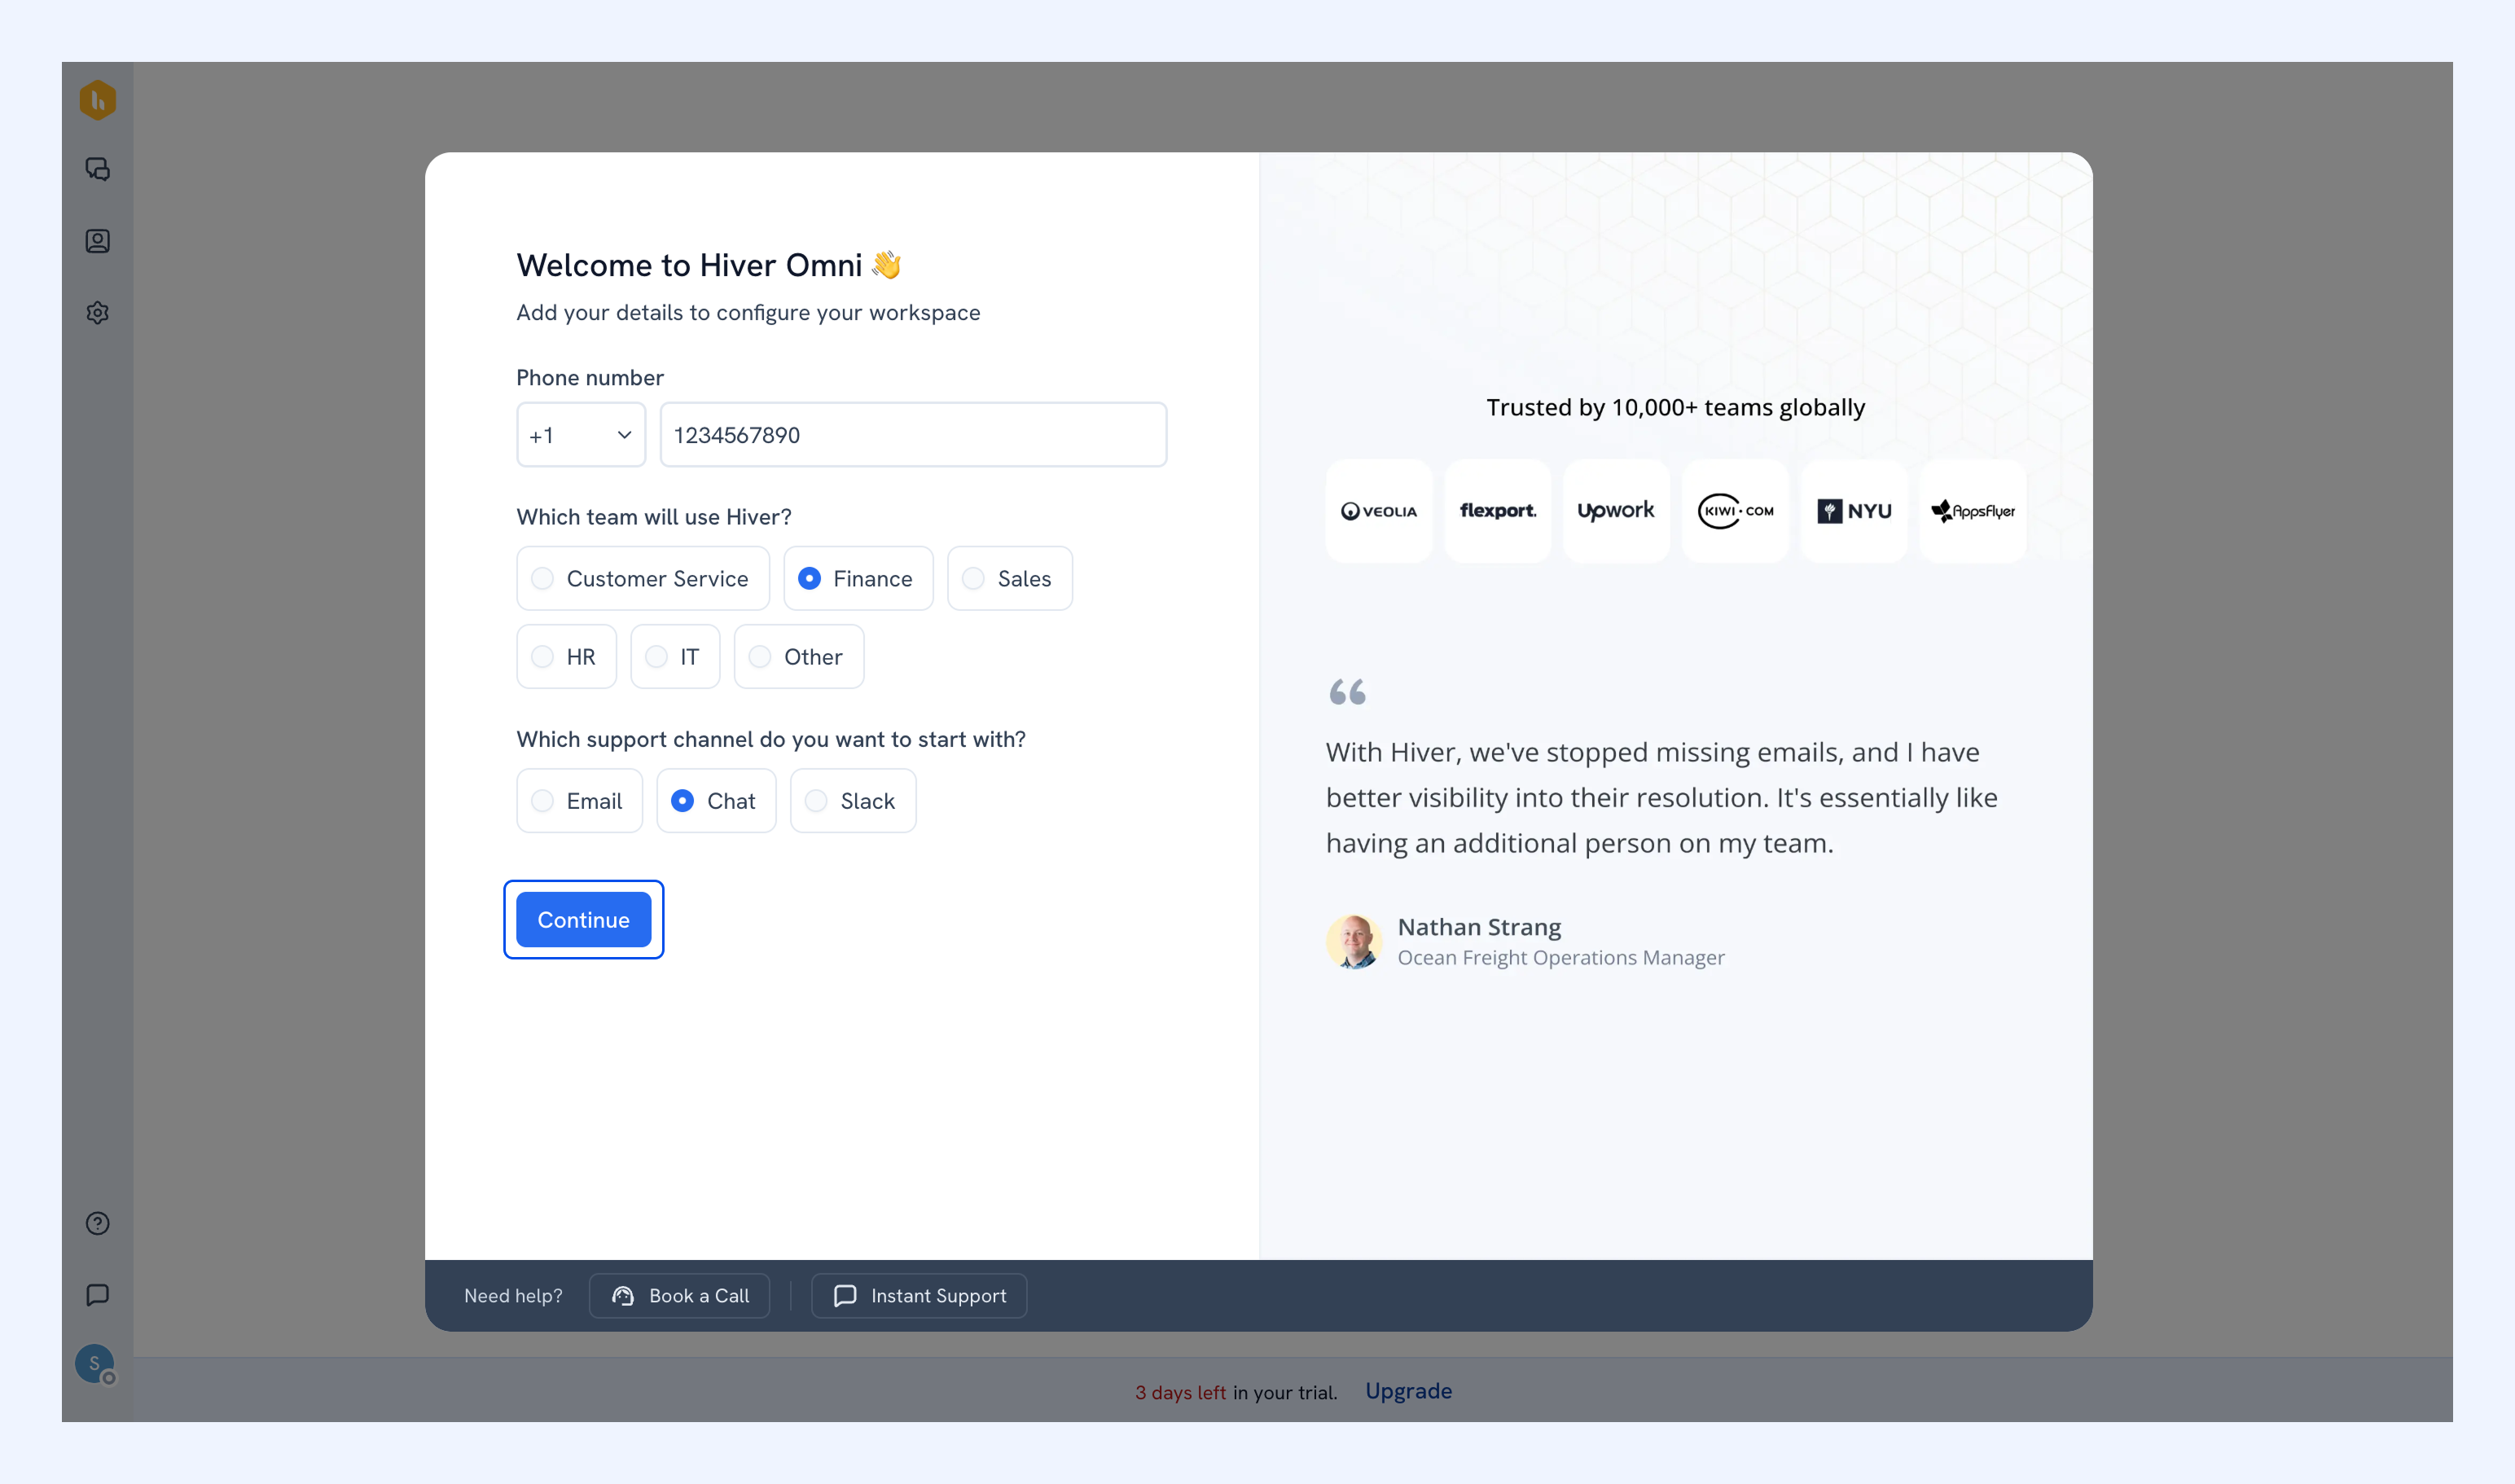
1. Fill in your details and choose Chat as your support channel. Click Continue.
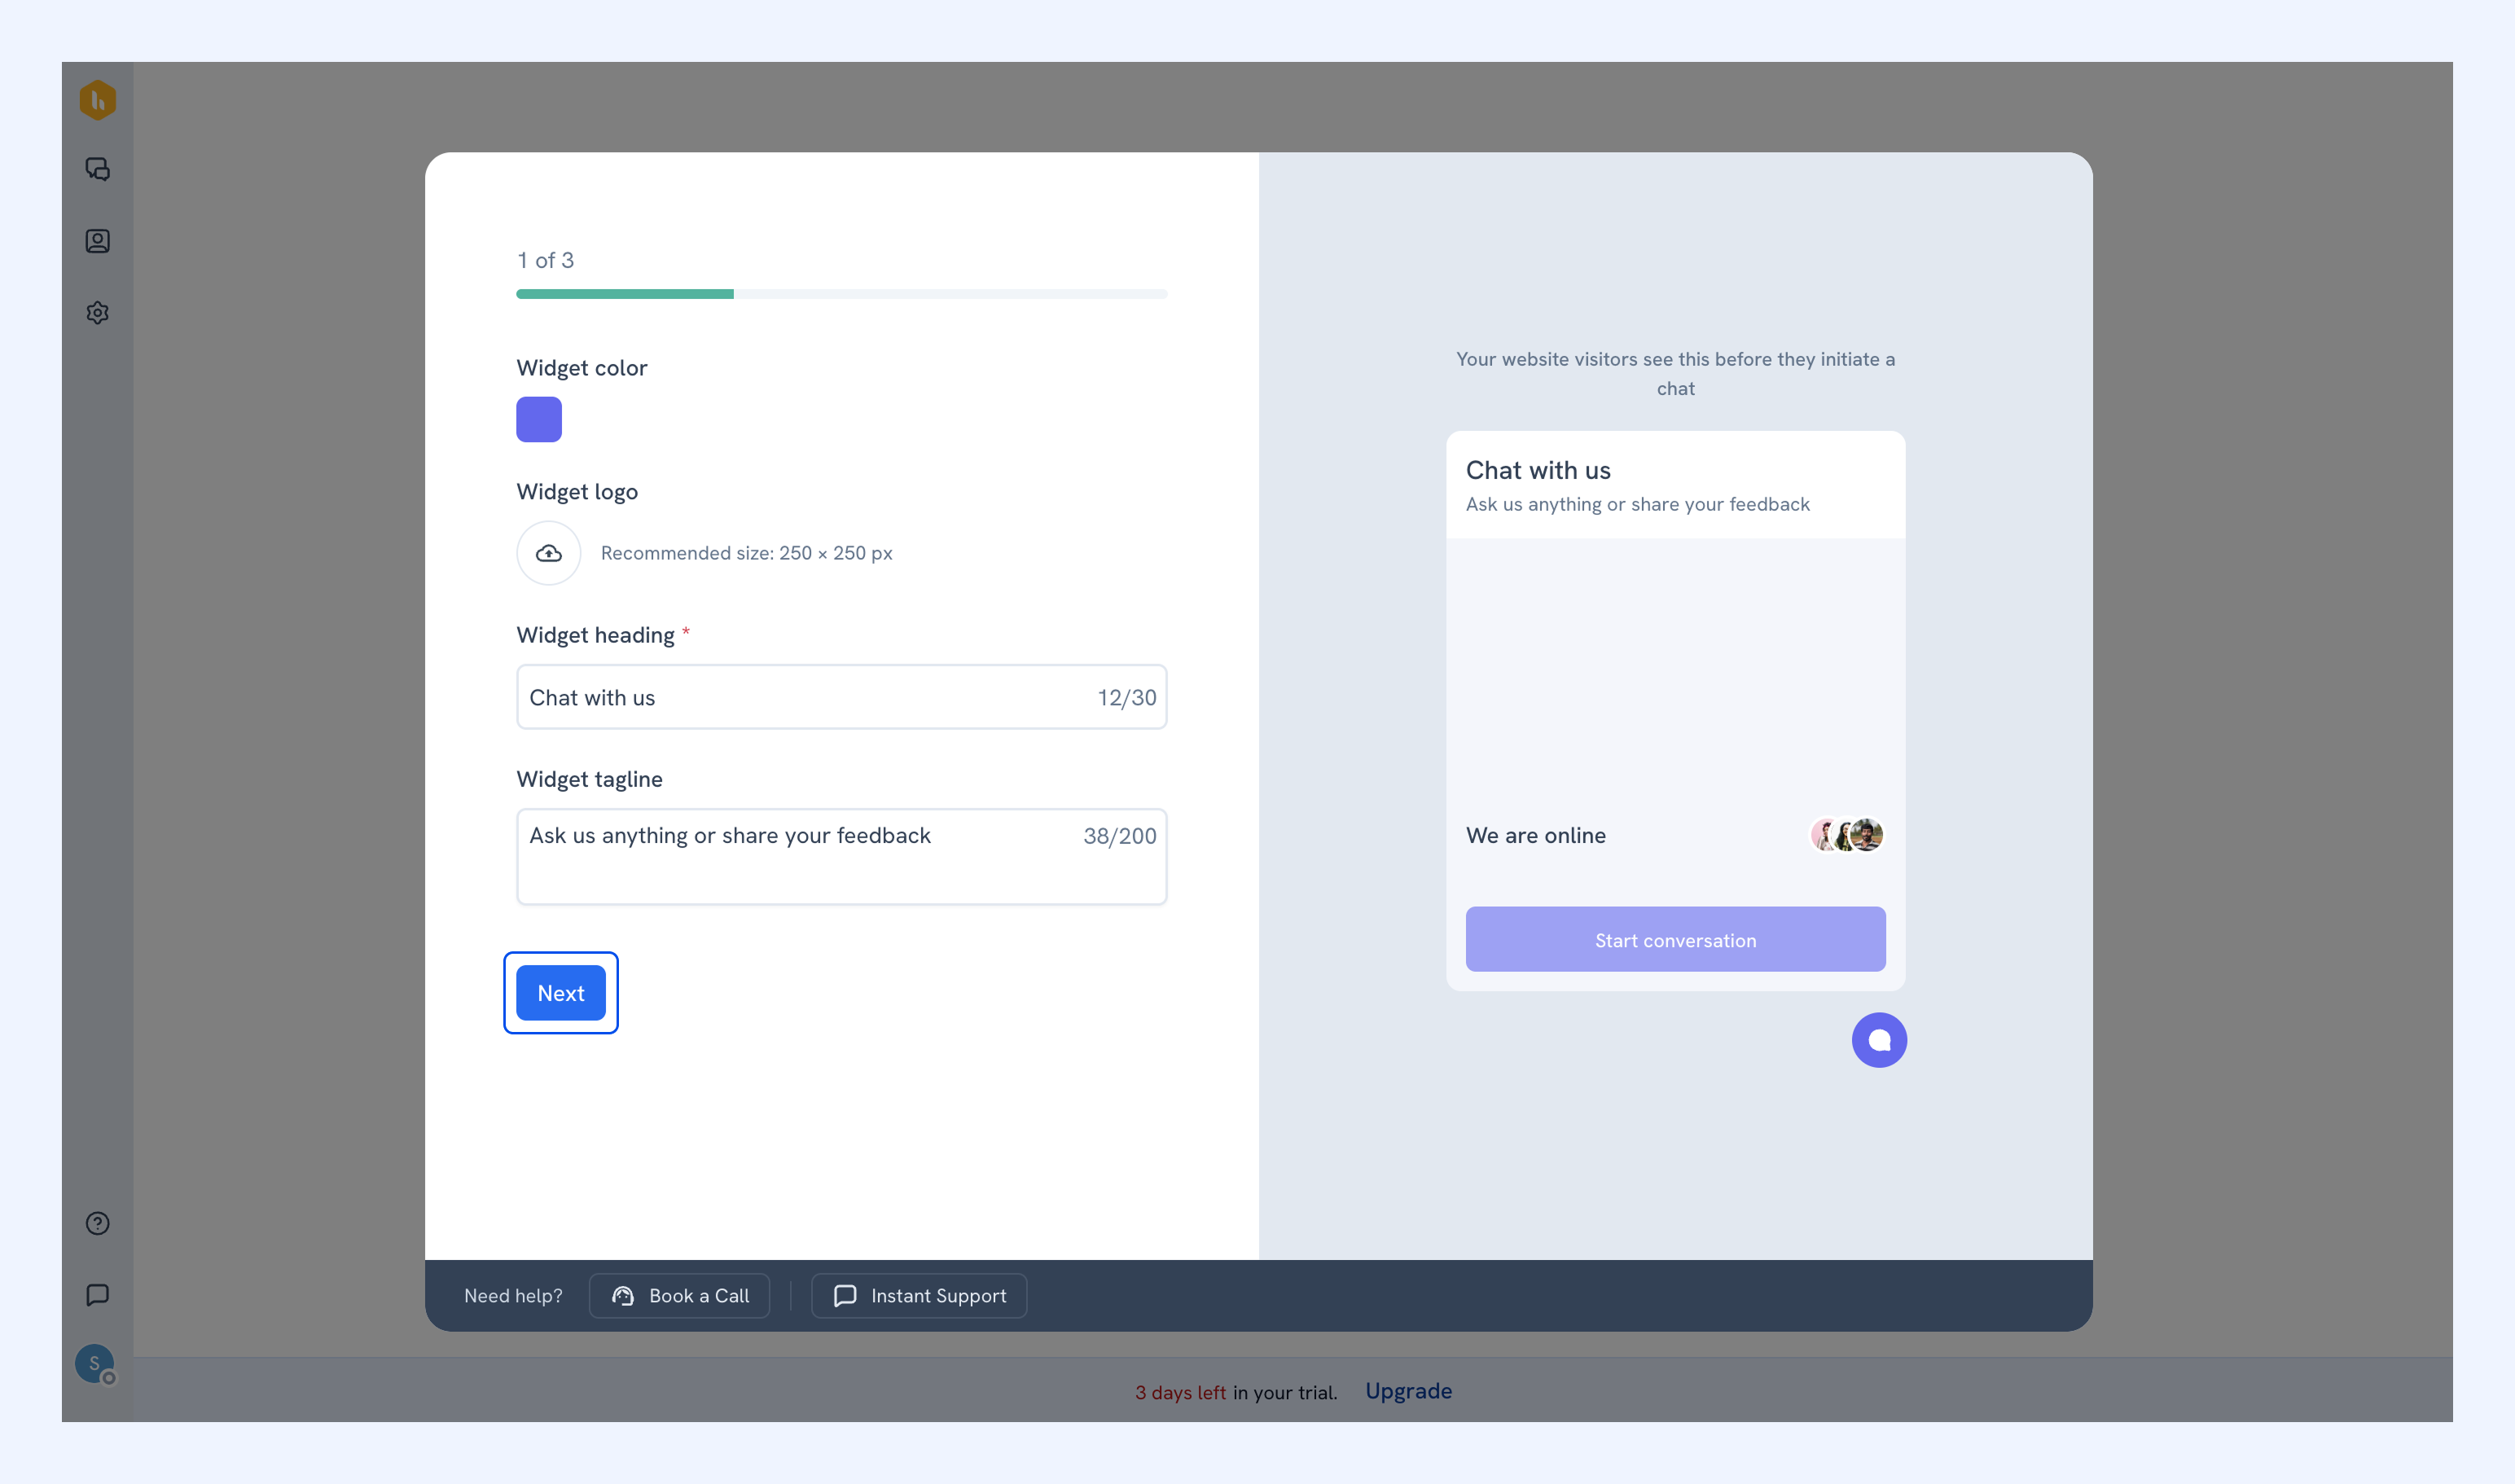
2. Configure your widget's appearance. You can set a color, upload a logo, and add a heading and tagline. A live preview updates as you make changes. Click Next.
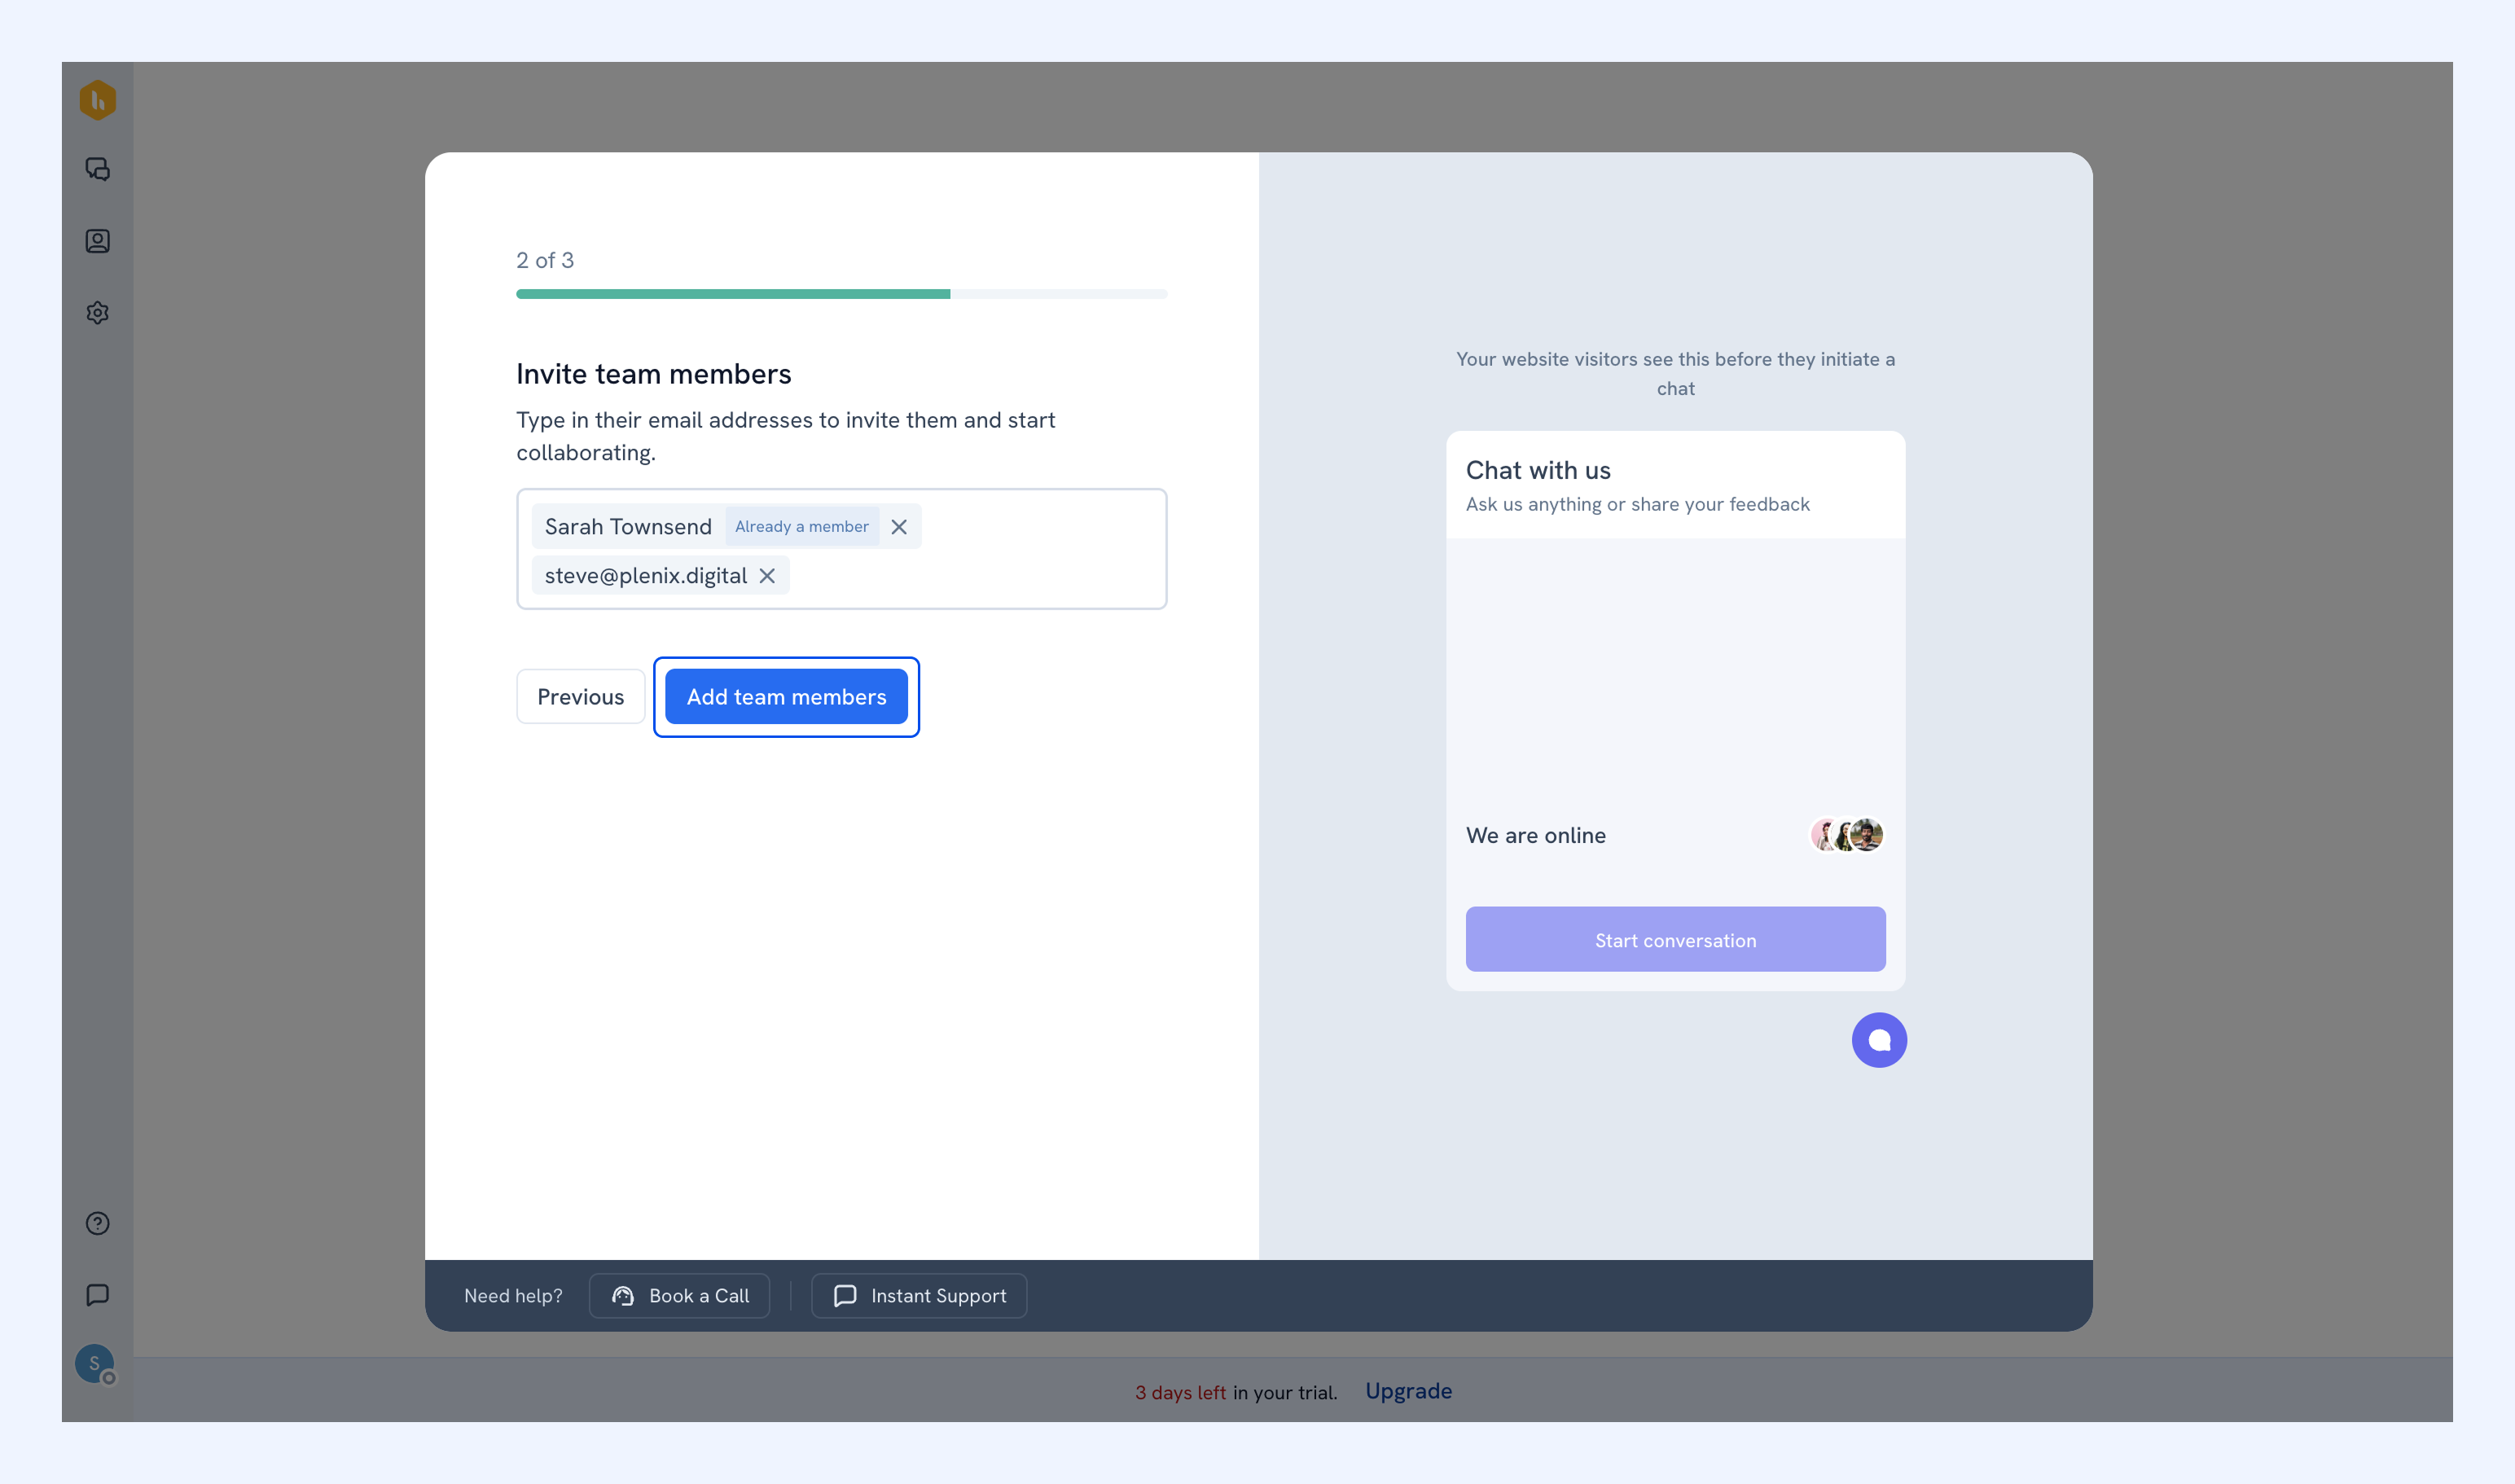
3. Enter your teammates' email addresses and click Add team members to invite them to the Chat Inbox.
4. Copy the widget script and paste it into your website's HTML before the tag.
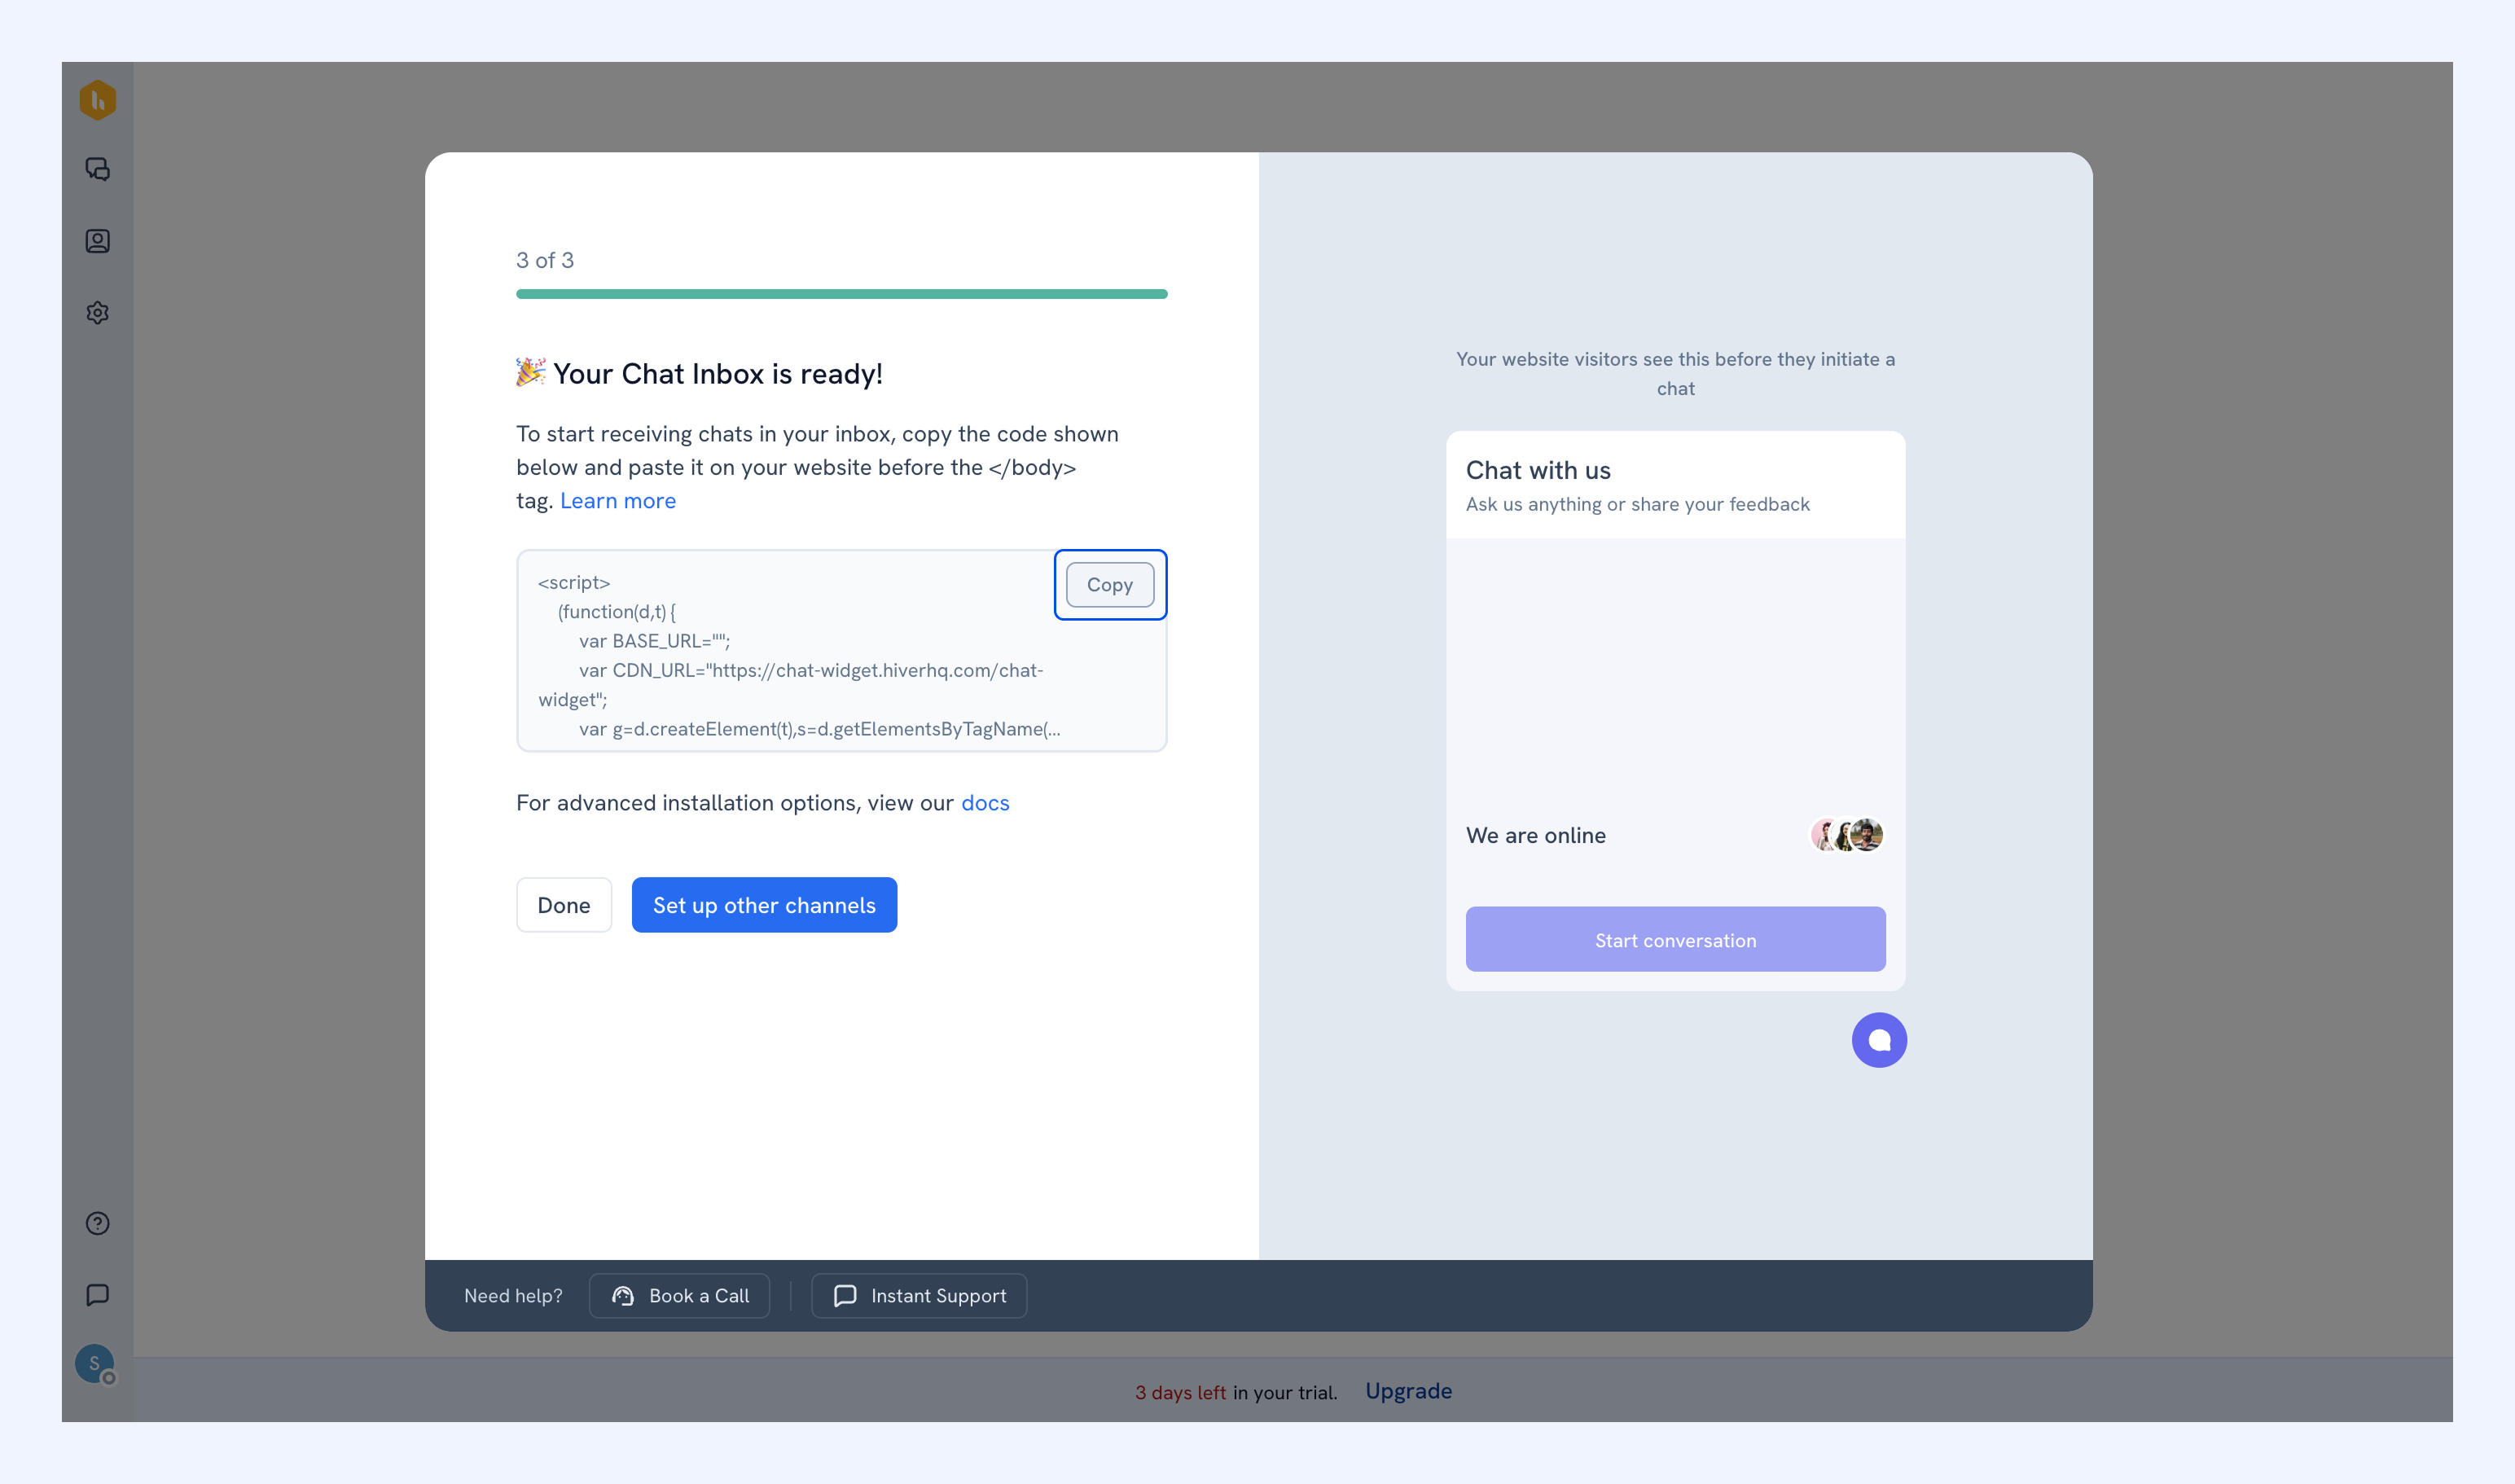
Your Chat Inbox is ready. Visitors can start chats from your website and you can start managing live conversations.
Steps to set up Chat Inbox from the Admin Panel
1. Go to Settings → Admin Panel → Shared Inboxes → Chat Inboxes.
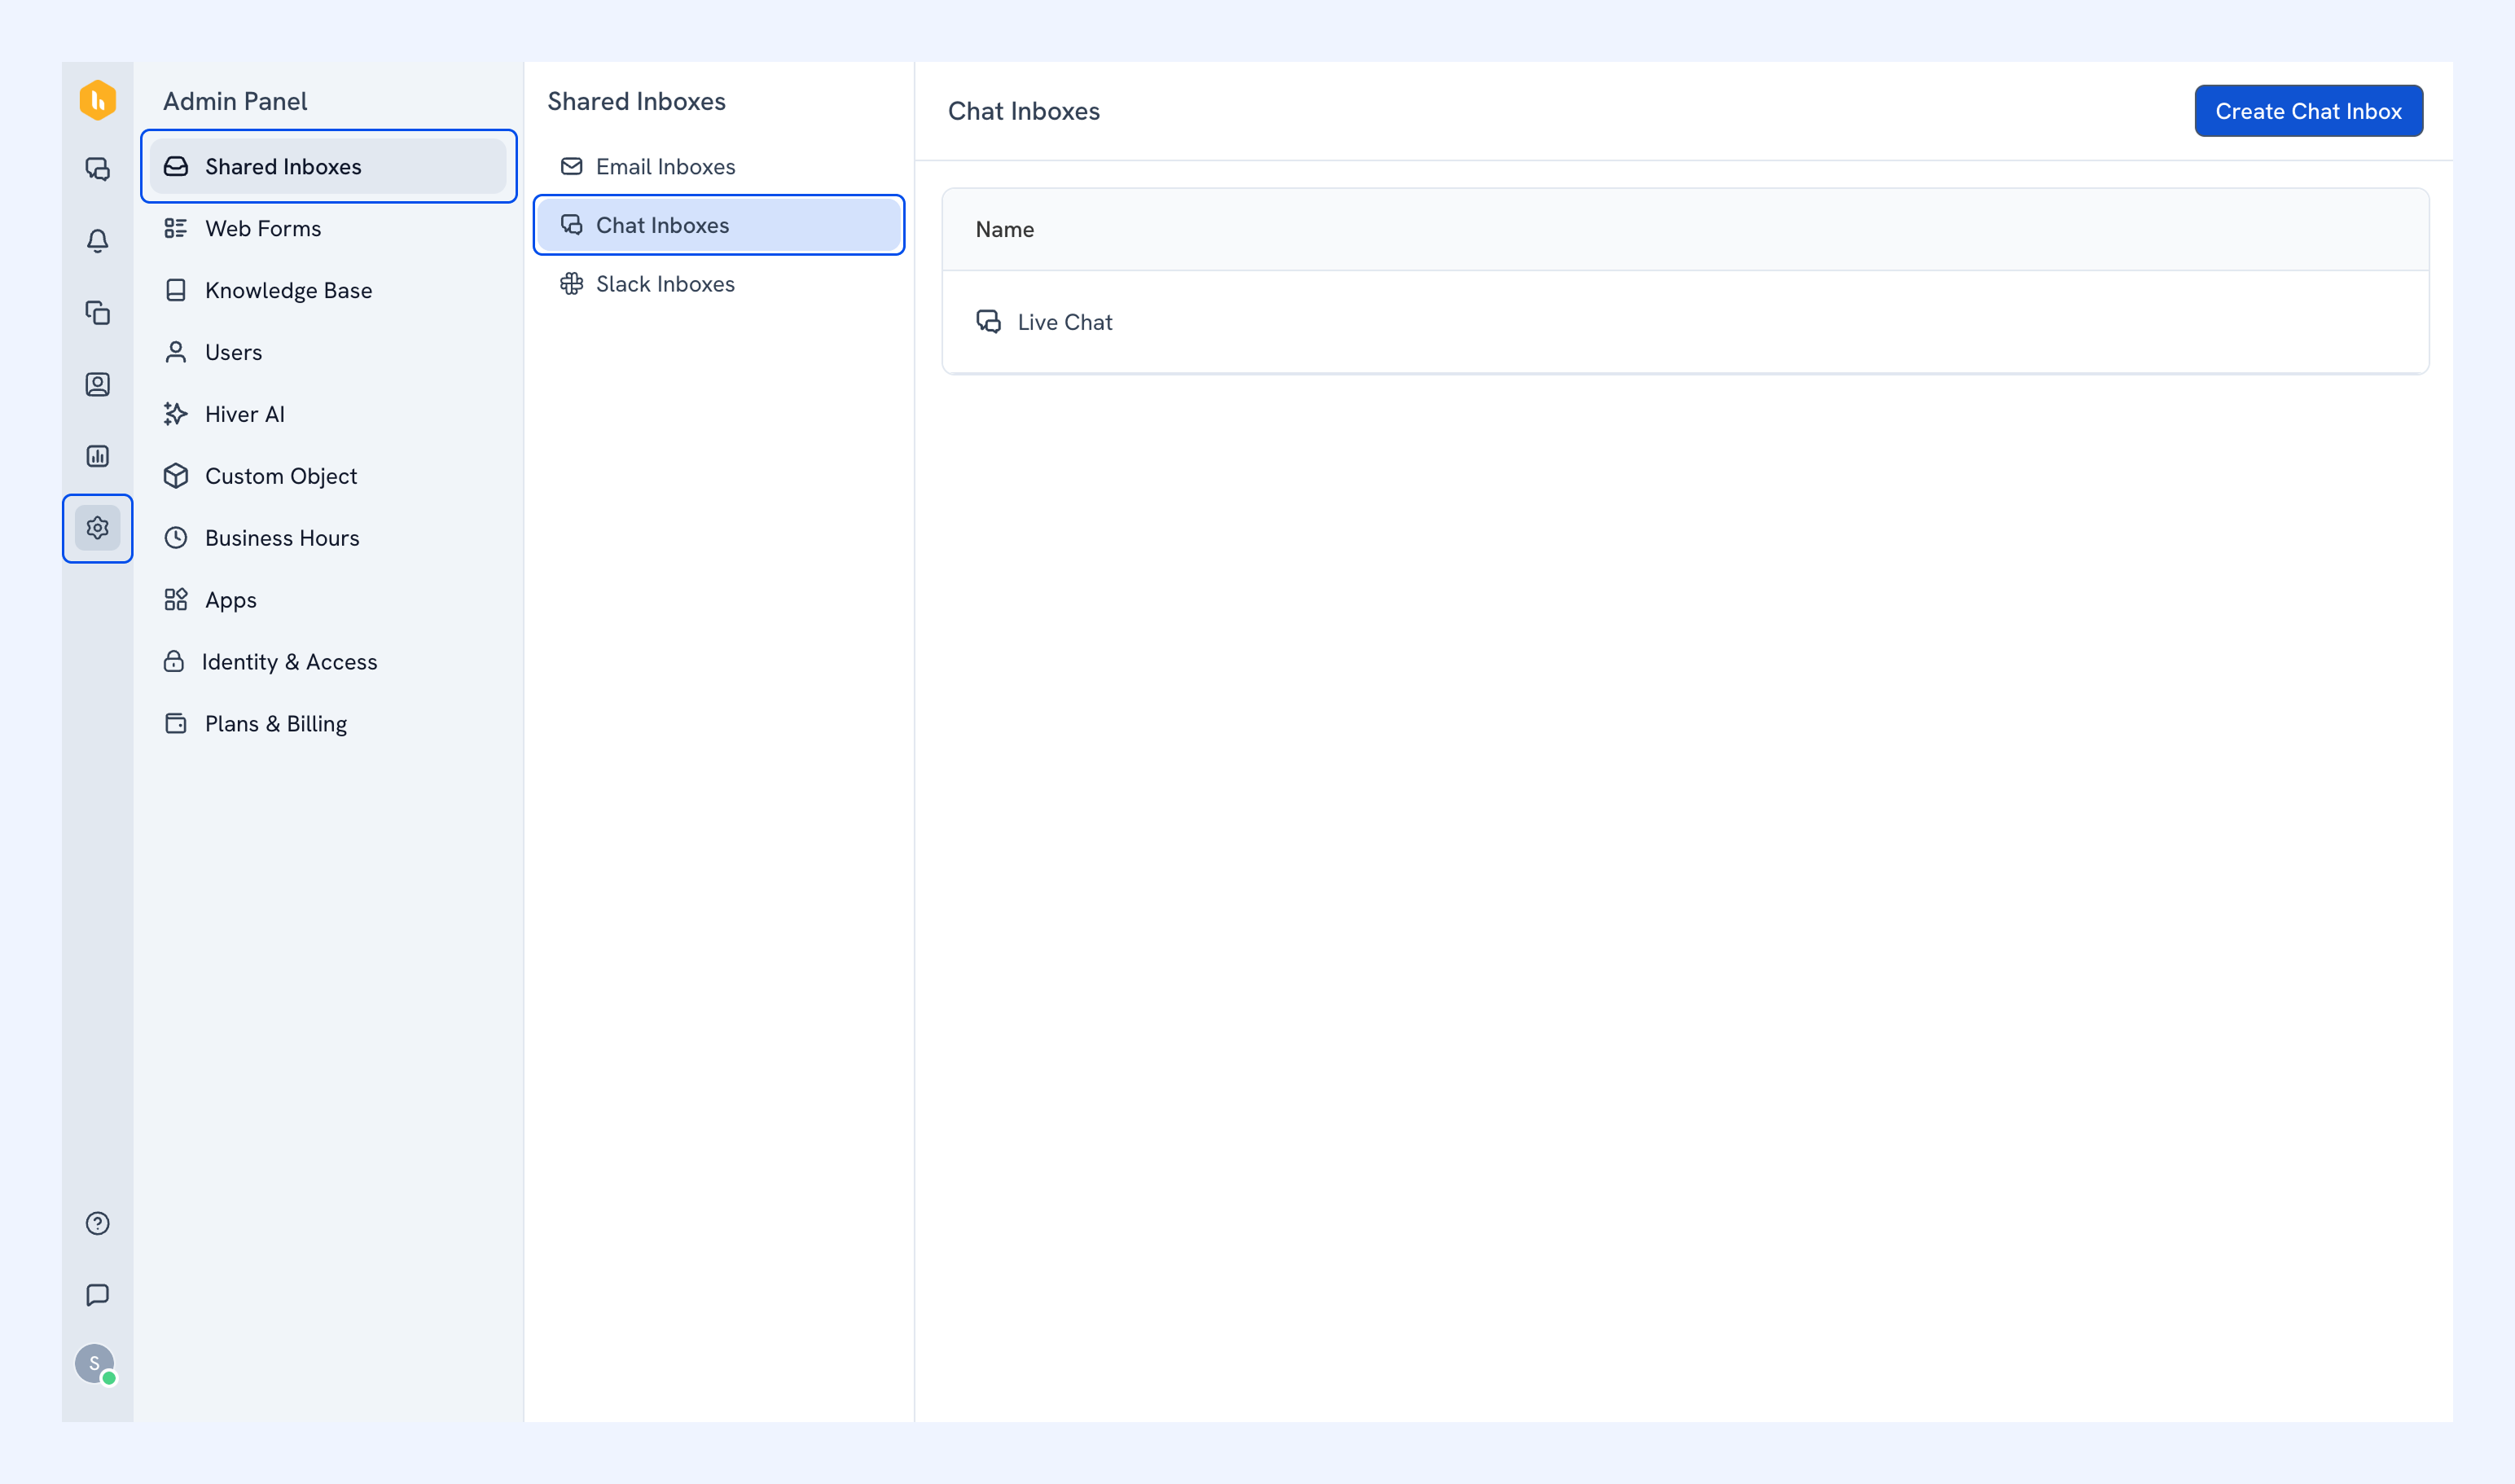
2. Click Create Chat Inbox.
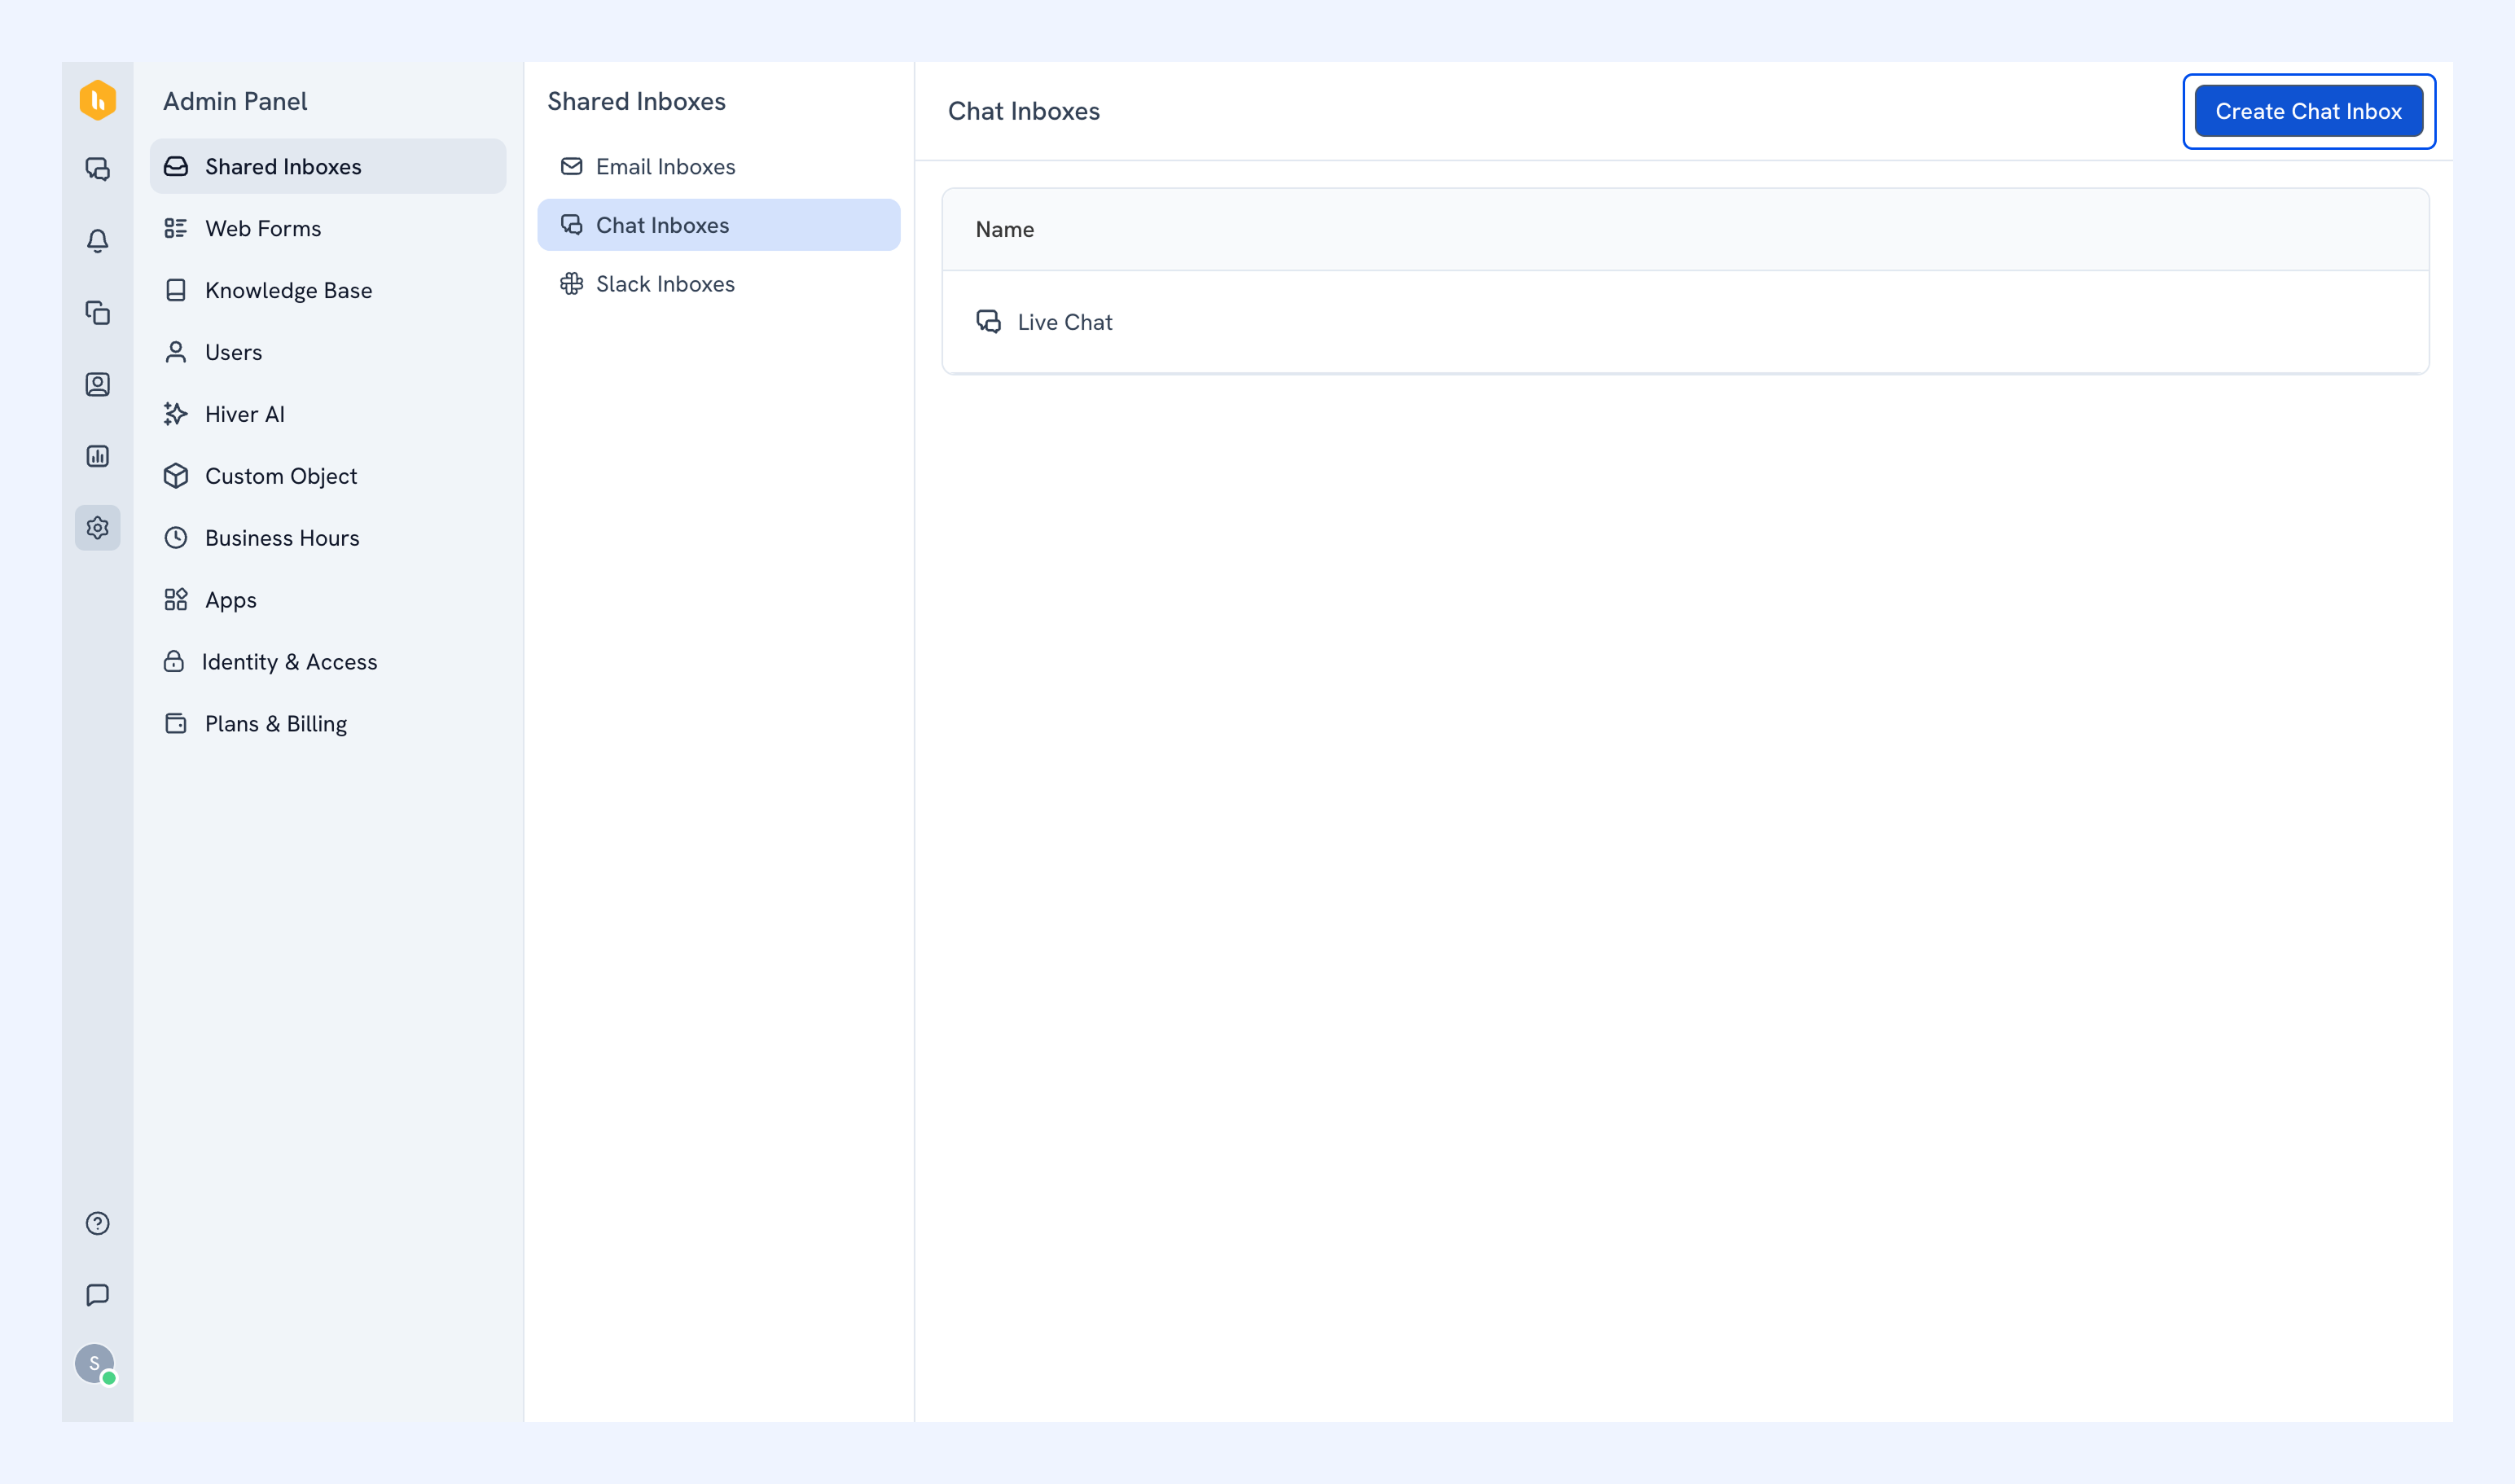
3. Enter a name for your Chat Inbox and add your teammates, and click Next.
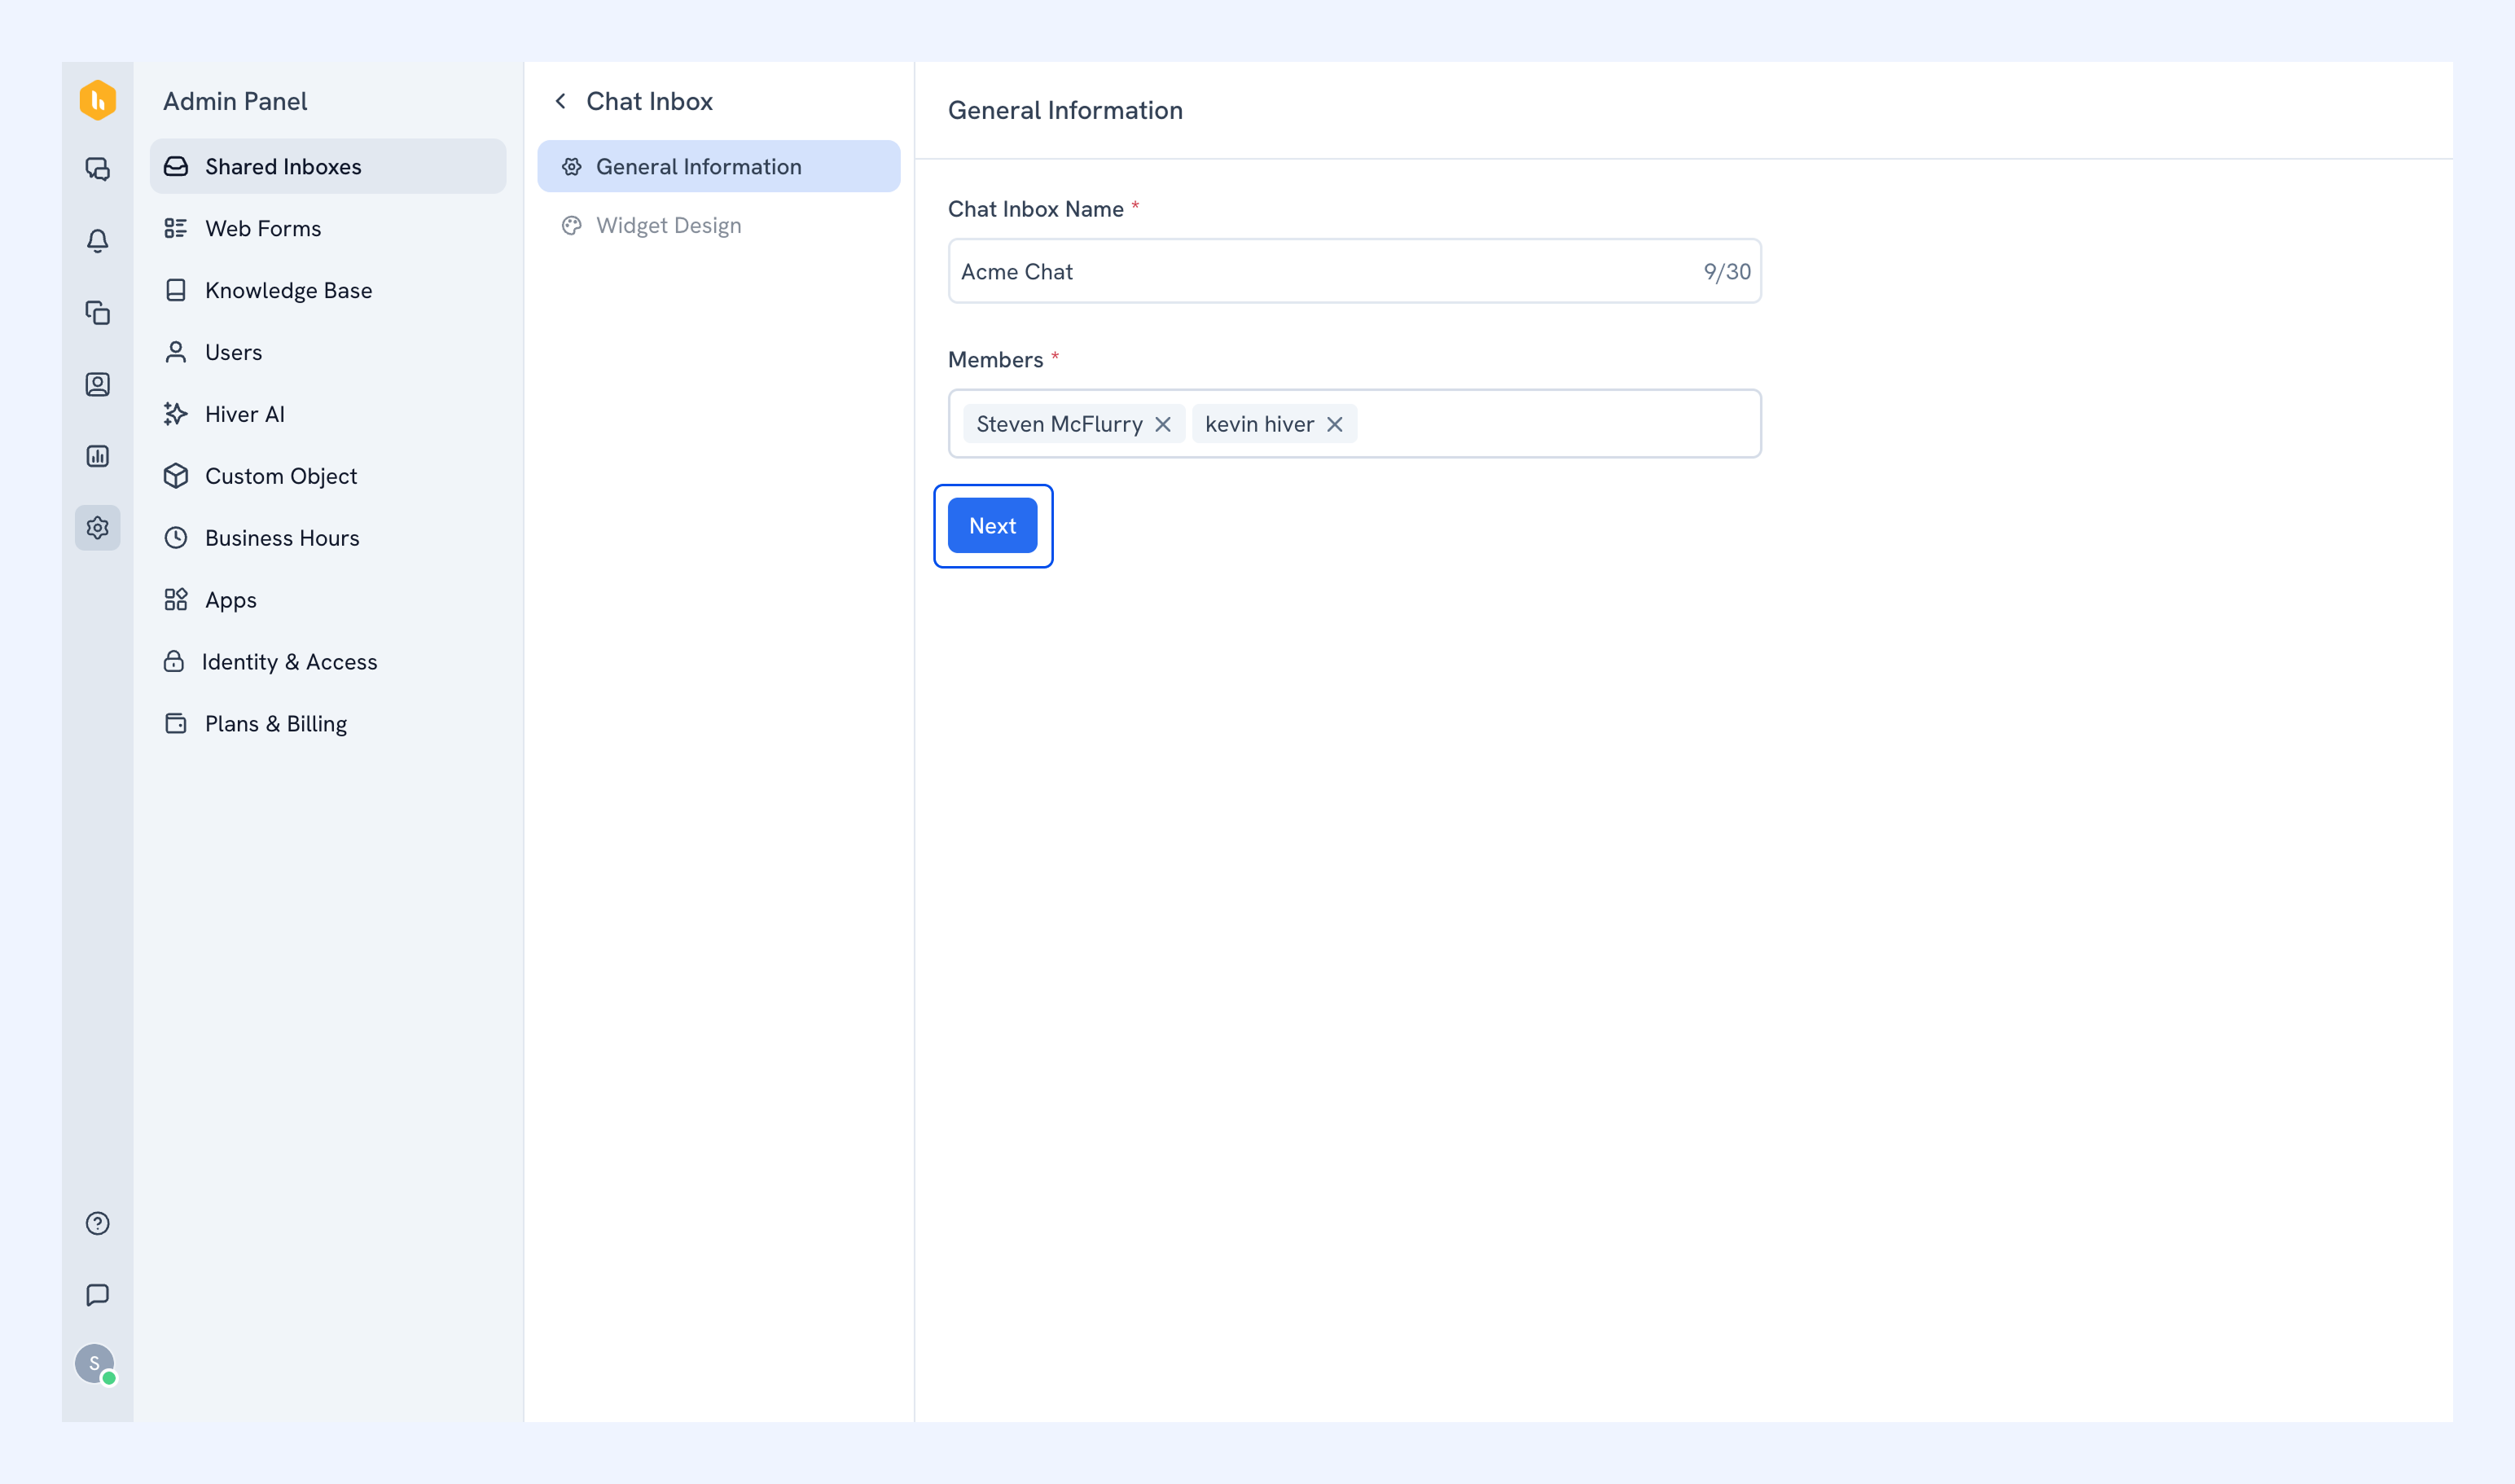
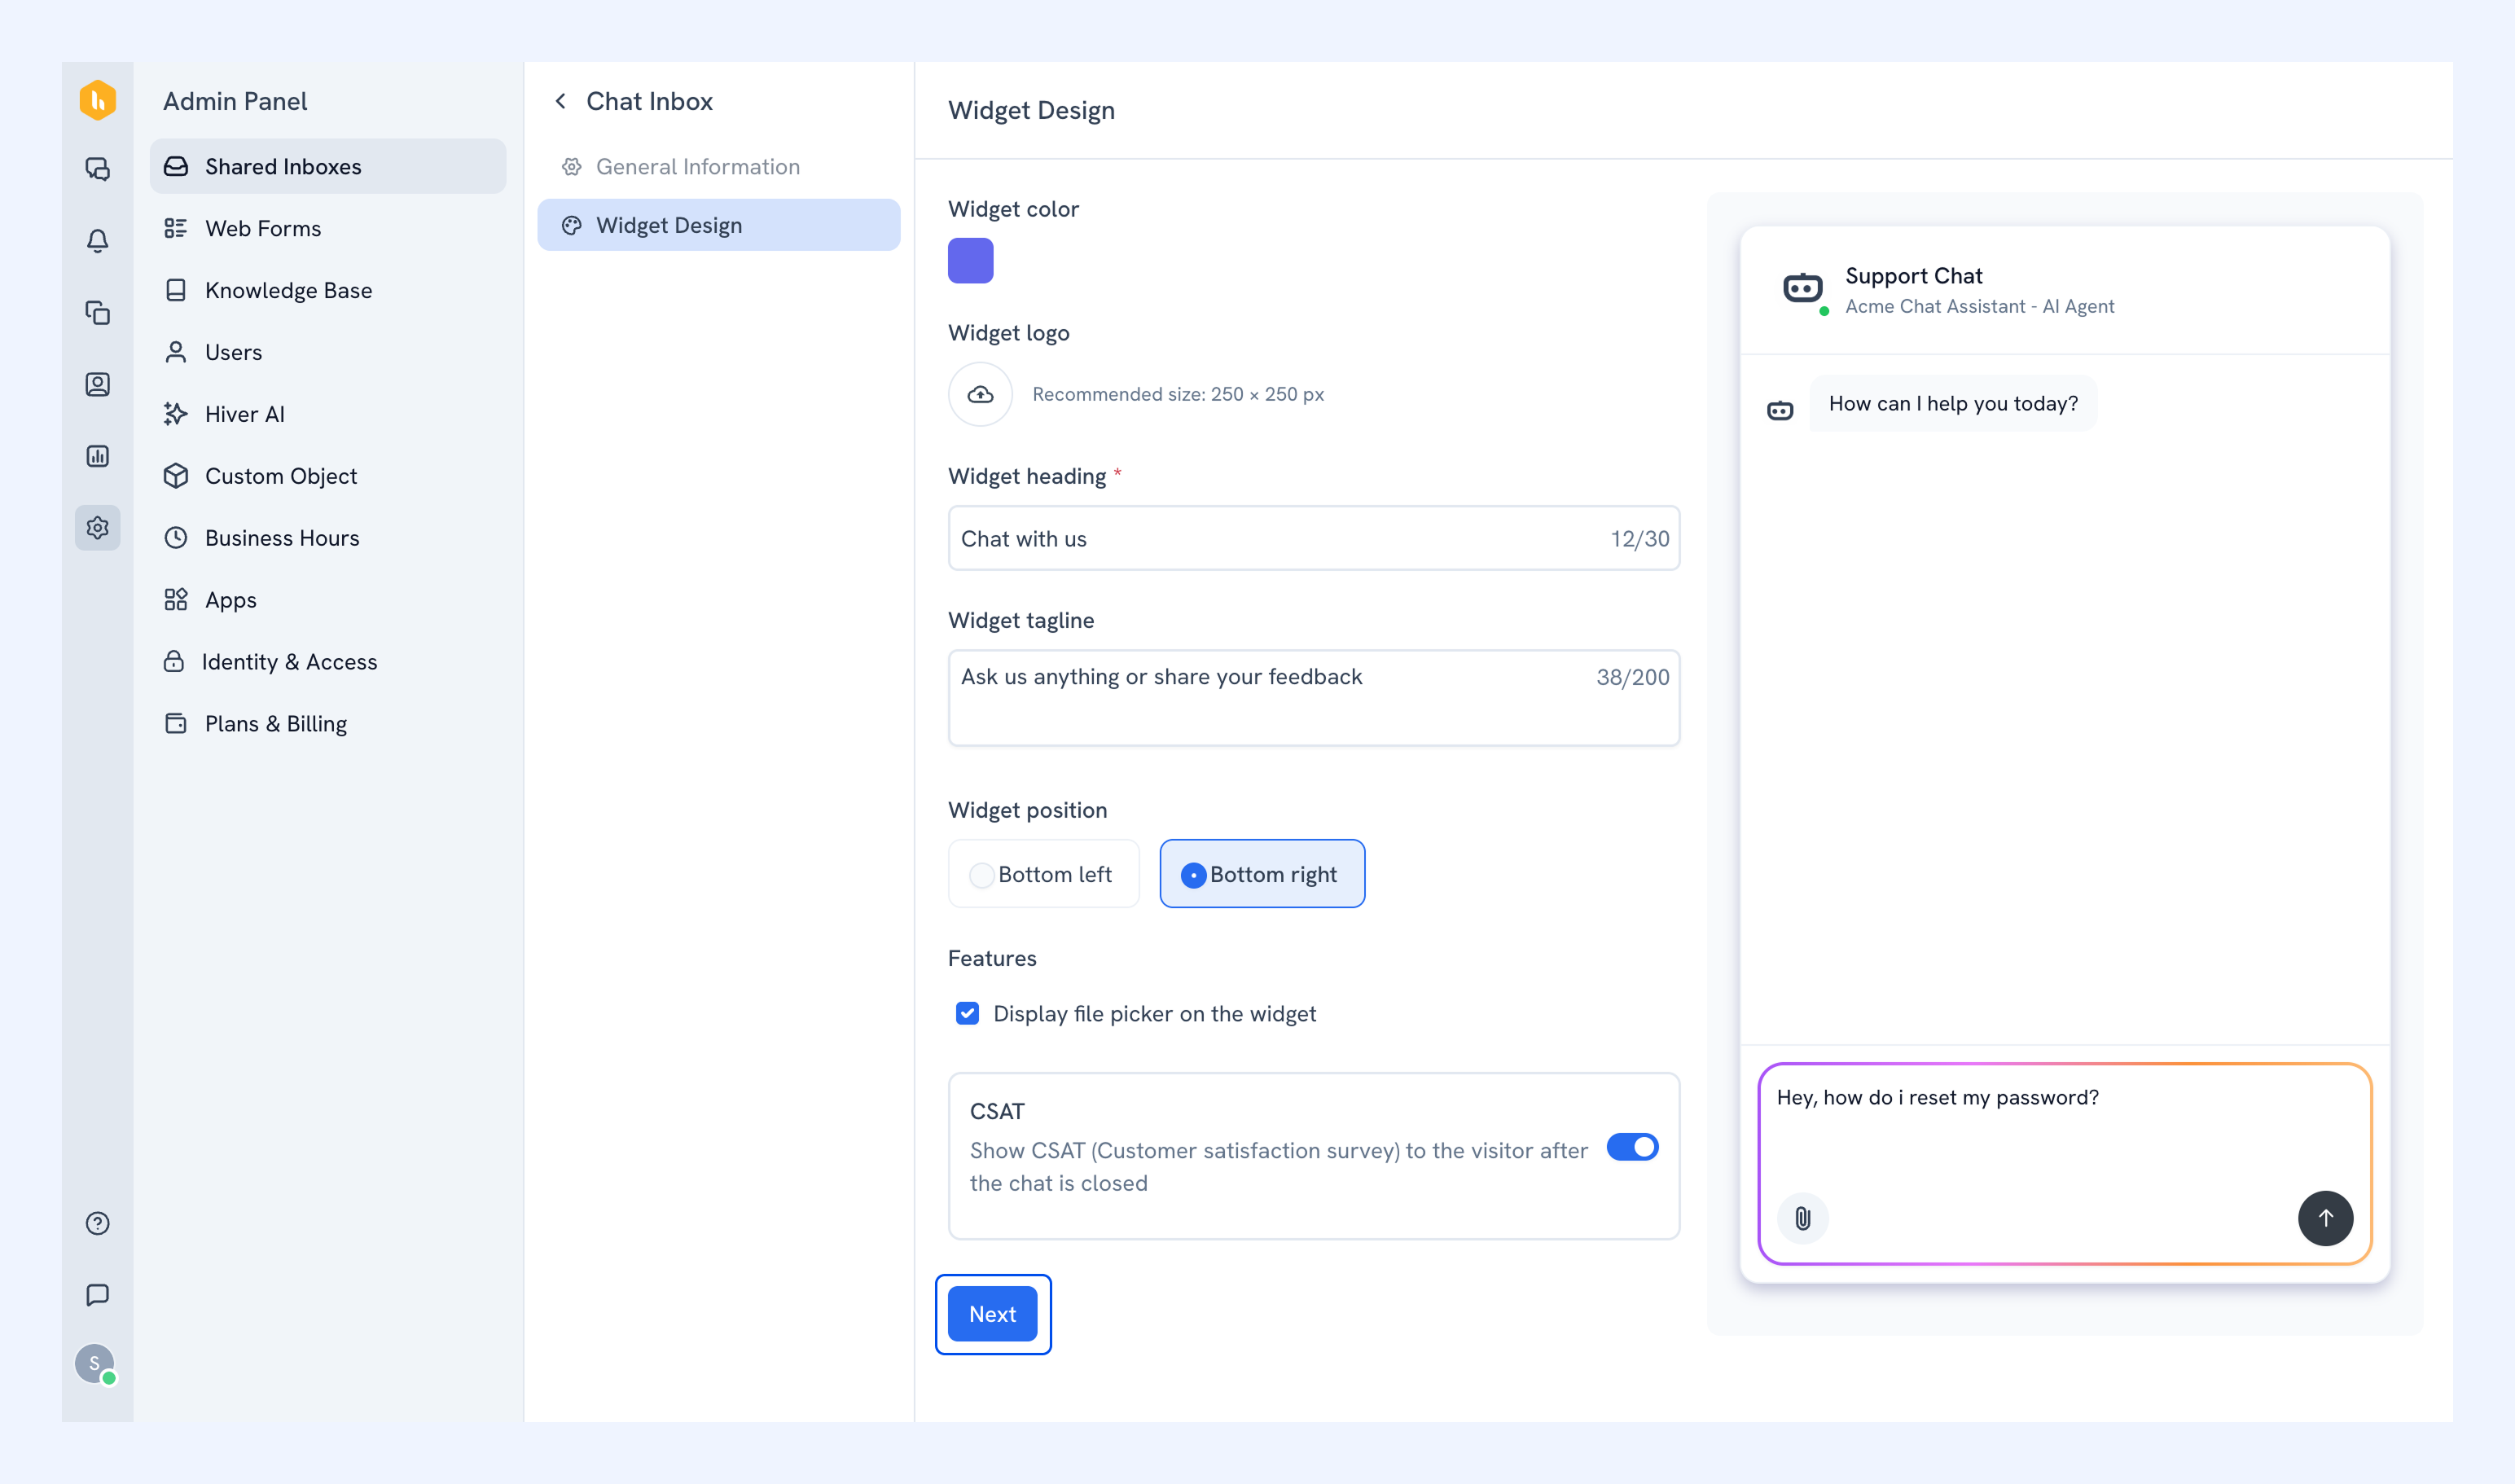
4. Configure your widget's appearance. You can set a color, upload a logo, and add a heading and tagline. A preview updates as you make changes. Click Next when you're done.
Note:
- The chat widget appears automatically when a page loads. This works on all websites, including Google Sites.
- The chat icon doesn't support custom text labels or hover tooltips.
5. Copy the widget script shown on screen and paste it into your website's HTML before the tag.
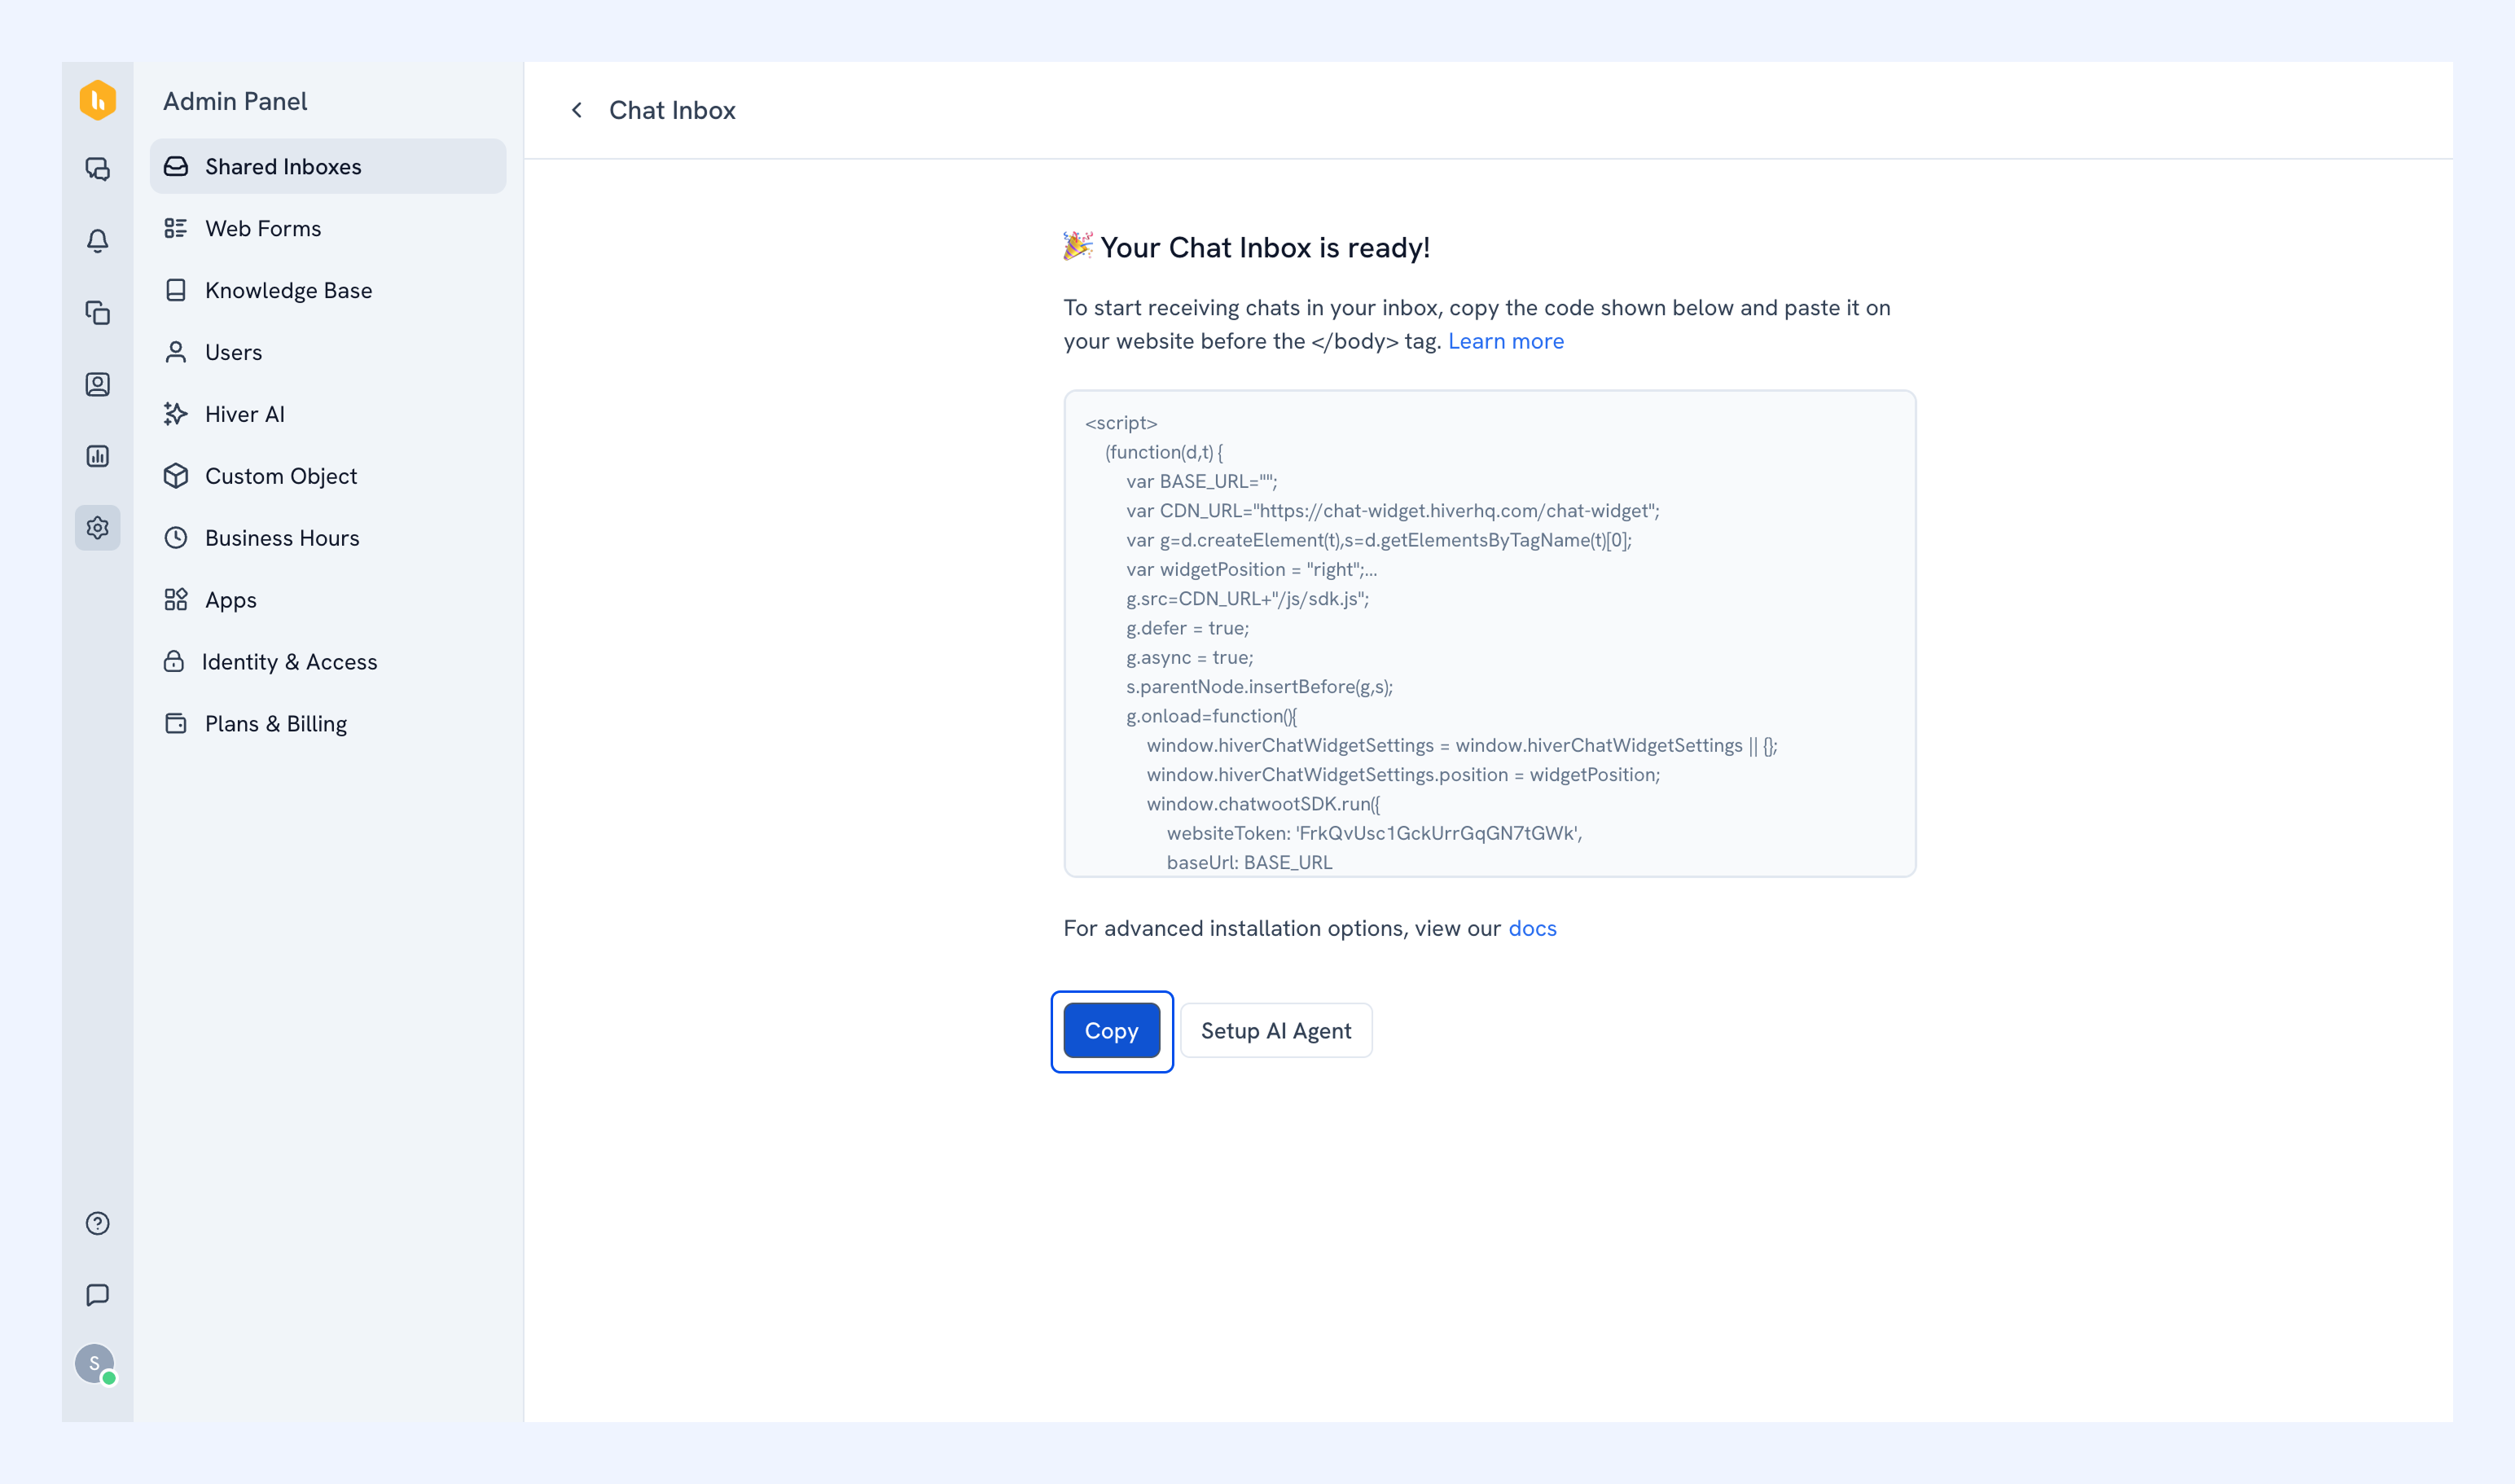
Your Chat Inbox is now live.
Configuring your Chat Inbox
Once your inbox is created, go to Admin Panel → Shared Inboxes → Chat Inboxes and select your inbox to access the following settings.
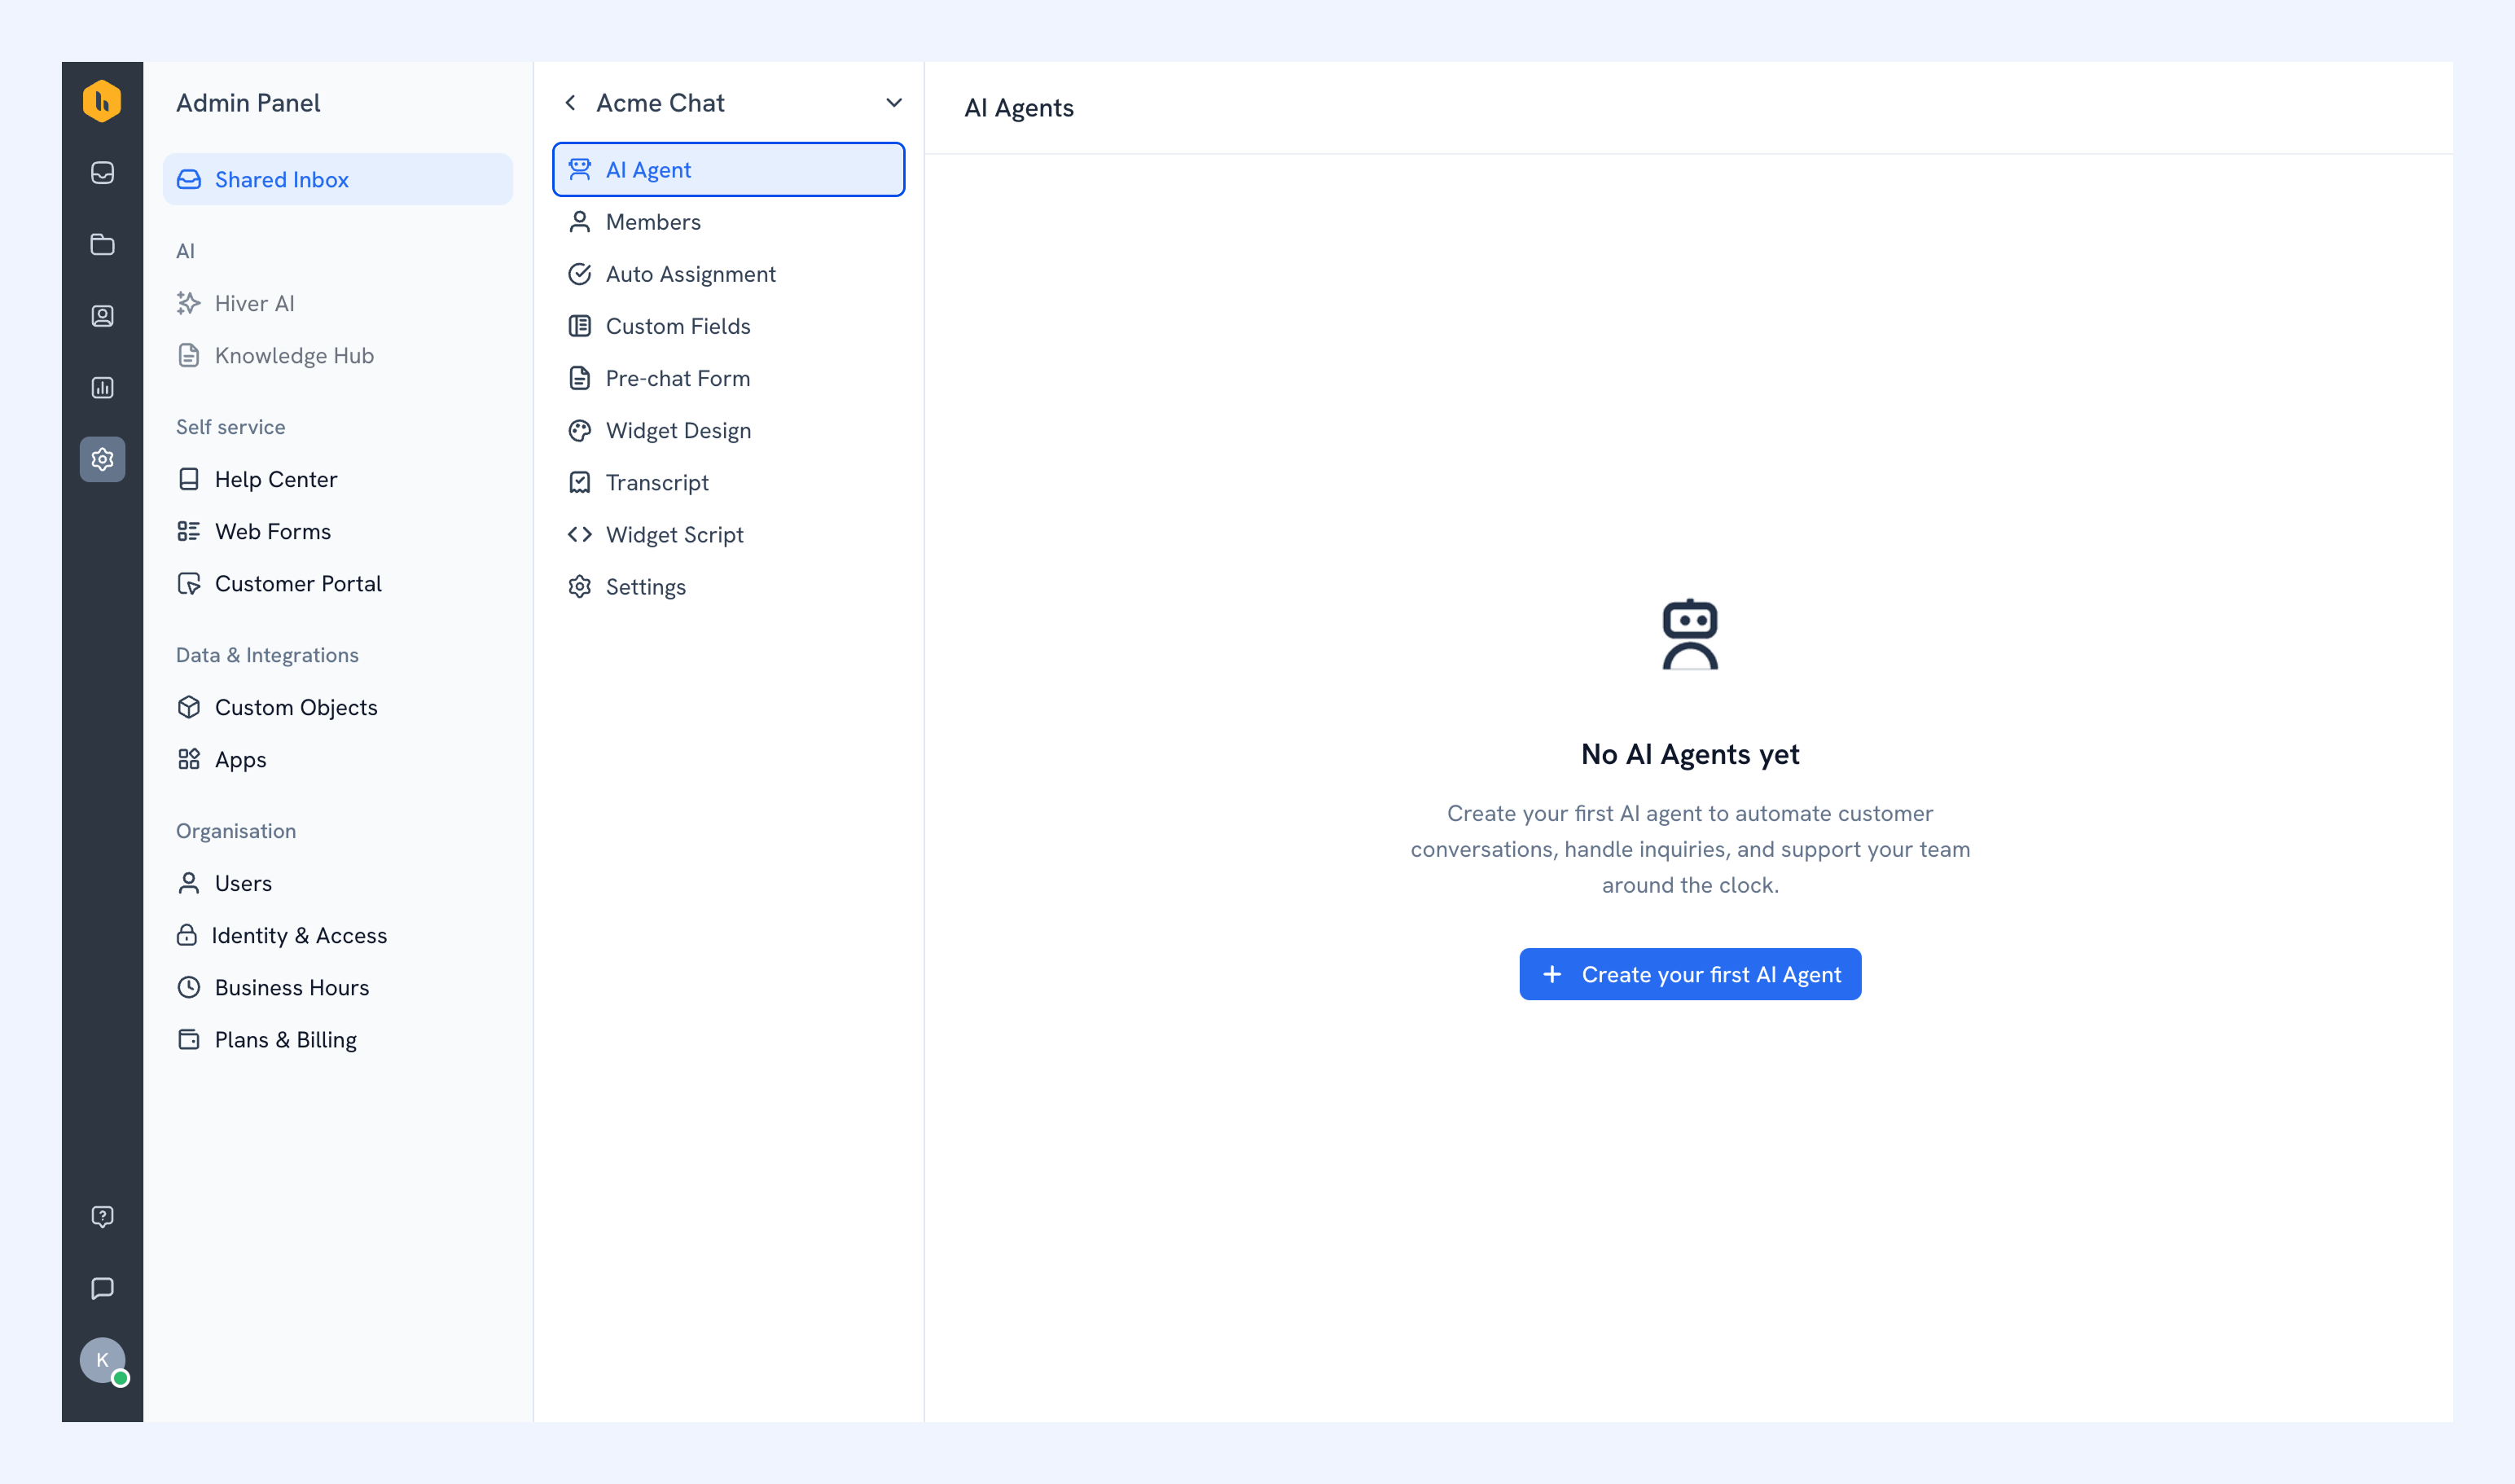
AI Agent
AI Agent lets you build automated chat flows to handle visitor queries. Learn more about AI Agents.
Members
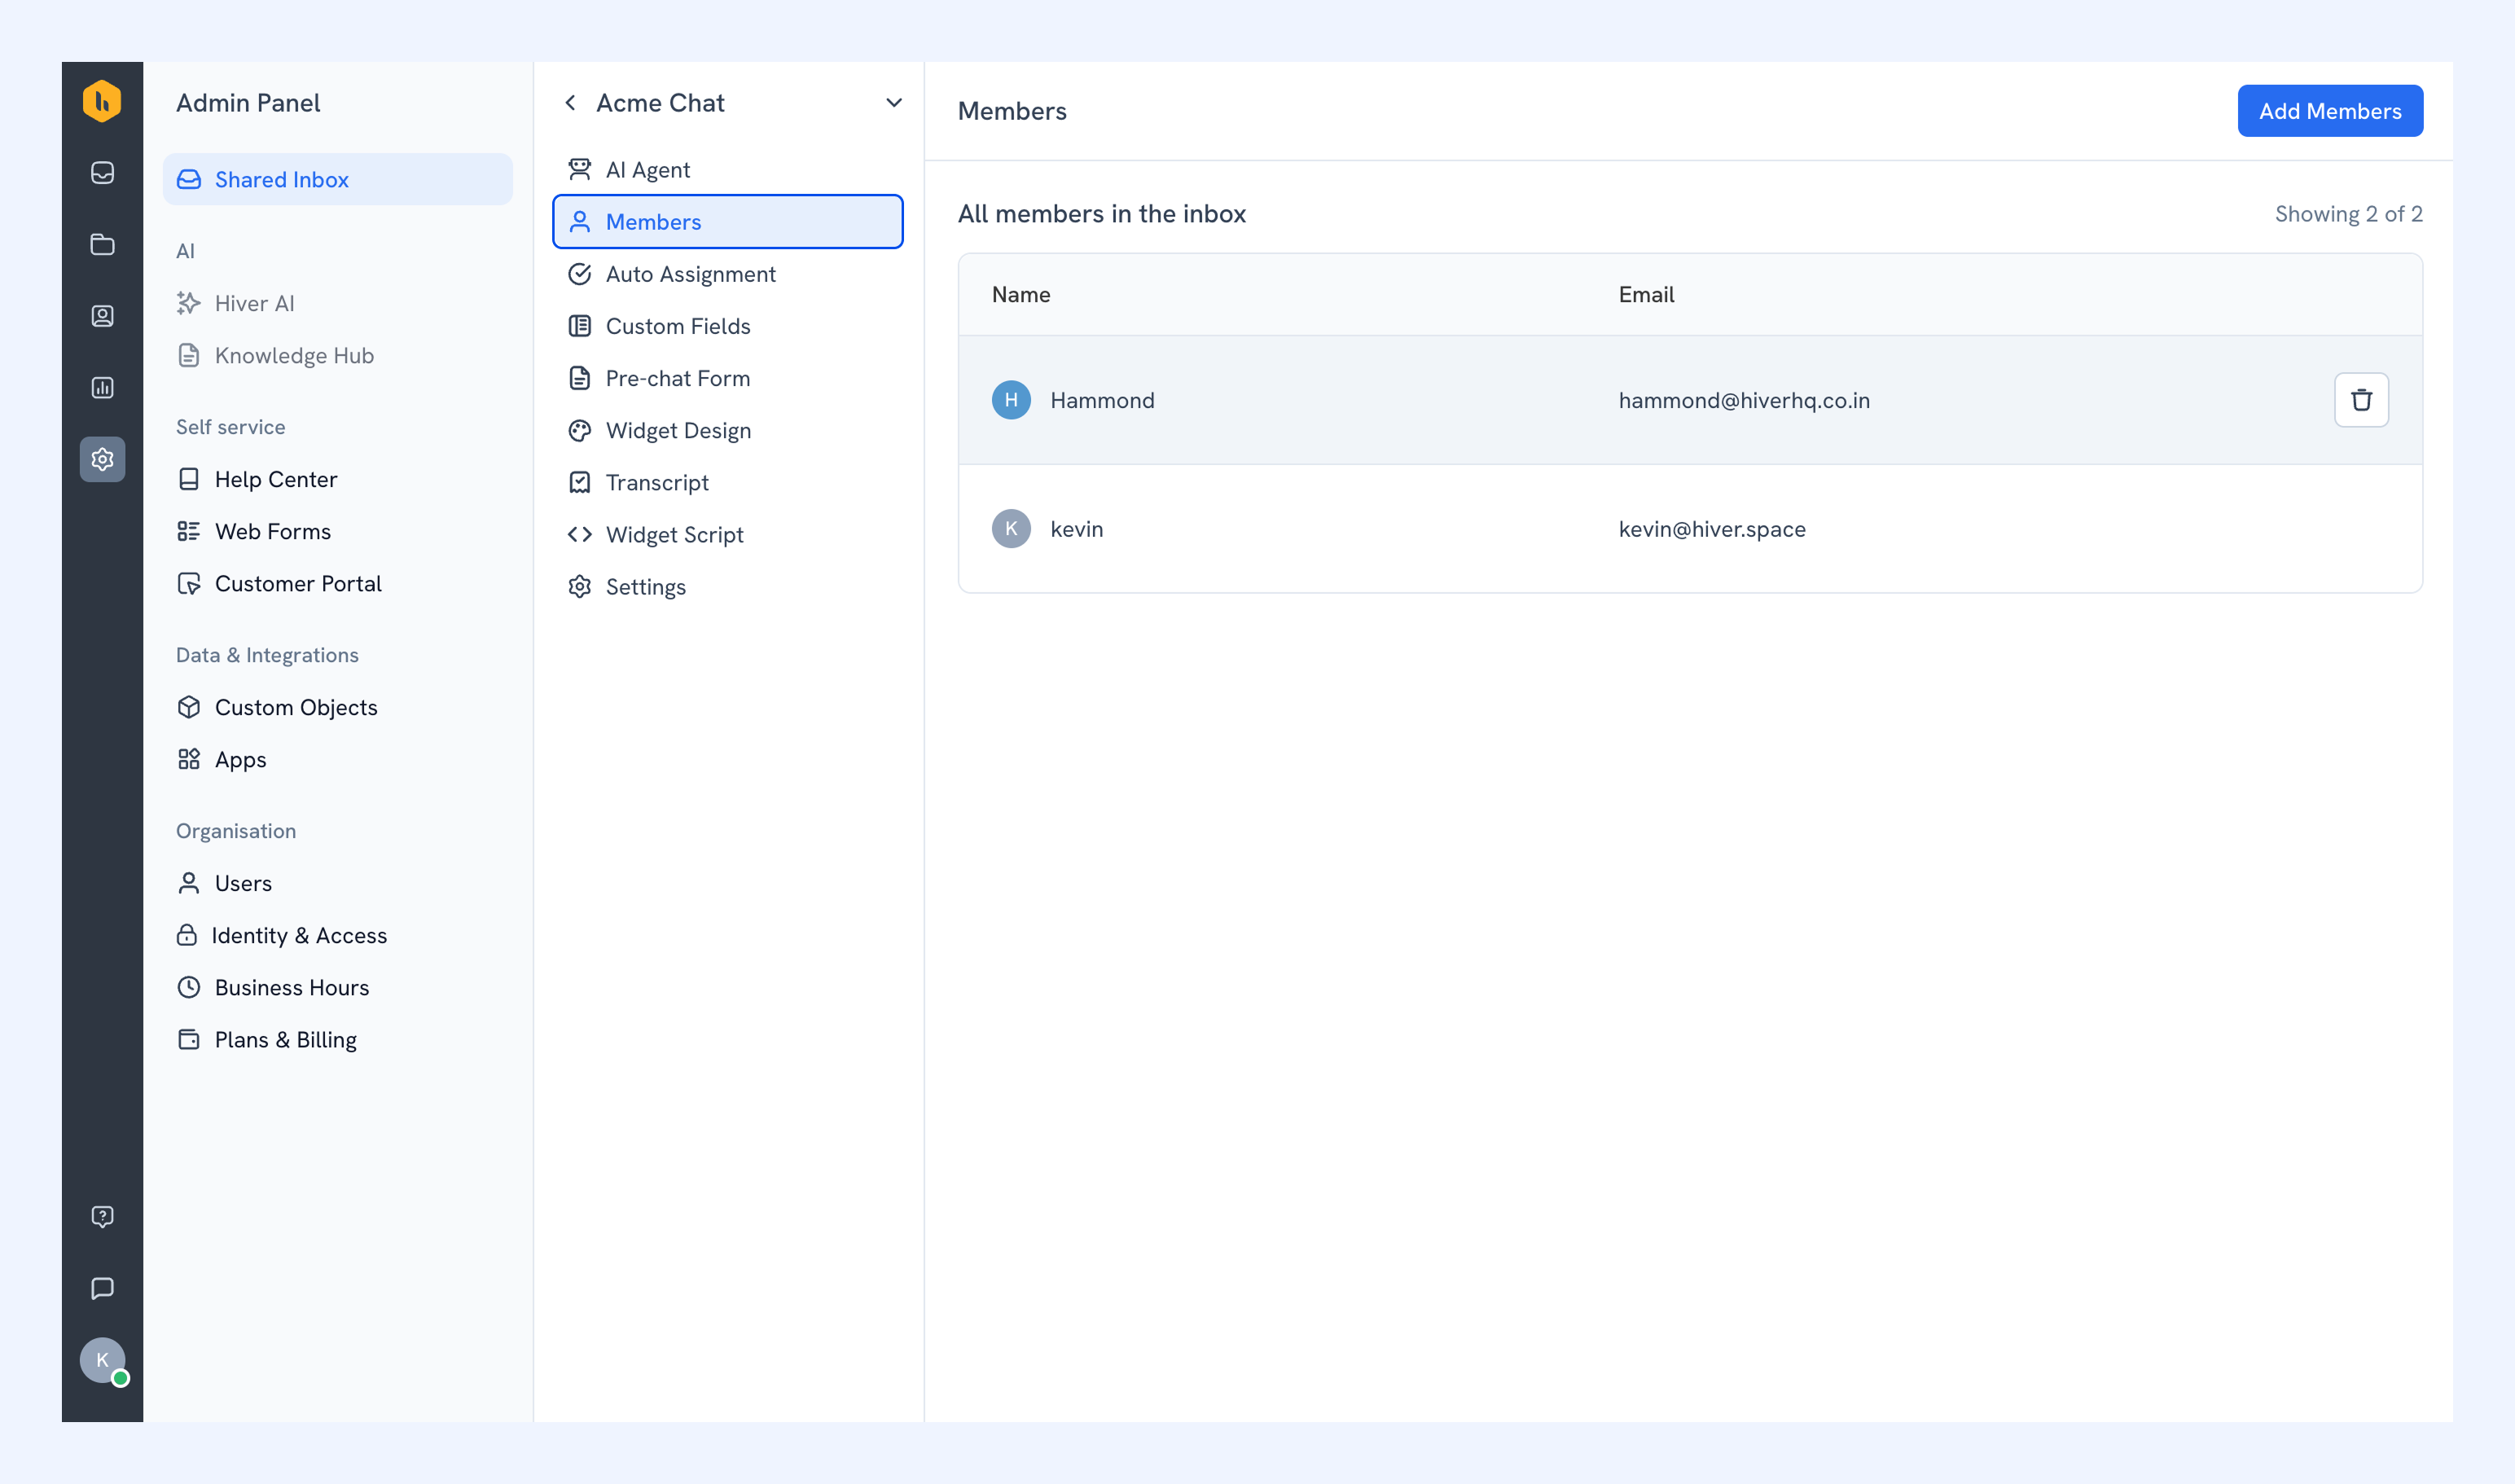
Add or remove team members from your Chat Inbox at any time.
- To add a member, click Add Members and invite them by email address.
- To remove a member, click the delete icon next to their name and confirm.
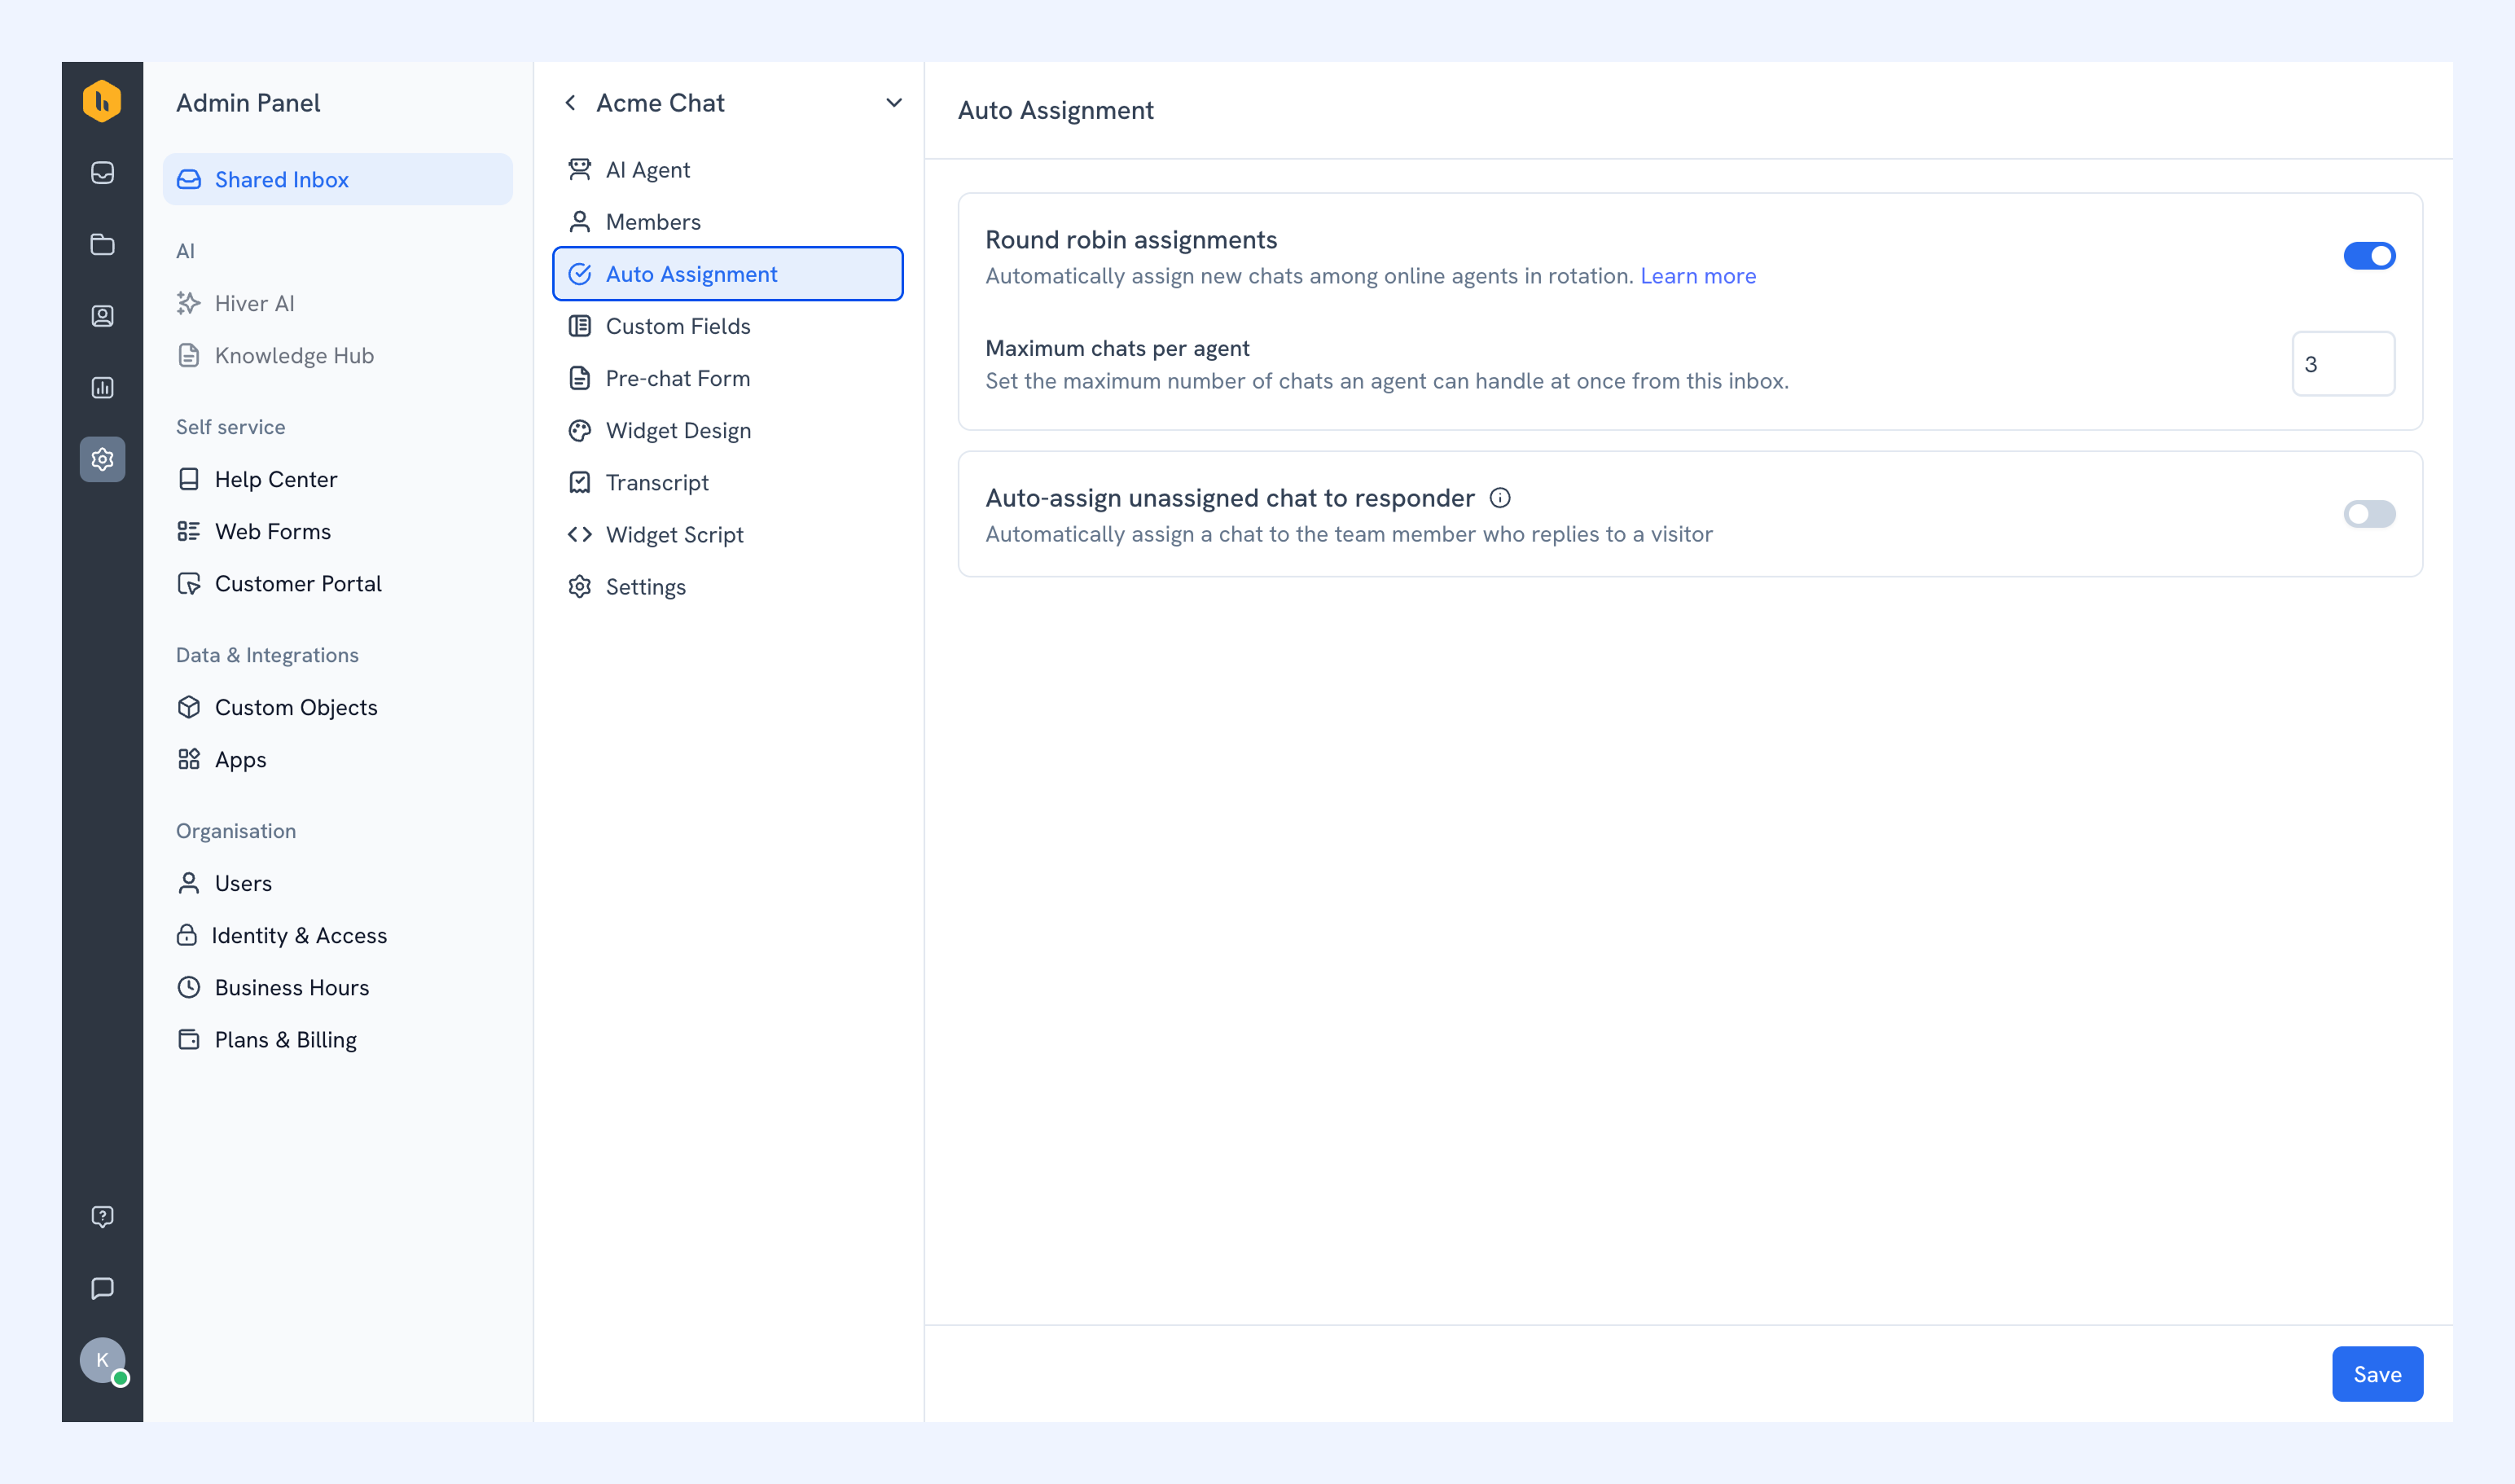
Auto Assignment
Automatically distribute incoming chats across your team using these options:
- Round robin assignment: Routes new chats to online team members in rotation, so the load is spread evenly.
- Maximum chats per agent: Sets a cap on how many chats one agent can handle at a time.
- Auto-assign unassigned chat to responder: Assigns a chat to the first team member who replies to the visitor.
Custom Fields
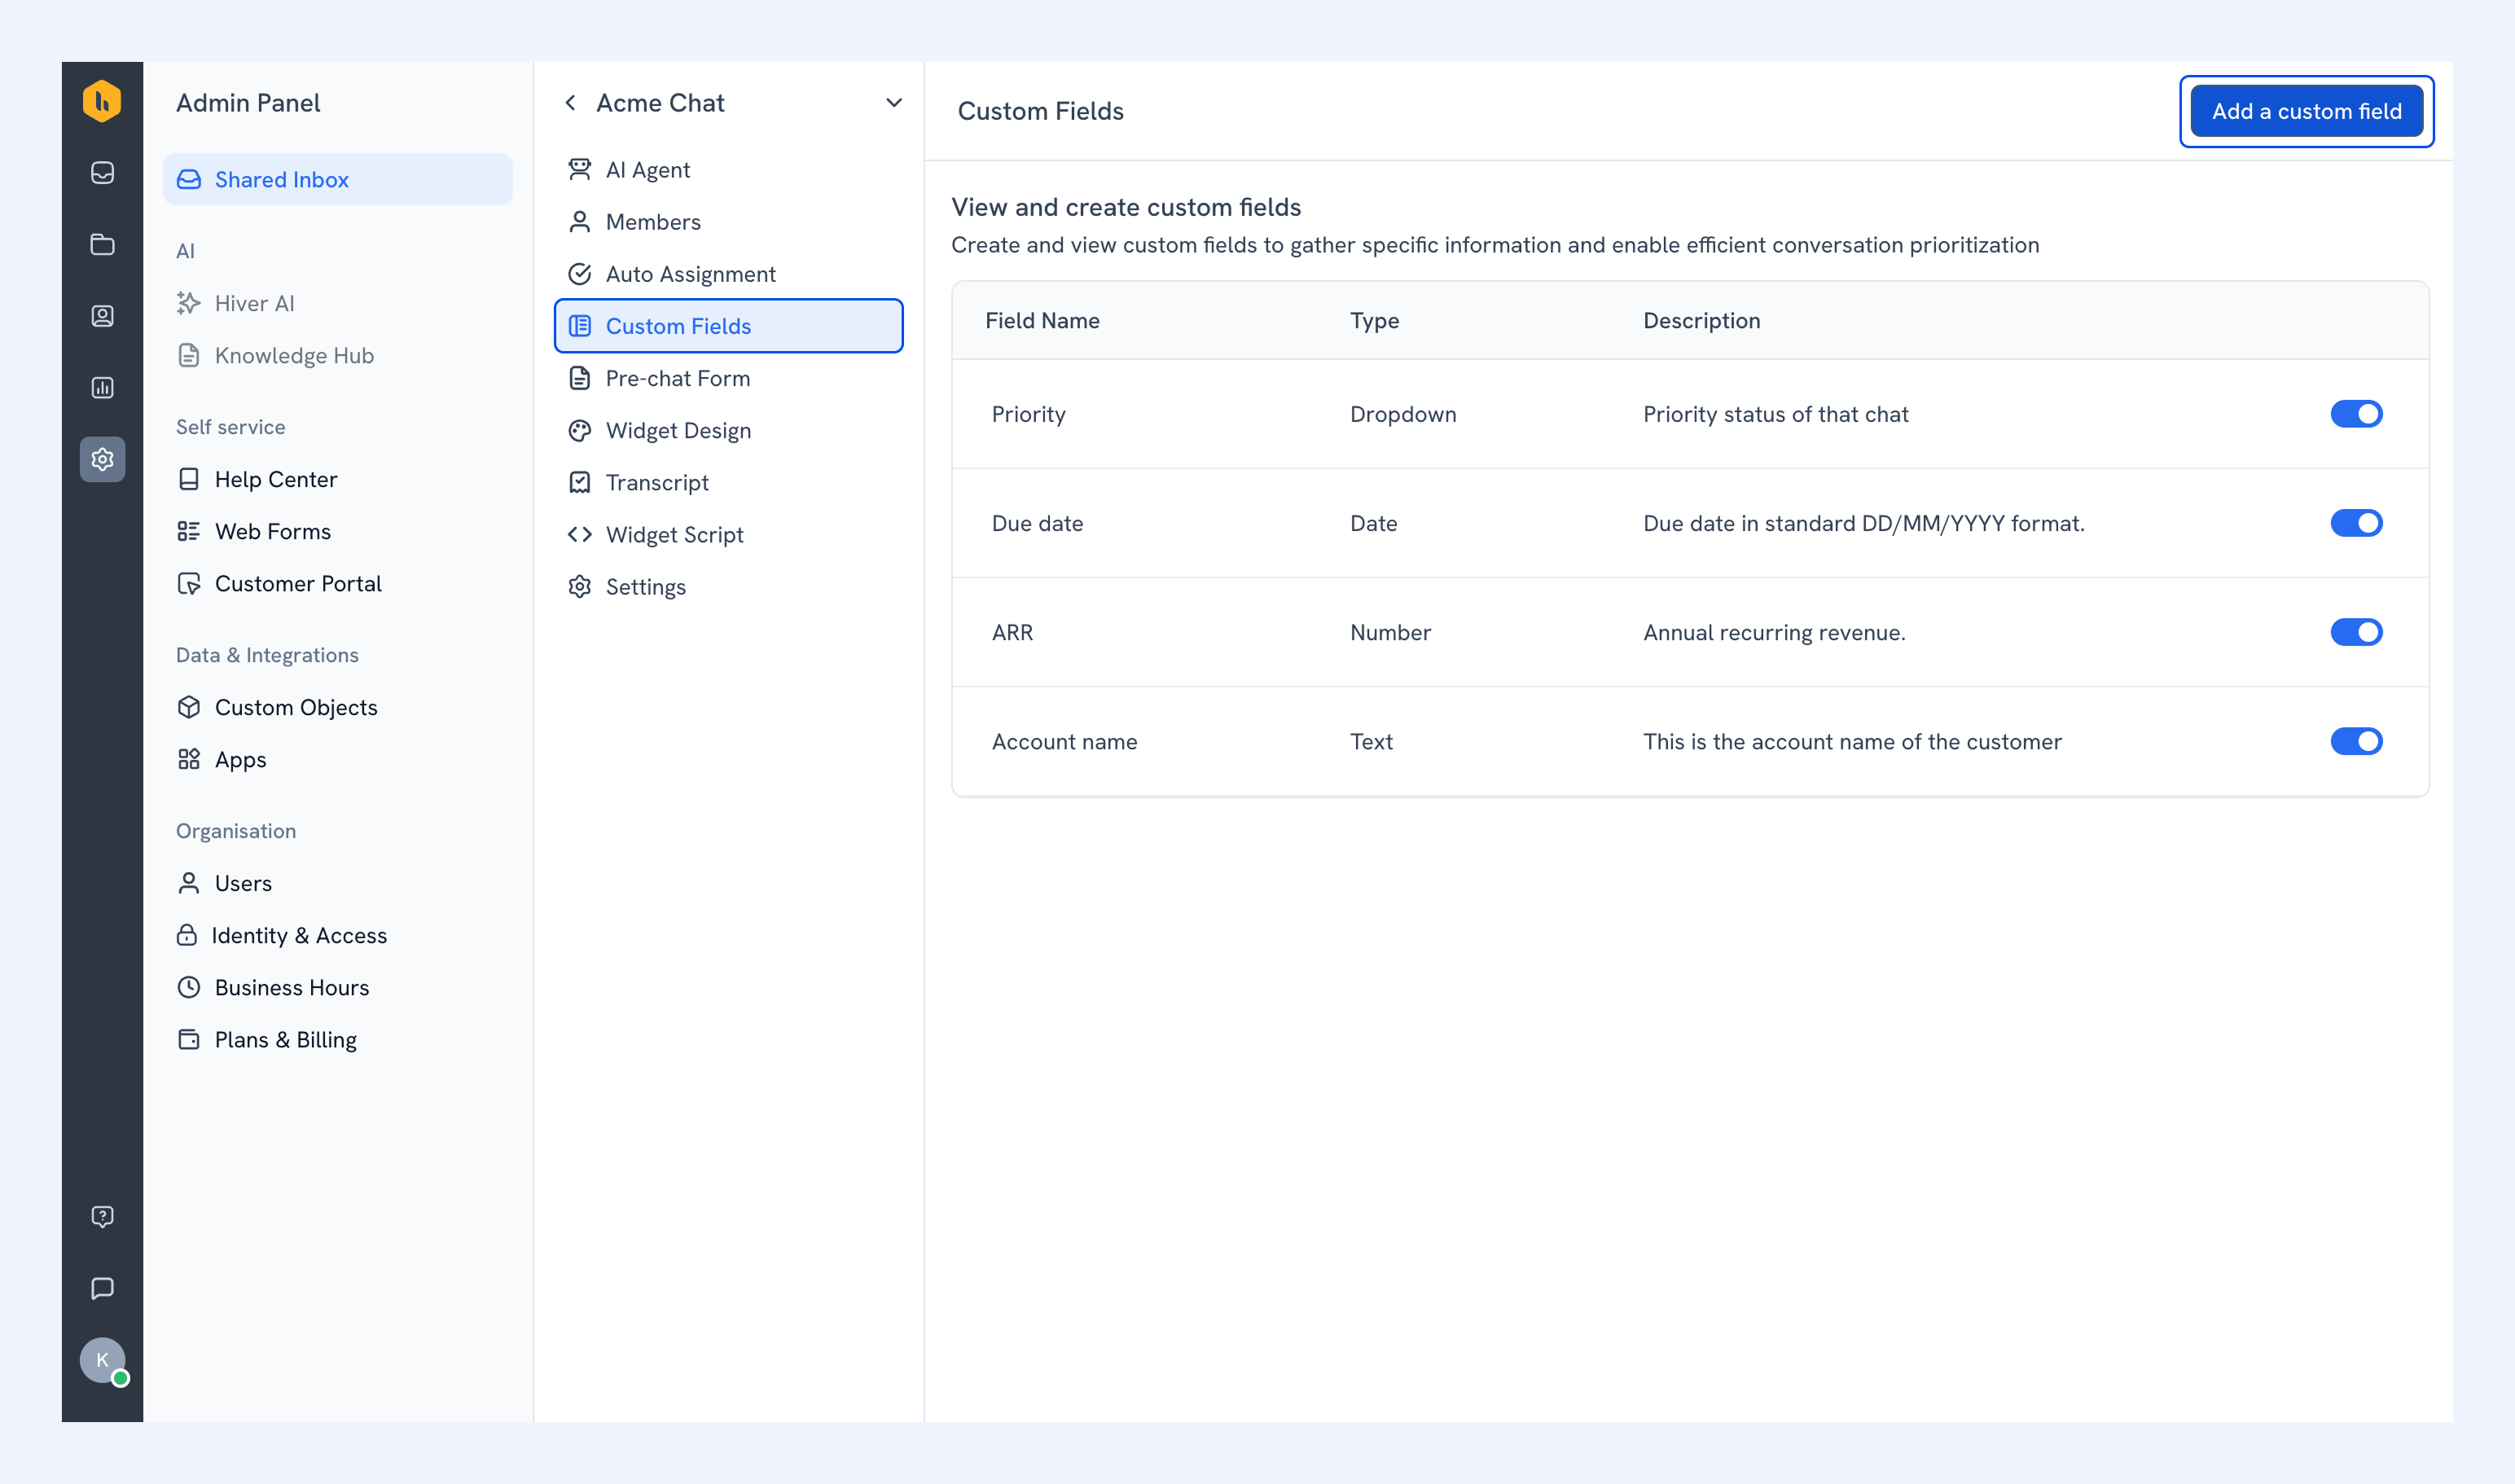
Custom Fields let you capture and track additional details about chat conversations in Hiver.
Note: Custom Fields is only available if you've signed up for Hiver after July 1, 2026.
To set up a custom field:
1. Click Add custom field.
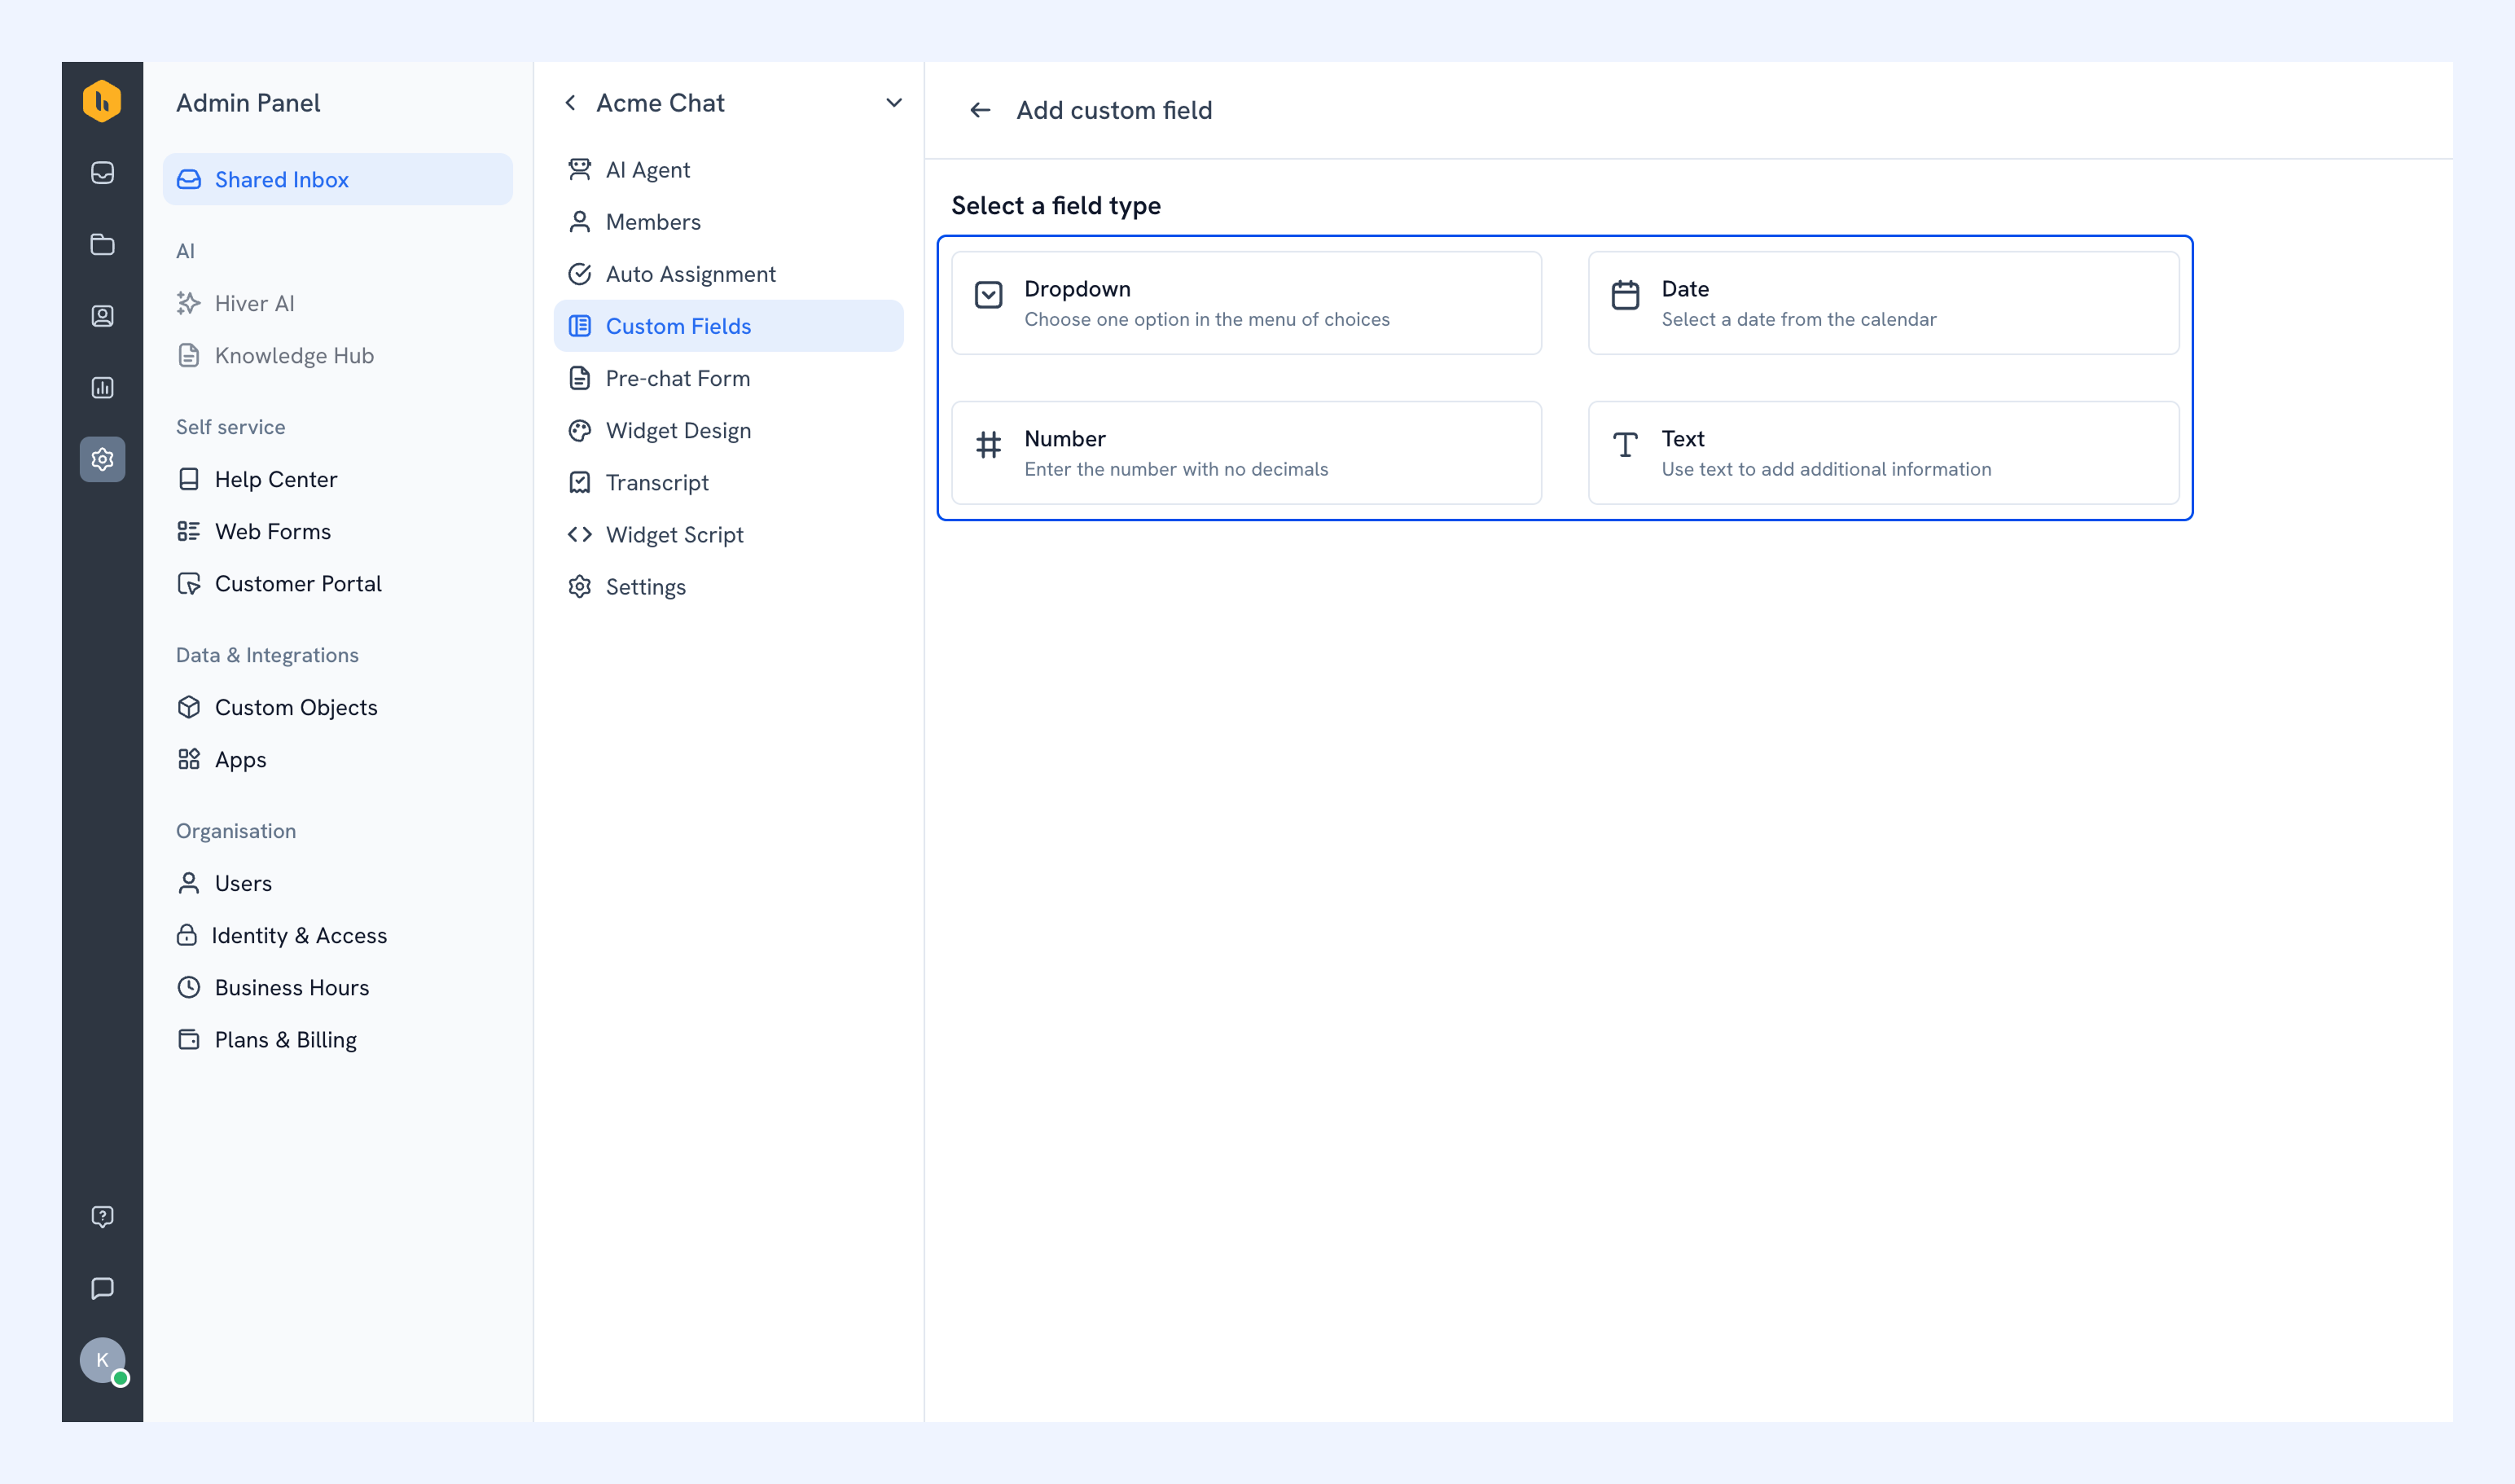
2. Select a field type:
- Dropdown: Create a predefined list of options that your team can select from, e.g. Priority level.
- Date: Add a date picker for time-based tracking, e.g. Purchase date, Contract end date, Next check-in.
- Number: Capture numeric values like Order ID, Ticket count.
- Text: Add single or multi-line text, e.g. Company name or Shipping address.
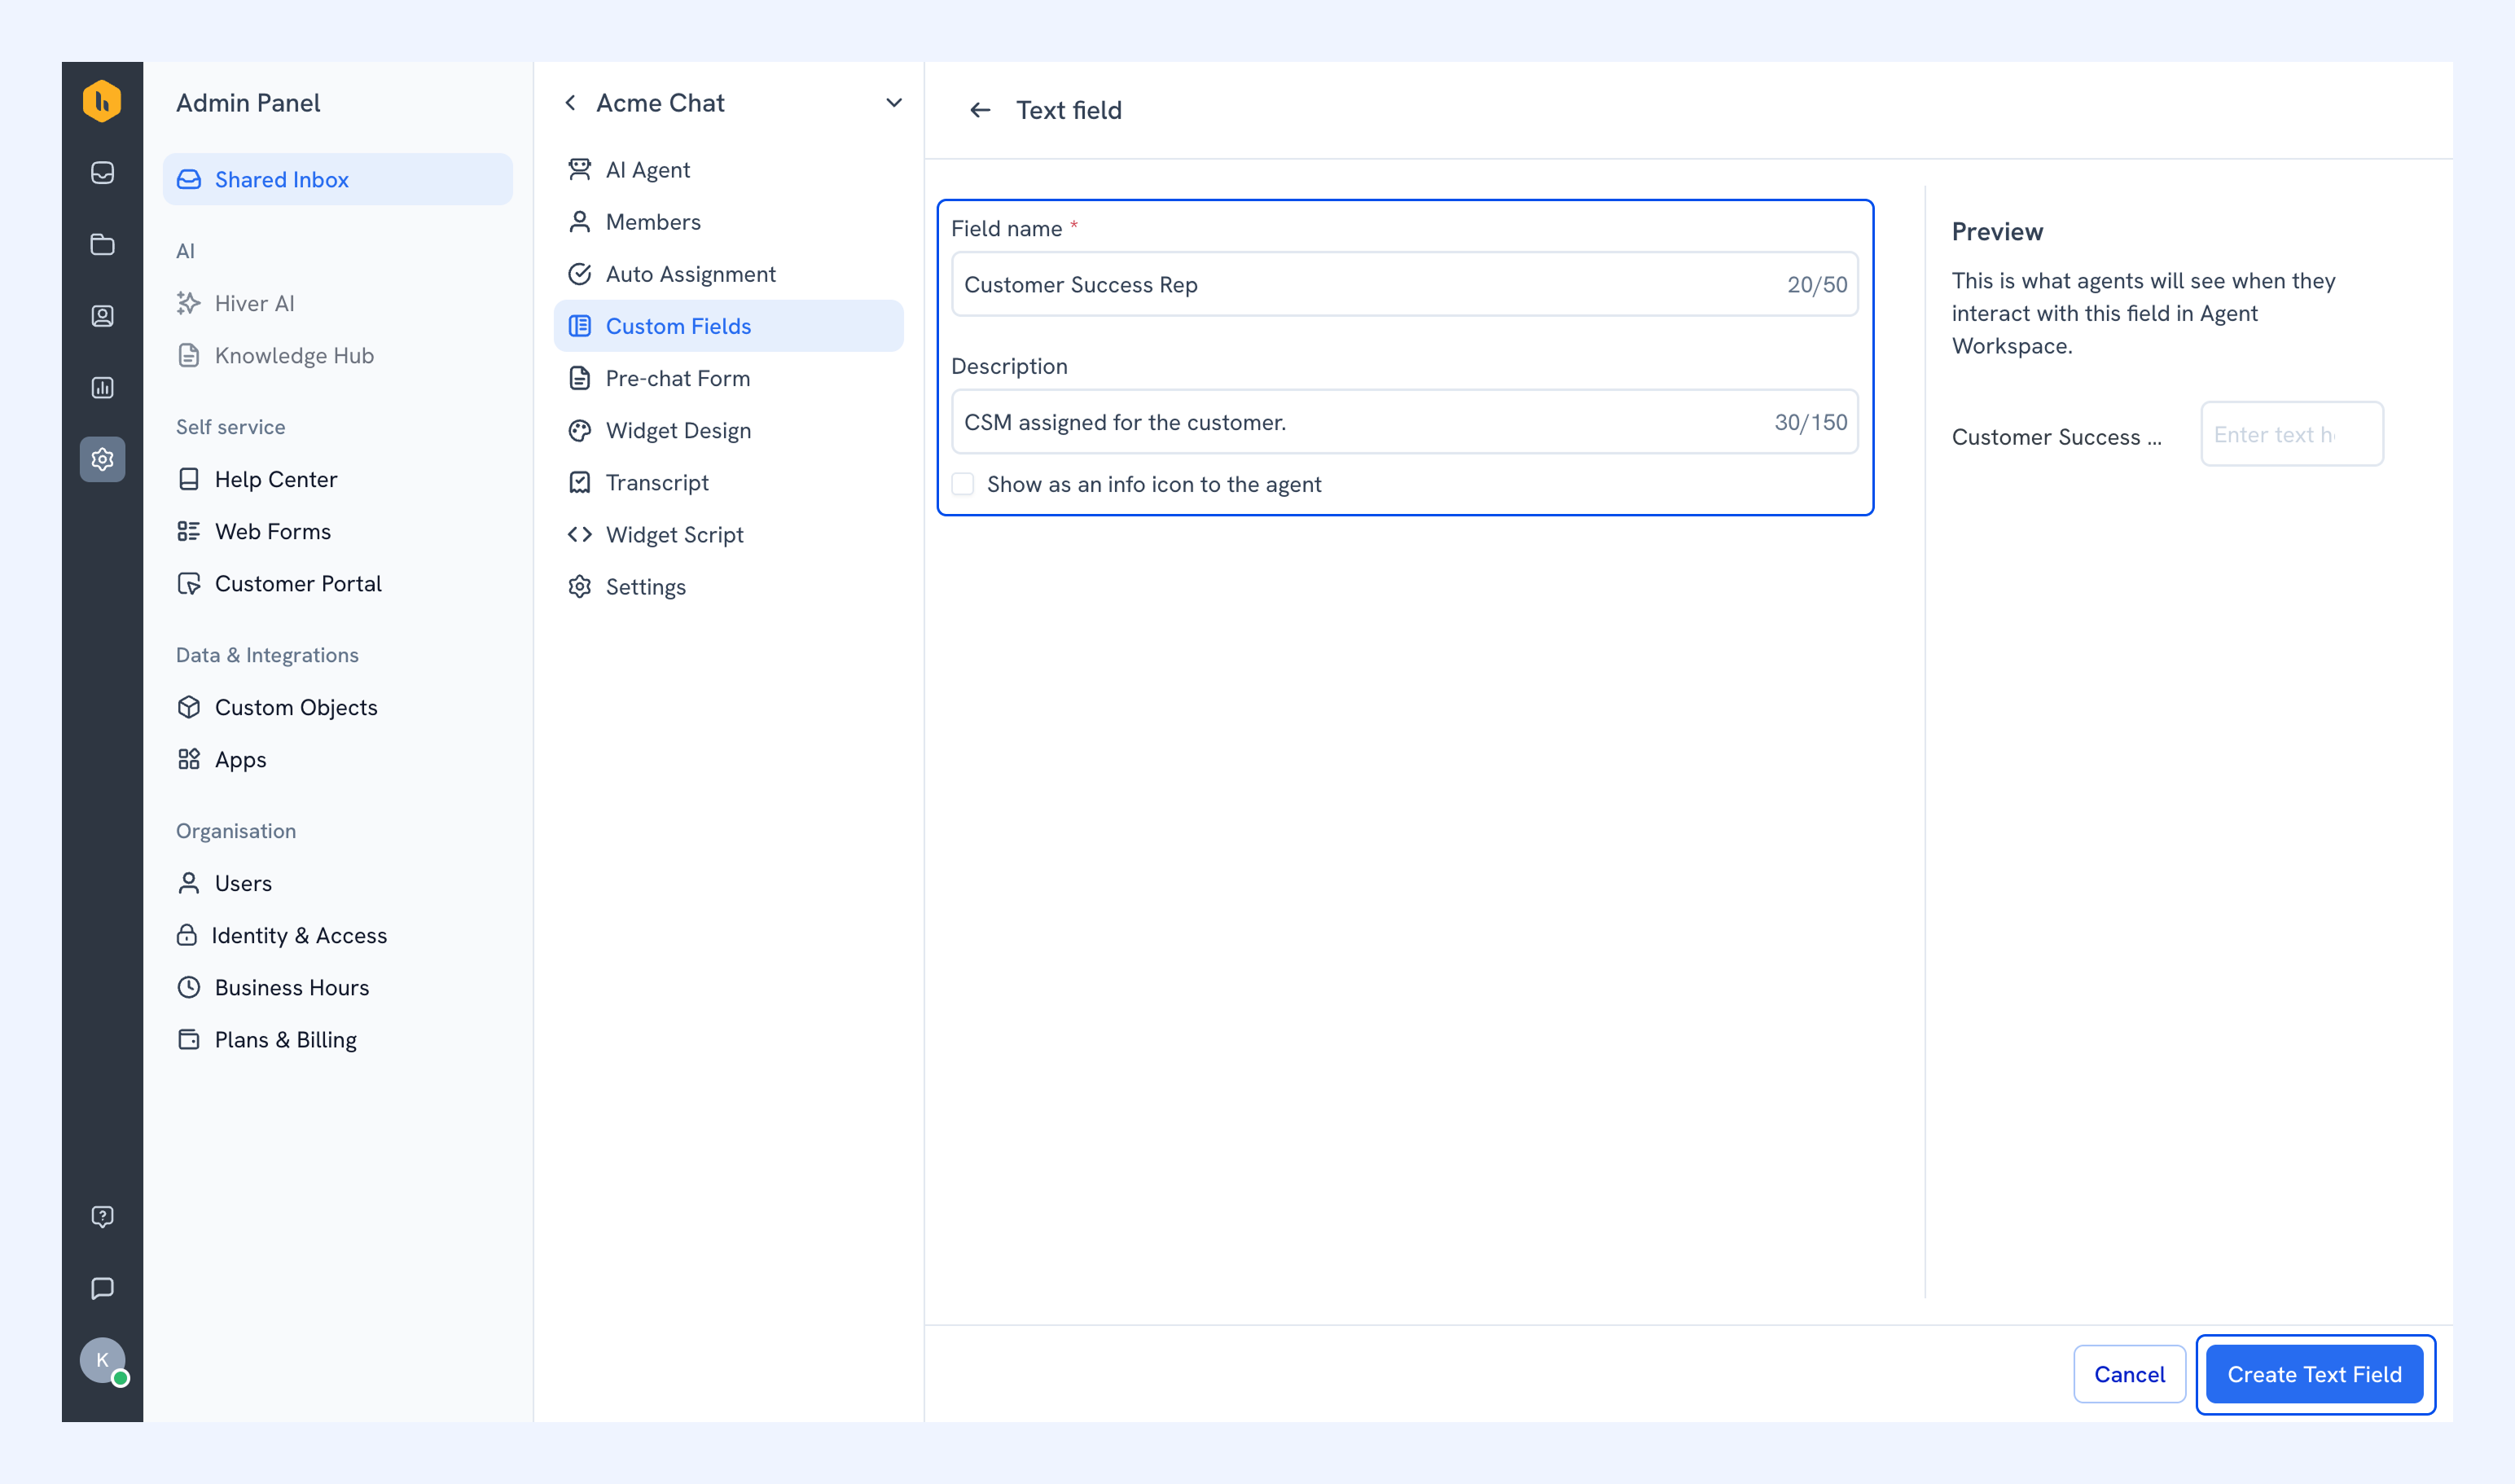
3. Enter the field details, then click create.
Once created, Custom Fields appear in the right panel of each conversation for your team to refer to and use.
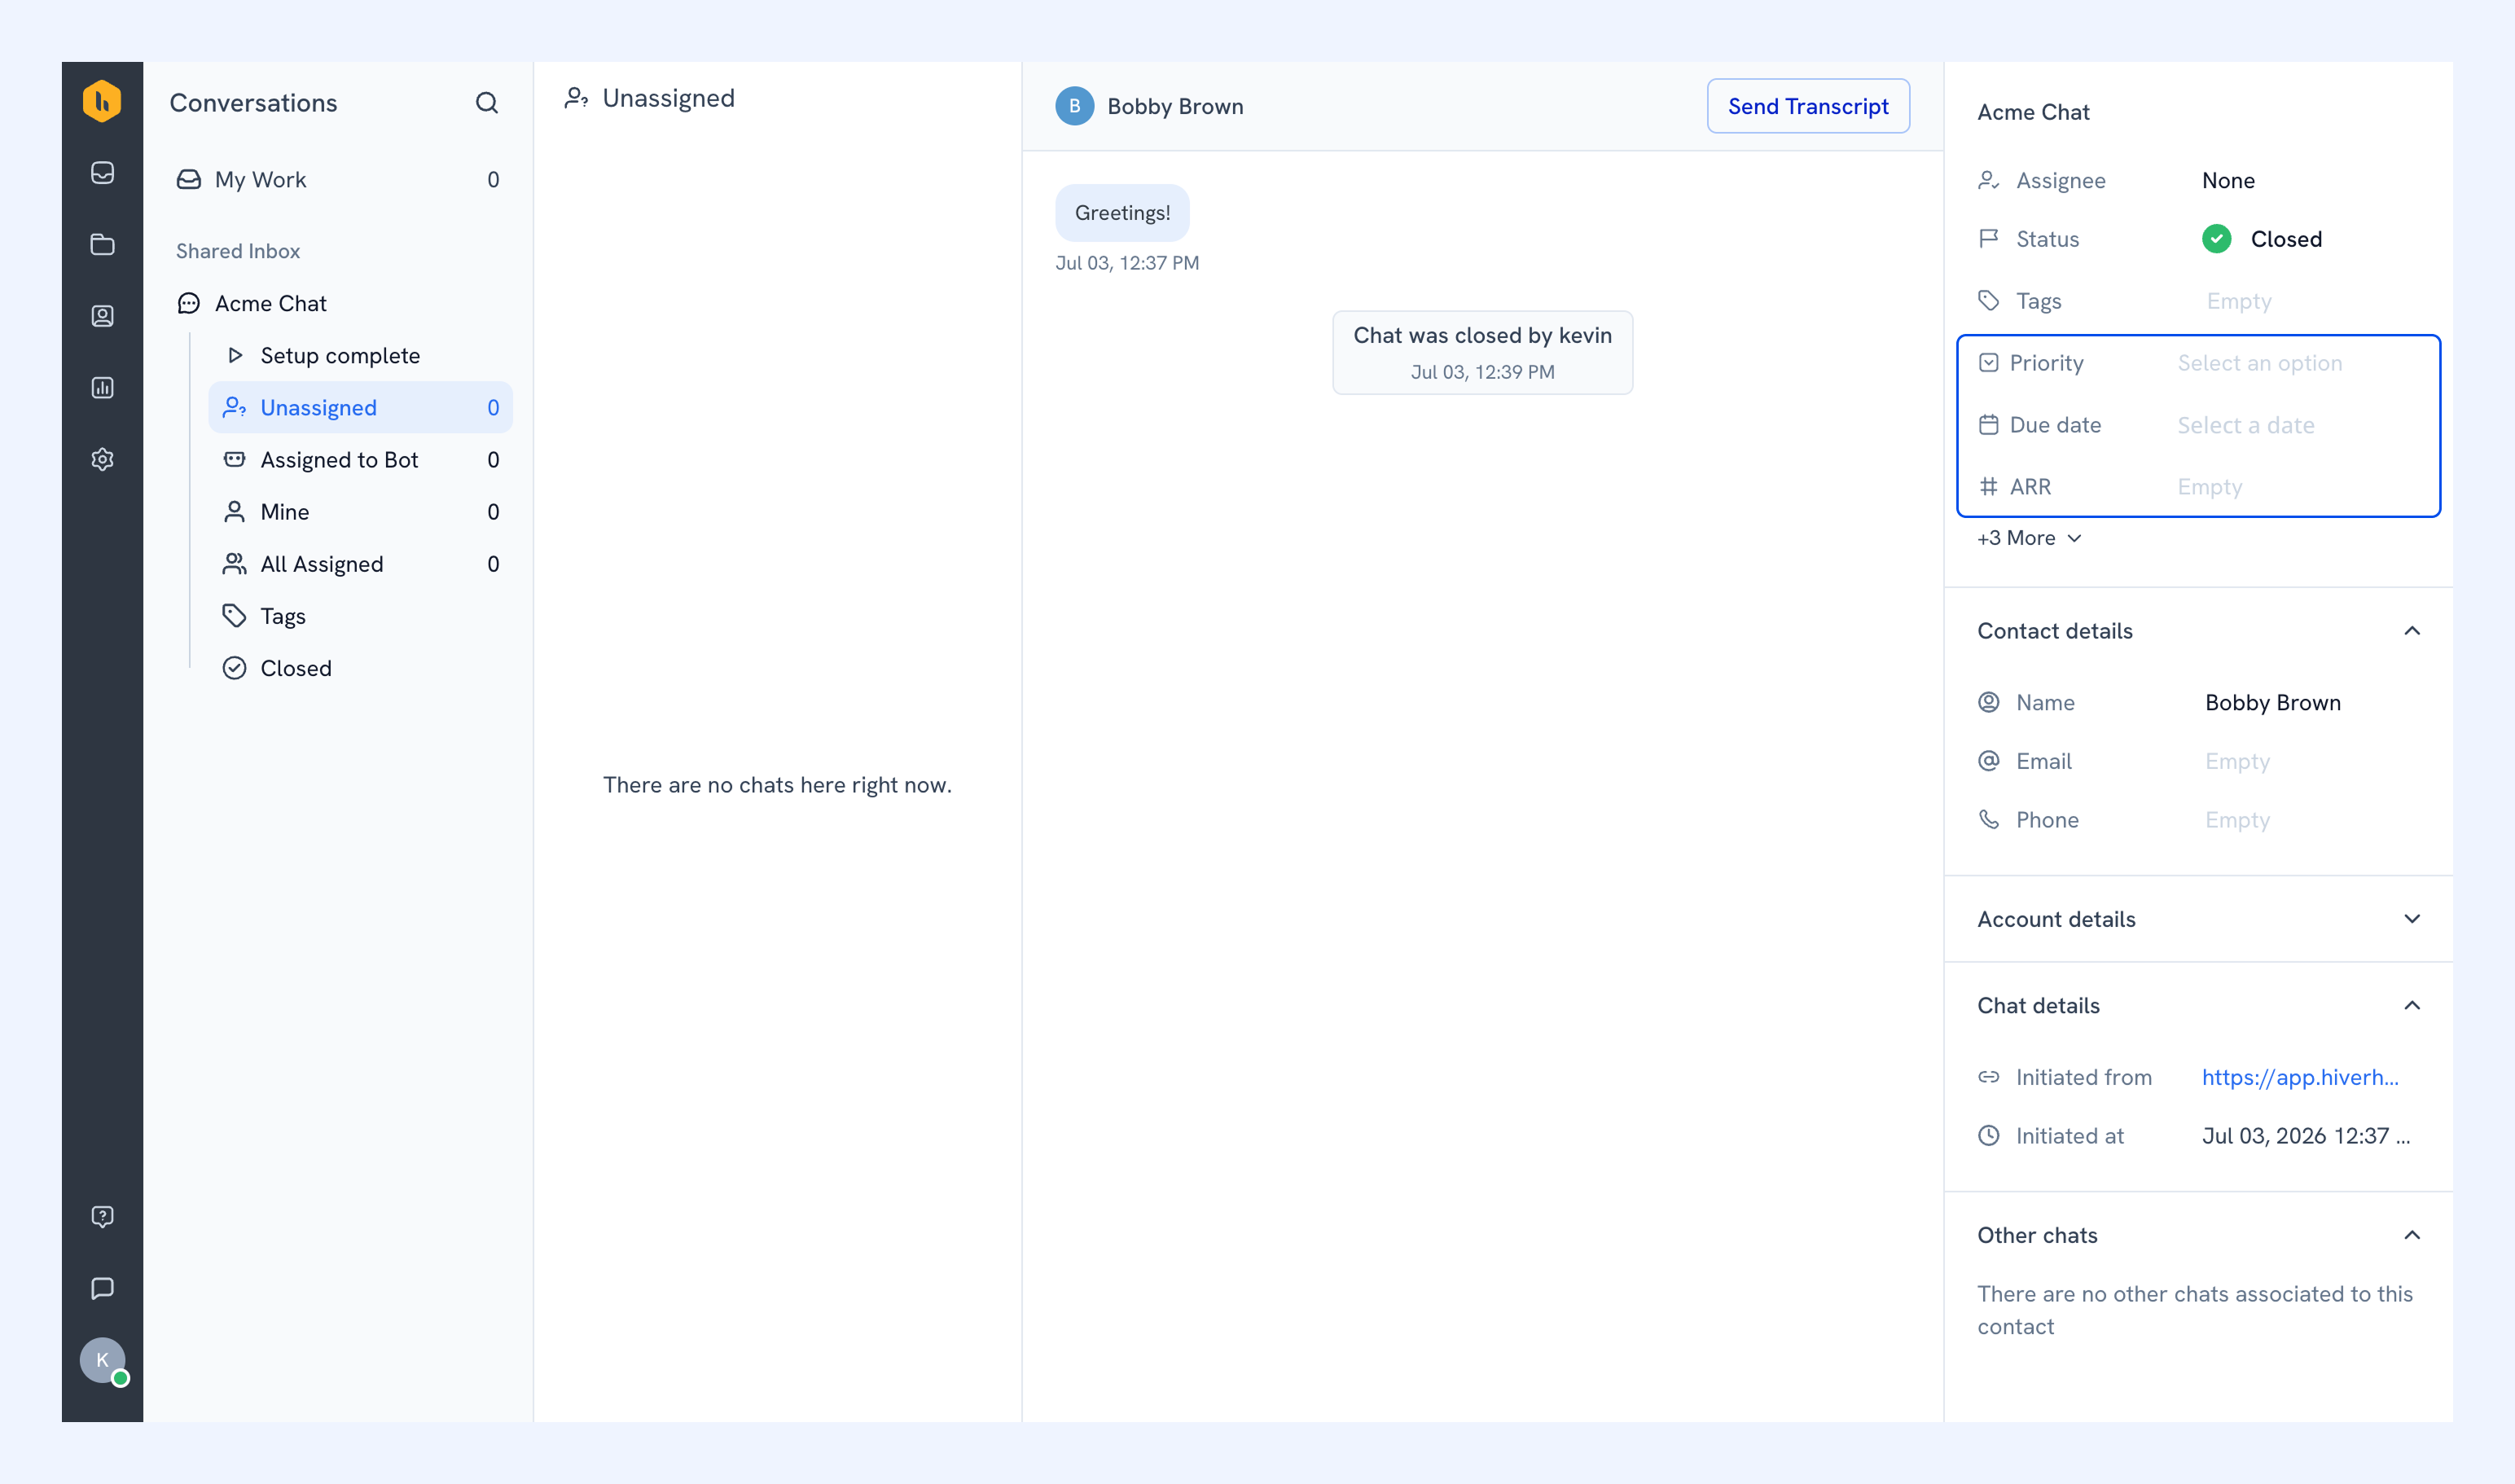
Pre-chat Form
The Pre-chat Form collects a visitor's name, email address, and phone number before a chat starts. You can adjust which fields to collect from the Pre-chat Form settings.
Use the details you collect to personalize responses, follow up after a chat closes, or support lead generation.
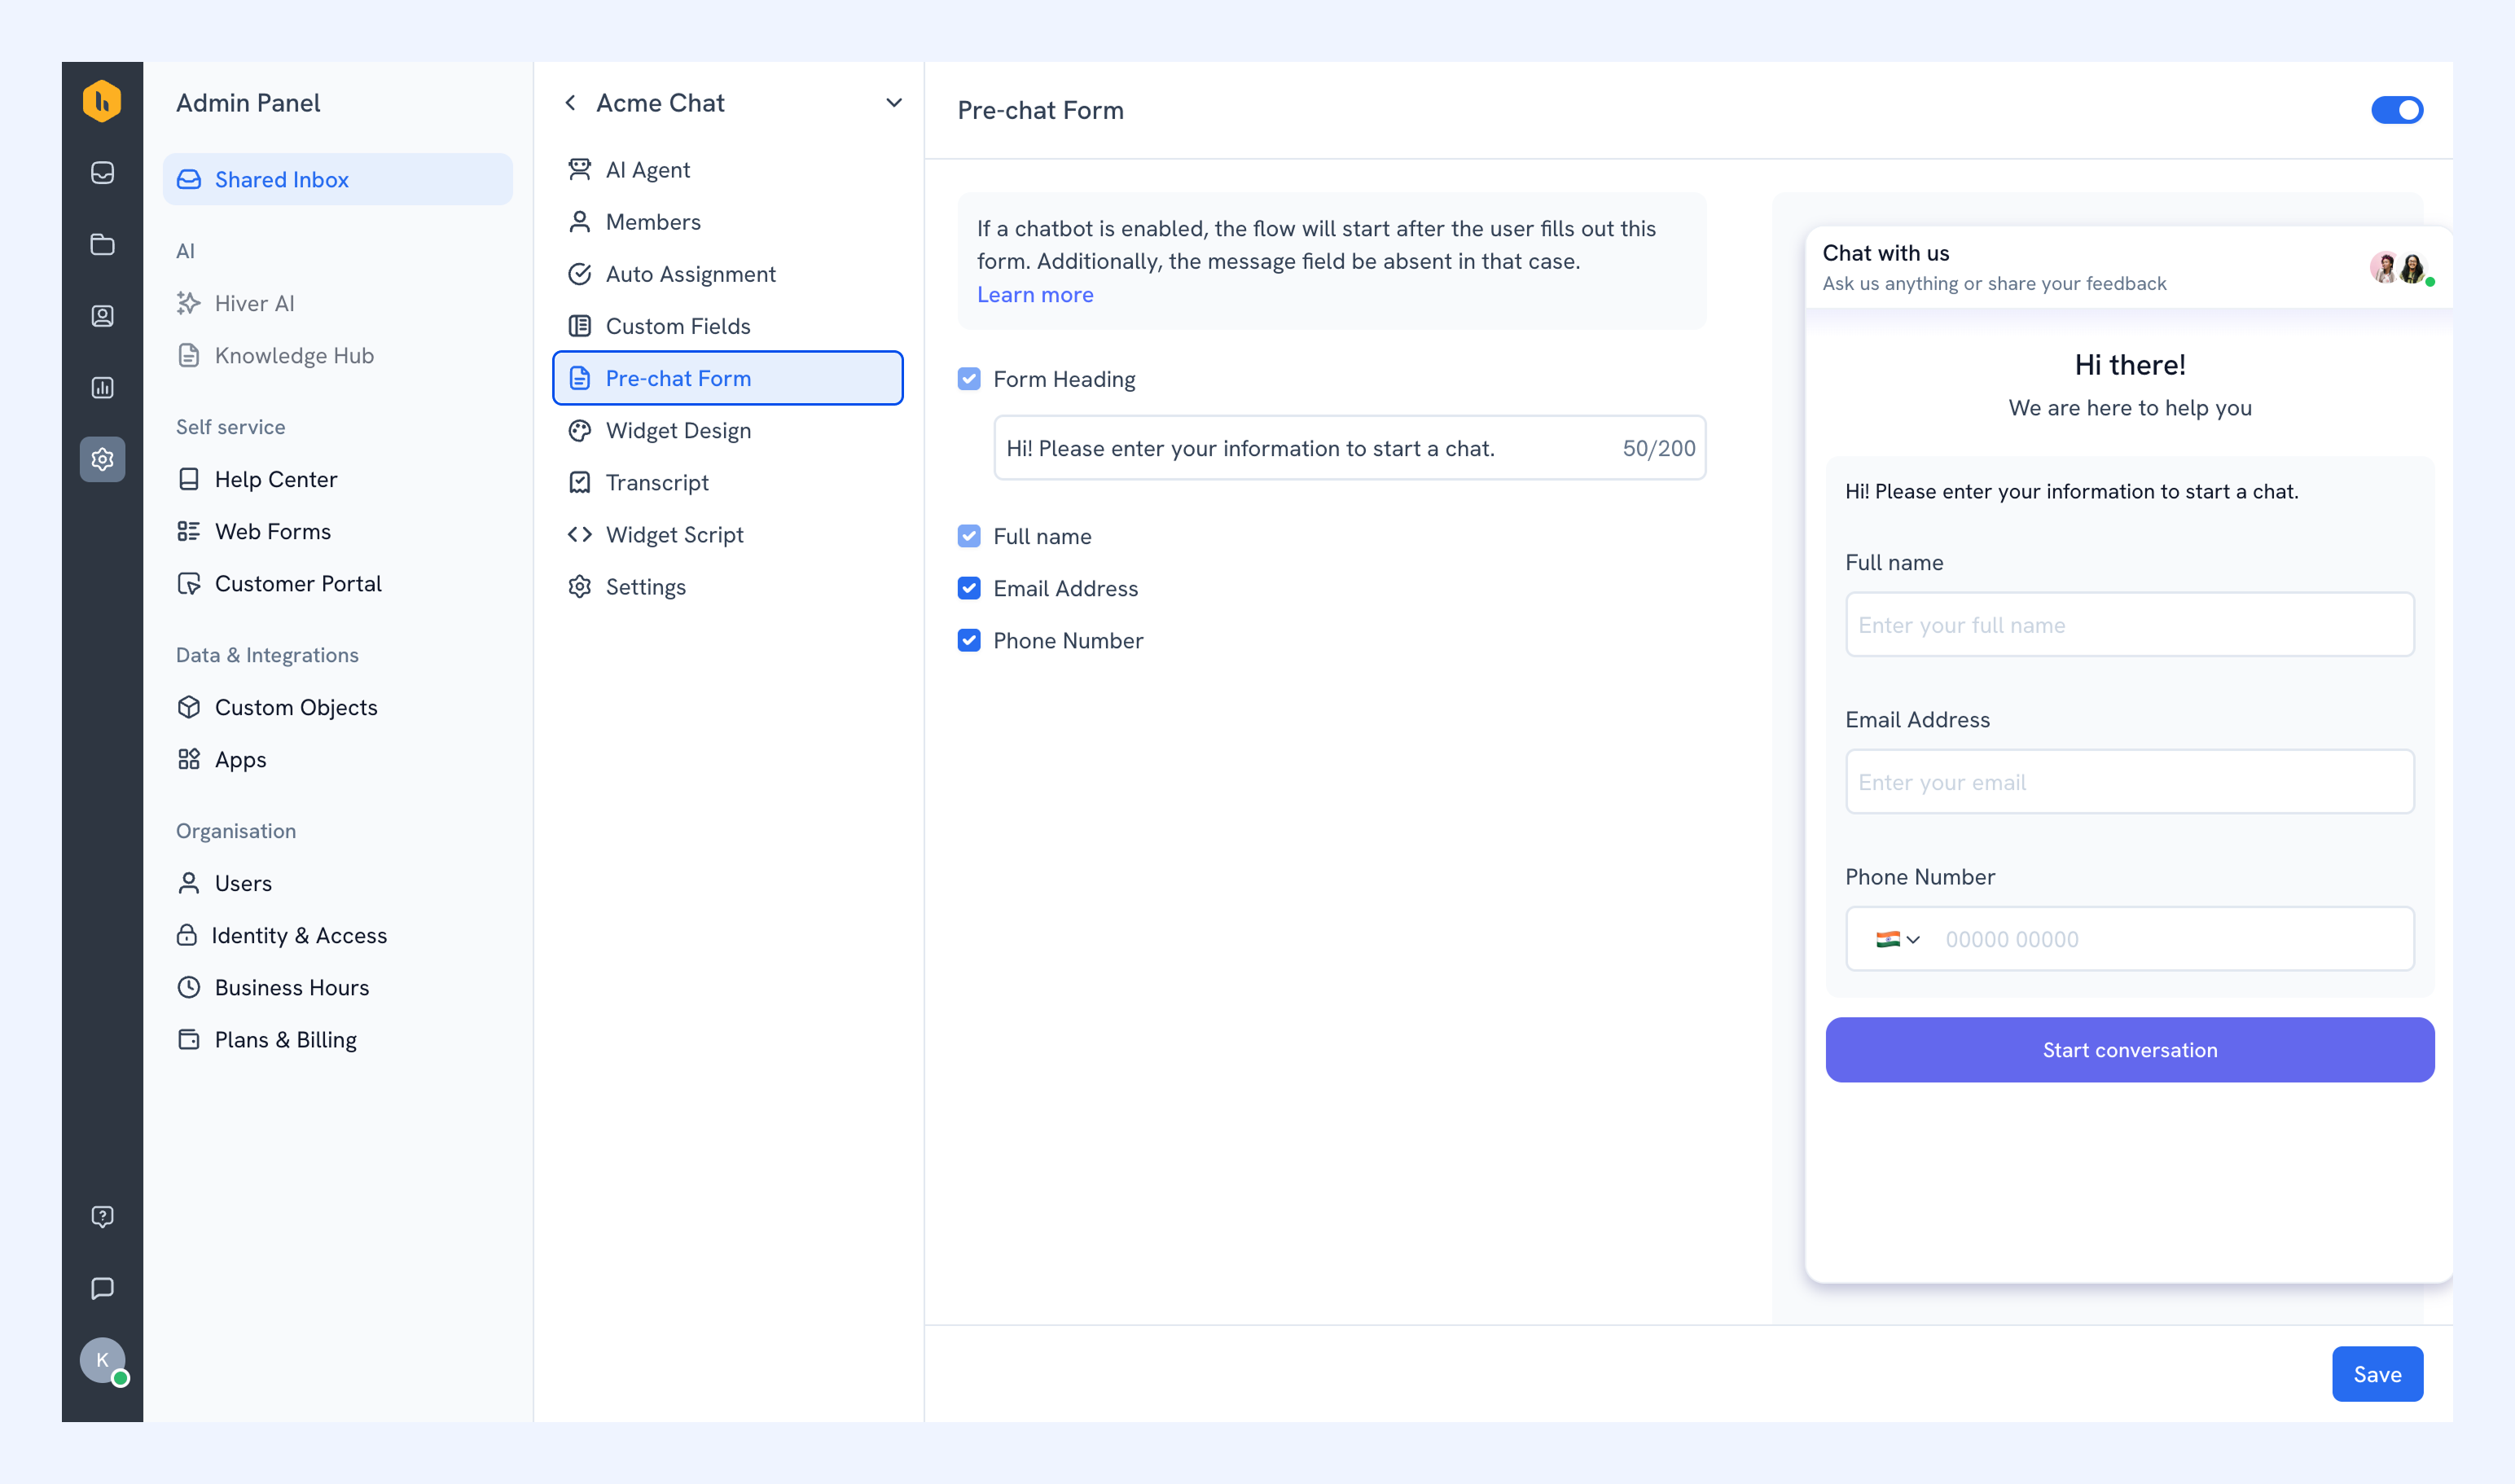
Widget Design
Customize your chat widget's appearance and features:
Appearance
- Widget color: Choose from preset options or enter your brand's hex code.
- Widget logo: Upload your company logo. It appears above the widget heading.
- Widget heading: The main title displayed in the widget. This field is required.
- Widget tagline: A short line shown under the widget heading.
- Widget position: Set where the widget appears on your website.
Features
- Display file picker: Lets visitors upload files during a chat.
- CSAT survey: Sends a 3-scale satisfaction rating to visitors when their chat closes.
Changes appear in the live preview on the right as you make them.
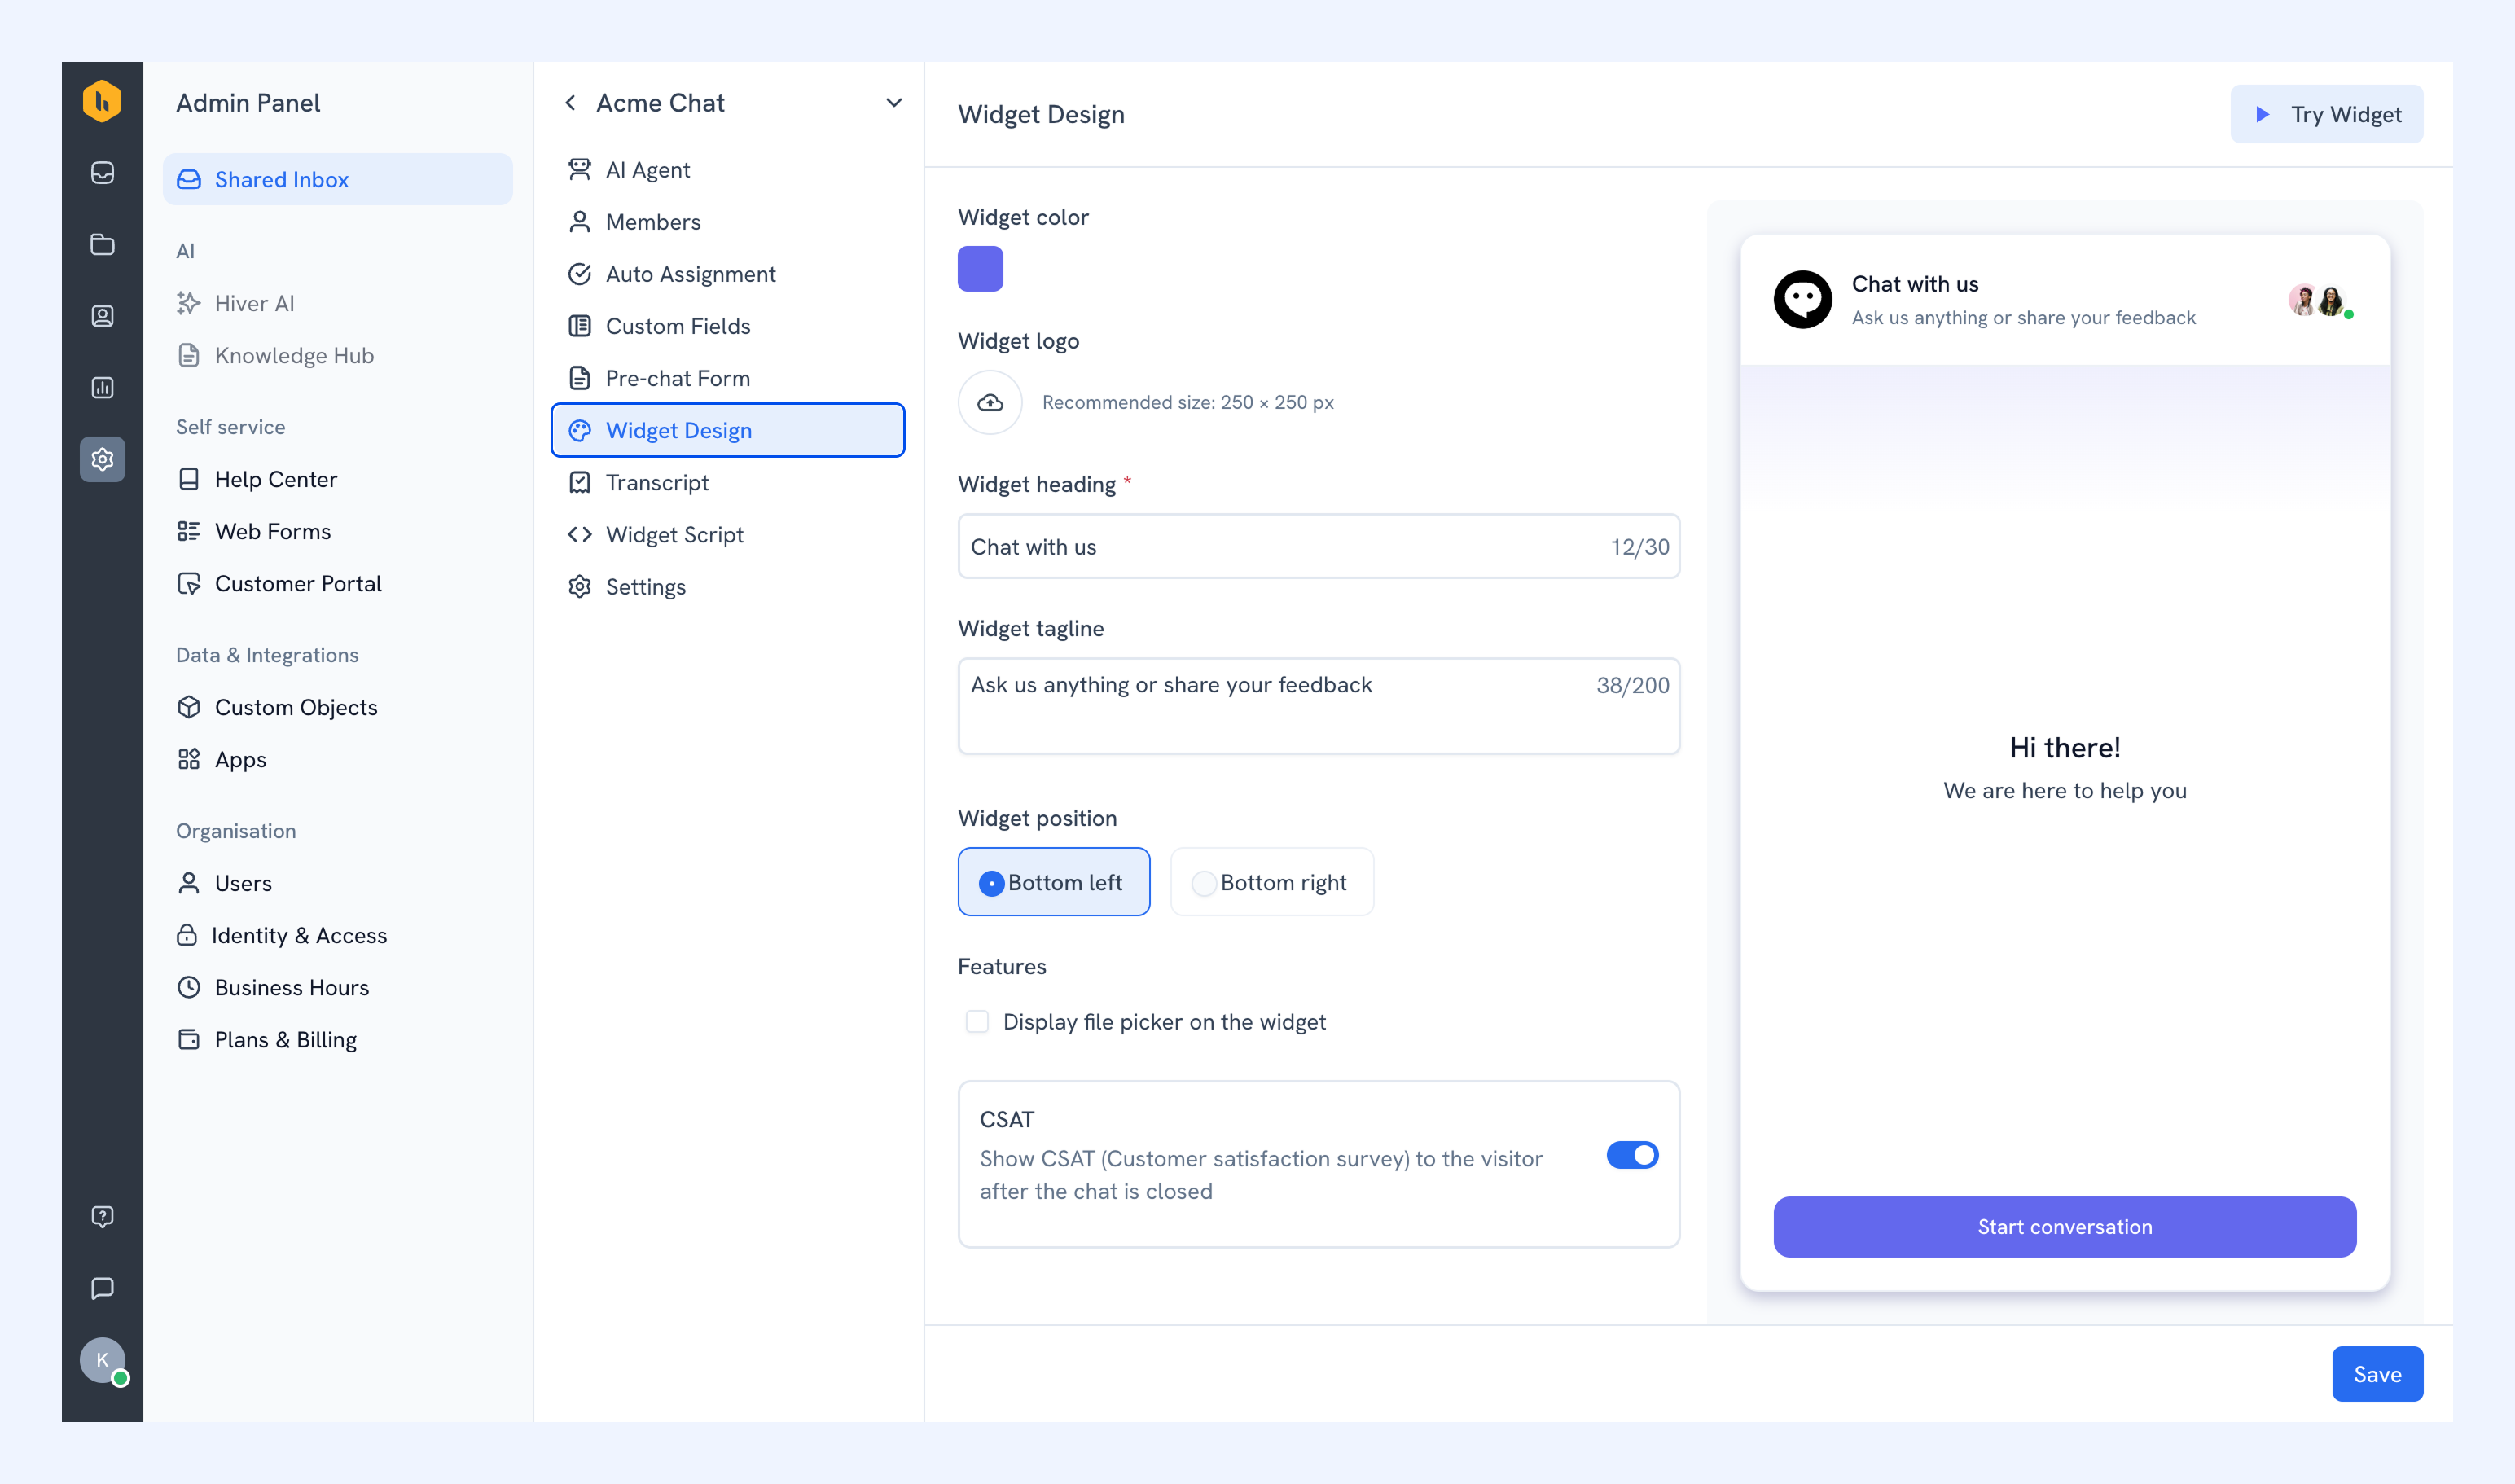
Transcript
Transcripts are records of closed chat conversations. They're useful for teams that need to review conversation history and for visitors who want a copy of their chat for reference.
Send to specific email addresses
Depending on your team’s workflow, you can choose to:
- Automatically send all closed-chat transcripts to one or more email addresses.
- Let members manually send transcripts to any email address when needed.
Send to website visitors
You can also send a copy of the chat transcript to the visitor. Choose between:
- Automatically sending a transcript to the visitor when their chat closes.
- Letting members send it manually when they choose to.
If you enable automatic sending to visitors, add an email address where their replies to the transcript should go to.
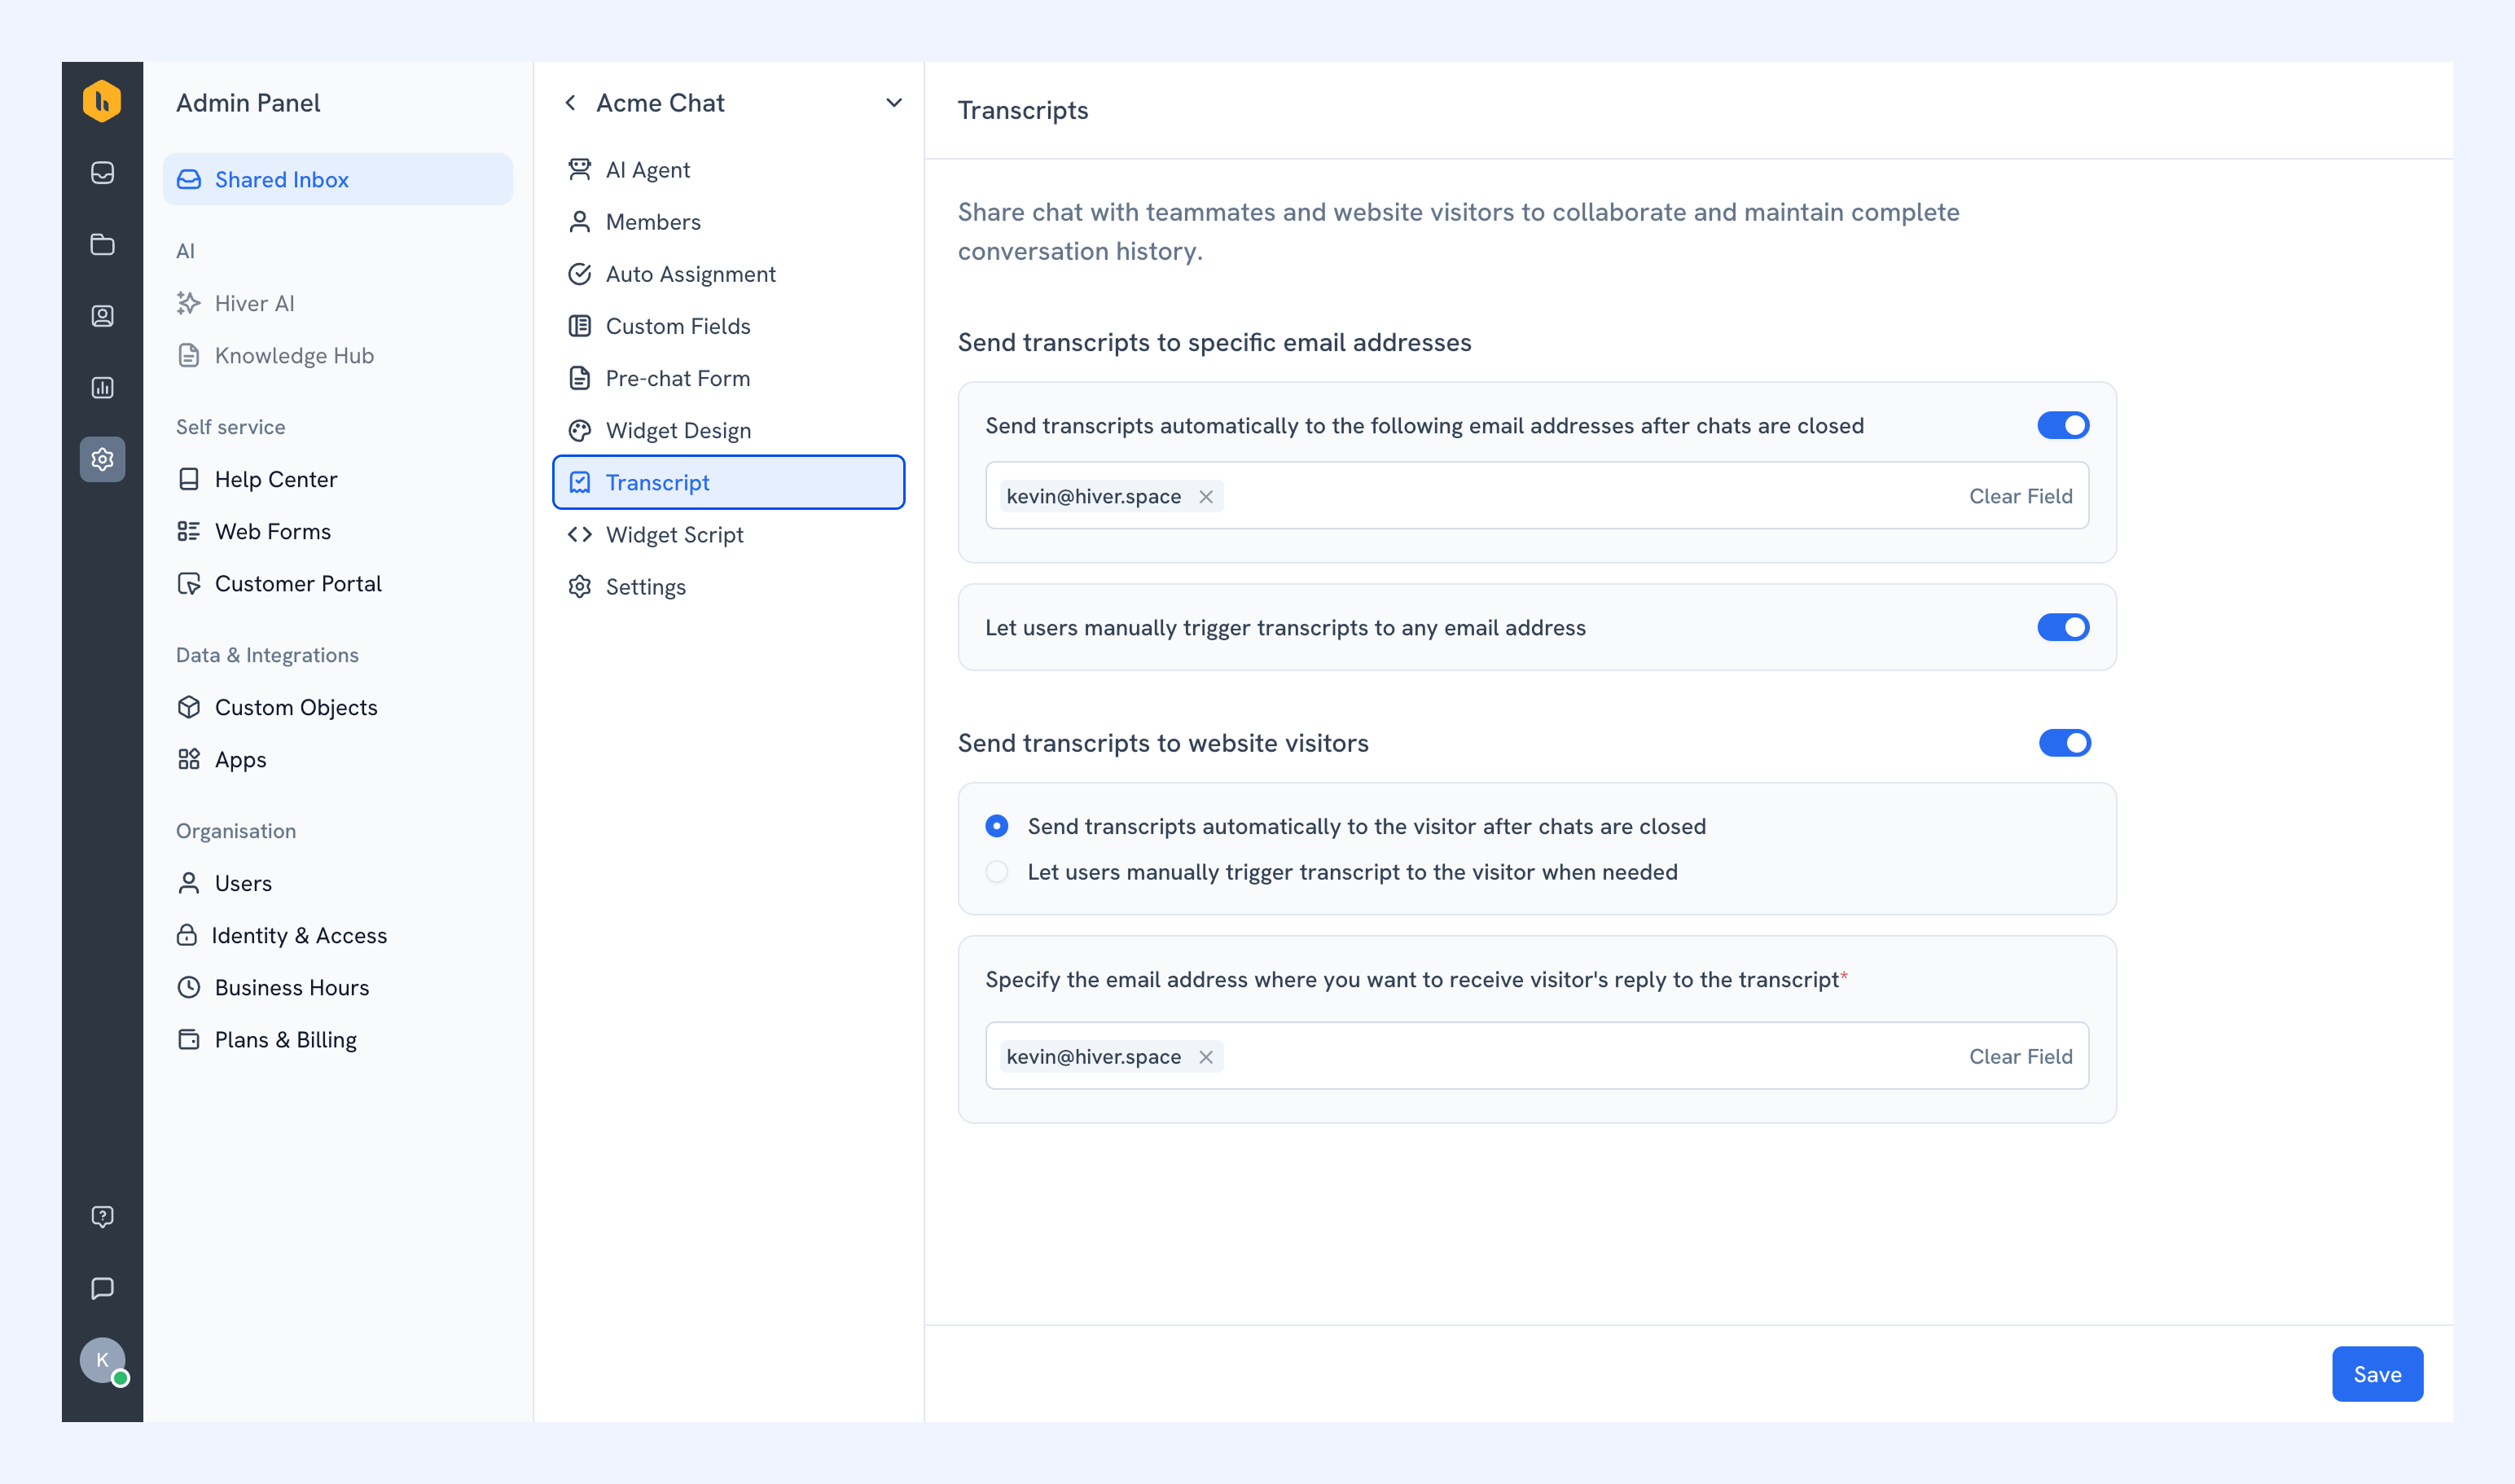
To manually share a transcript, open the chat and click Send Transcript.
Note: You can only send transcripts manually if the option is enabled in your settings.
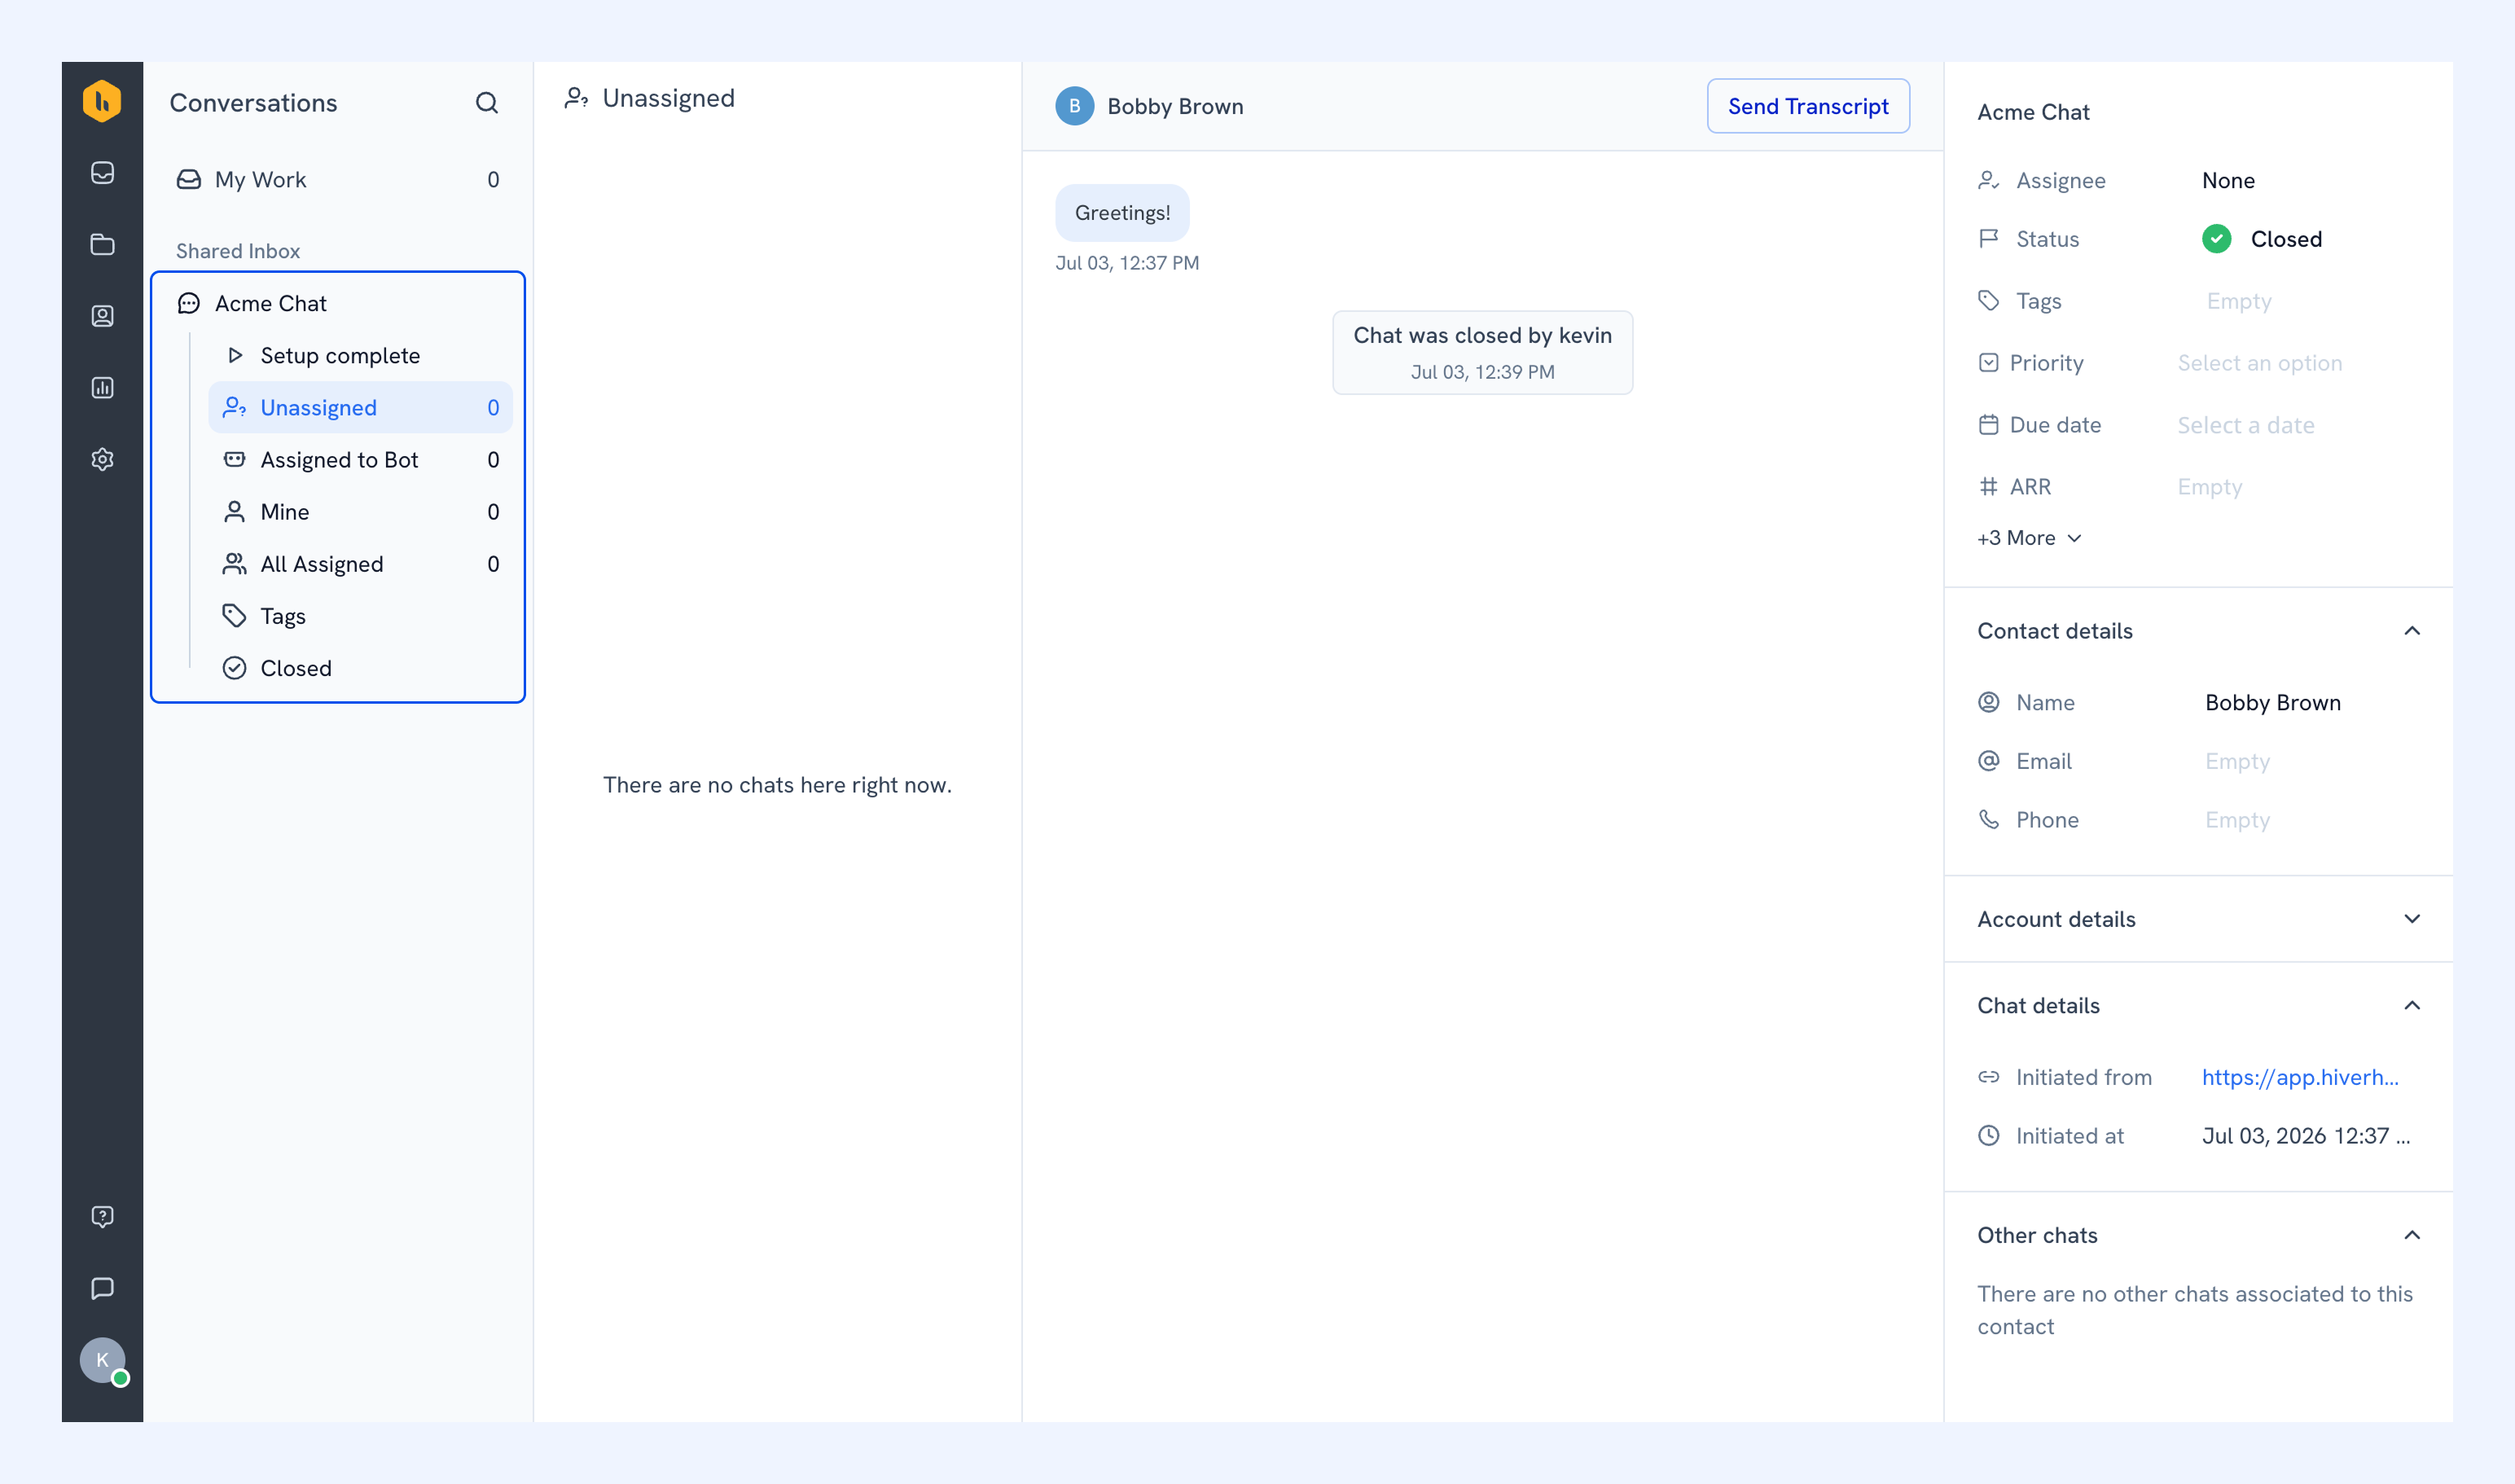
Widget Script
Find and copy your widget script here if you need to re-embed it. Paste it into your website's HTML before the tag.
You can also customize how the widget launches and install it in a mobile app or a web framework. Learn how in our developer documentation.
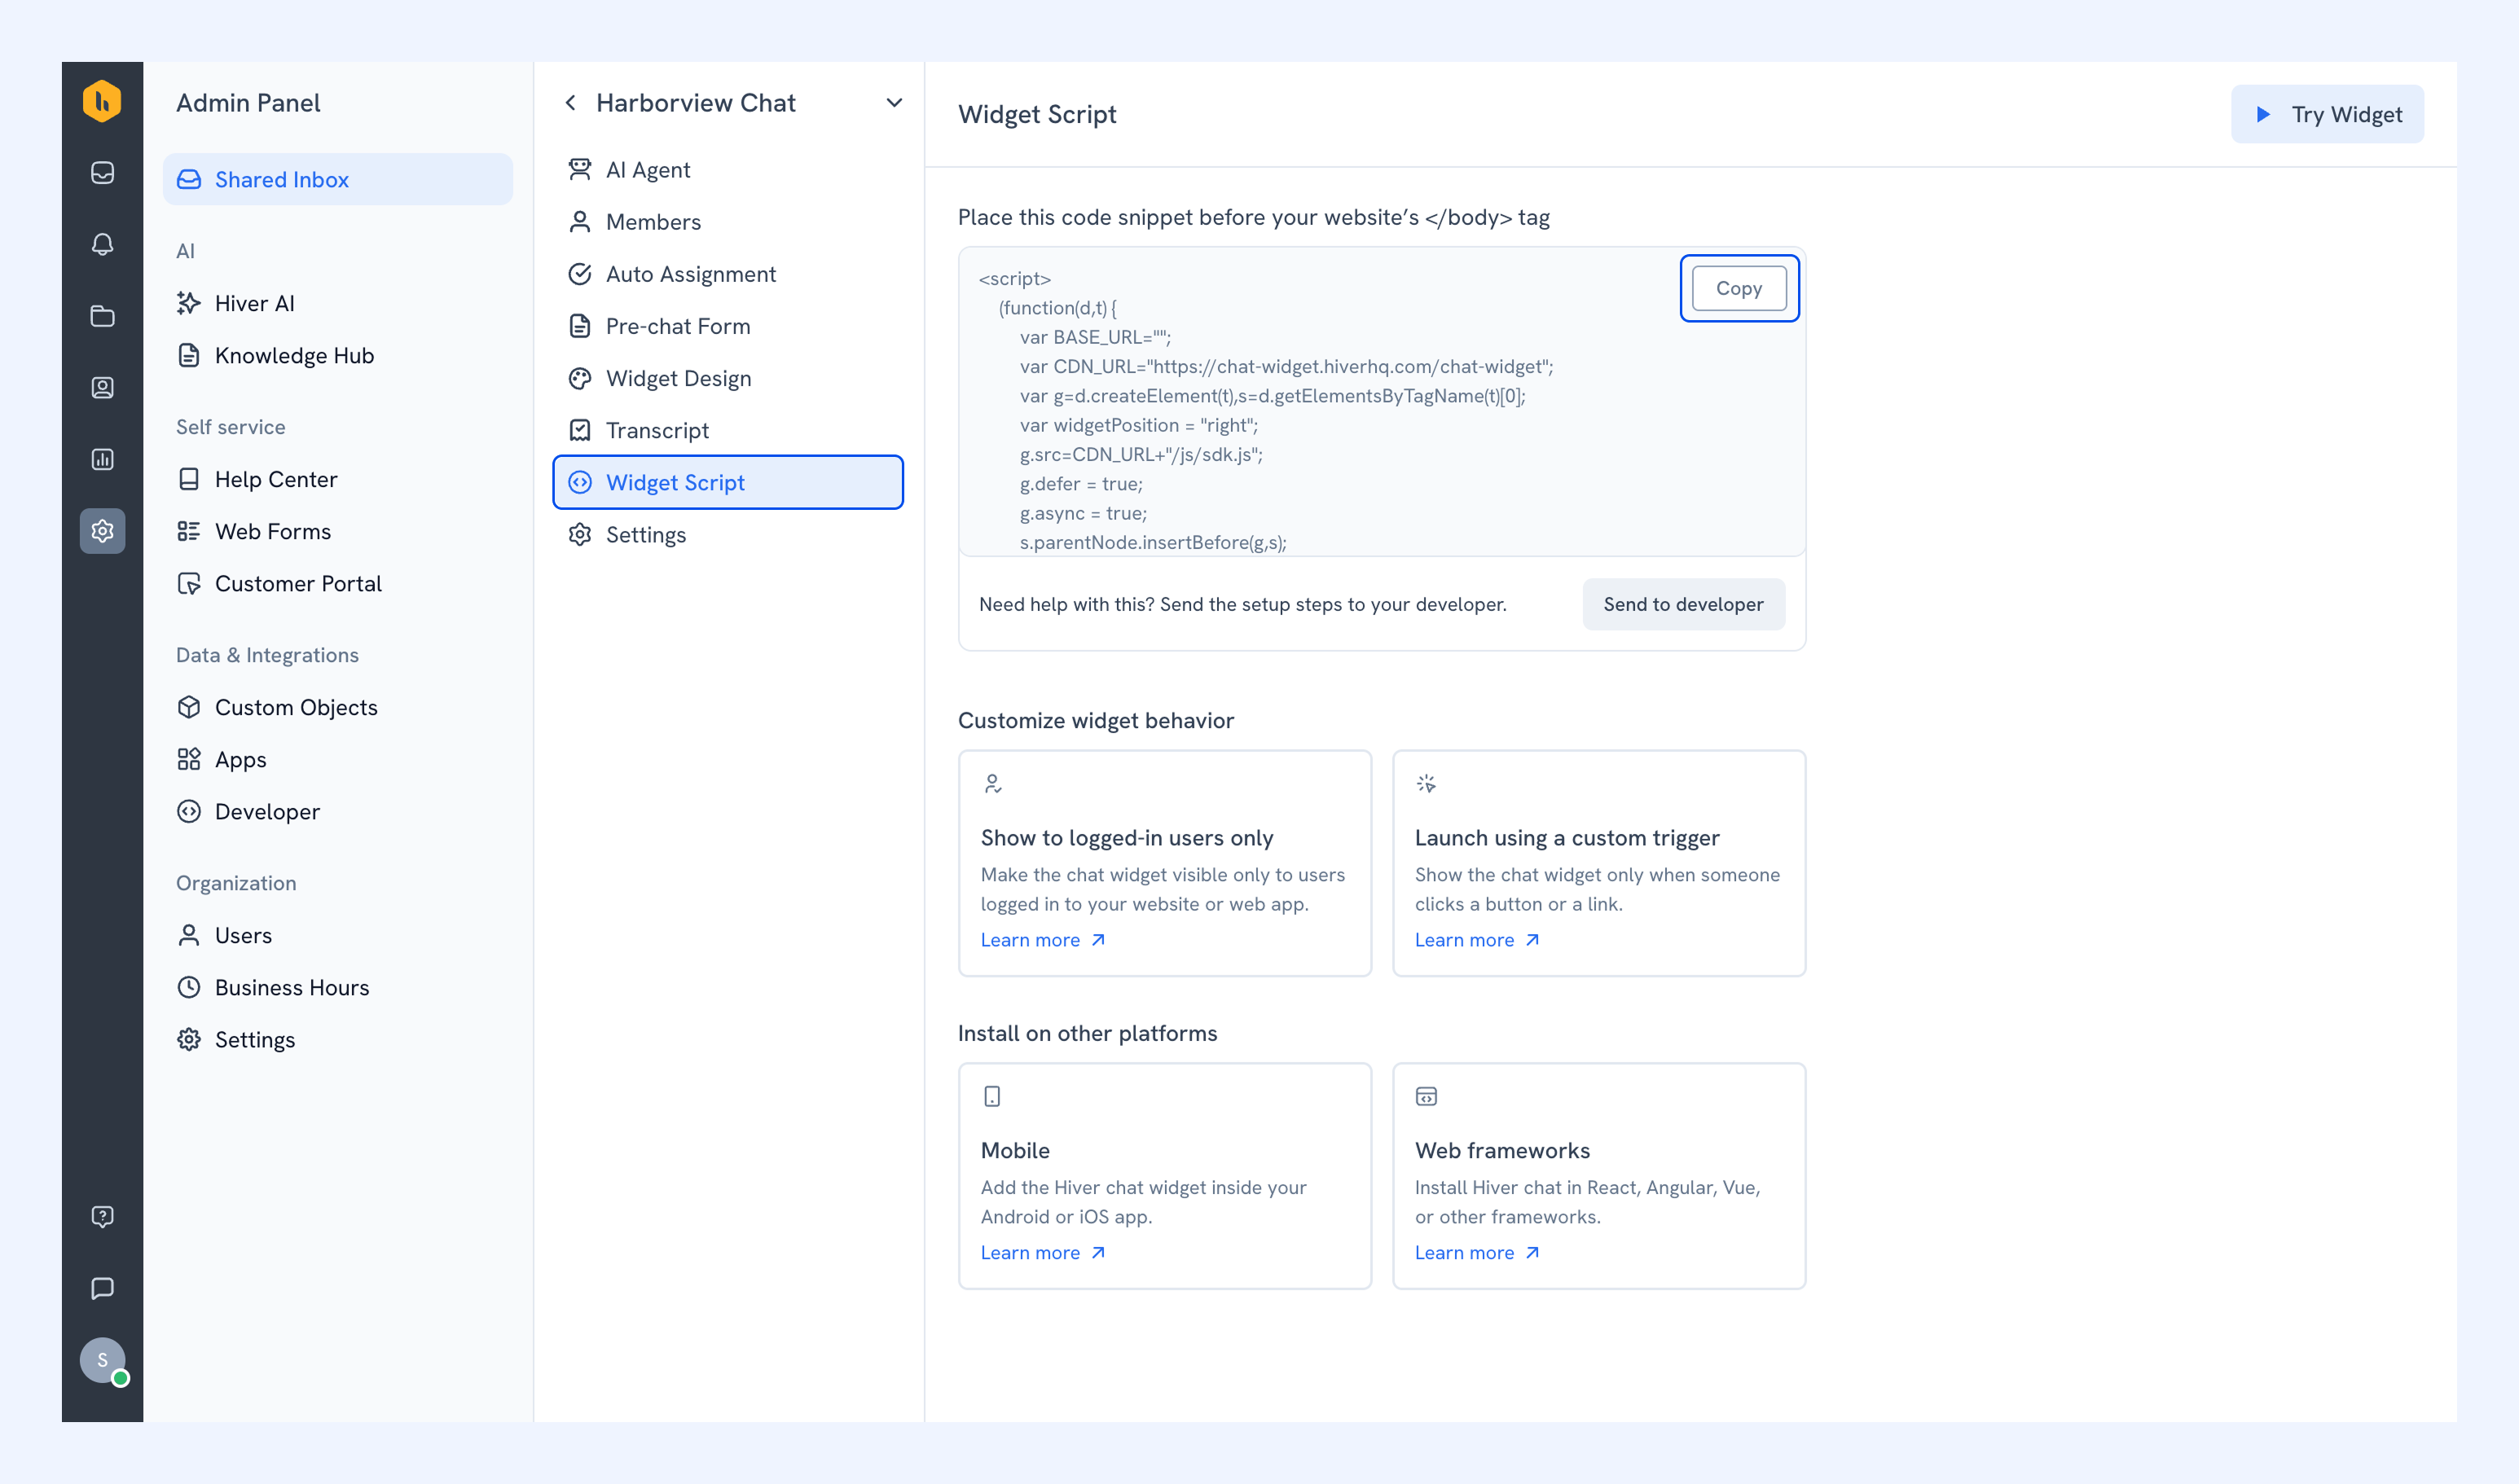
Settings
Rename your Chat Inbox
Update the inbox name in the Chat Inbox Name field.
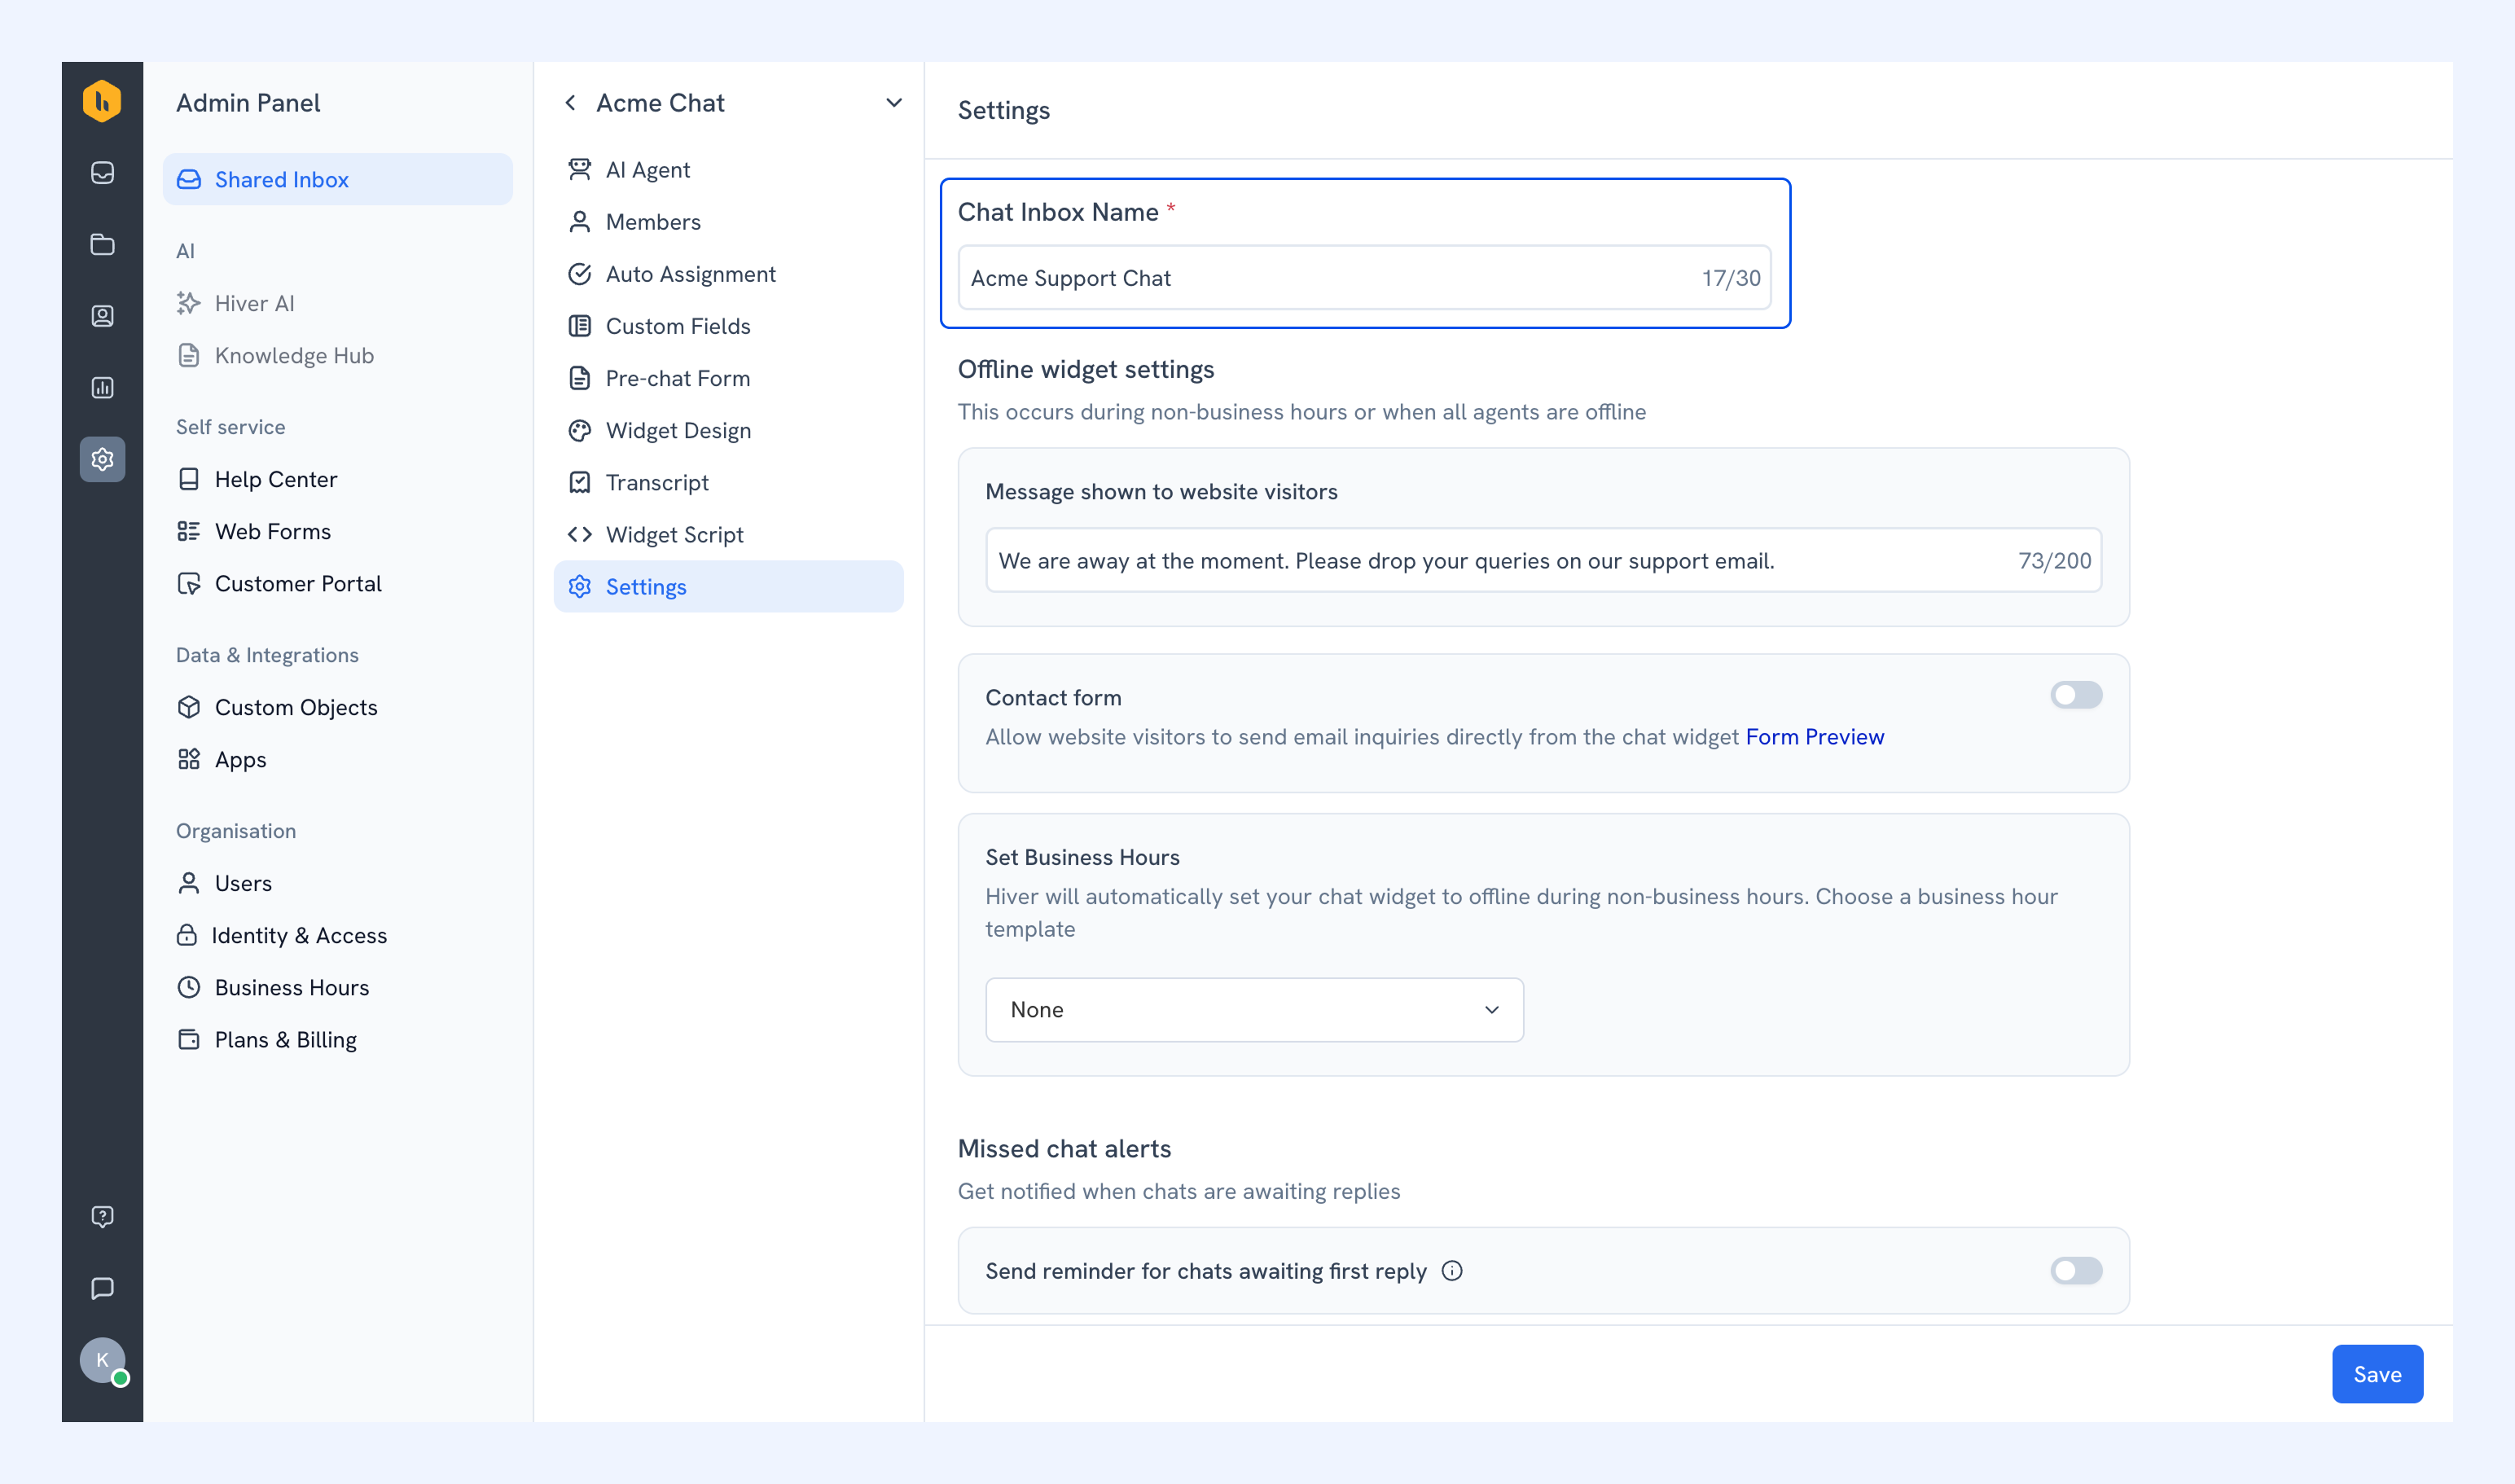
Offline widget settings
Control how your chat widget behaves when your team is unavailable, either during non-business hours or when all team members are offline.
- Message shown to visitors: Customize what visitors see when no team members are available.
- Contact form: Let visitors submit email queries through the widget when your team is offline. Enter the email address where these queries should be sent.
- Set business hours: Apply a business hours template so the widget switches to offline mode automatically outside your working hours.
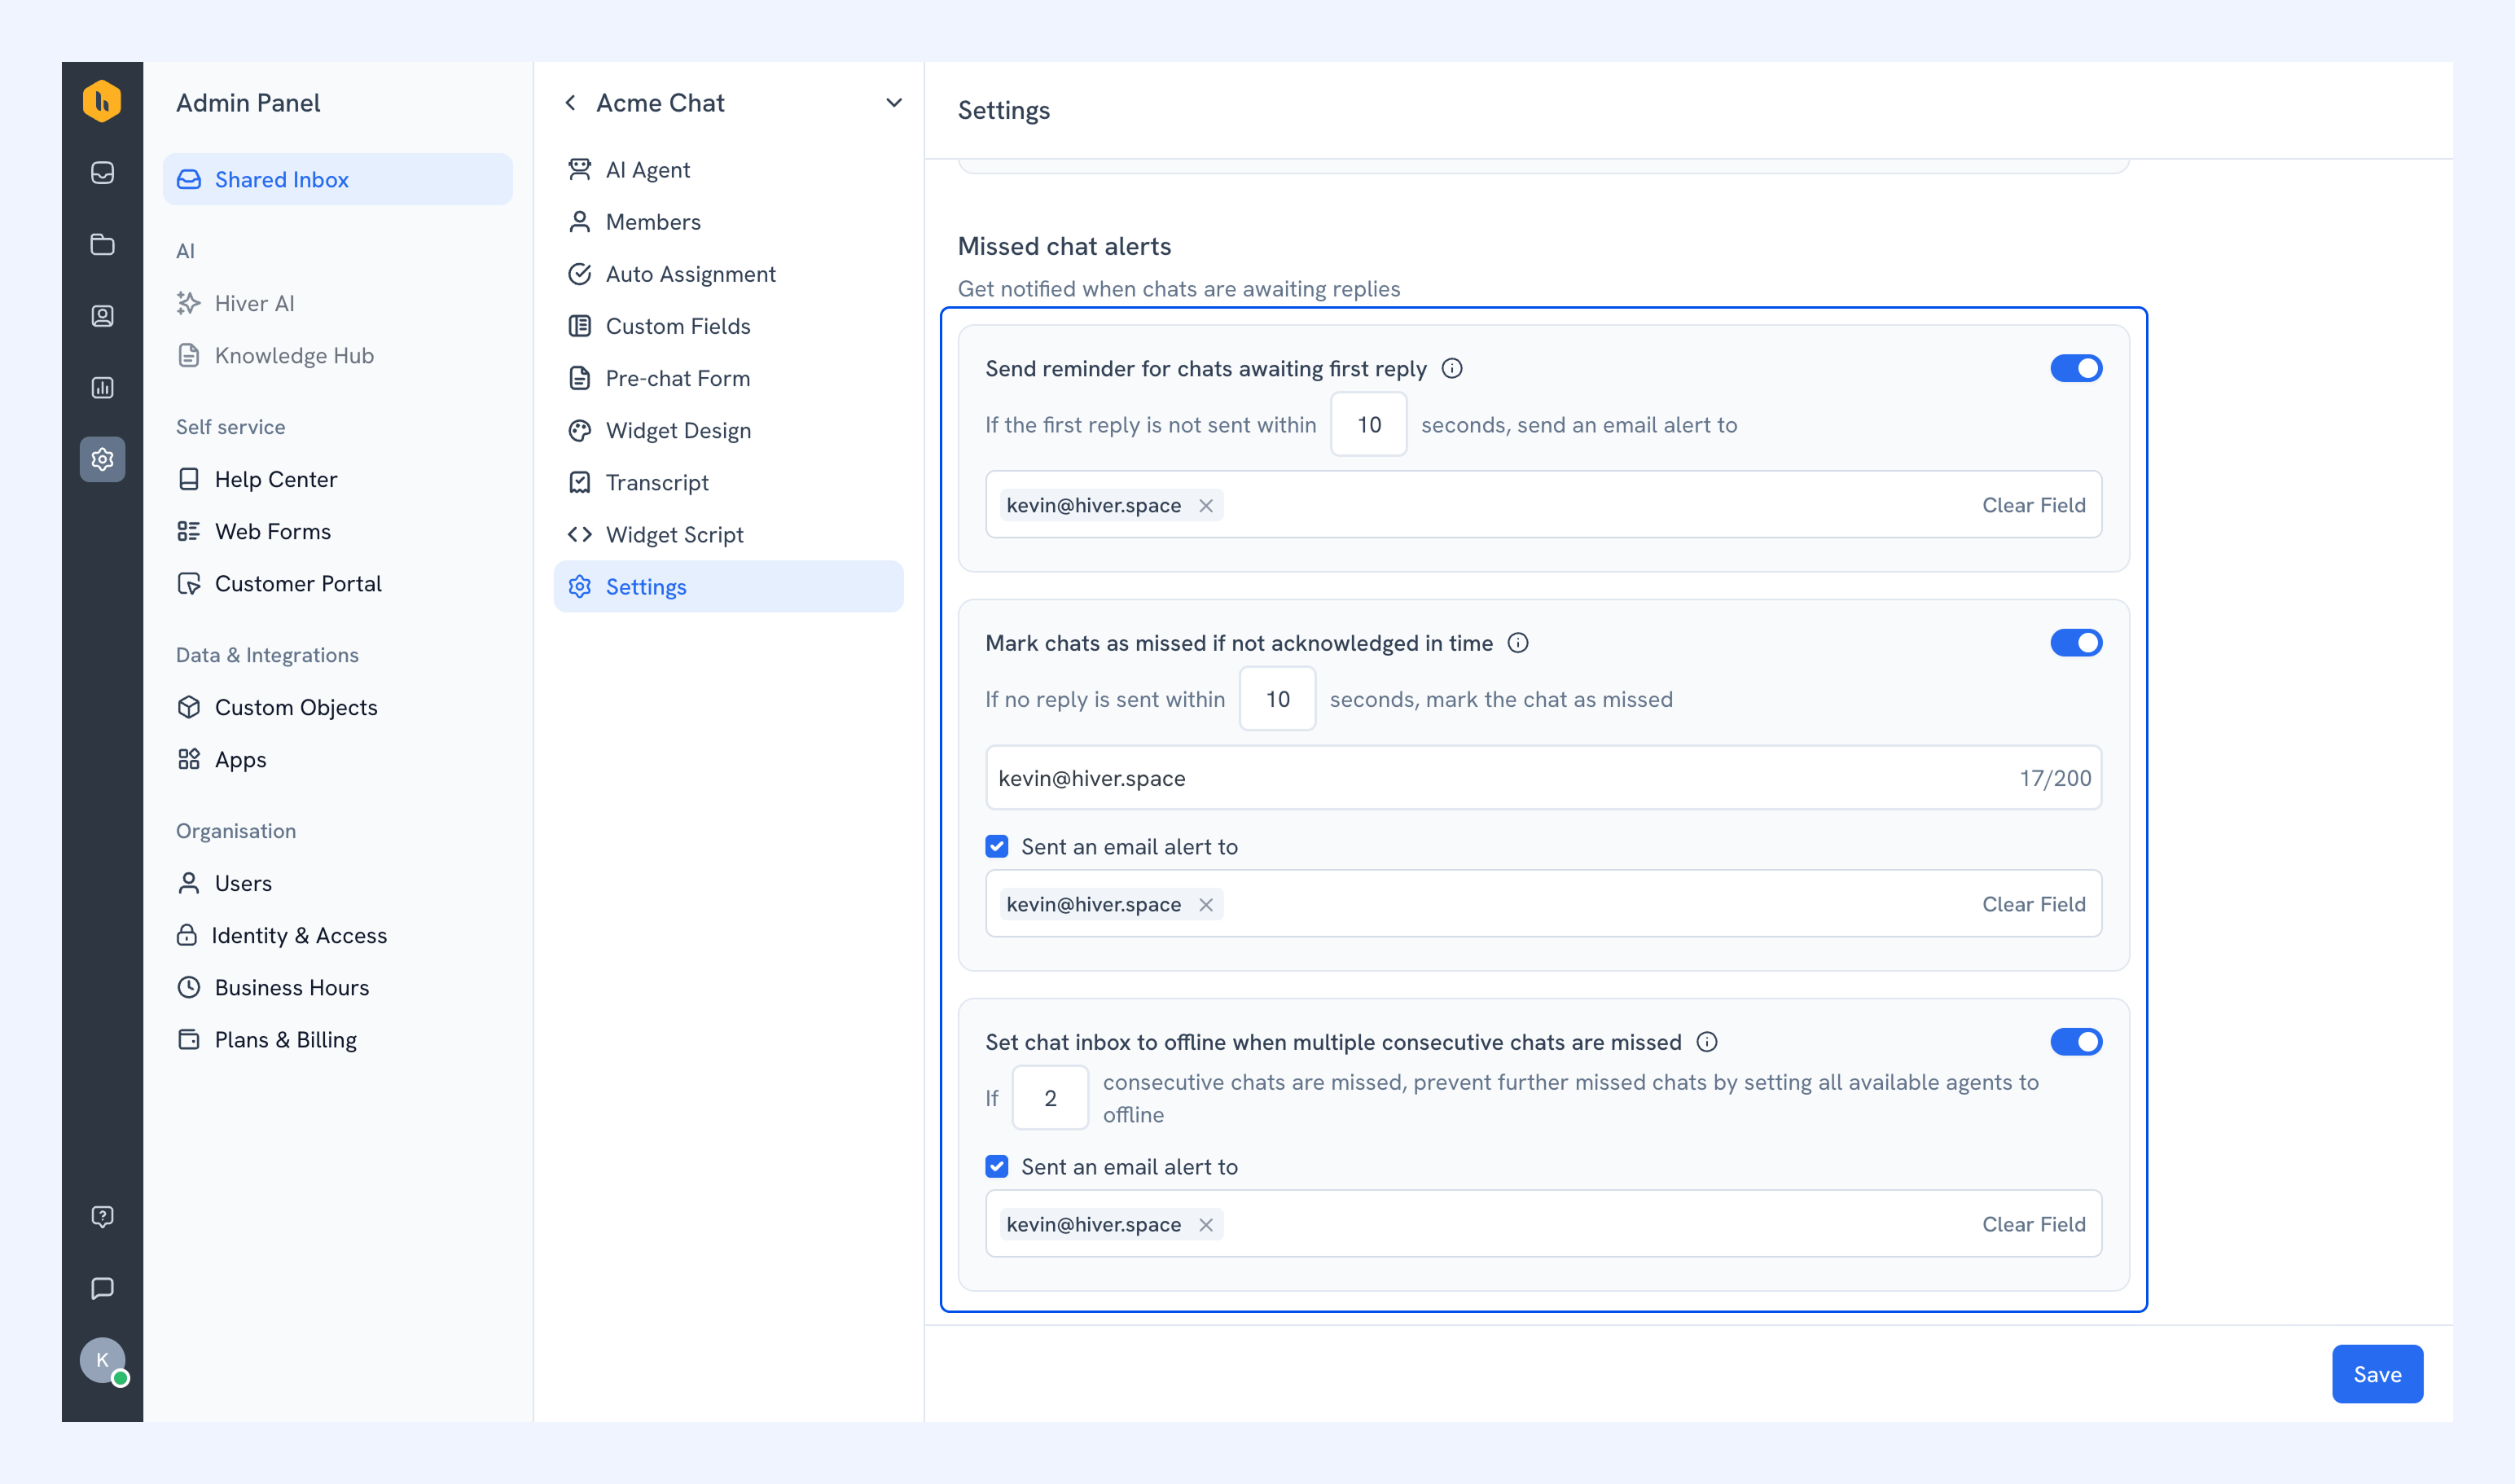
Missed chat alerts
Set up notifications so chats don't go unanswered.
- Send reminder for chats awaiting first reply: Sends an email alert to specified recipients if a chat hasn't received a reply within the time you set.
- Mark chats as missed if not acknowledged in time: Flags the chat as missed after a set duration and sends a message to the visitor. You can customize this message.
- Set chat inbox to offline when multiple consecutive chats are missed: Automatically sets all members to offline after a defined number of consecutive missed chats.
Managing your live chats
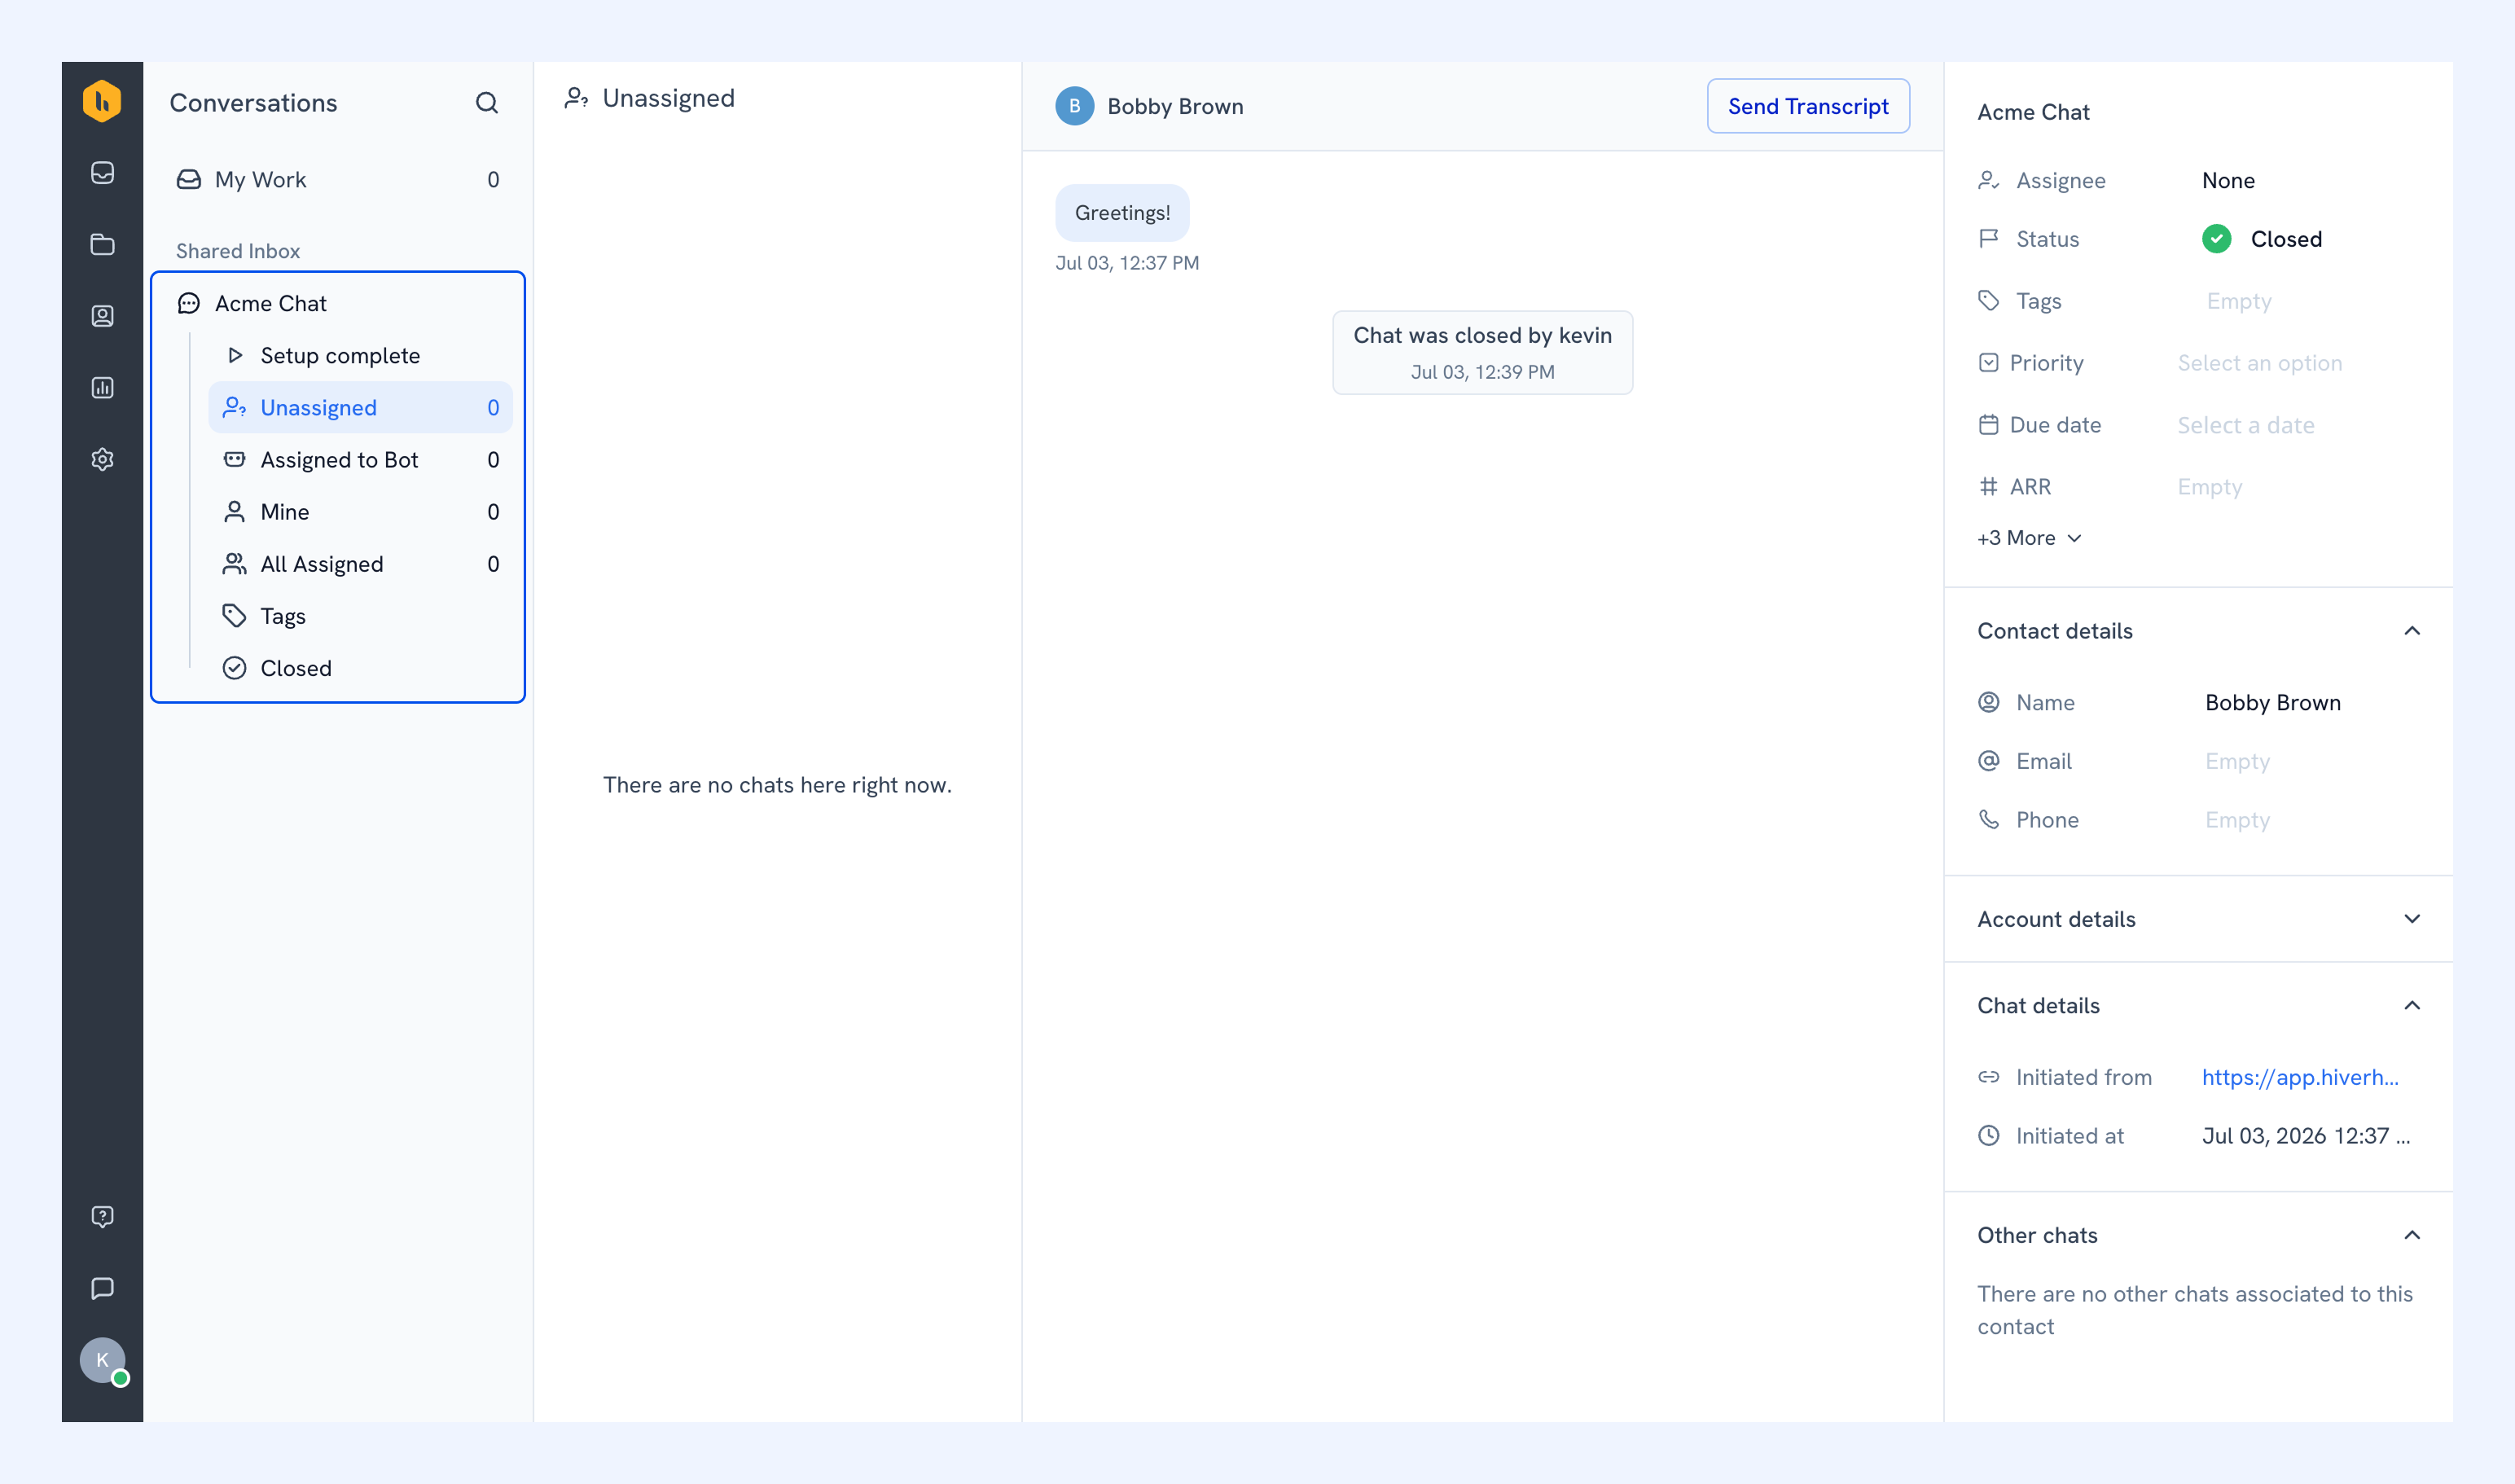
Access all your chats from the Conversations icon in the left navigation menu. Select your Chat Inbox to see these views.
- Unassigned: Open chats that haven't been assigned to anyone yet.
- Assigned to Bot: Open chats currently being handled by a bot.
- Mine: Open chats assigned to you, including new and unread messages.
- All Assigned: All open chats in the inbox, regardless of who they're assigned to.
- Closed: All closed chats in the inbox.
Note: Chat inboxes don't have a Pending view. Chats are either open or closed.