Monitoring and managing SLAs
SLA policies help you track response and resolution times for customer emails. Hiver lets you adjust these policies whenever your team’s priorities change.
Note:
- You need to have Admin access in Hiver to make changes to SLA policies.
- Updates to SLA policies apply to new emails while ongoing conversations stick to their original timelines.
Monitoring SLA policies
You can view the complete details of any SLA policy at any time to understand how it works and what it tracks.
To monitor an SLA policy:
- Go to Admin Panel → Shared Inbox → SLA.
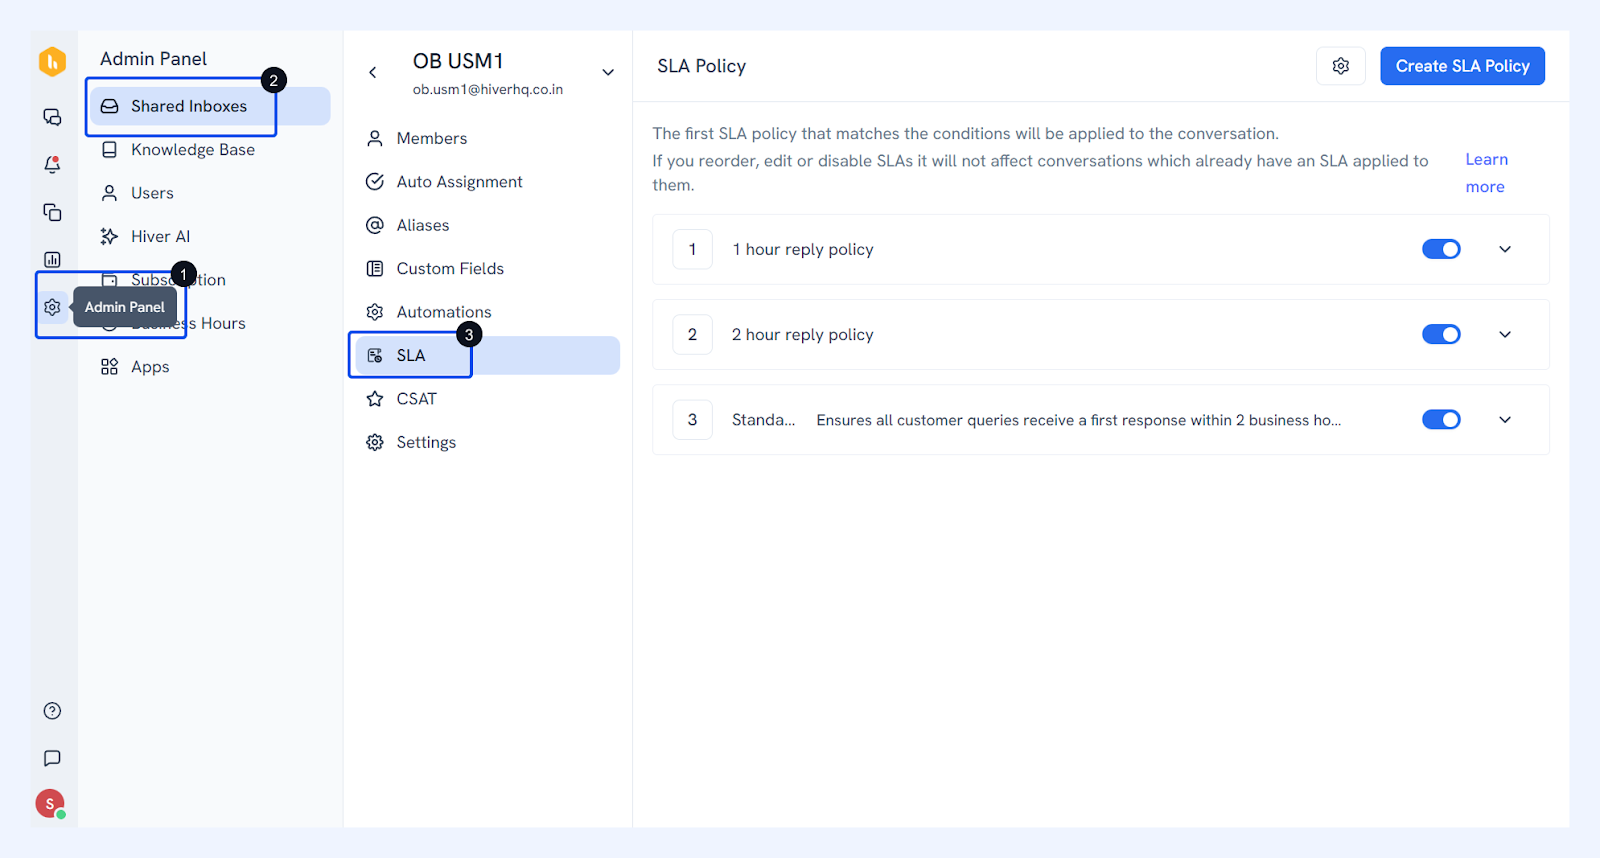
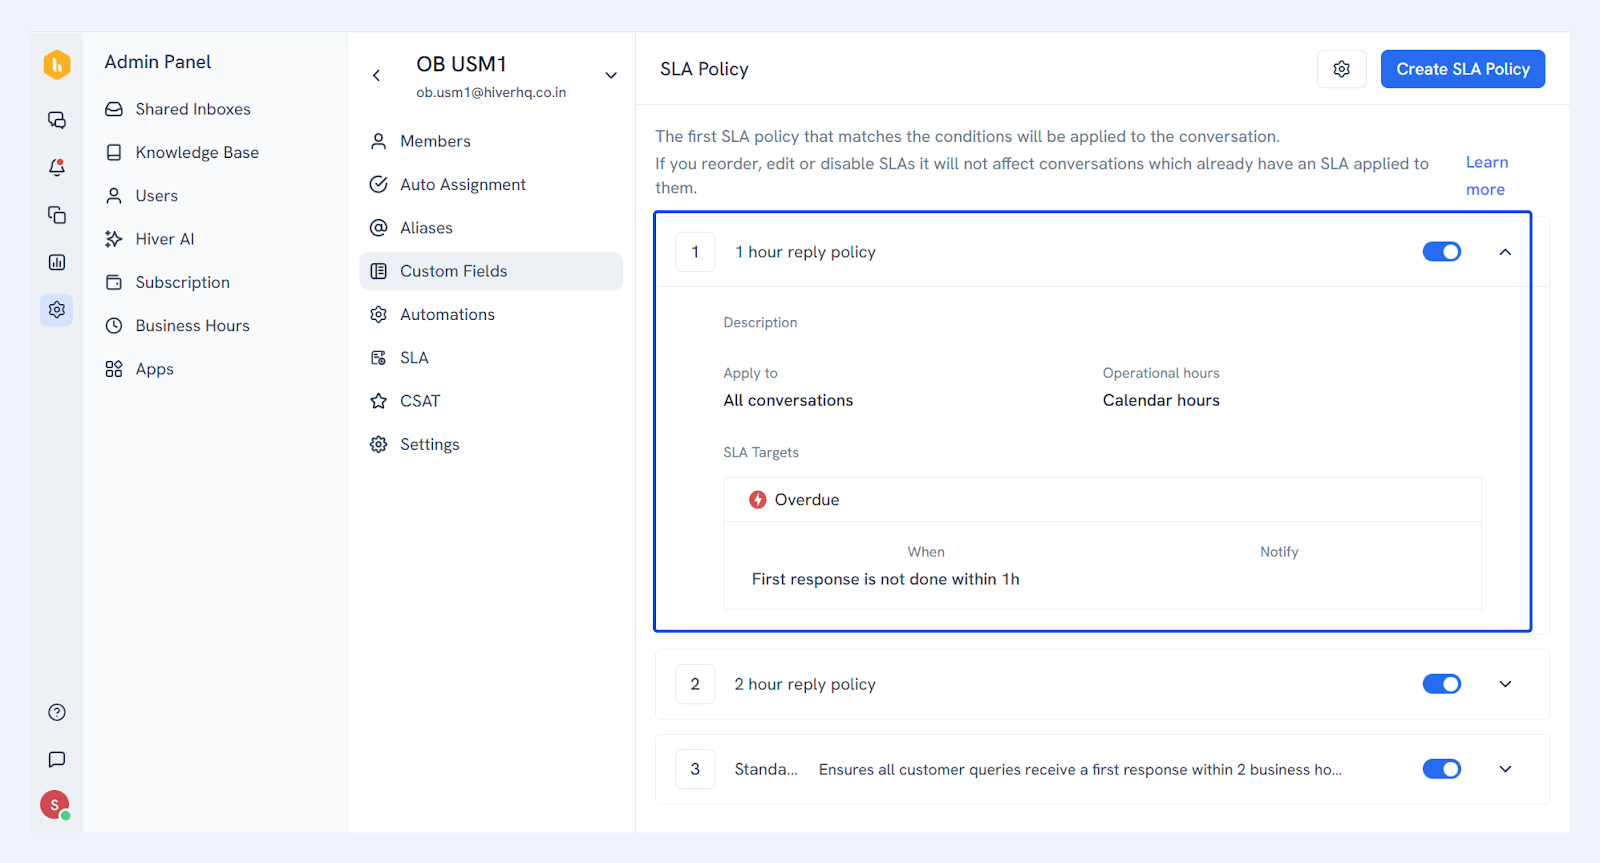
- Click the chevron icon on the right of a policy to view its details, including description, conditions, targets, and notifications.
Managing SLA policies
As your business grows, your team's priorities and workflows may evolve. Updating your SLA policies ensures they stay aligned with these changes and help your team maintain consistent response standards.
Editing an SLA policy
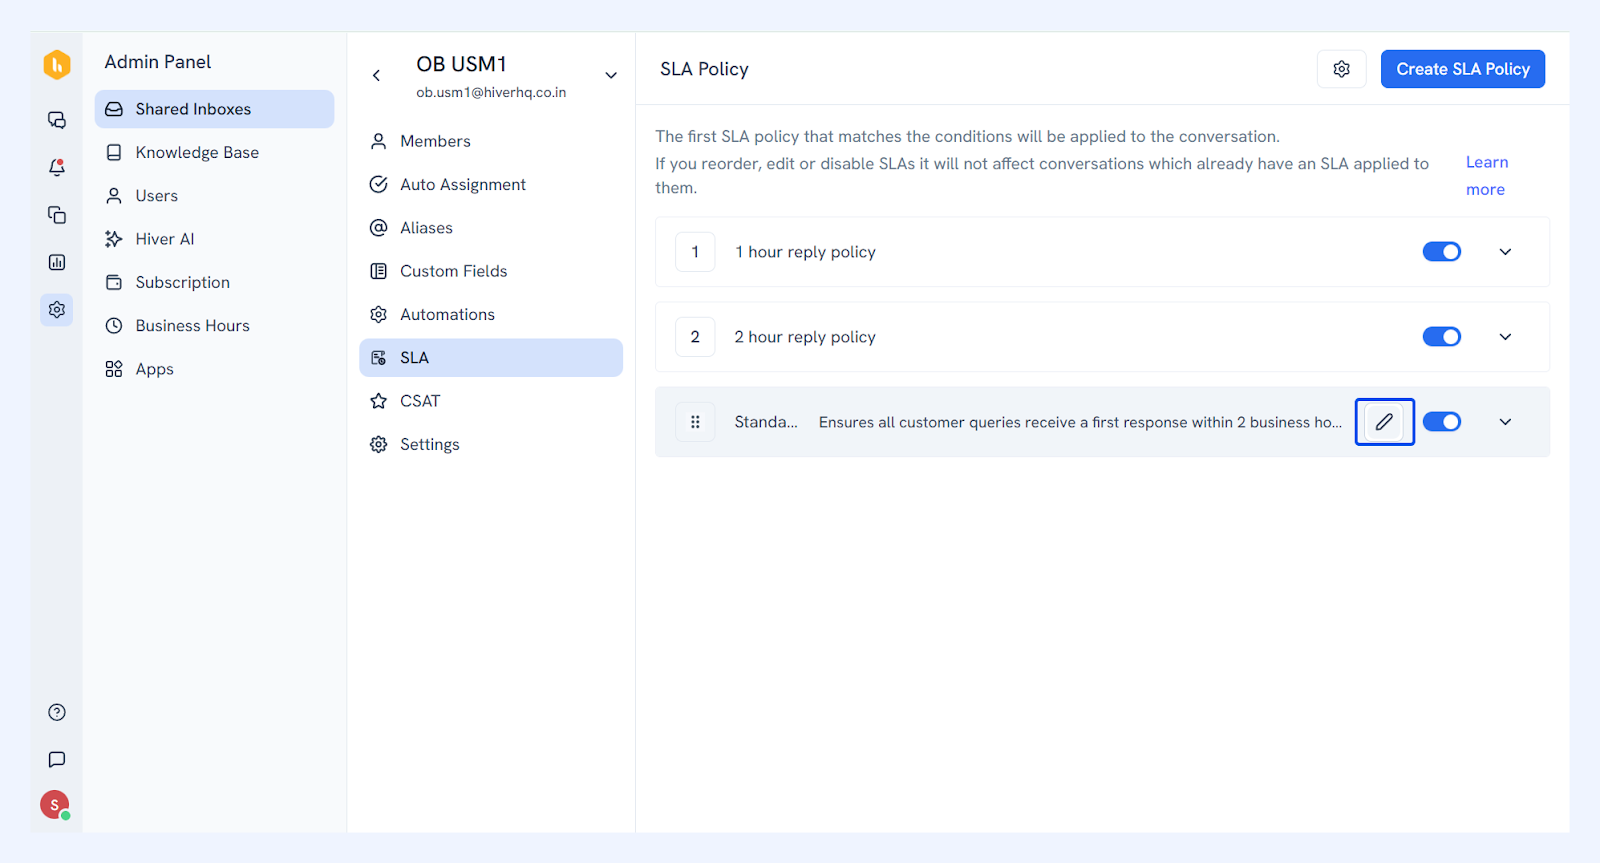
- Hover over the policy and click the edit icon.
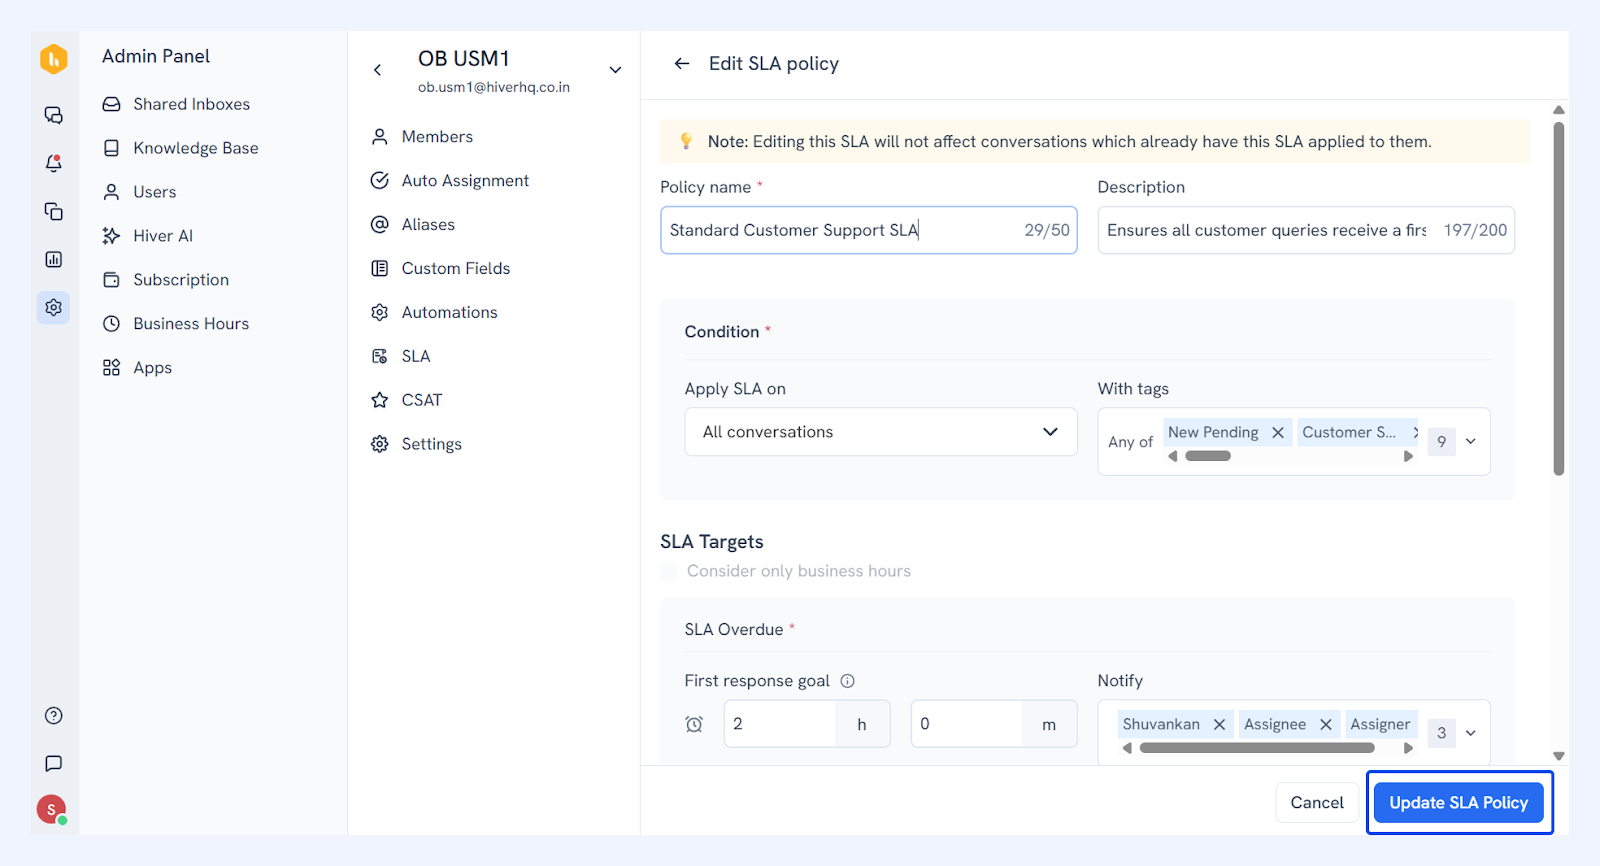
2. Make your changes and click Update SLA policy.
Reordering SLA policies
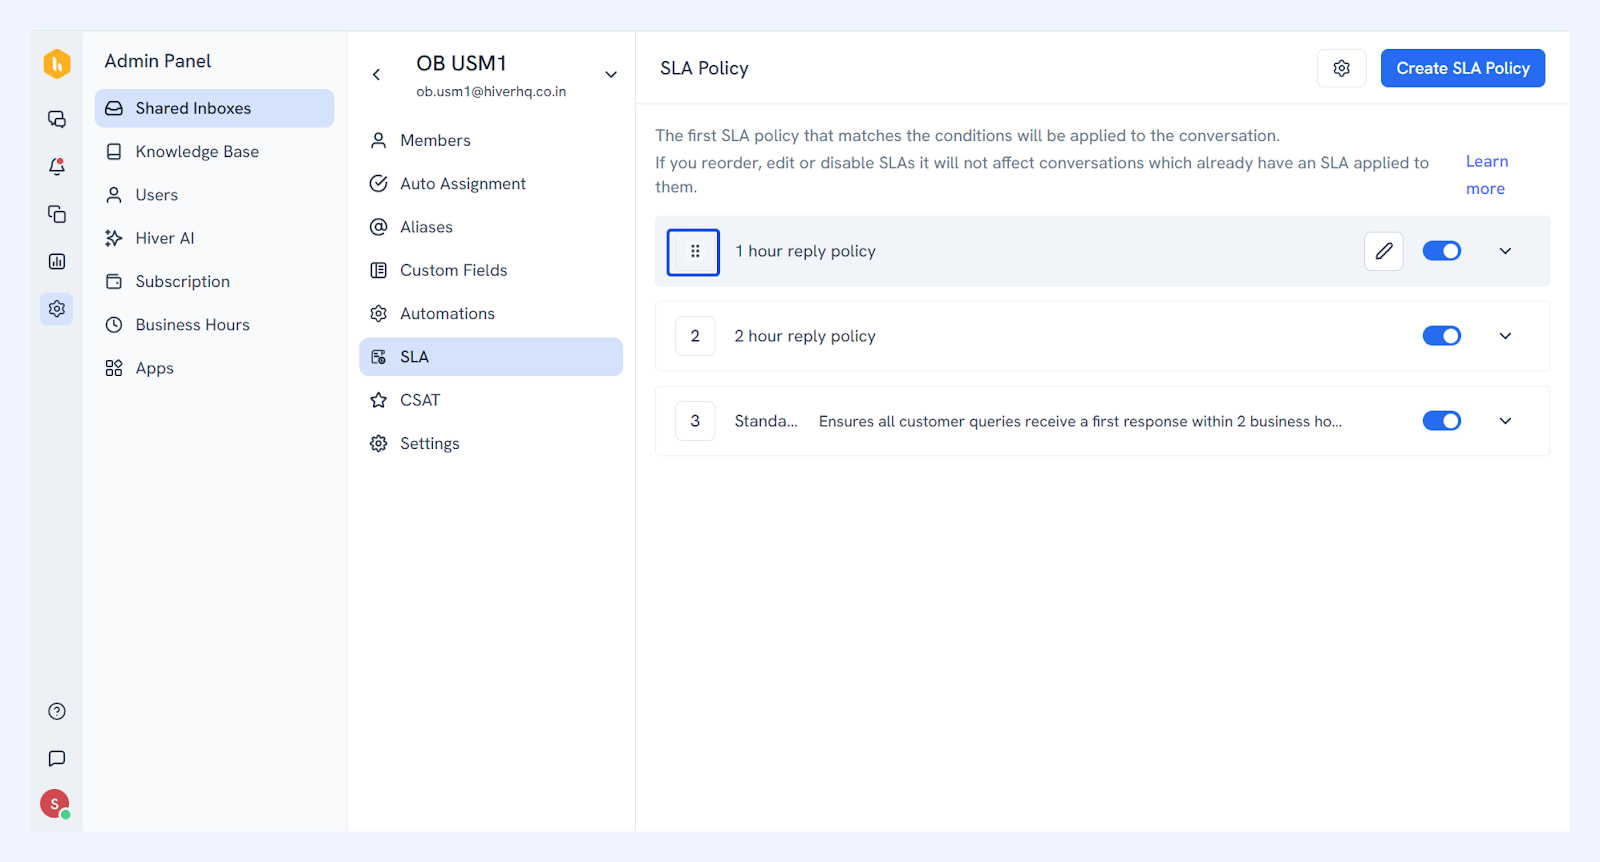
Hover over a policy and use the six-dot icon to drag the policy to its new position.
Disabling an SLA policy
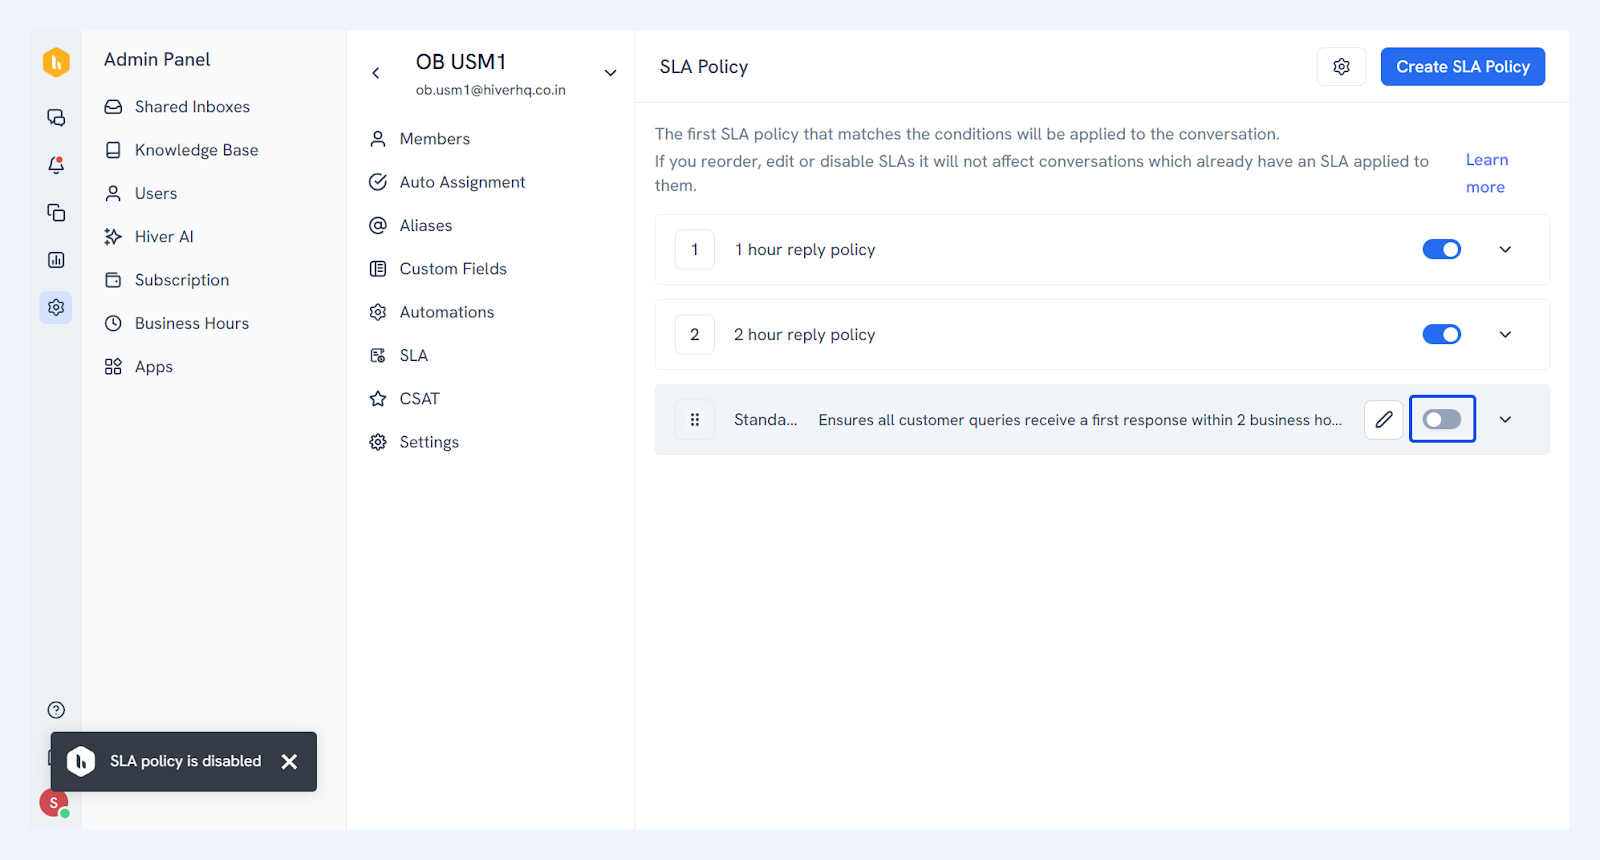
Click the toggle switch next to the policy to disable it.
Removing an SLA policy from a conversation
For a conversation that doesn’t need an SLA policy, you can remove SLA from it.
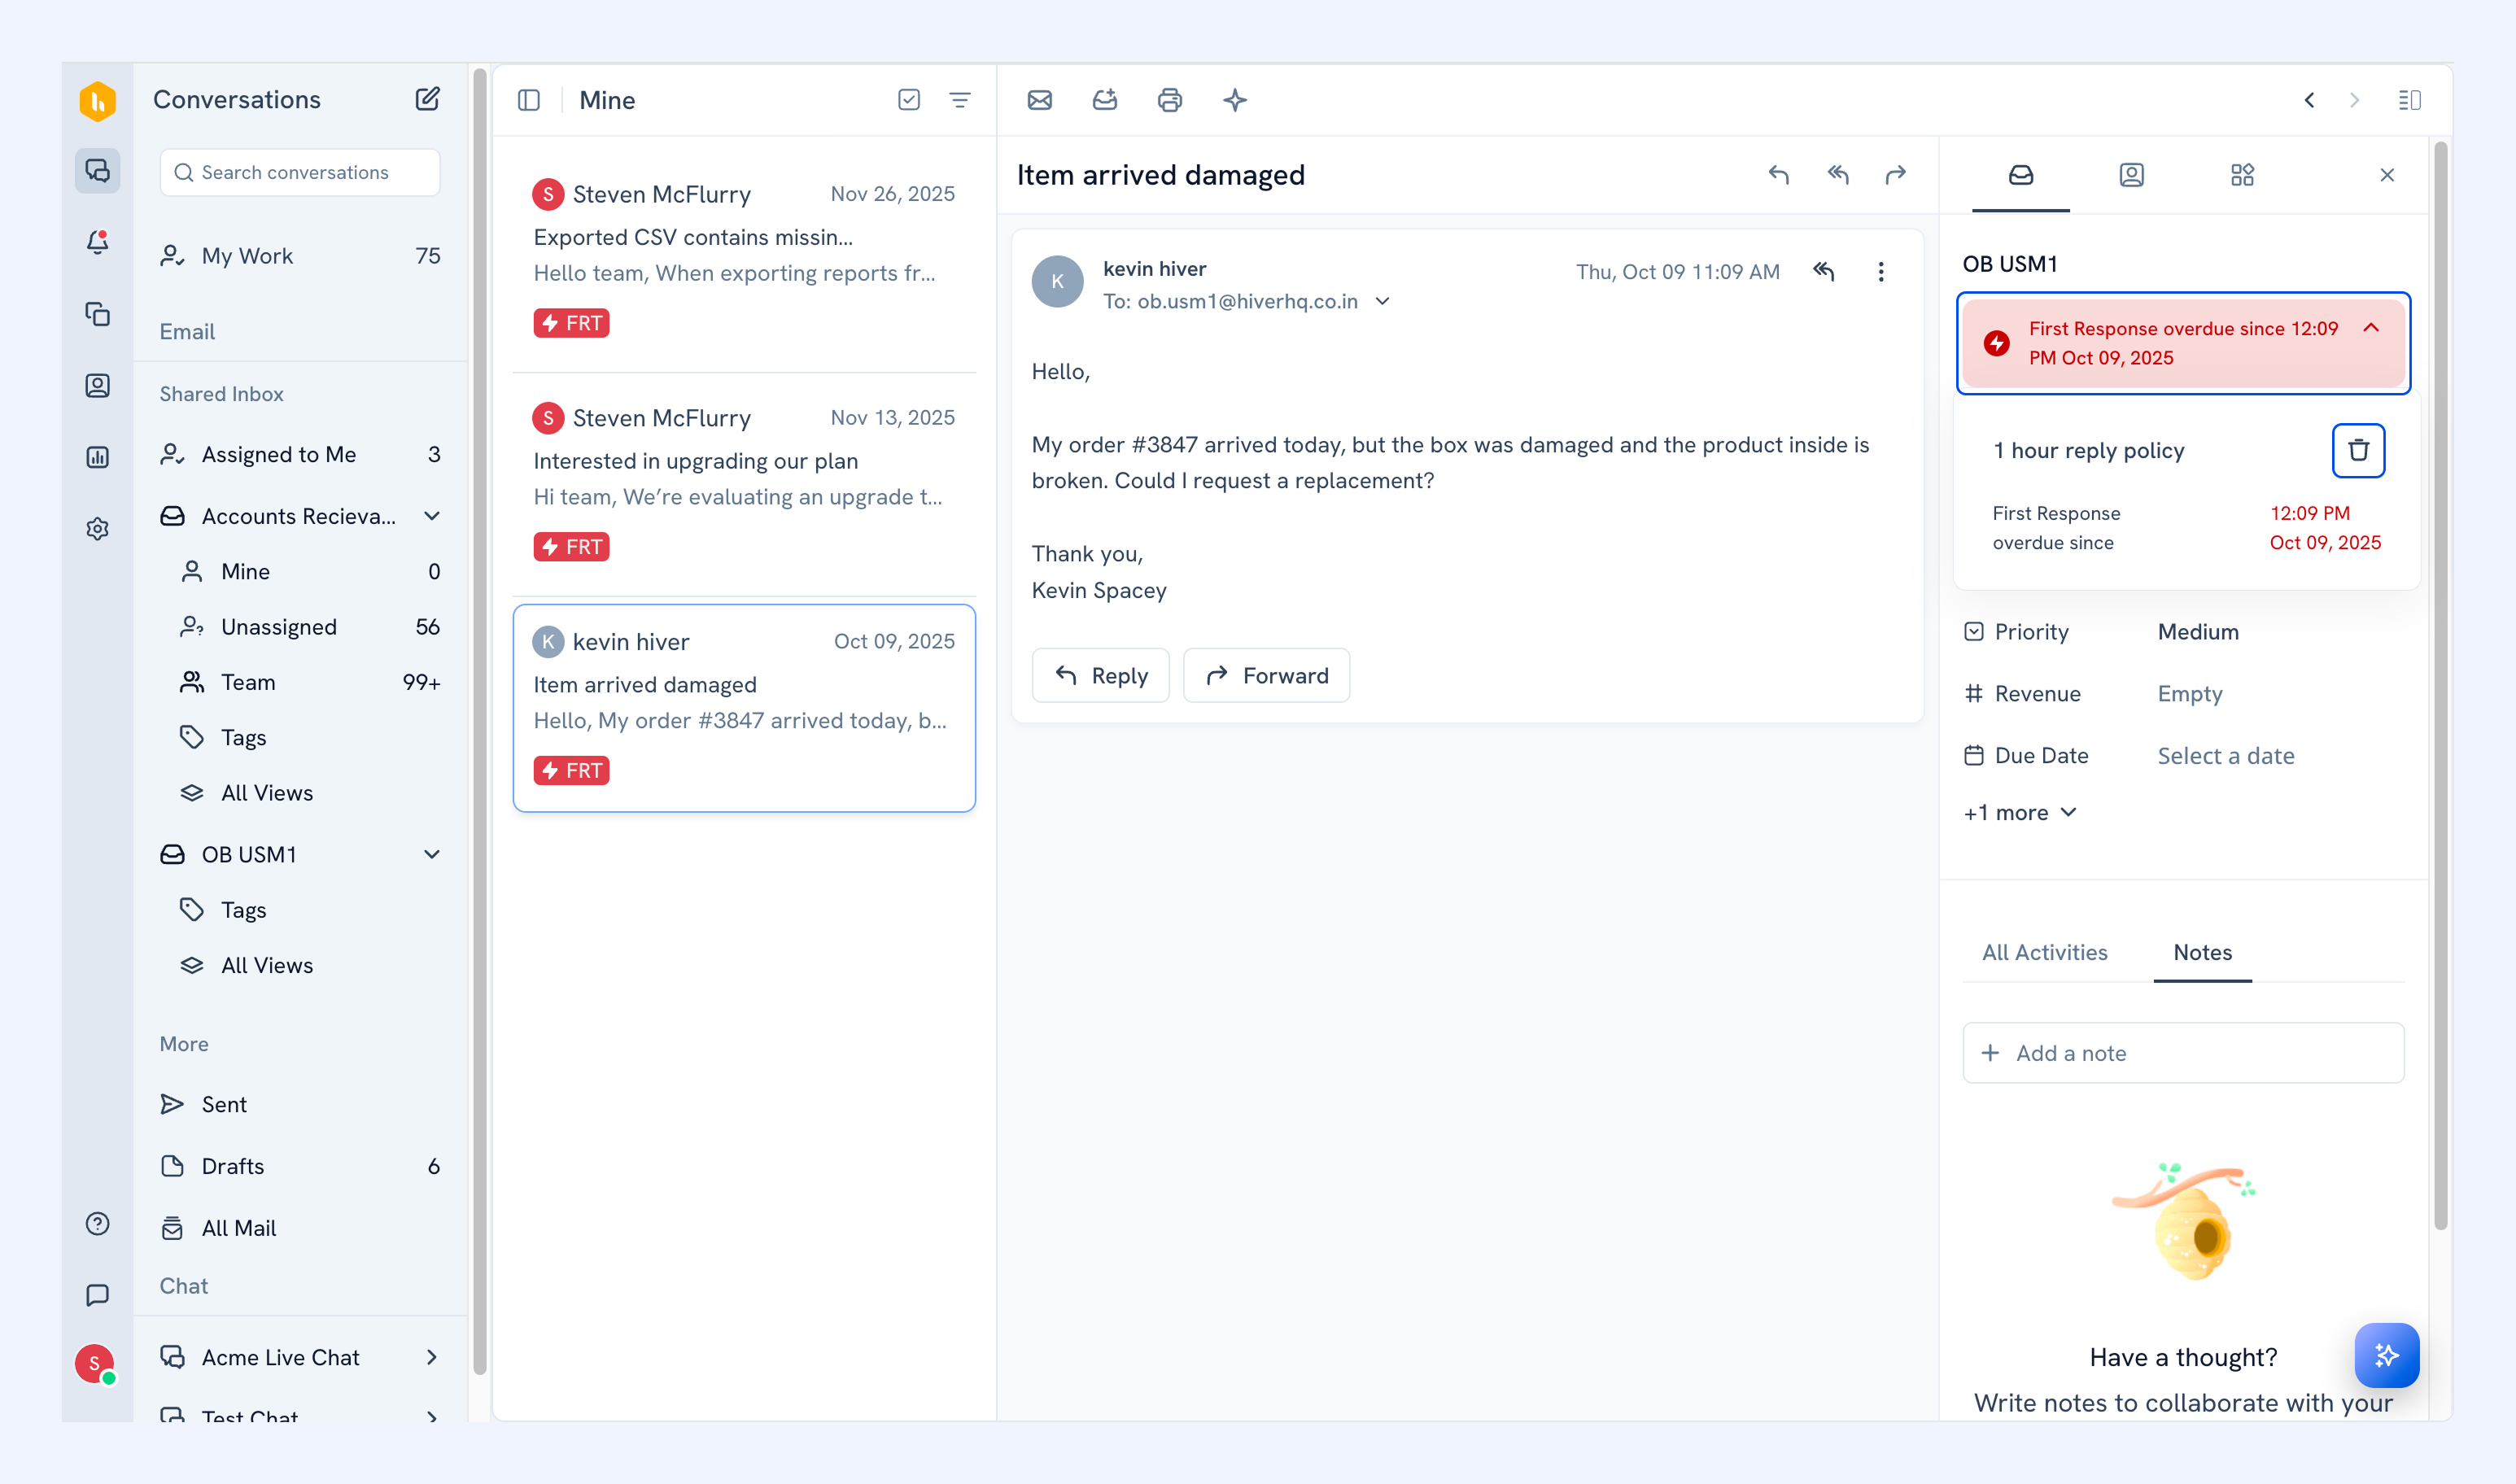
1. Open the conversation and find the SLA policy in the right panel and click the delete icon.
2. Click Remove SLA to confirm.
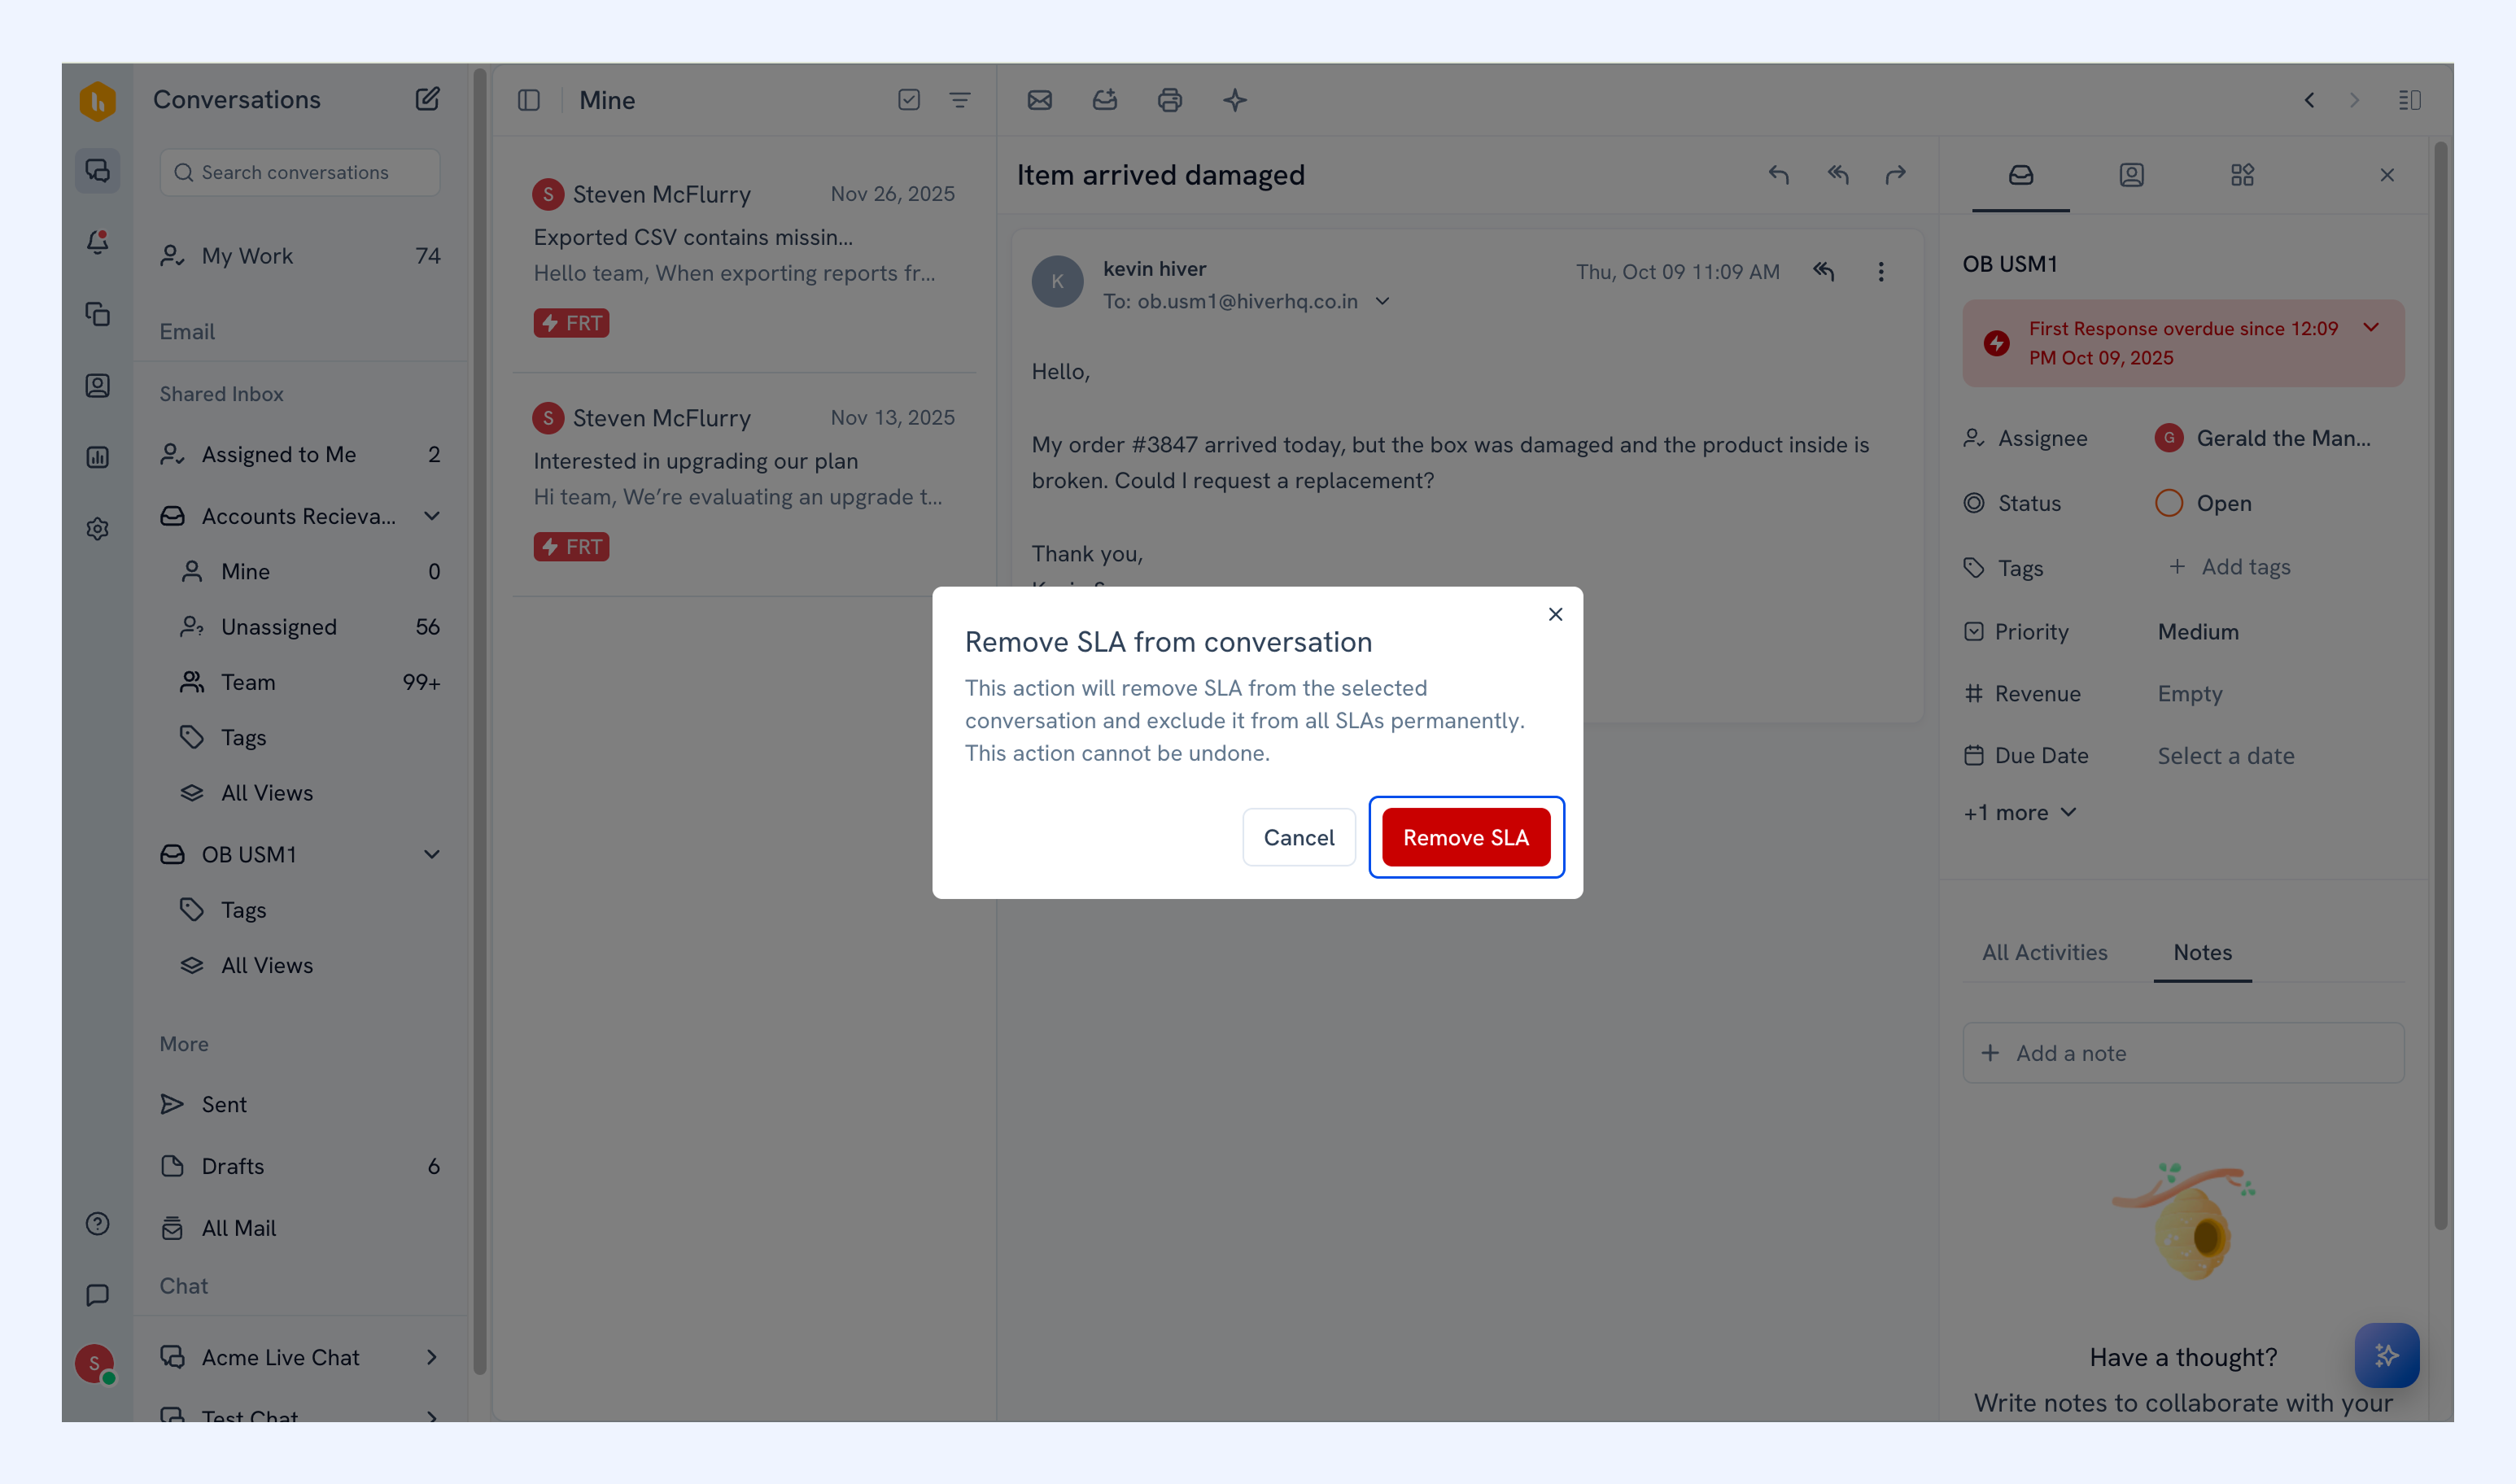
Note: Once removed, you cannot apply any other SLA policy to the conversation again.