Setting up Slack Inbox
A Slack Inbox in Hiver Omni lets your team manage Slack conversations alongside email and chat in one place. Instead of switching between tools, you can view and respond to Slack messages, assign and track ownership, collaborate with your team, and more right from Hiver Omni.
This article walks you through how to set up a Slack Inbox and start managing your Slack channels more efficiently.
Prerequisites
Before you begin, make sure you have:
- Admin access in Hiver.
- Access to the Slack workspace you want to connect.
Note: You can only connect one Slack workspace to Hiver Omni. You can create multiple Slack Inboxes using channels from that workspace, but not across different workspaces.
How to set up your Slack Inbox
Method 1: Setting up during onboarding
If you're setting up Hiver Omni for the first time and have selected Slack as your support channel, you'll be guided through the Slack Inbox setup as part of the onboarding flow. Here’s an overview of the steps:
1. Start onboarding
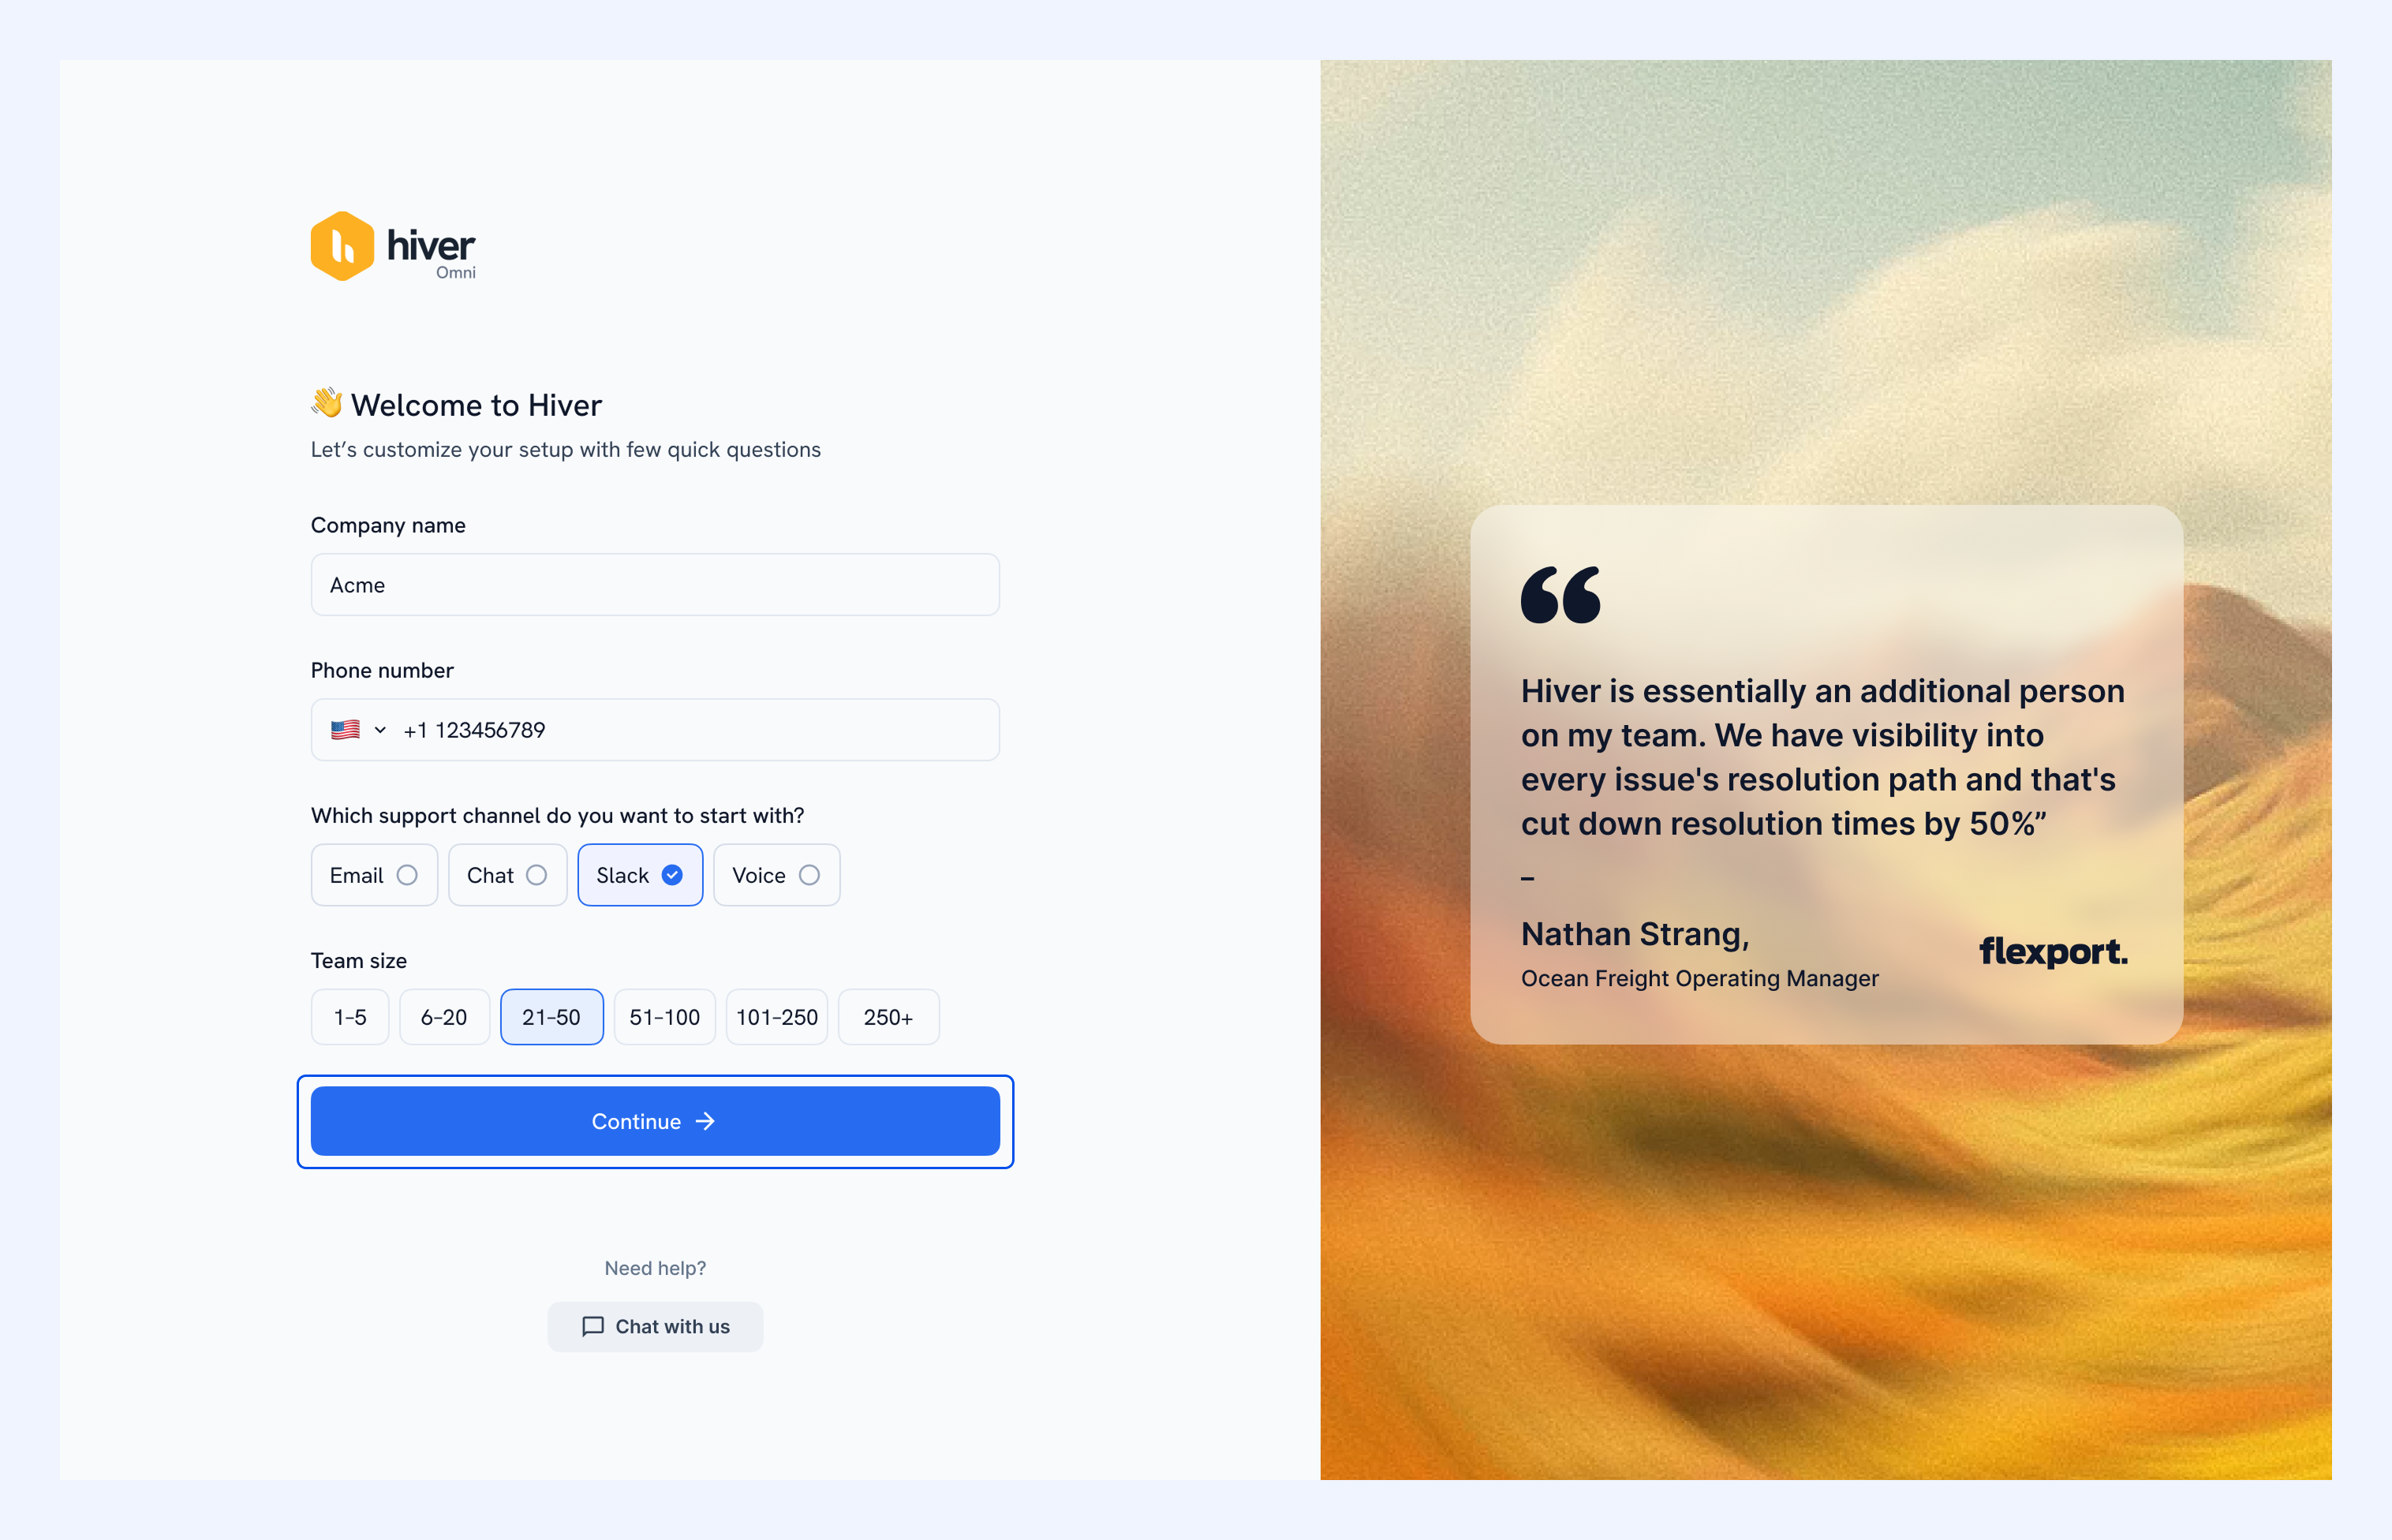
On the Welcome screen:
- Enter your phone number
- Choose your team type
- Select Slack as the channel you want to get started with
- Click Continue.
You’ll next be prompted to connect to Slack.
2. Connect your Slack workspace
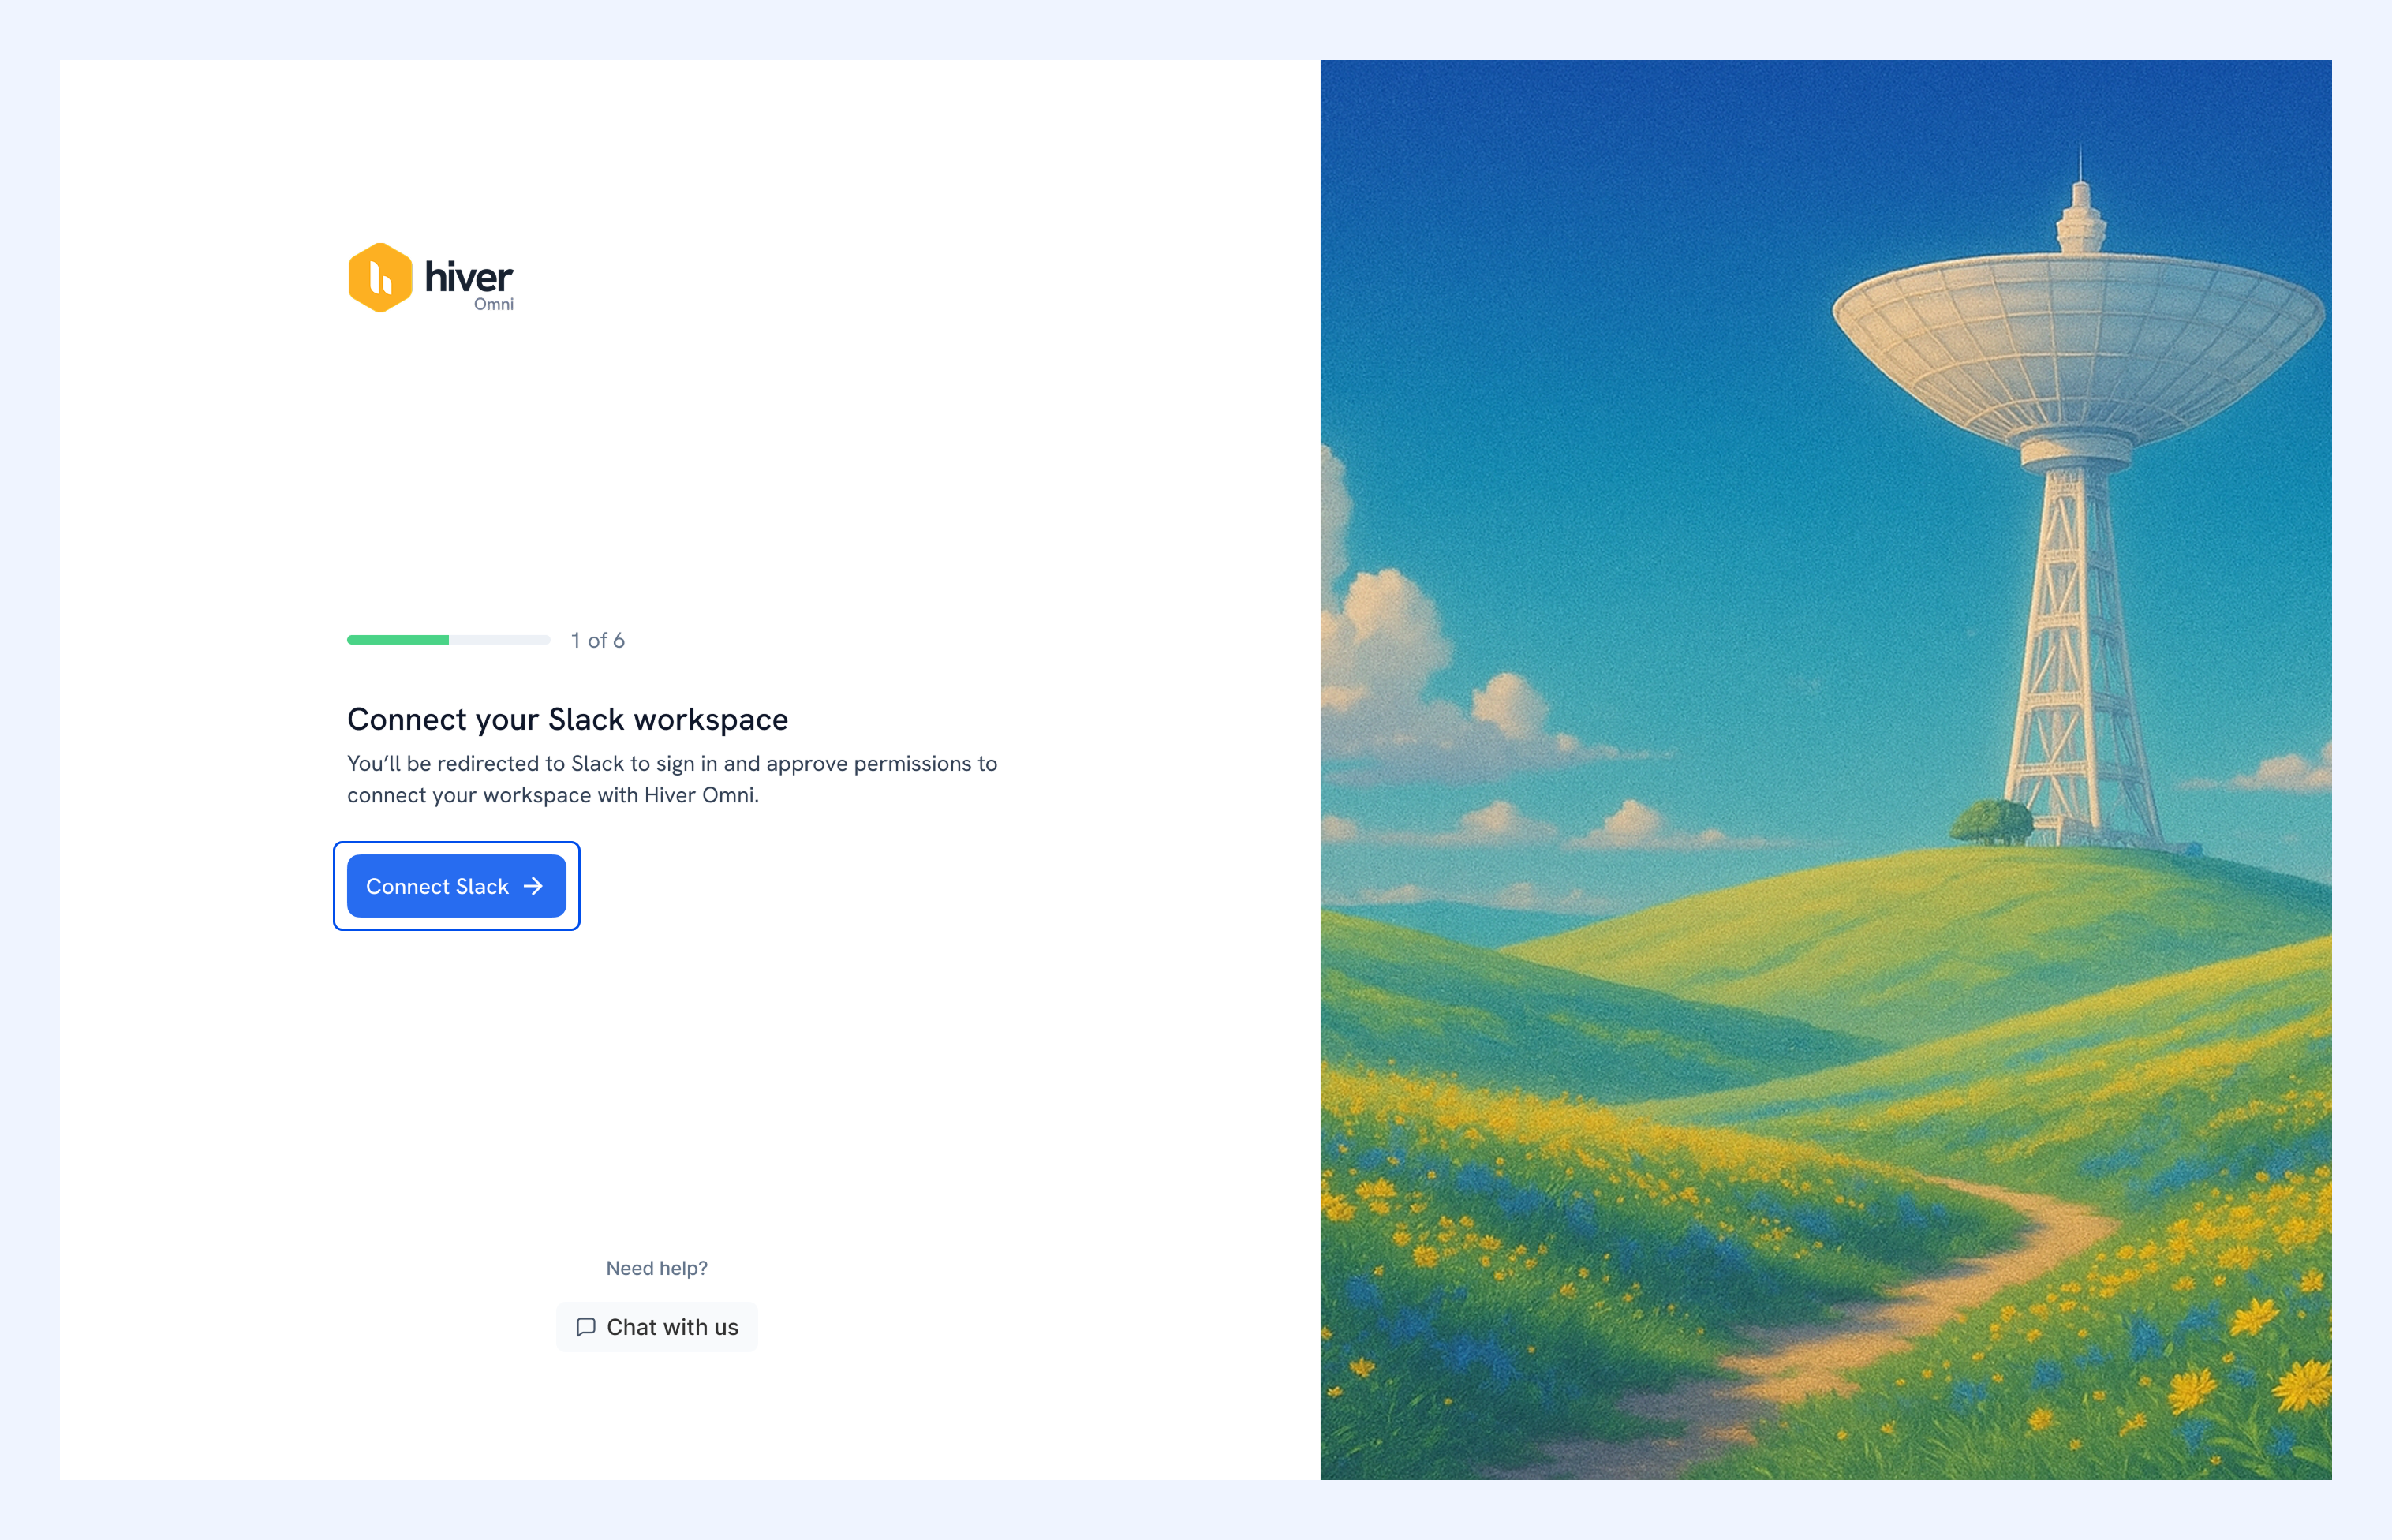
To get started, click Connect Slack. You'll be redirected to sign in to Slack and authorize Hiver.
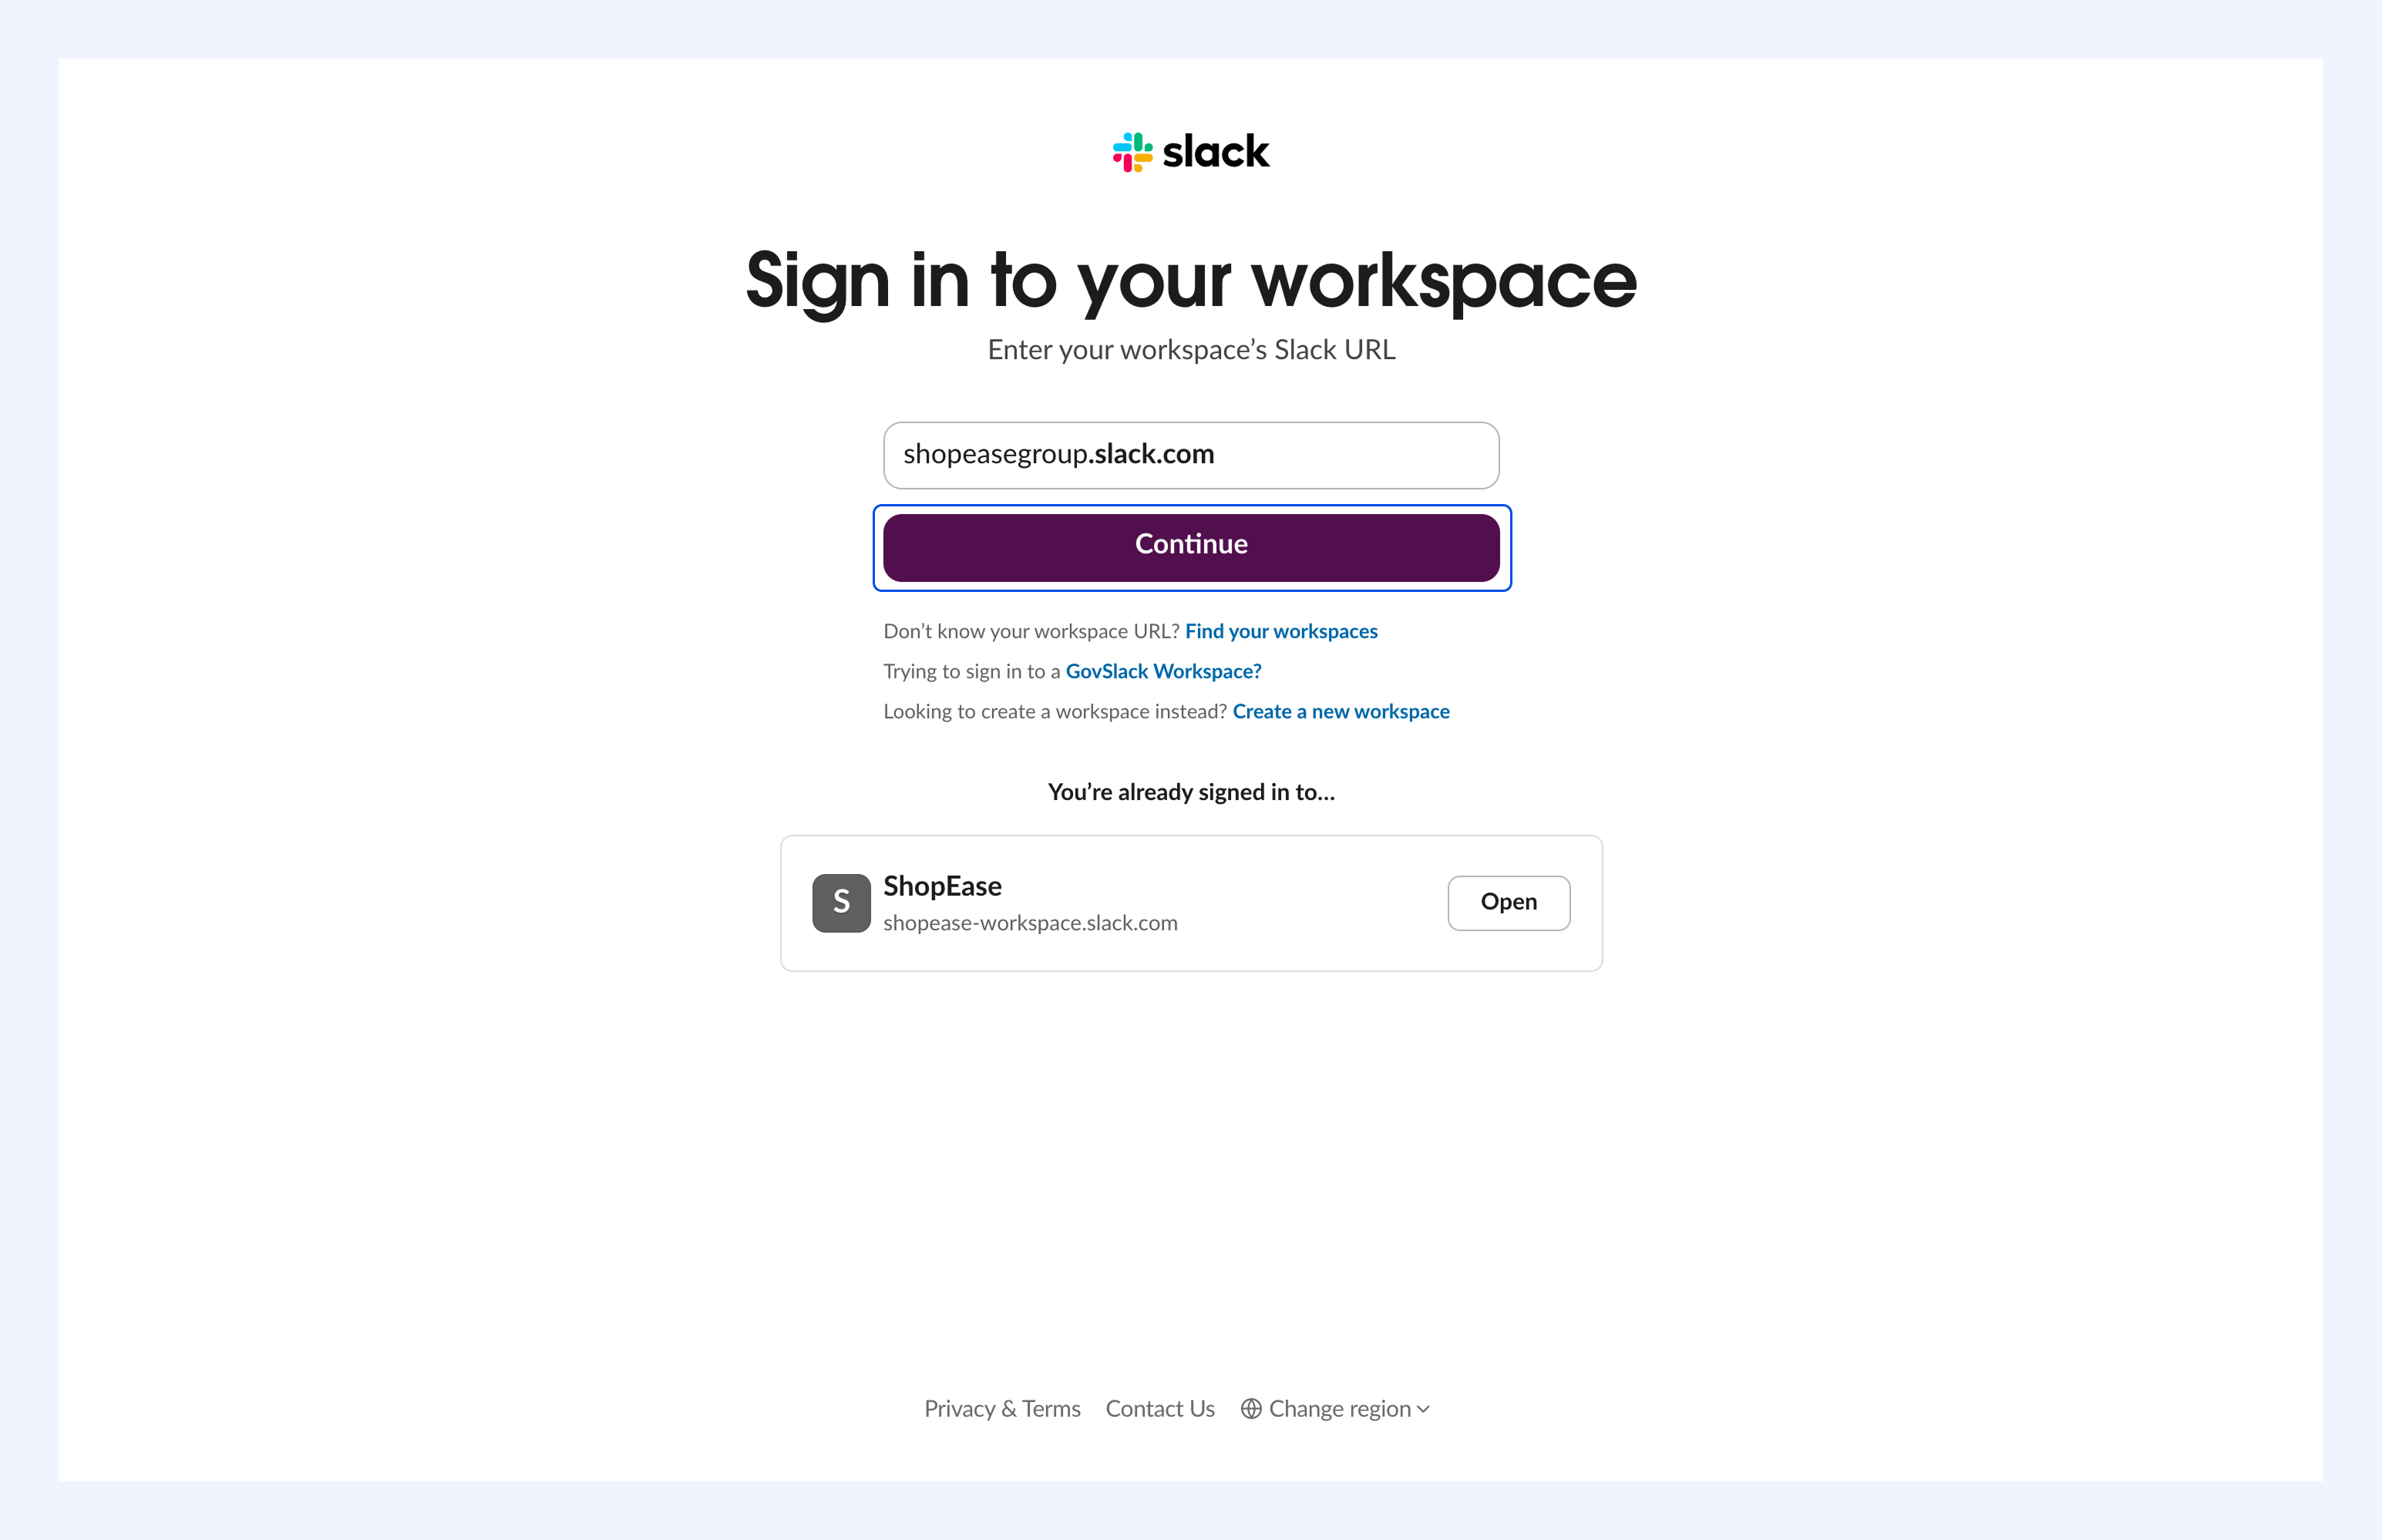
Next, add your Slack workspace URL and click Continue.
3. Review and approve permissions
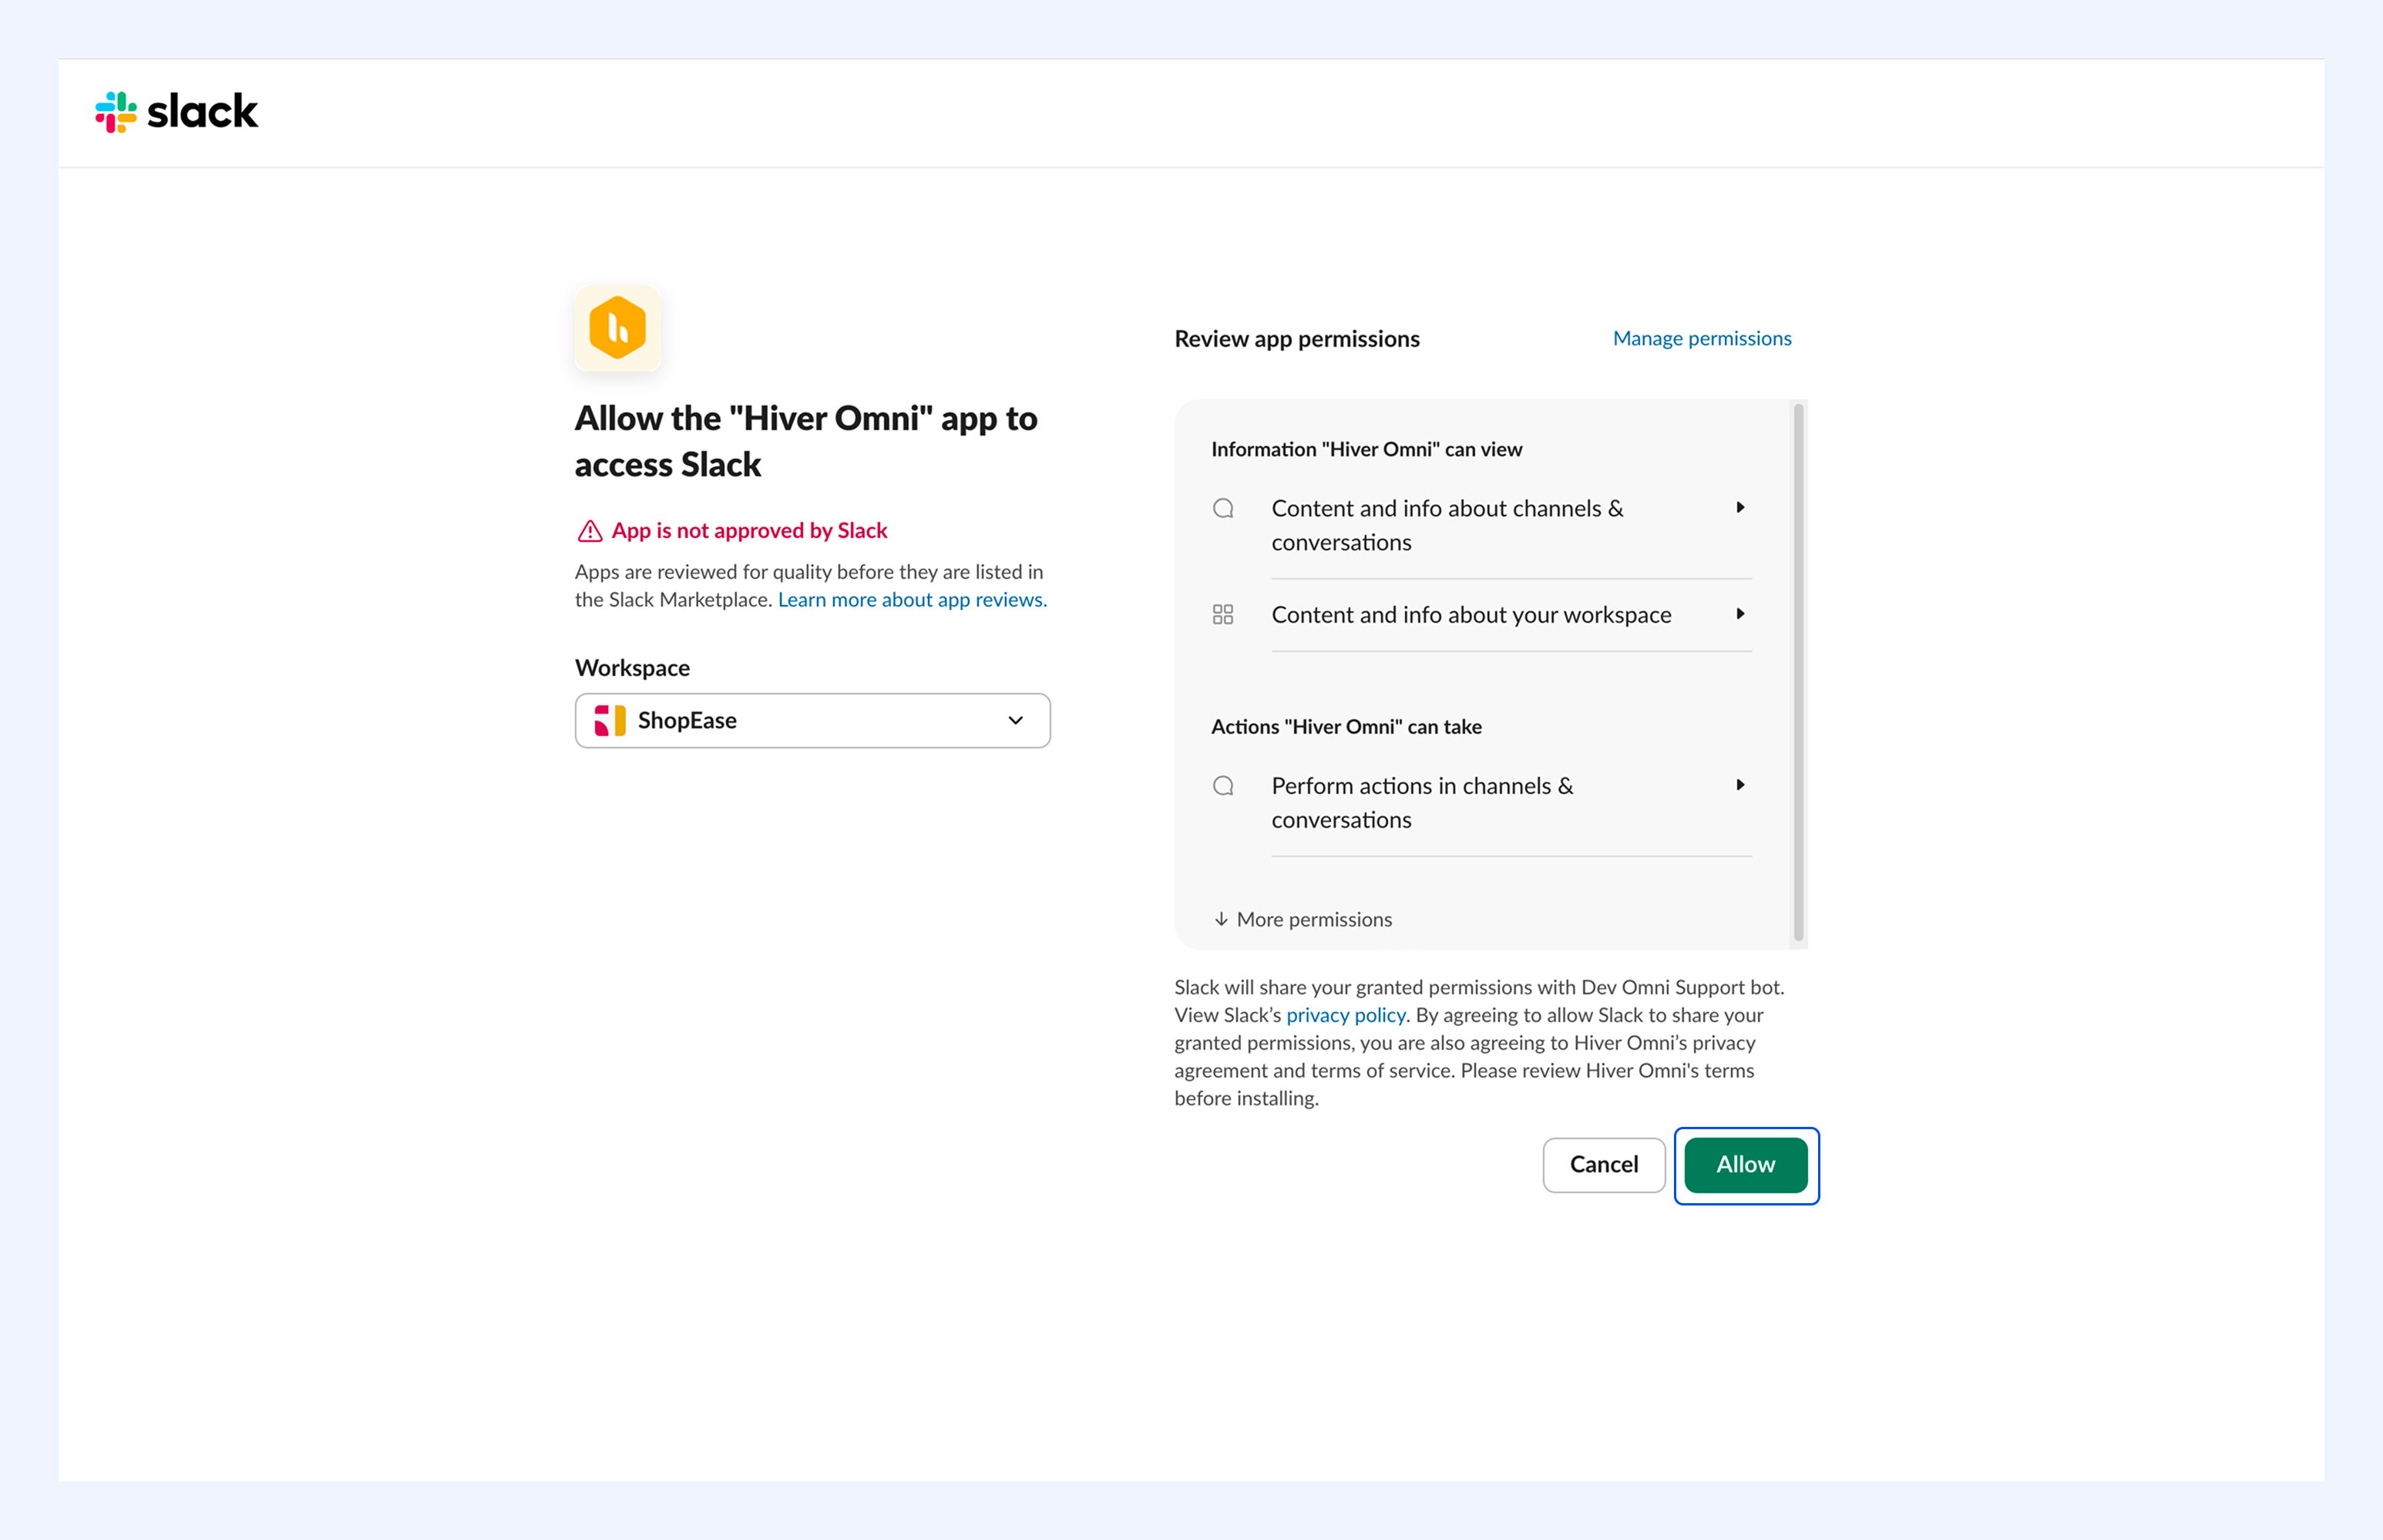
Slack will show you the permissions Hiver requires. Review the permissions and click Allow to continue. You'll be redirected to Hiver Omni once done.
4. Choose which Slack channels to connect
Select the Slack channels you want to connect with Hiver Omni. Keep in mind that private channels will only appear if the Hiver Omni app has been added to them.
Learn how to add the Hiver Omni app.
Tips:
- Use the Search bar to find channels quickly.
- Click Refresh to pull new channels and private channels with the Hiver Omni app.
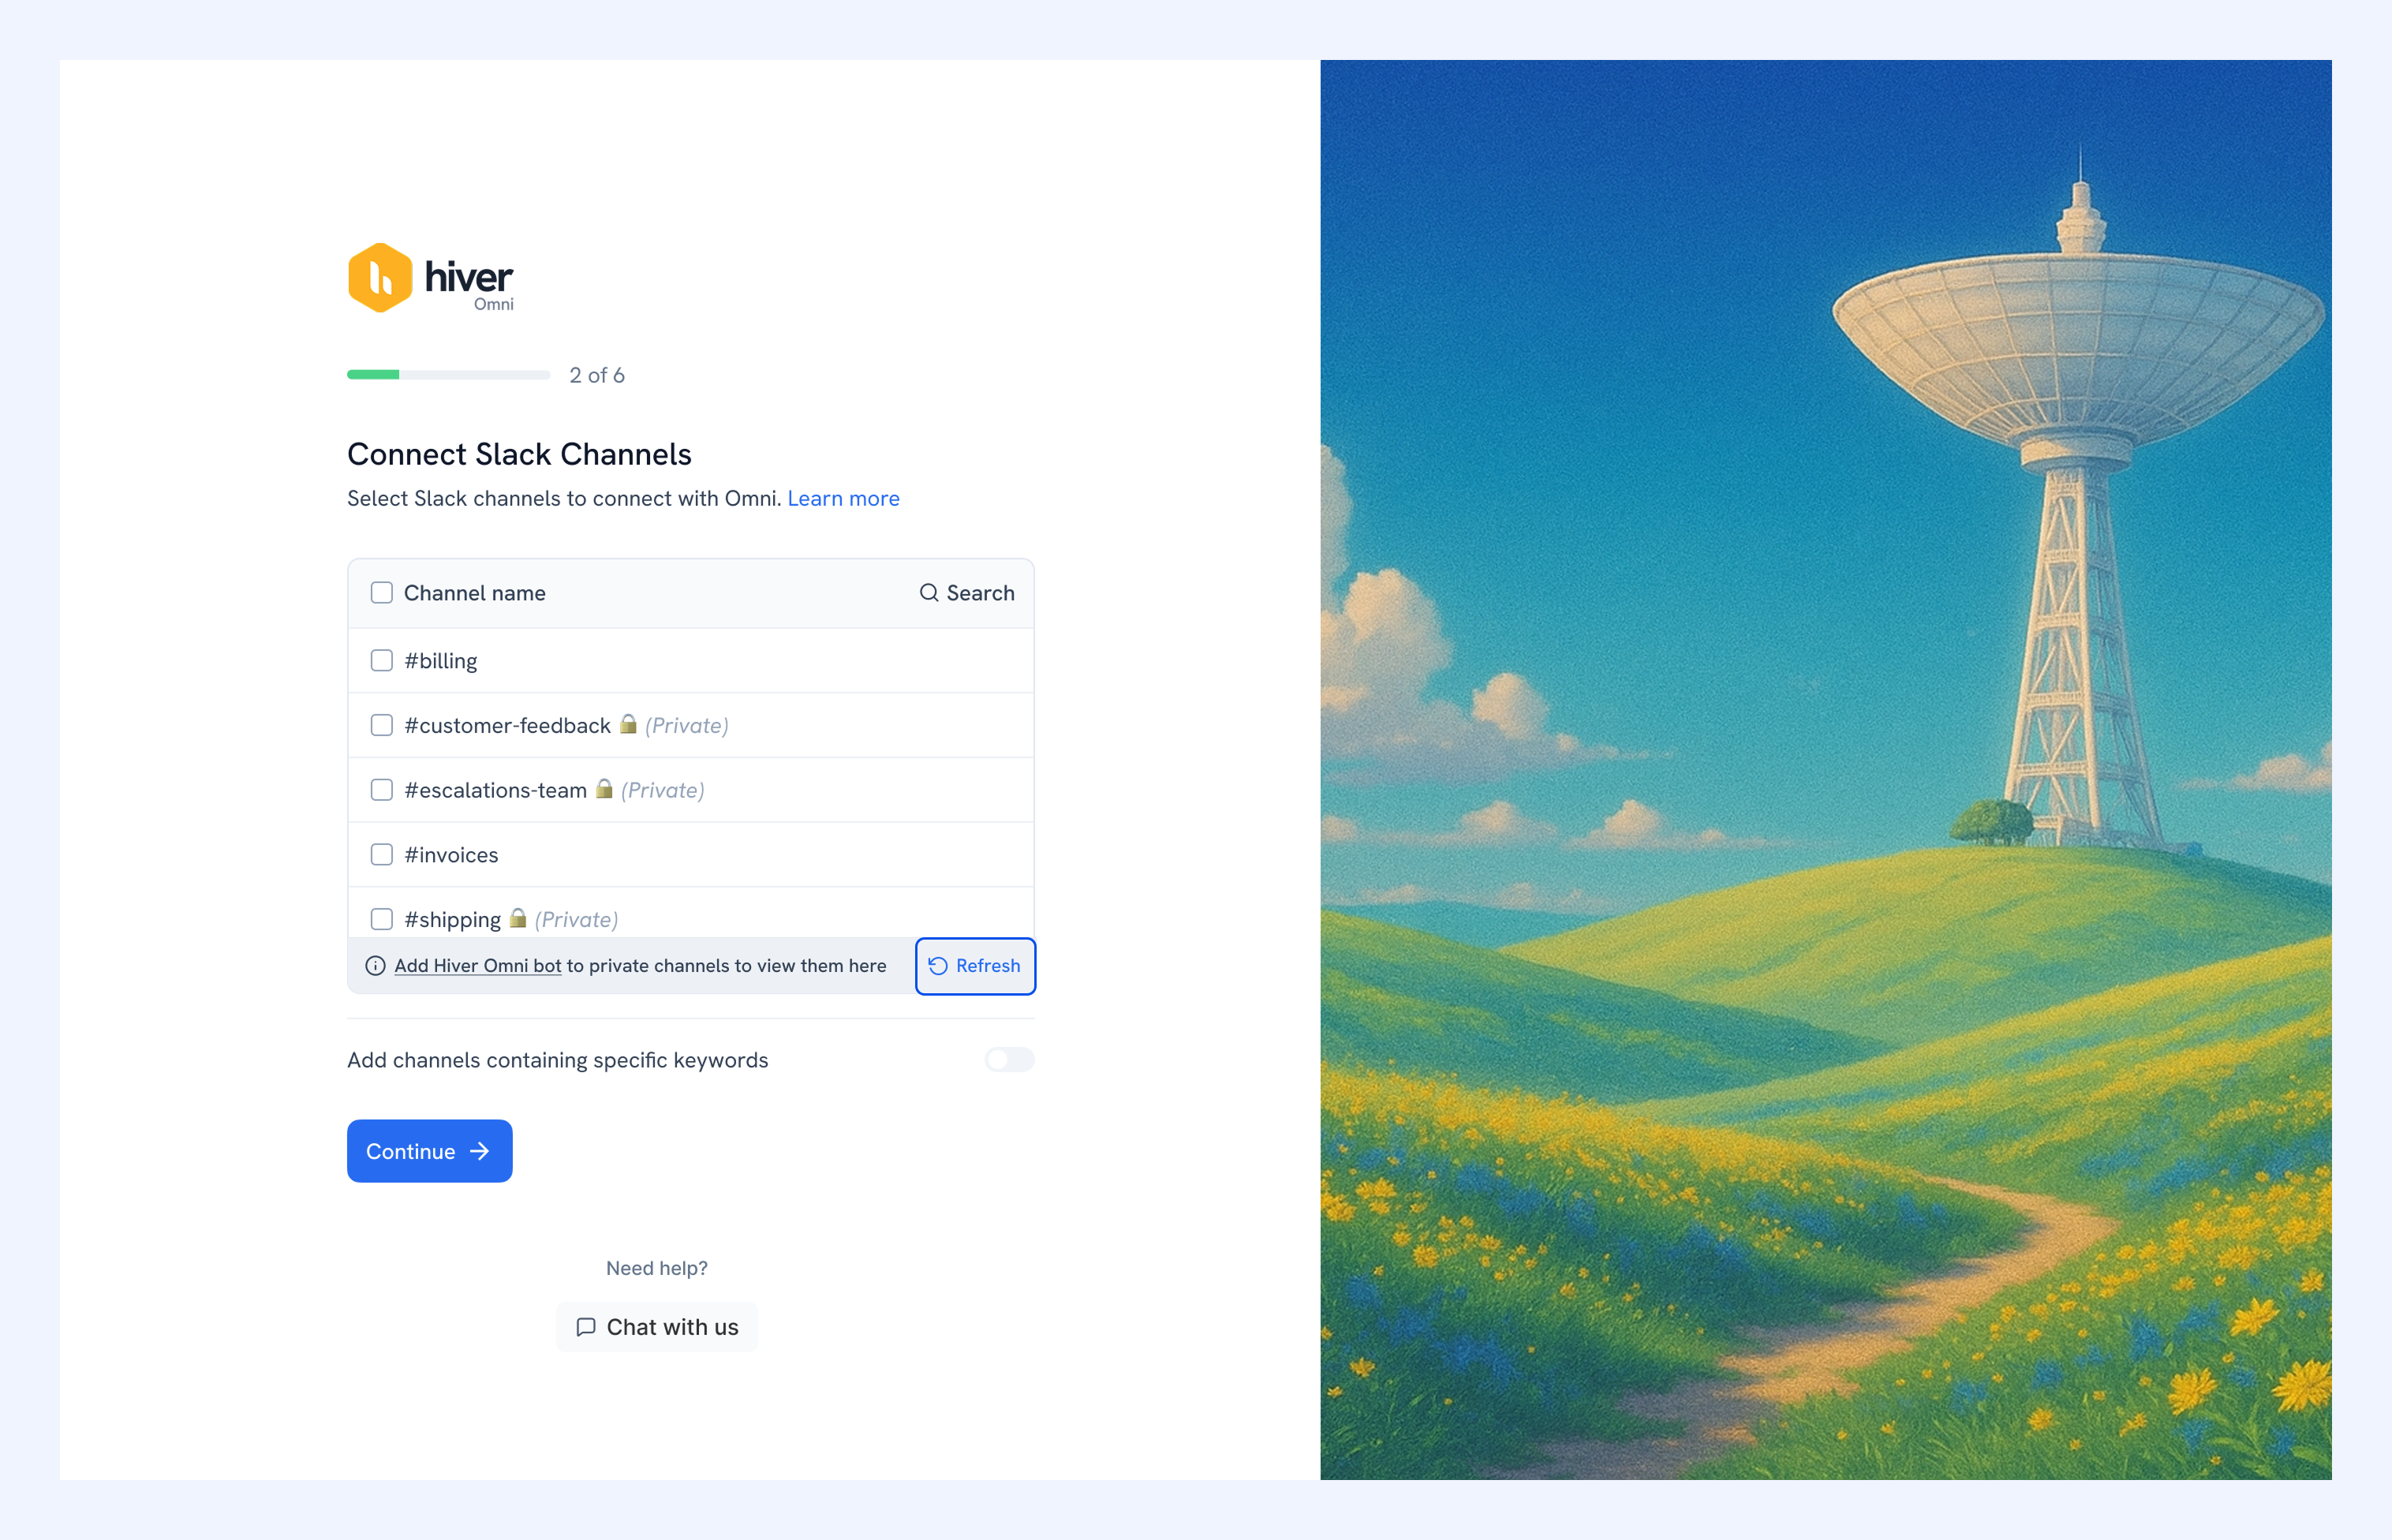
Once you’ve selected the Slack channels, click Continue.
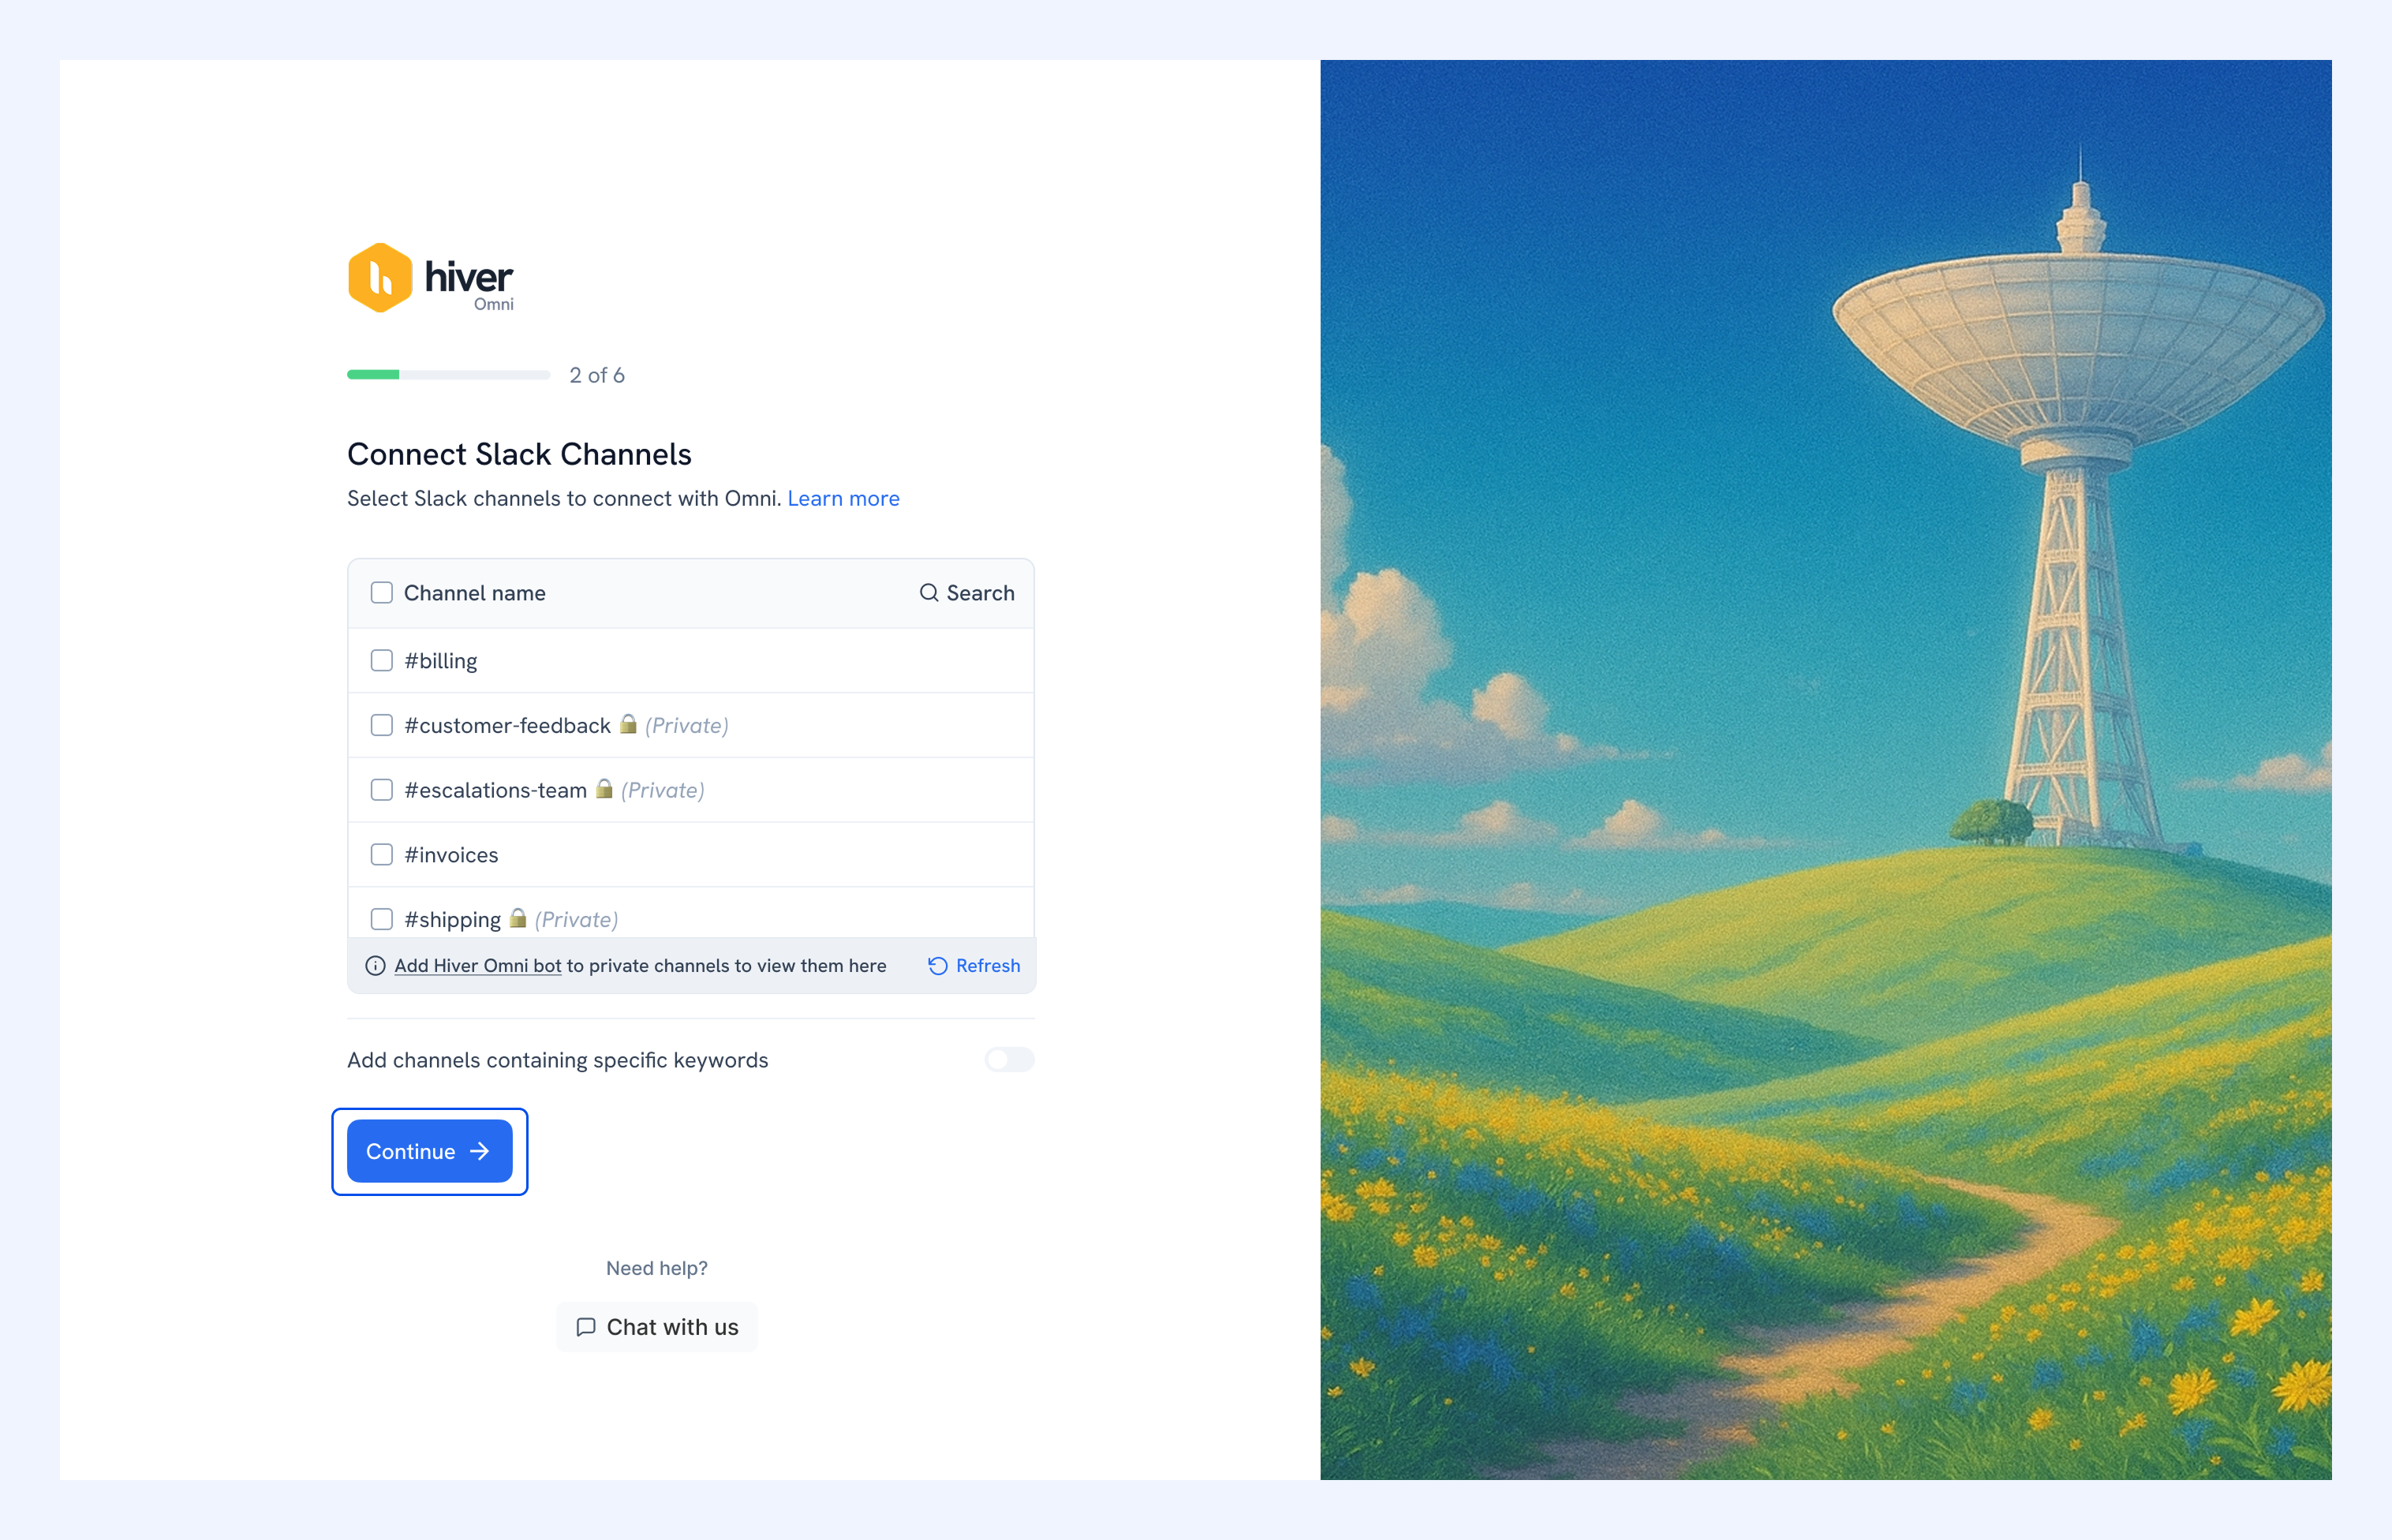
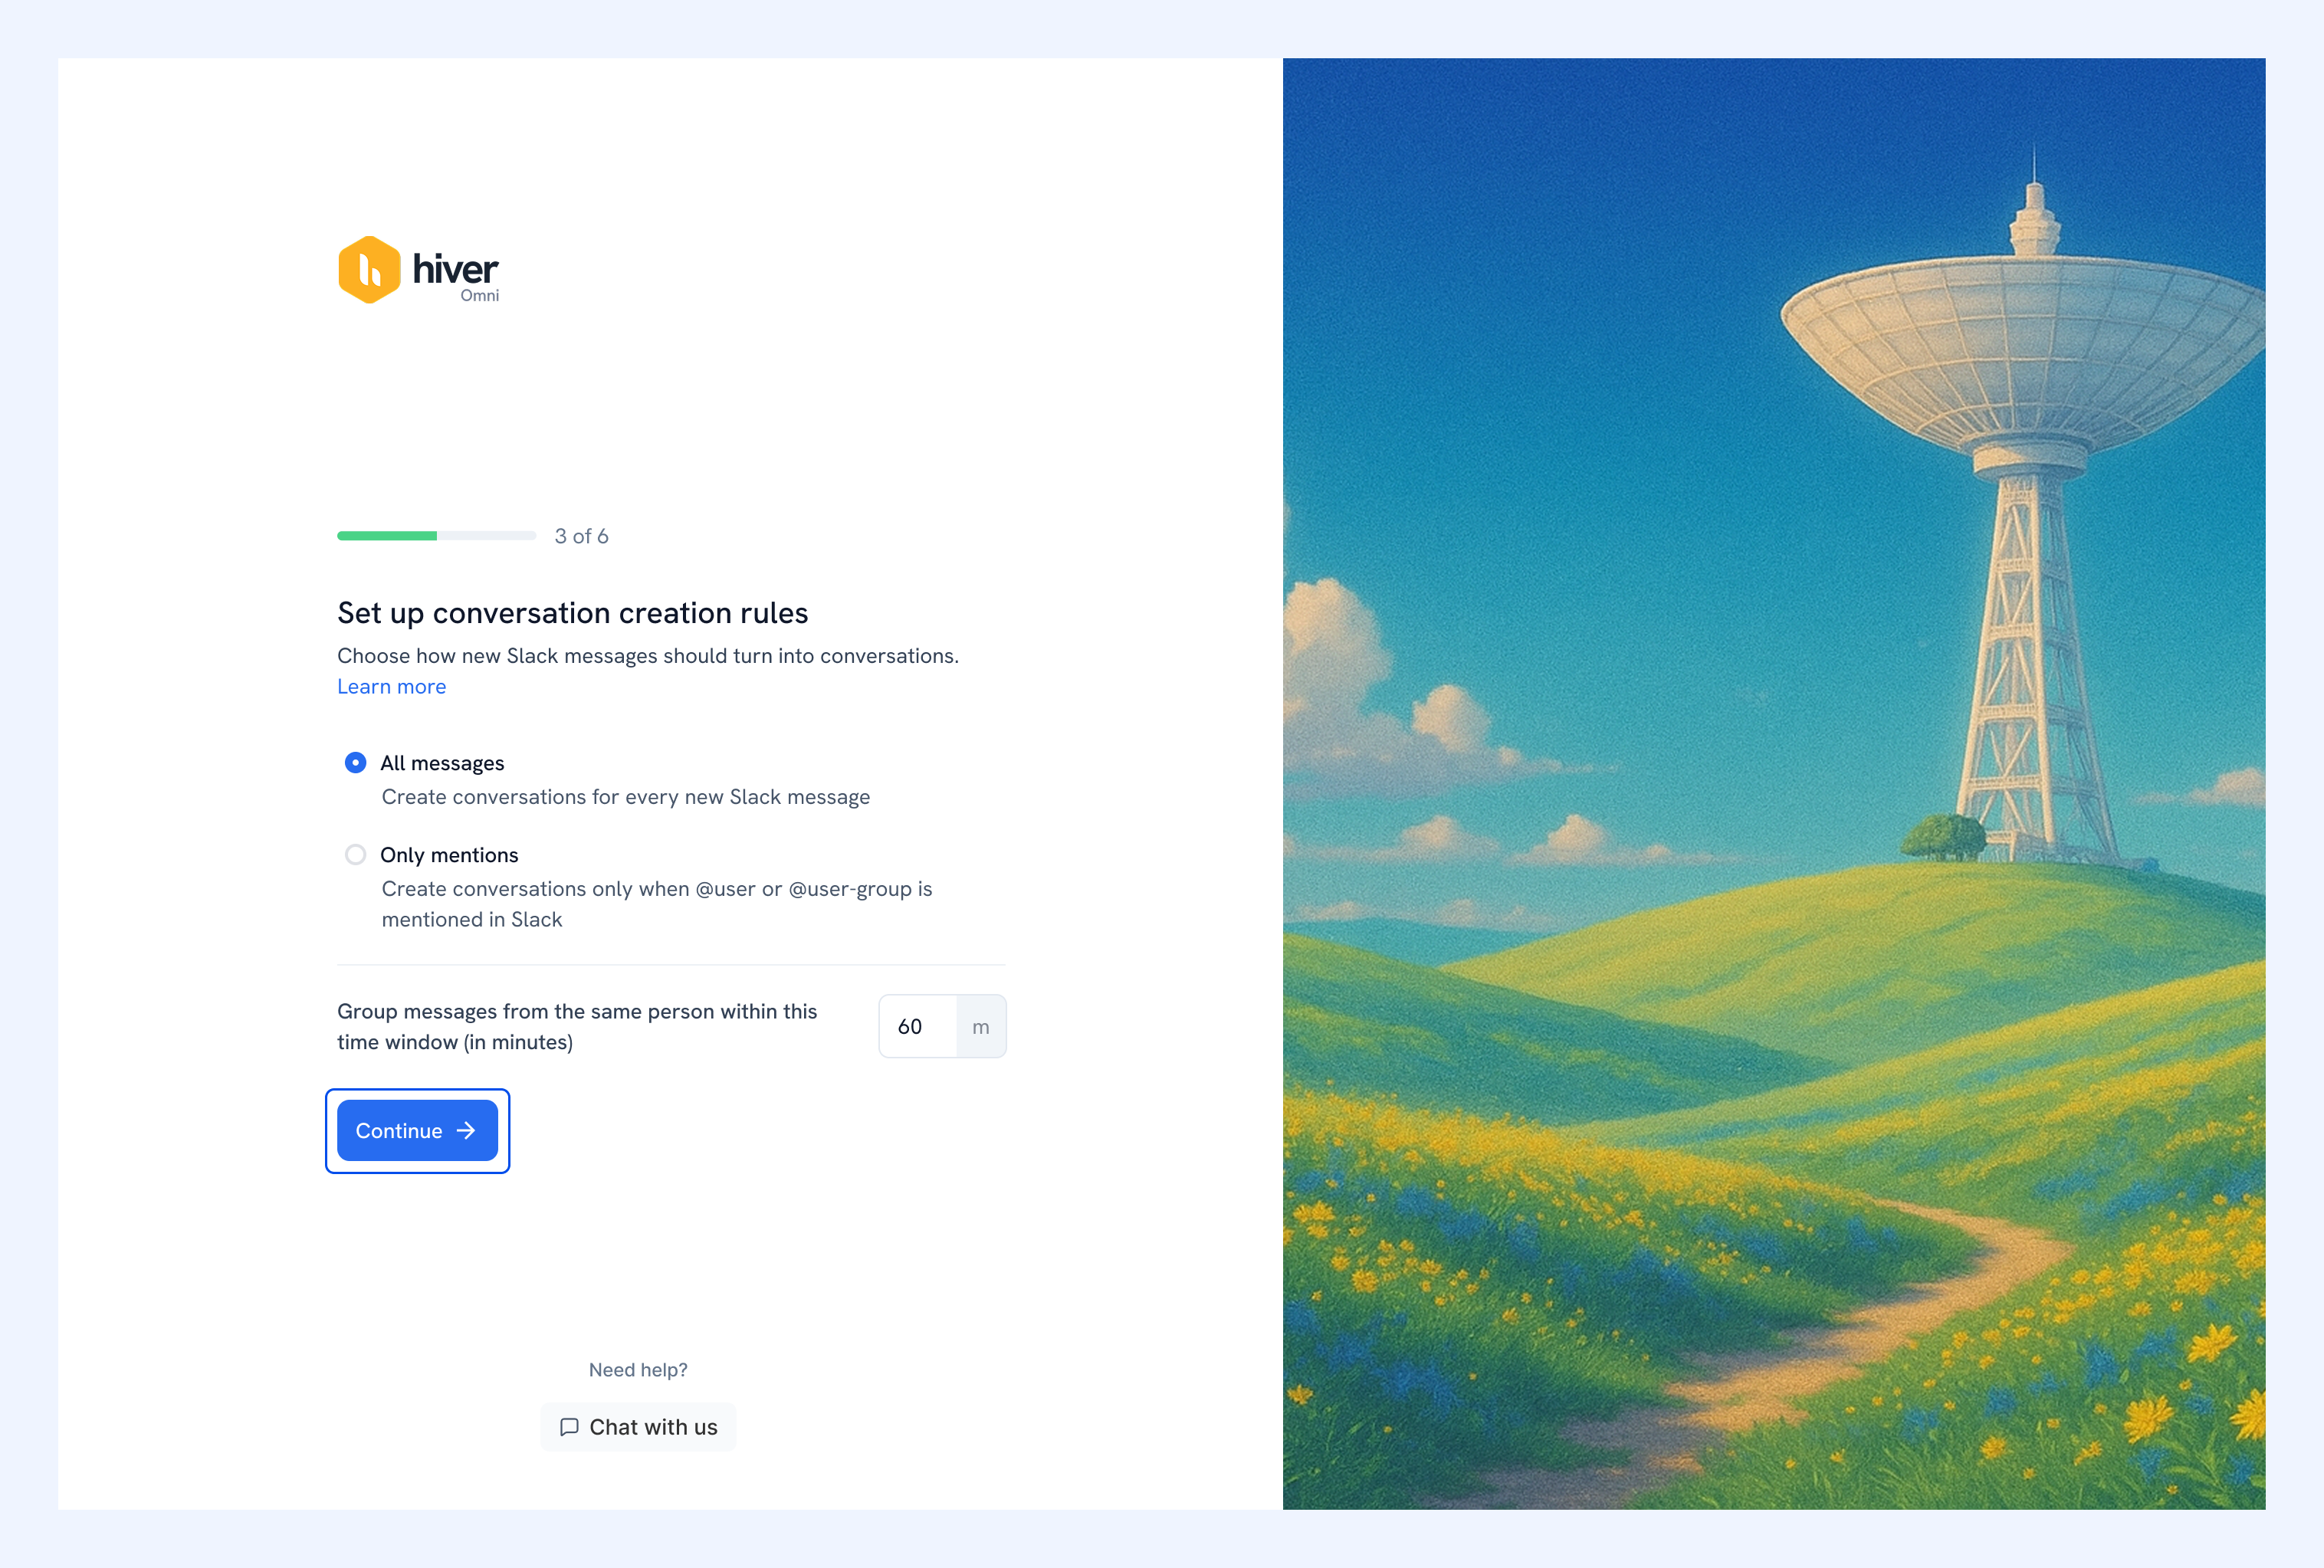
5. Choose how incoming Slack messages become conversations in Hiver Omni
You’ll see two options:
- All messages: Every new message sent to the connected channel creates a conversation in Hiver Omni.
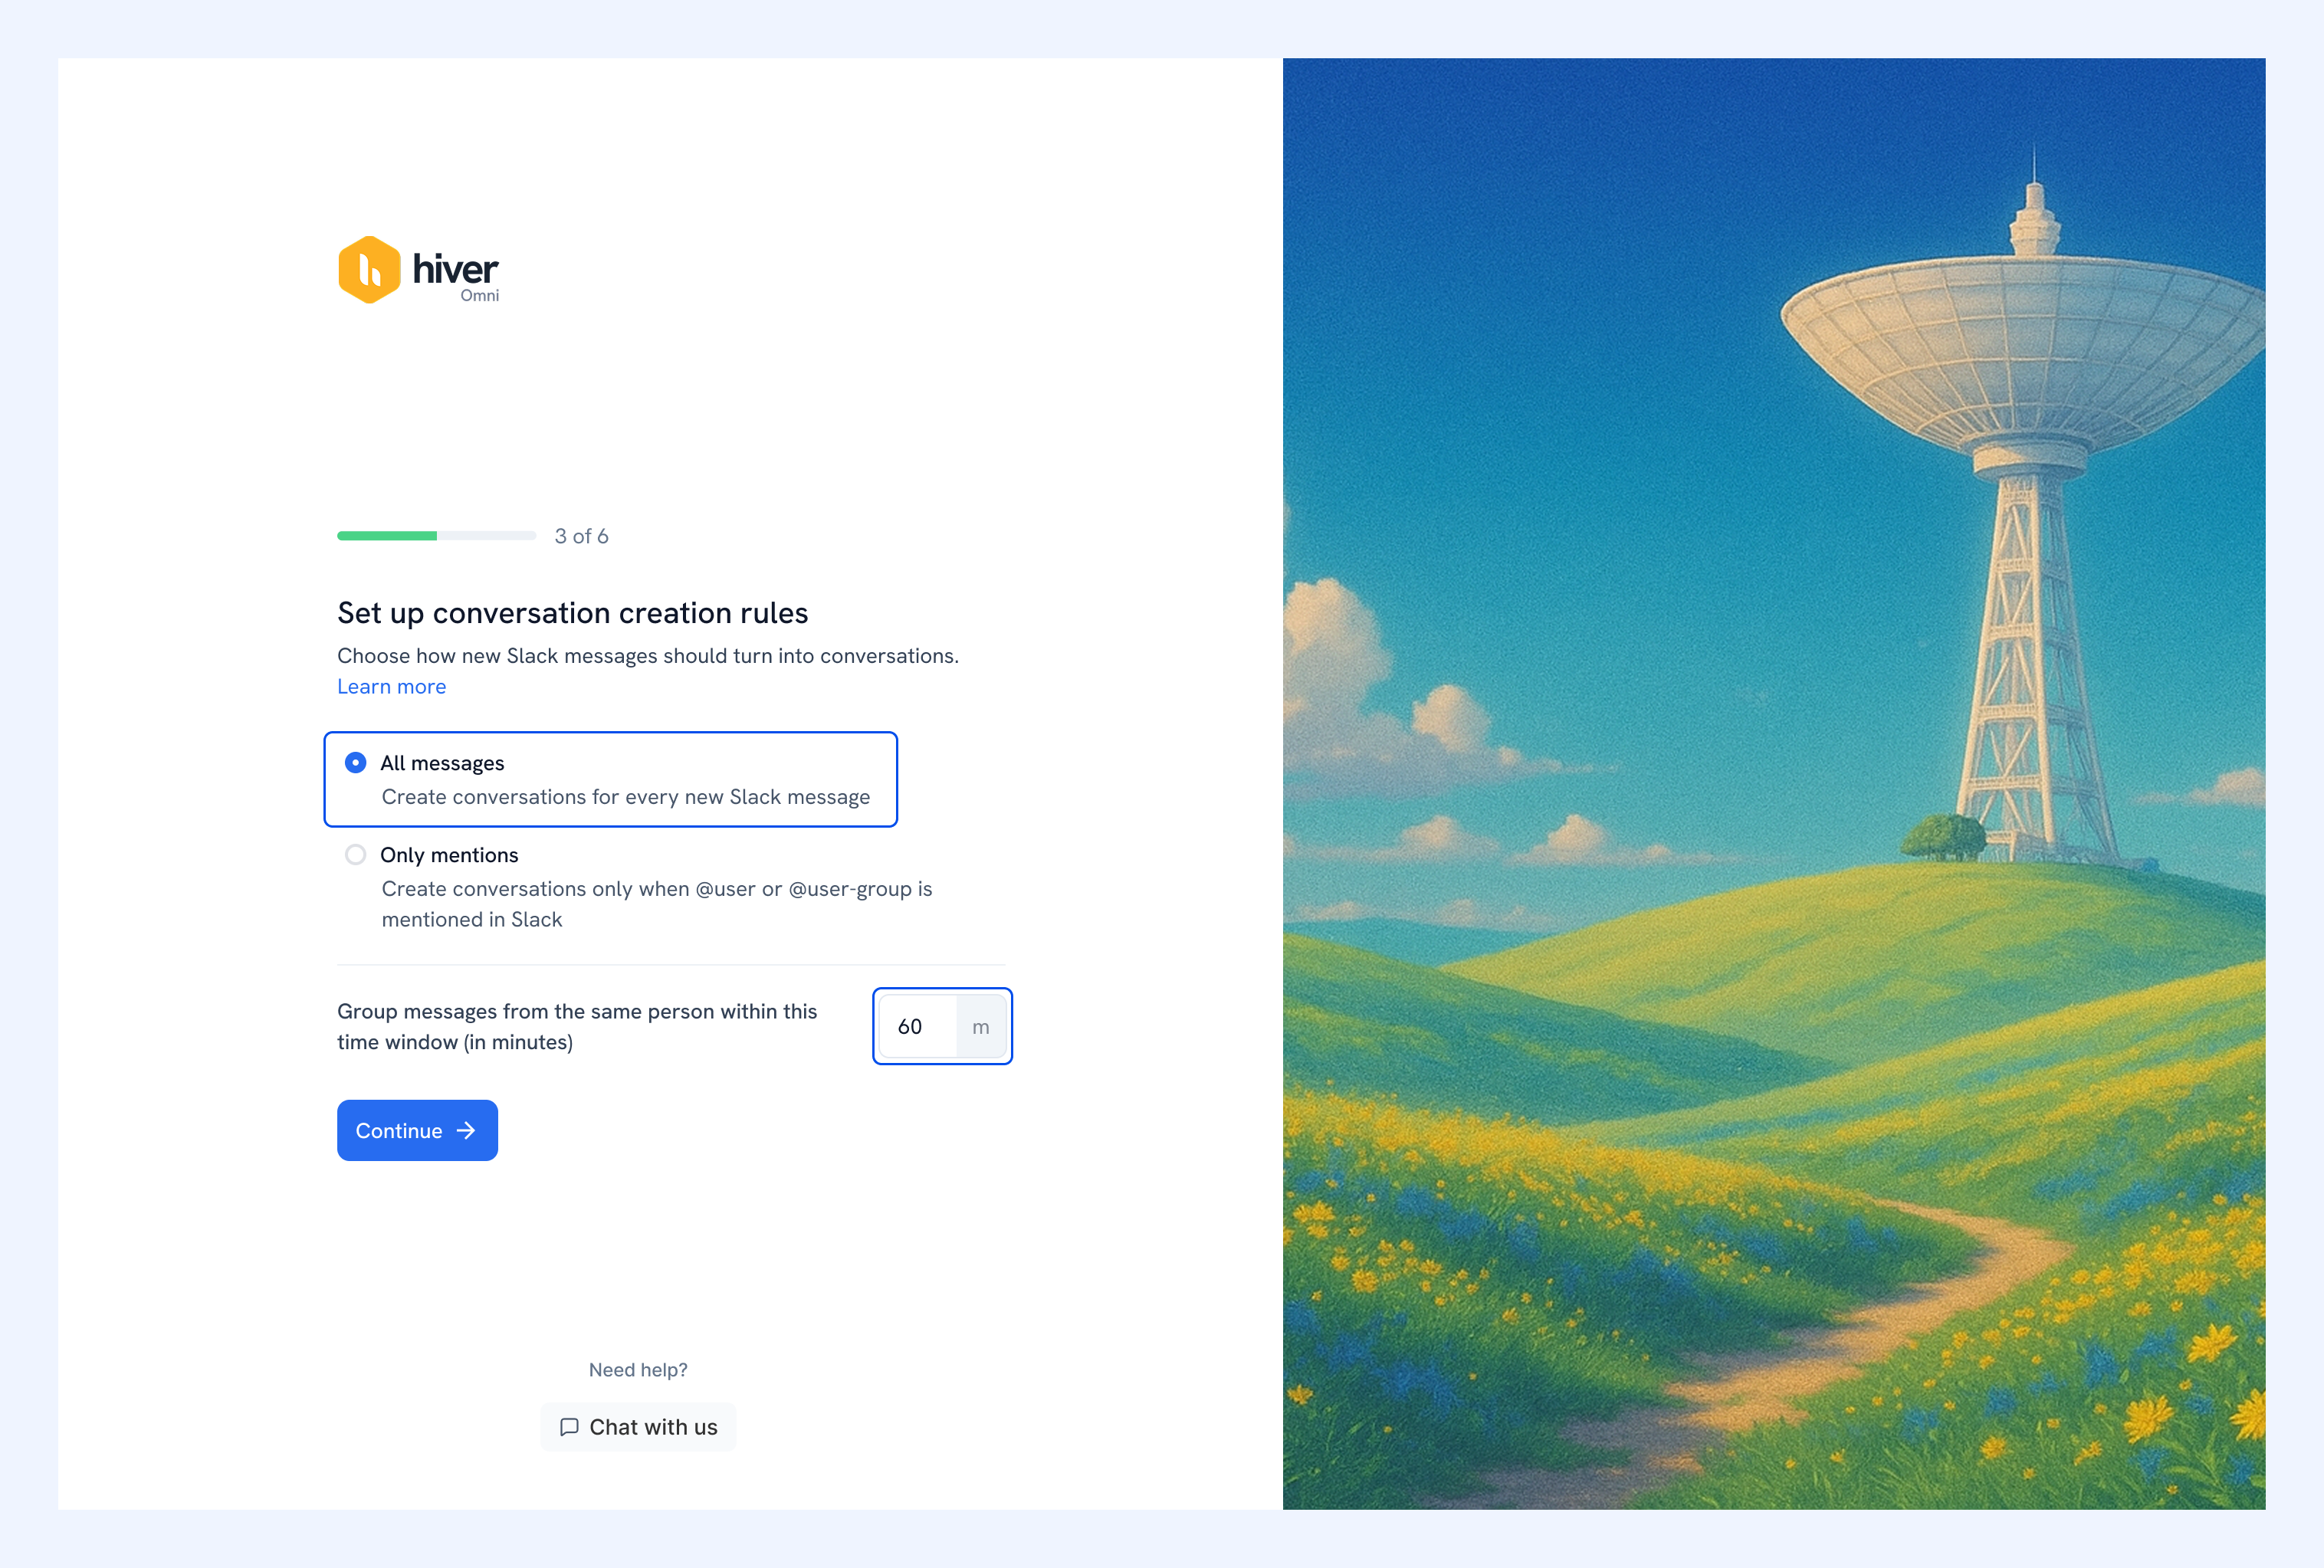
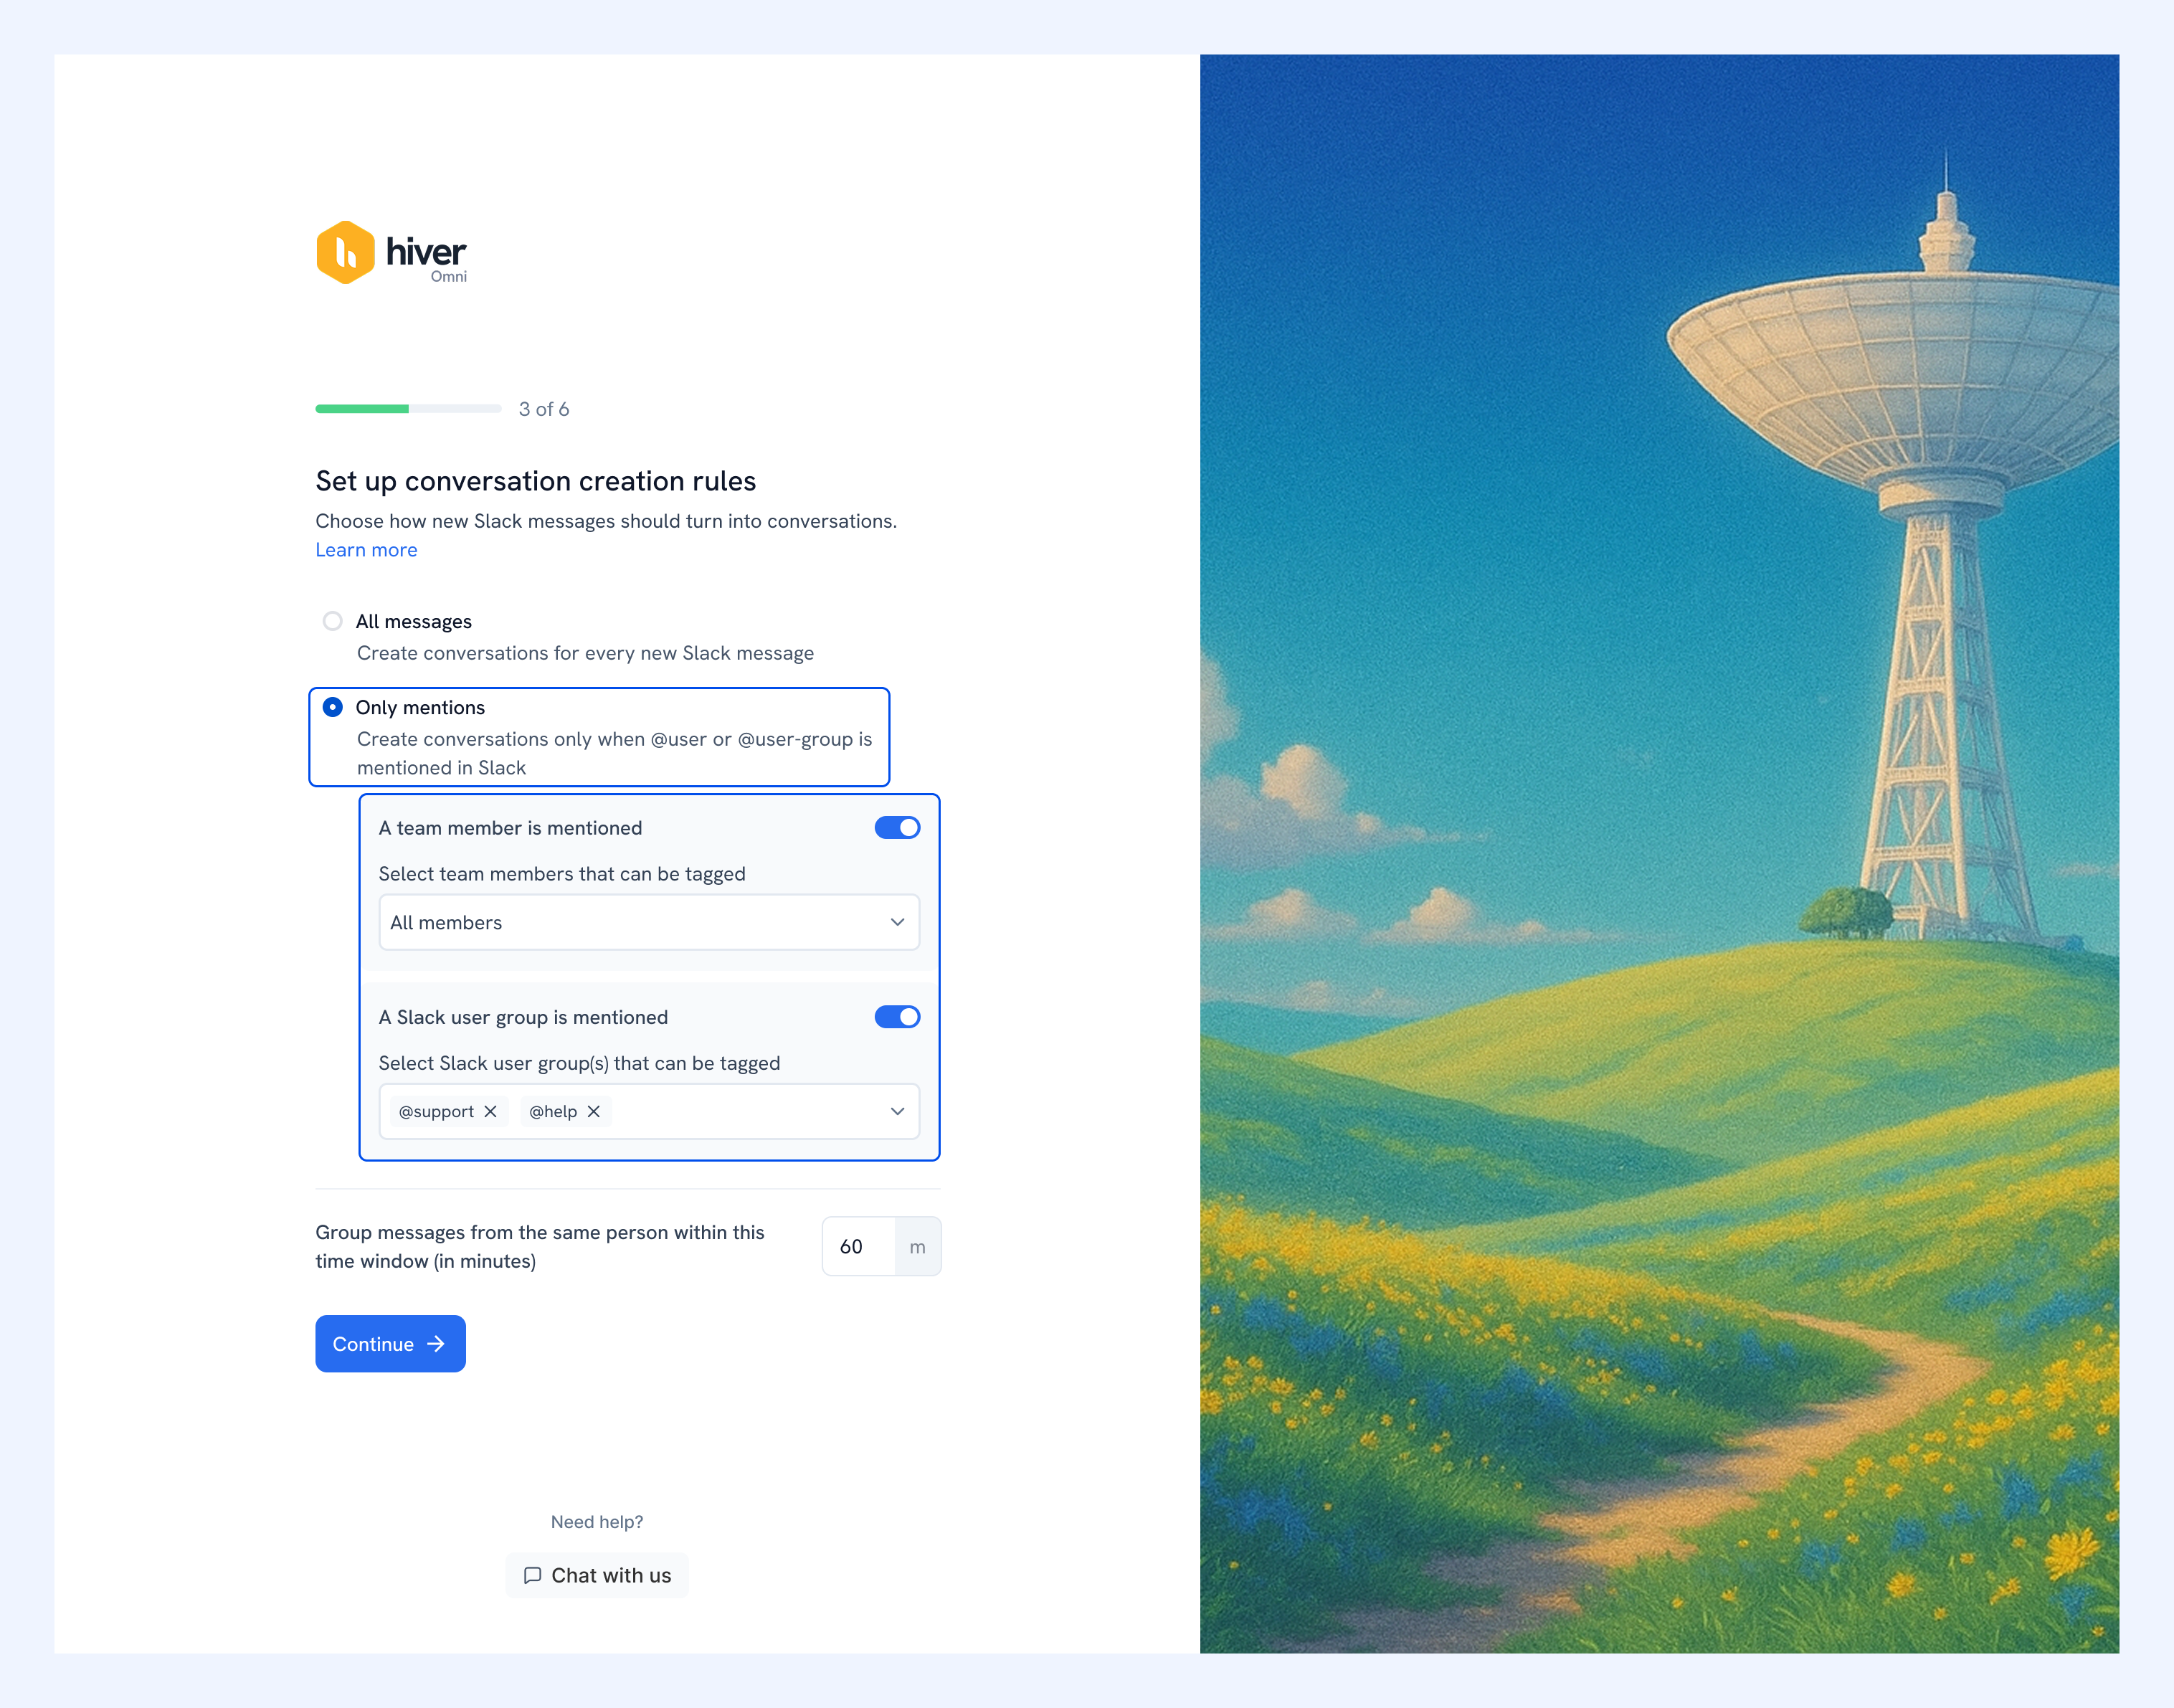
- Only mentions: A conversation is only created in Hiver Omni when someone mentions a team member or a Slack user group (for example, @finance or @support-team) in a Slack message.
- If you choose mentions for individual users, choose which users' mentions should create a conversation. By default, every user in your domain is selected, and a conversation is created only when one of the selected users is tagged.
- Group consecutive messages: Bundles messages from the same person within a set time window into one conversation.
6. Click Continue.
Note: If you signed up with an email address other than Google or Microsoft, you’ll need to verify your email. You can do this later if needed.
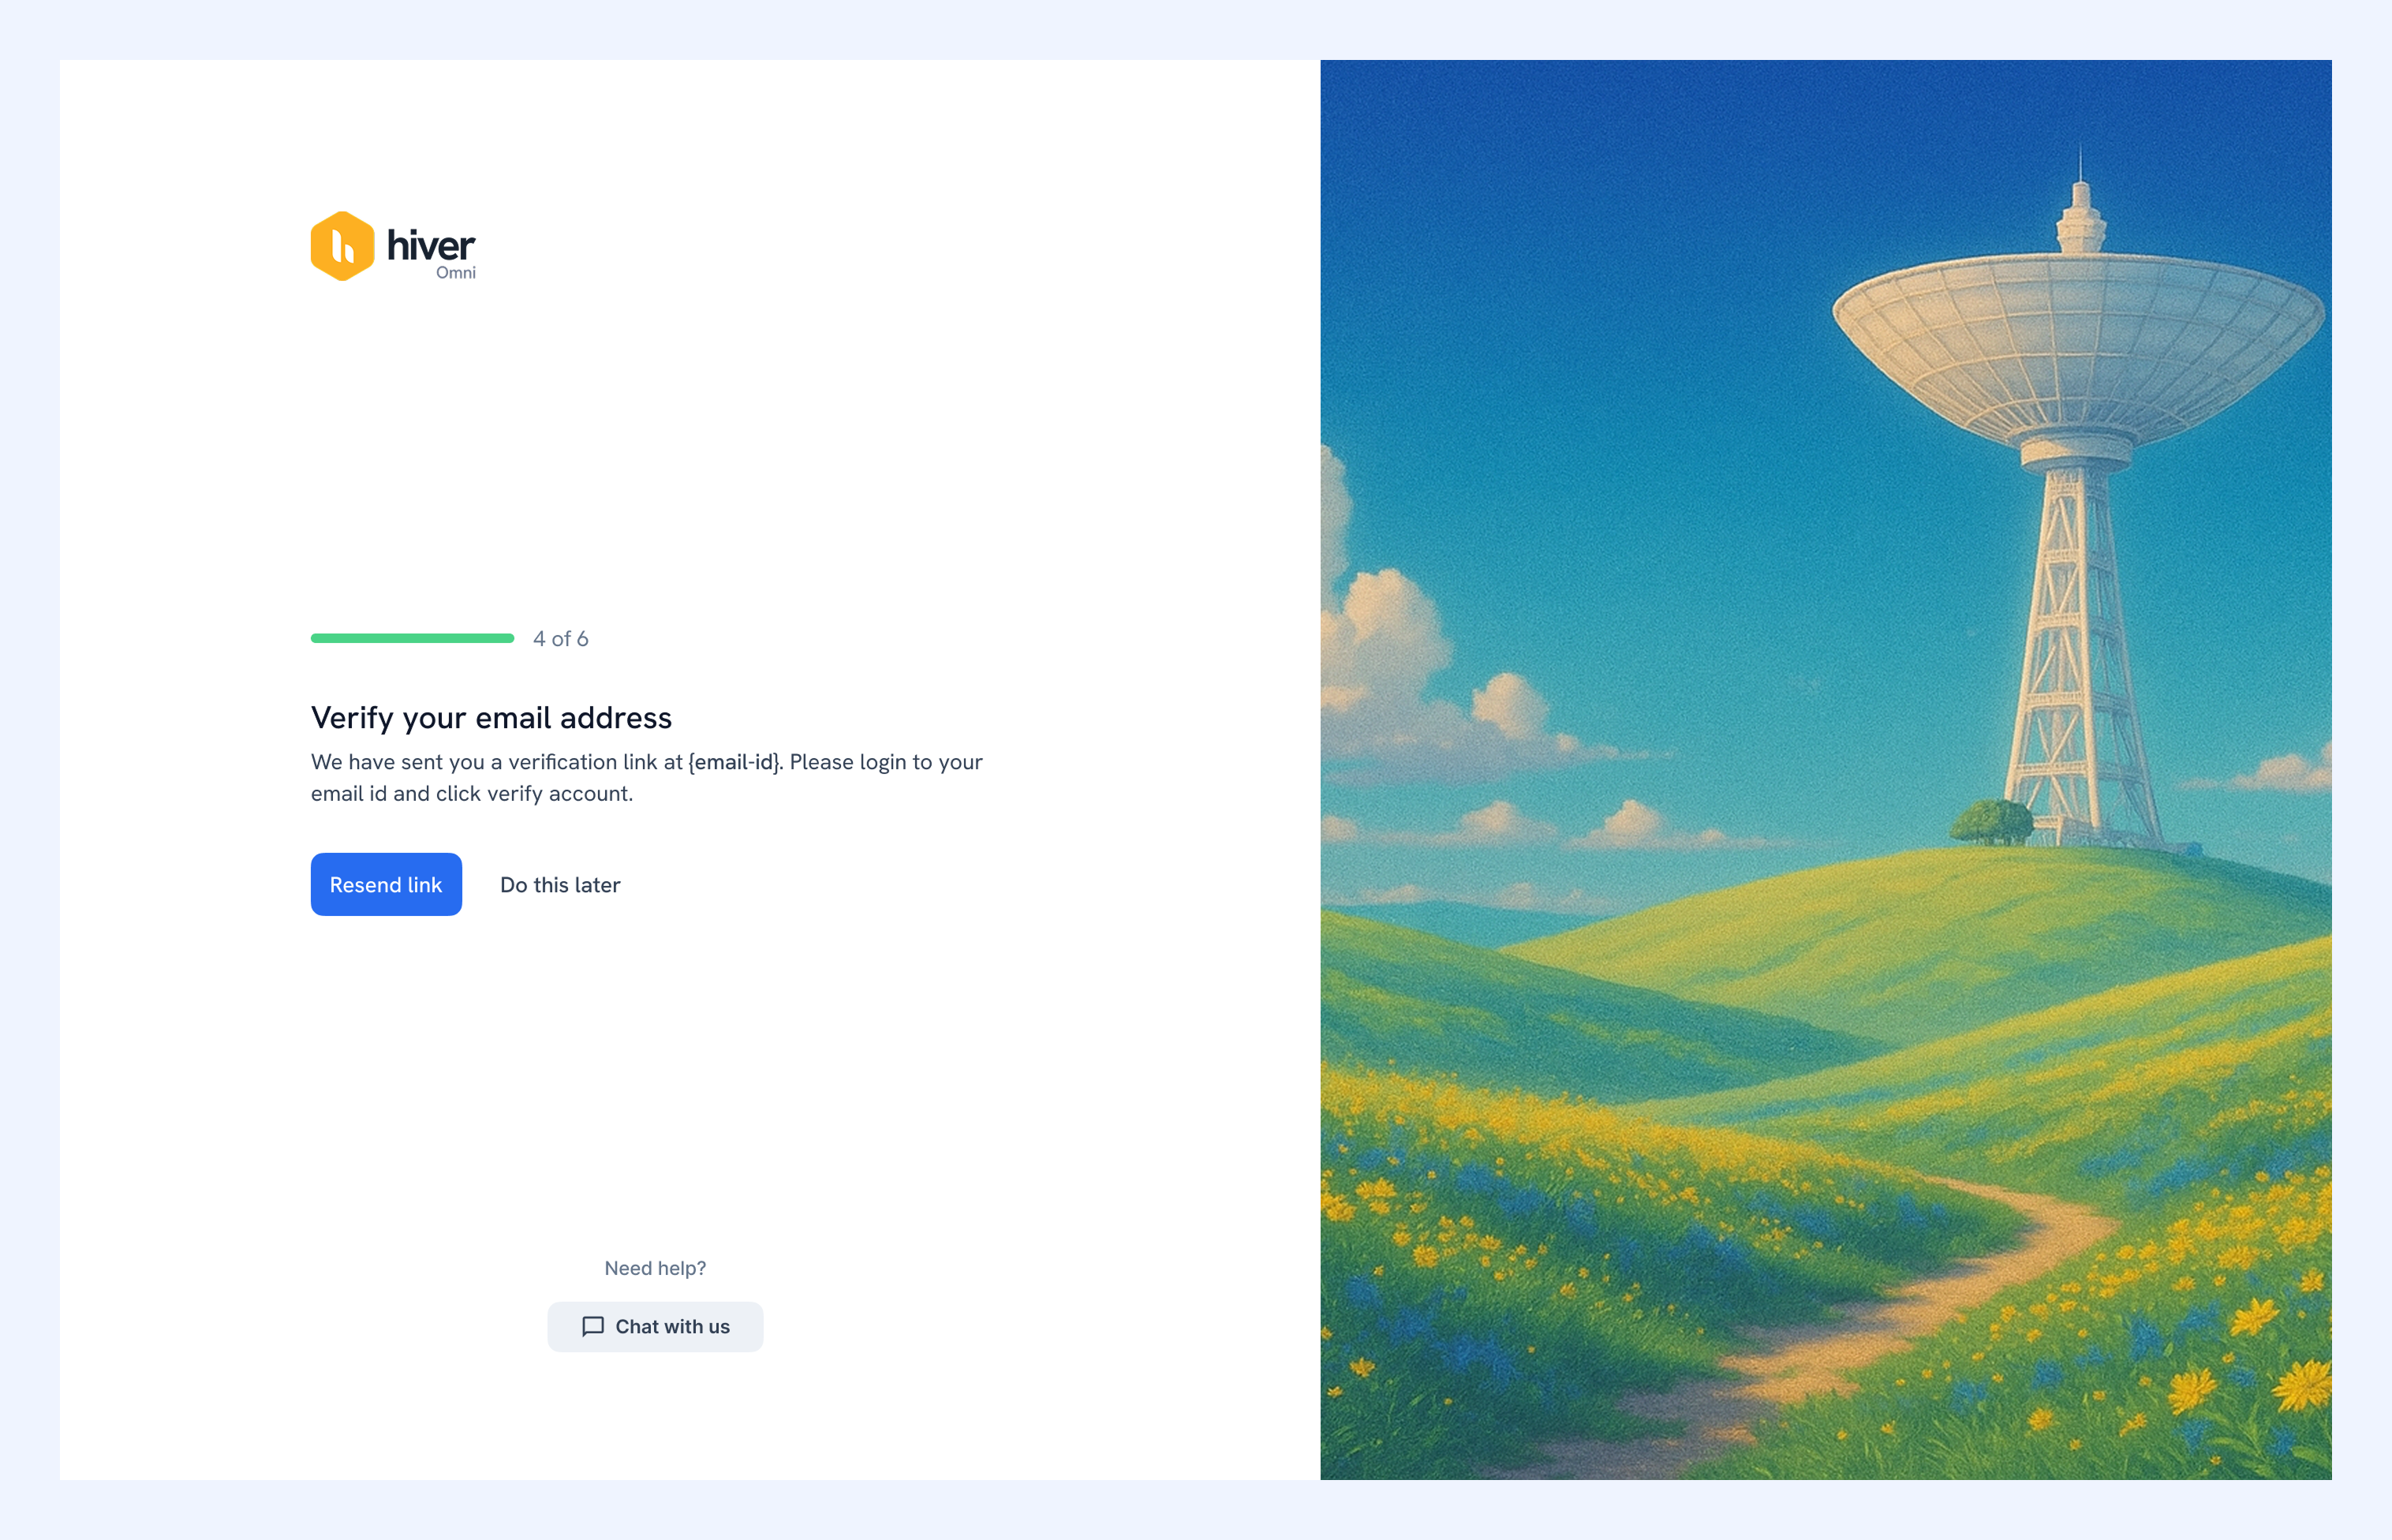
Learn more about verifying your email.
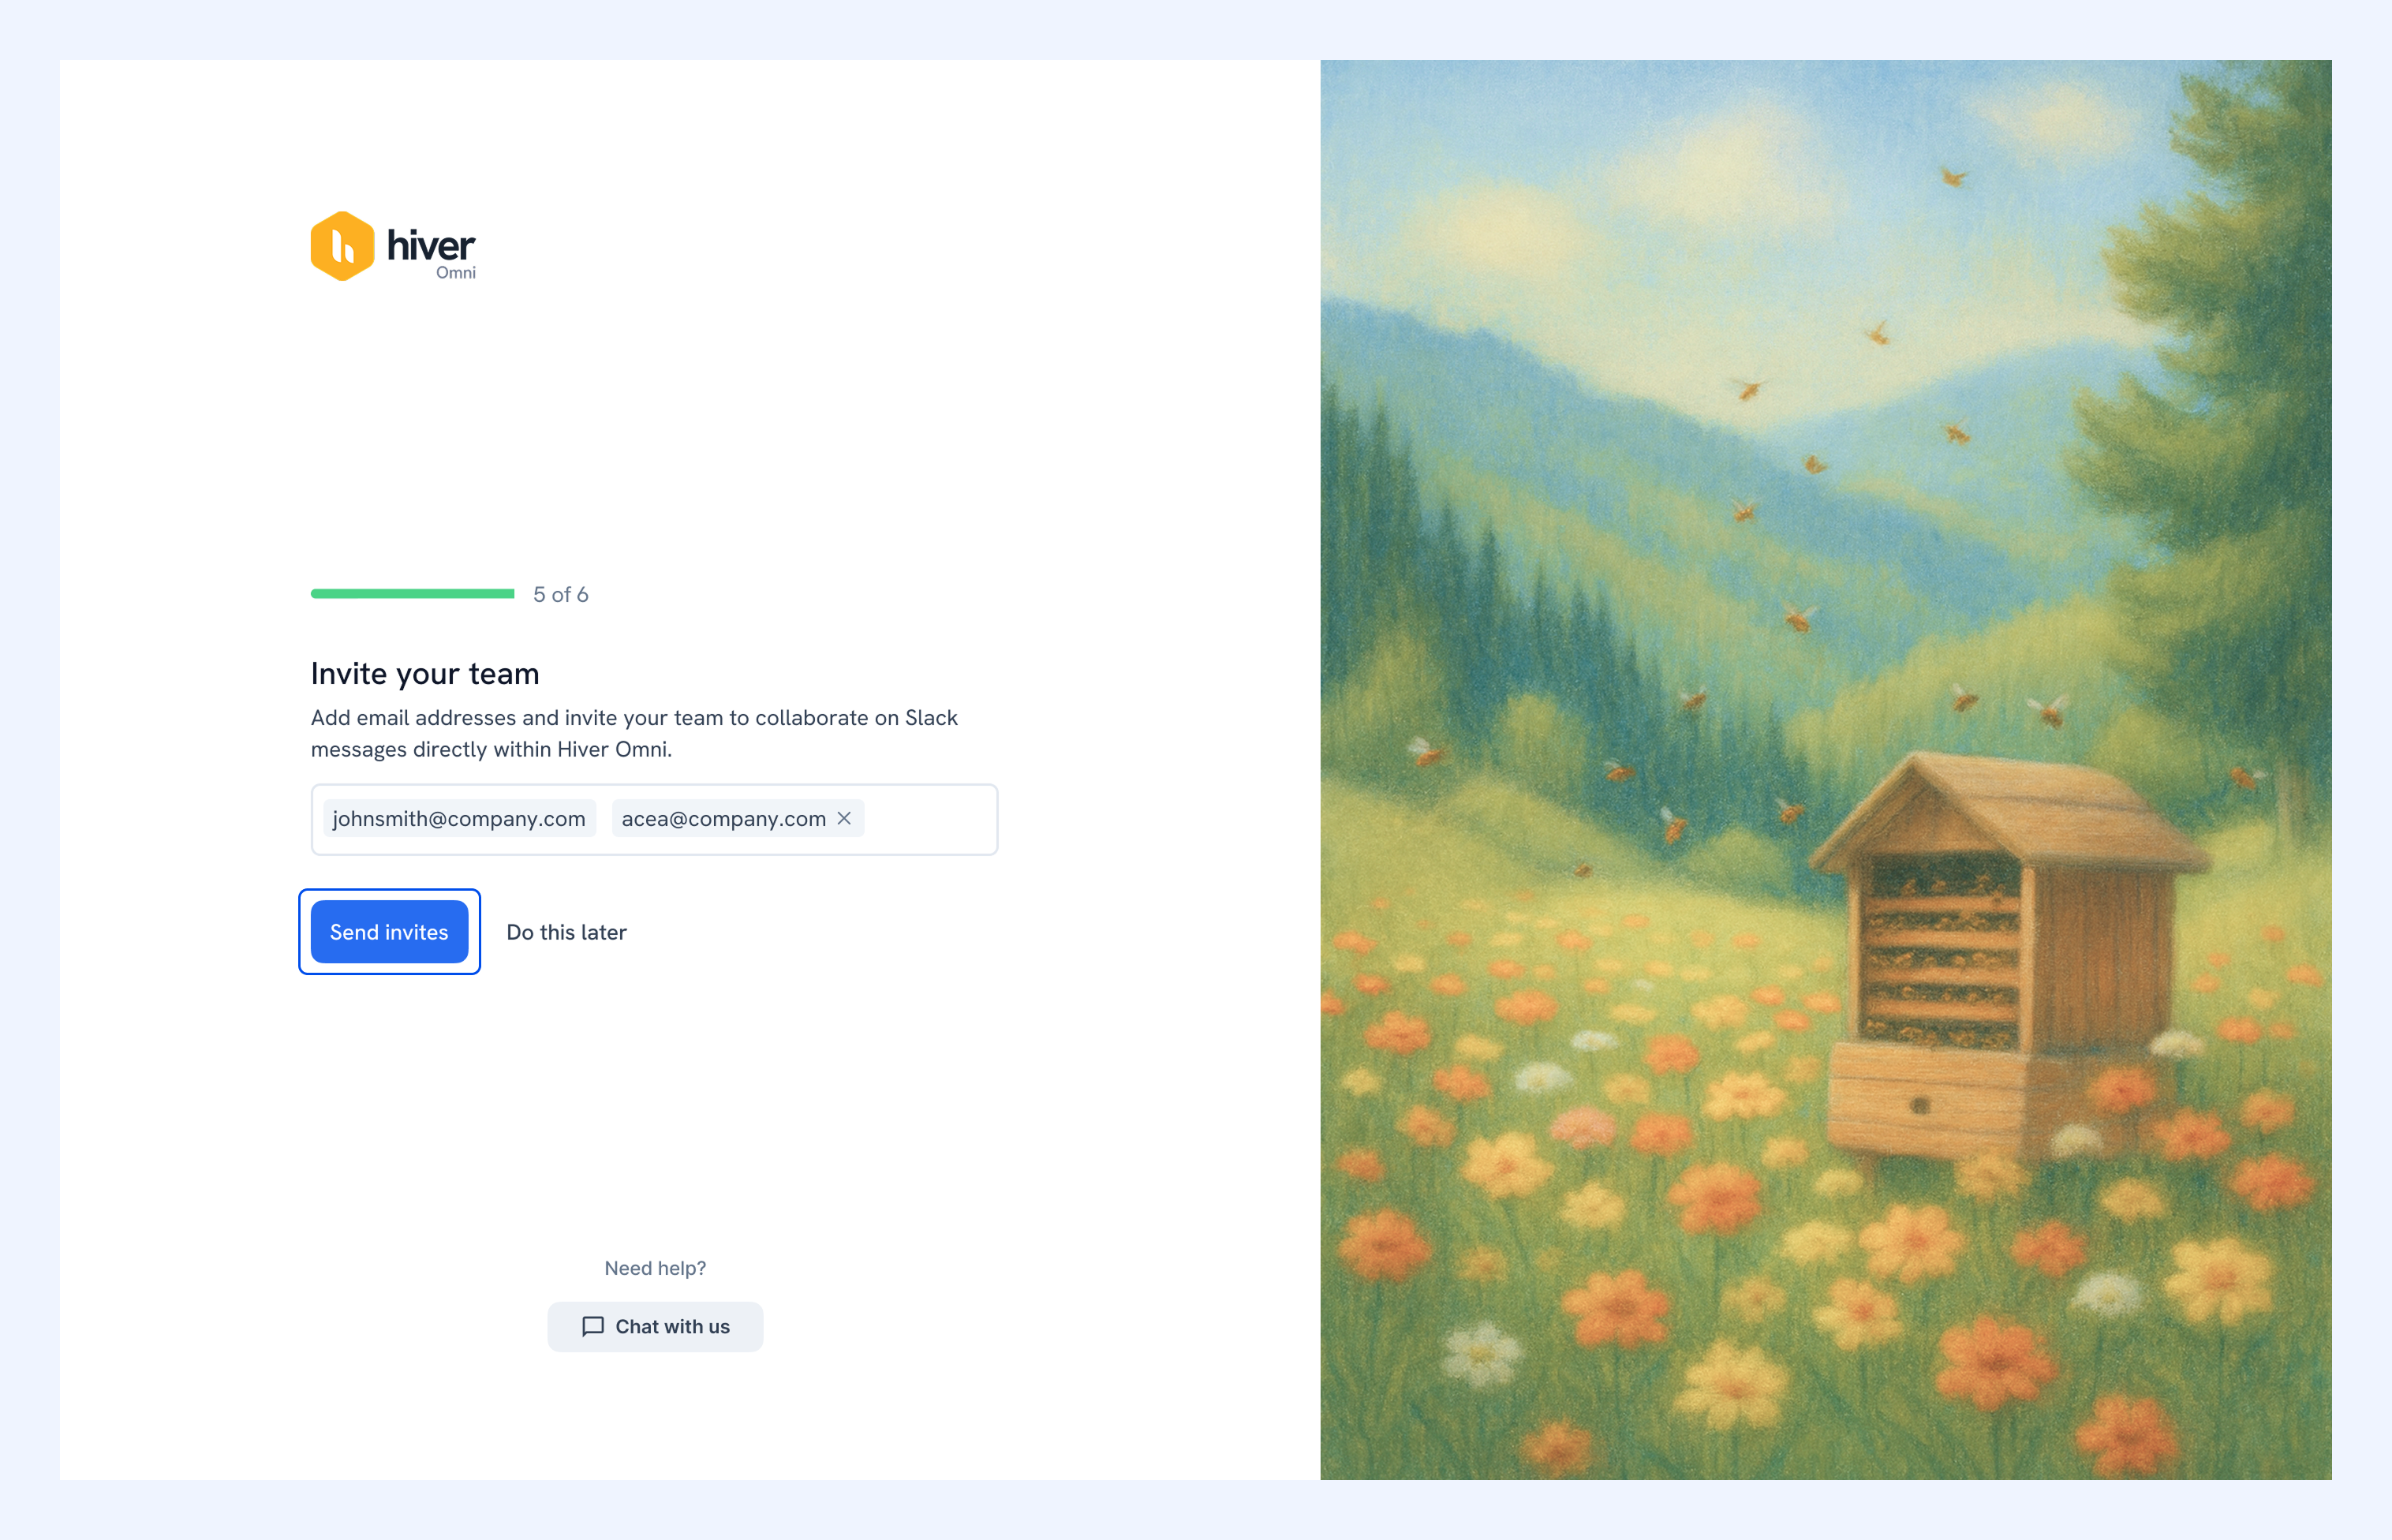
7. Enter your teammates' email addresses to invite them to the Slack workspace. Click Send invites.
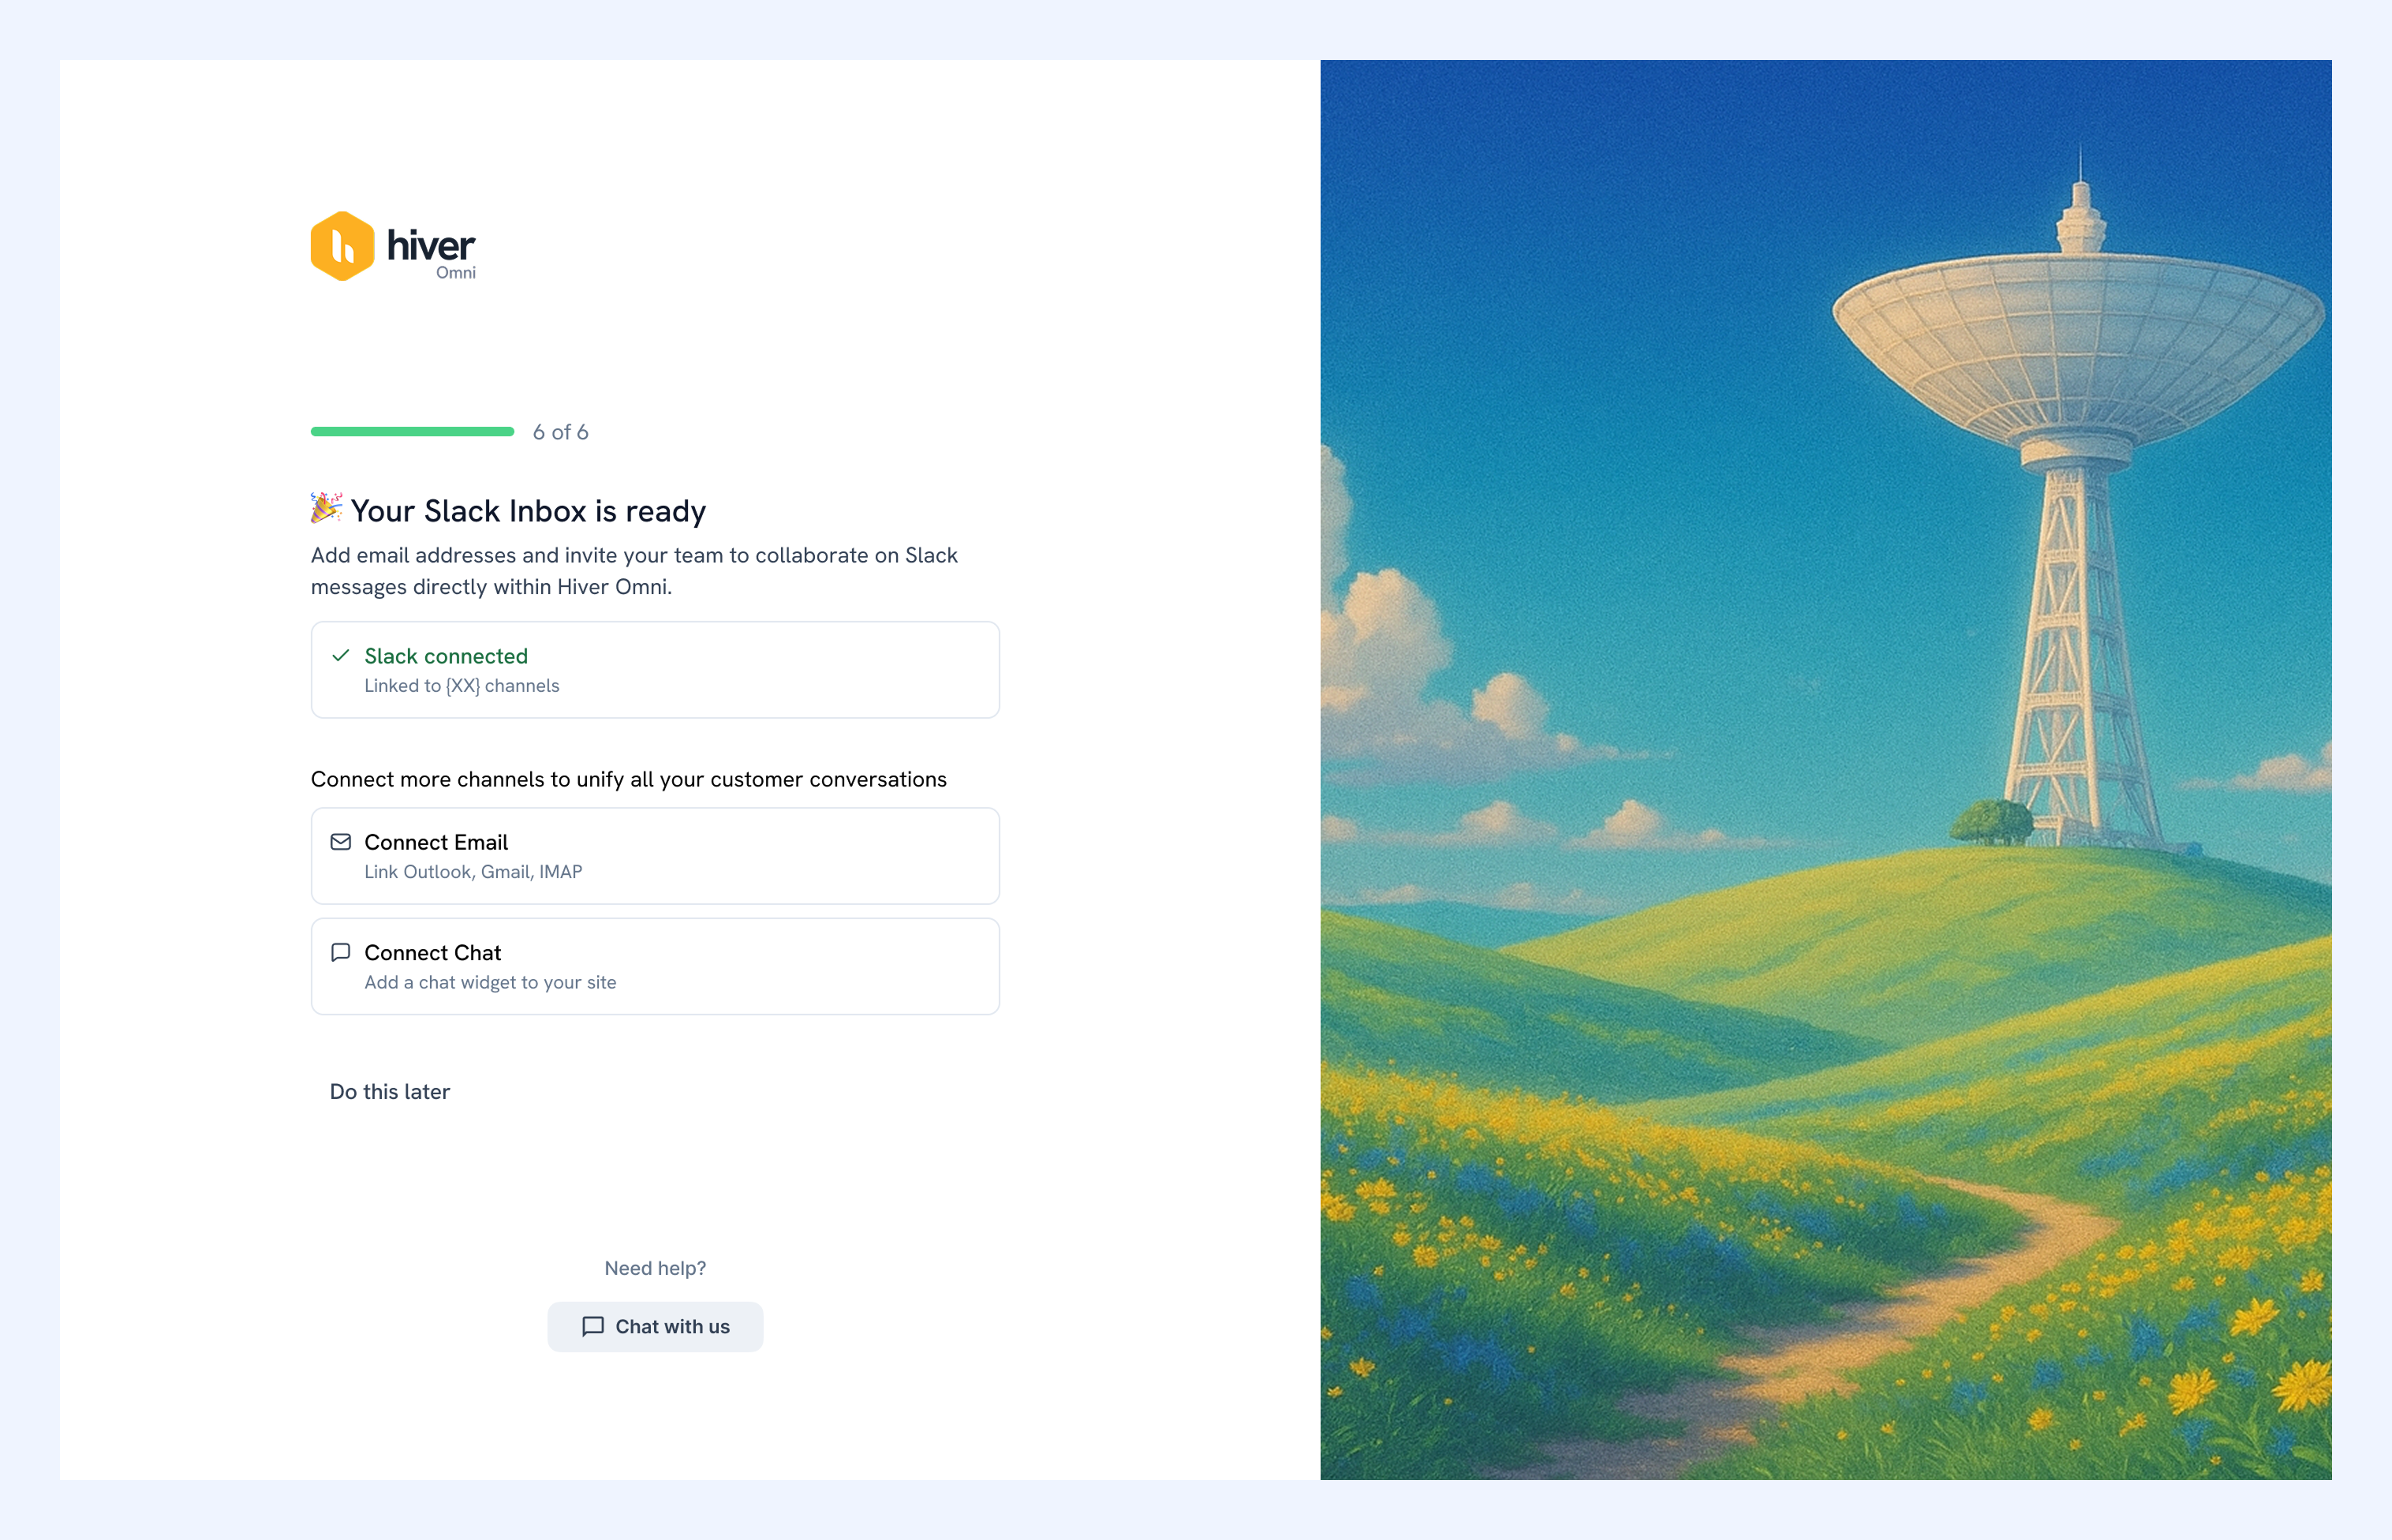
8. Your Slack Inbox is created. You can connect other channels or start exploring Hiver Omni.
Method 2: Setting up from the Admin Panel
If you've already signed in to Hiver Omni and want to create a new Slack Inbox, you can do this from the Admin Panel.
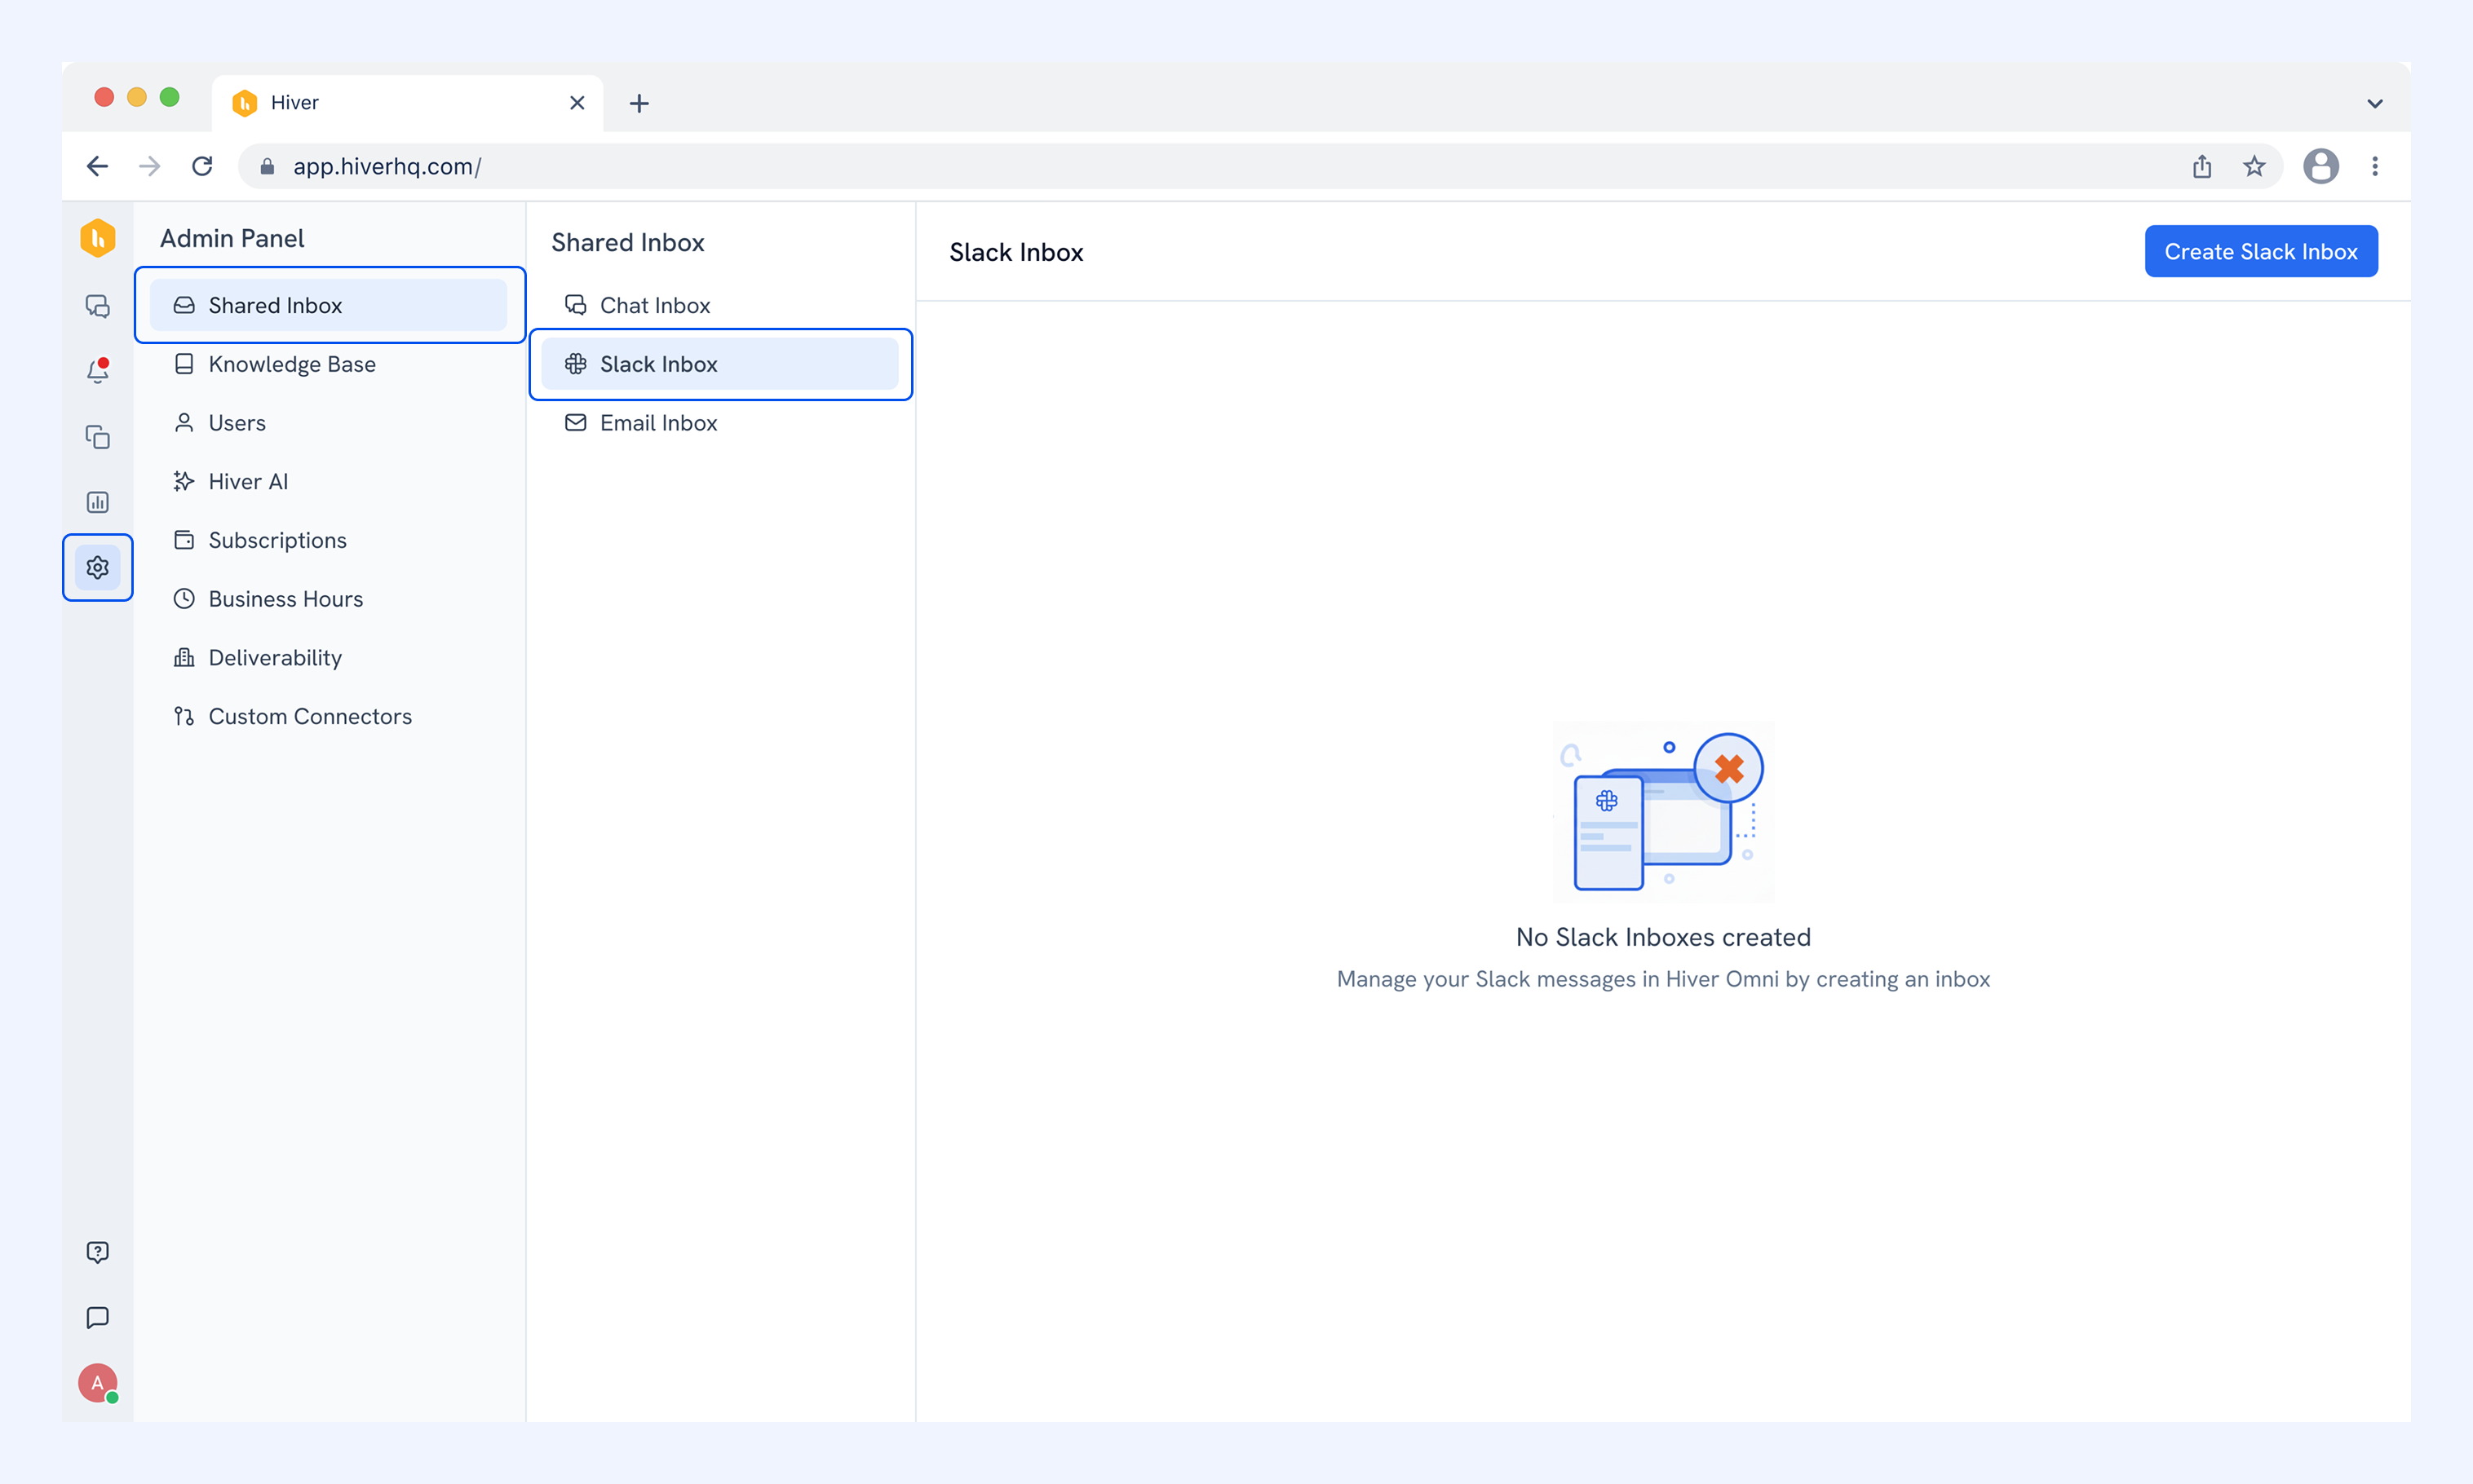
1. Go to Admin Panel → Shared Inbox → Slack Inbox, and click Create Slack Inbox.
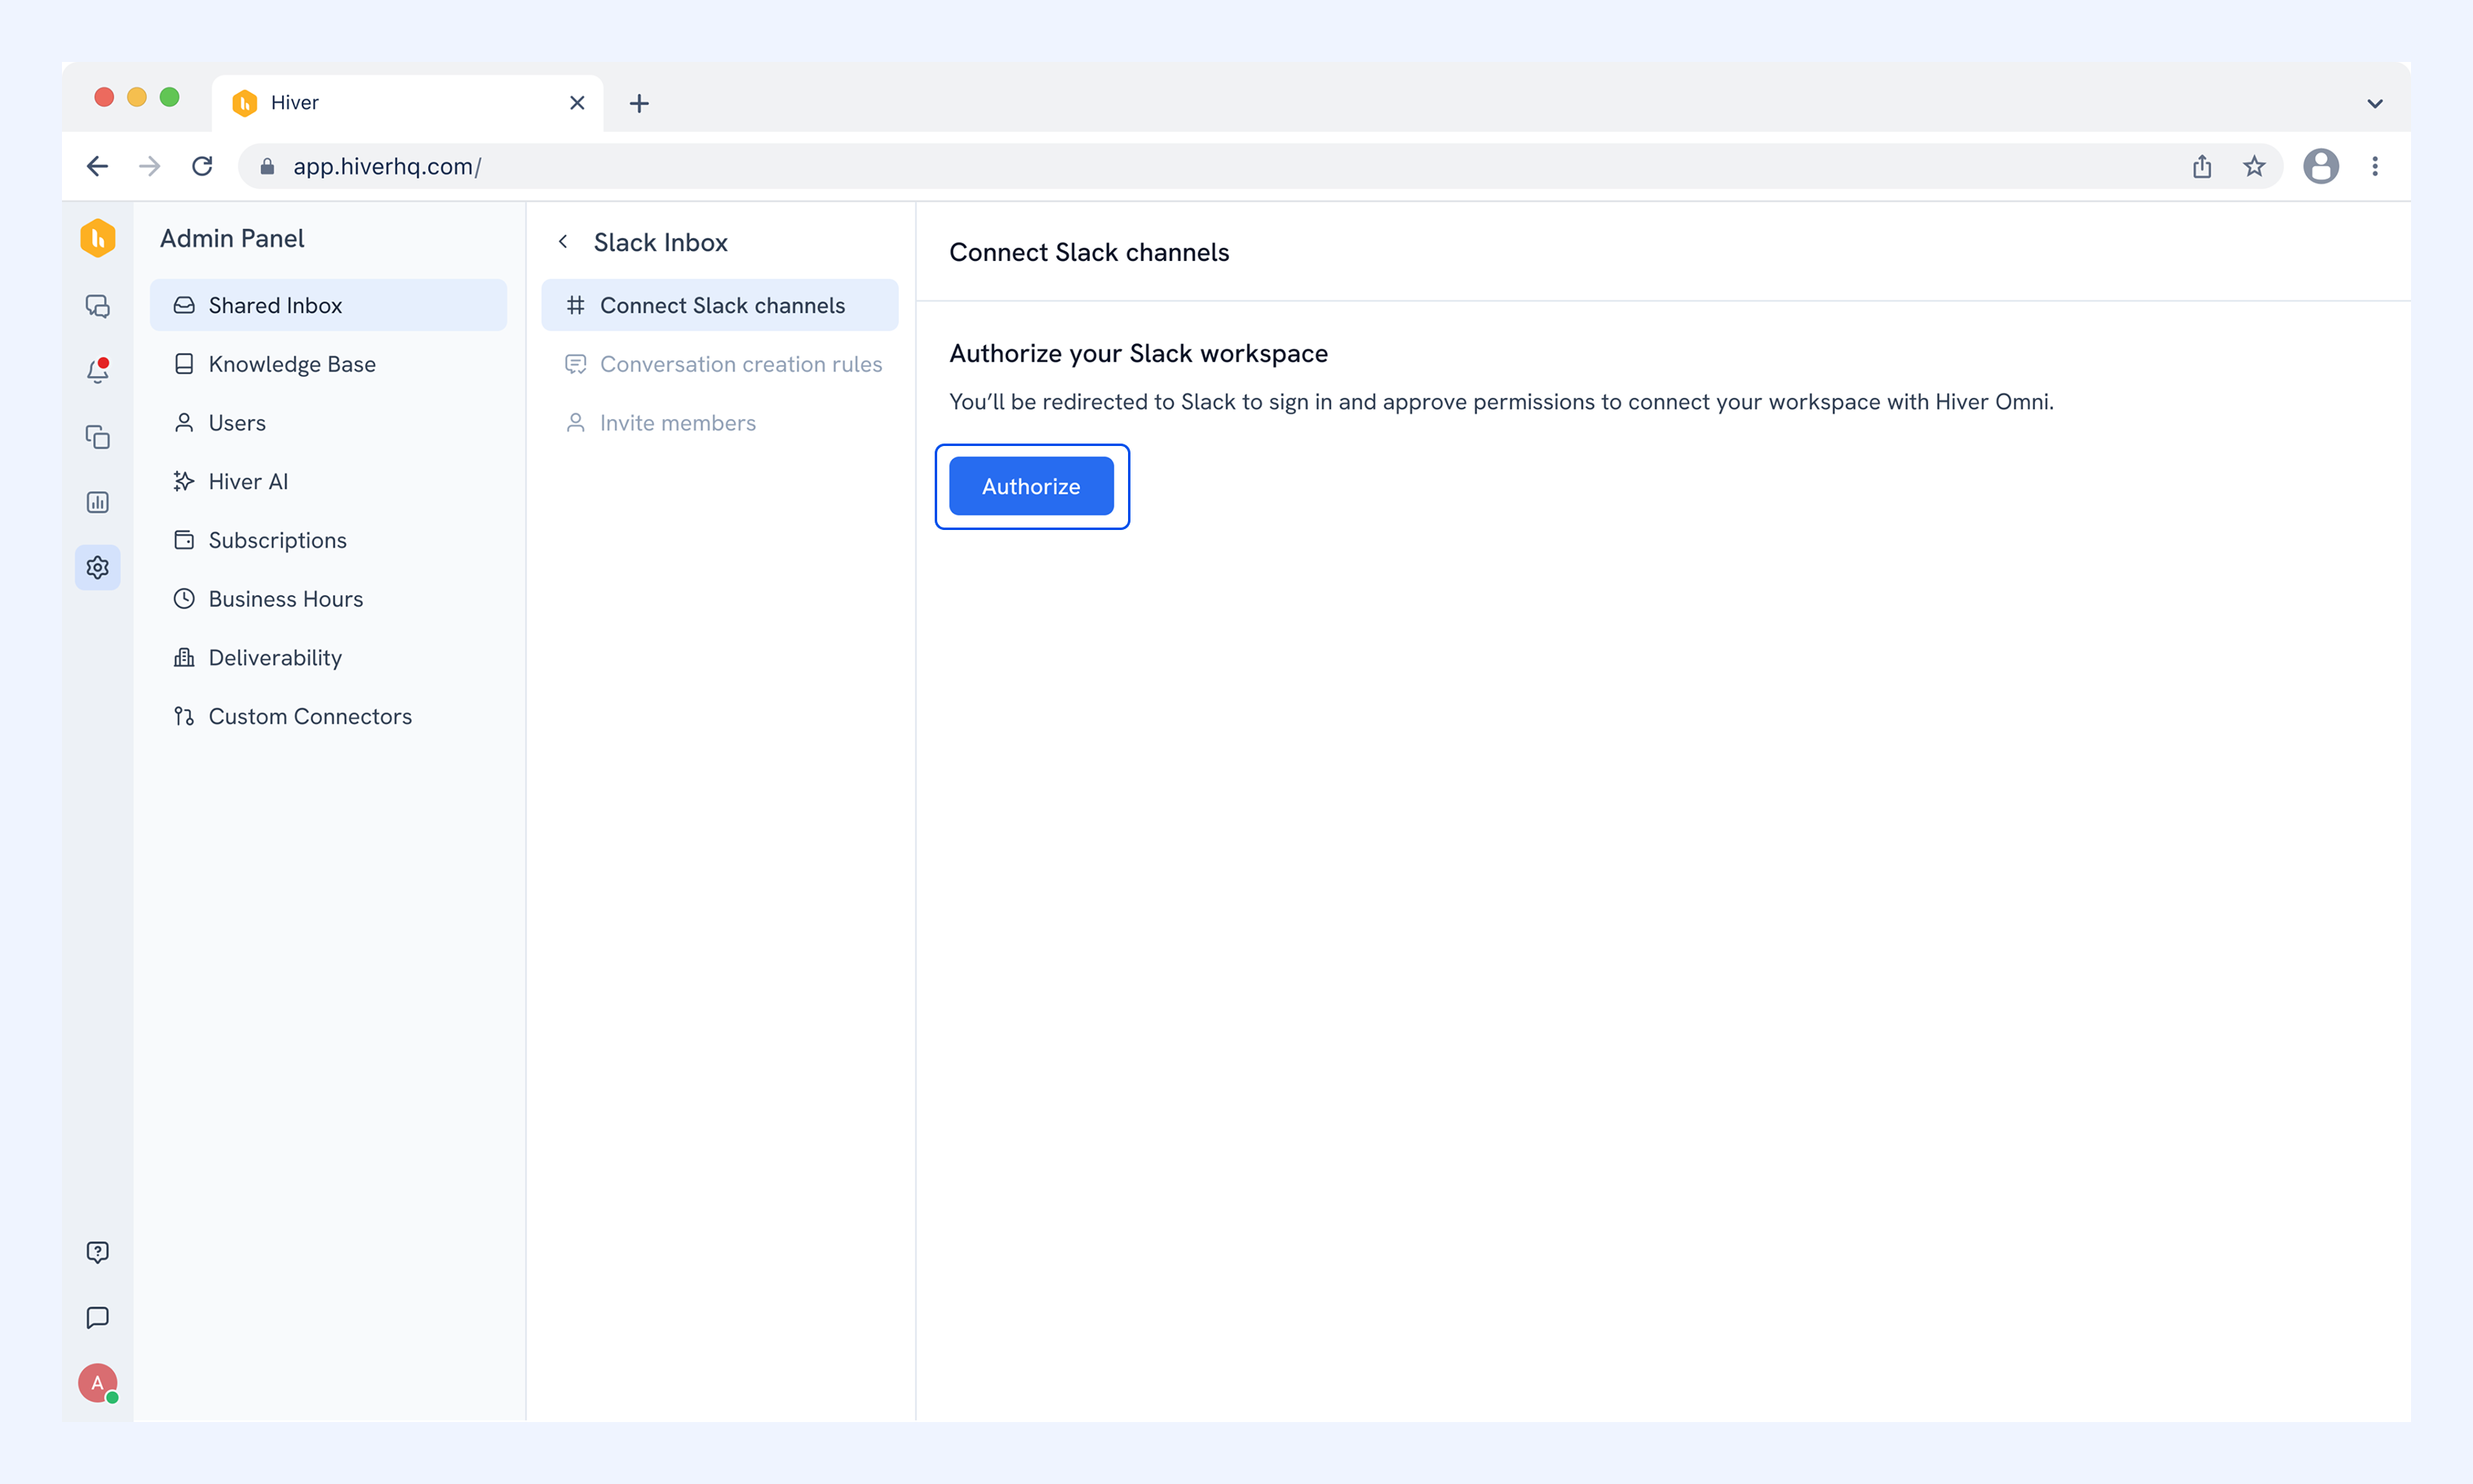
2. You'll be asked to Slack to sign in and approve permissions to connect to your Slack workspace. Click Authorize to get started.
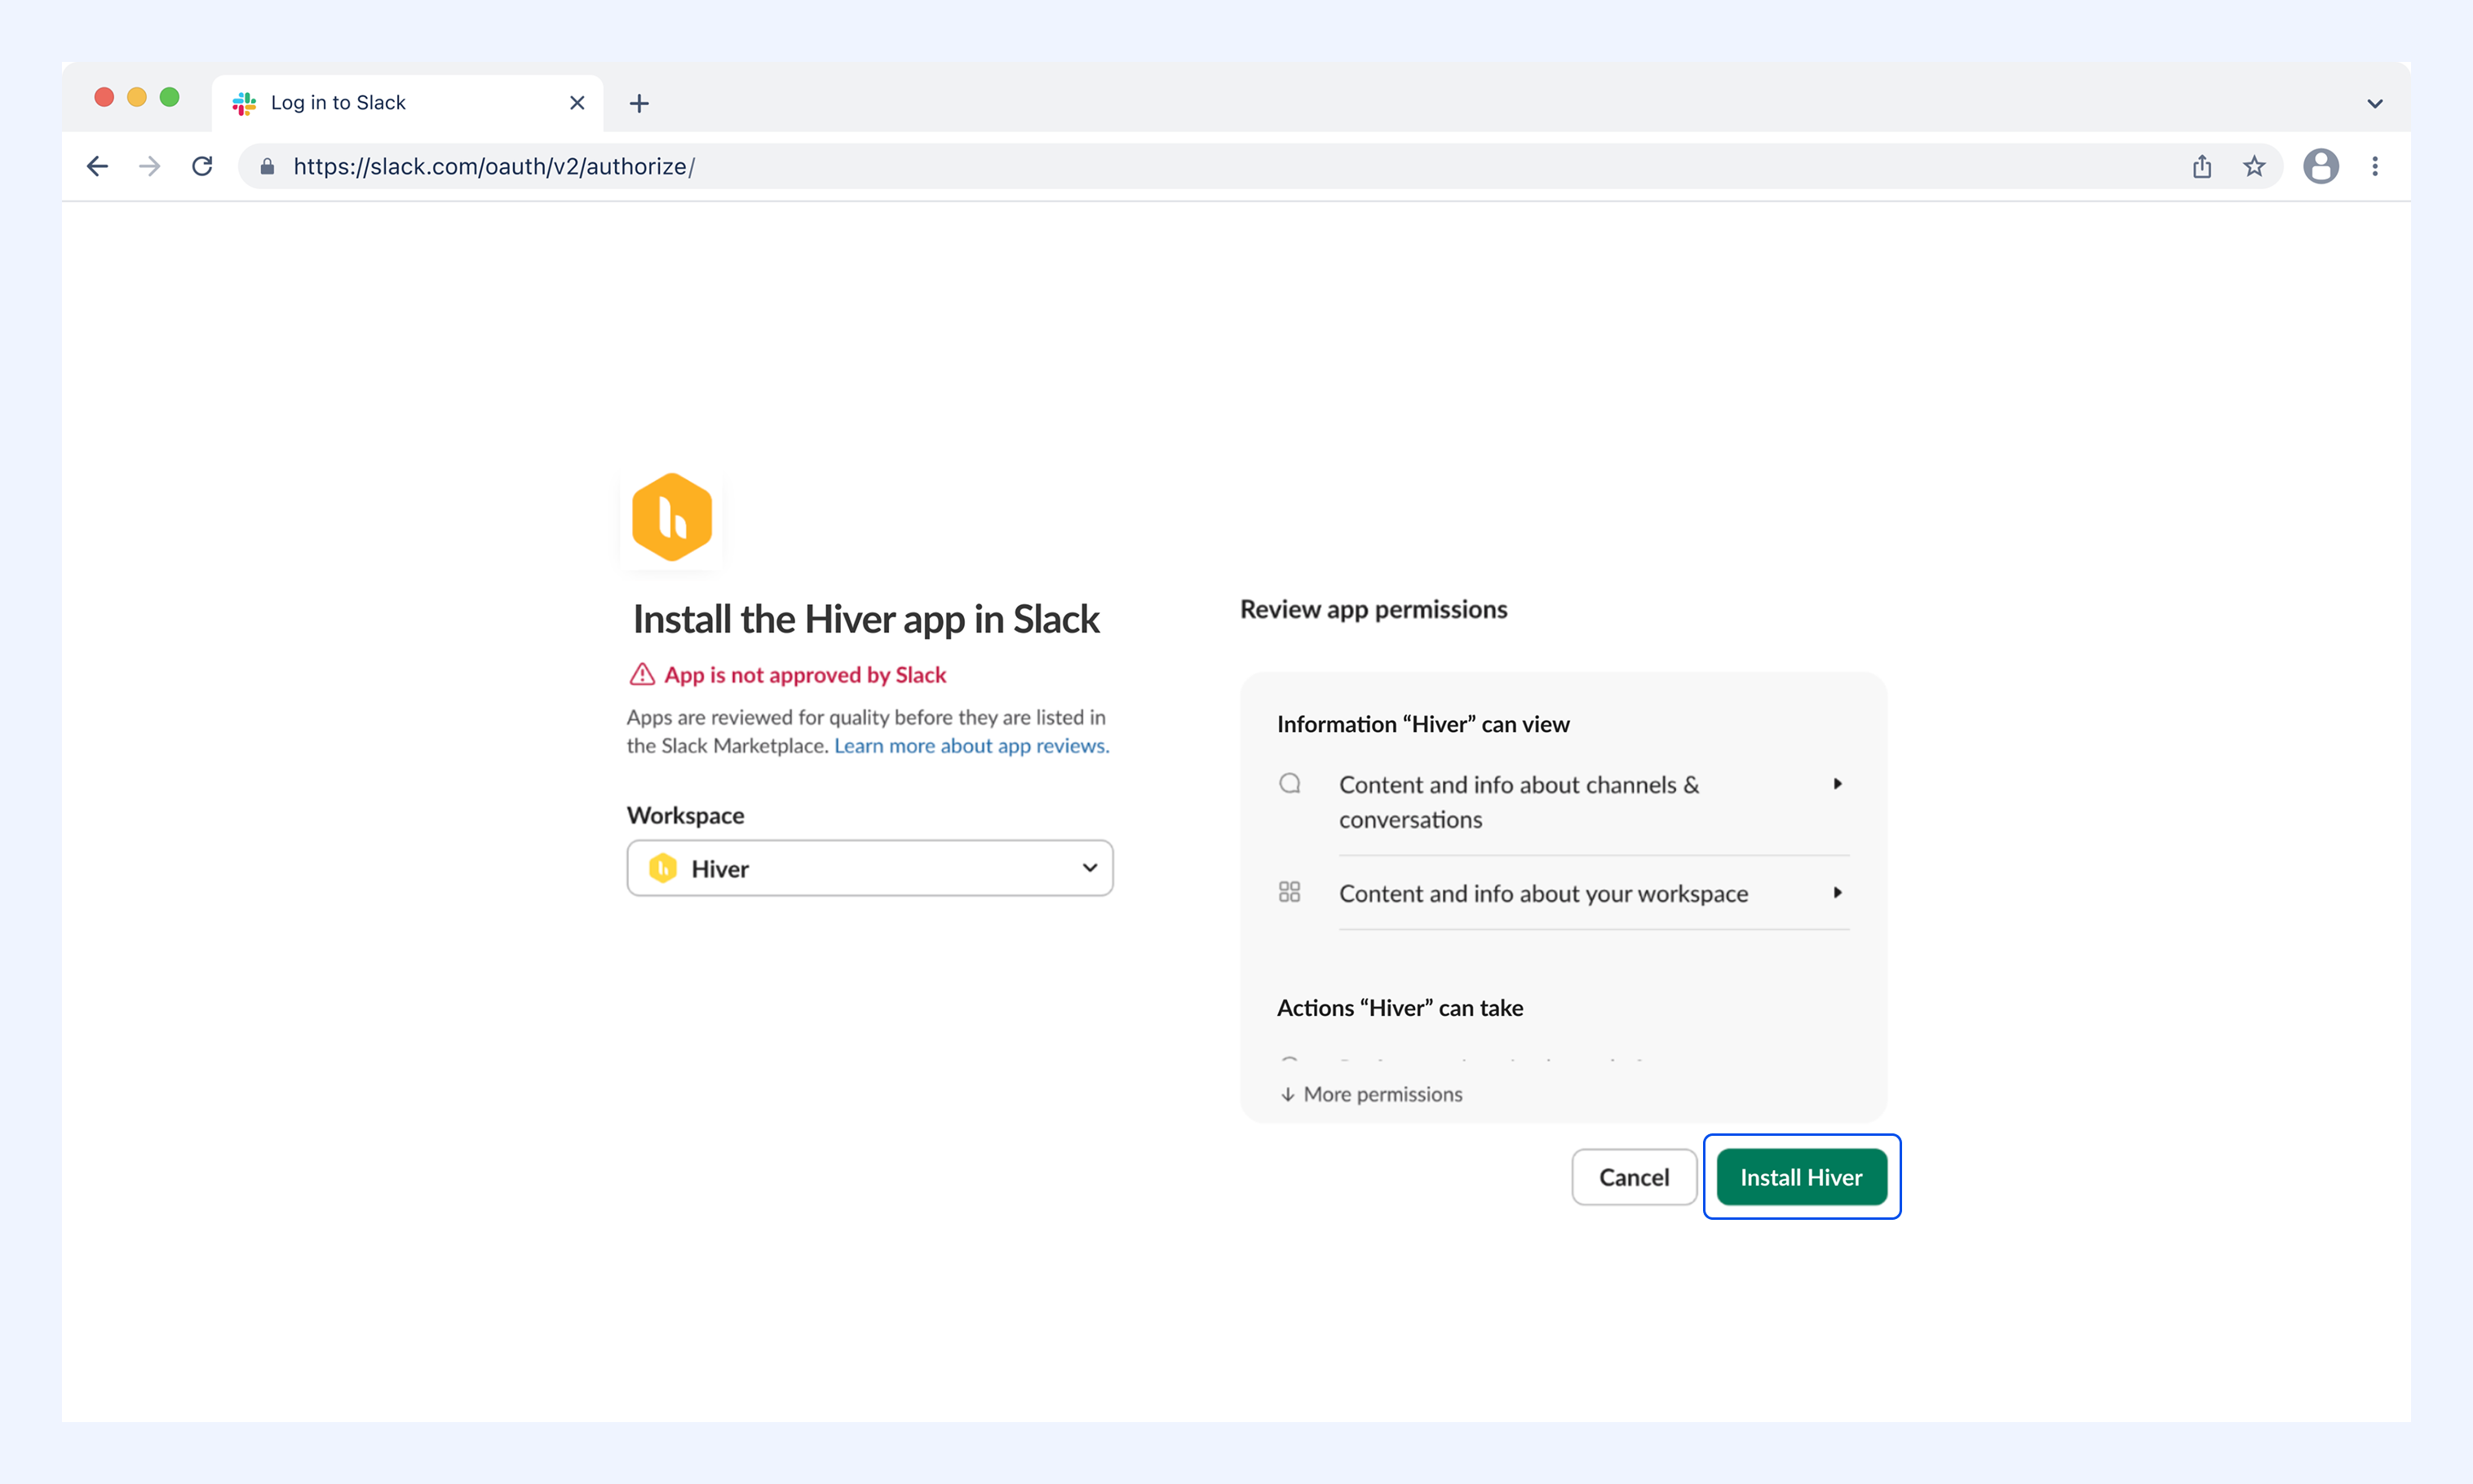
3. Review the permissions and click Install Hiver. You'll be redirected back to the Admin Panel.
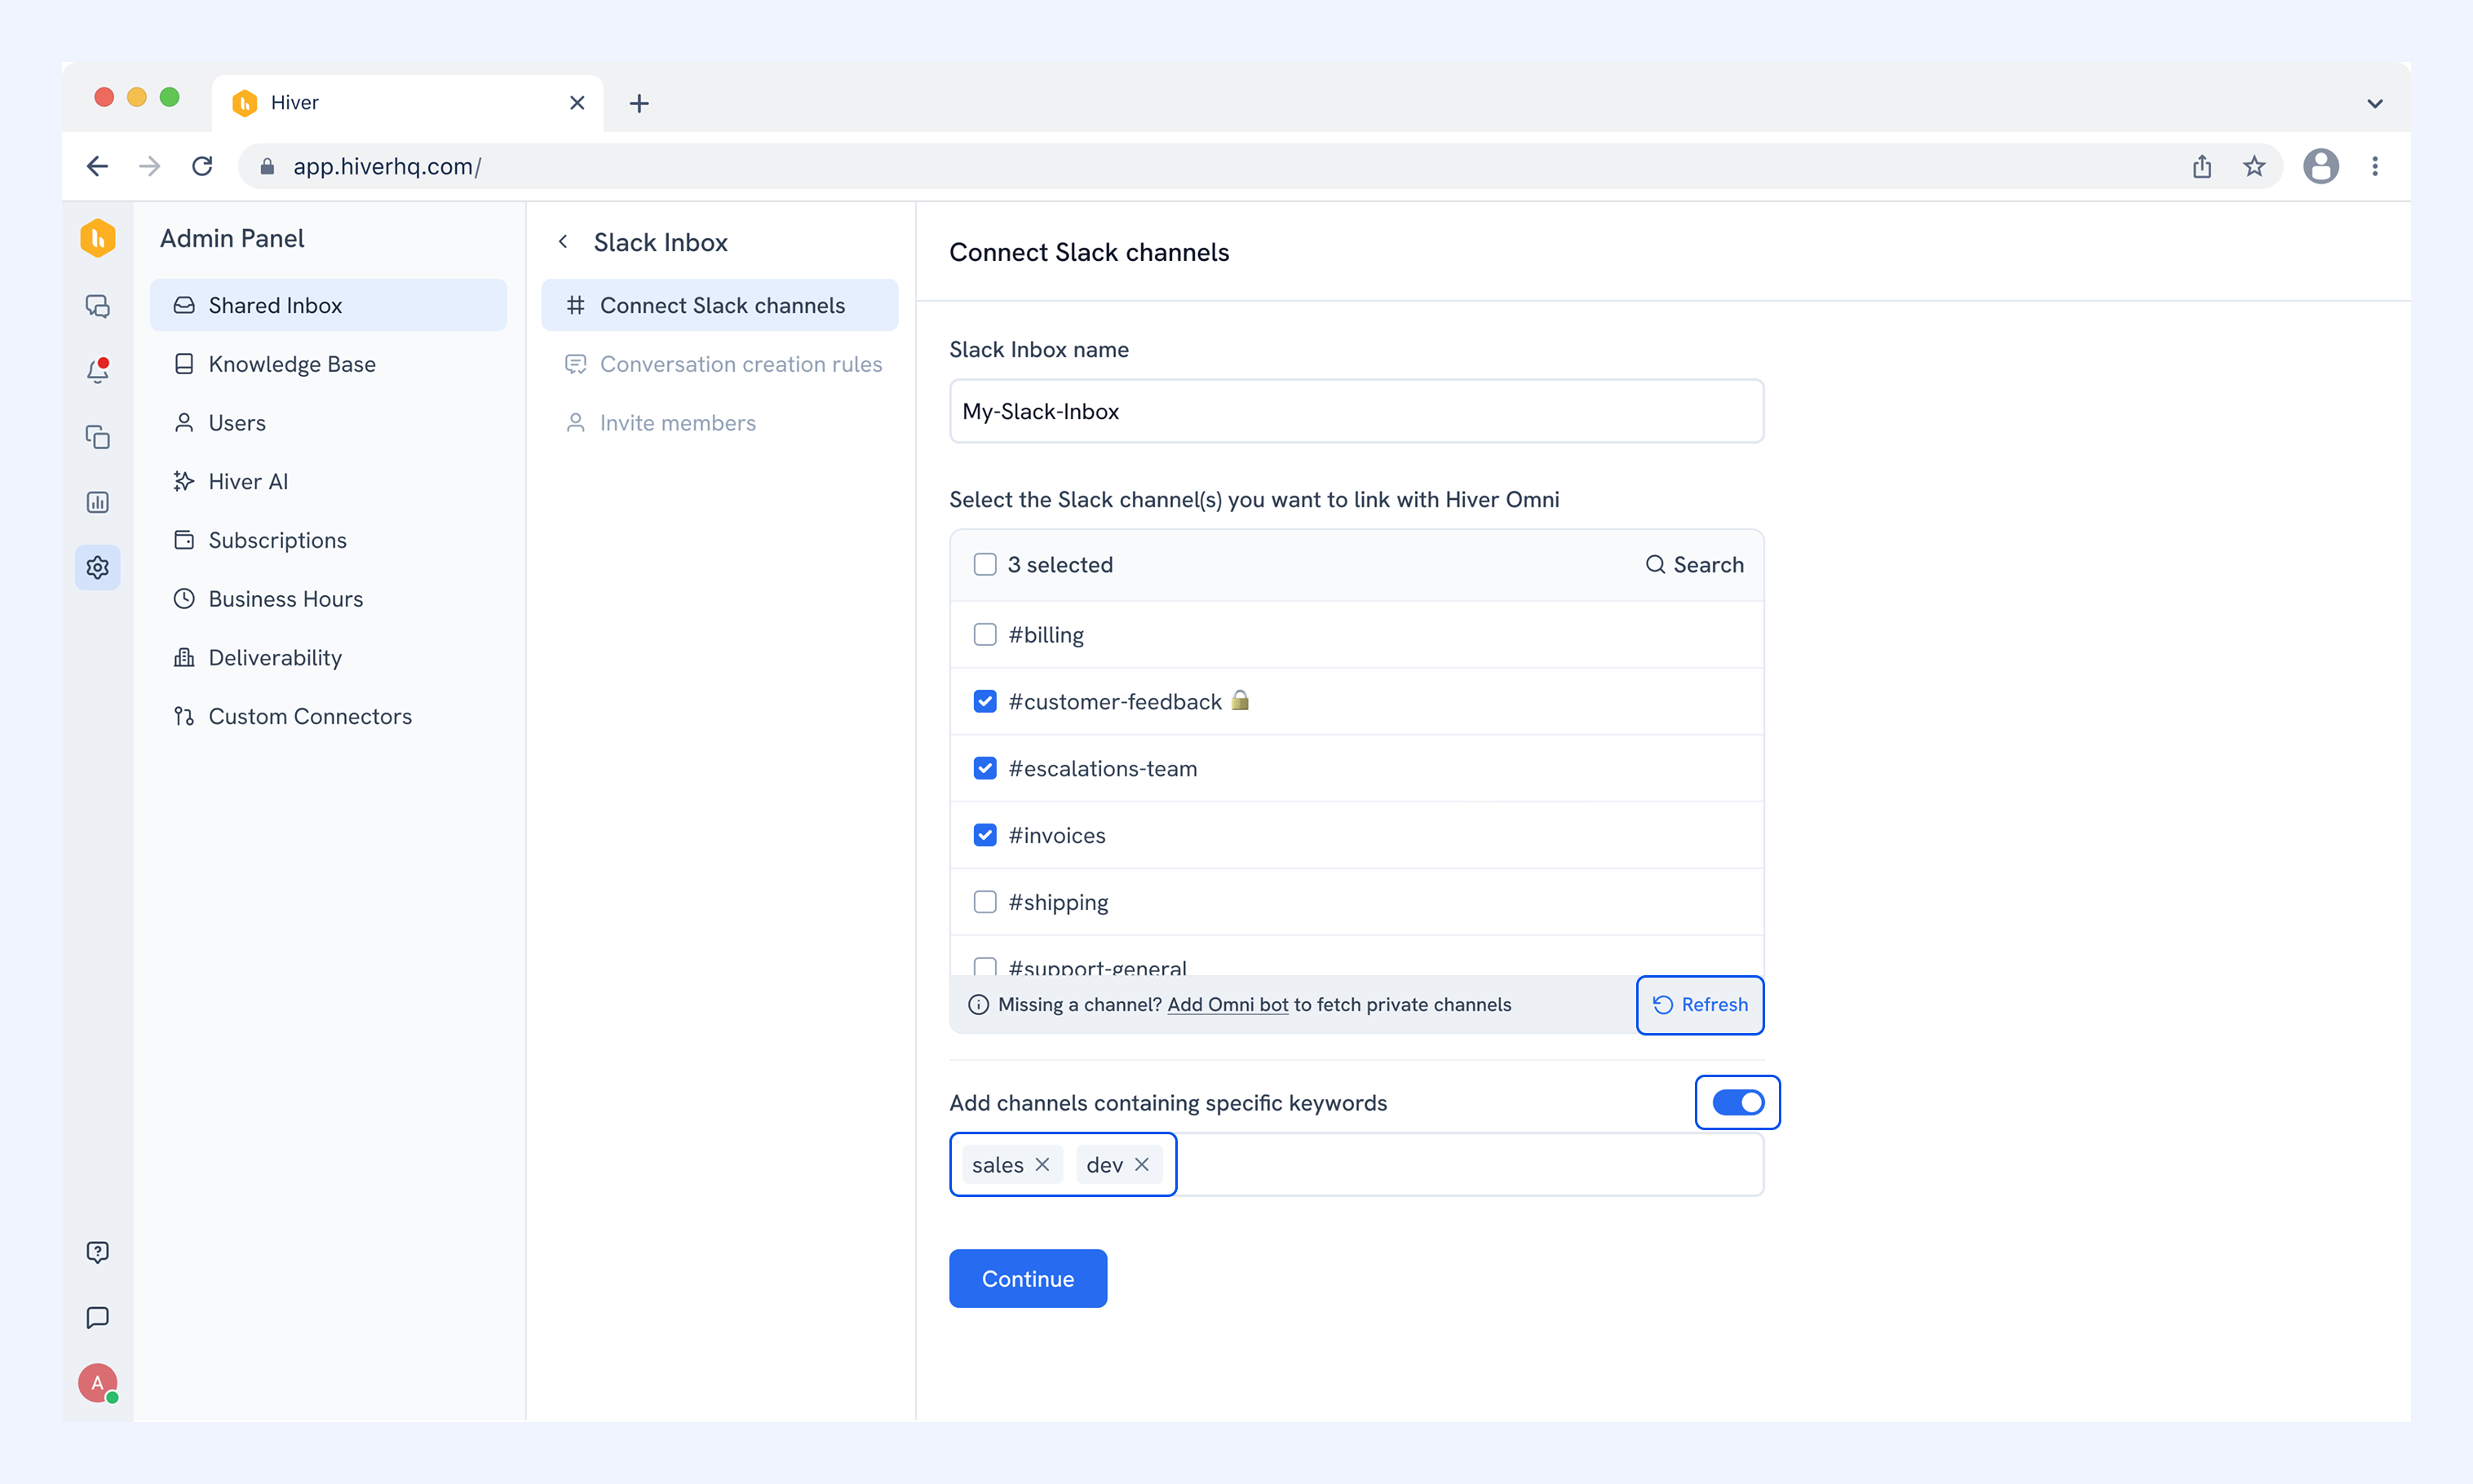
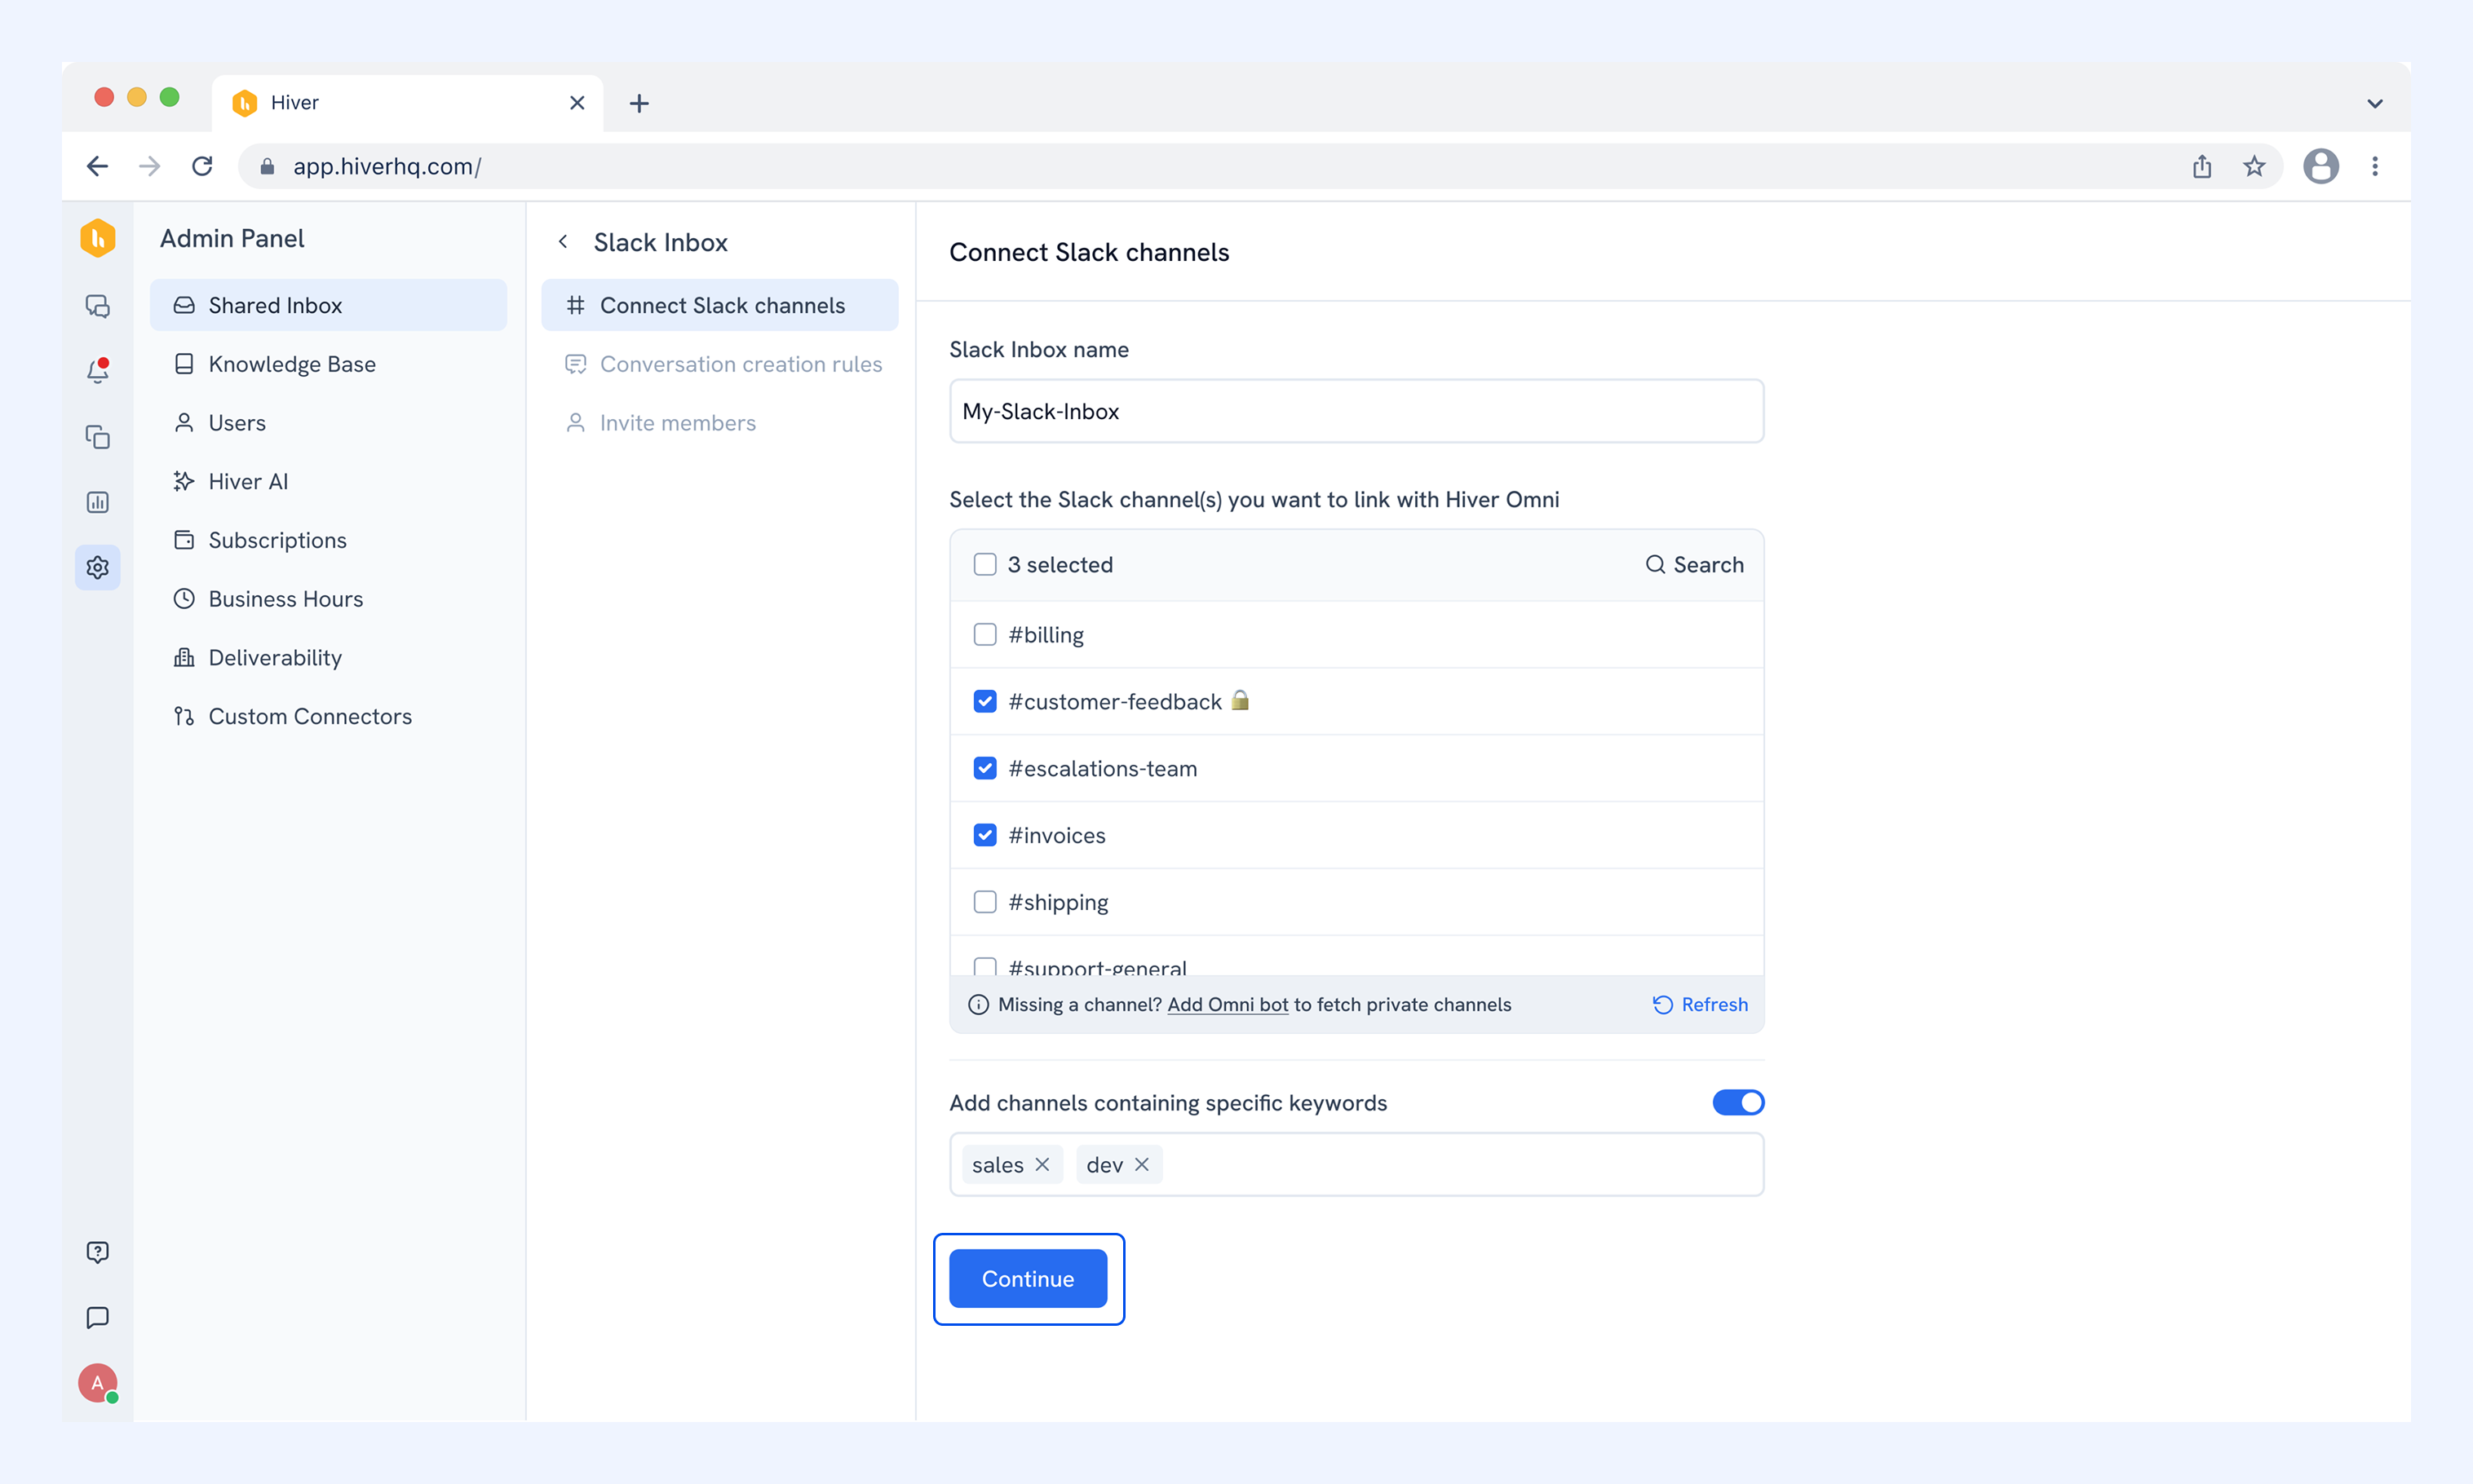
4. Next, give your Slack Inbox a name and select the channels you want to connect.
- Use the Search bar to find channels quickly.
- Click Refresh to pull new channels and private channels with the Hiver Omni app.
- Enable Add channels containing specific keywords, and then enter keywords to automatically add matching channels. For example, if your keyword is “support,” channels like #support-emea, #support-apac, and #support-escalations are added automatically.
5. Click Continue.
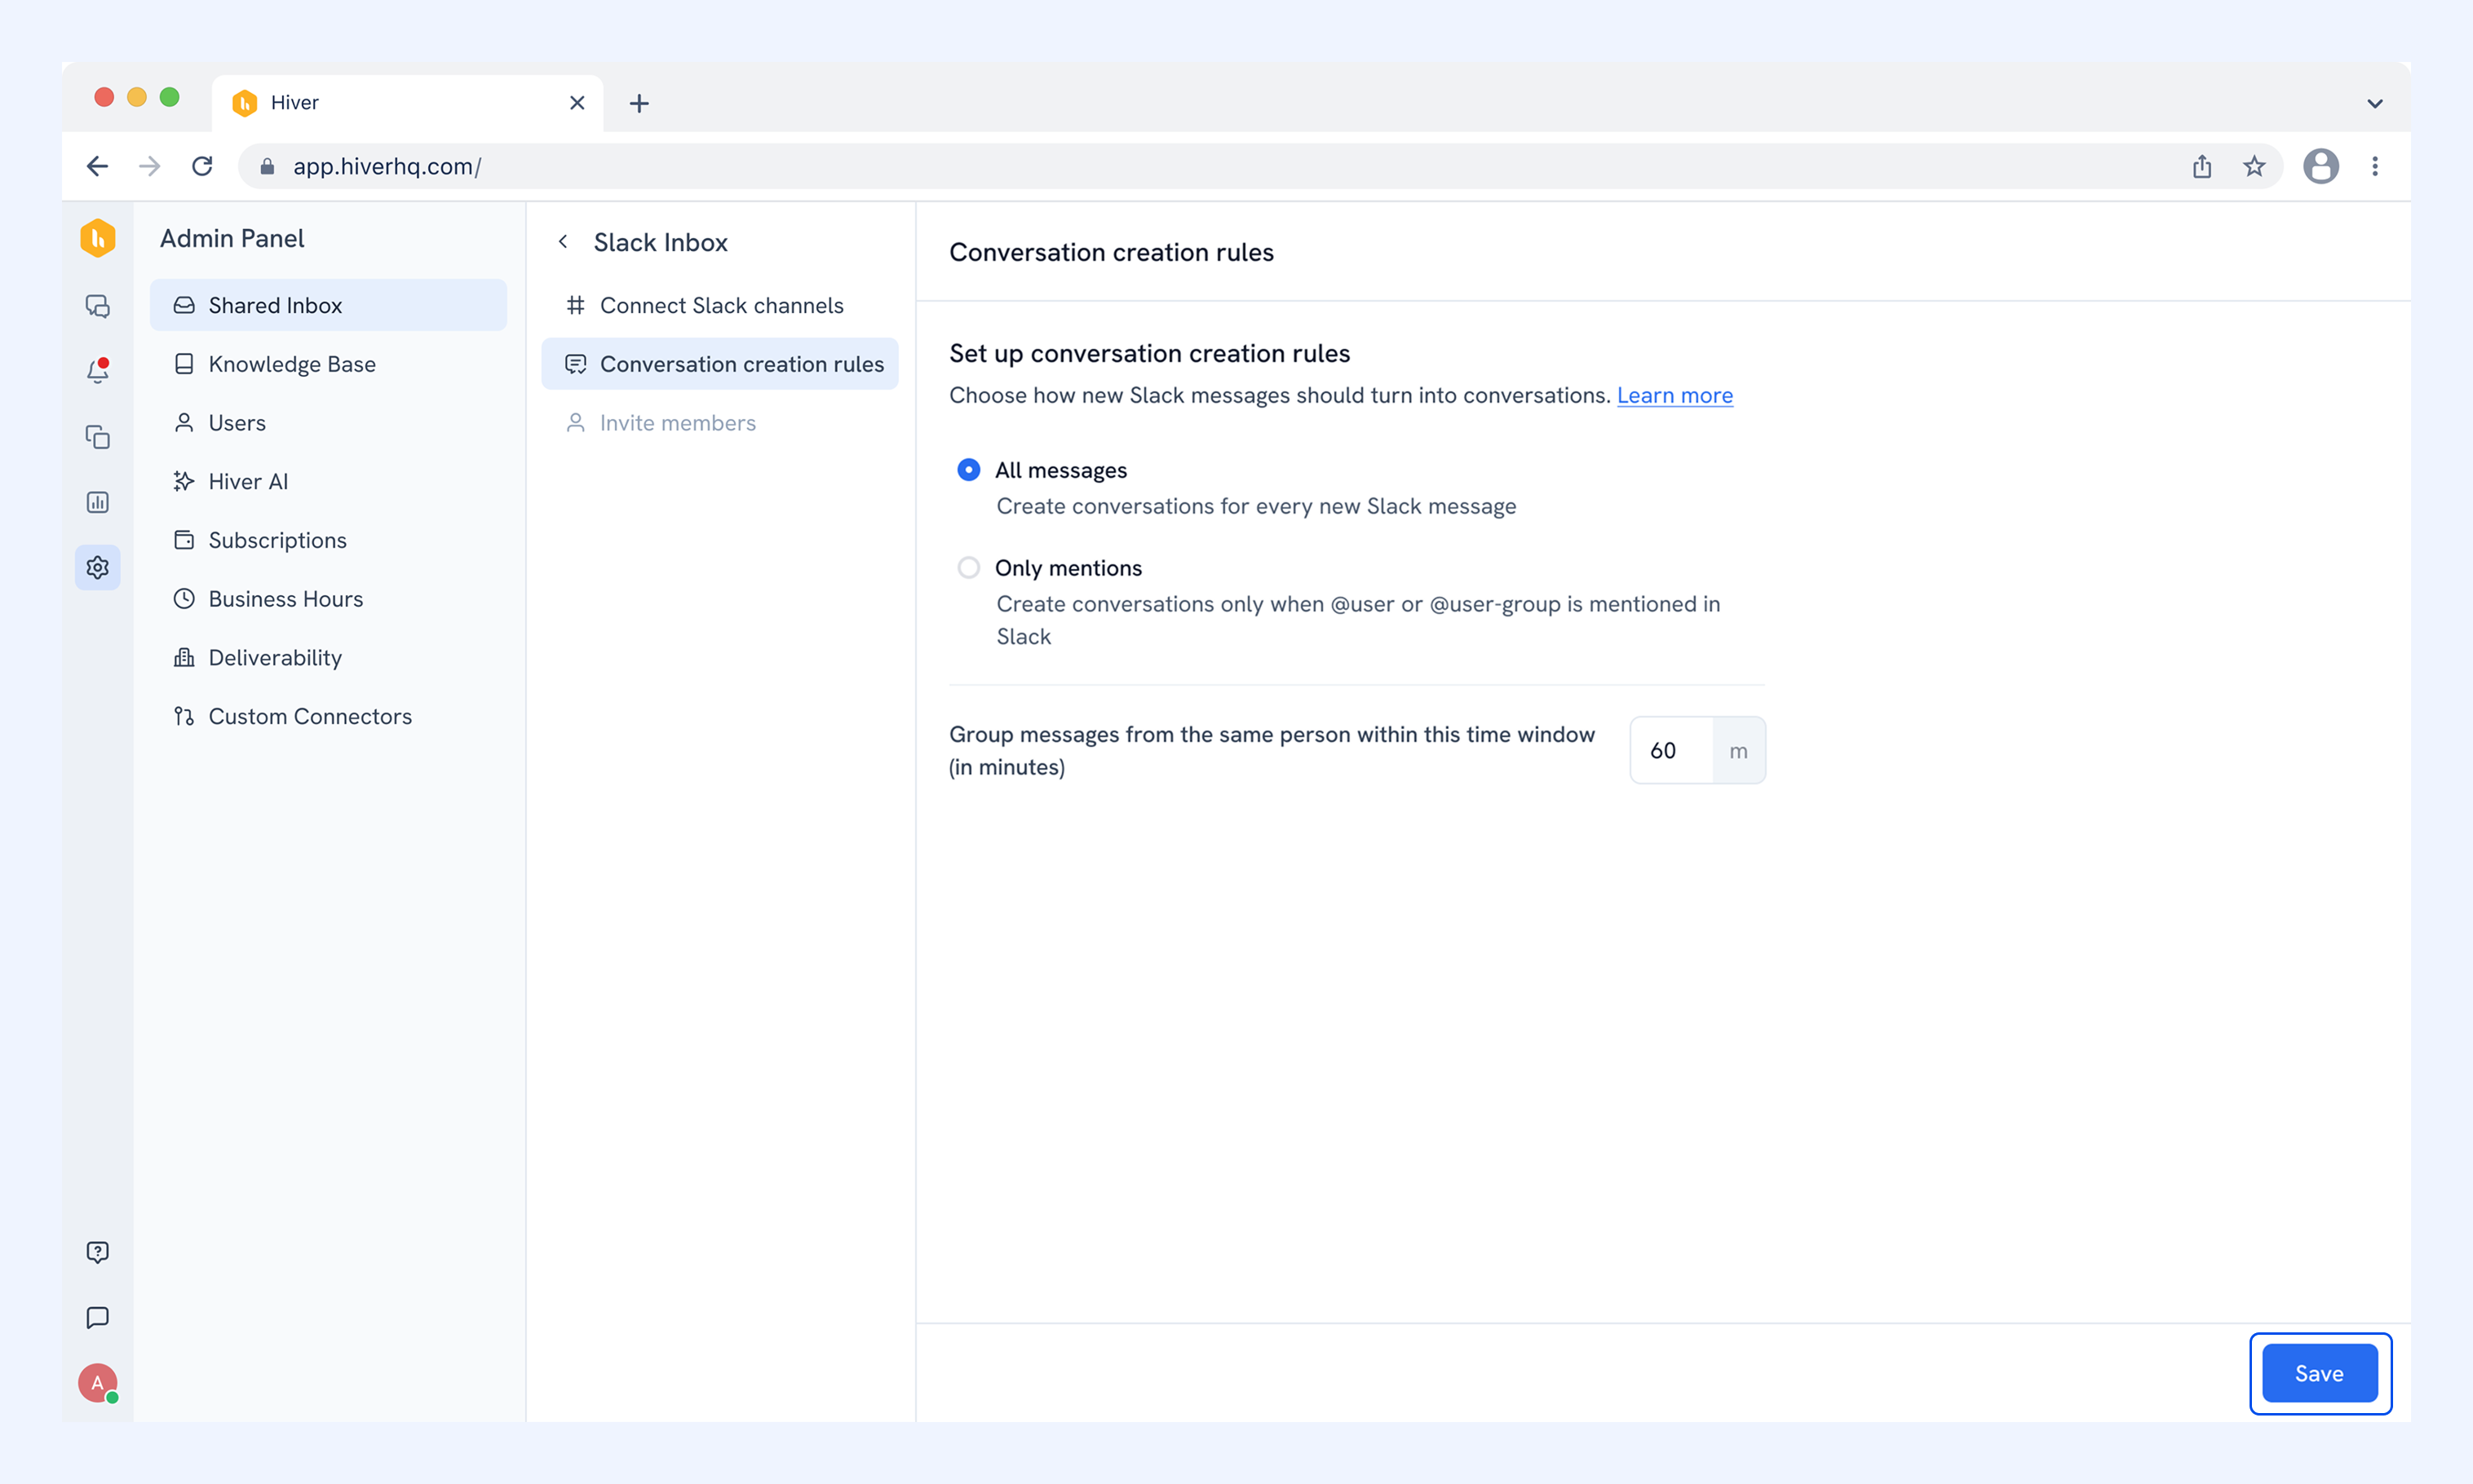
6. Choose how Slack messages become conversations in Hiver Omni:
- All messages: Creates a conversation for every new Slack message.
- Only mentions: A conversation is only created in Hiver Omni when someone mentions a team member or a Slack user group (for example, @finance or @support-team) in a Slack message.
- If you choose mentions for individual users, choose which users' mentions should create a conversation. By default, every user in your domain is selected, and a conversation is created only when one of the selected users is tagged.
- Group consecutive messages: Bundles messages from the same person within a set time window into one conversation.
7. Click Save.
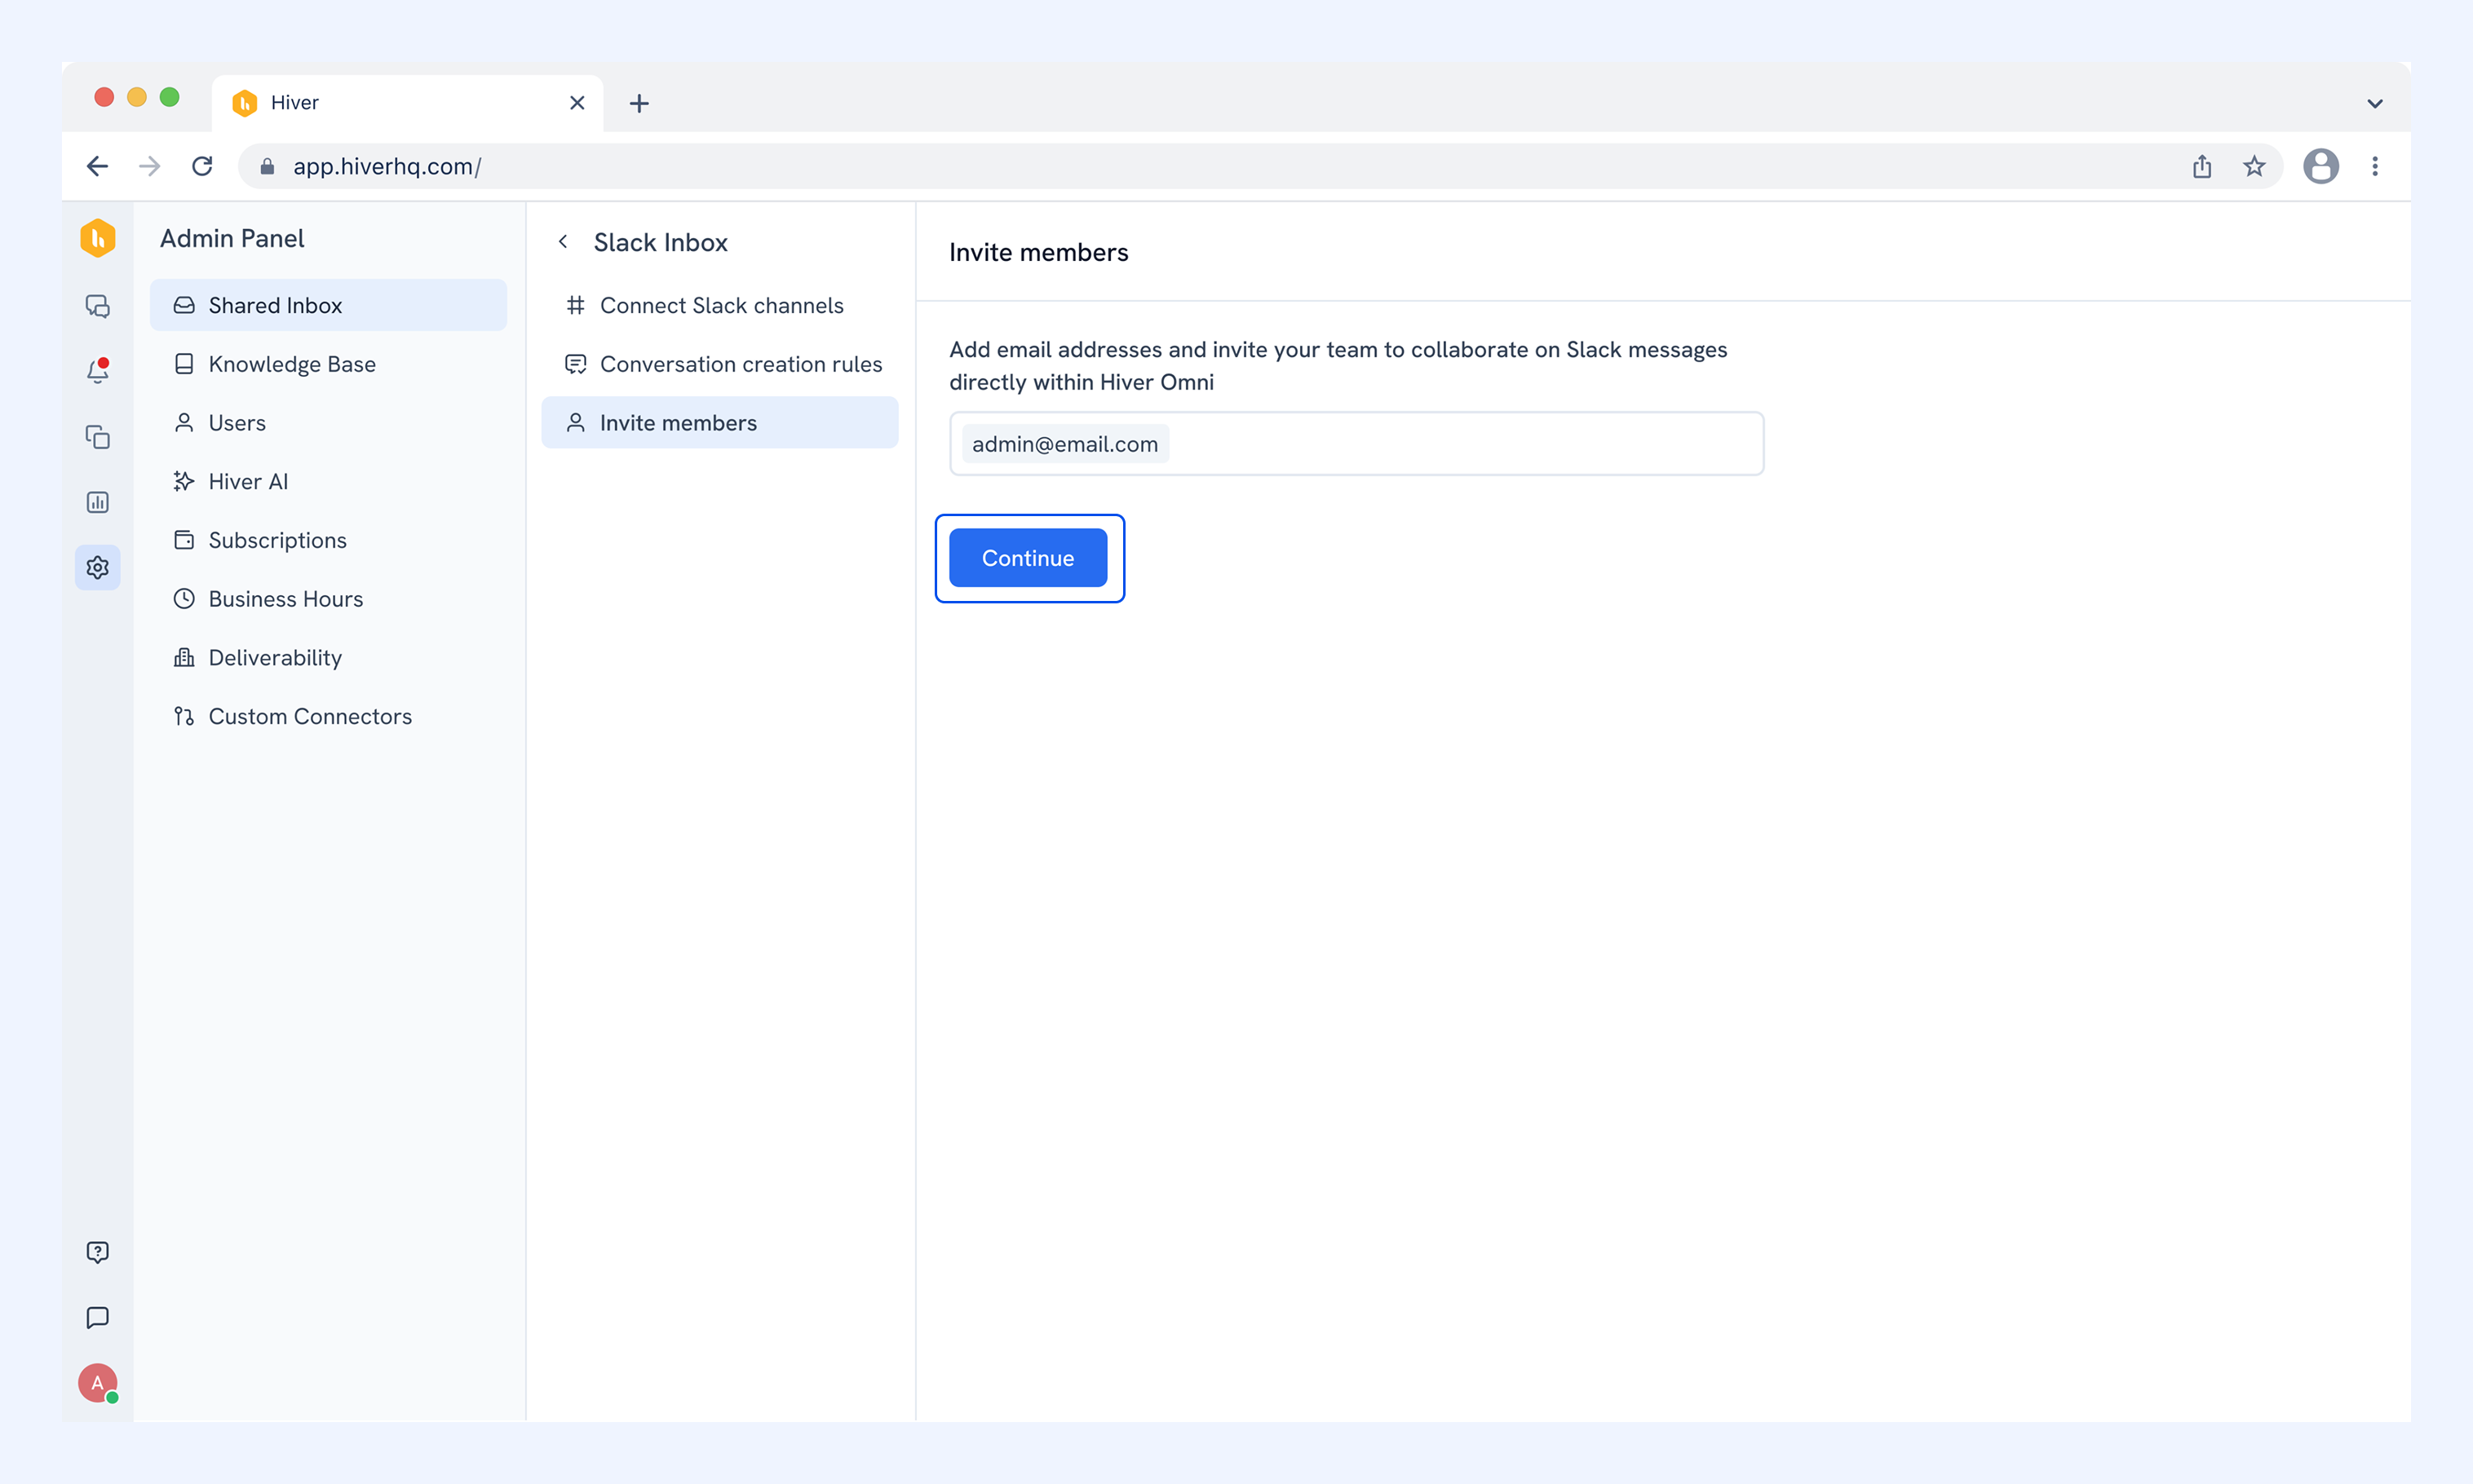
8. Lastly, enter your teammates' email addresses to invite them to the Slack Inbox, and click Continue.
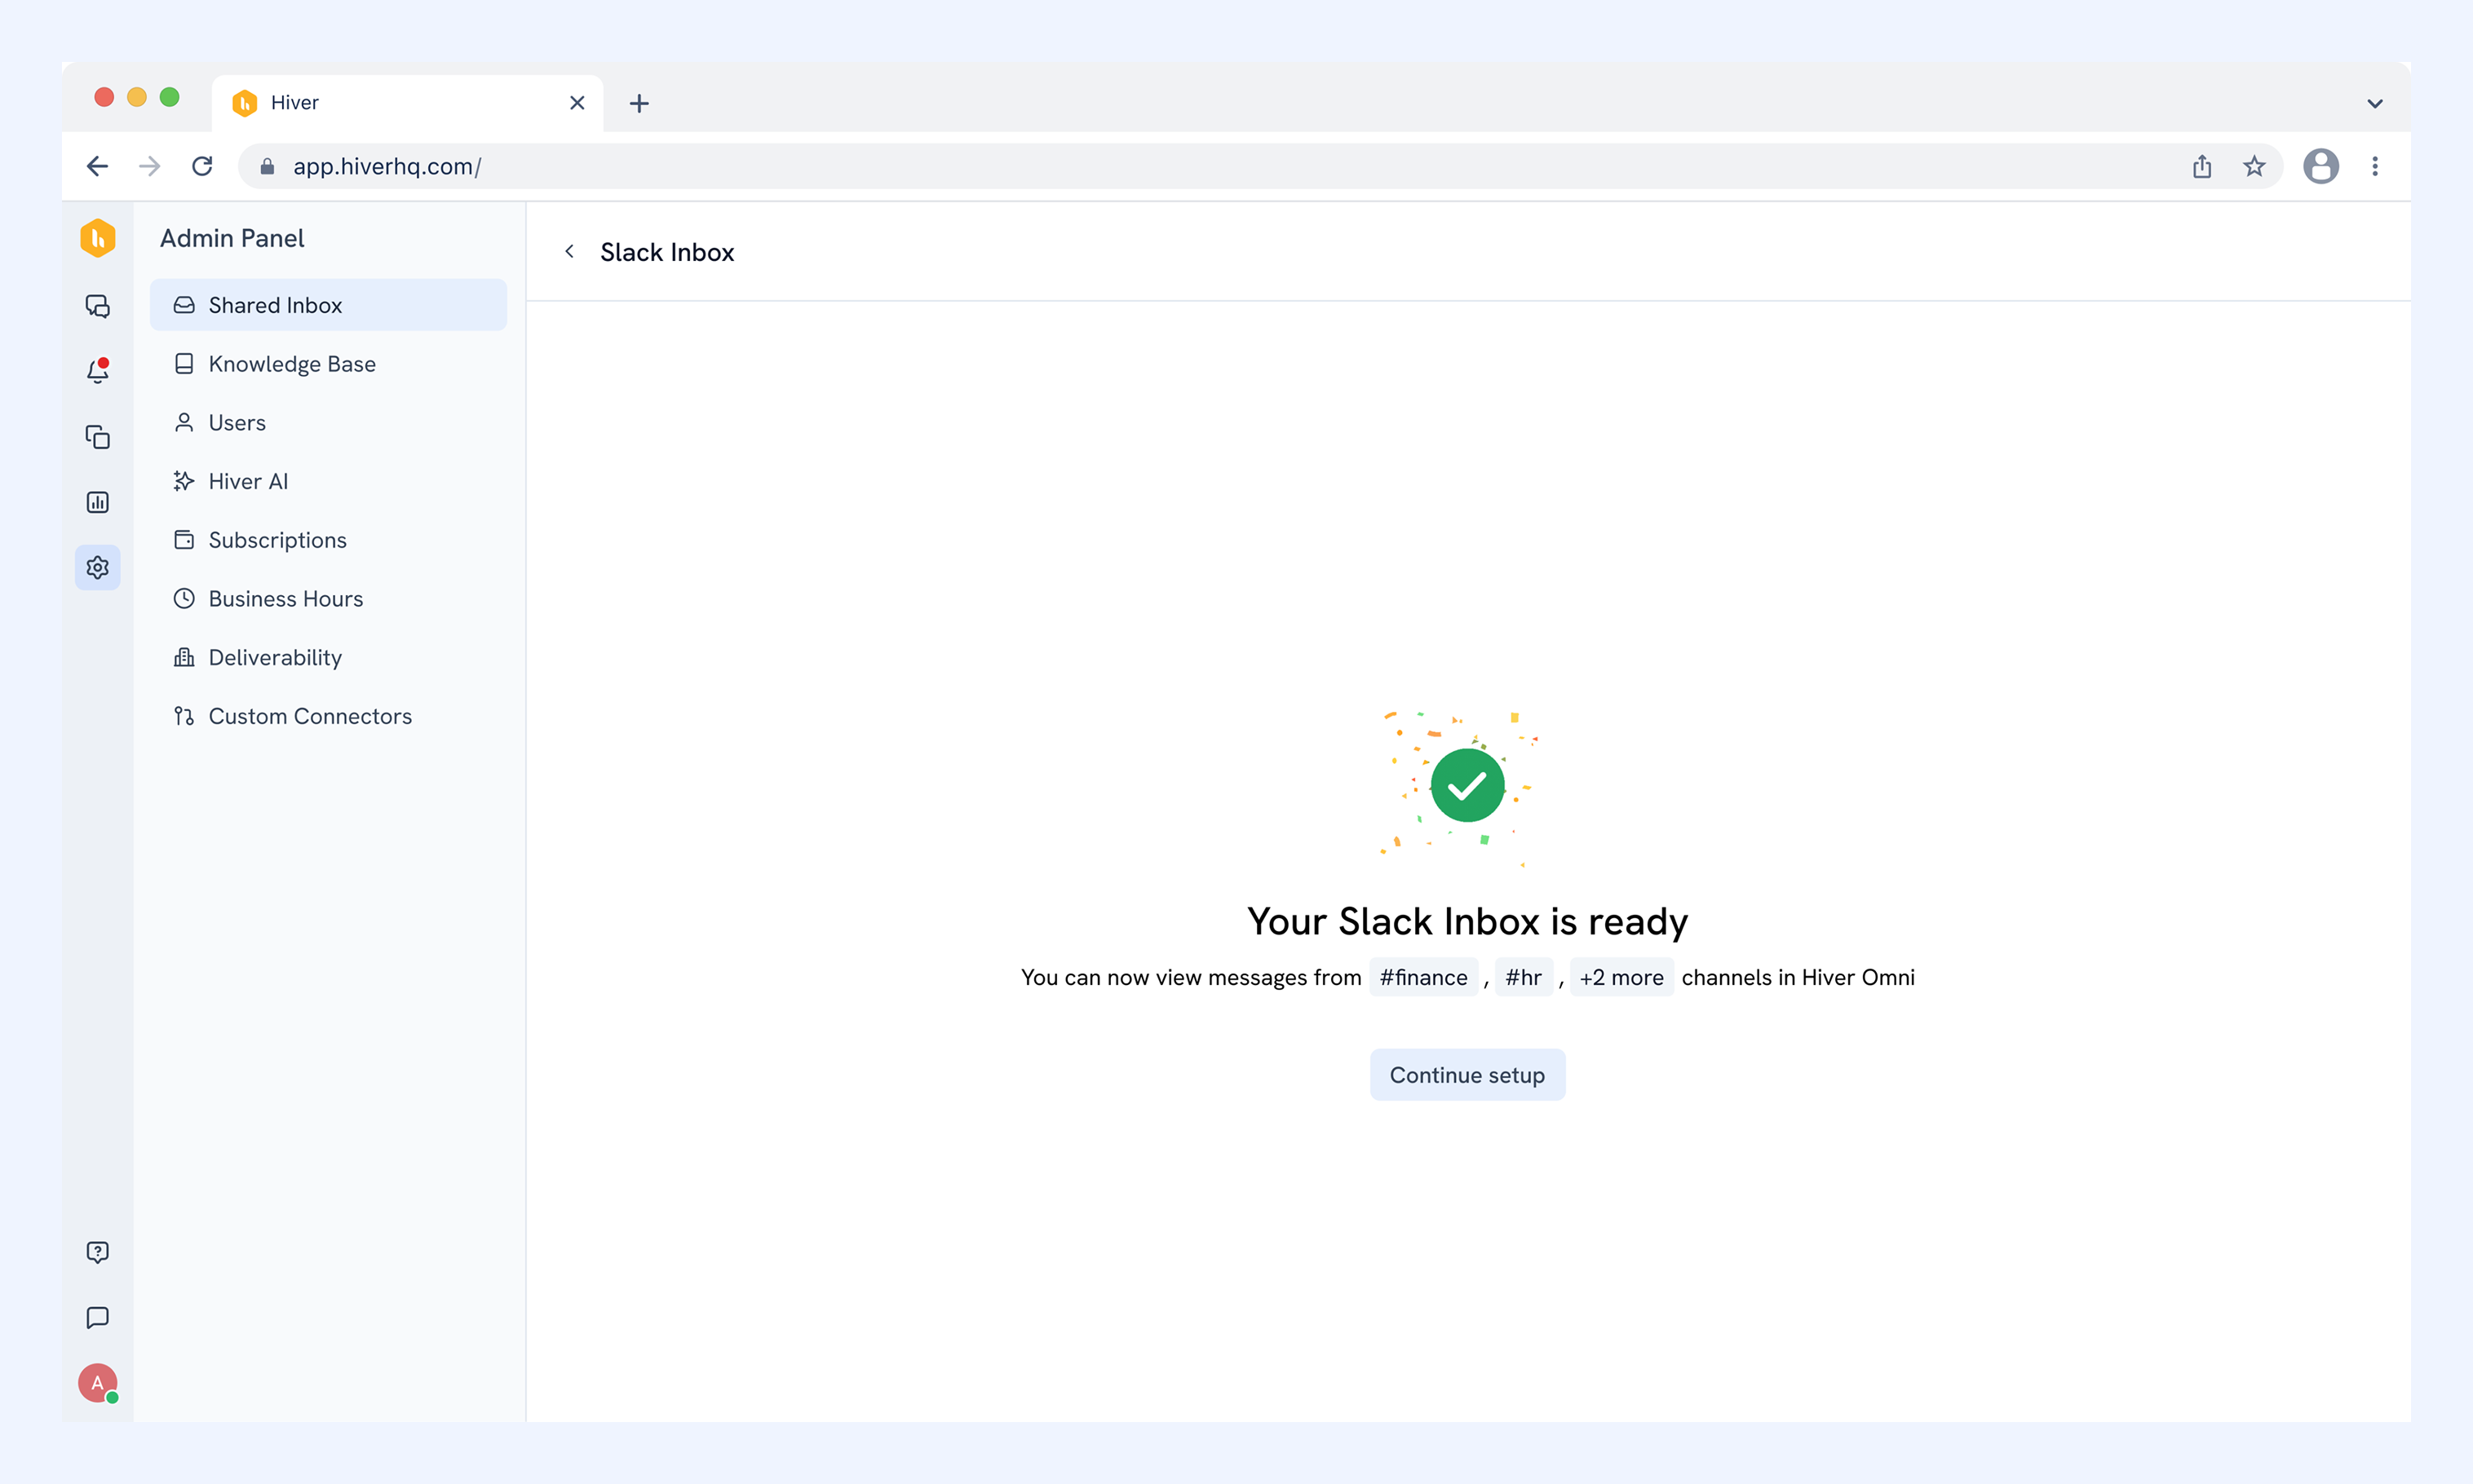
9. Your Slack inbox is created. You can continue setting it up and enable options like Auto Assignment, CSAT, and more.
What your Slack Inbox looks like
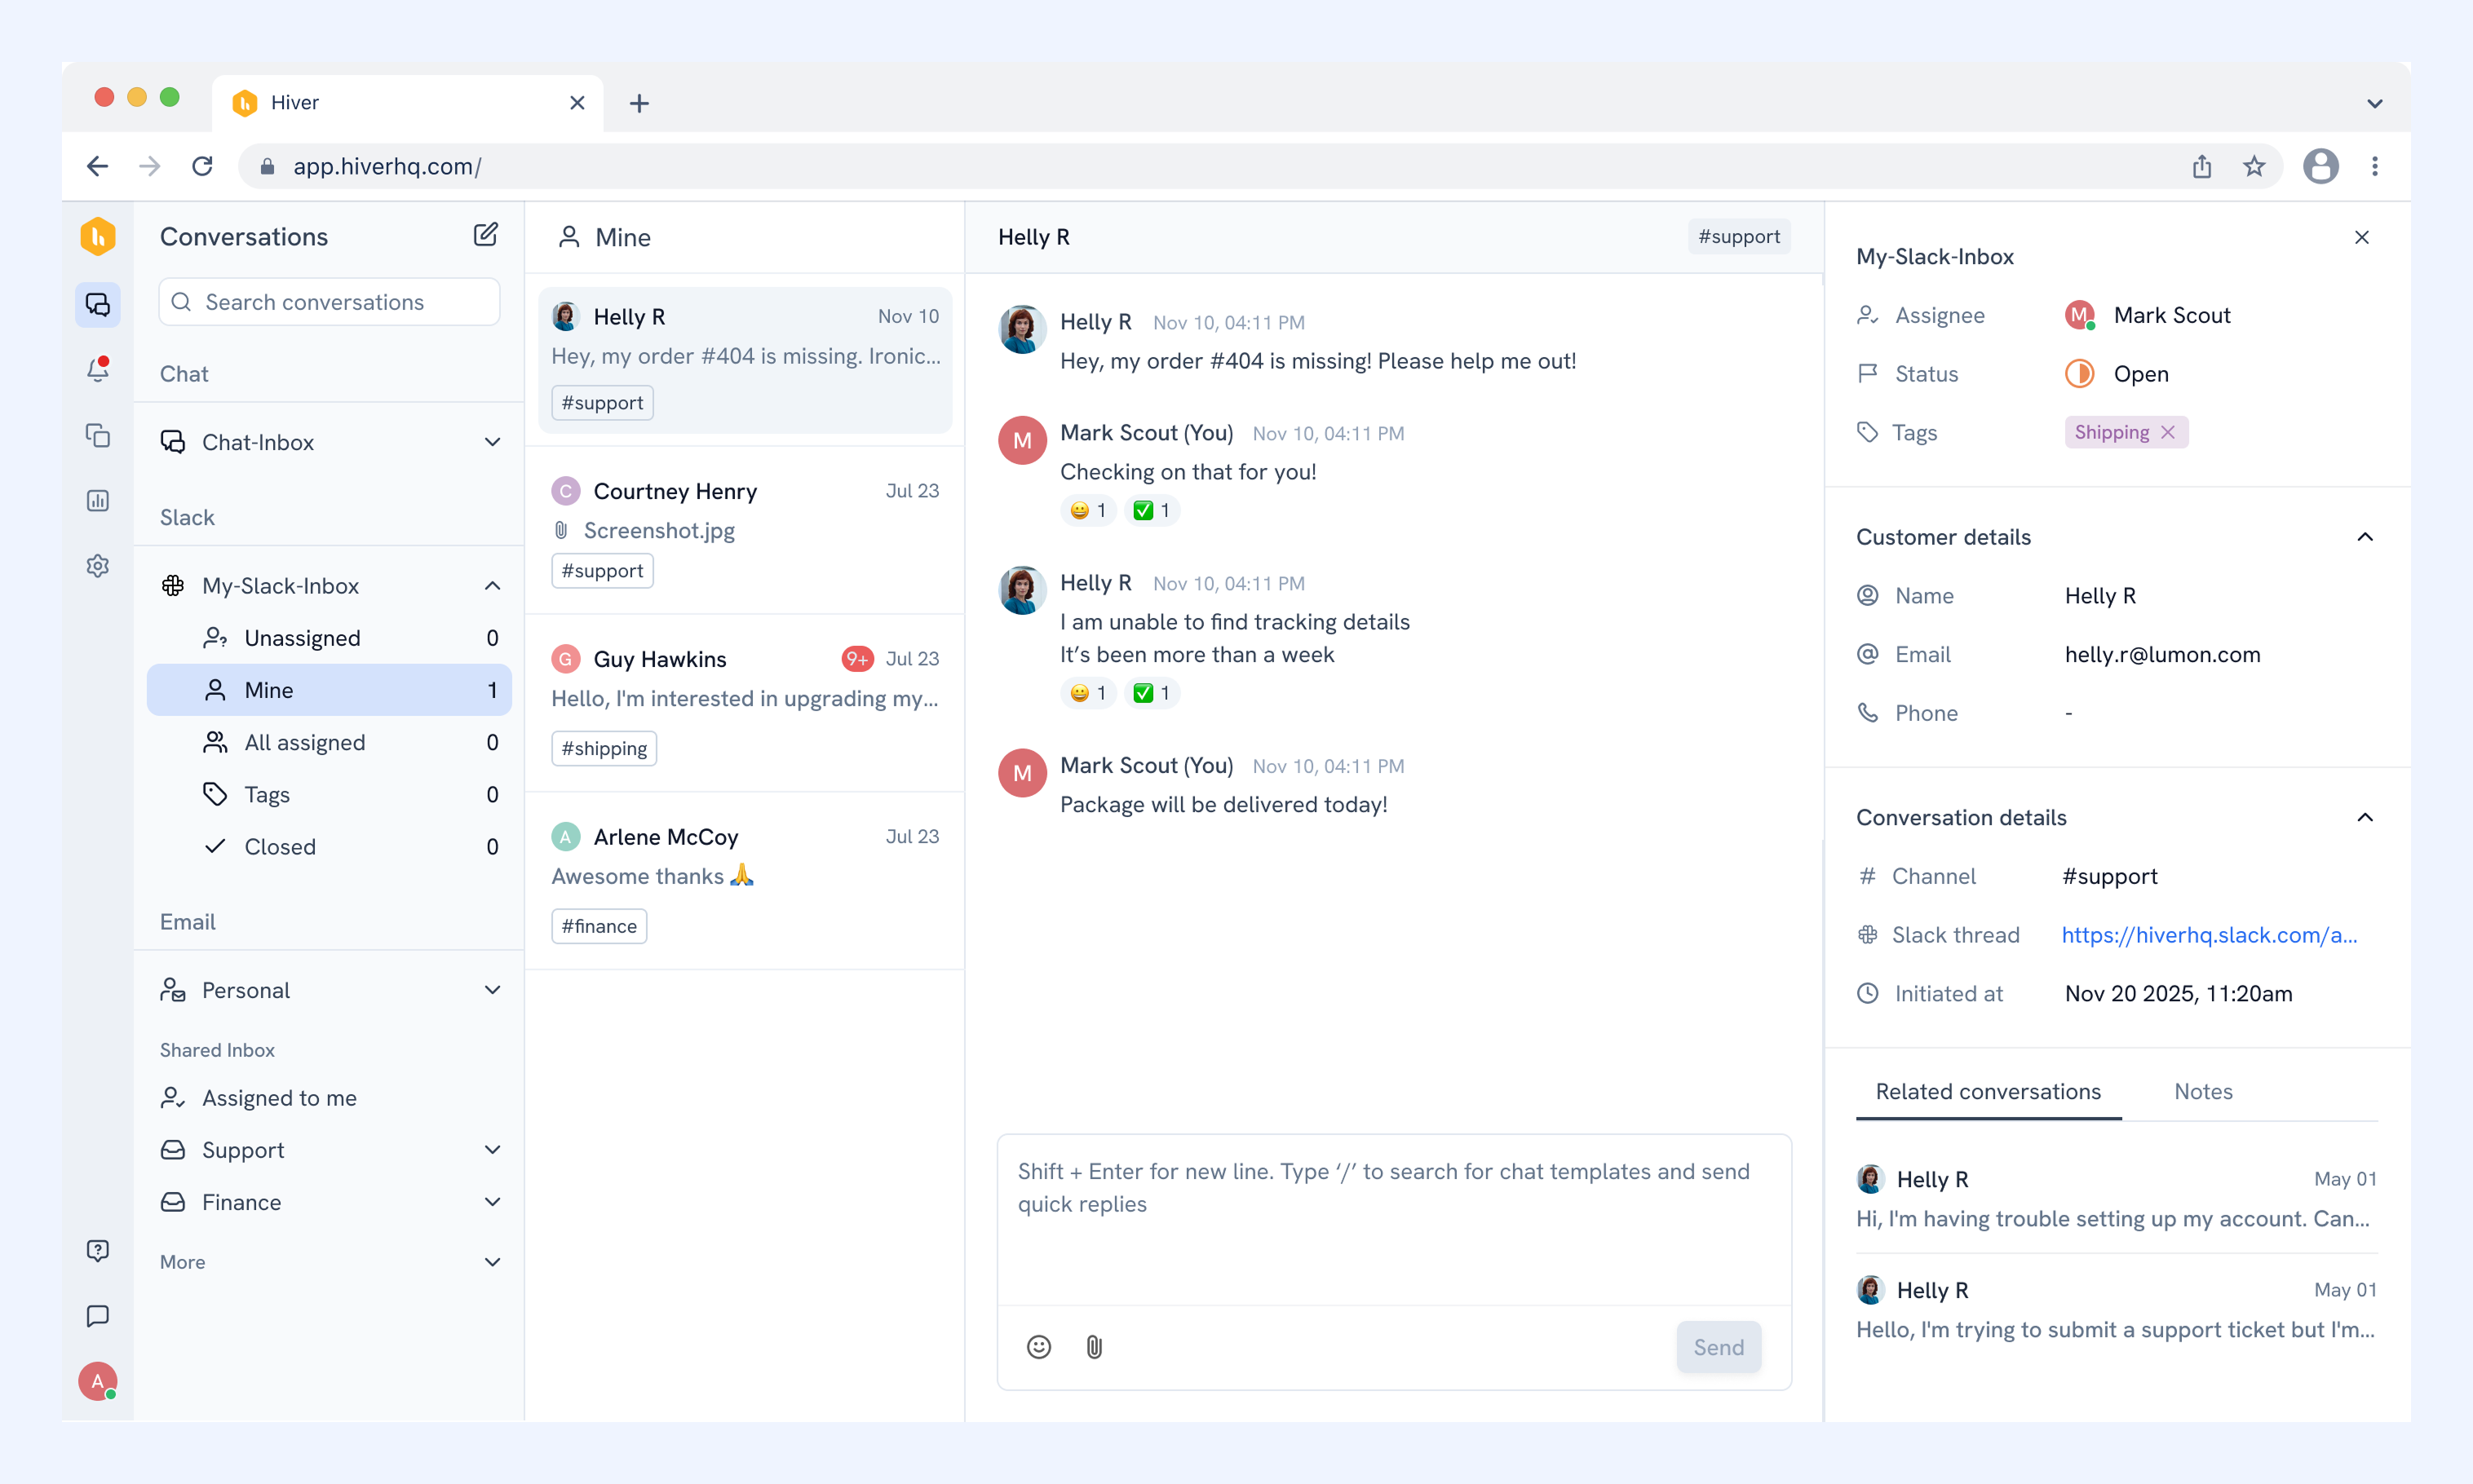
Once your inbox is set up and messages start coming in, here's what you'll see in Hiver Omni:
- The Slack Inbox appears in left panel with default views for Unassigned, Mine, All Assigned, Tags, and Closed.
- Each conversation shows the Slack username, a preview of the last message, and the channel it came from (e.g. #support).
- The right panel shows conversation details including the Slack channel name, a direct link to the thread in Slack, and the timestamp of the first message.
Email verification required
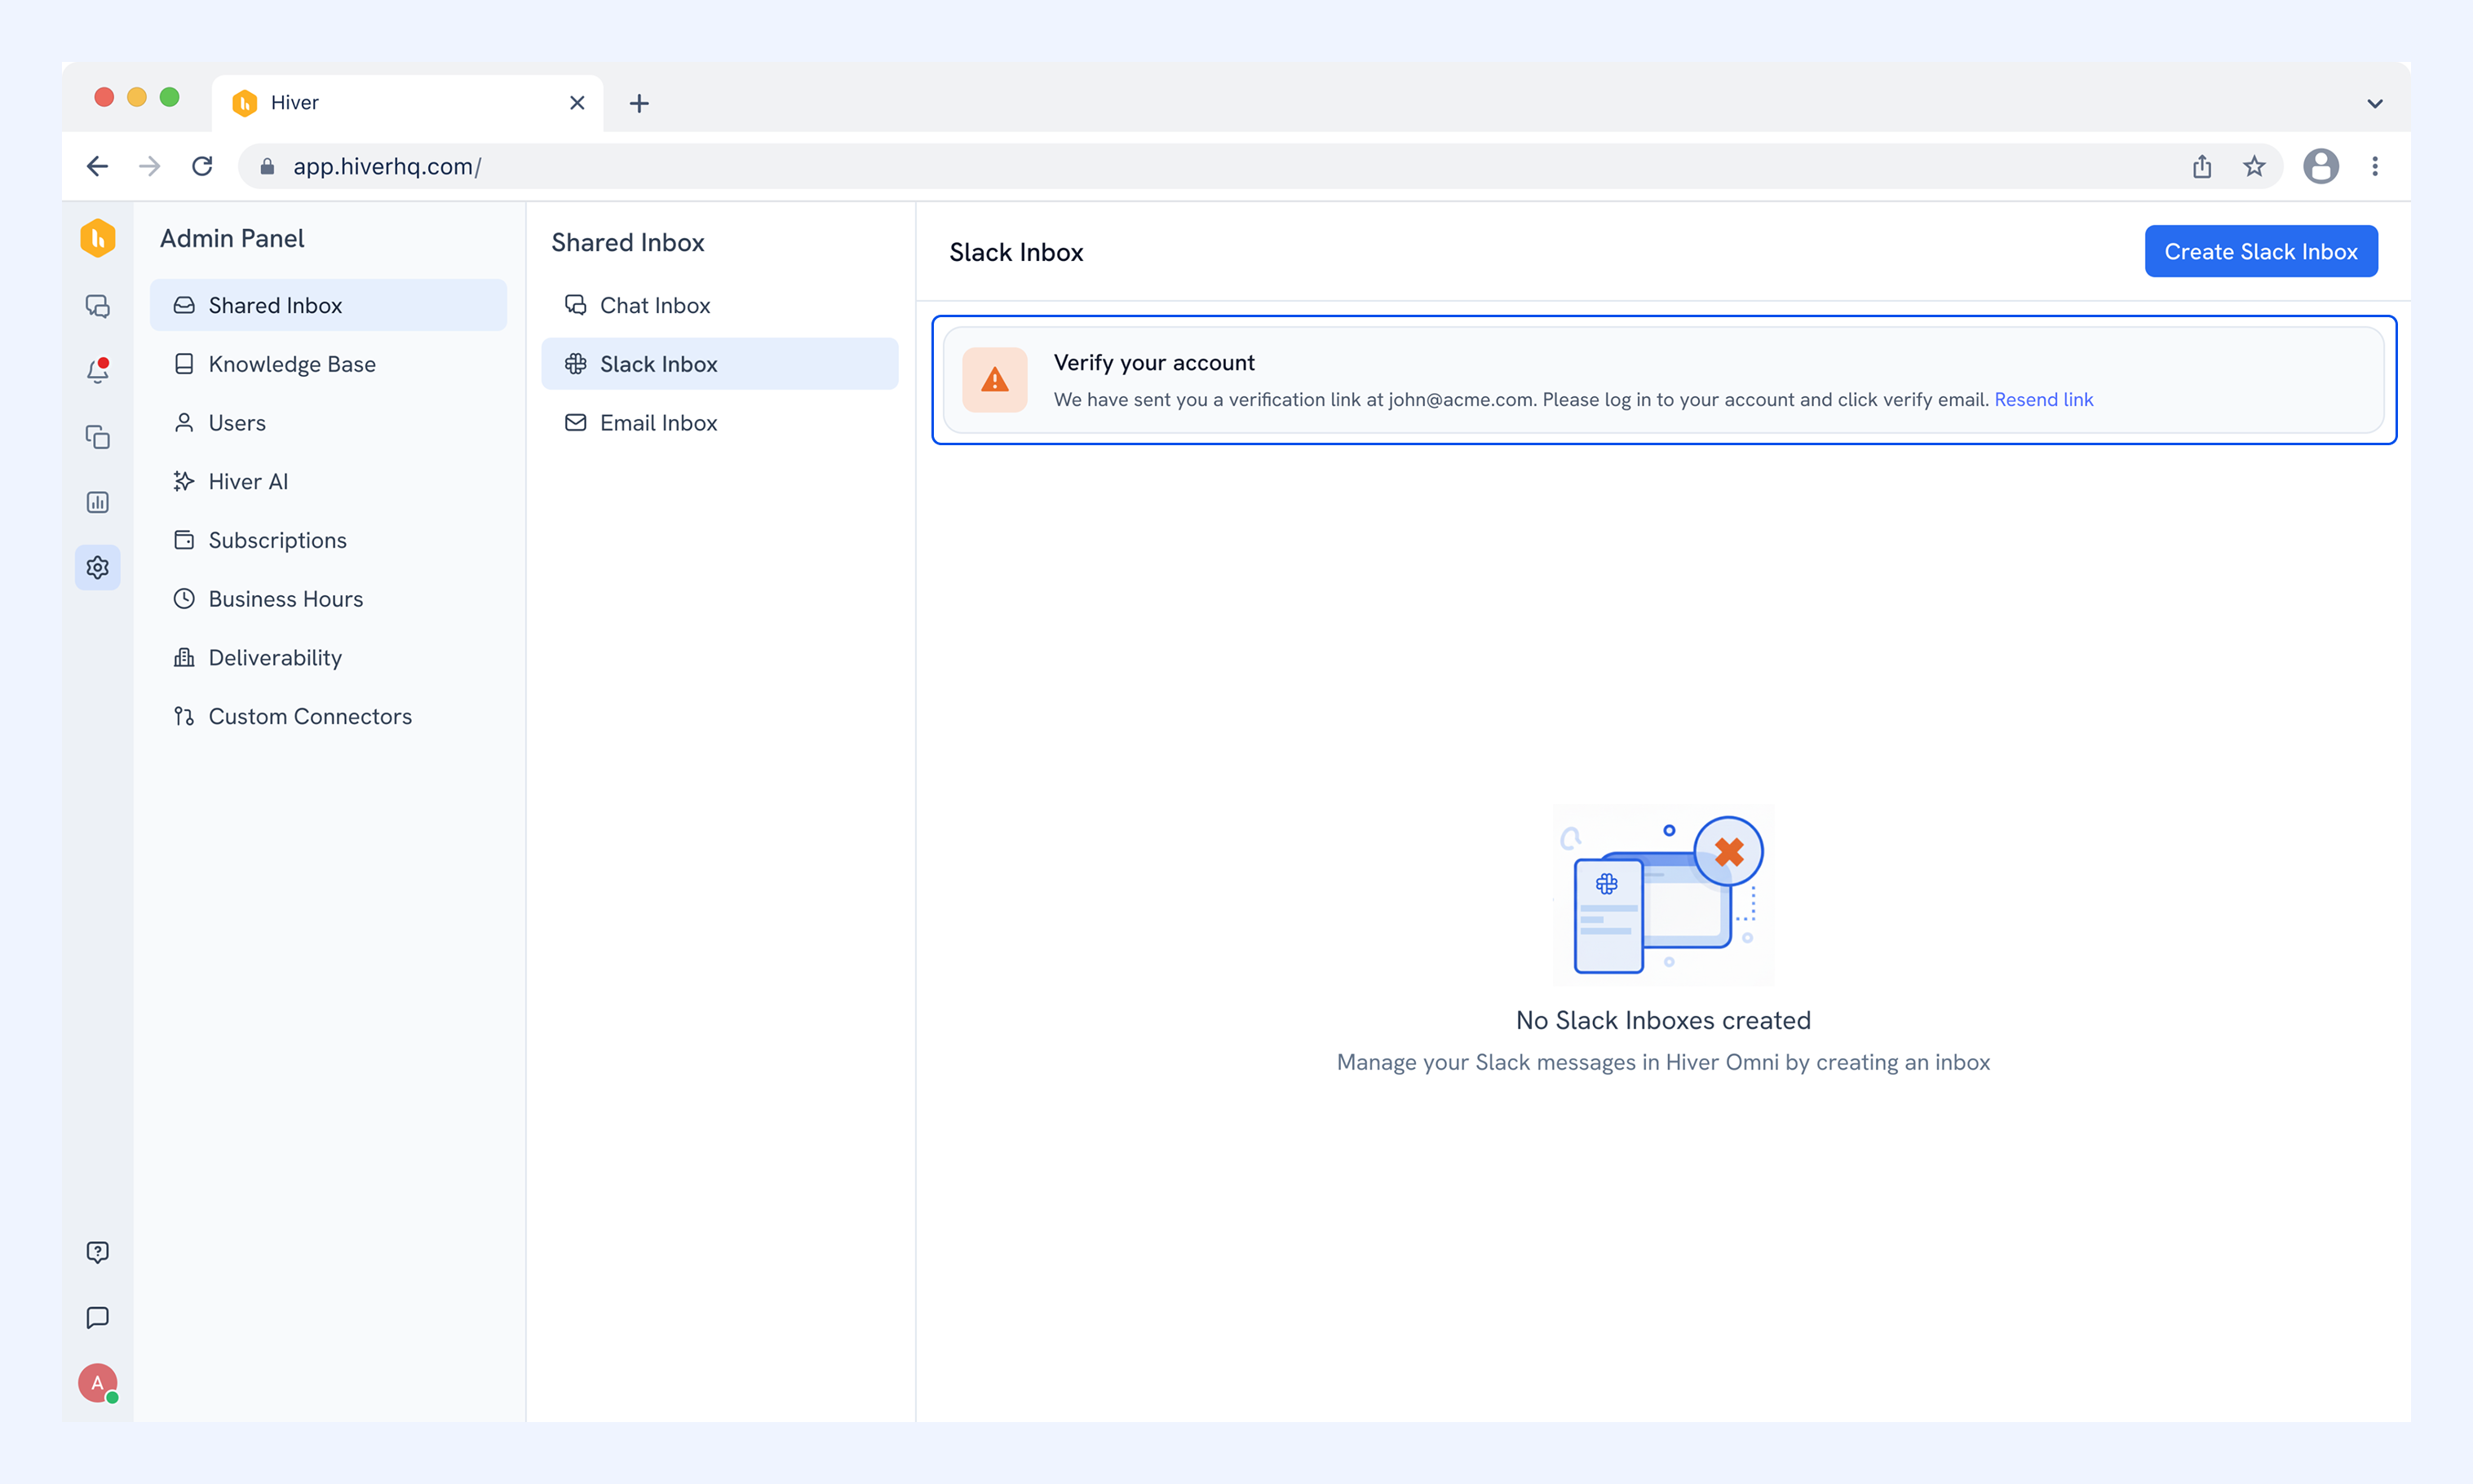
If you signed up for Hiver Omni with an email address not associated with Google or Microsoft, your email needs to be verified before a Slack inbox can be created.
A banner will appear on the Slack Inbox page with instructions.
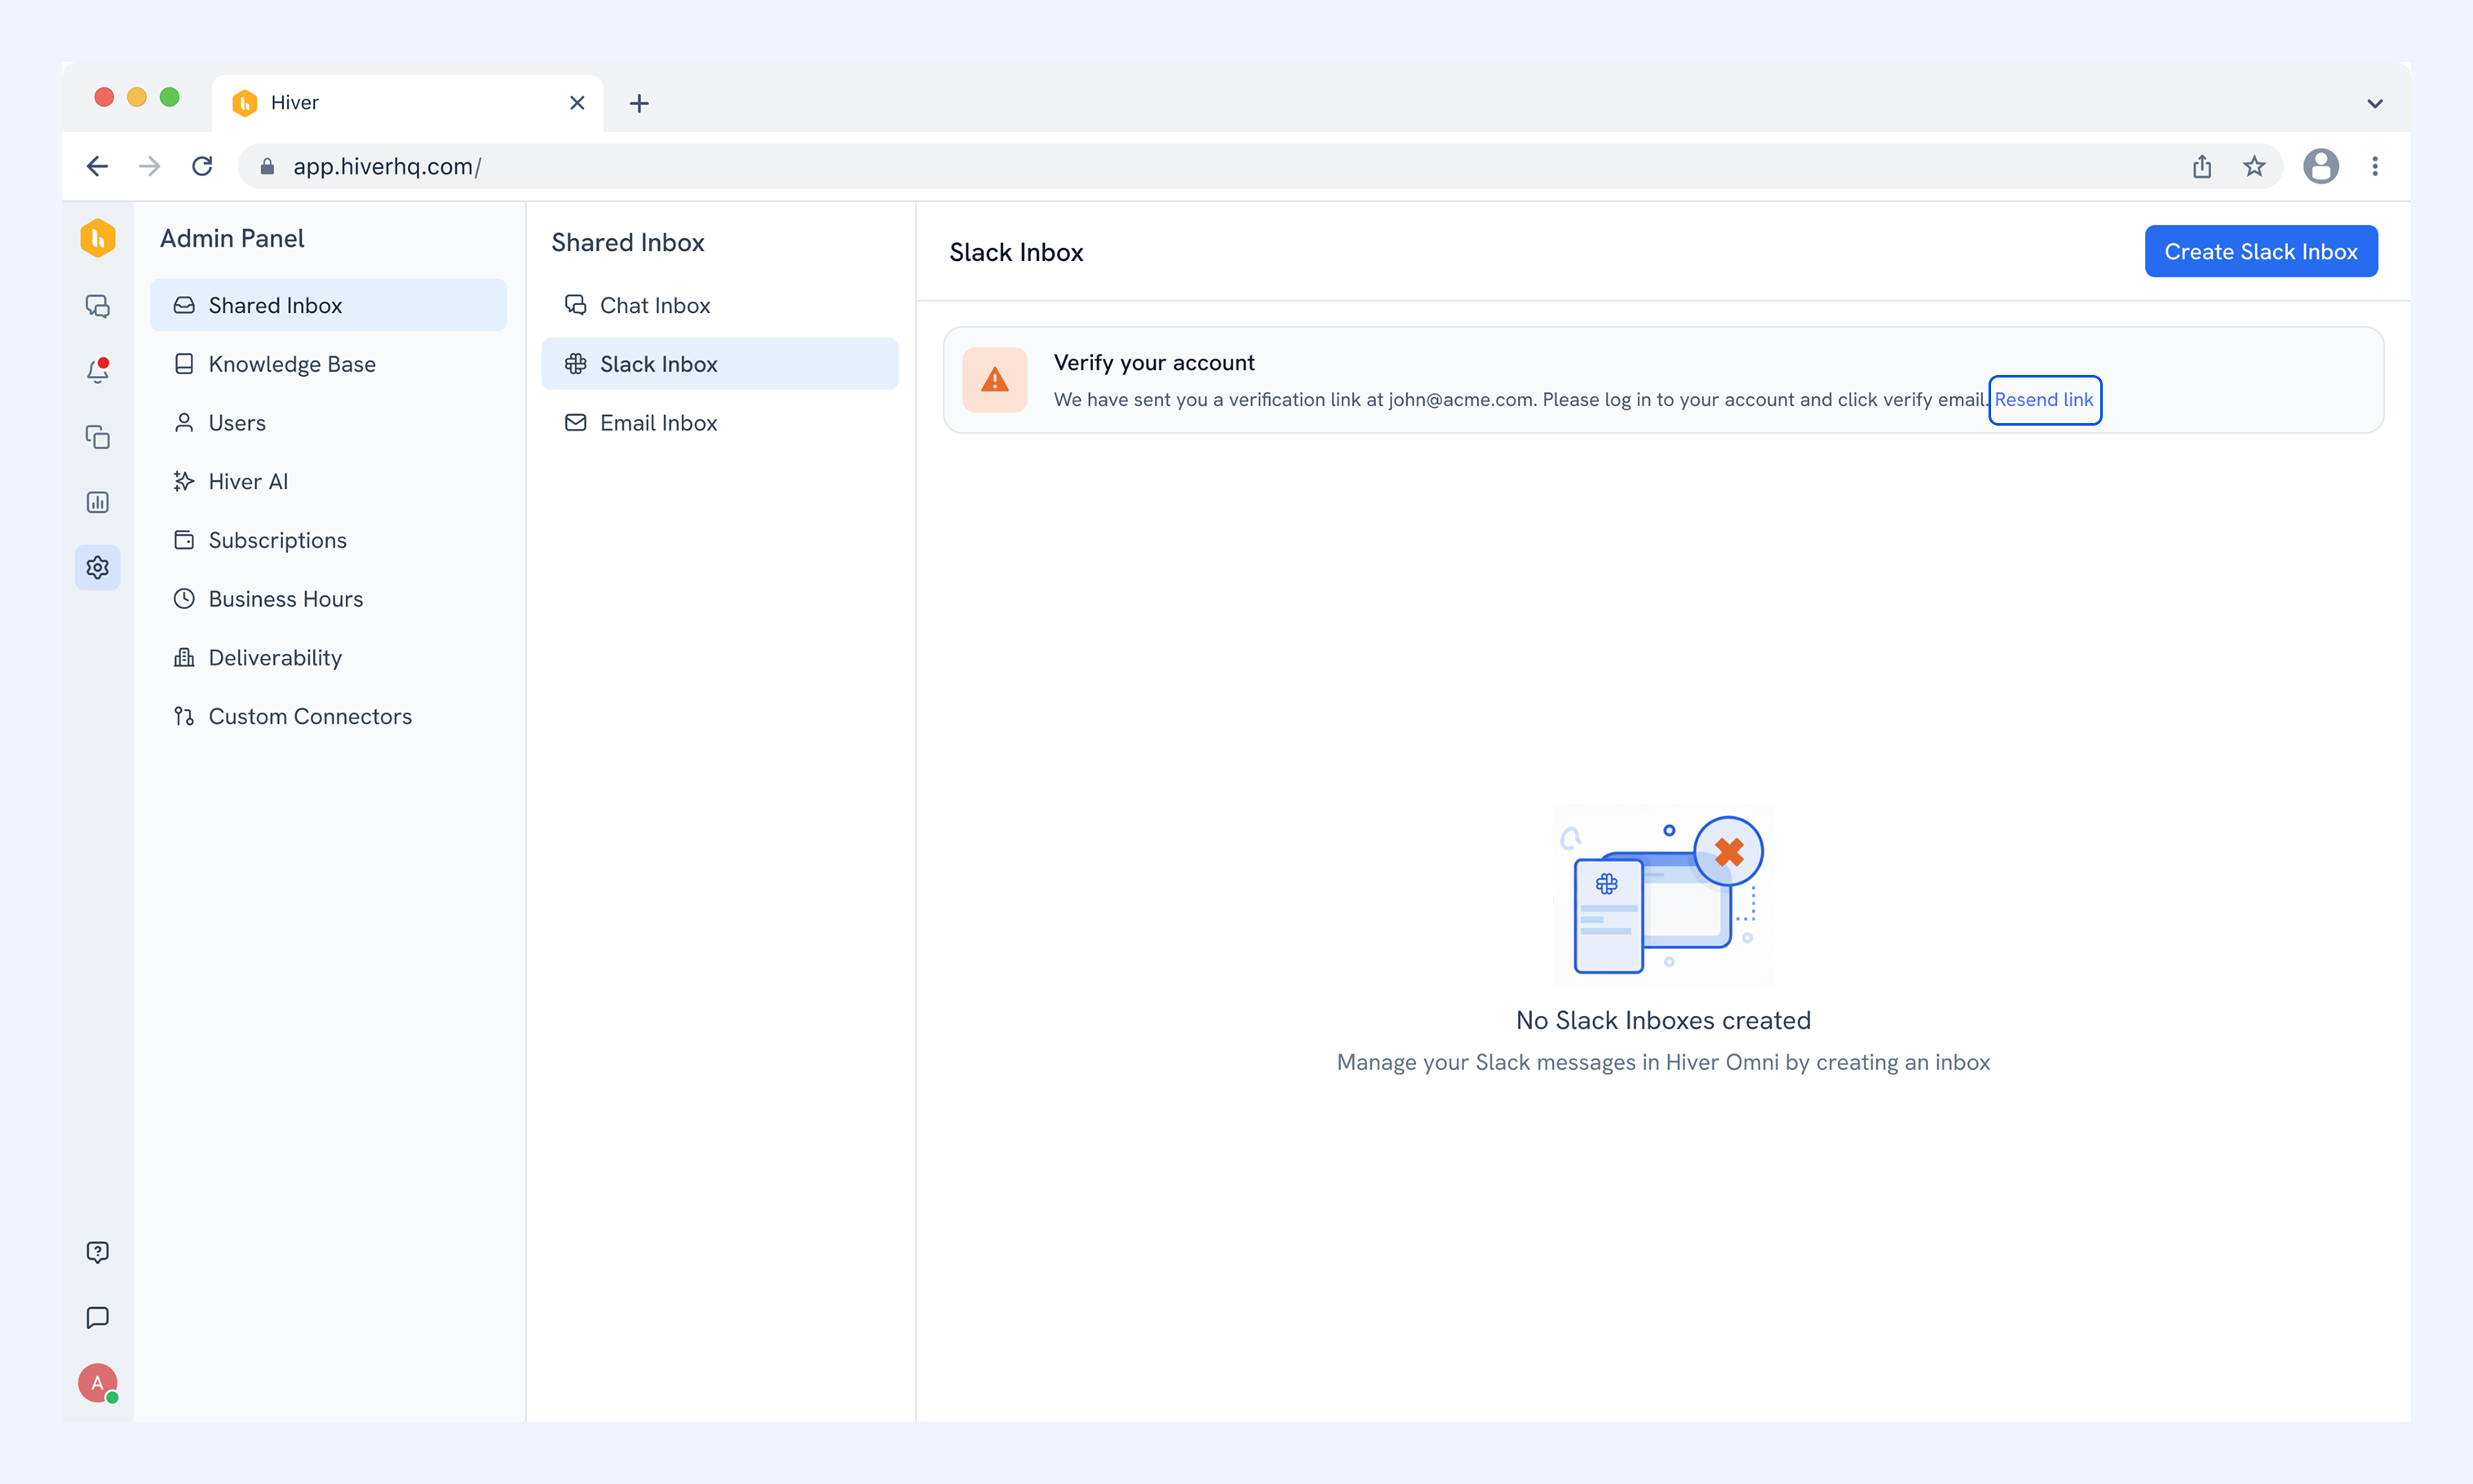
If you did not receive a verification email, click Resend link in the banner.
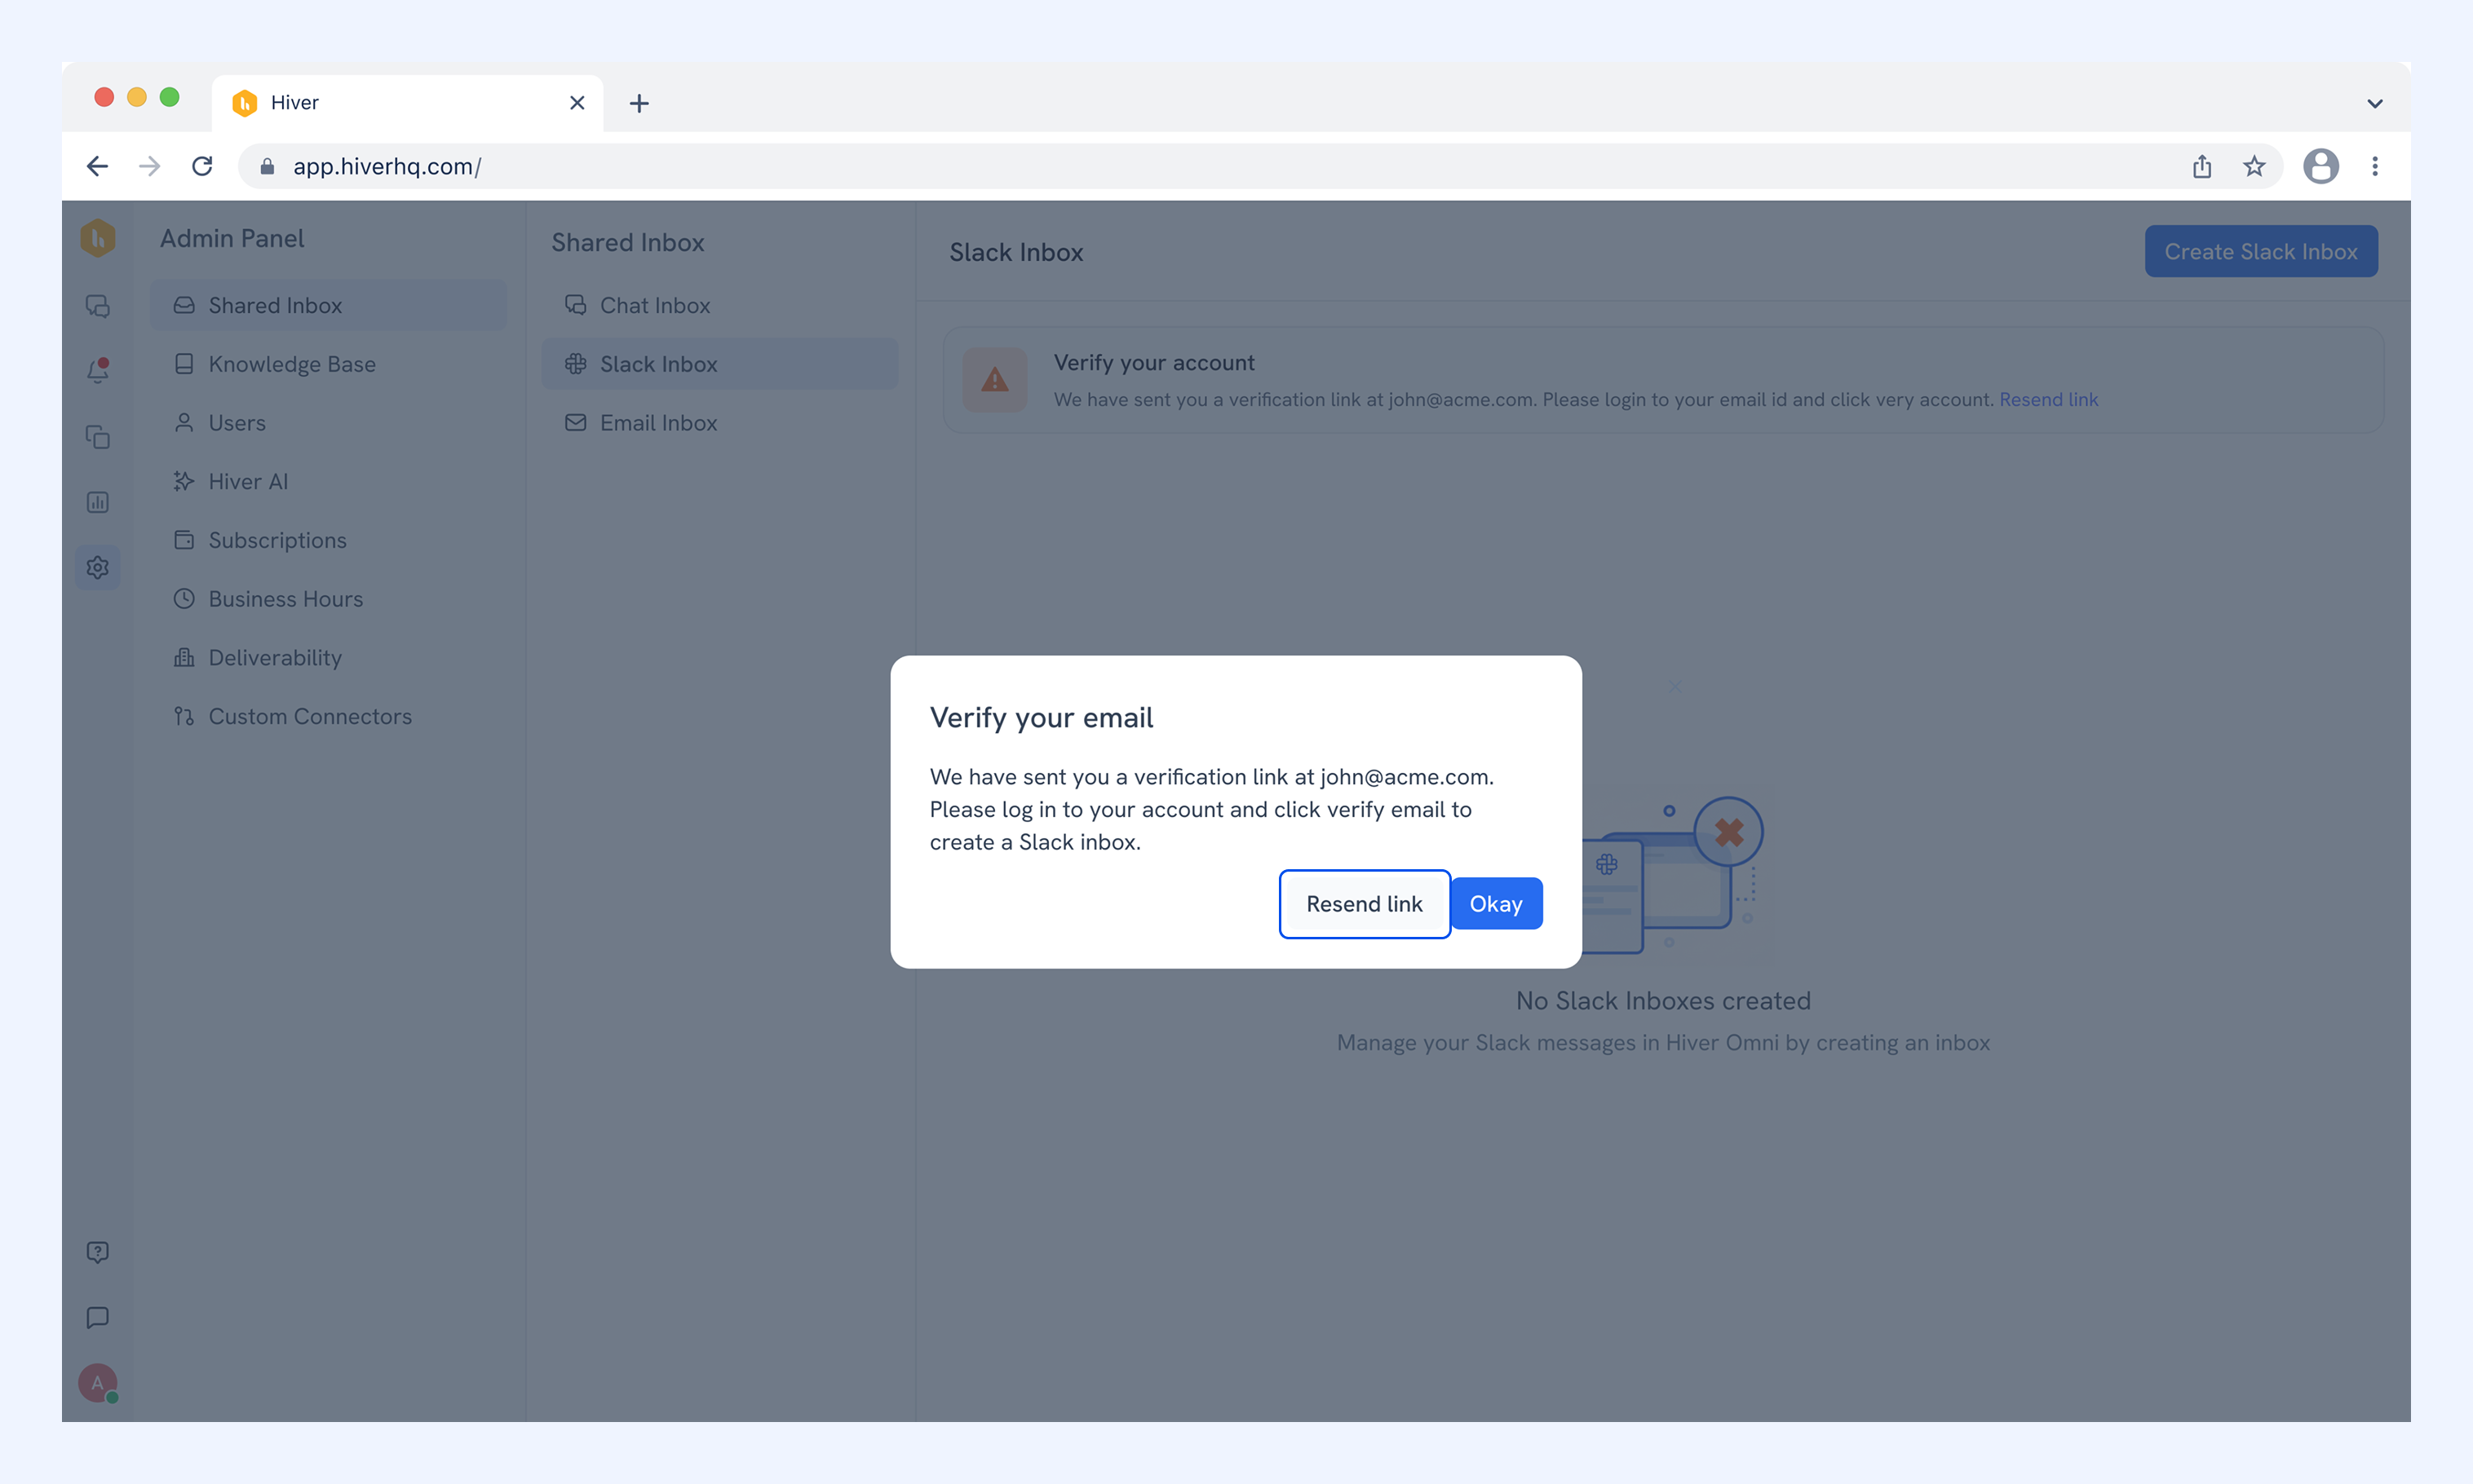
You'll be asked to confirm, click Resend link once more.
Learn more about setting up Hiver Omni with your email provider.
Next steps
Now that your Slack Inbox is set up, learn how to manage Slack conversations in Hiver Omni.