Setting up Hiver Omni with your email provider
Connect your email account with Hiver Omni to track, manage, and respond to customer emails. This guide walks you through creating your Hiver account and setting up your first Shared Inbox.
Note: This setup is for email providers other than Gmail or Outlook. If you use Gmail, follow this guide. For Outlook, see this guide.
Get started with Hiver Omni
Follow these steps to create your Hiver account:
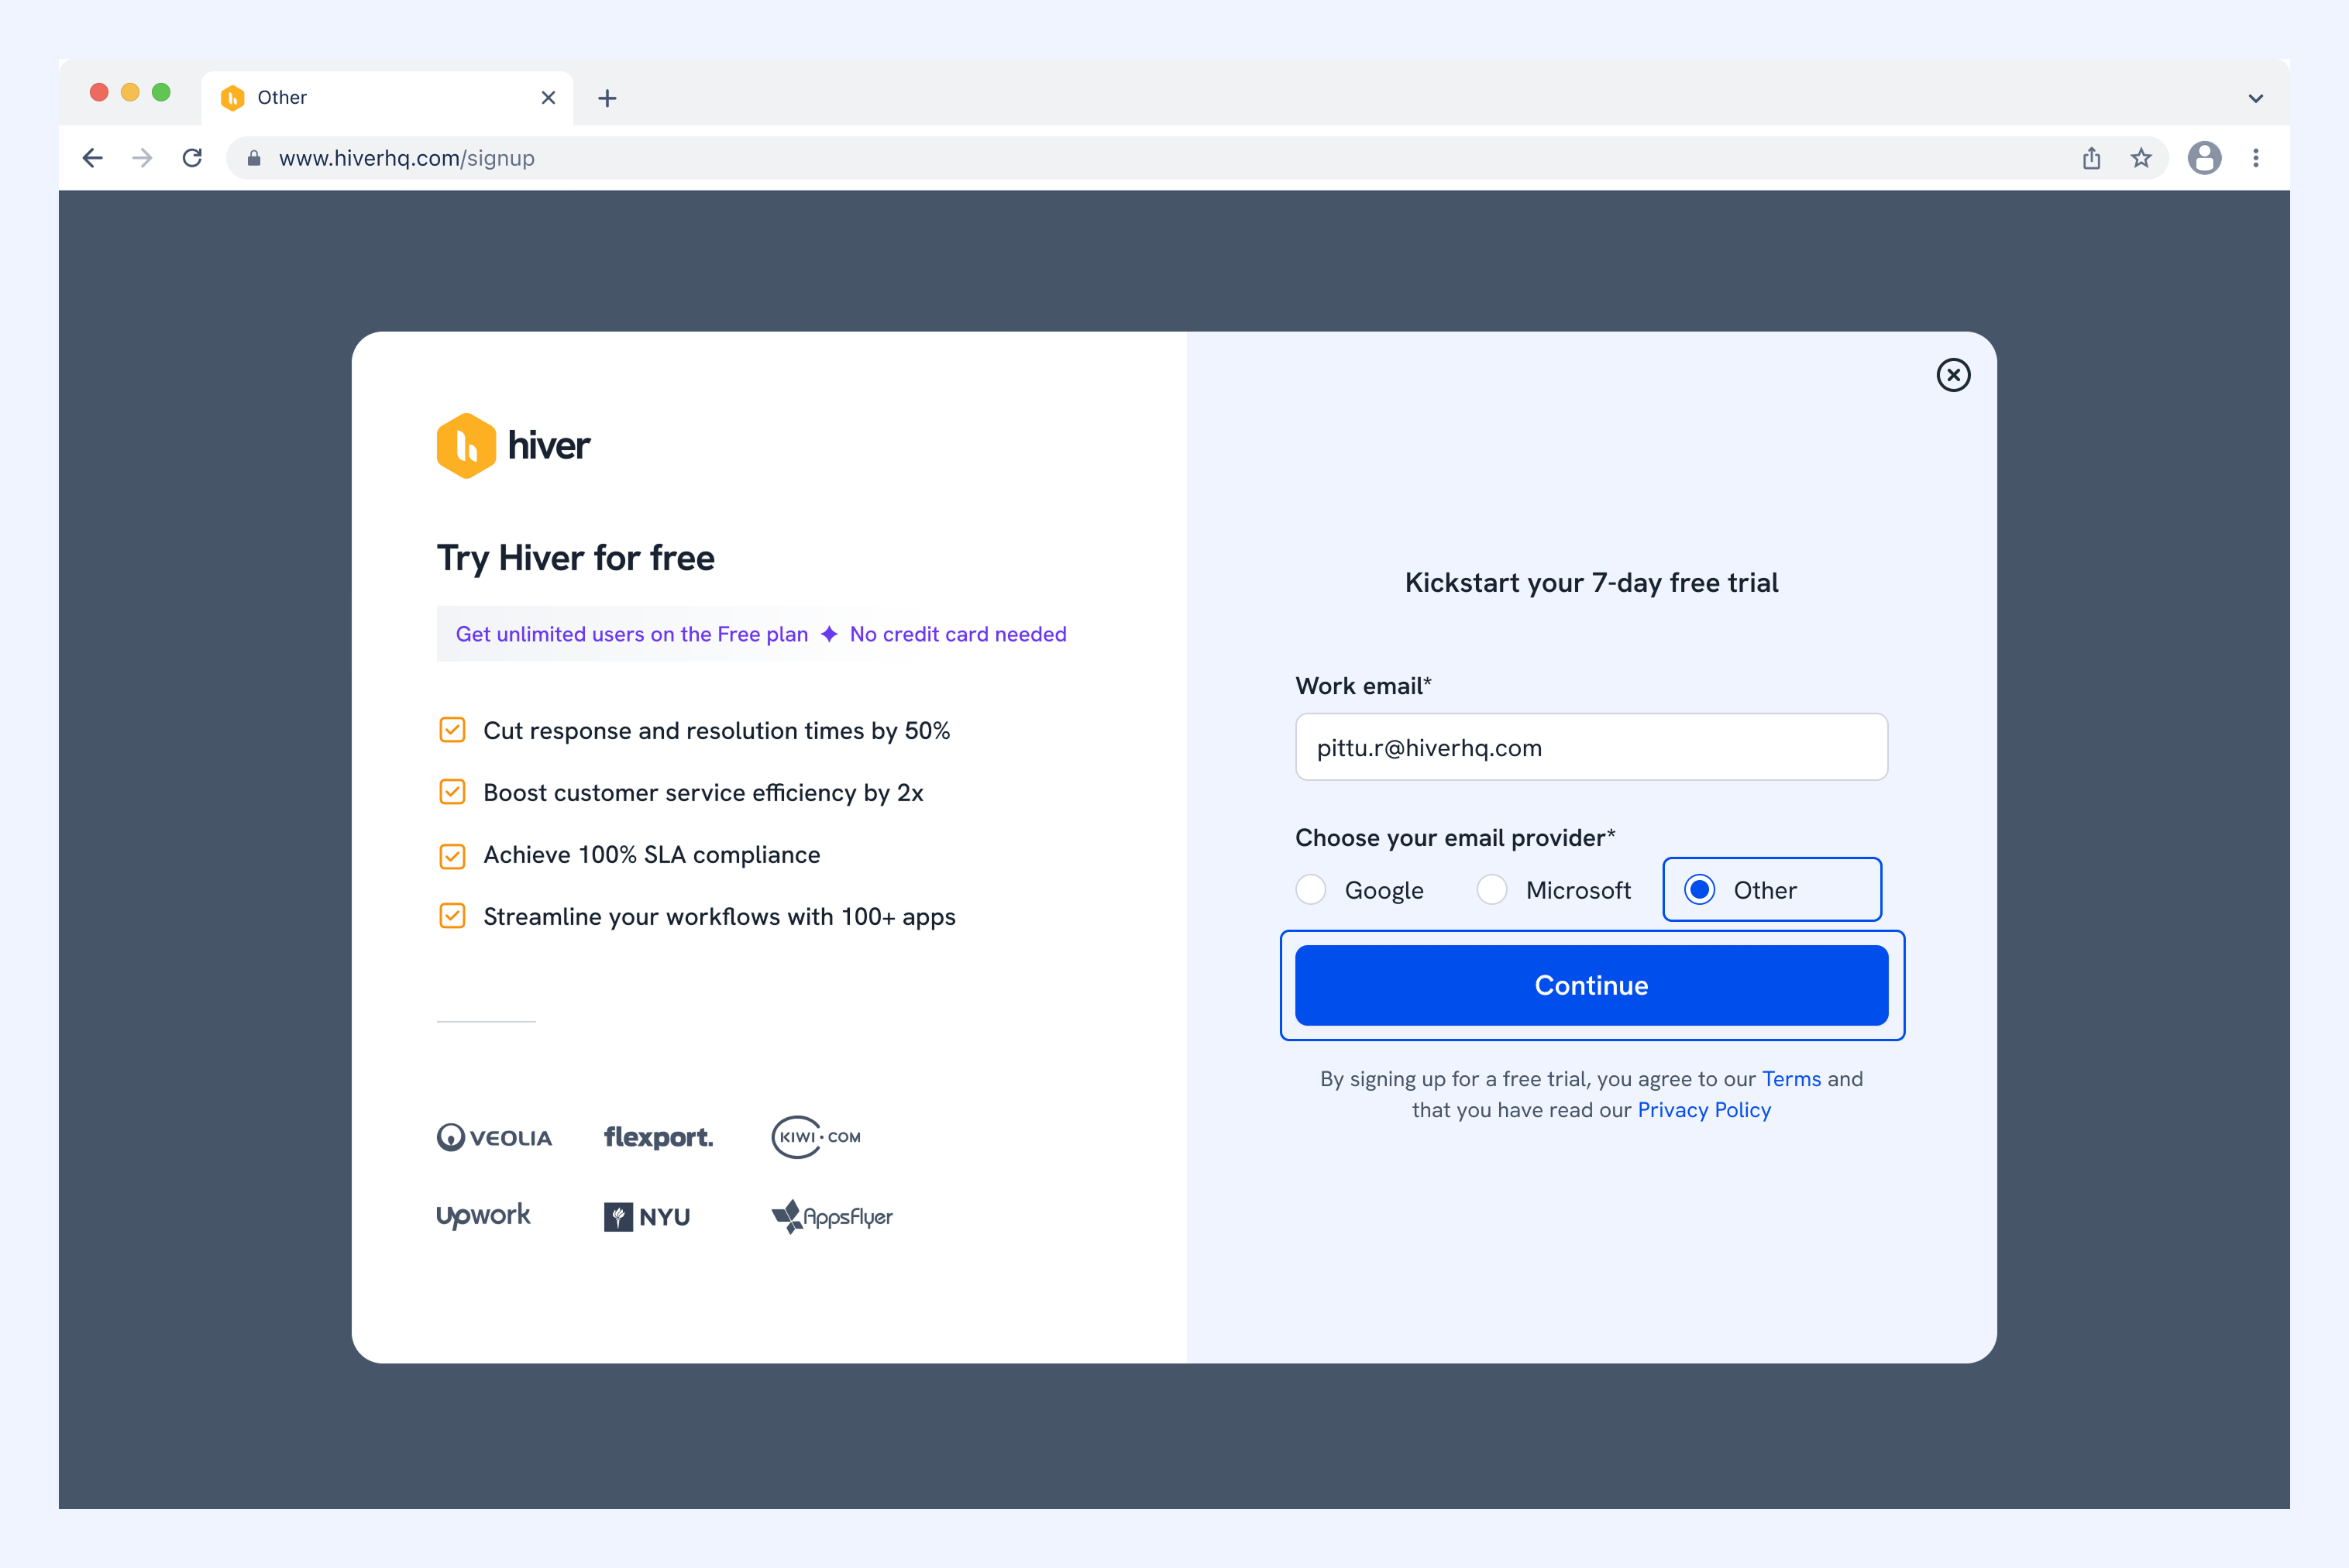
1. Go to hiverhq.com and click Start free trial.

2. Enter your work email address.
3. Under Choose your email provider, select Other and click Continue.
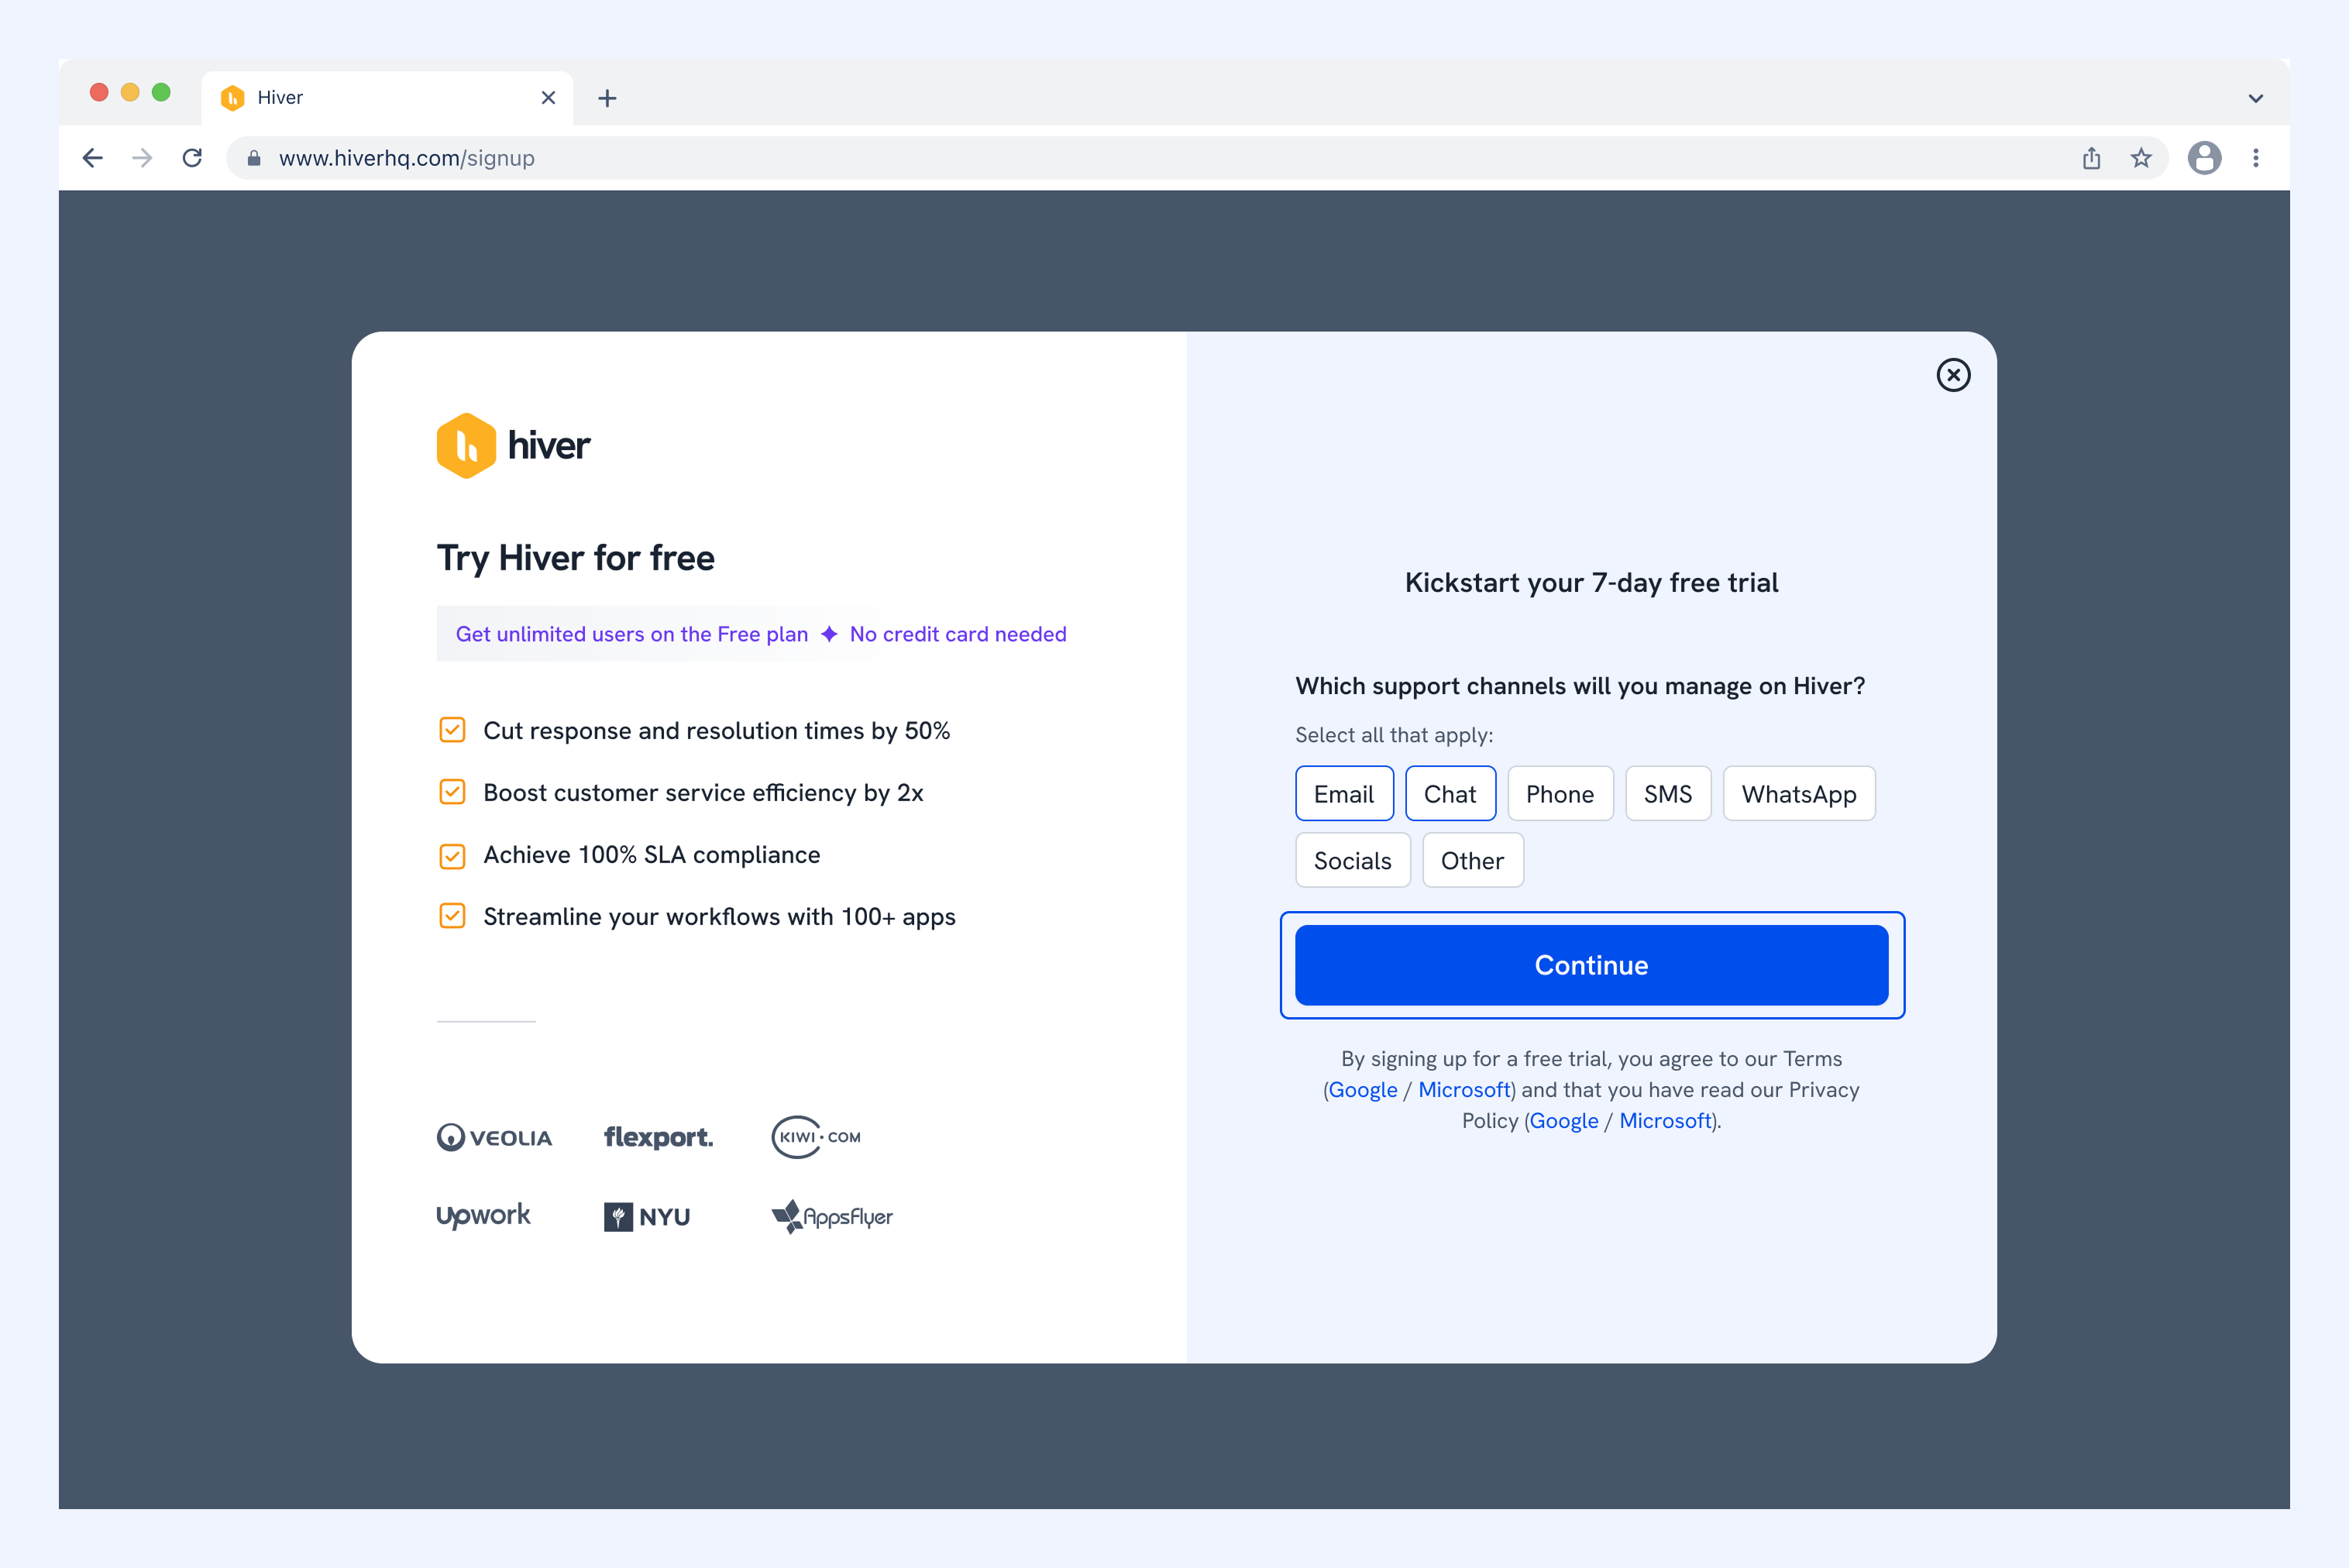
4. Select the support channels you want to manage (Email, Chat, Phone, etc.) and click Continue.
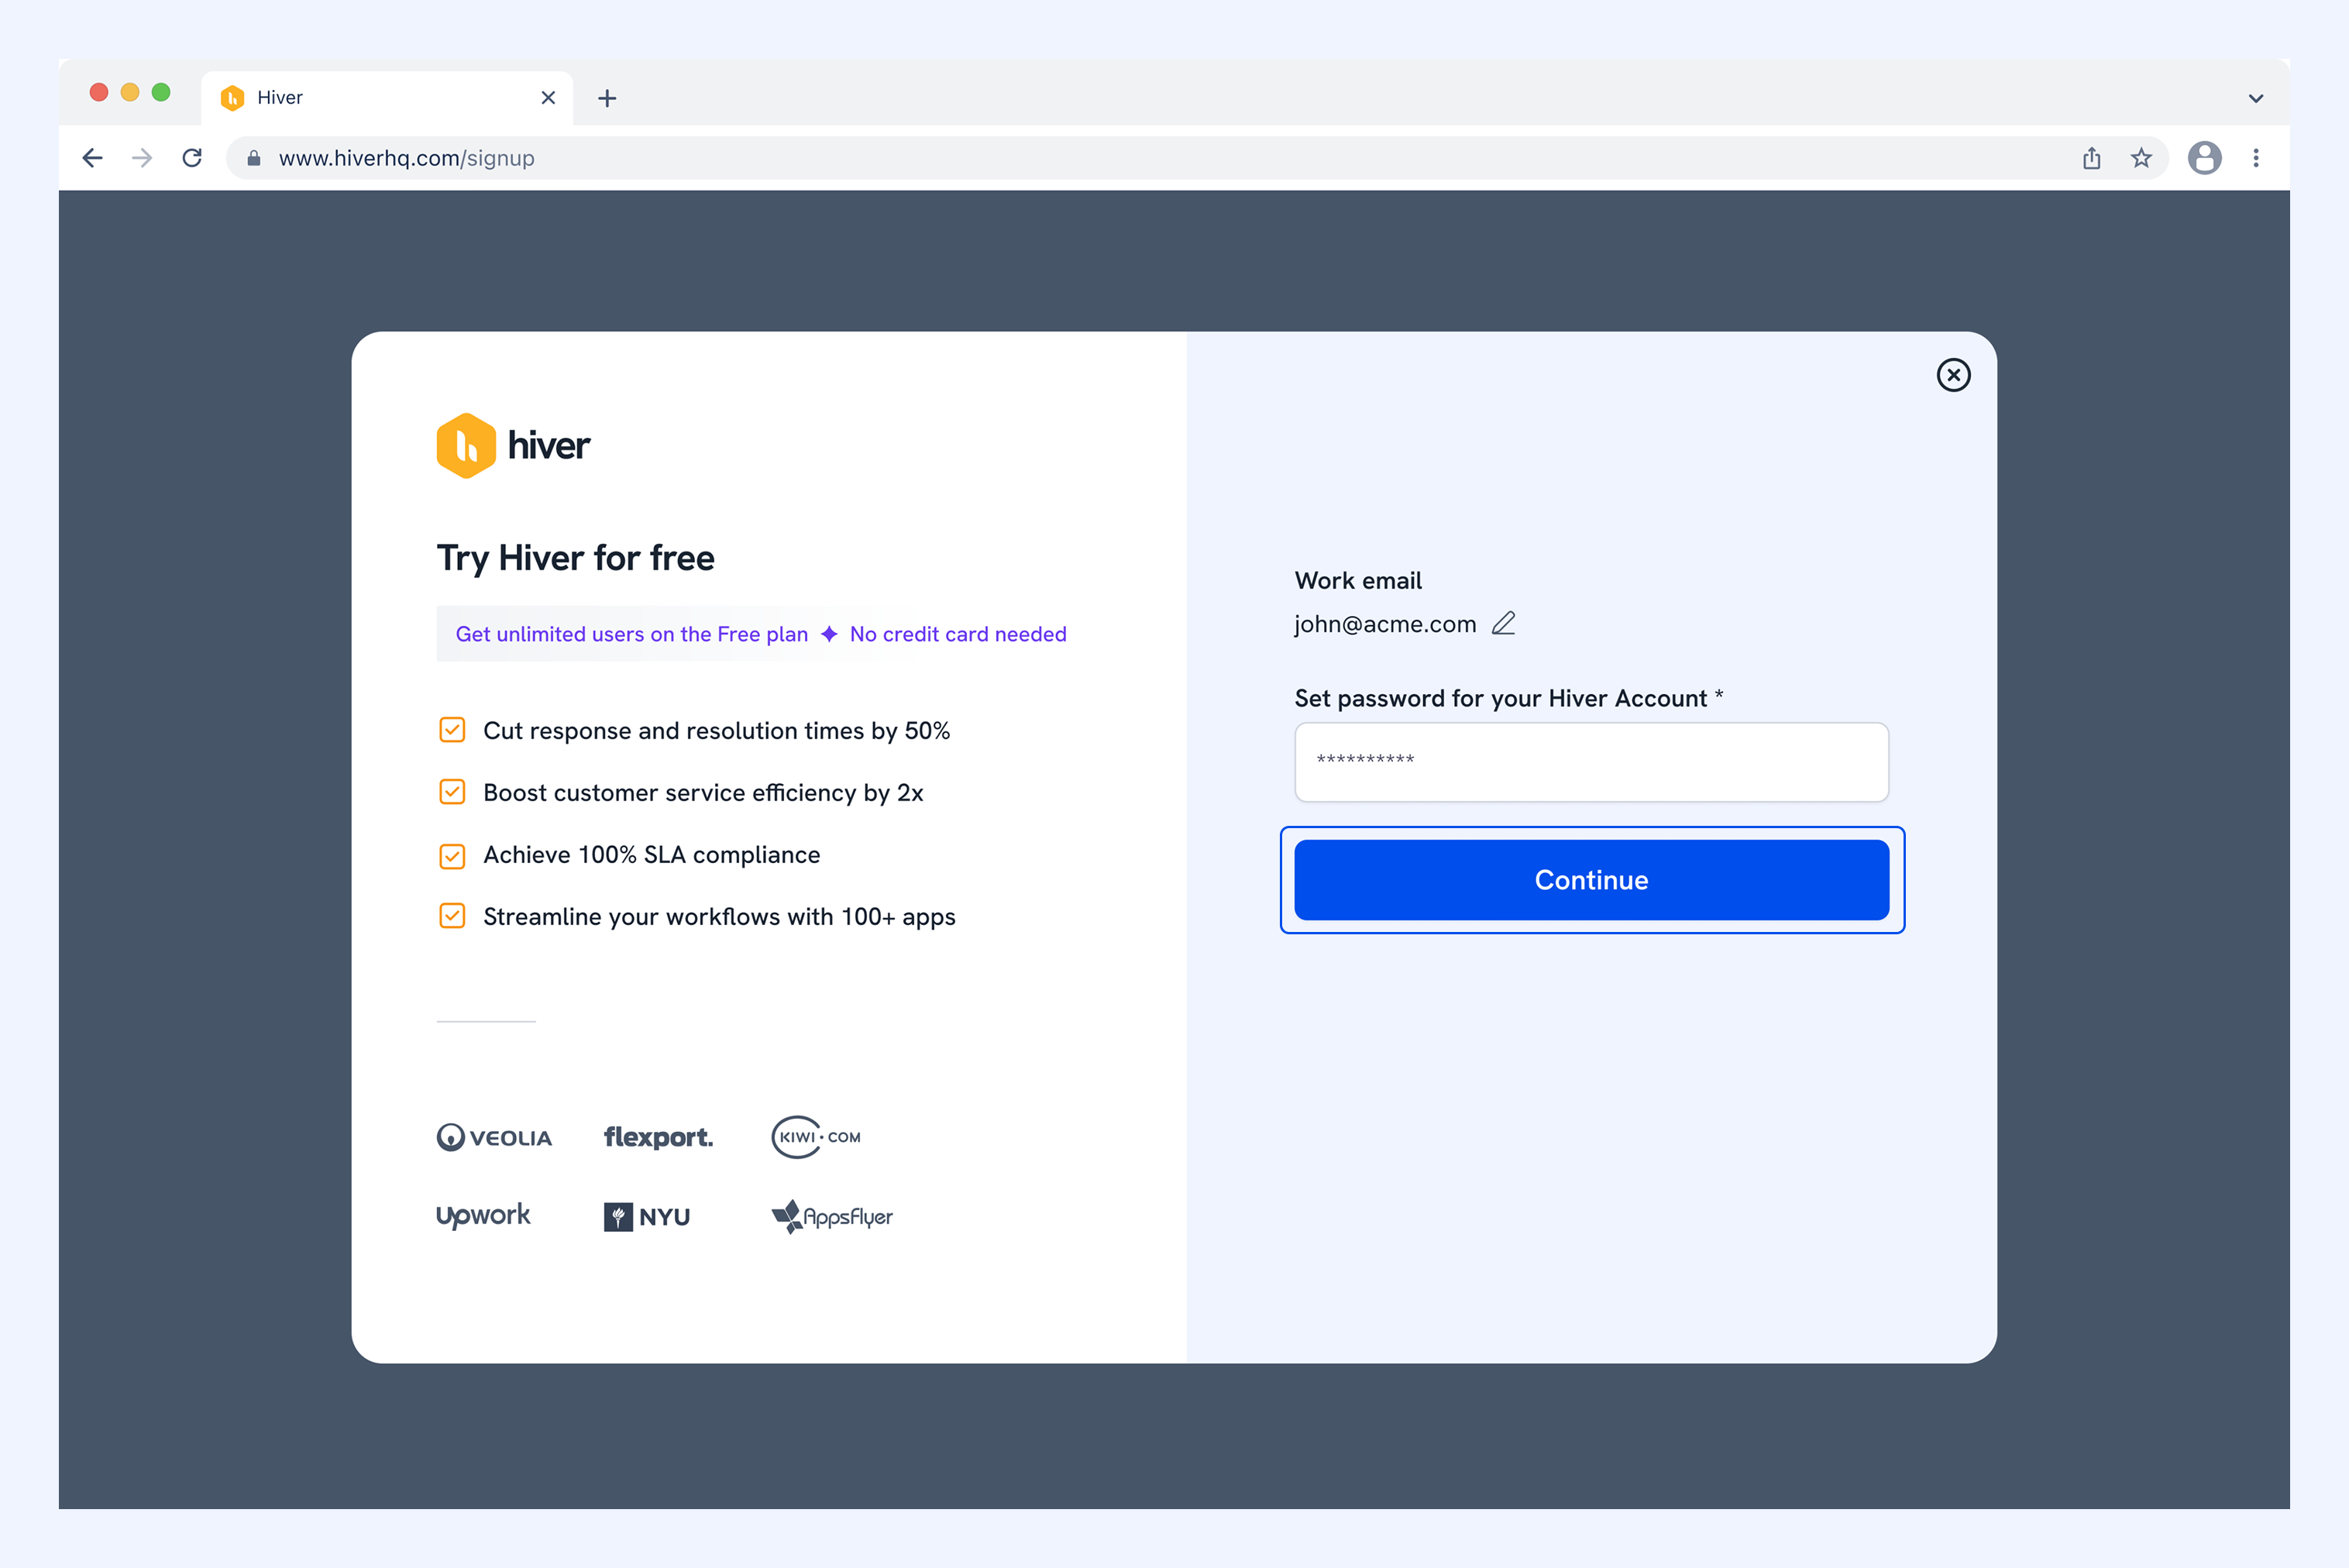
5. Create a password for your Hiver account and click Continue.
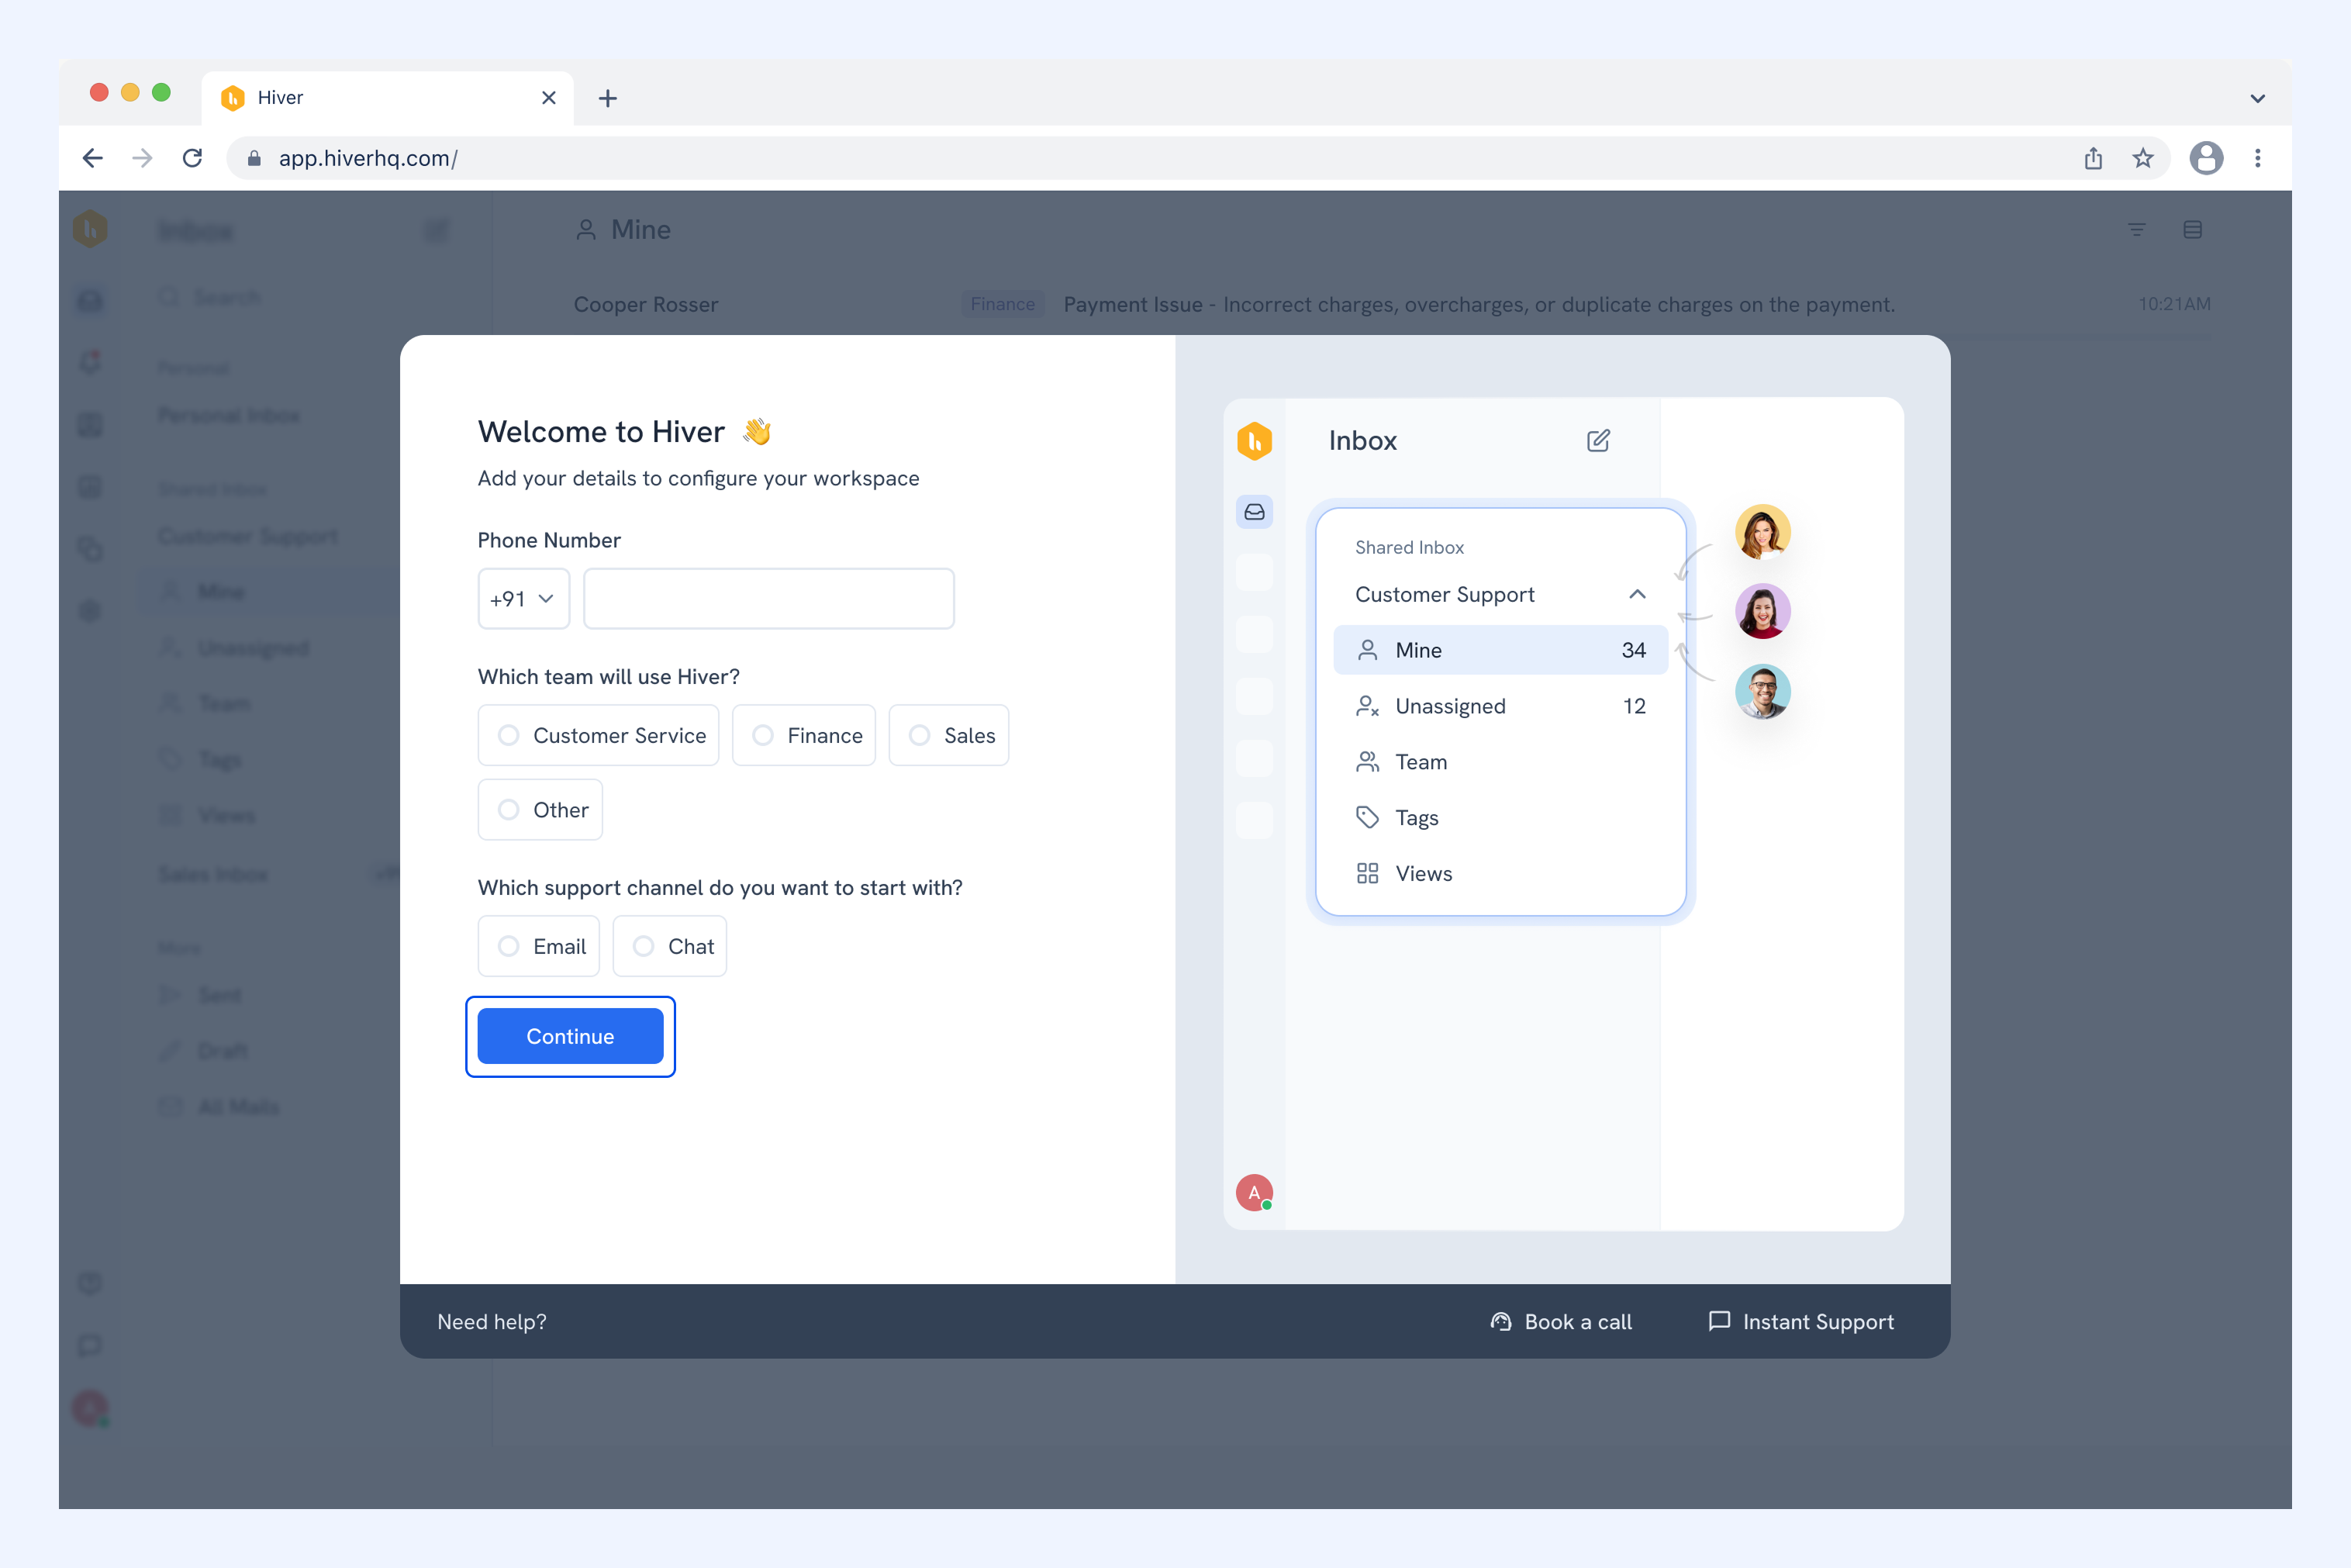
6. Enter your phone number, select your team's role, and choose the support channel you'd like to start with.
7. Click Continue.
You’ll be directed to Hiver Omni where you’ll see an onboarding wizard to help you set up your Shared Inbox.
Create a Shared Inbox
A Shared Inbox gives your team a single place to access and manage incoming emails. Multiple team members can track conversations, assign messages, and collaborate without needing to share passwords.
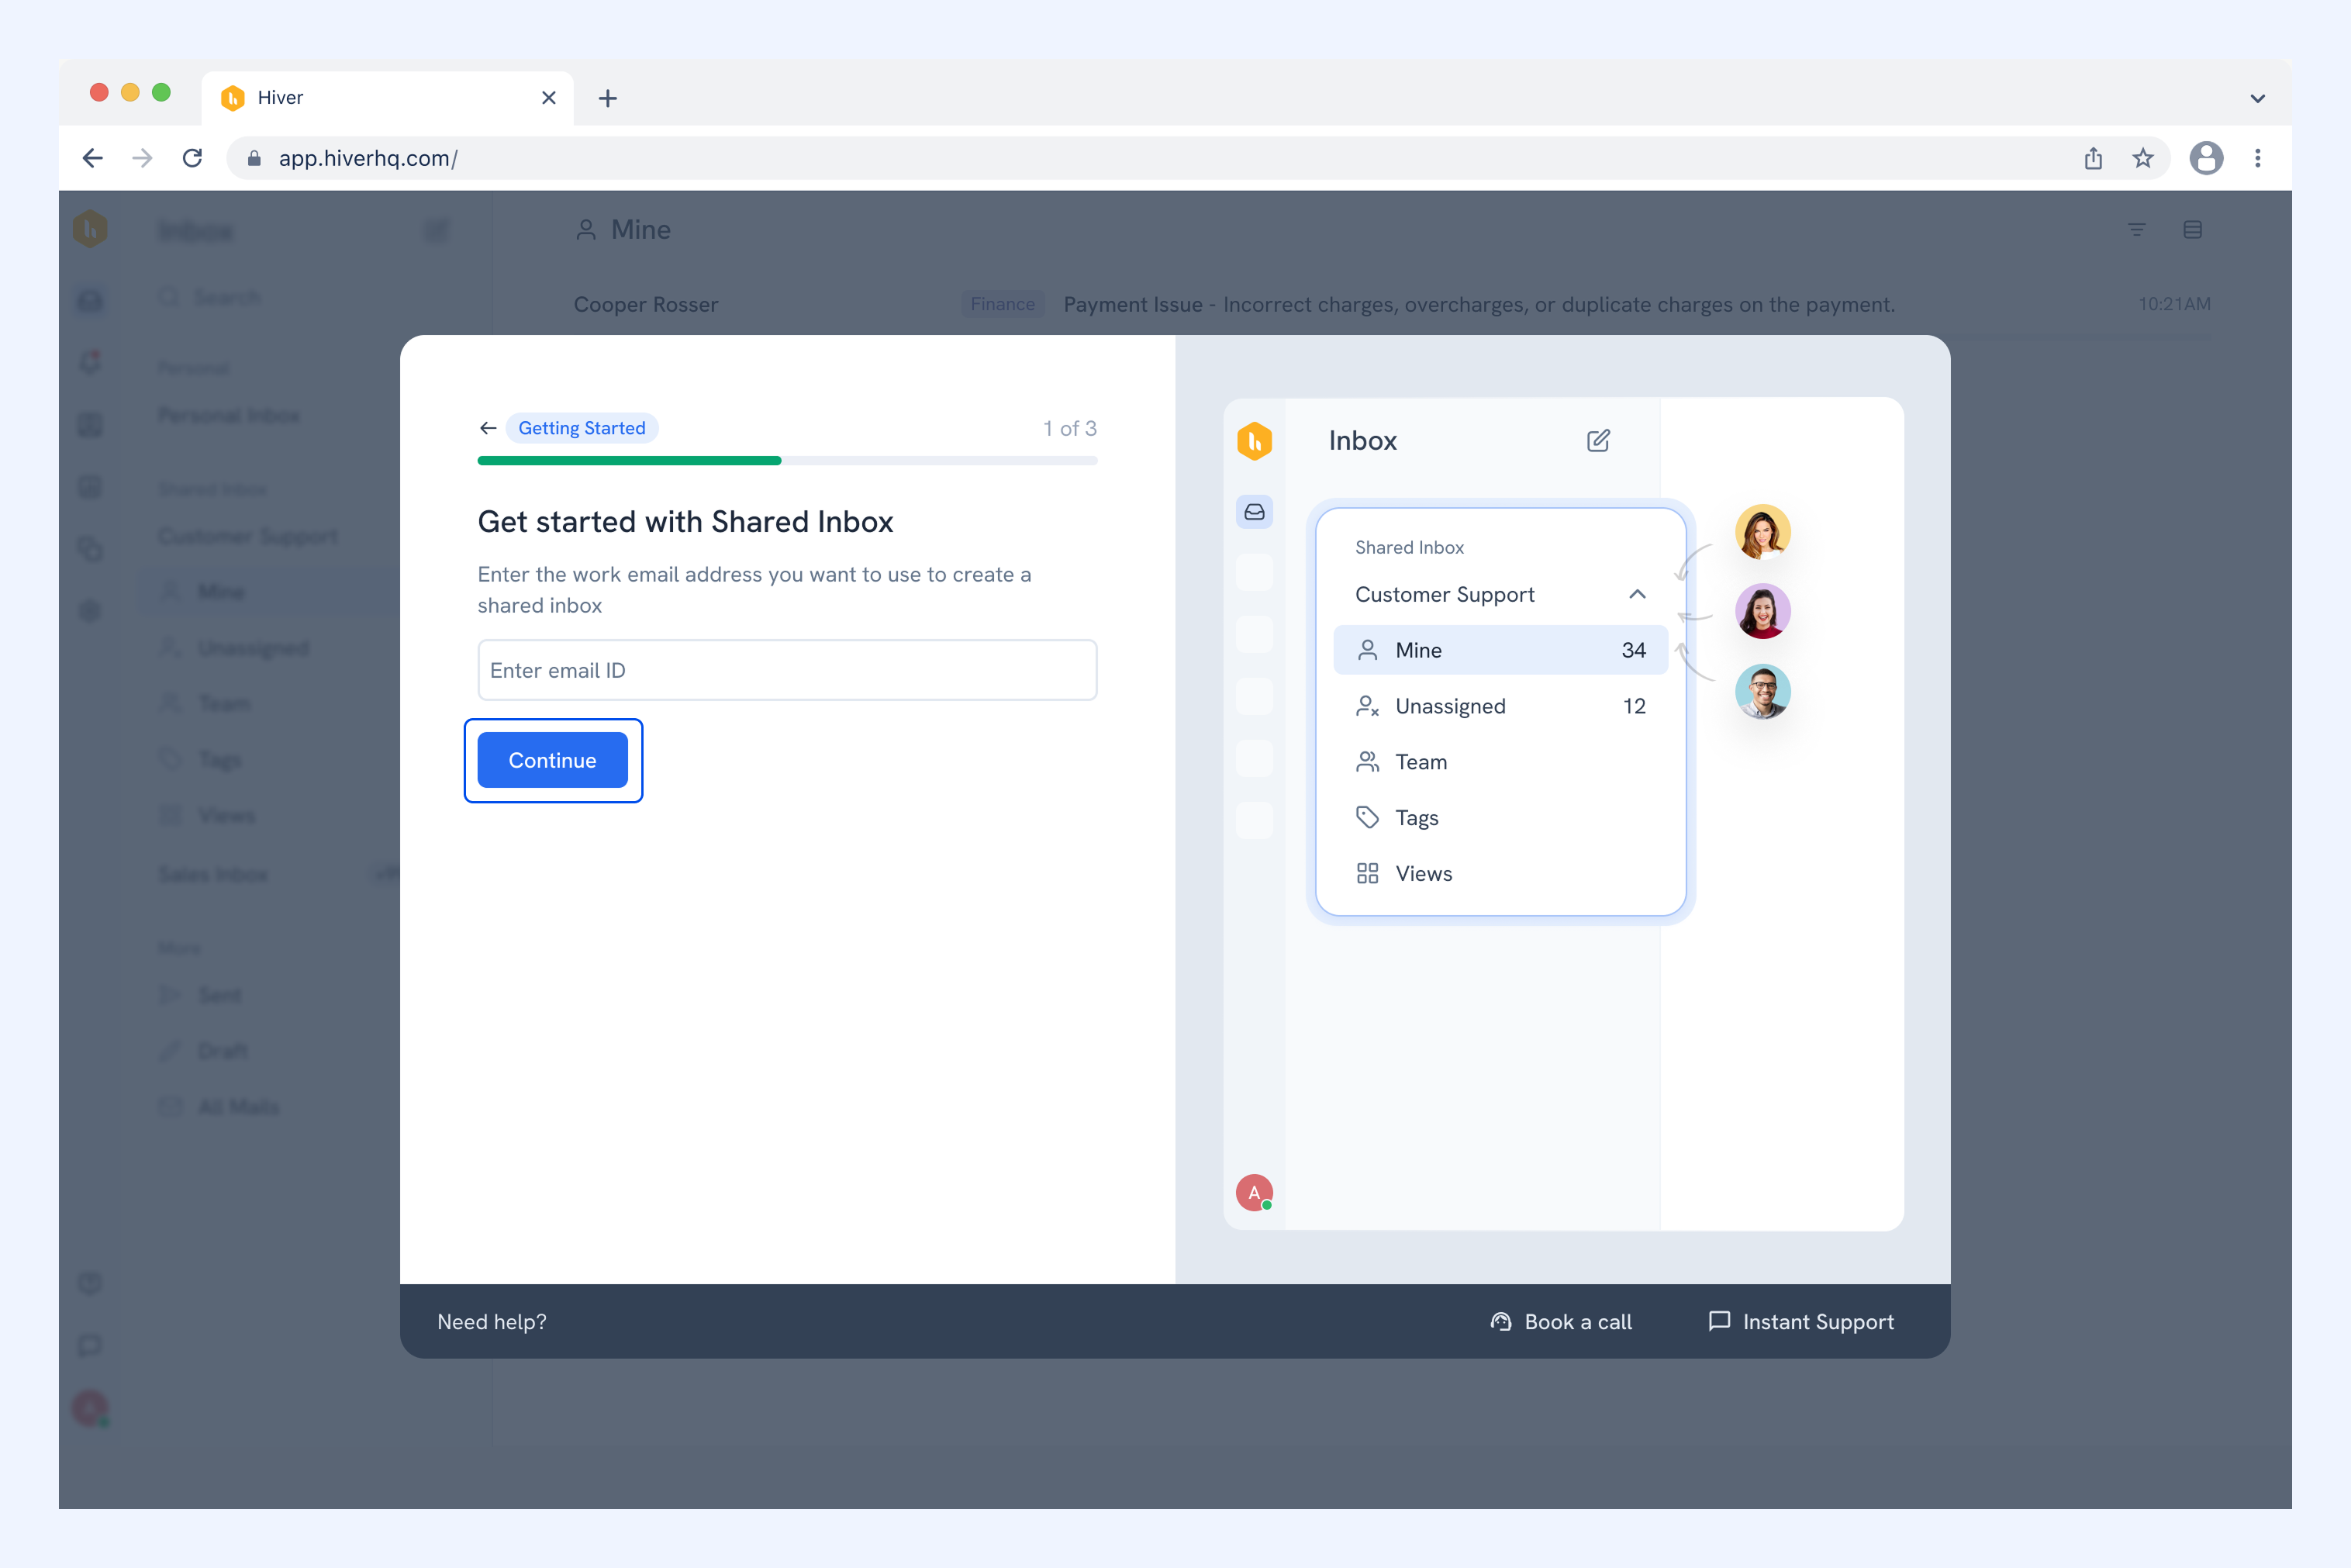
Connect your work email
Enter the work email address you want to use for your Shared Inbox and click Continue.
Set up email forwarding
To receive emails in Hiver, you'll need to set up email forwarding from your email provider. This forwards incoming messages from your work email to Hiver's Shared Inbox.
1. You'll see a forwarding address. Click Copy to copy this address.
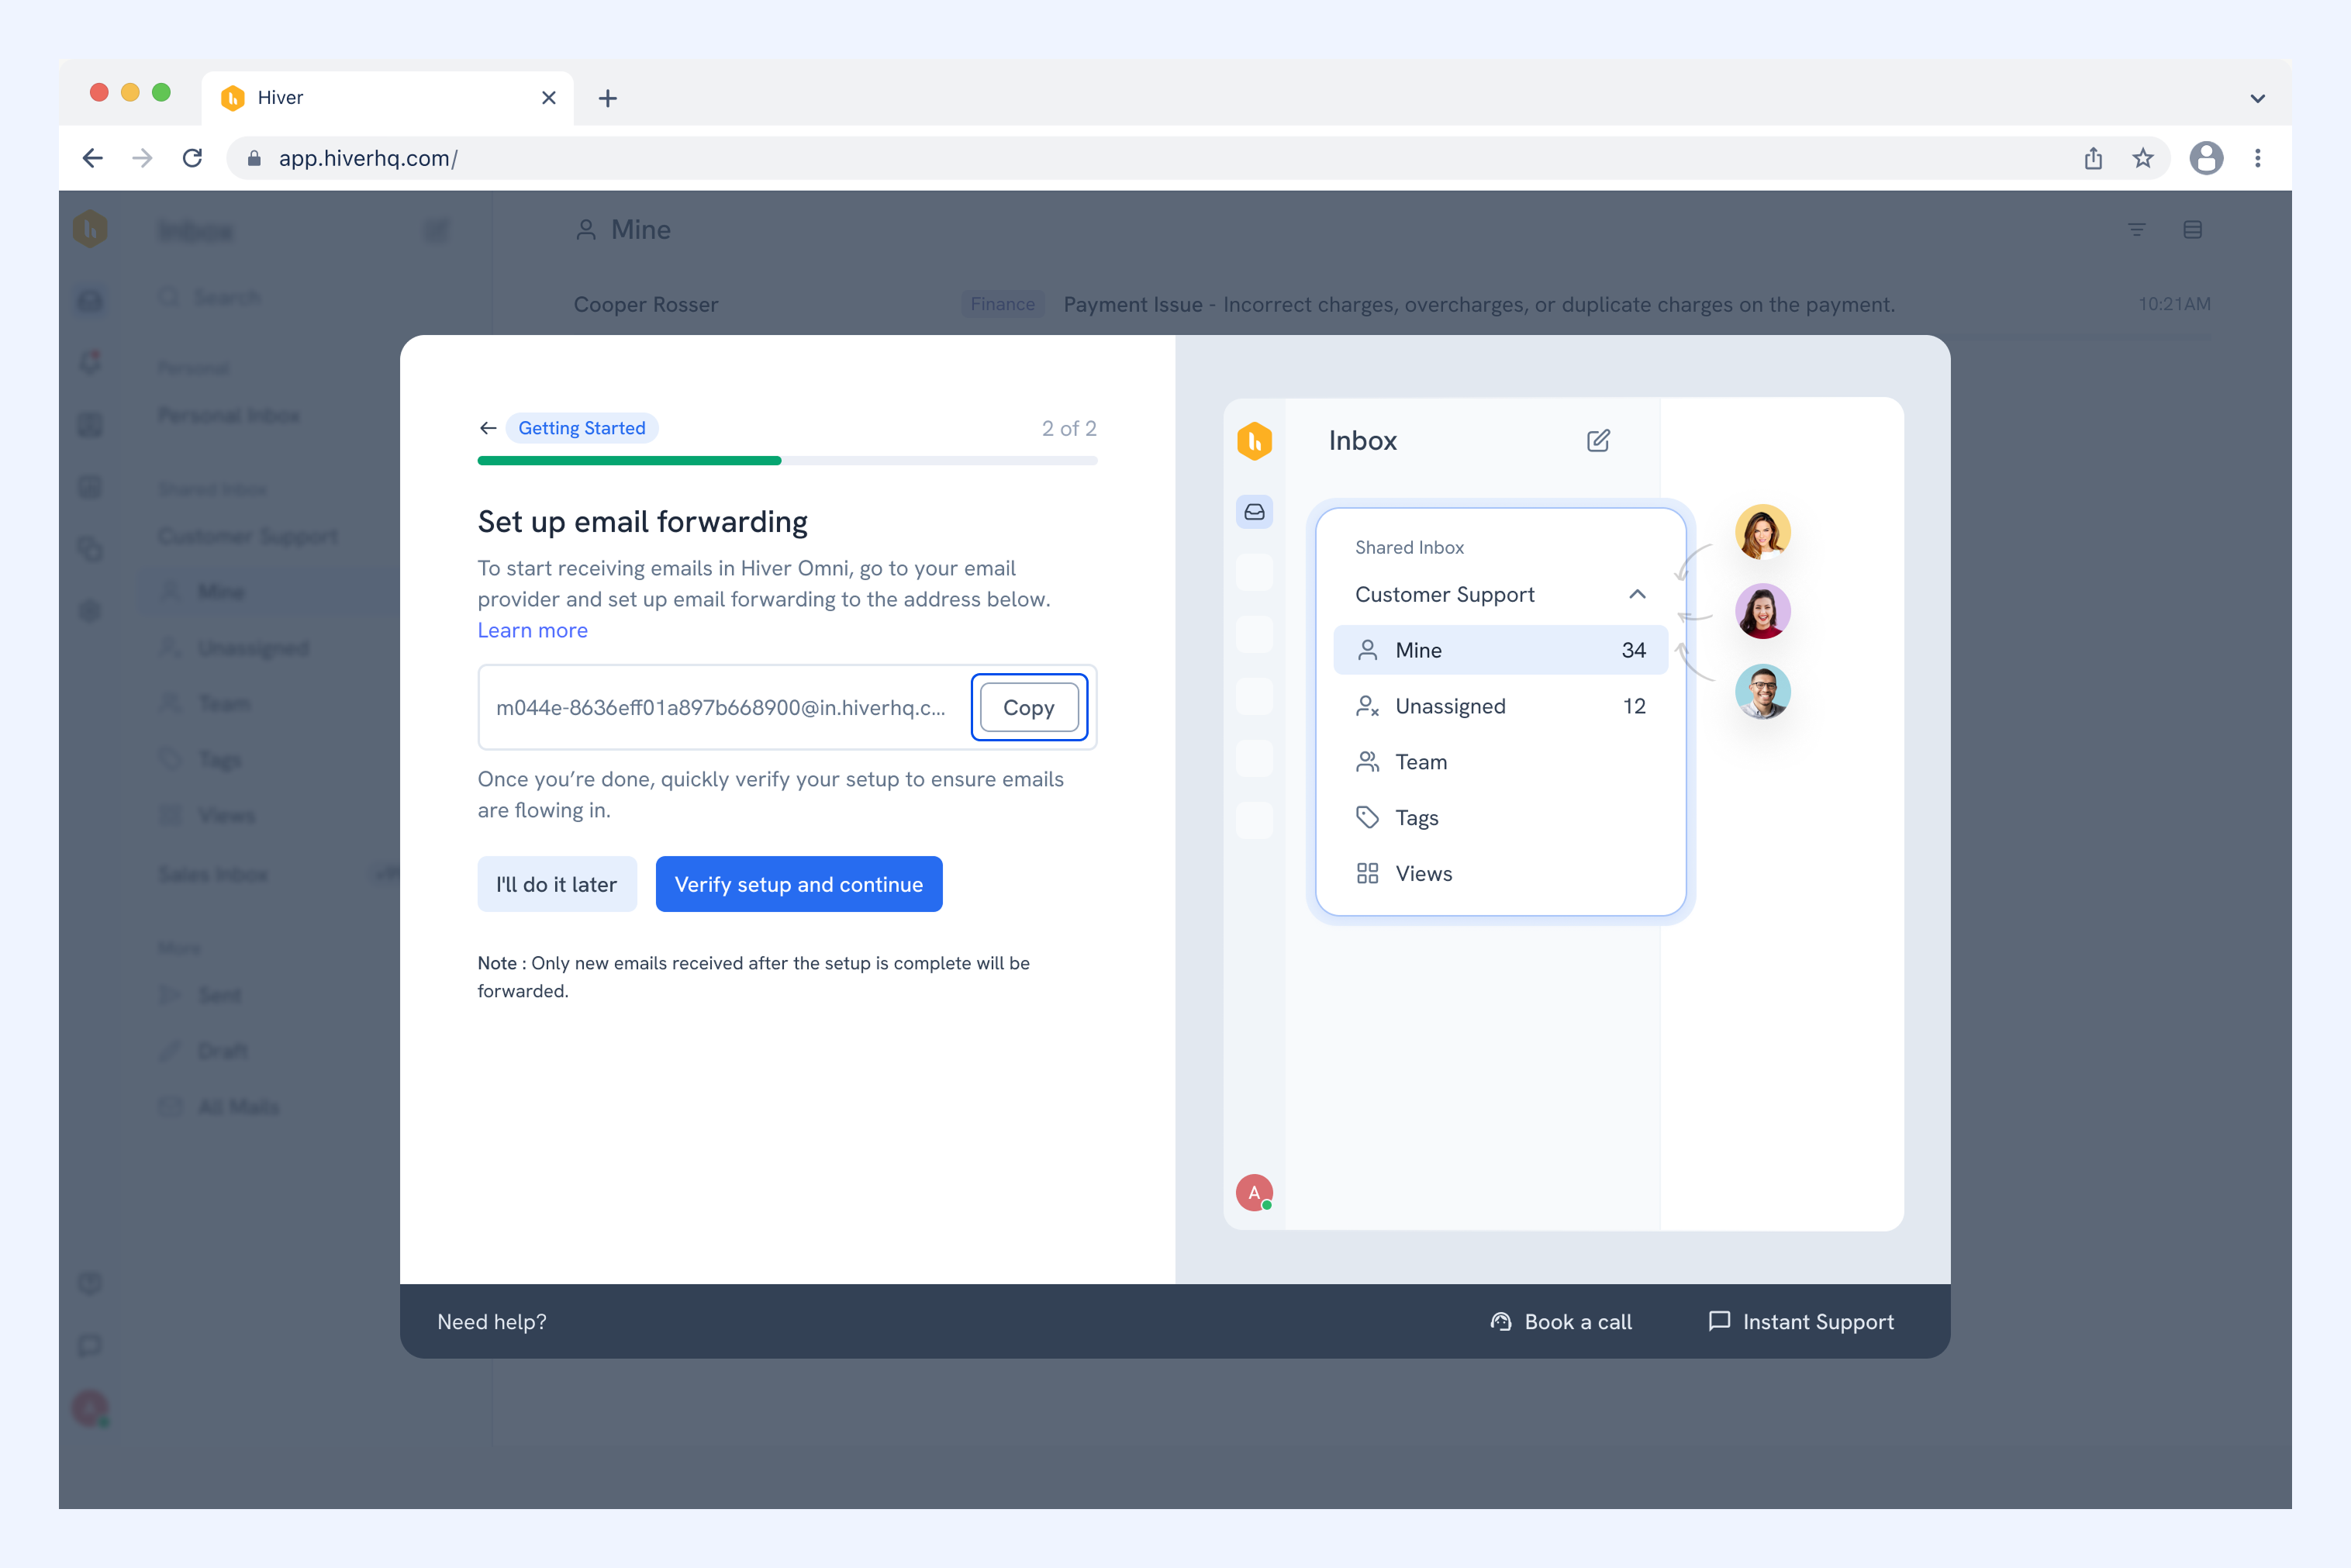
2. Paste this address in your email provider's forwarding settings.
Note: Only emails received after completing this setup will appear in Hiver Omni.
Email forwarding guides by provider
- Rackspace Email
- Namecheap
- Zoho
- GoDaddy
- Amazon SES
- Amazon WorkMail
- Bluehost
- cPanel
- Dreamhost
- FatCow
- Microsoft Exchange 2007
- Microsoft Exchange 2010
- Microsoft Exchange 2013 or later
- Microsoft Exchange Online
- OVH
3. After configuring email forwarding in your email provider, return to Hiver and click Verify setup and continue.
Note: Hiver will send a test email to your inbox to verify that forwarding is set up correctly. This email should appear in your Hiver Shared Inbox within a few moments.
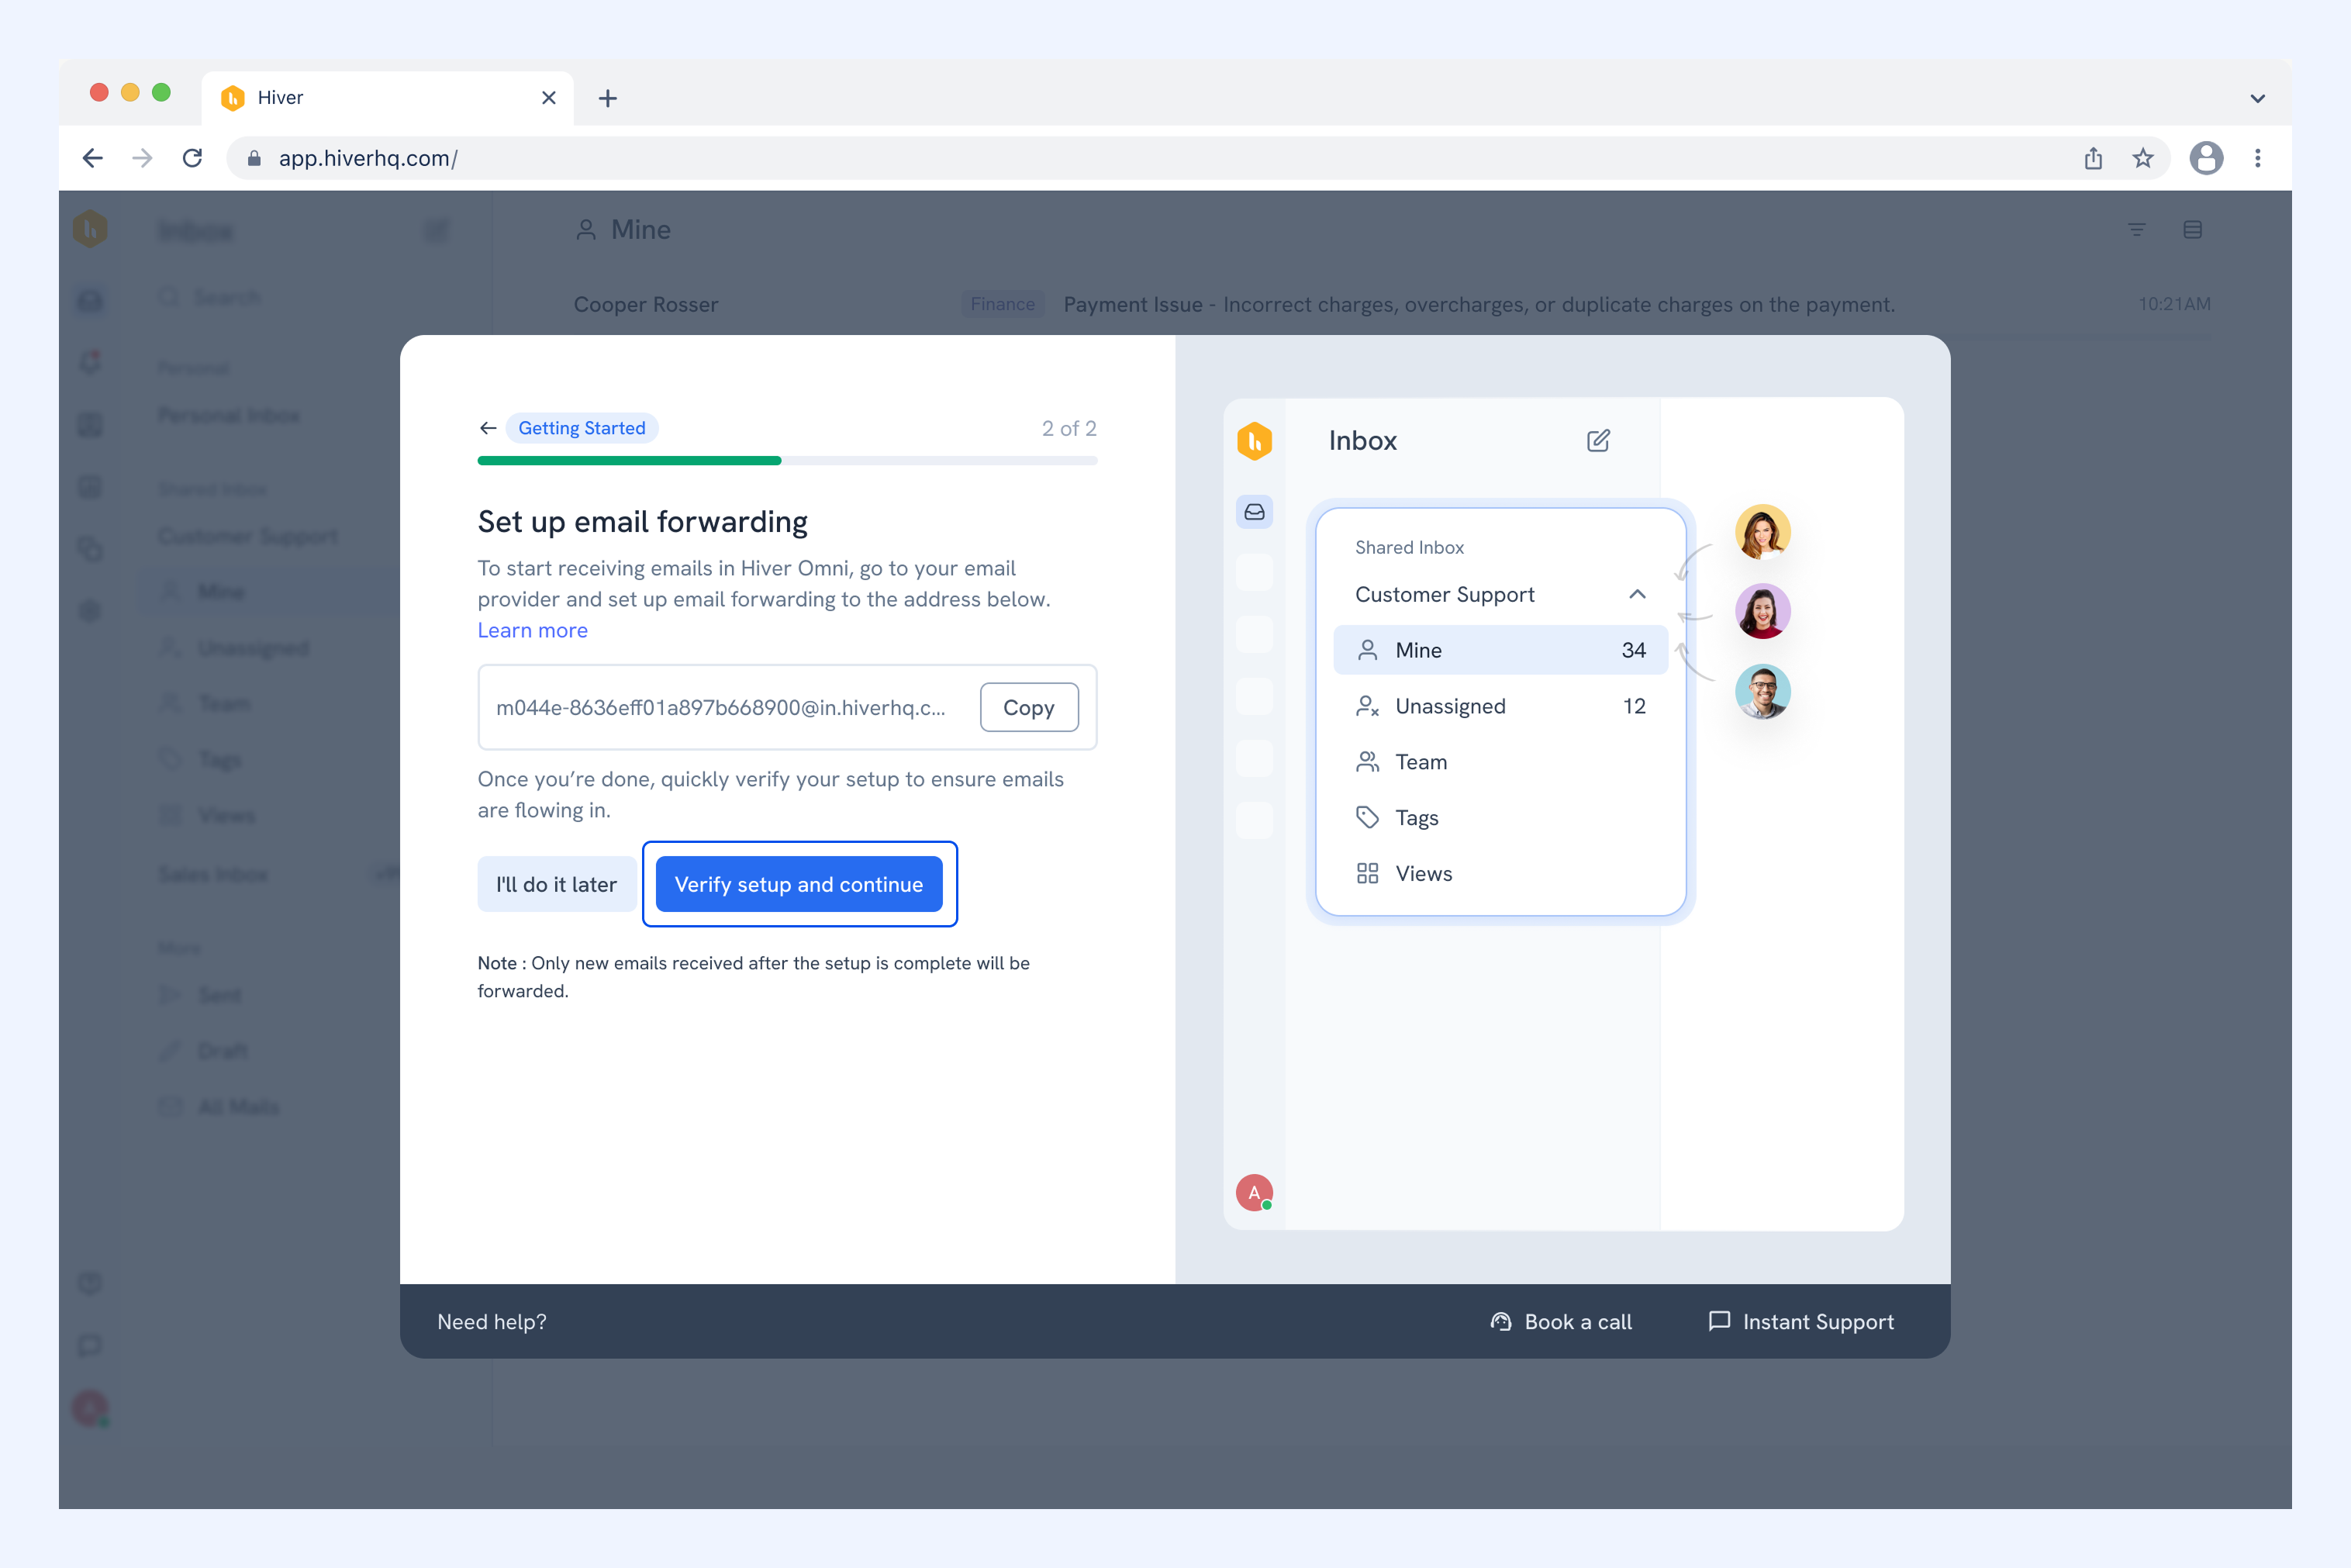
If you choose Skip for now, you'll need to complete the email forwarding setup before your Shared Inbox can be created.
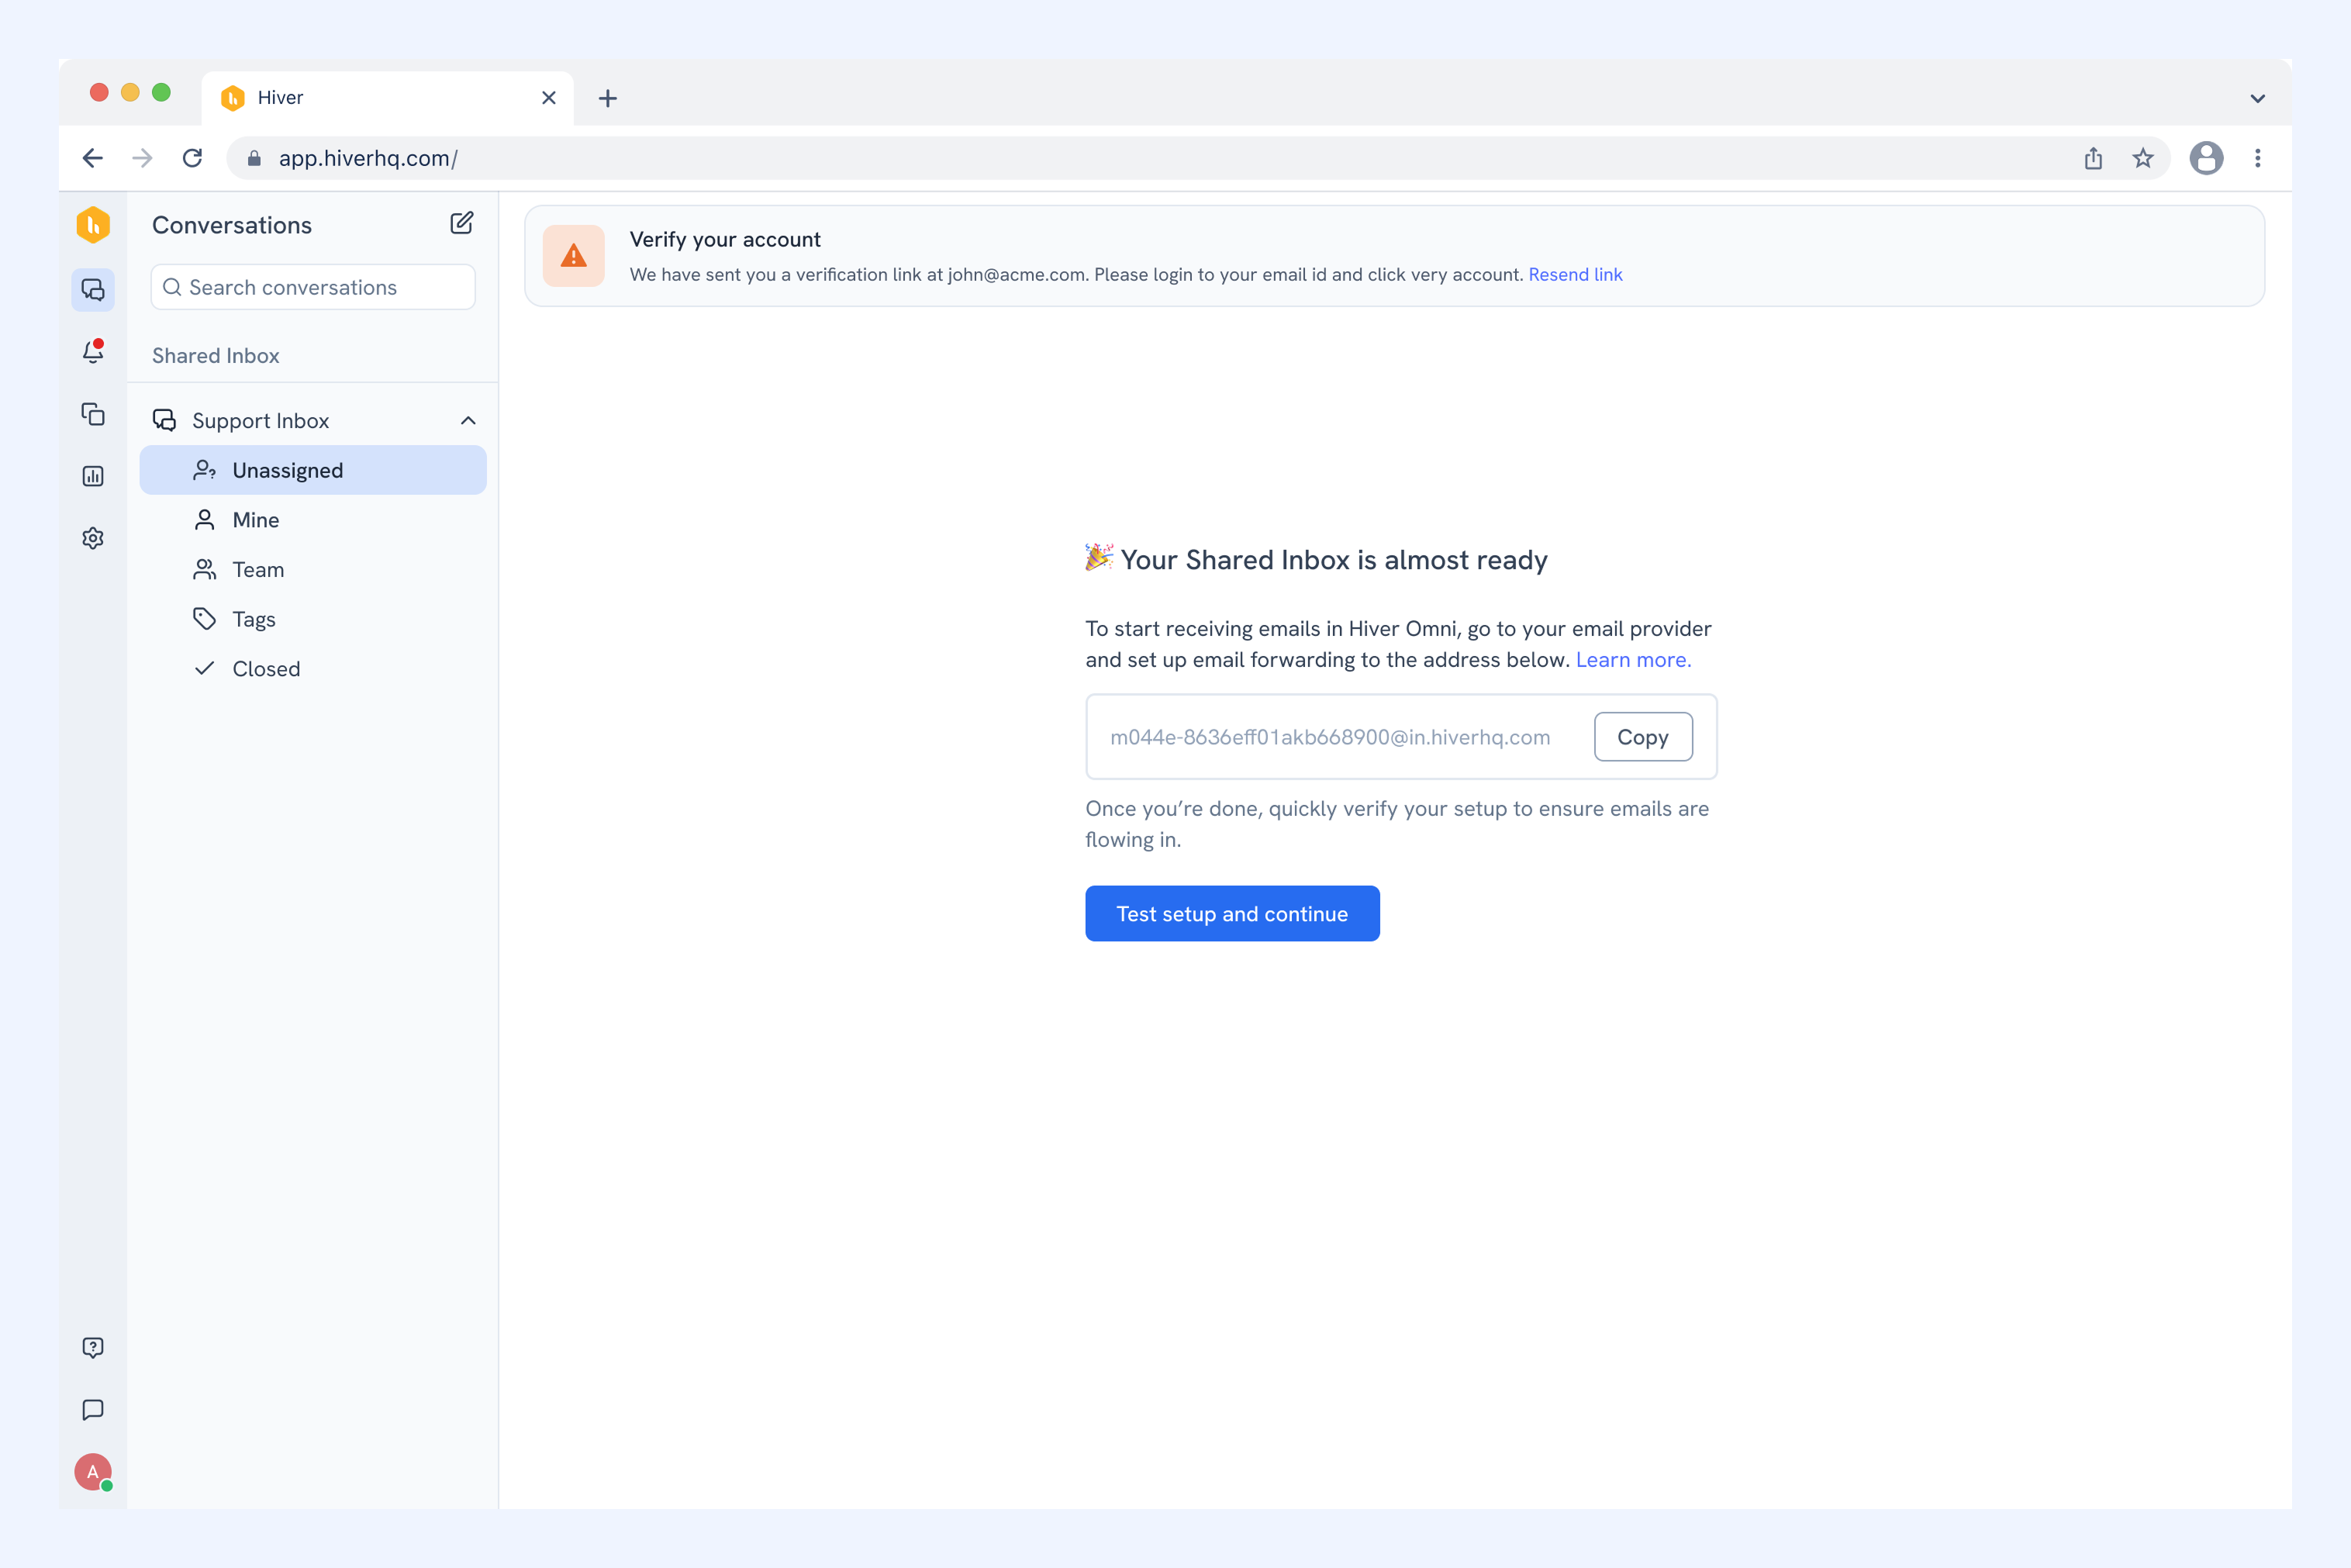
4. Once verification succeeds, you'll see a confirmation that your Shared Inbox has been created.
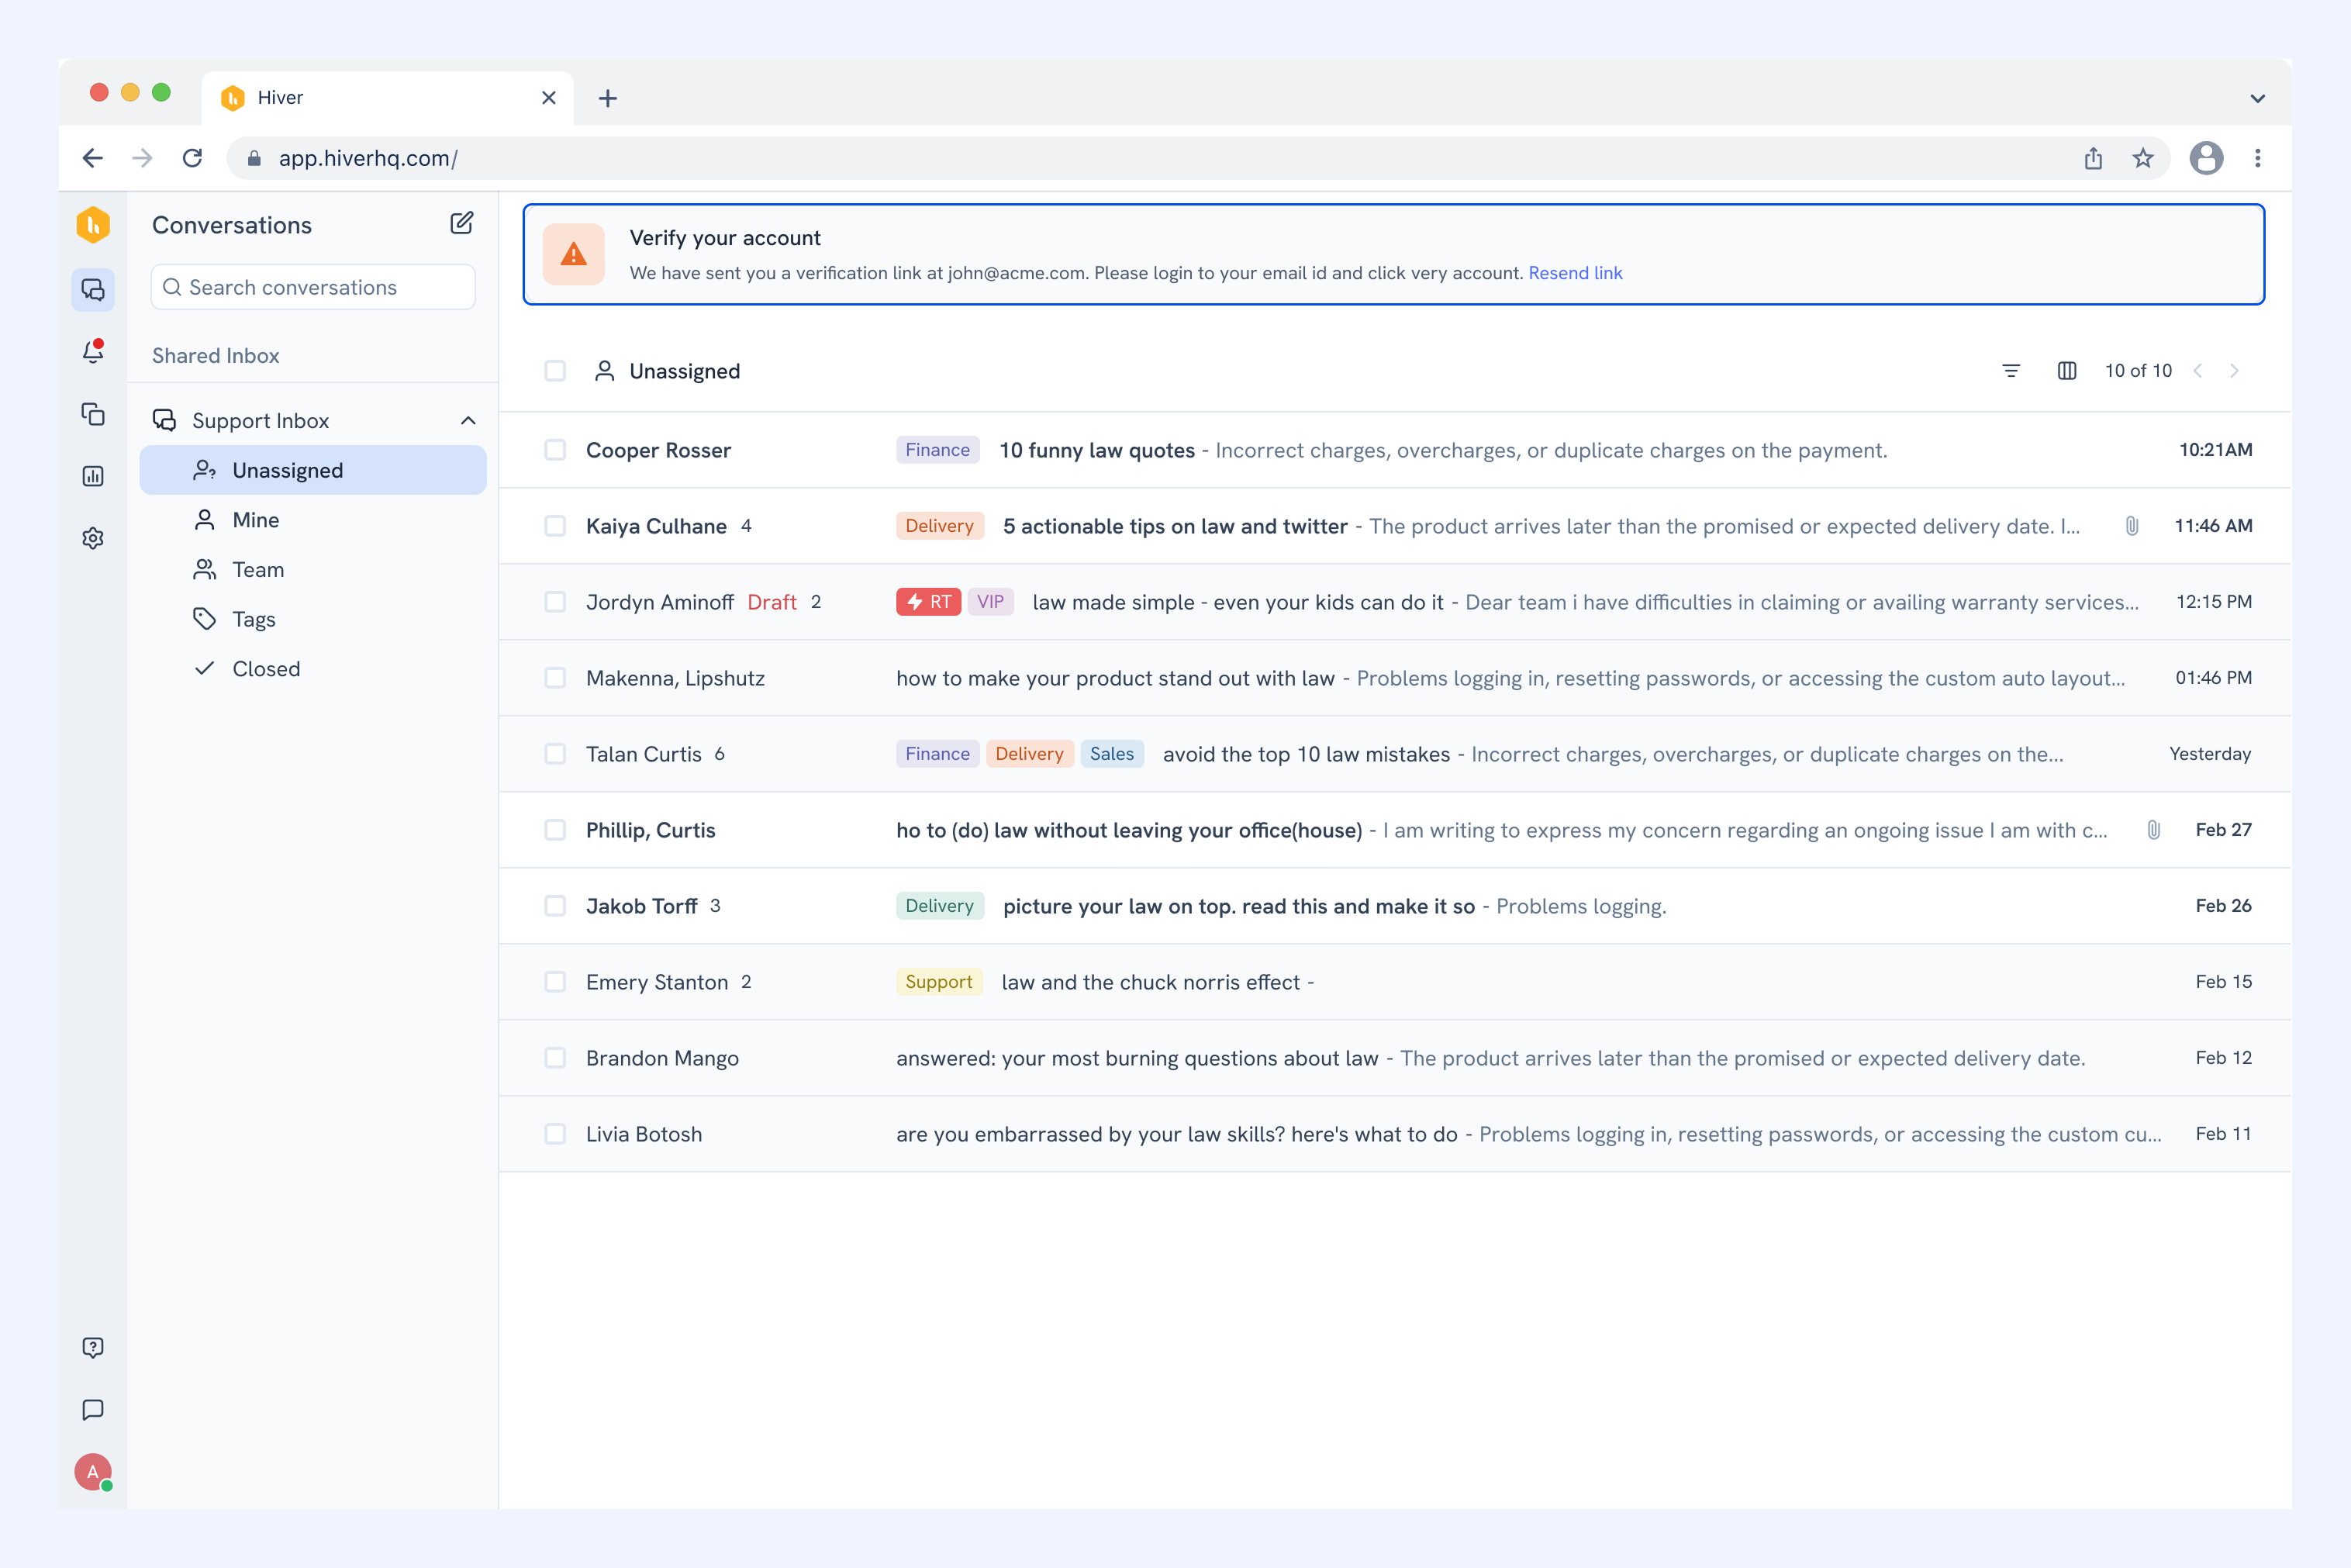
Verify your email address
After creating your Shared Inbox, you will have to verify your email address before you can invite team members to your inbox. Click the link sent to your email address to complete verification.
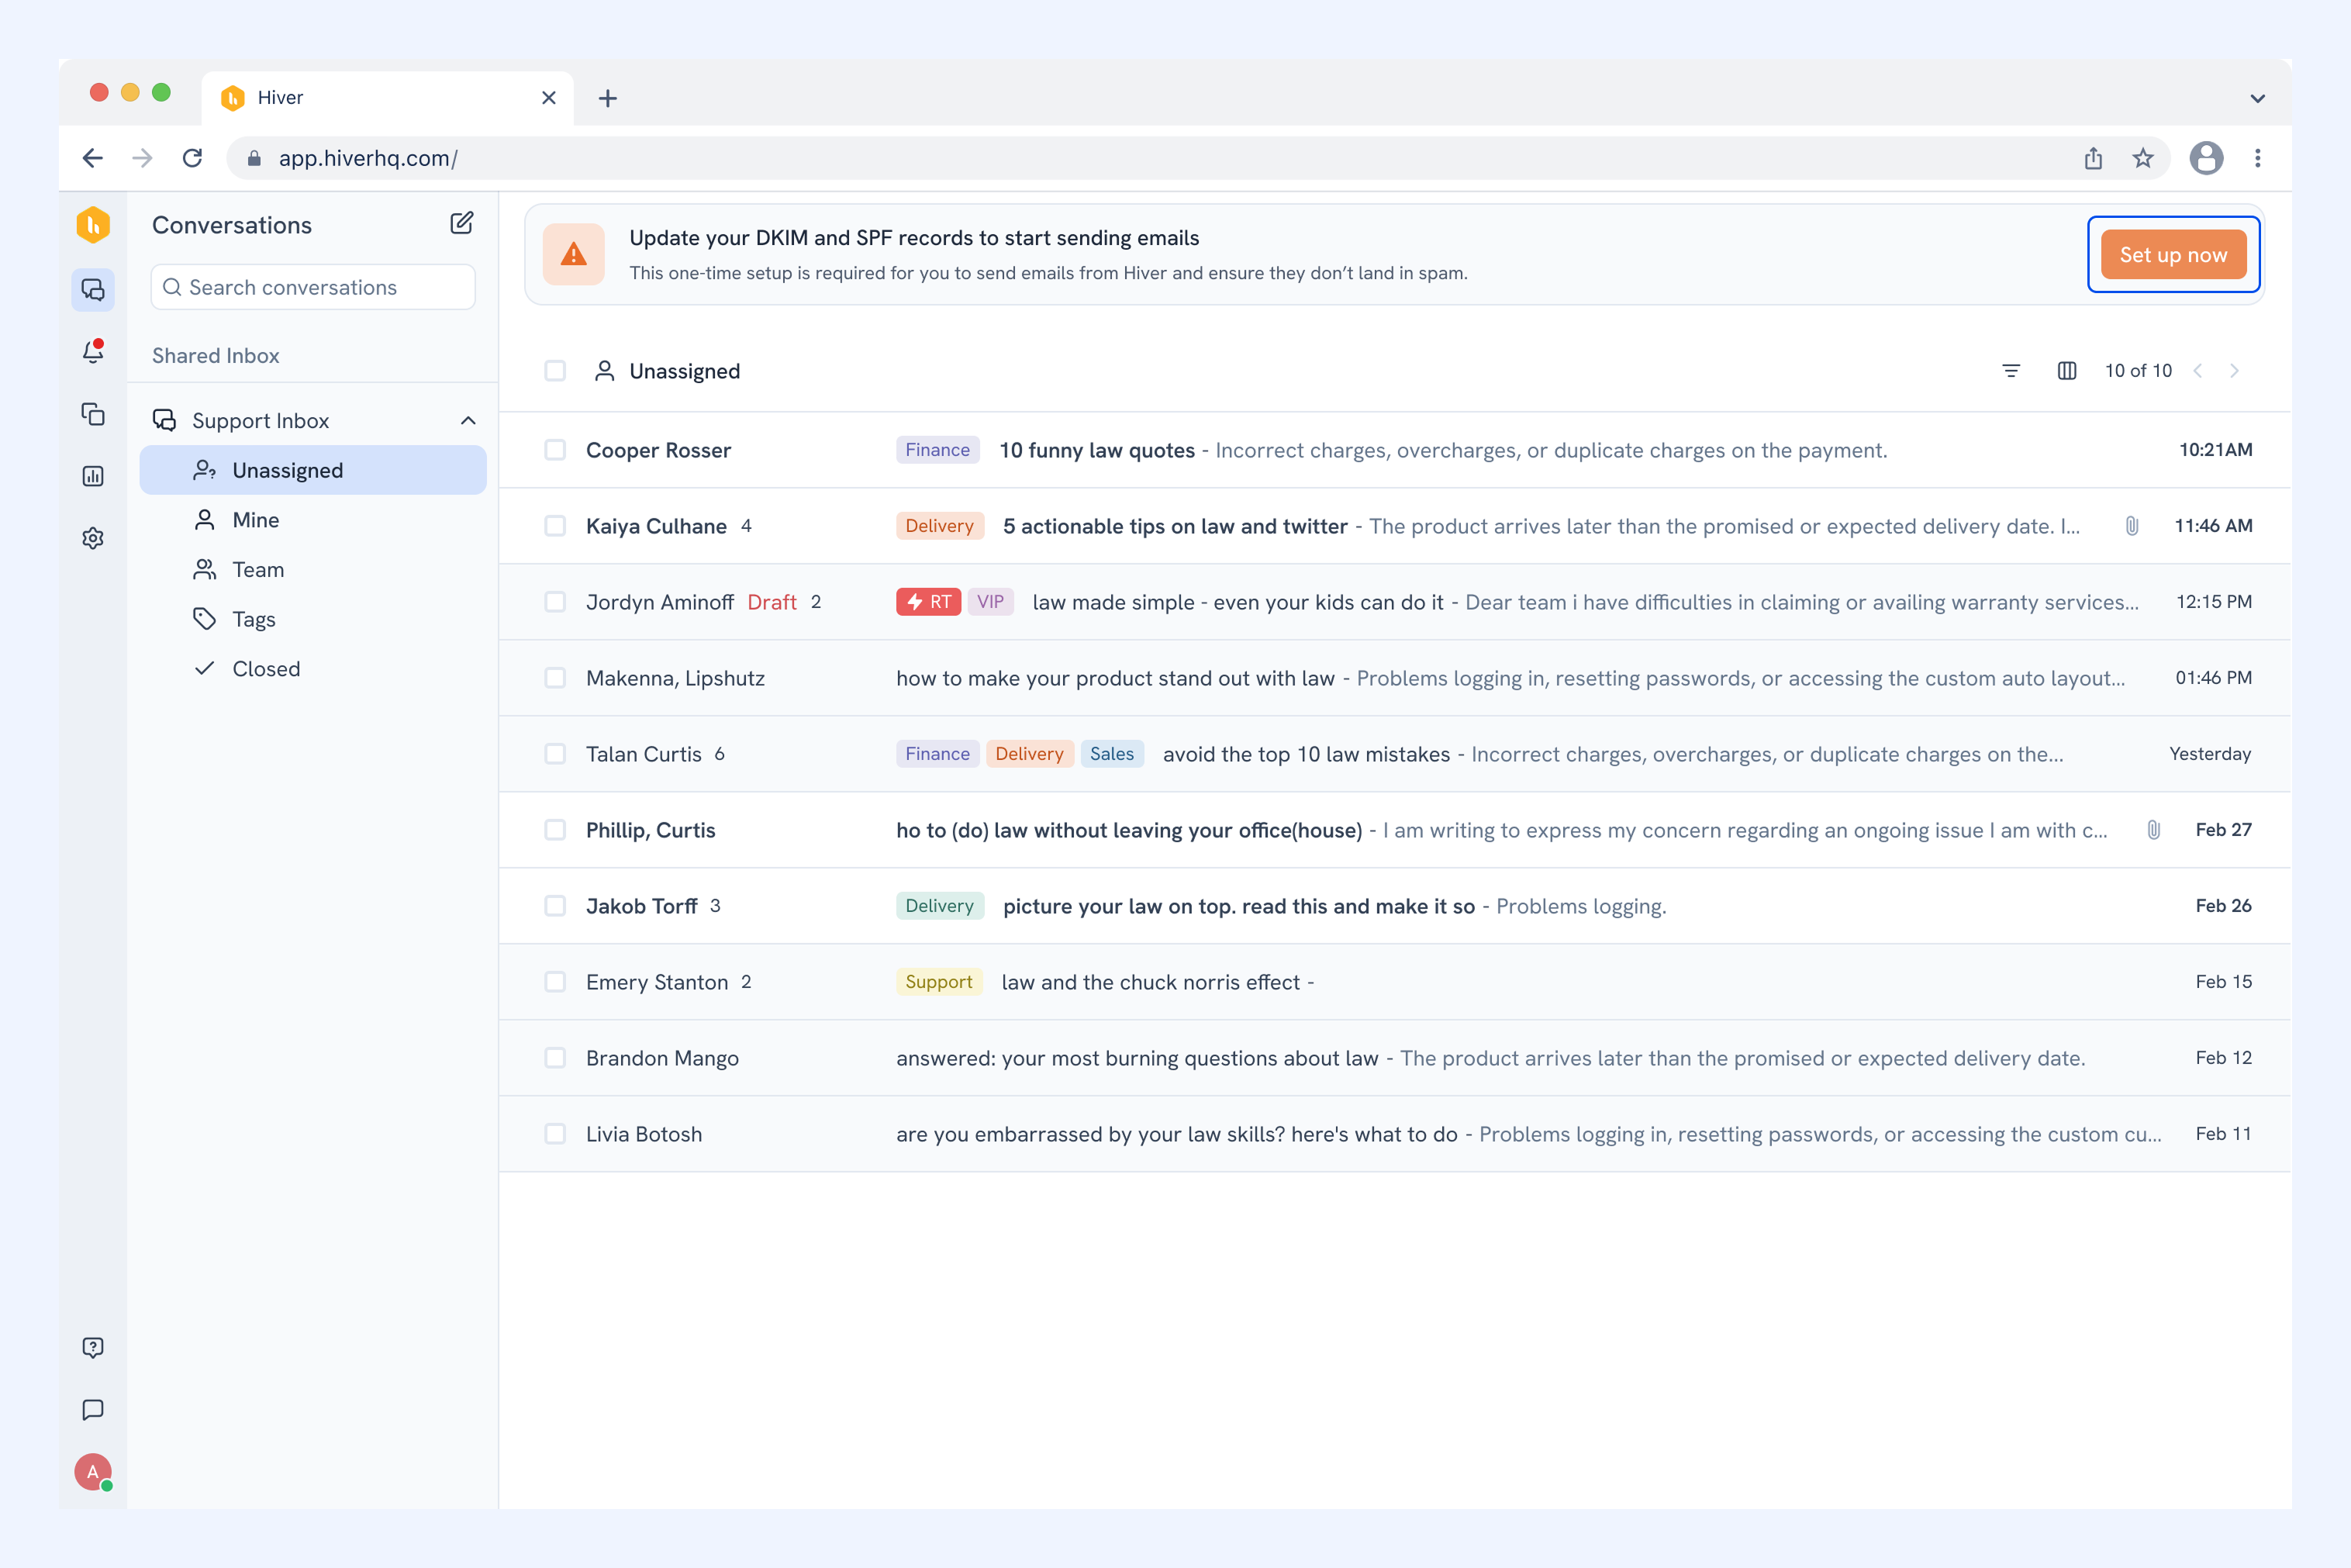
Authorize sending from your inbox
To ensure emails sent from Hiver don't land in spam, you'll need to update your DNS records. This authenticates Hiver to send emails on behalf of your domain.
Learn more about updating DNS records for your email provider.
Invite your team
Lastly, add teammates so they can view and manage emails from the same inbox.
1. During setup, you'll be prompted to invite team members.
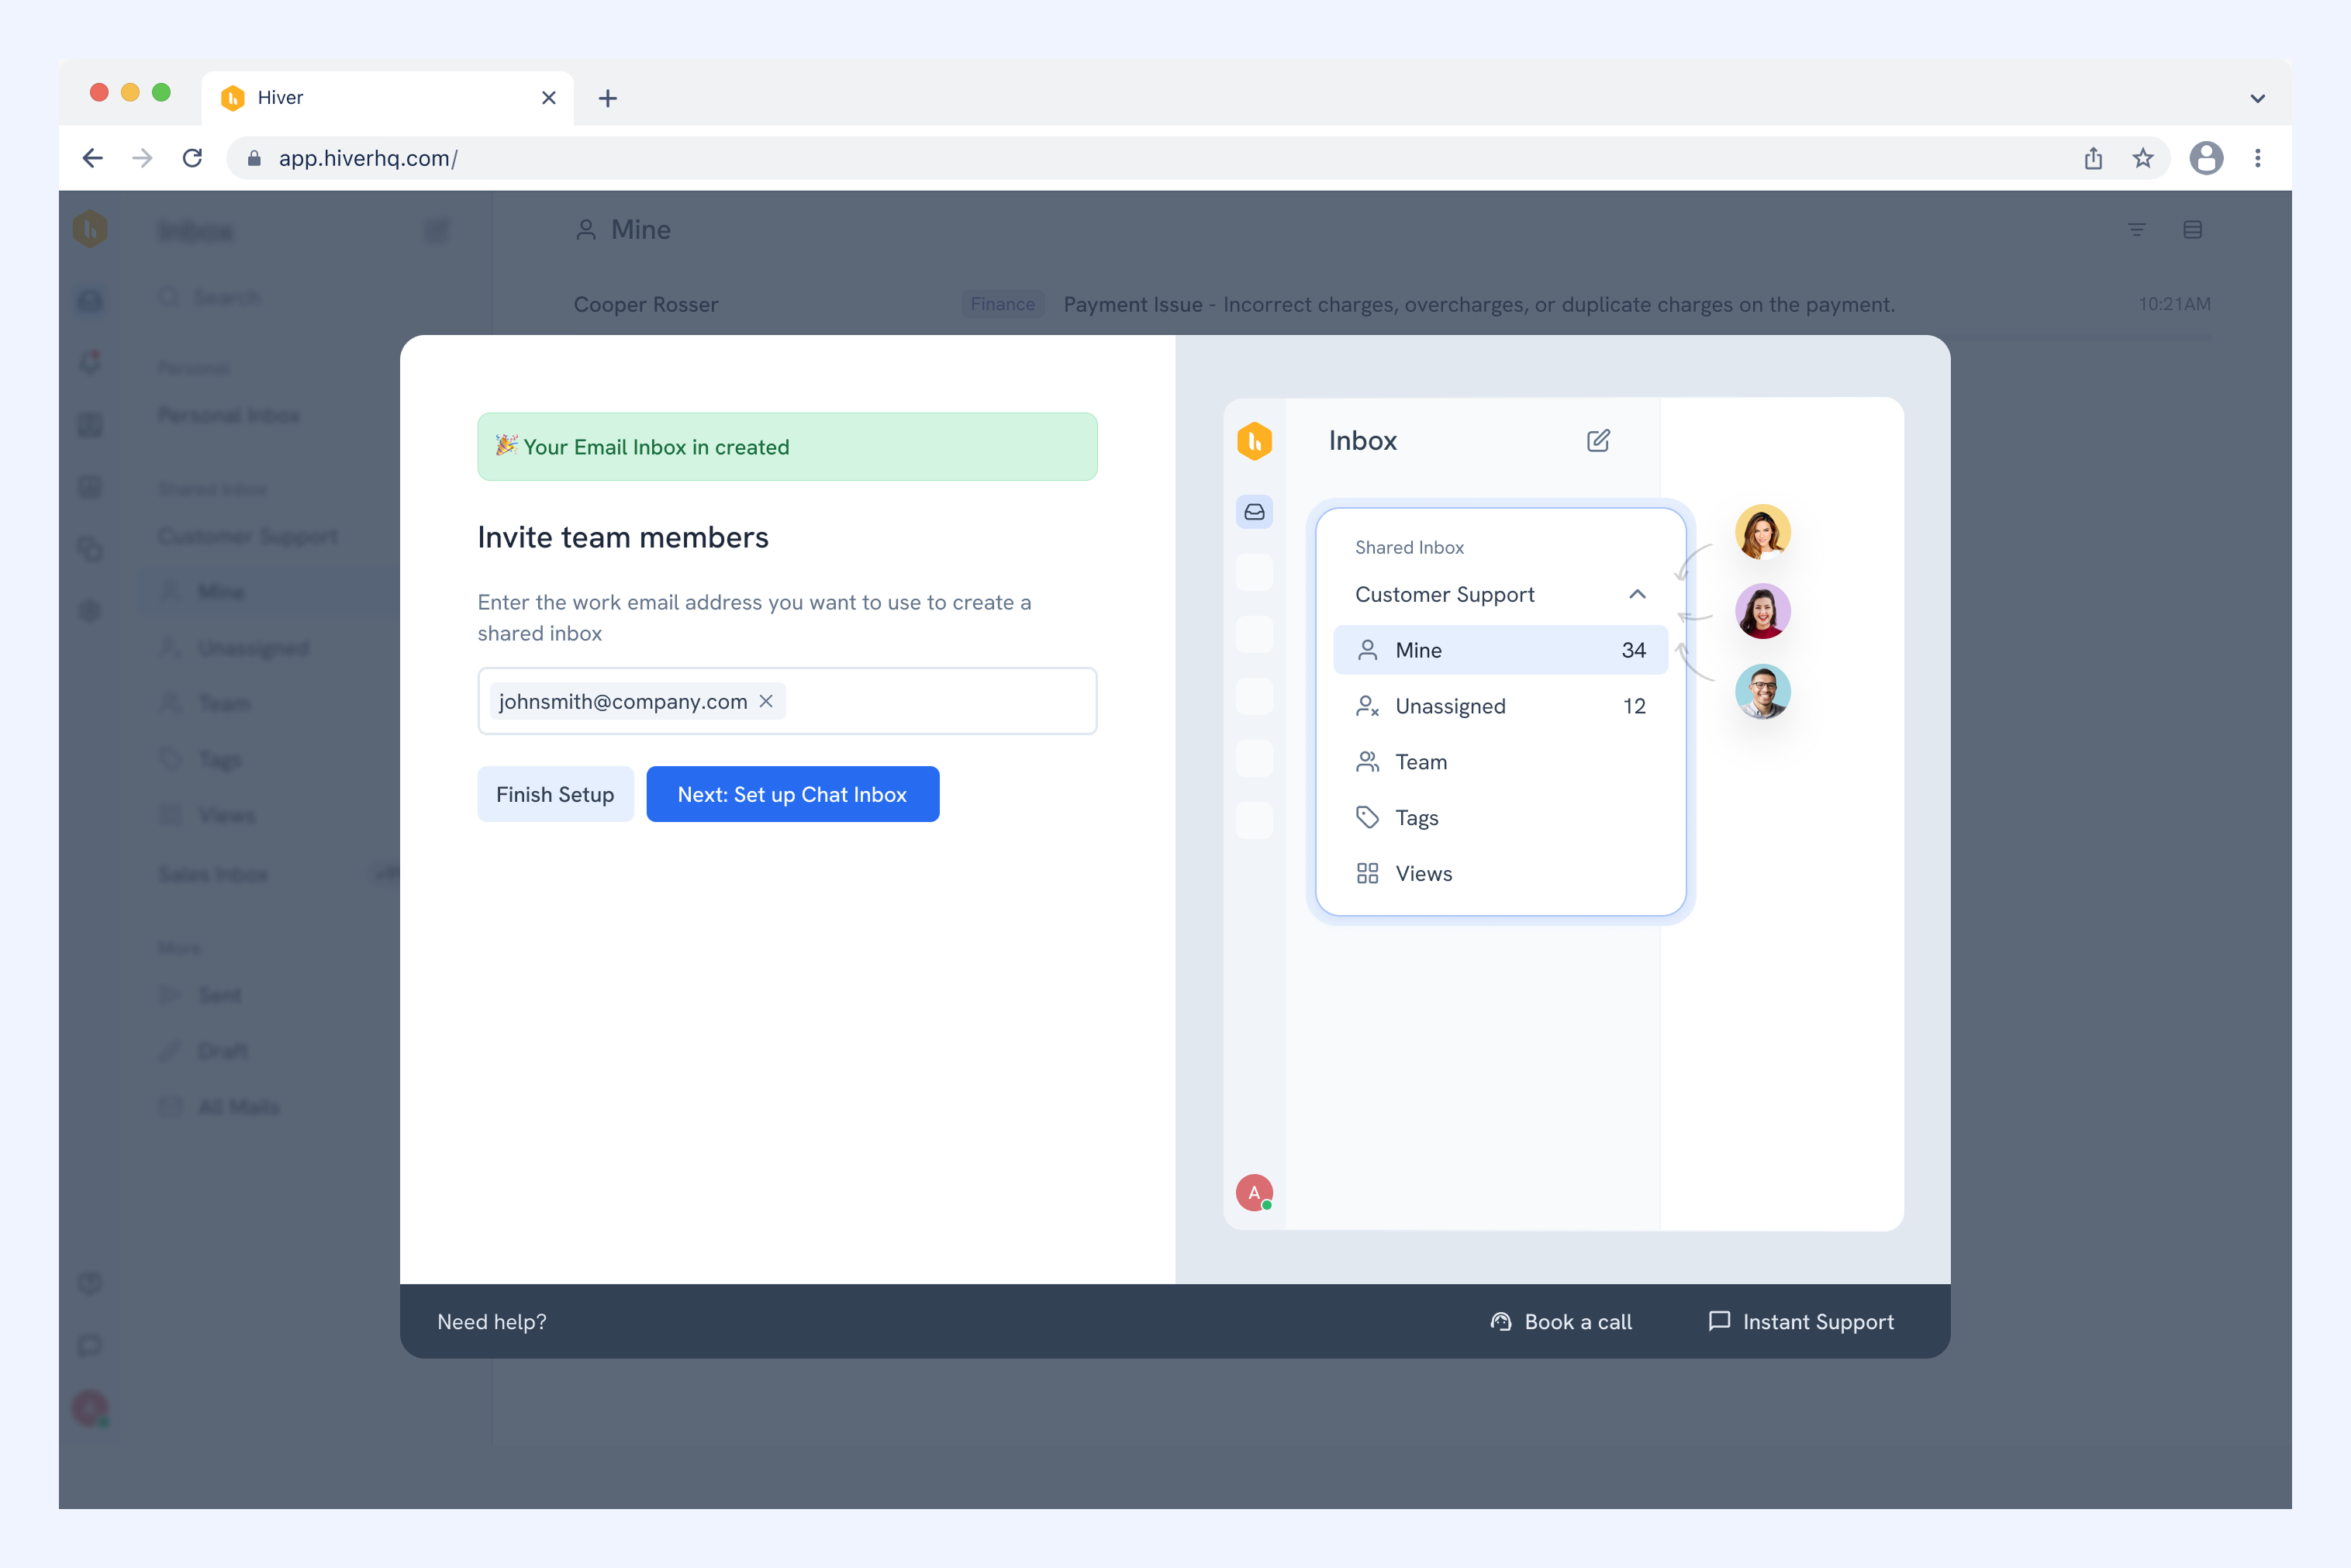
2. You can also add them later after the Shared Inbox is created. Learn more about team members and roles in Hiver.
Getting familiar with Hiver Omni
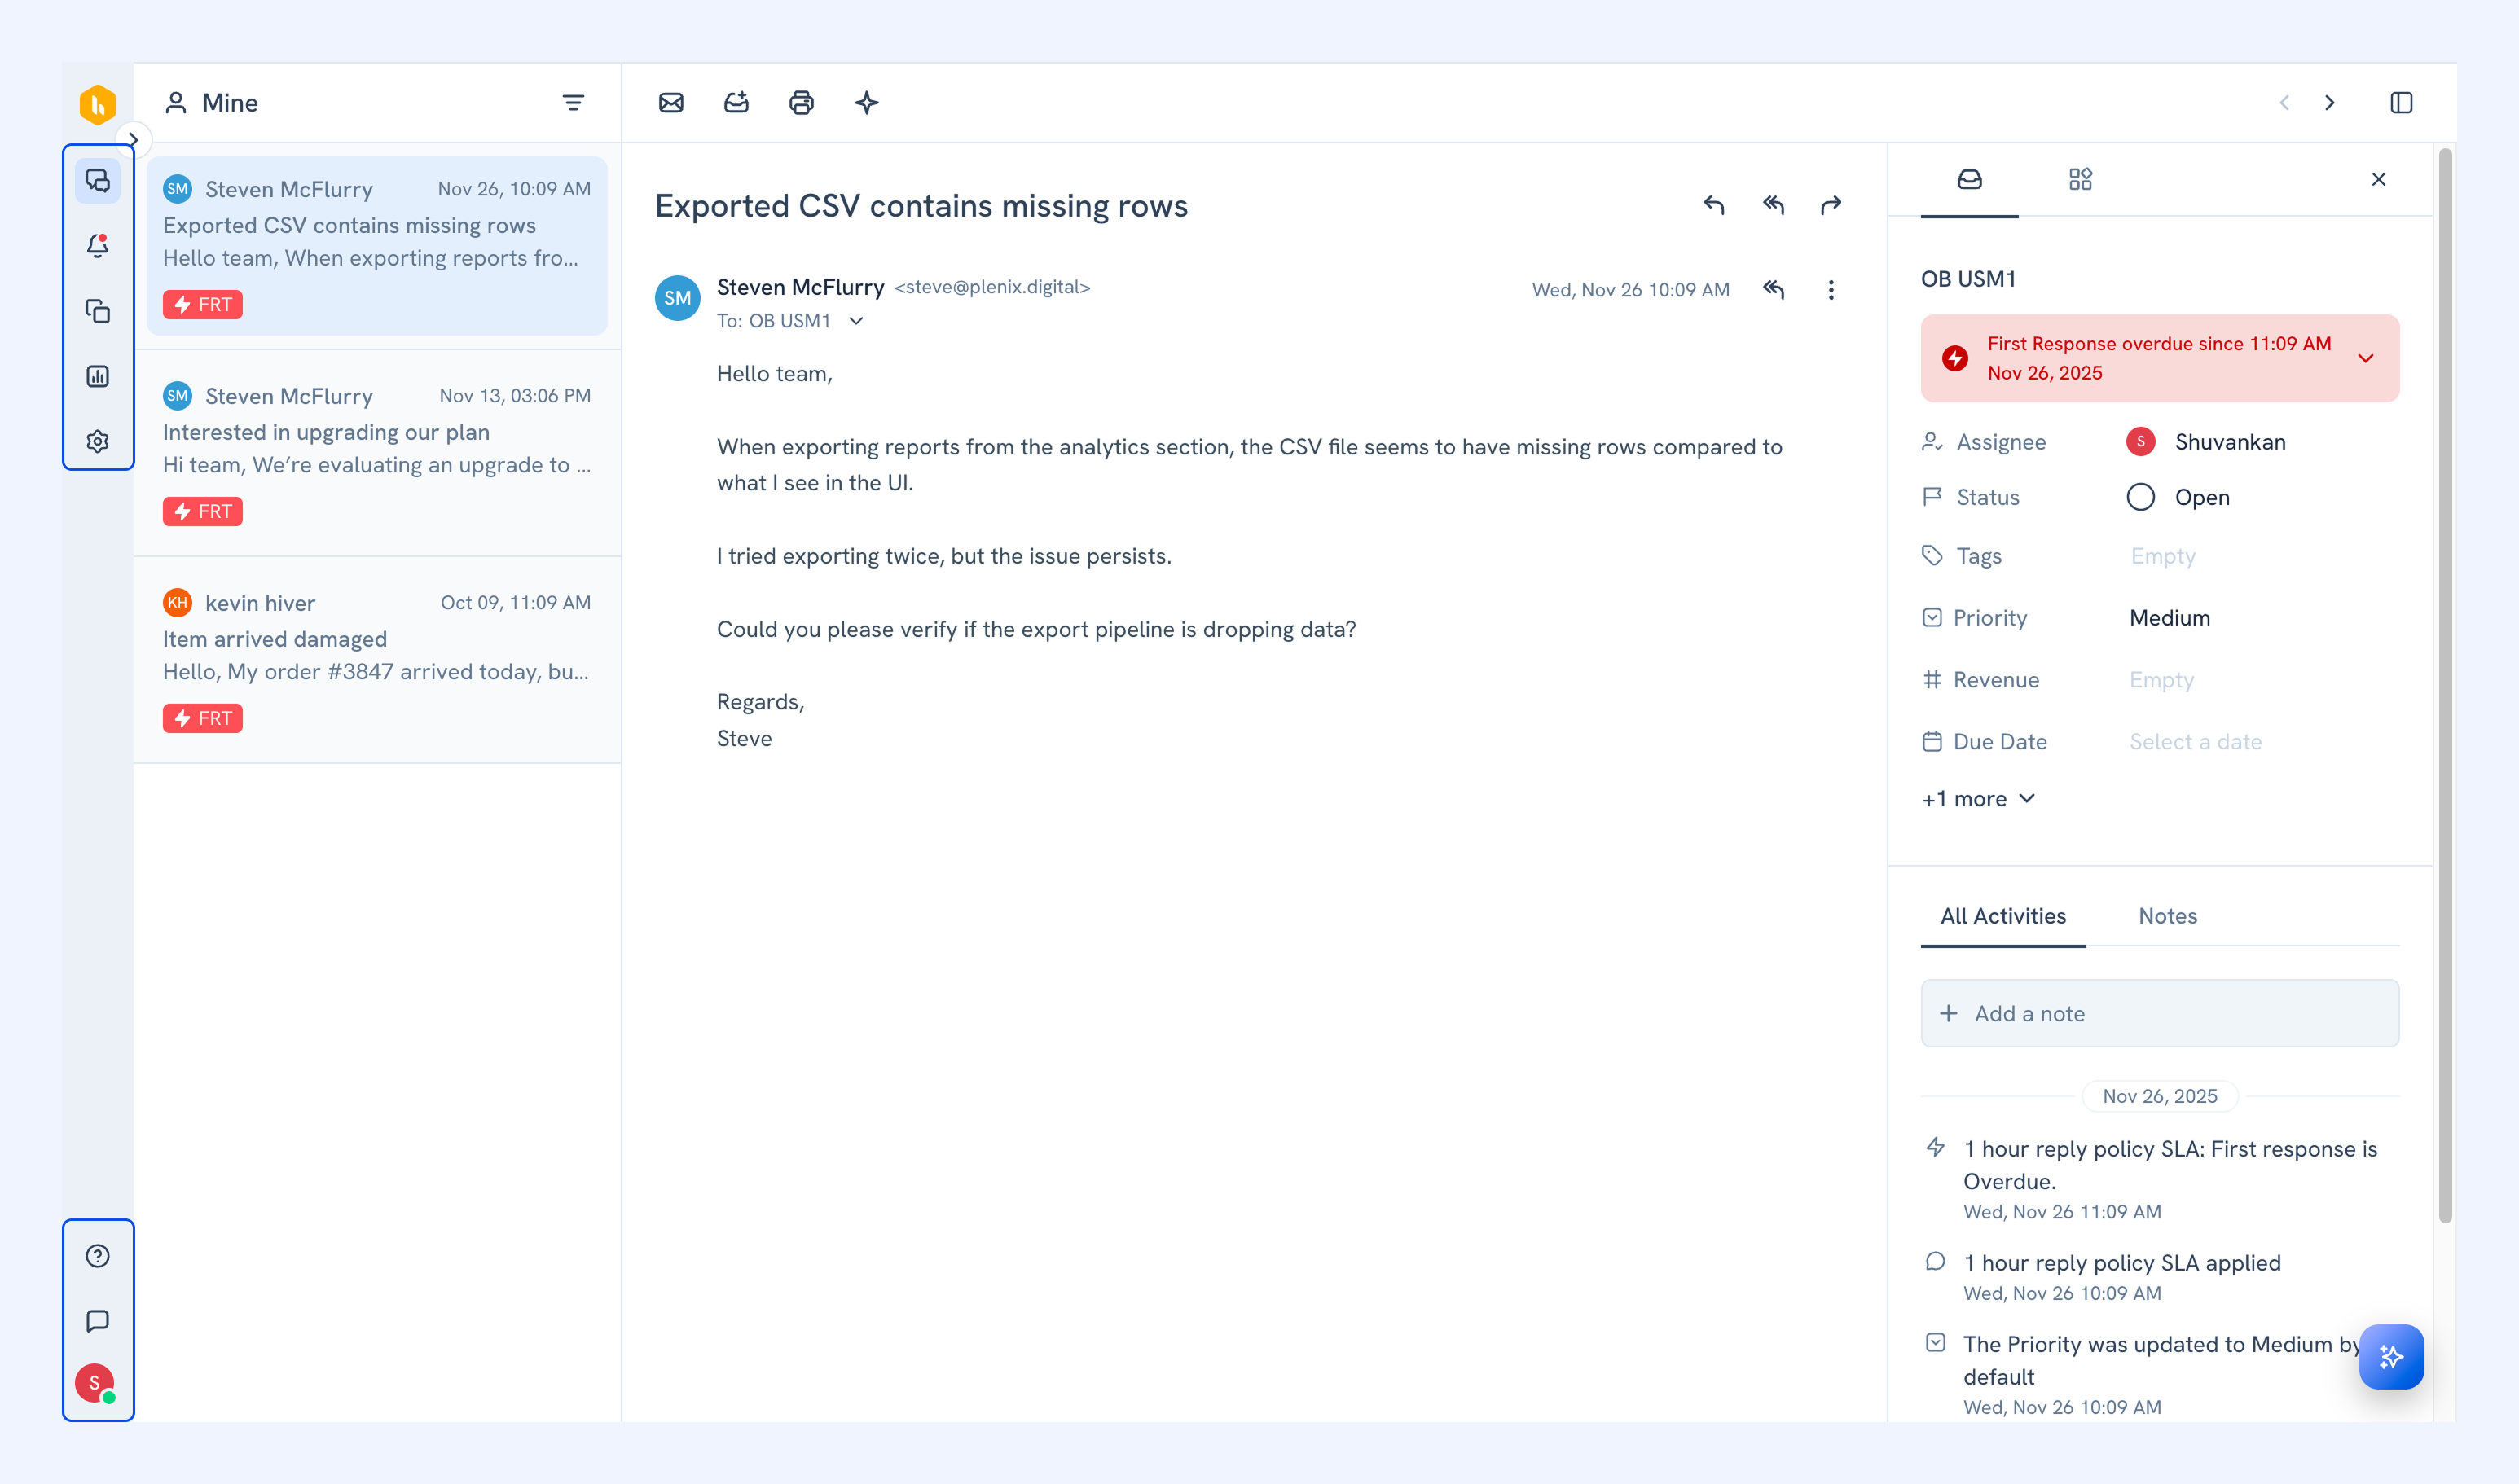
Once you're in Hiver, explore the navigation bar on the left to access:
- Conversations: View and manage emails.
- Notifications: See activities involving you.
- Templates: Reuse standard replies.
- Analytics: Track and manage performance.
- Admin Panel: Manage users, workflows, and more.
- Profile menu: Access account settings, team availability, and more.
Next steps
Manage Emails in Hiver Shared Inbox