Setting up Hiver Omni: A step-by-step guide for Outlook
This guide covers how to connect your Outlook user account to Hiver and start managing conversations with your team from a dedicated Shared Inbox.
Prerequisites
Before you begin, make sure:
1. Hiver is authorized by your organization in Microsoft Entra. Learn more about granting Hiver access in Microsoft Entra.
2. You are listed as a member in the Outlook Shared Mailbox with the following permissions:
- Member access
- Read and manage
- Send as
- Send on behalf of
Learn more about setting up mailbox permissions.
Good to know before you start
- Your account becomes the Source User in Hiver. When you connect an Outlook Shared, you sign in with a personal Microsoft account to authorize access. Hiver uses this account to sync incoming emails and send outgoing emails from the Shared Inbox. If the Source User leaves your organization or loses access to their Microsoft account, syncing and sending will stop until another user reauthenticates the inbox. Learn more about changing the Source User for an Outlook inbox.
- Your recent emails are imported. When you connect the inbox, Hiver imports up to 10,000 emails from the previous two weeks. Imported conversations appear in the Closed view and are unassigned with the Imported tag, making them easy to find and act on.
- Your Outlook folders are imported as Tags. When you connect the inbox, Hiver imports existing folders from the Shared Mailbox as Tags. Folders created afterward aren’t imported automatically.
Steps to connect your Outlook user account to Hiver
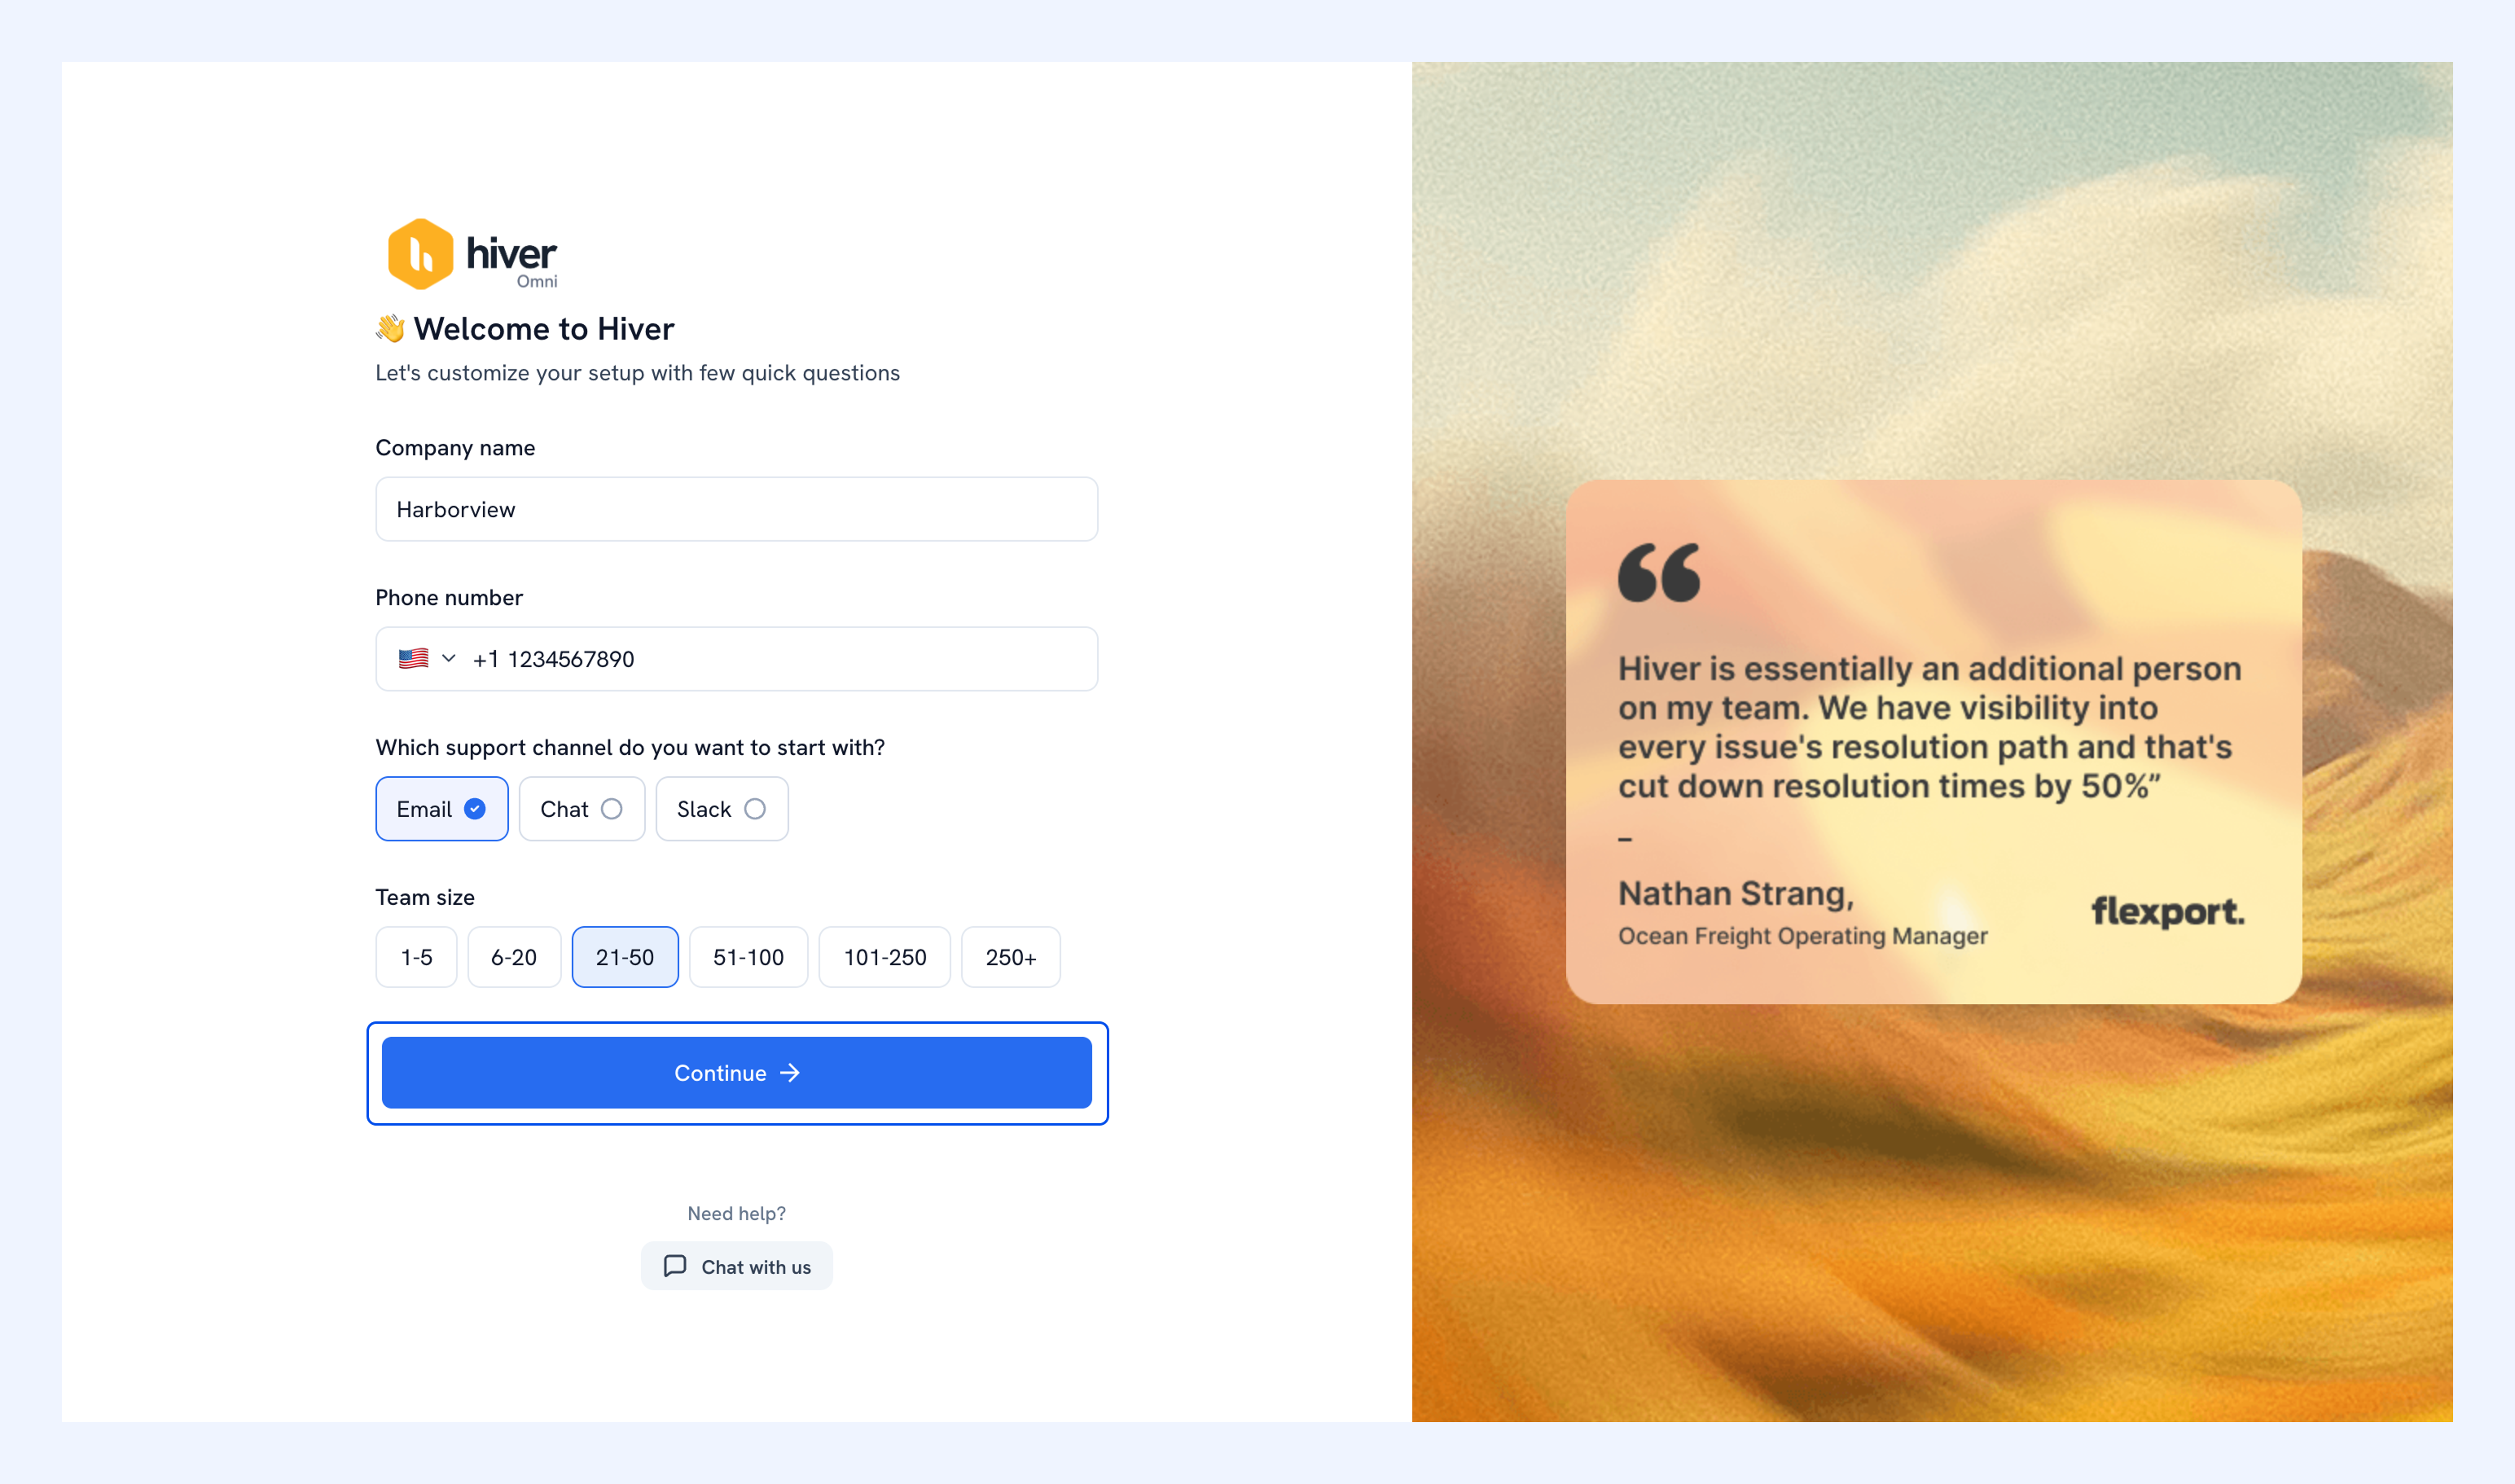
When you sign up to Hiver, a setup wizard walks you through creating your first Shared Inbox.
1. Enter your company name and phone number, choose the support channel you want to start with, then select your team size. To set up email, select Email, then click Continue.
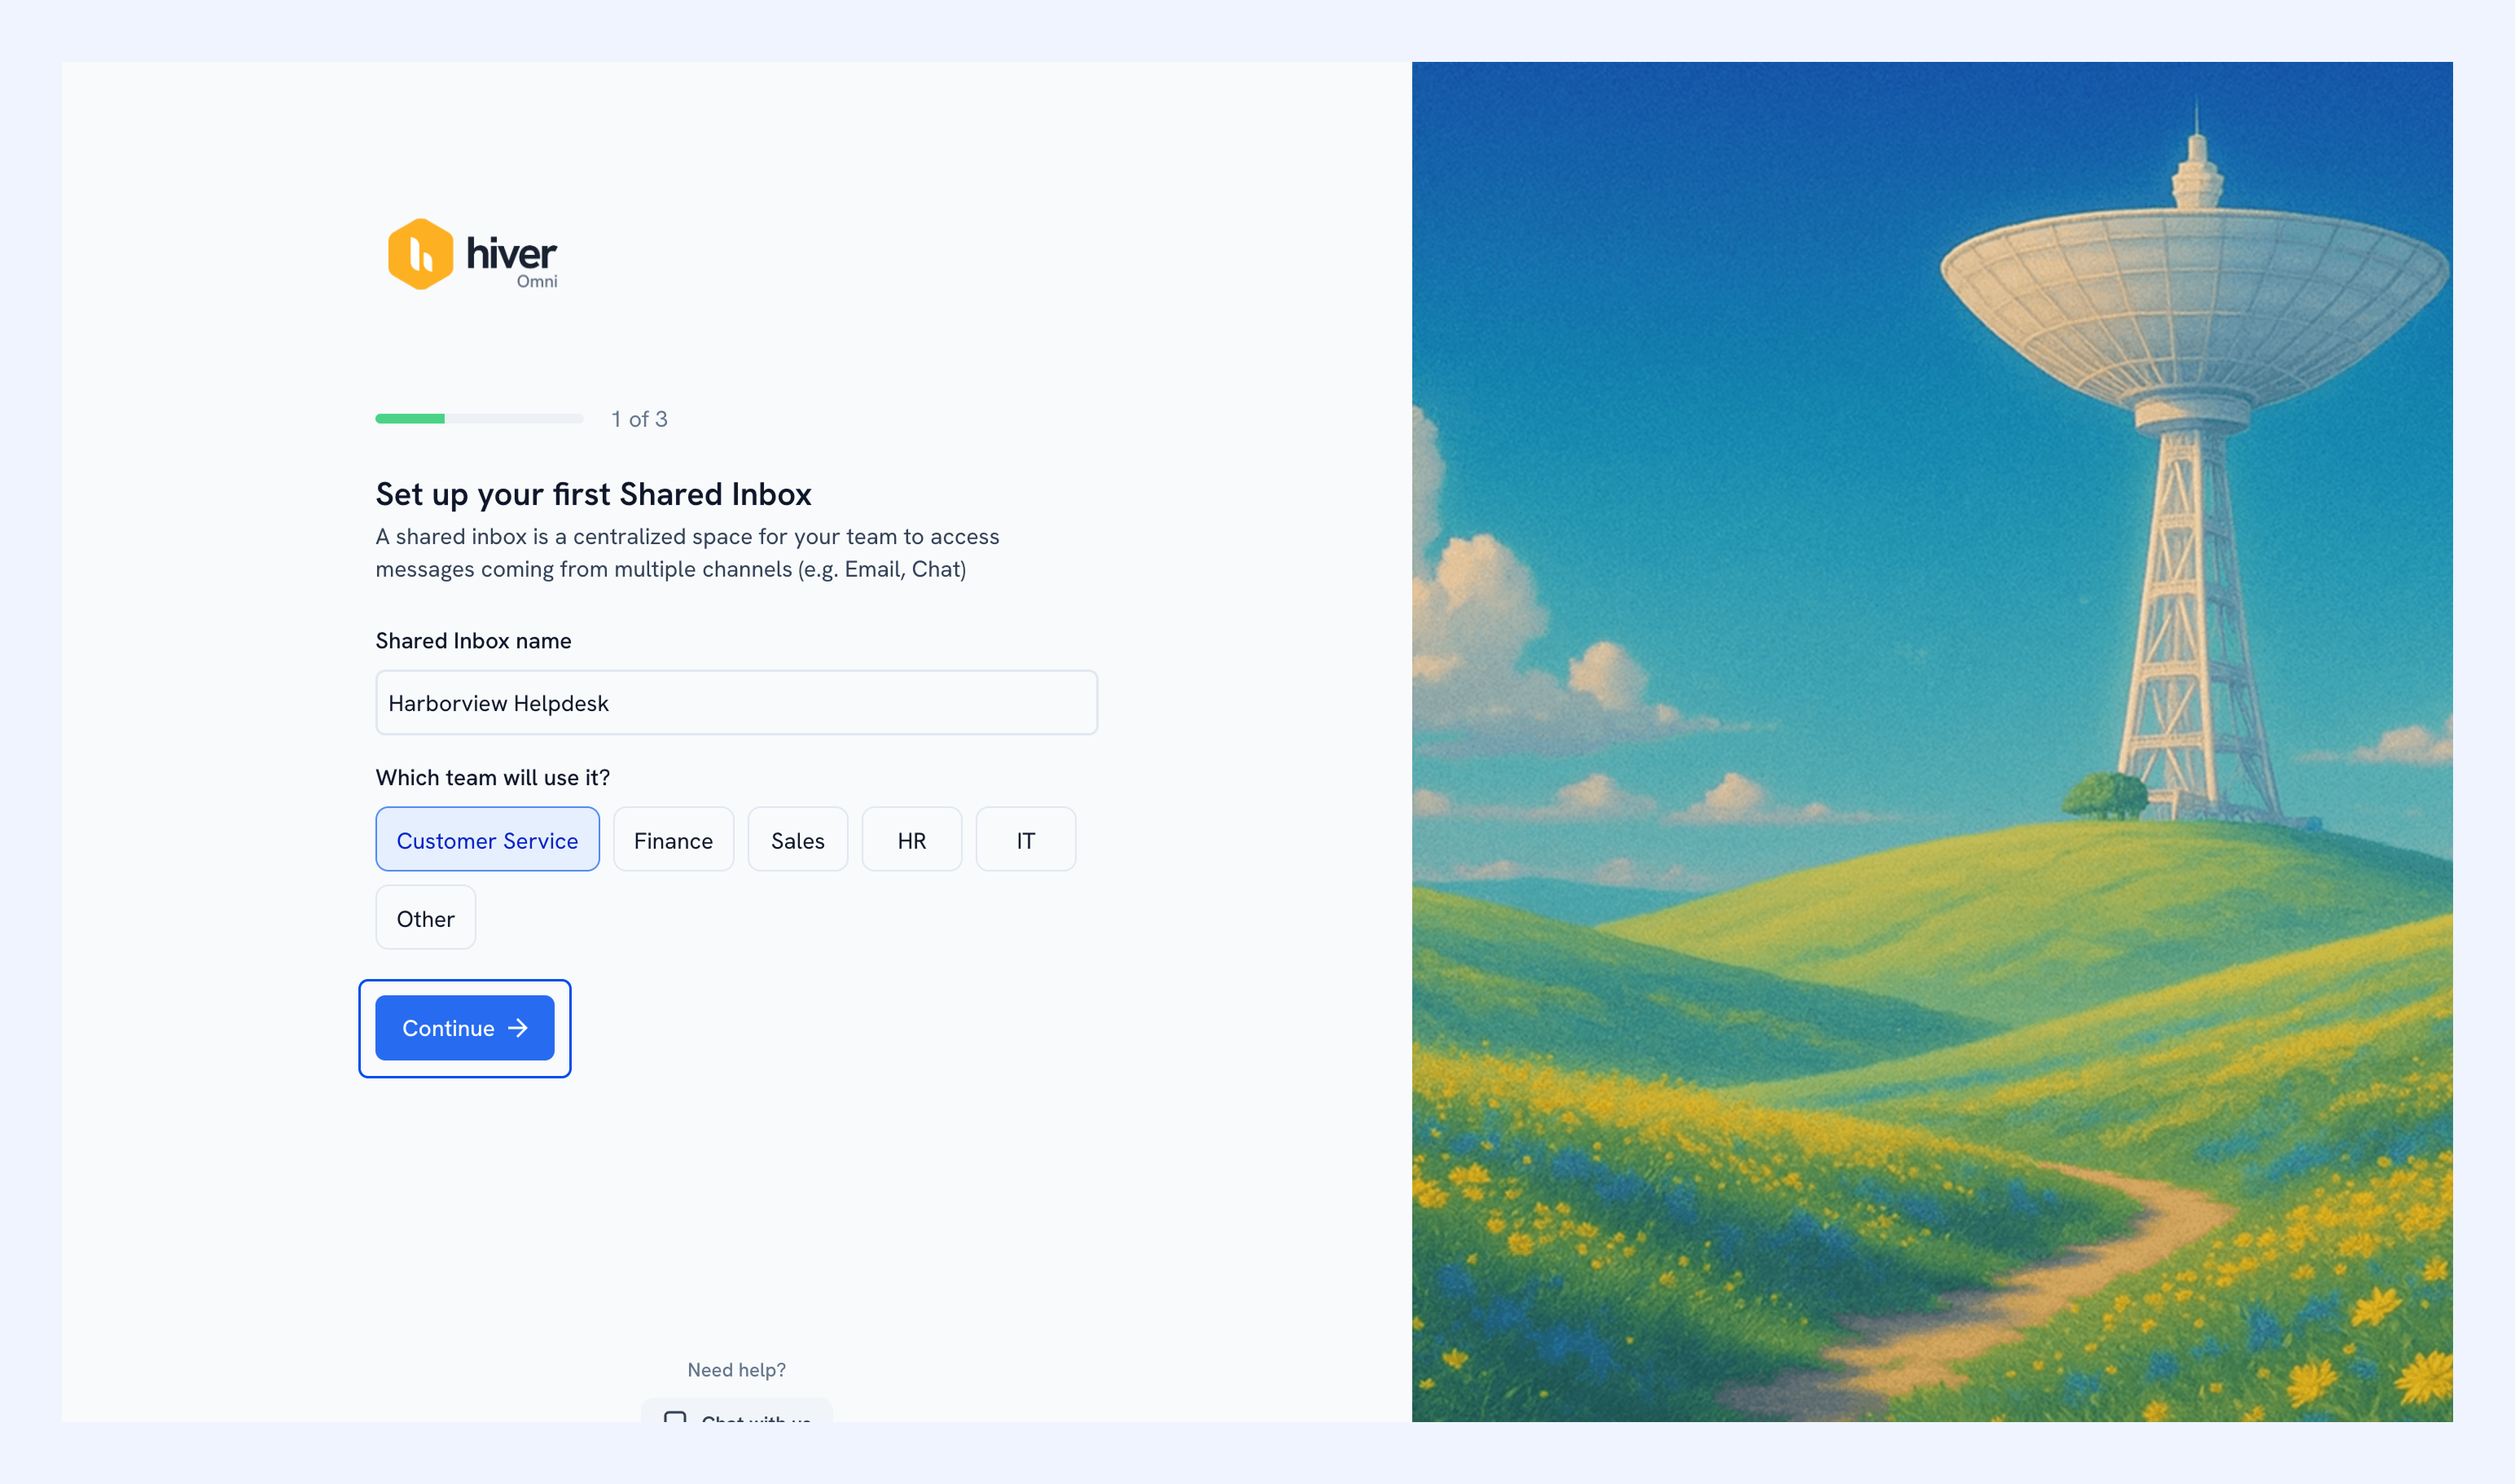
2. Enter a name for your Shared Inbox, select the team that will use it, then click Continue.
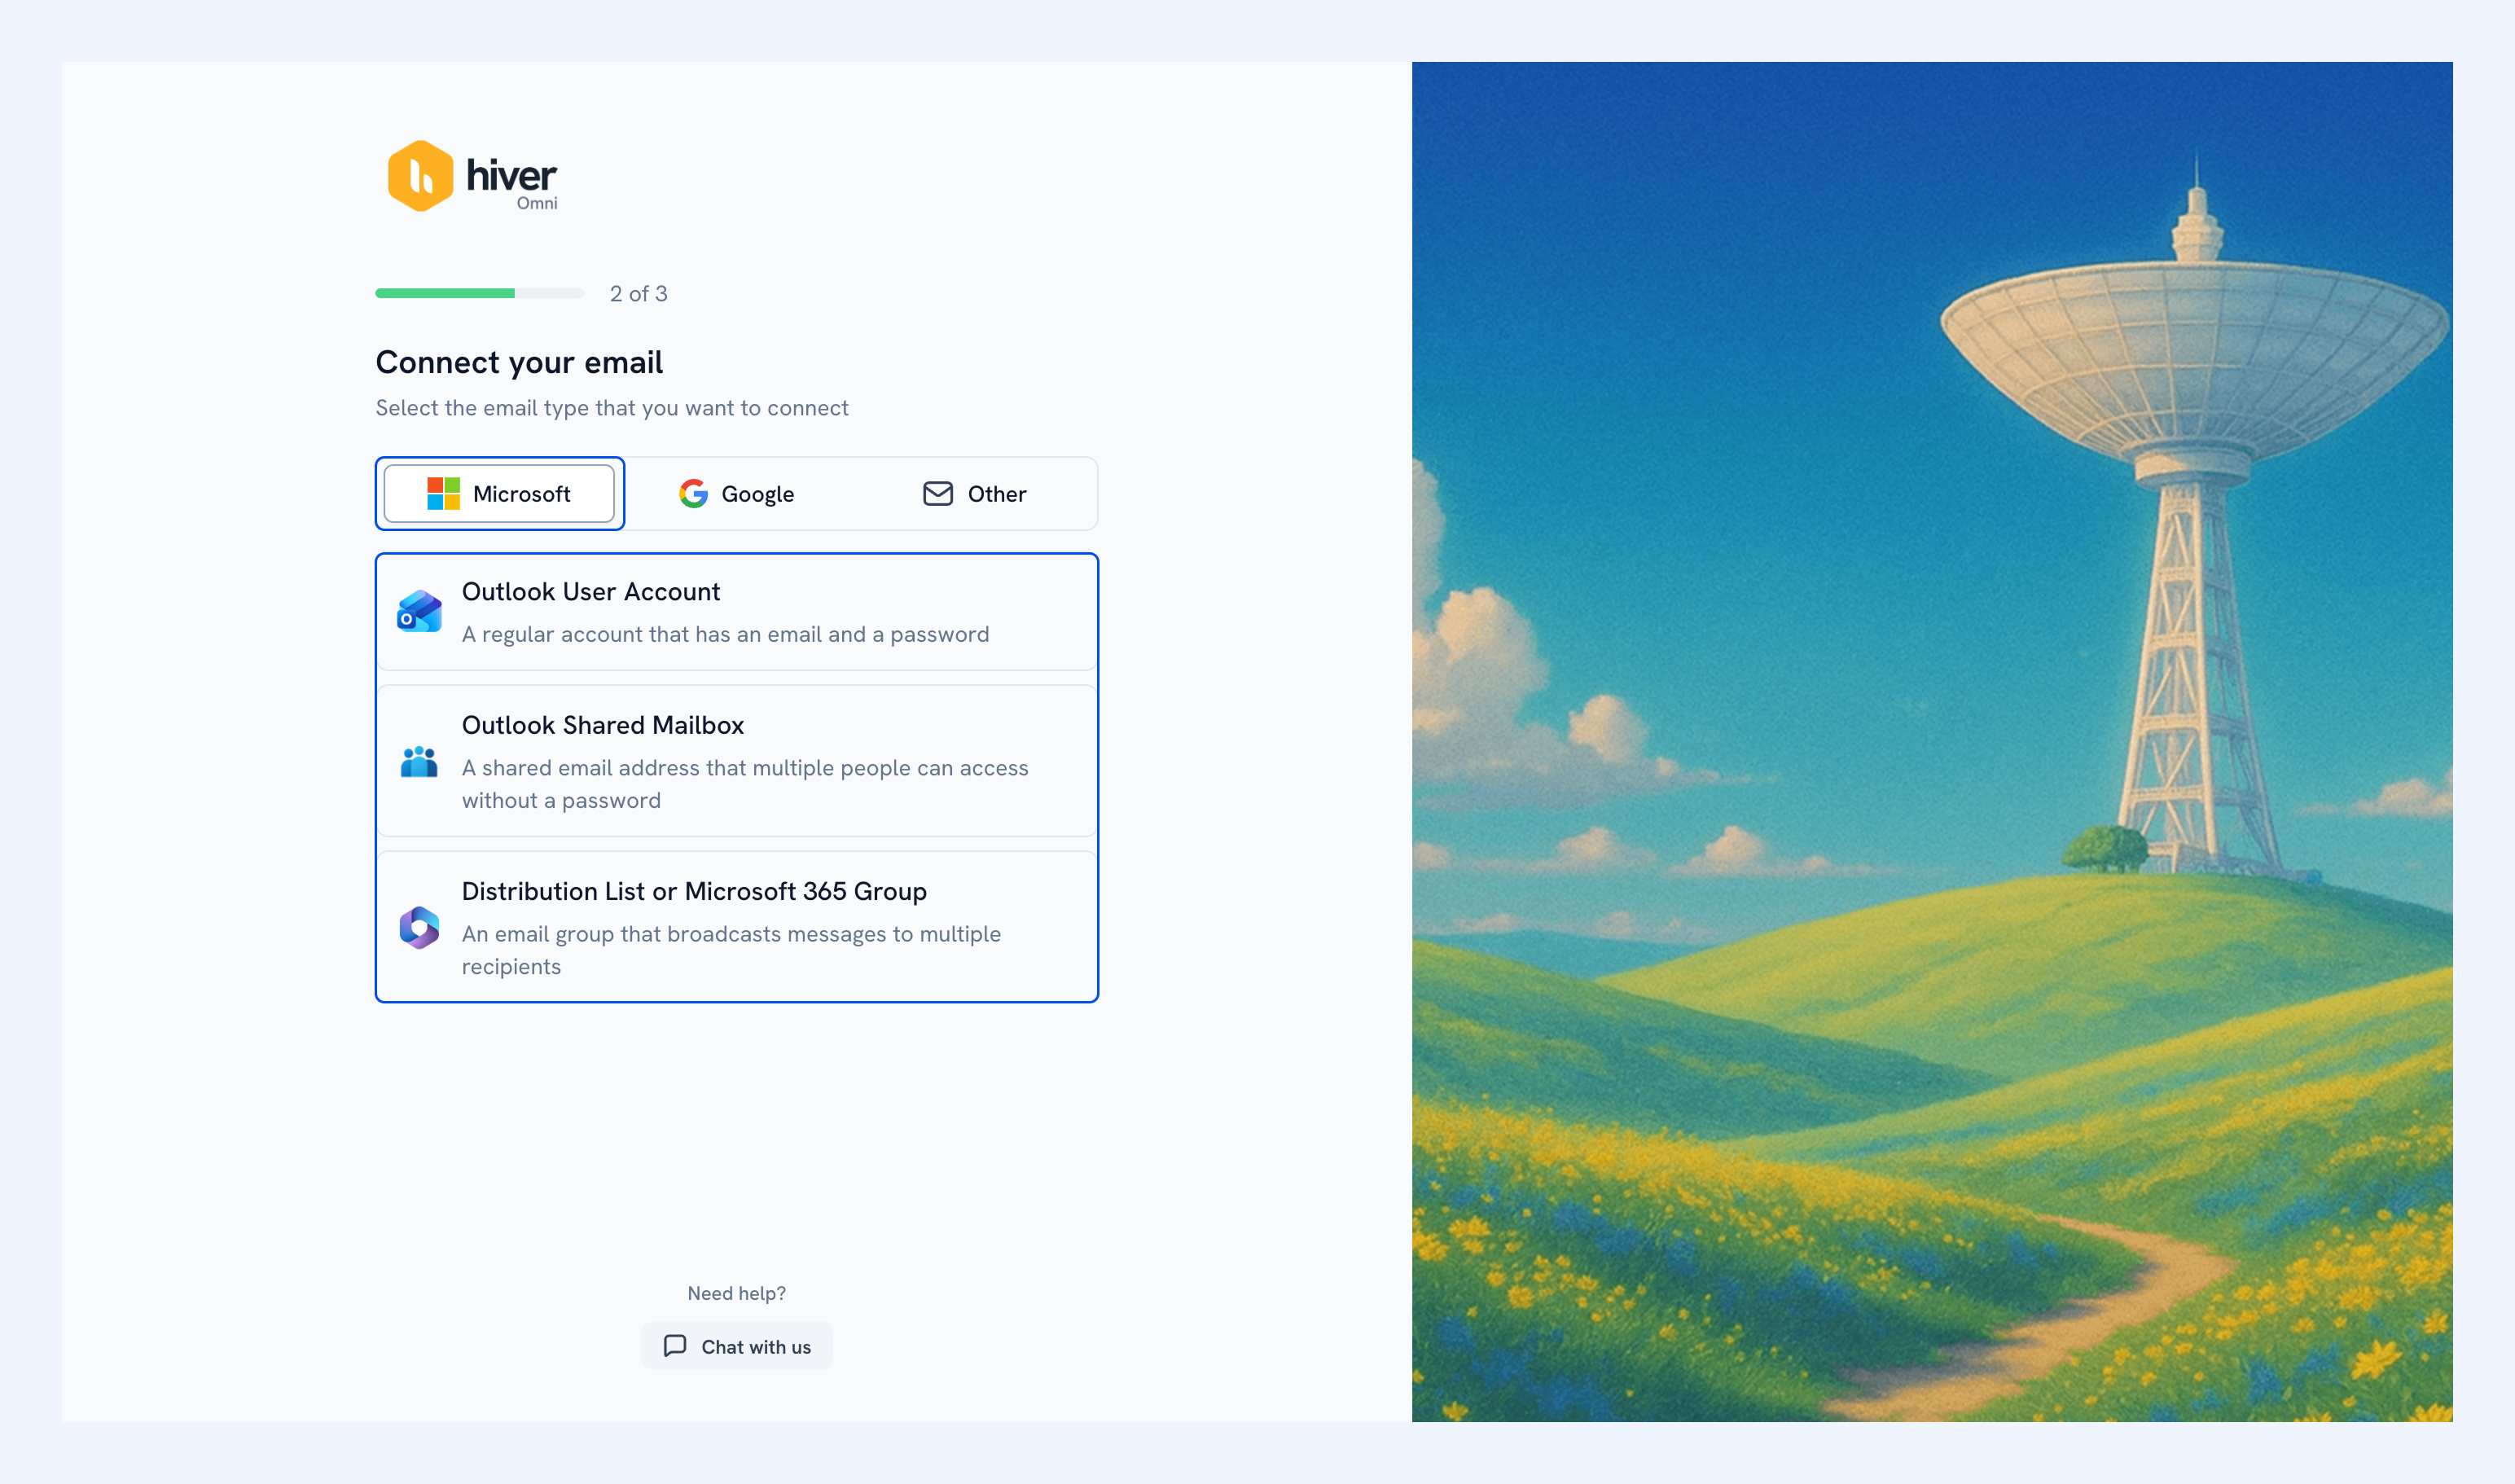
3. Select Microsoft as your provider, then select Outlook User Account
Tip: This only sets the provider for this Shared Inbox, not for your whole Hiver account. You can connect more Shared Inboxes later using Google or another email provider.
4. In the new tab that opens, sign in to the account you want to connect, then grant Hiver the permissions it requests.
5. Invite your team members so they can view and reply to conversations with you.
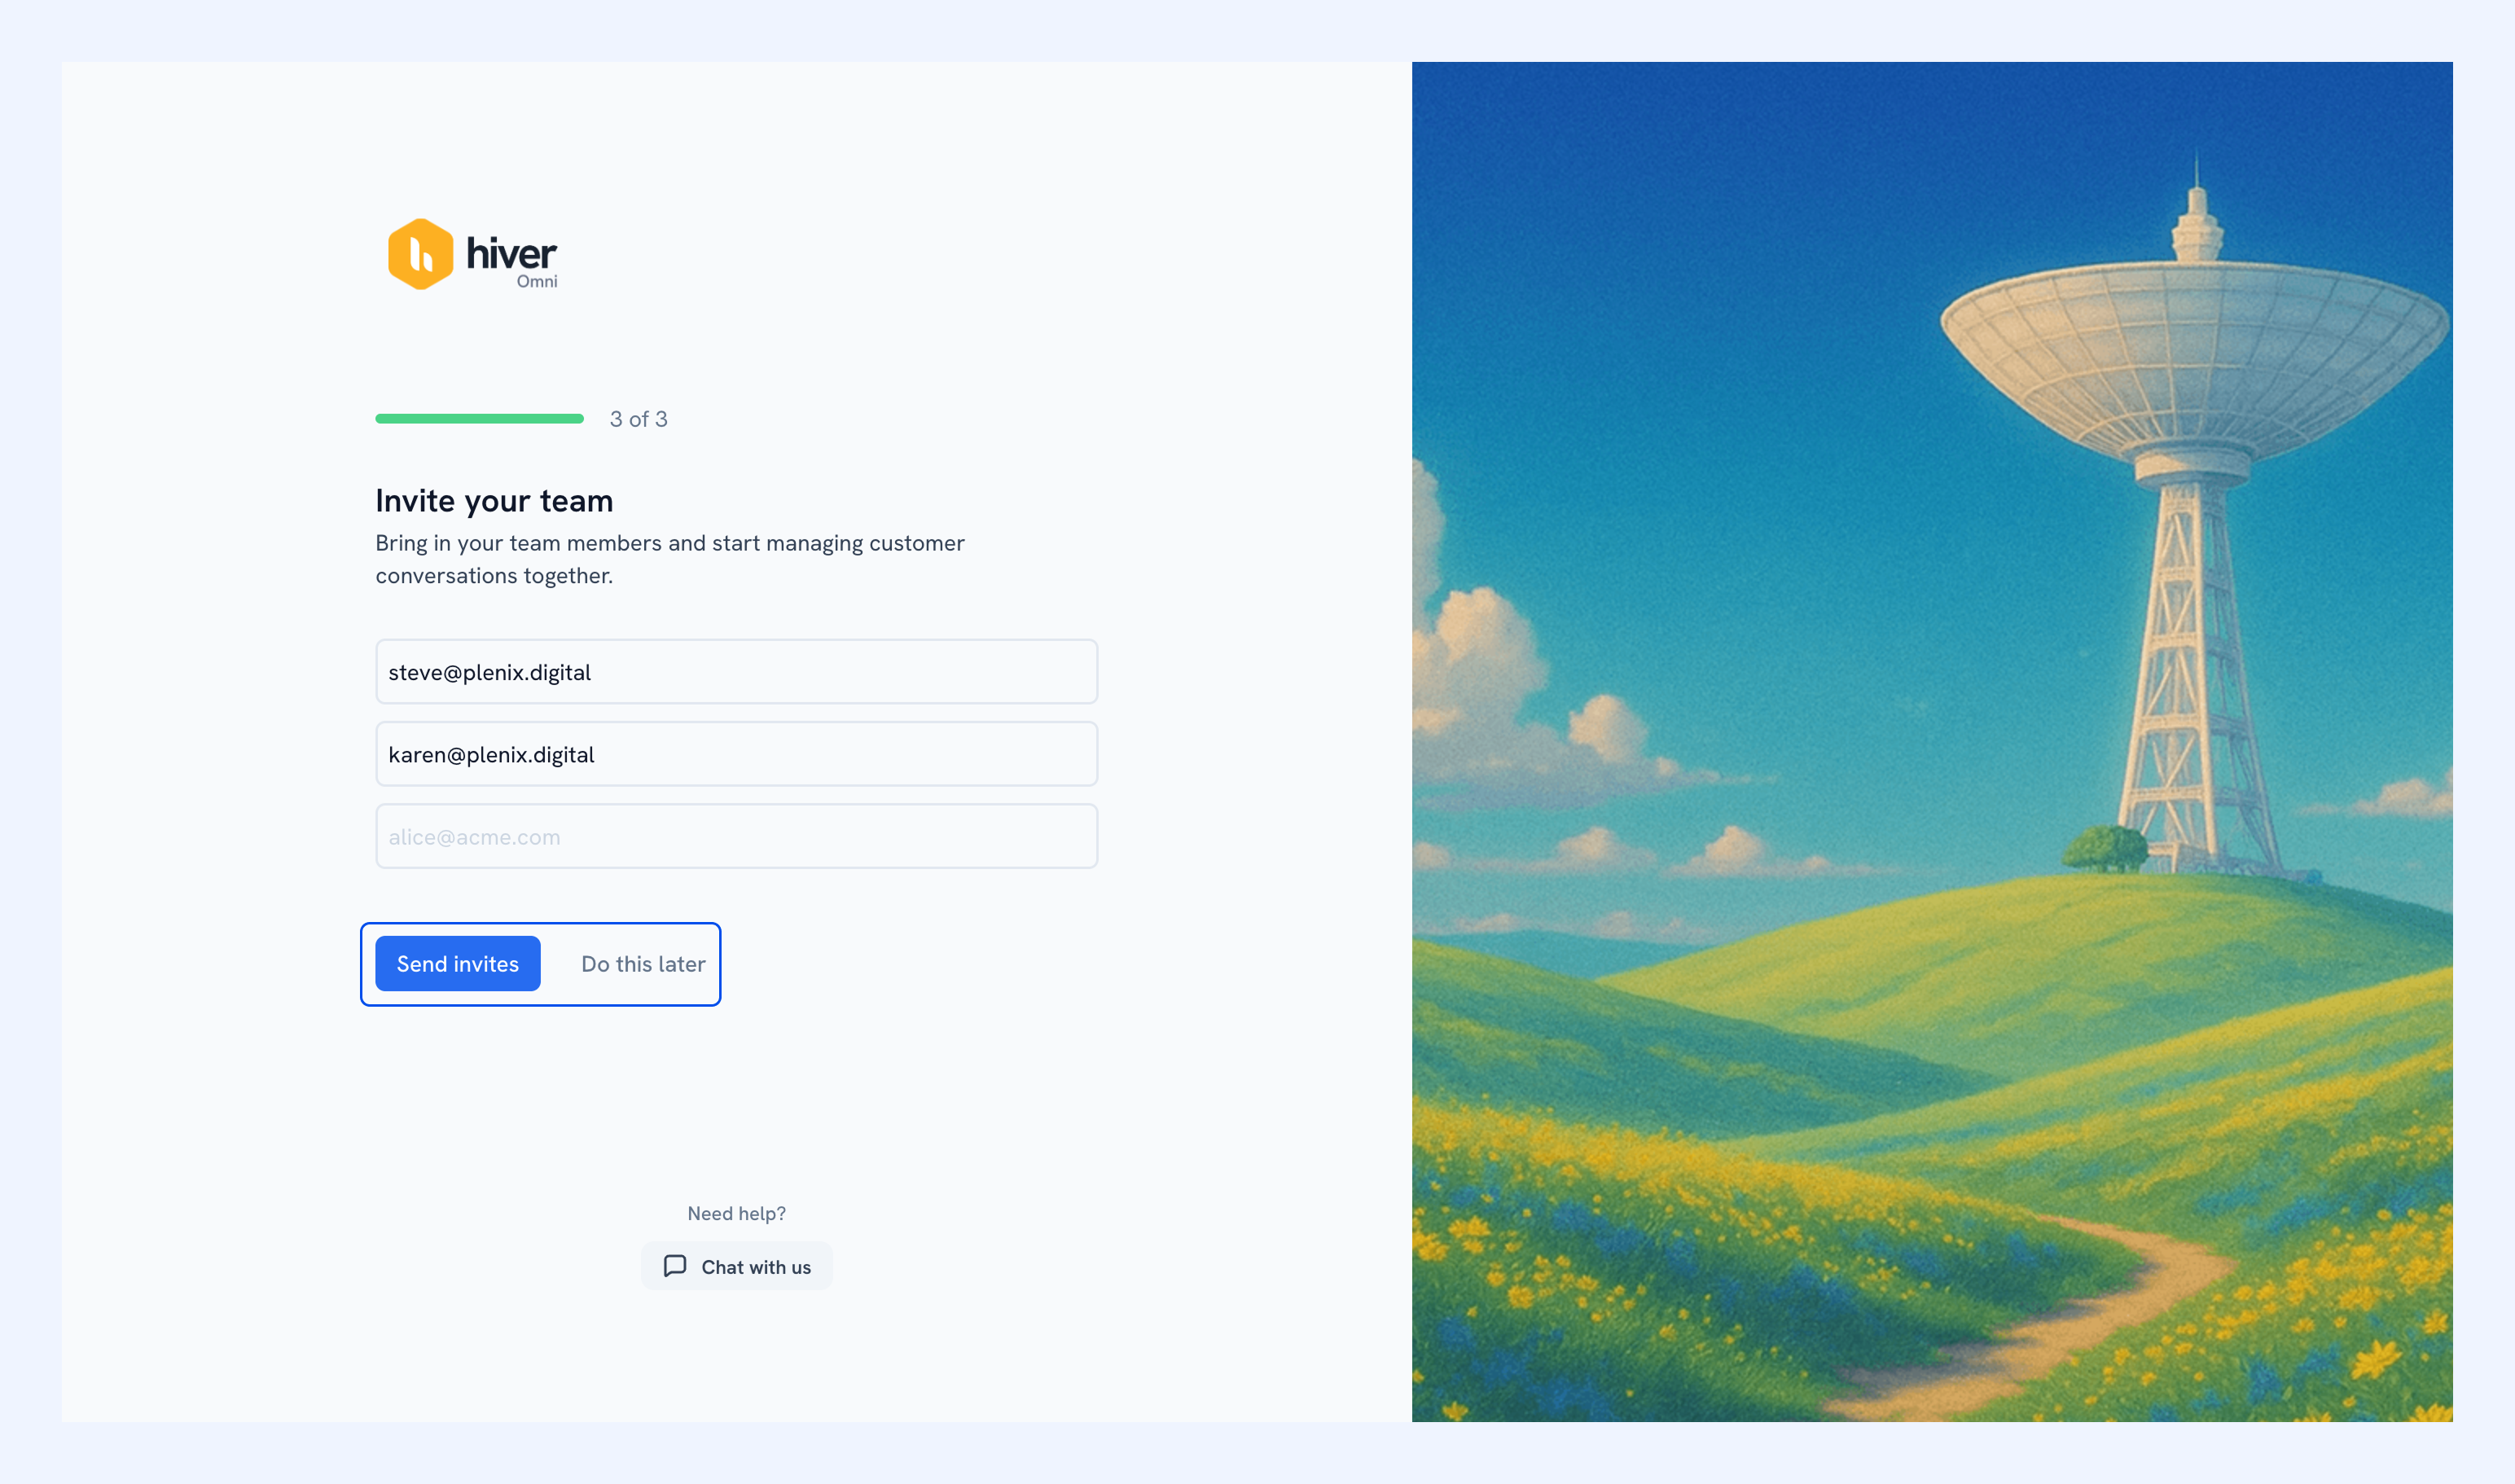
Your Shared Inbox is created, and you can start managing conversations in Hiver.
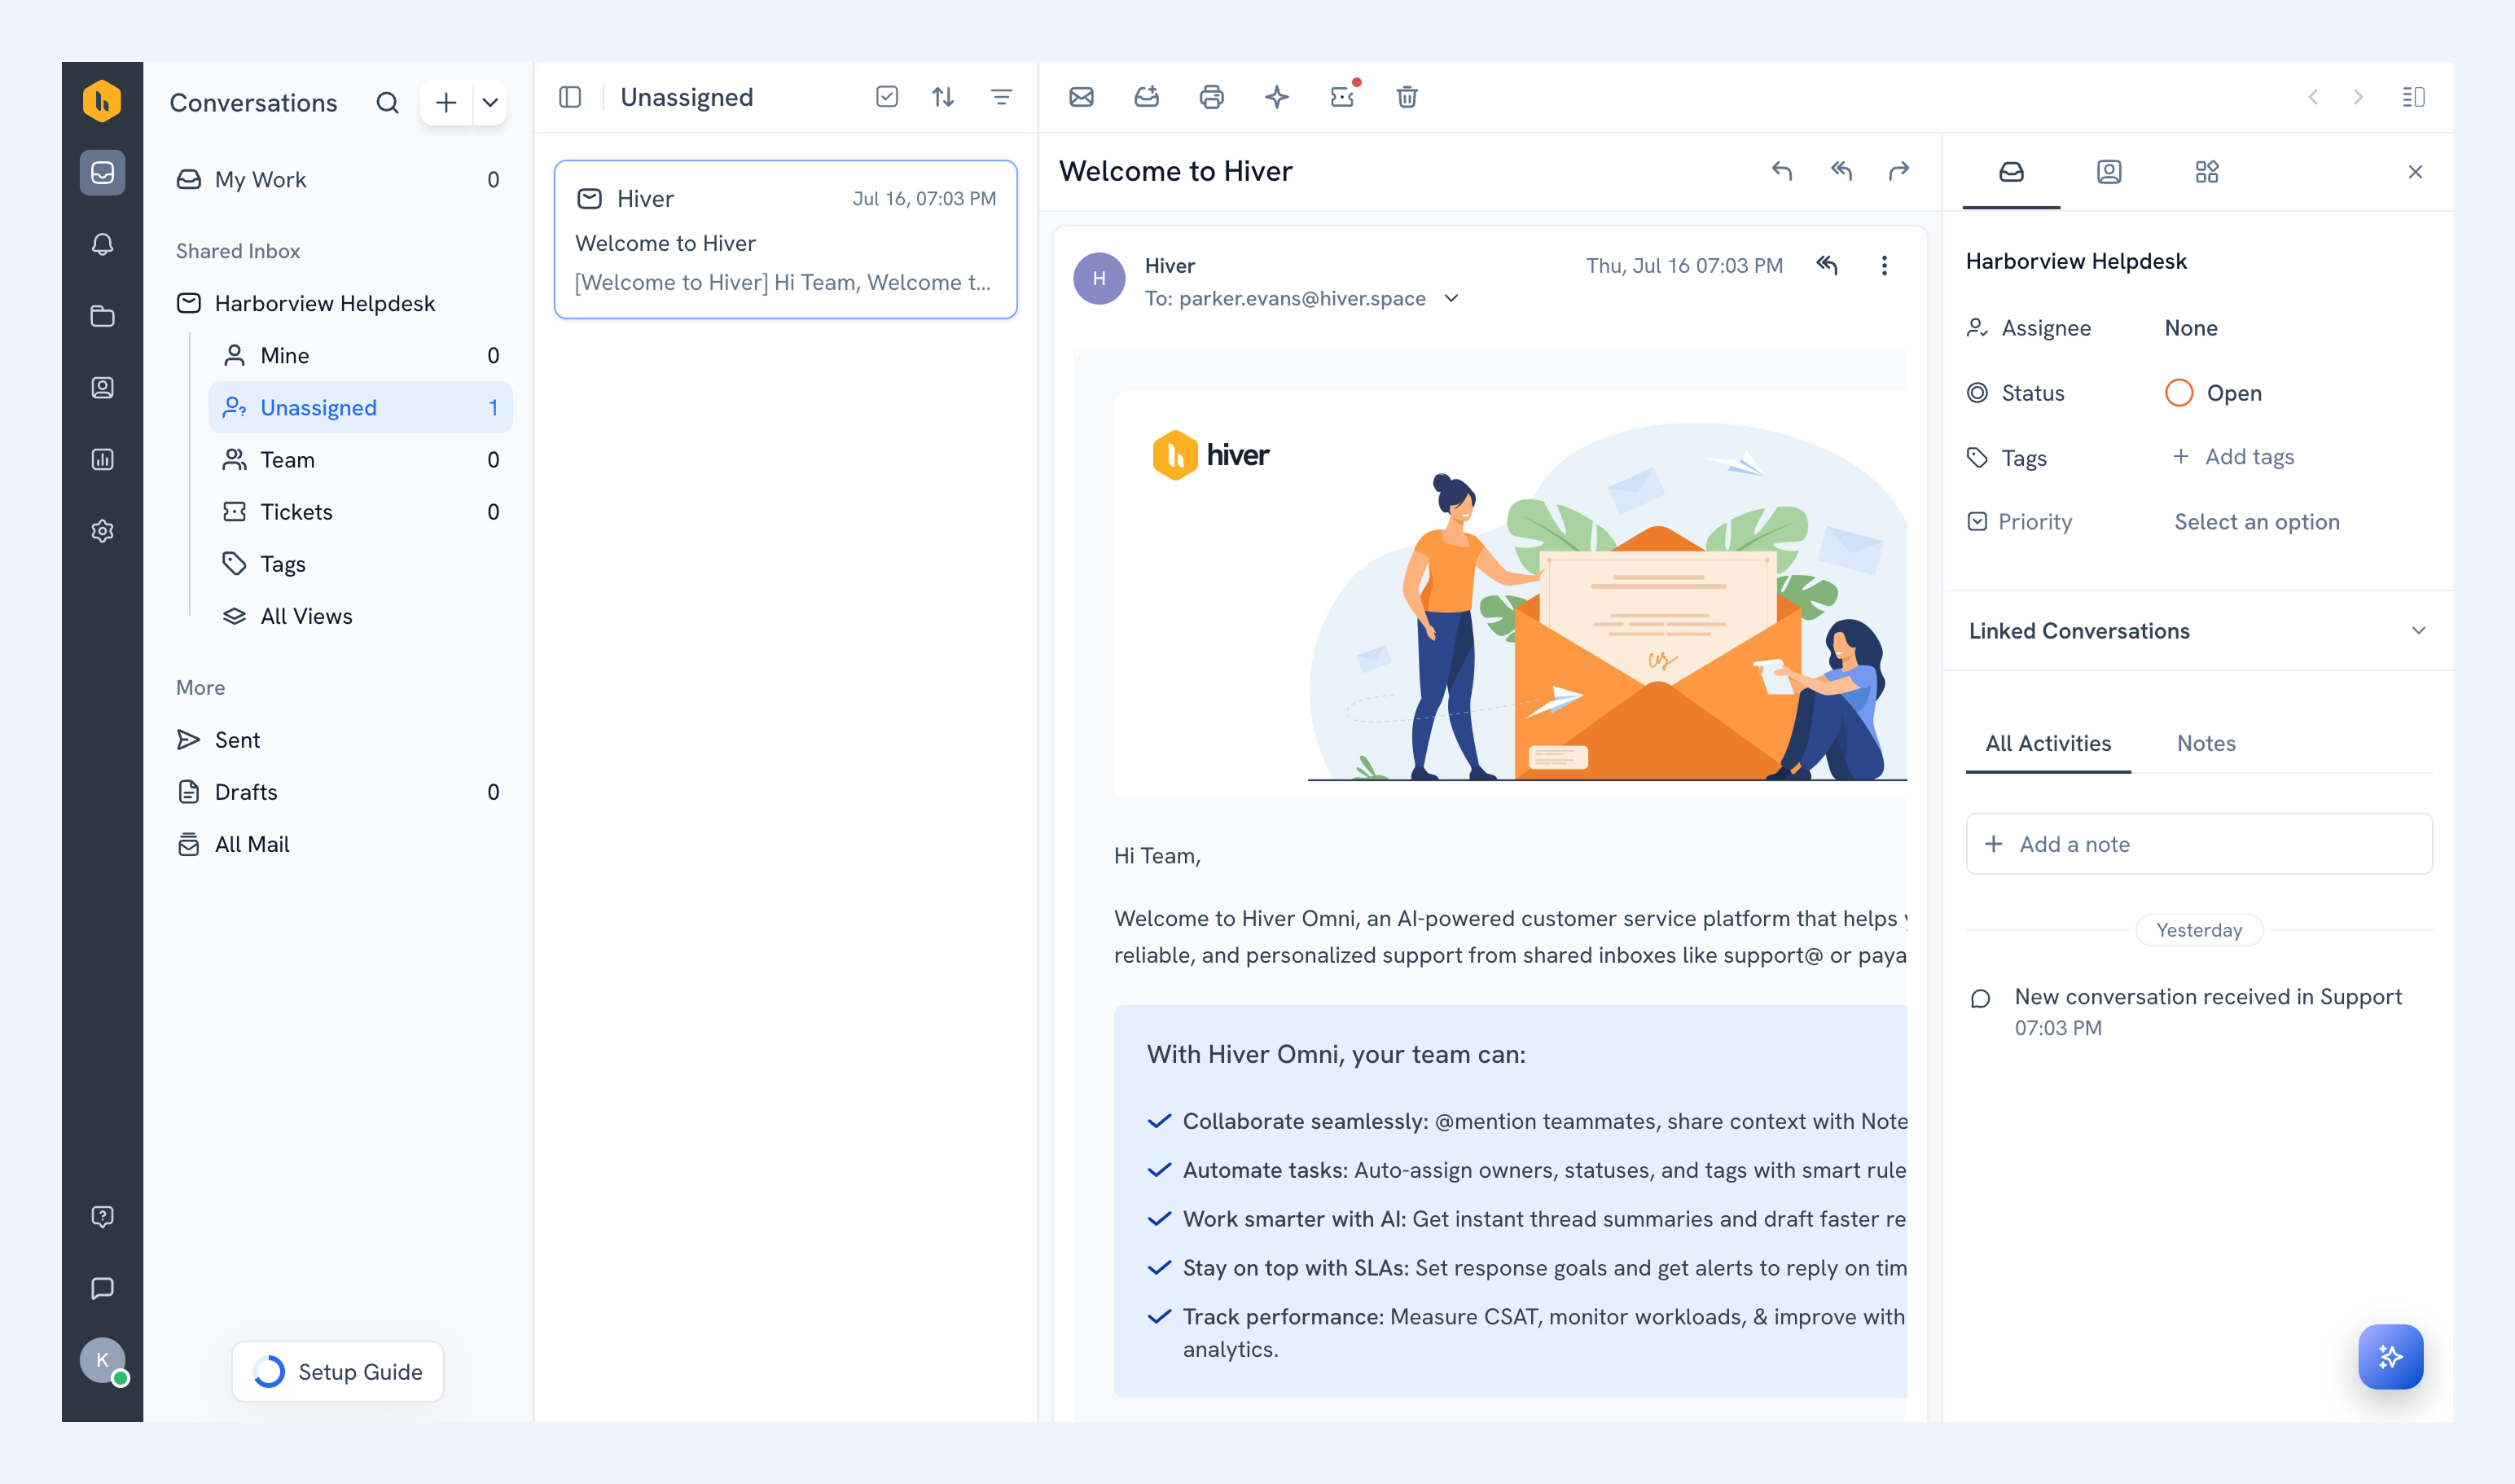
Getting familiar with Hiver Omni
Once you’re in Hiver, take some time to explore the navigation bar on the left that you can use to jump between:
- Conversations: View and manage emails.
- Notifications: See activities involving you.
- Email Templates: Reuse standard replies.
- Analytics: Track and manage performance.
- Admin Panel: Manage users, workflows, and more.
- Profile menu: Access account settings, team availability, and more.
In Conversations, you’ll find default views like Unassigned, Mine, and Team to help you filter and organize emails. Hiver includes five default views, and you can create custom views to suit your workflow.
Click your profile icon (bottom left) to access:
- You’re Online: Toggle your availability status.
- Team Availability: See and manage teammate statuses.
- Admin Panel: Access admin settings.
- Knowledge Base: Browse help articles.
- My Settings: Manage personal preferences and accounts.
- Logout: Sign out of Hiver.
Users on the Elite plan will also see an option to Book a call with Hiver Support to schedule a 30-minute session with our customer support team immediately.
FAQs for setting up Hiver Omni
How do I install Hiver Omni?
You don’t need any installation for Hiver Omni. Simply go to hiverhq.com, click Get it Free, and sign up with your work email or Microsoft account. Follow the prompts, and you’ll be redirected to the Hiver web app within seconds.
What is Hiver’s Shared Inbox?
Hiver’s Shared Inbox is a team email collaboration tool that multiple users access and manage without a password. It provides unified visibility, assignment controls, collision alerts, drafts, and templates for easy collaboration.
How do I connect my personal inbox?
Go to My Settings in your profile icon on the bottom left, select Personal Inbox, click Connect, and sign in to your Outlook account. After syncing, click View Inbox or go to Conversations to see personal and team messages.
Why don’t I see any emails in my Shared Inbox yet?
When you create your account, you can choose to import up to two weeks of past emails from your Outlook inbox. If you skipped that step, your Shared Inbox will only display emails you receive after connecting to Hiver.
Other reasons are - routing may not be configured on your M365 Group, or your view is filtered (switch to All Assignees).
How do roles and permissions work?
Admins can control who can manage inbox settings versus who can just work on emails. You can adjust these anytime in the Admin Panel → Users. Hover on the info icon (i) beside ROLES for more information.
Next steps
Manage Emails in Hiver Shared Inbox
Customize your Hiver layout settings
Connect your personal Outlook inbox to Hiver
Invite team members and manage roles in Hiver