Setting up an SMS Inbox with Twilio
If you text customers from a Twilio number, you can connect it to an SMS Inbox in Hiver. An SMS Inbox brings the texts customers send to your business number into Hiver as conversations, so your team can assign, tag, and reply to them alongside the rest of their work.
This article explains how to connect Twilio in Hiver.
Prerequisites
Before you begin, make sure you have:
- Admin access in Hiver Omni.
- A Twilio account with a phone number that can send and receive SMS.
- Your Twilio Account SID and Auth token. You'll find both under Account Info in your Twilio Console.
- Any registration your Twilio number needs for texting, such as A2P 10DLC for US numbers. Numbers from any country work once they're registered.
Connecting Twilio to an SMS Inbox
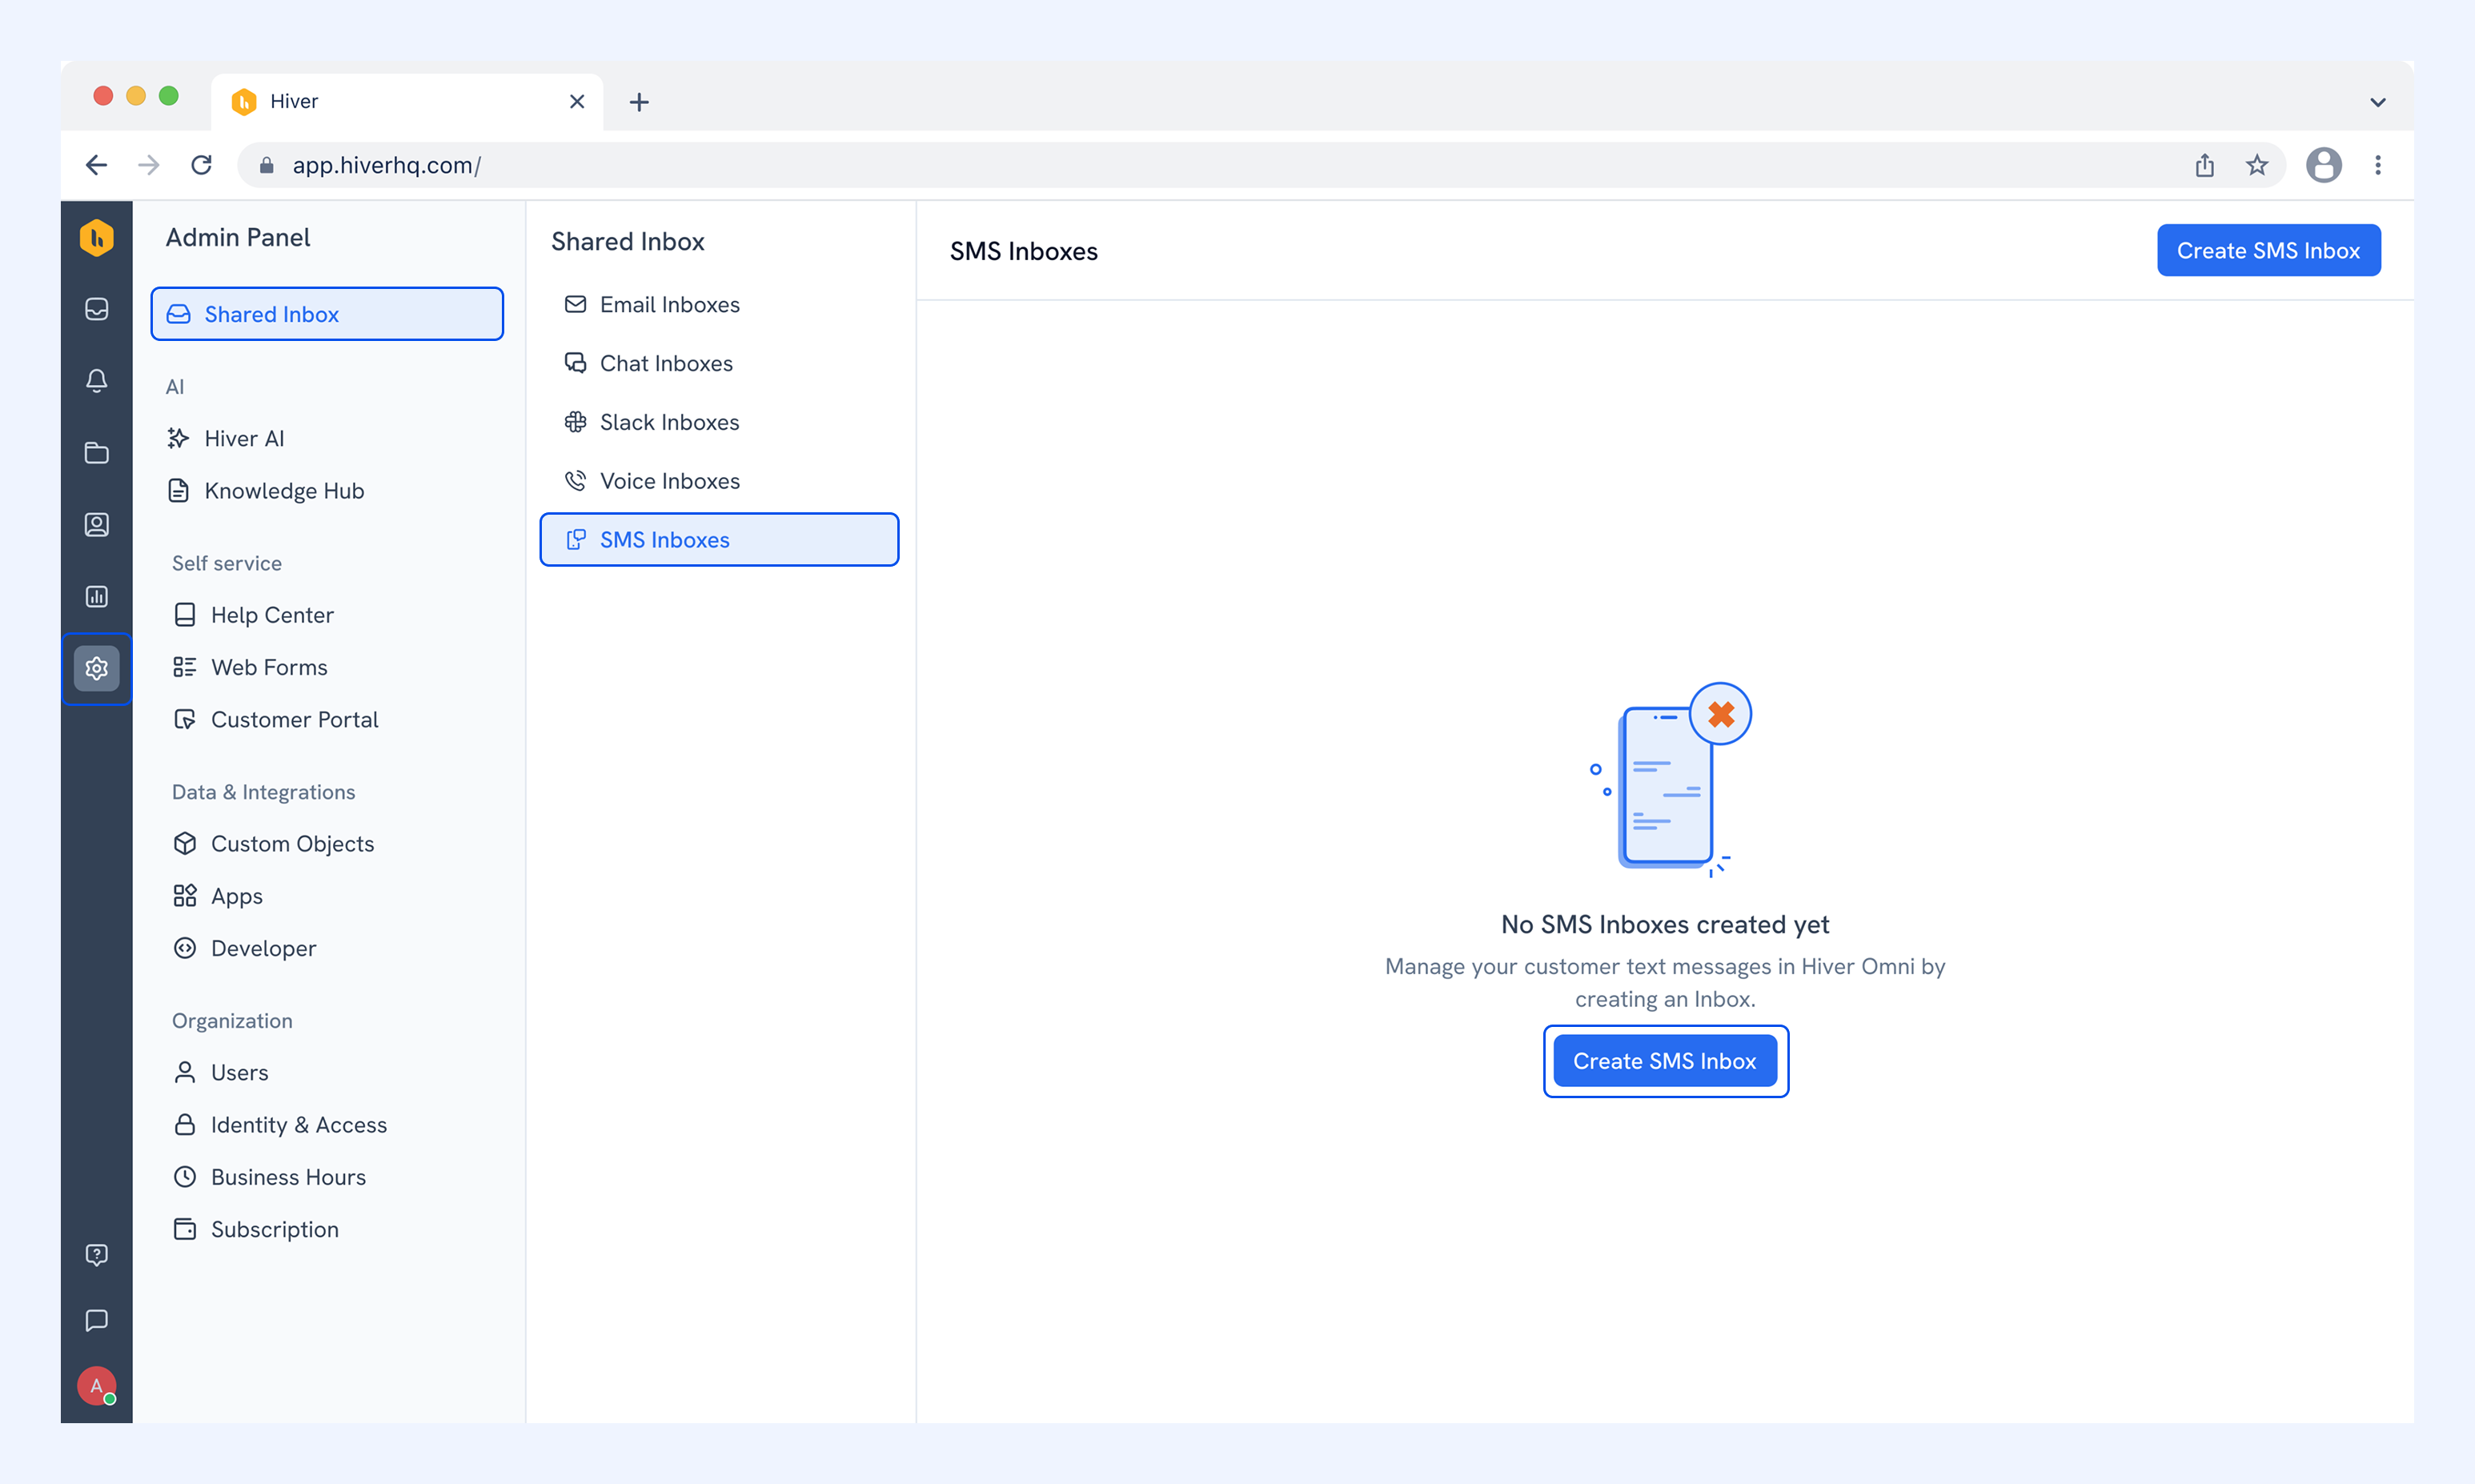
1. Go to Admin Panel → Shared Inbox → SMS Inboxes and click Create SMS Inbox.
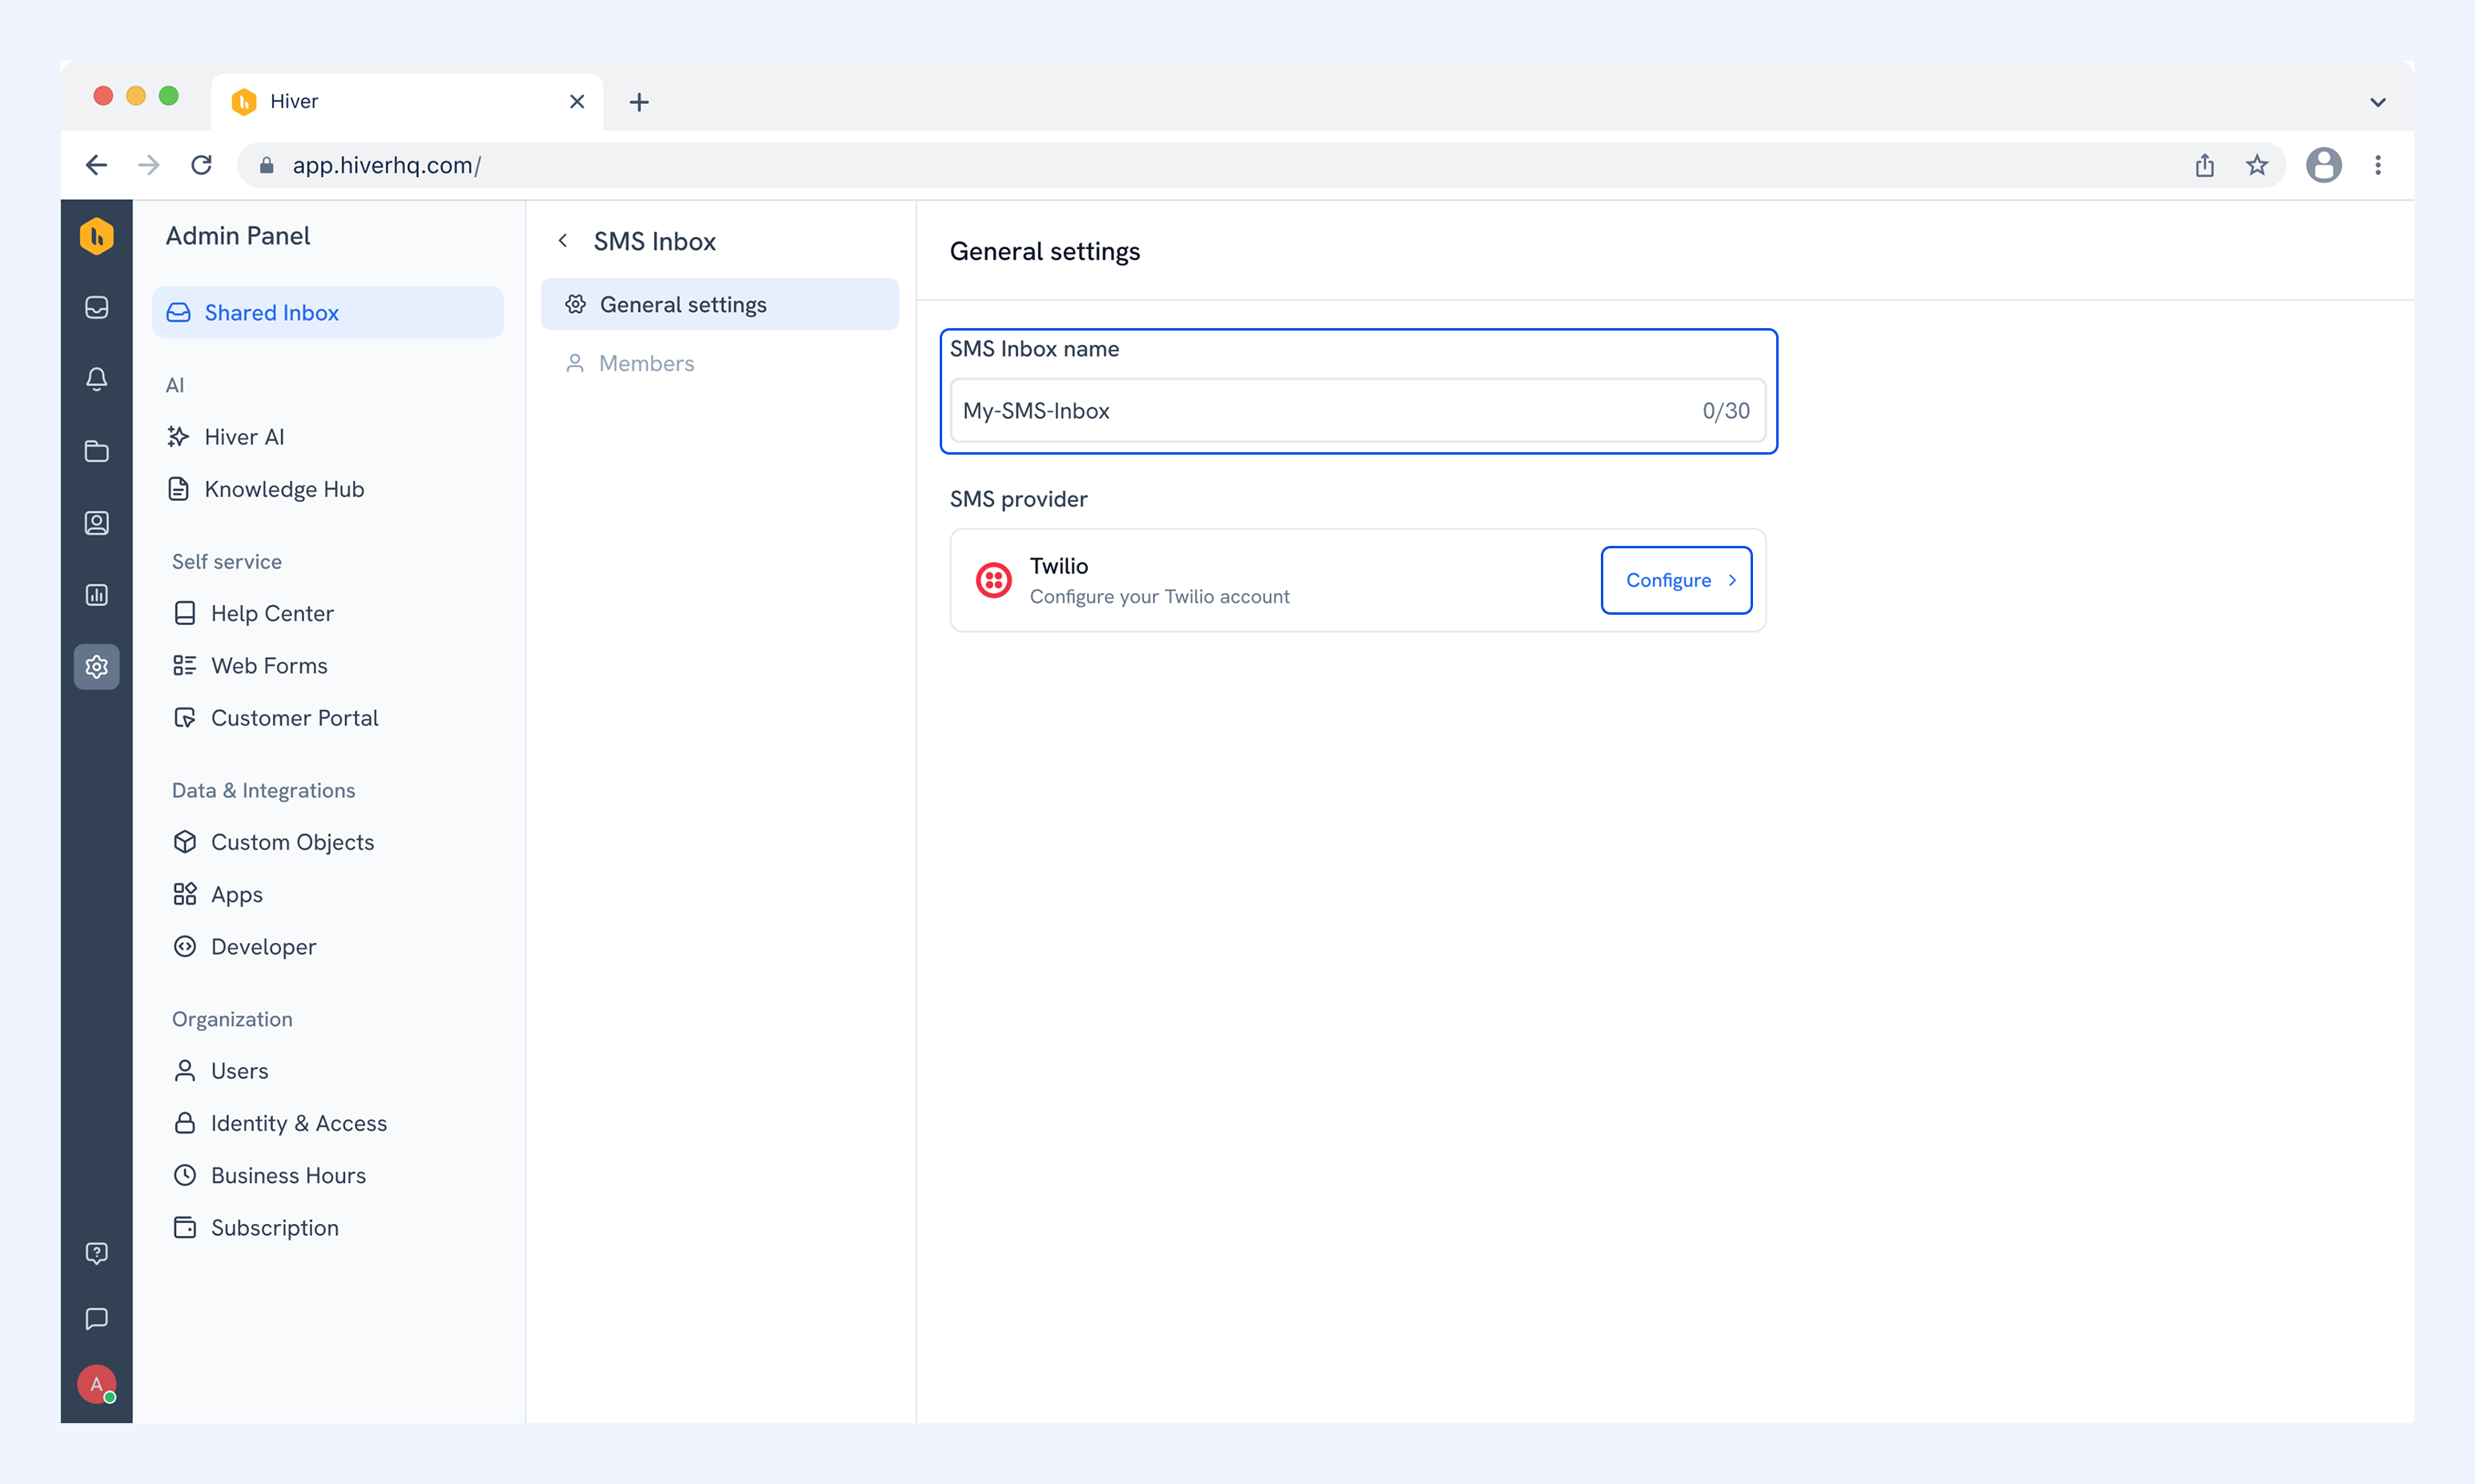
2. Enter a name for the inbox, then click Configure.
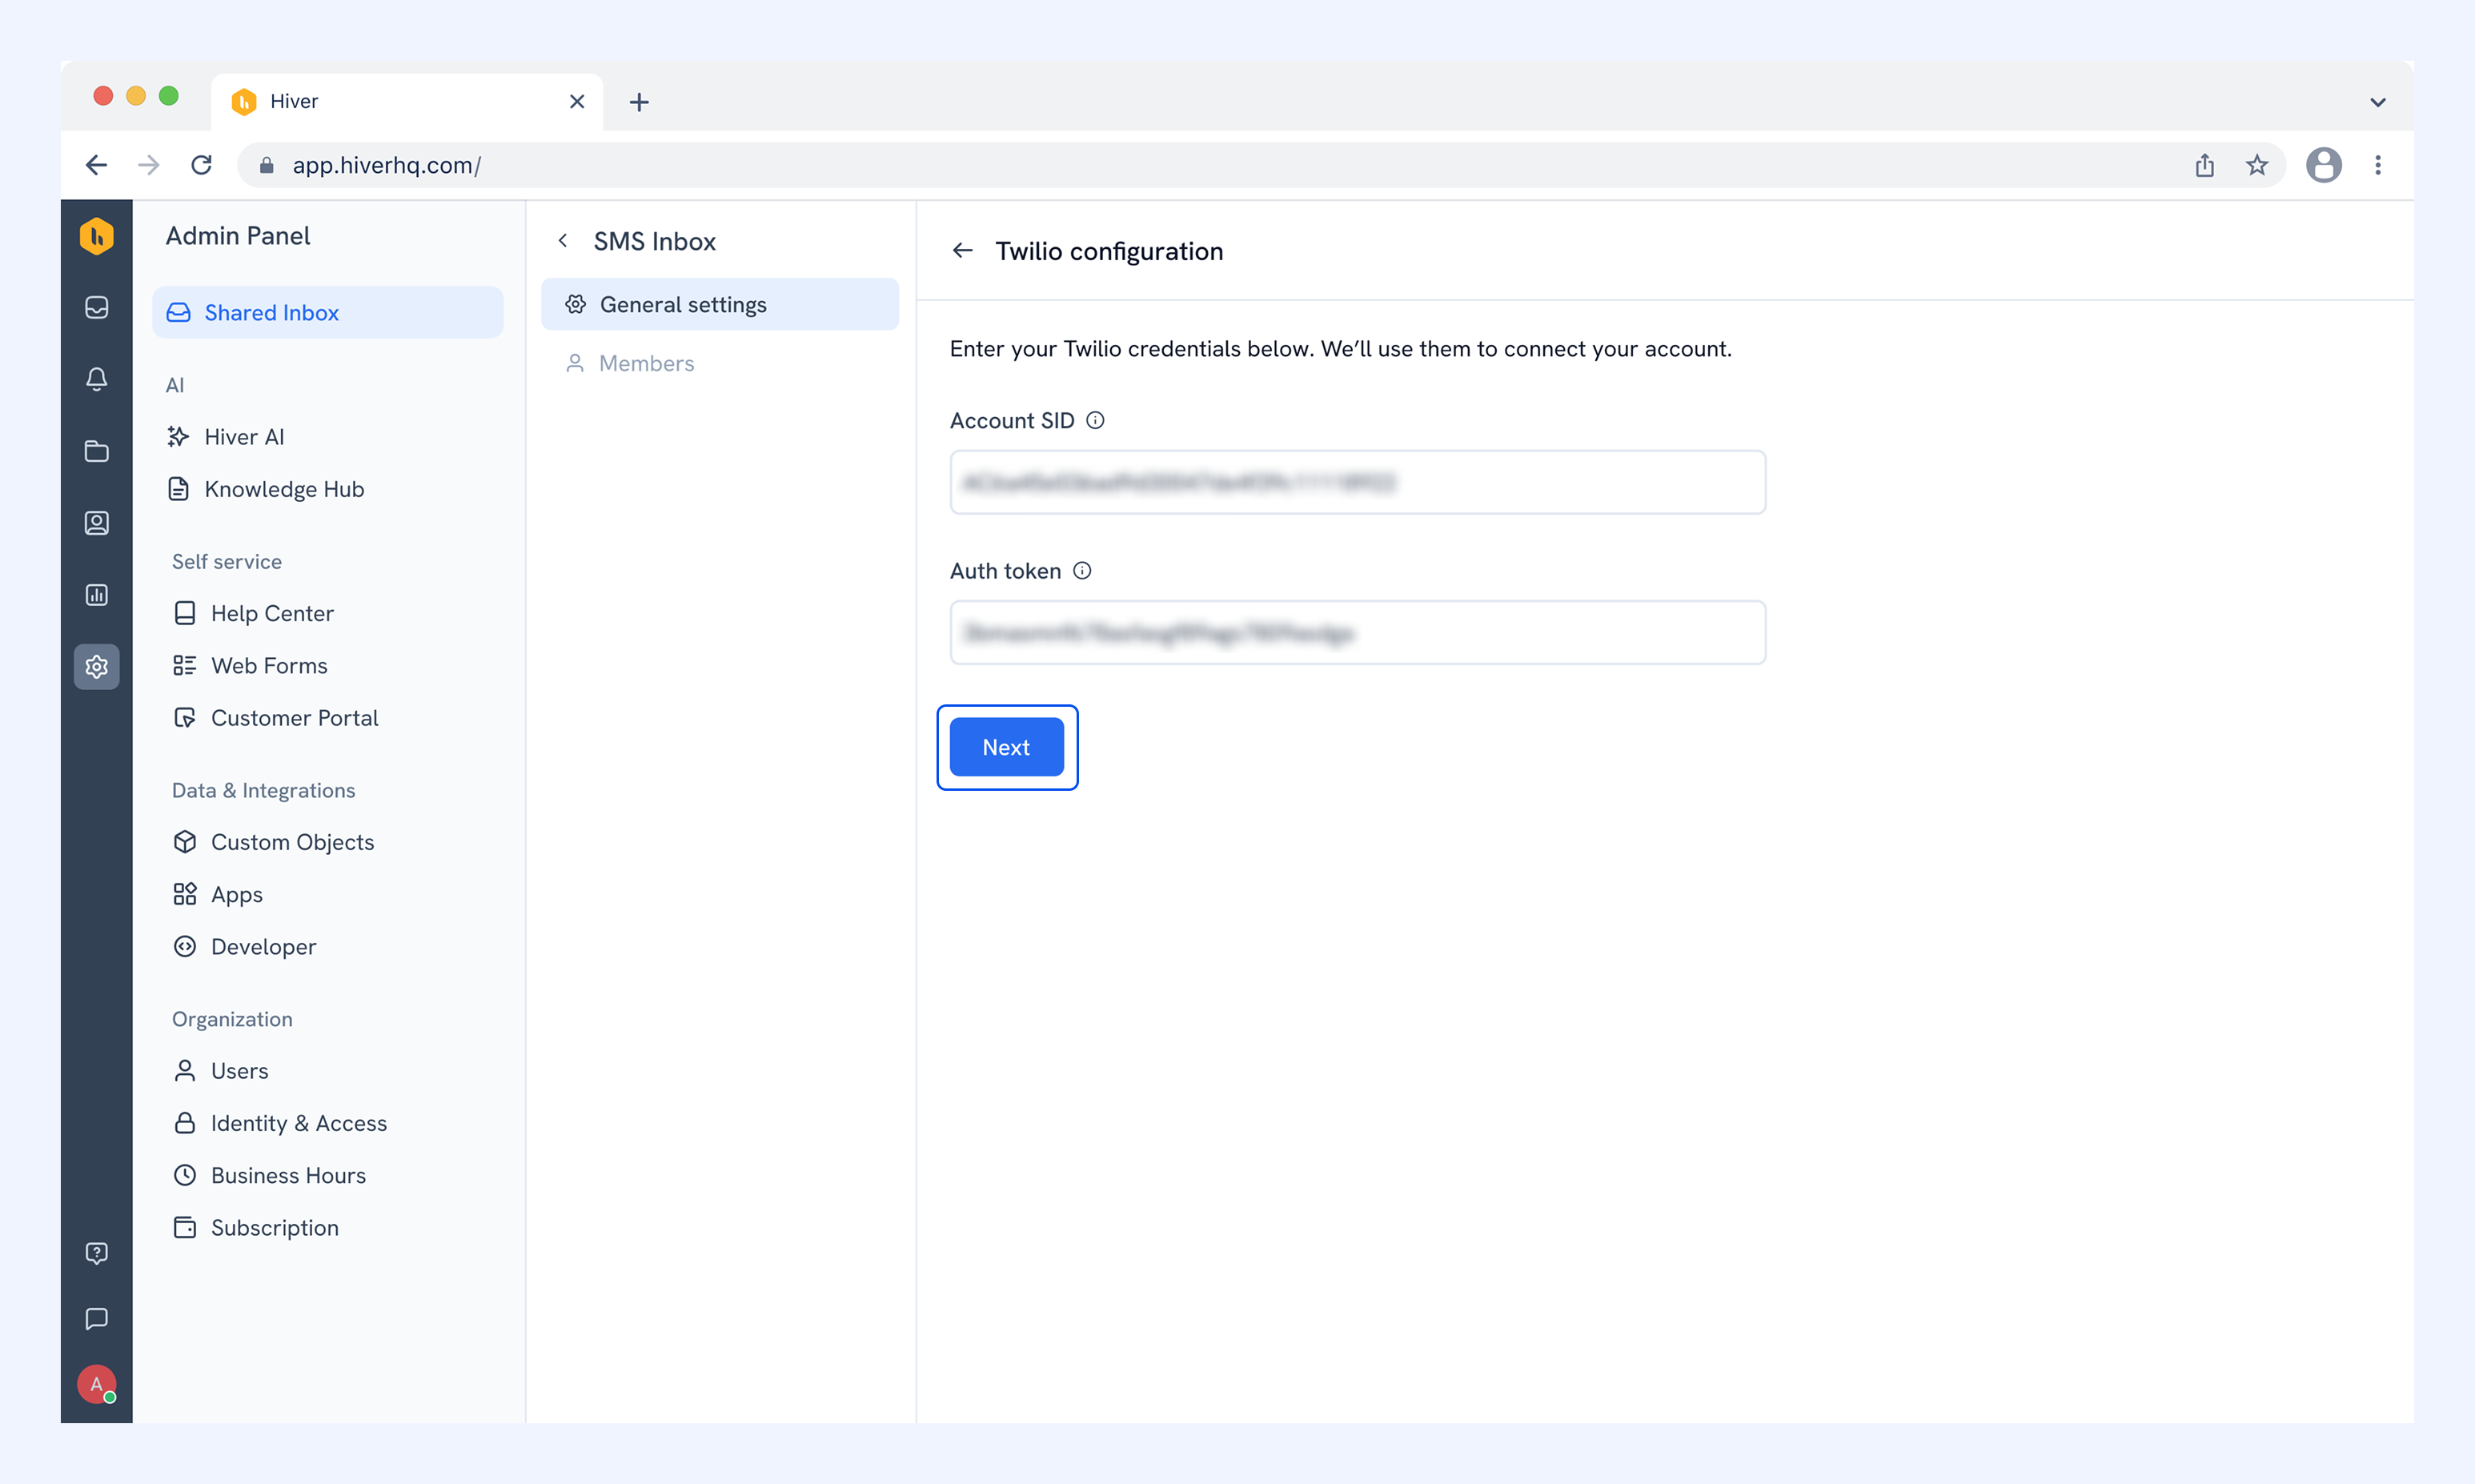
3. Enter your Account SID and Auth token, then click Next.
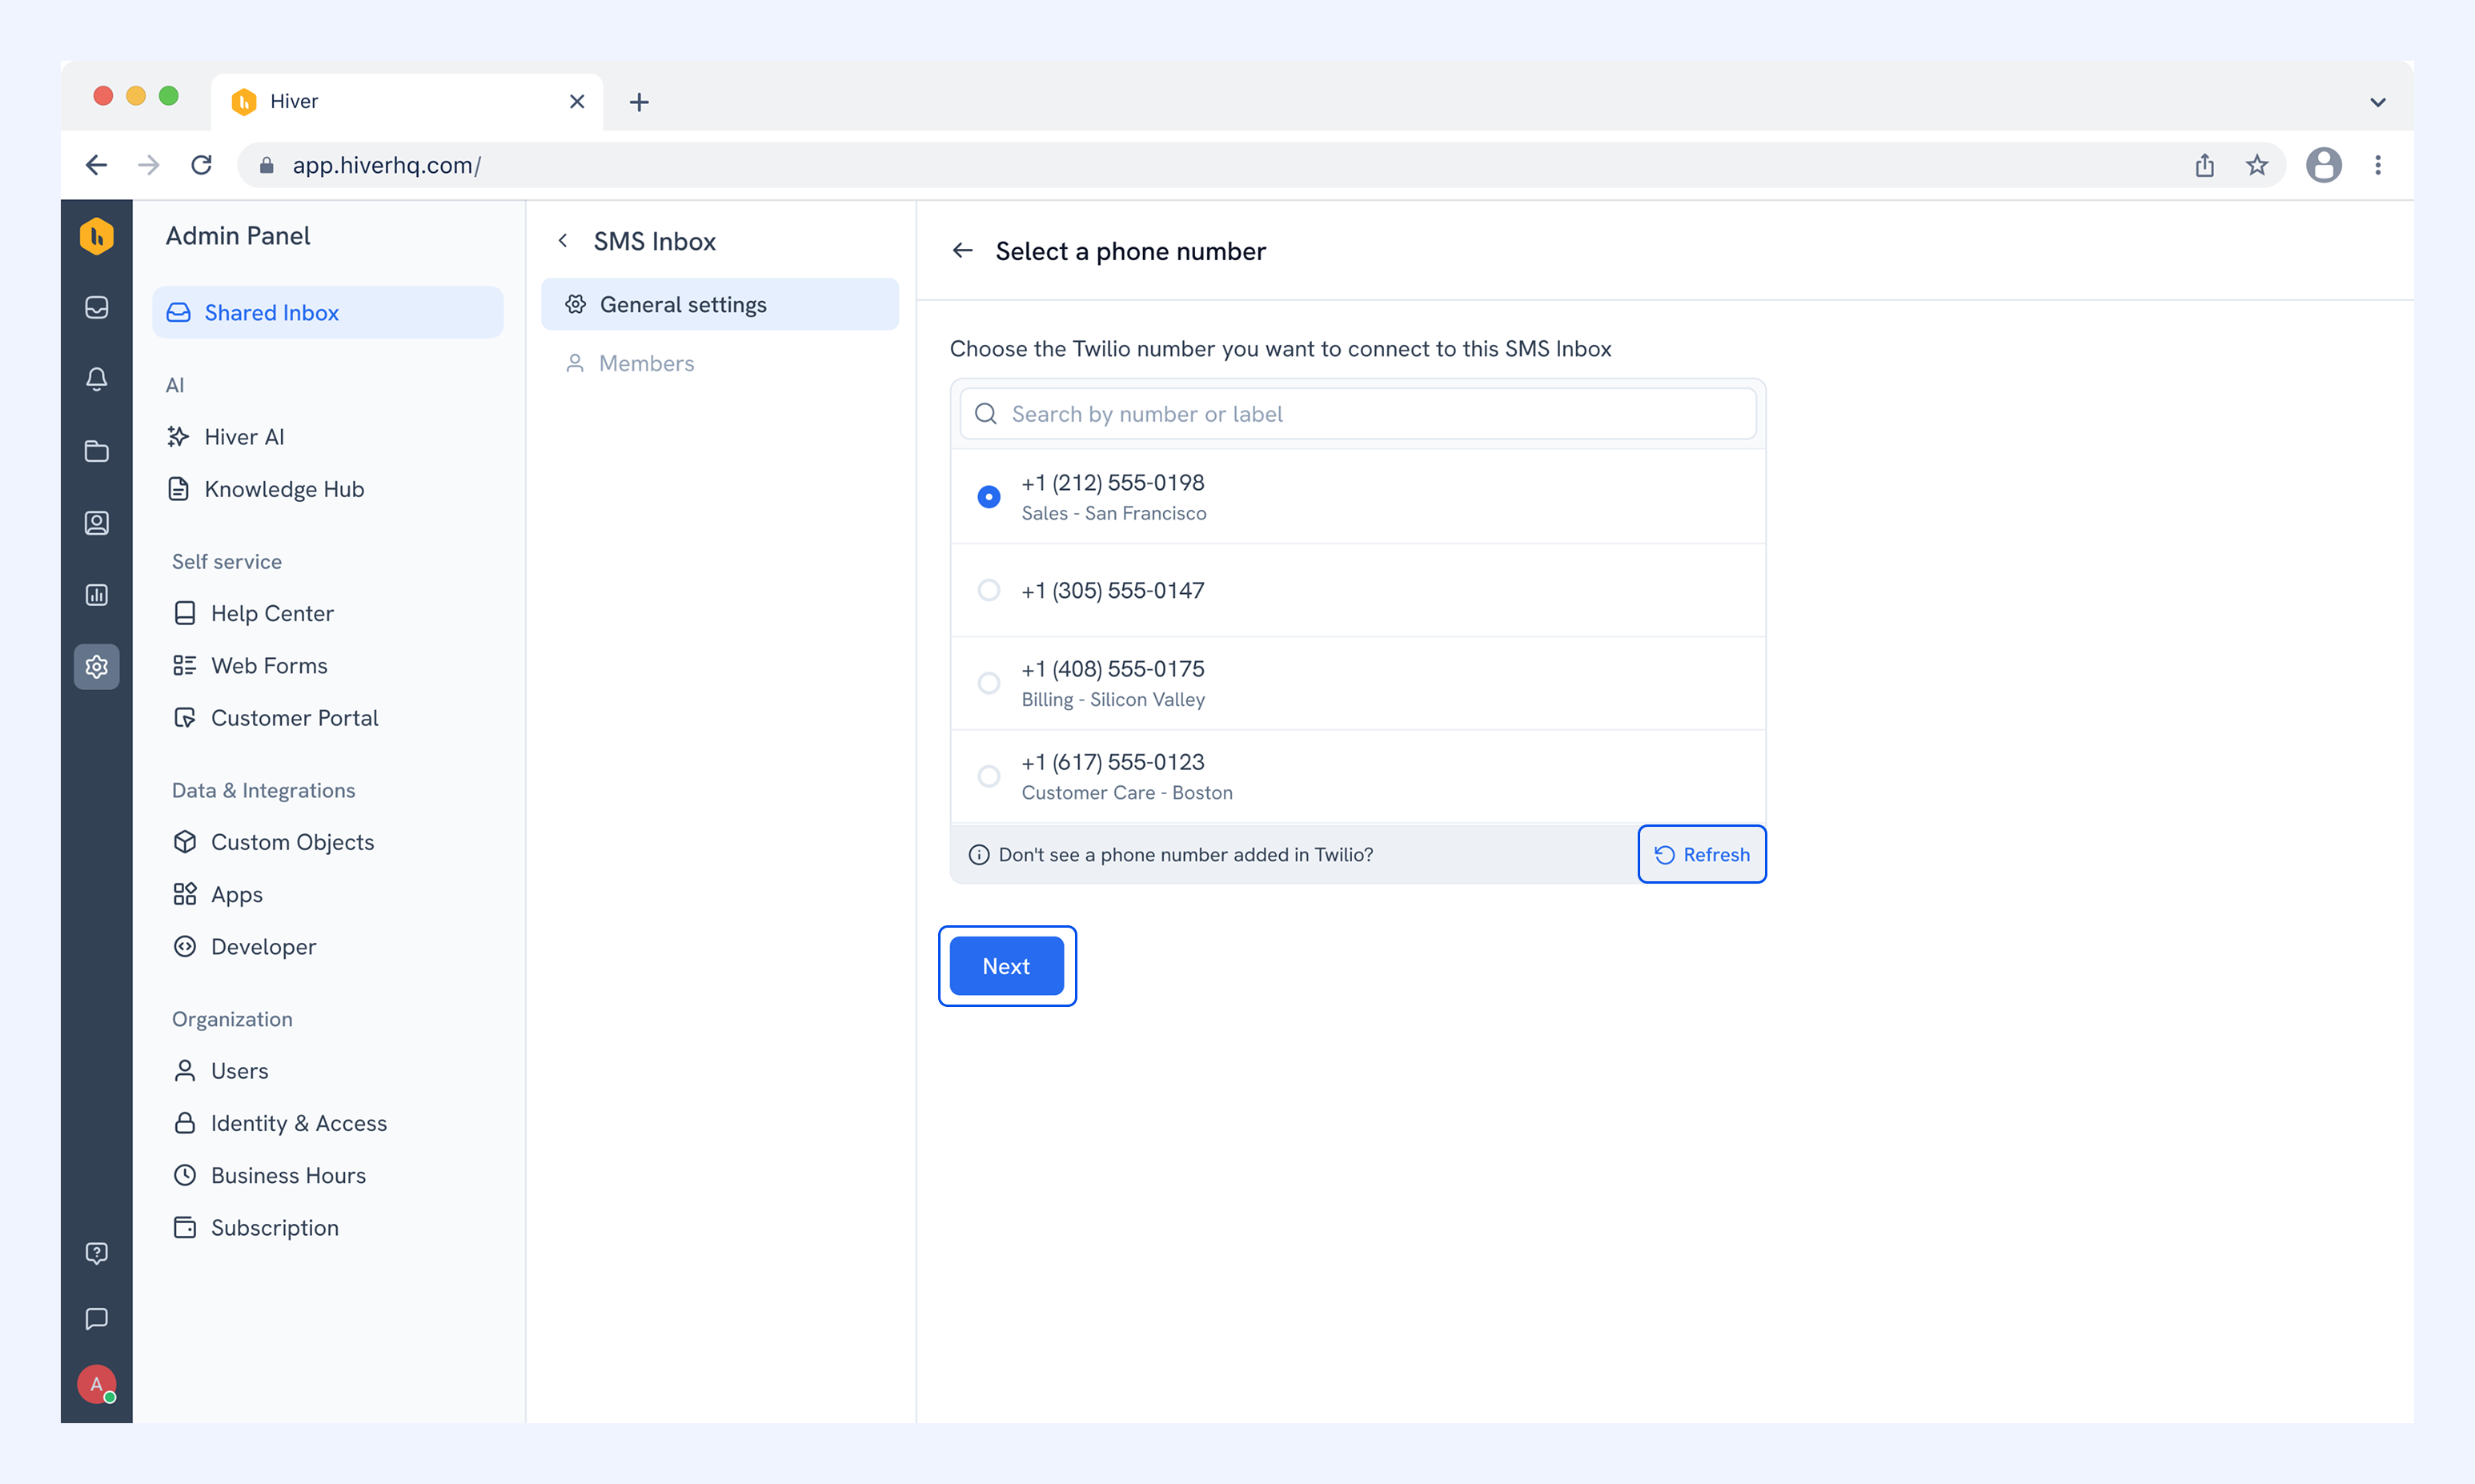
4. Choose the Twilio number you want this SMS Inbox to use, then click Next.
Note:
- If a number you recently added in Twilio isn't listed, click Refresh.
- Each Twilio number can be connected to one SMS Inbox only.
5. Add the members who'll handle the inbox, then click Save.
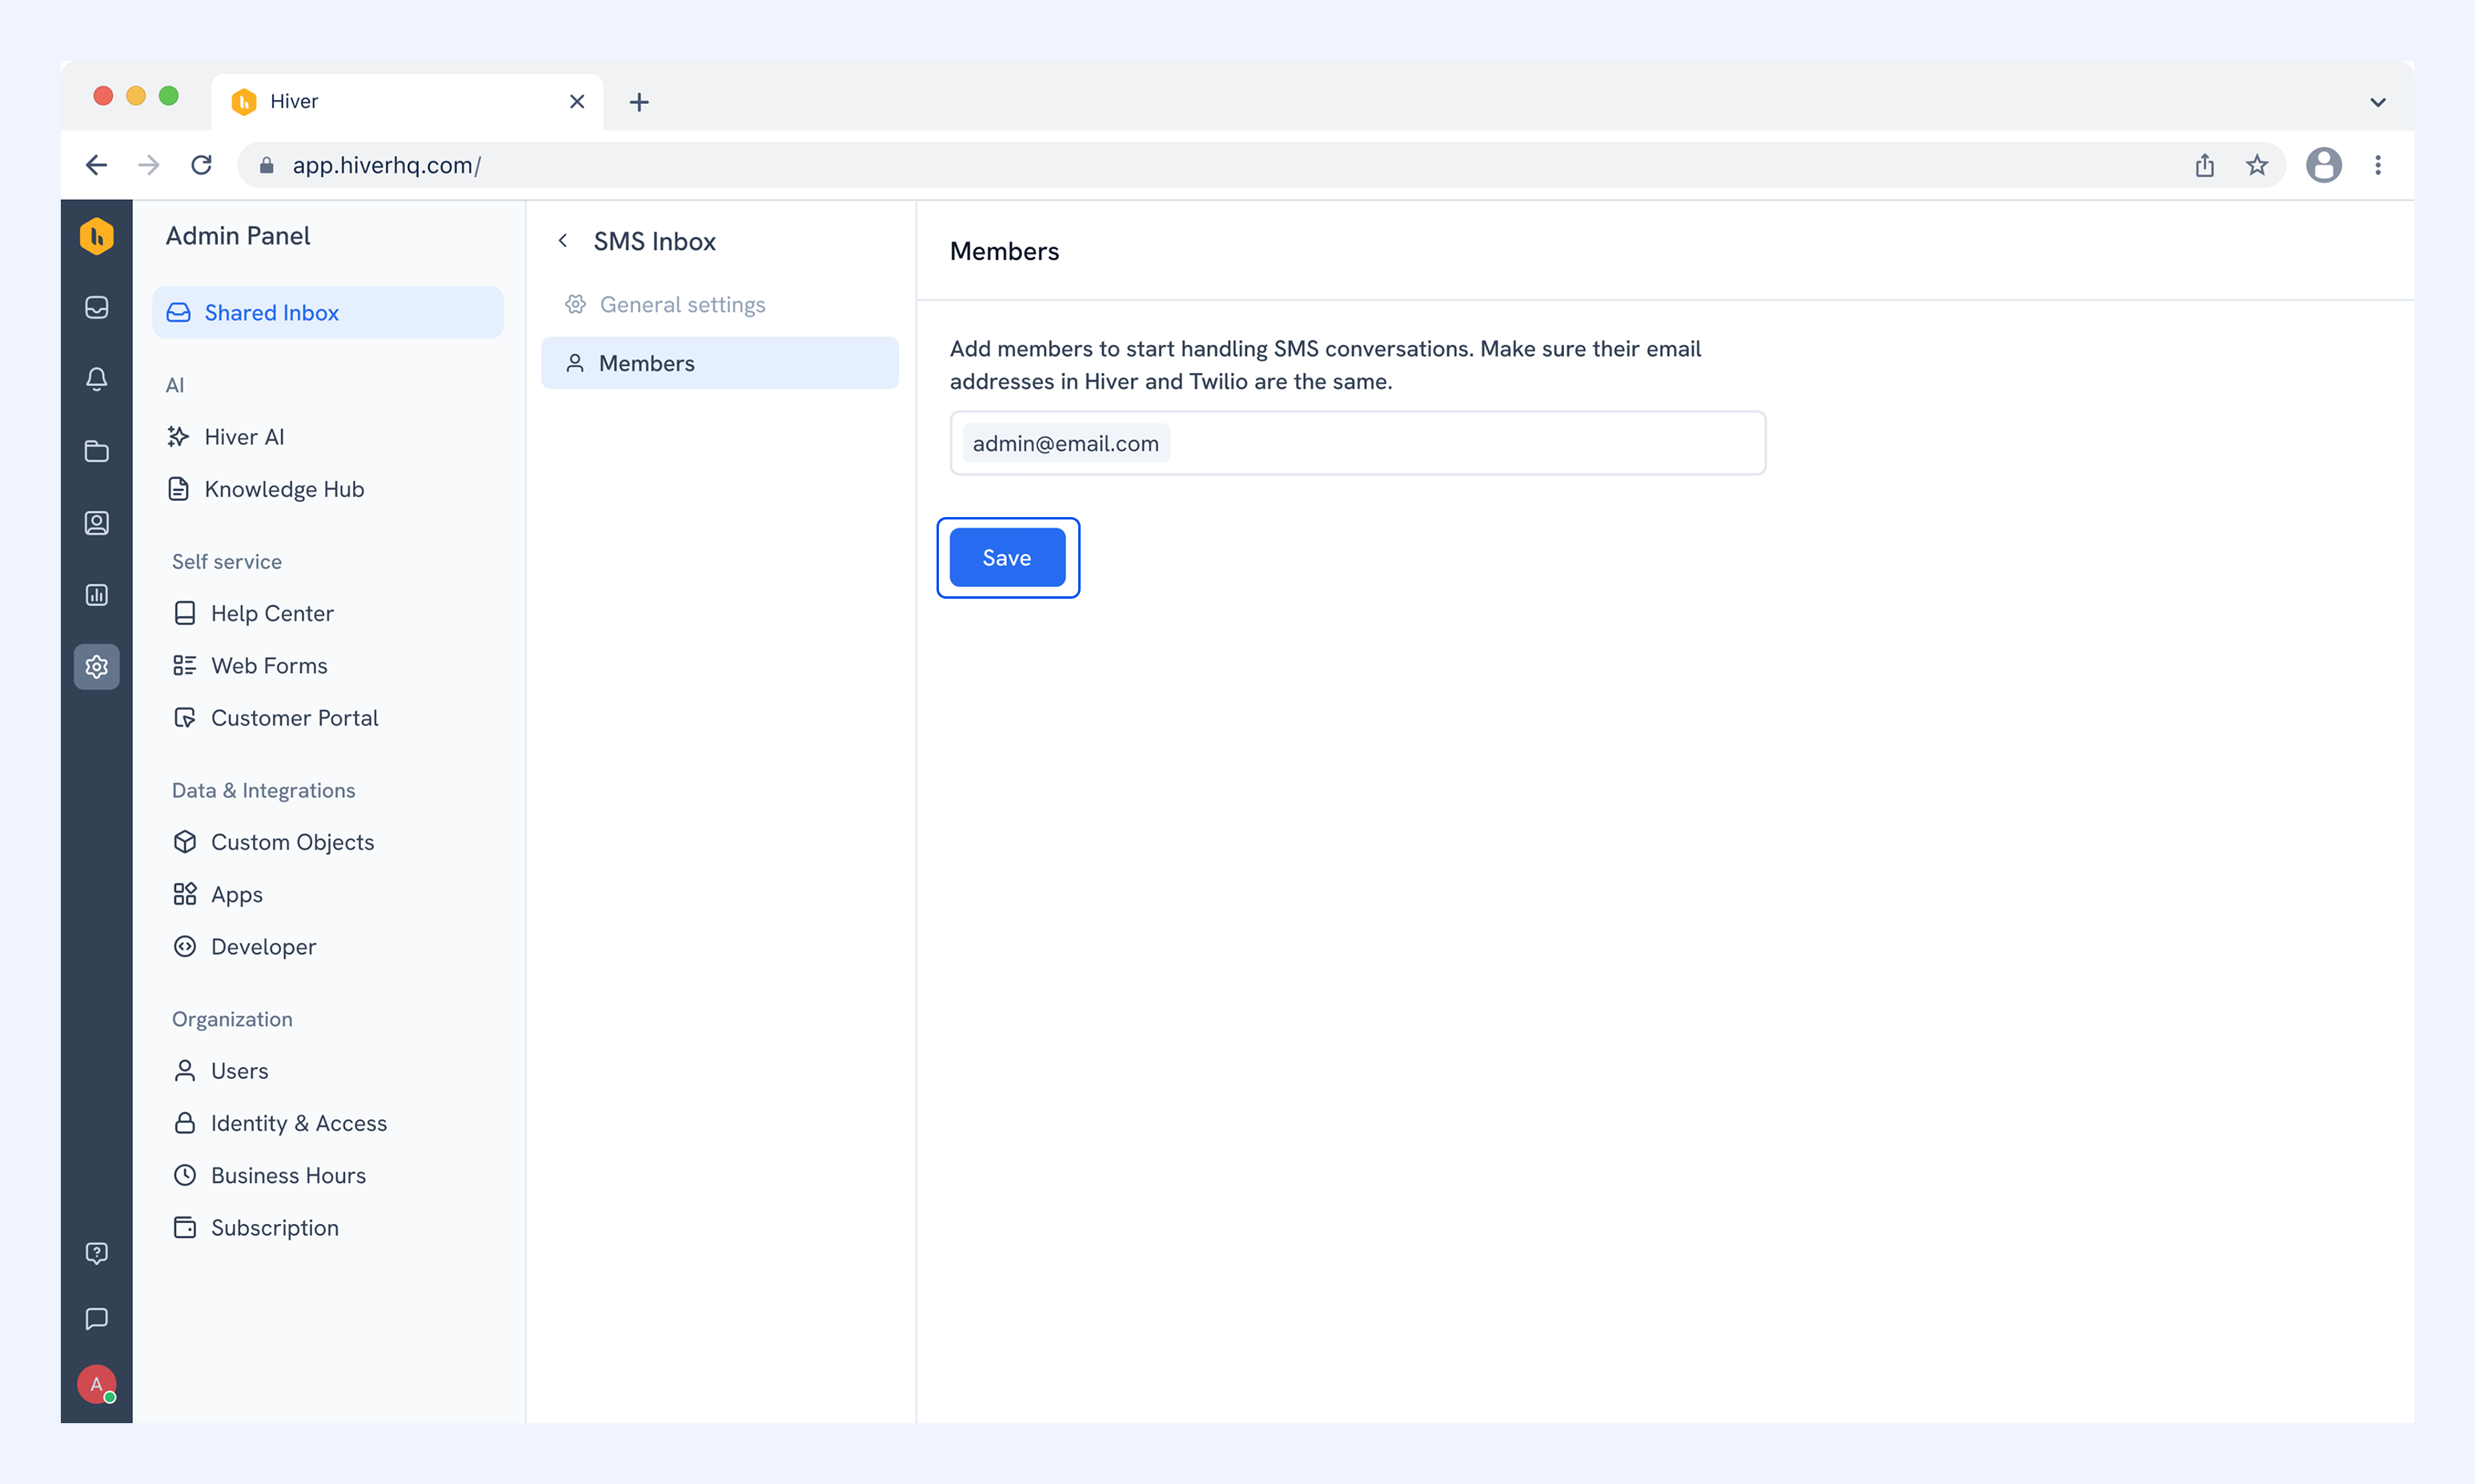
Once set up, texts sent to your Twilio number will start to arrive in the SMS Inbox as conversations.
Note: Messages from before you connected the number aren't imported.
Managing your SMS Inbox settings
You can update your SMS Inbox anytime from the Admin Panel.
1. Go to Admin Panel → Shared Inbox → SMS Inboxes and select your SMS Inbox.
2. Choose the setting you want to update:
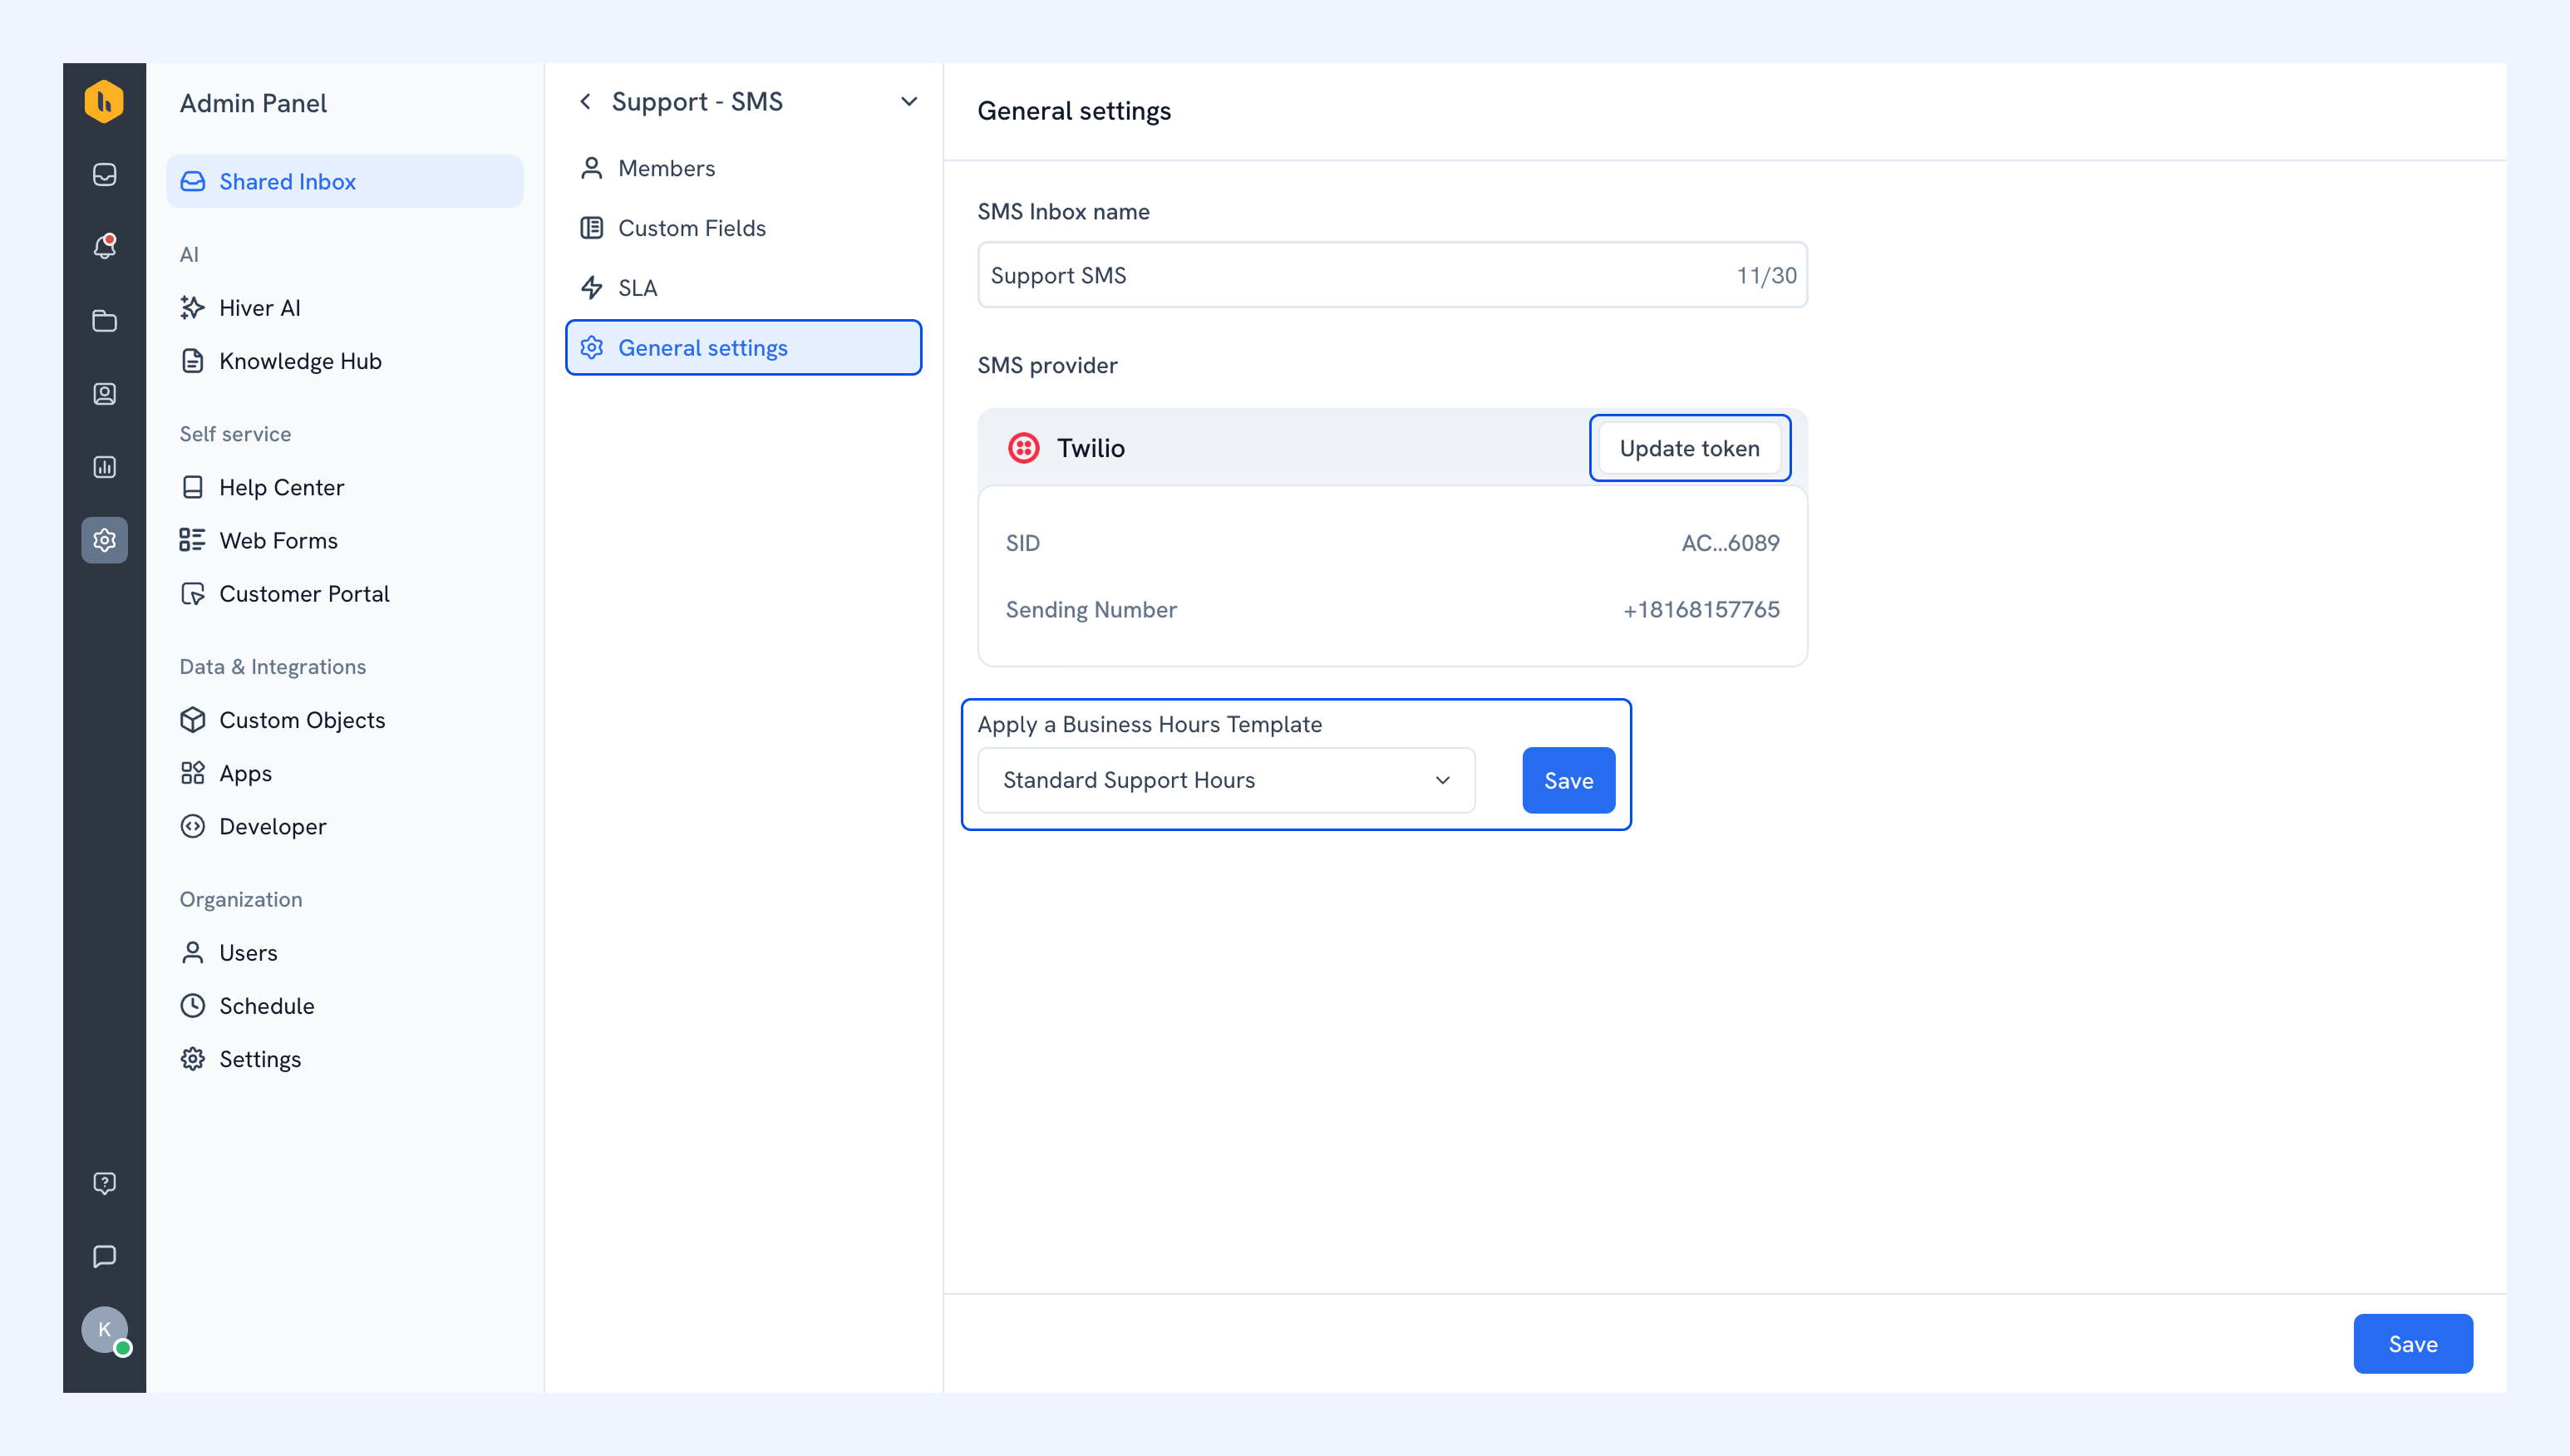
- General settings: Change the inbox name, or click Update token to enter new Twilio credentials. You can also apply a Business Hours template to this inbox.
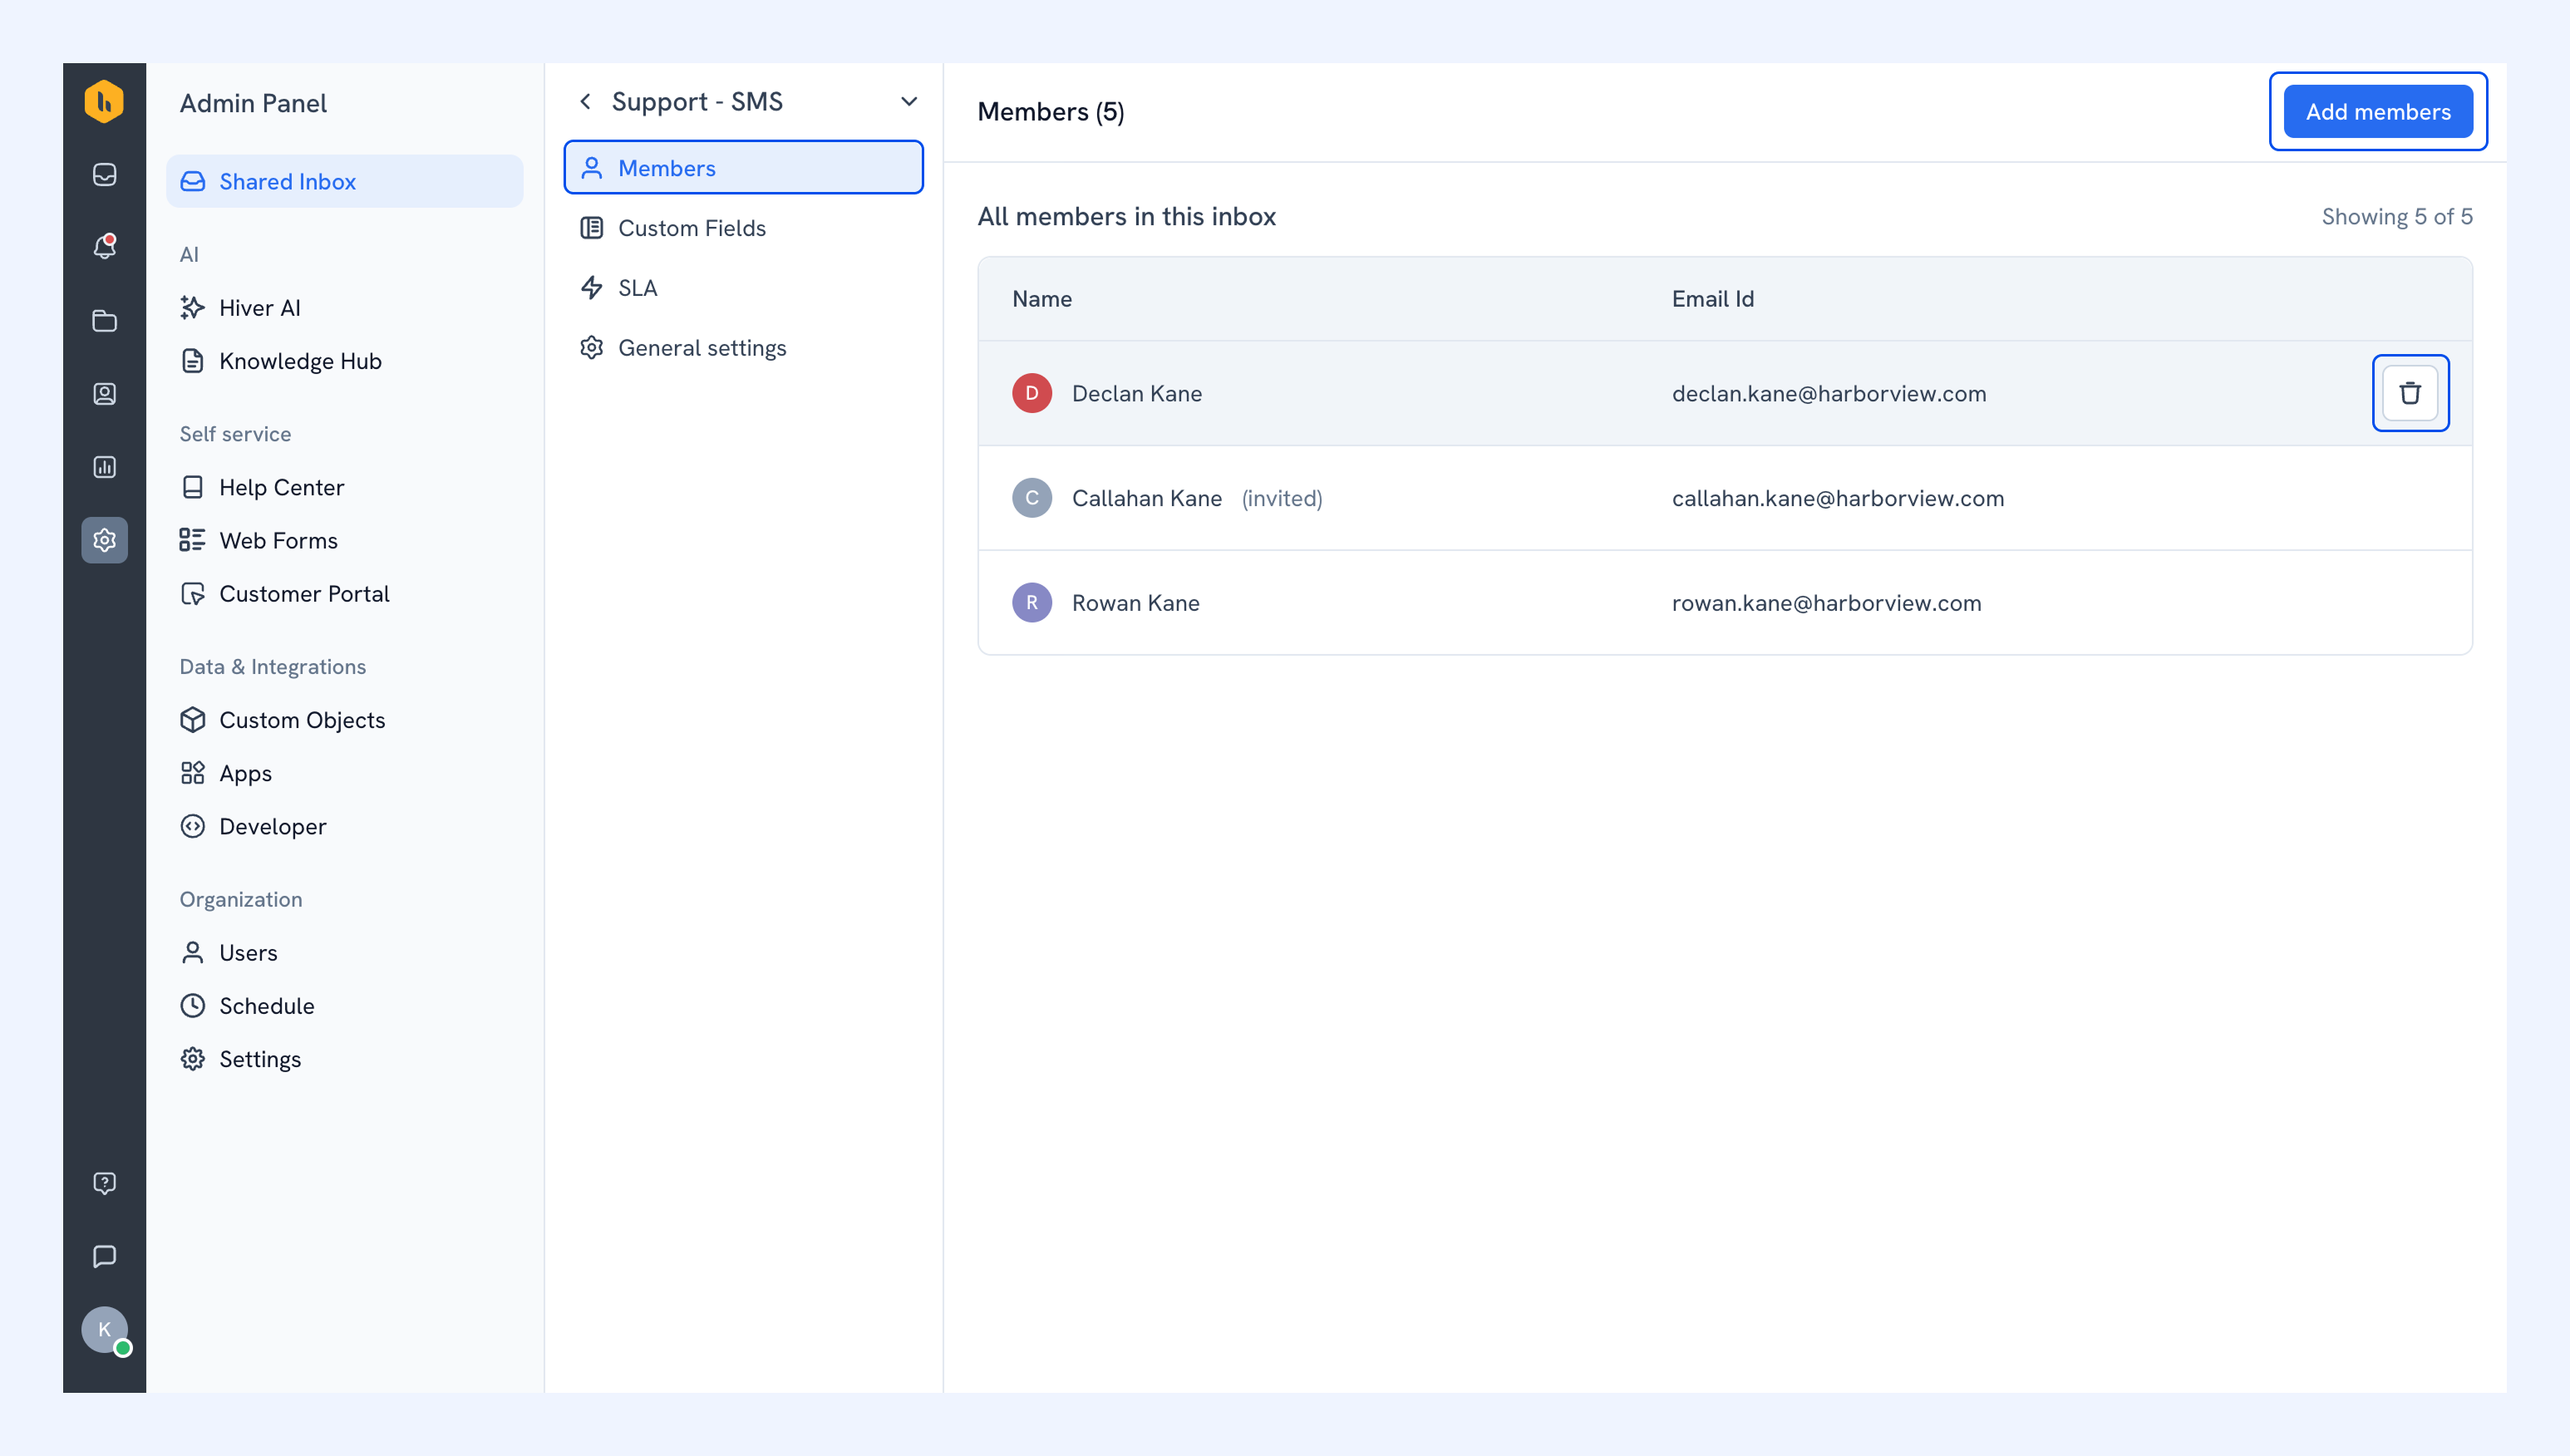
- Members: Add or remove the members who handle the inbox.
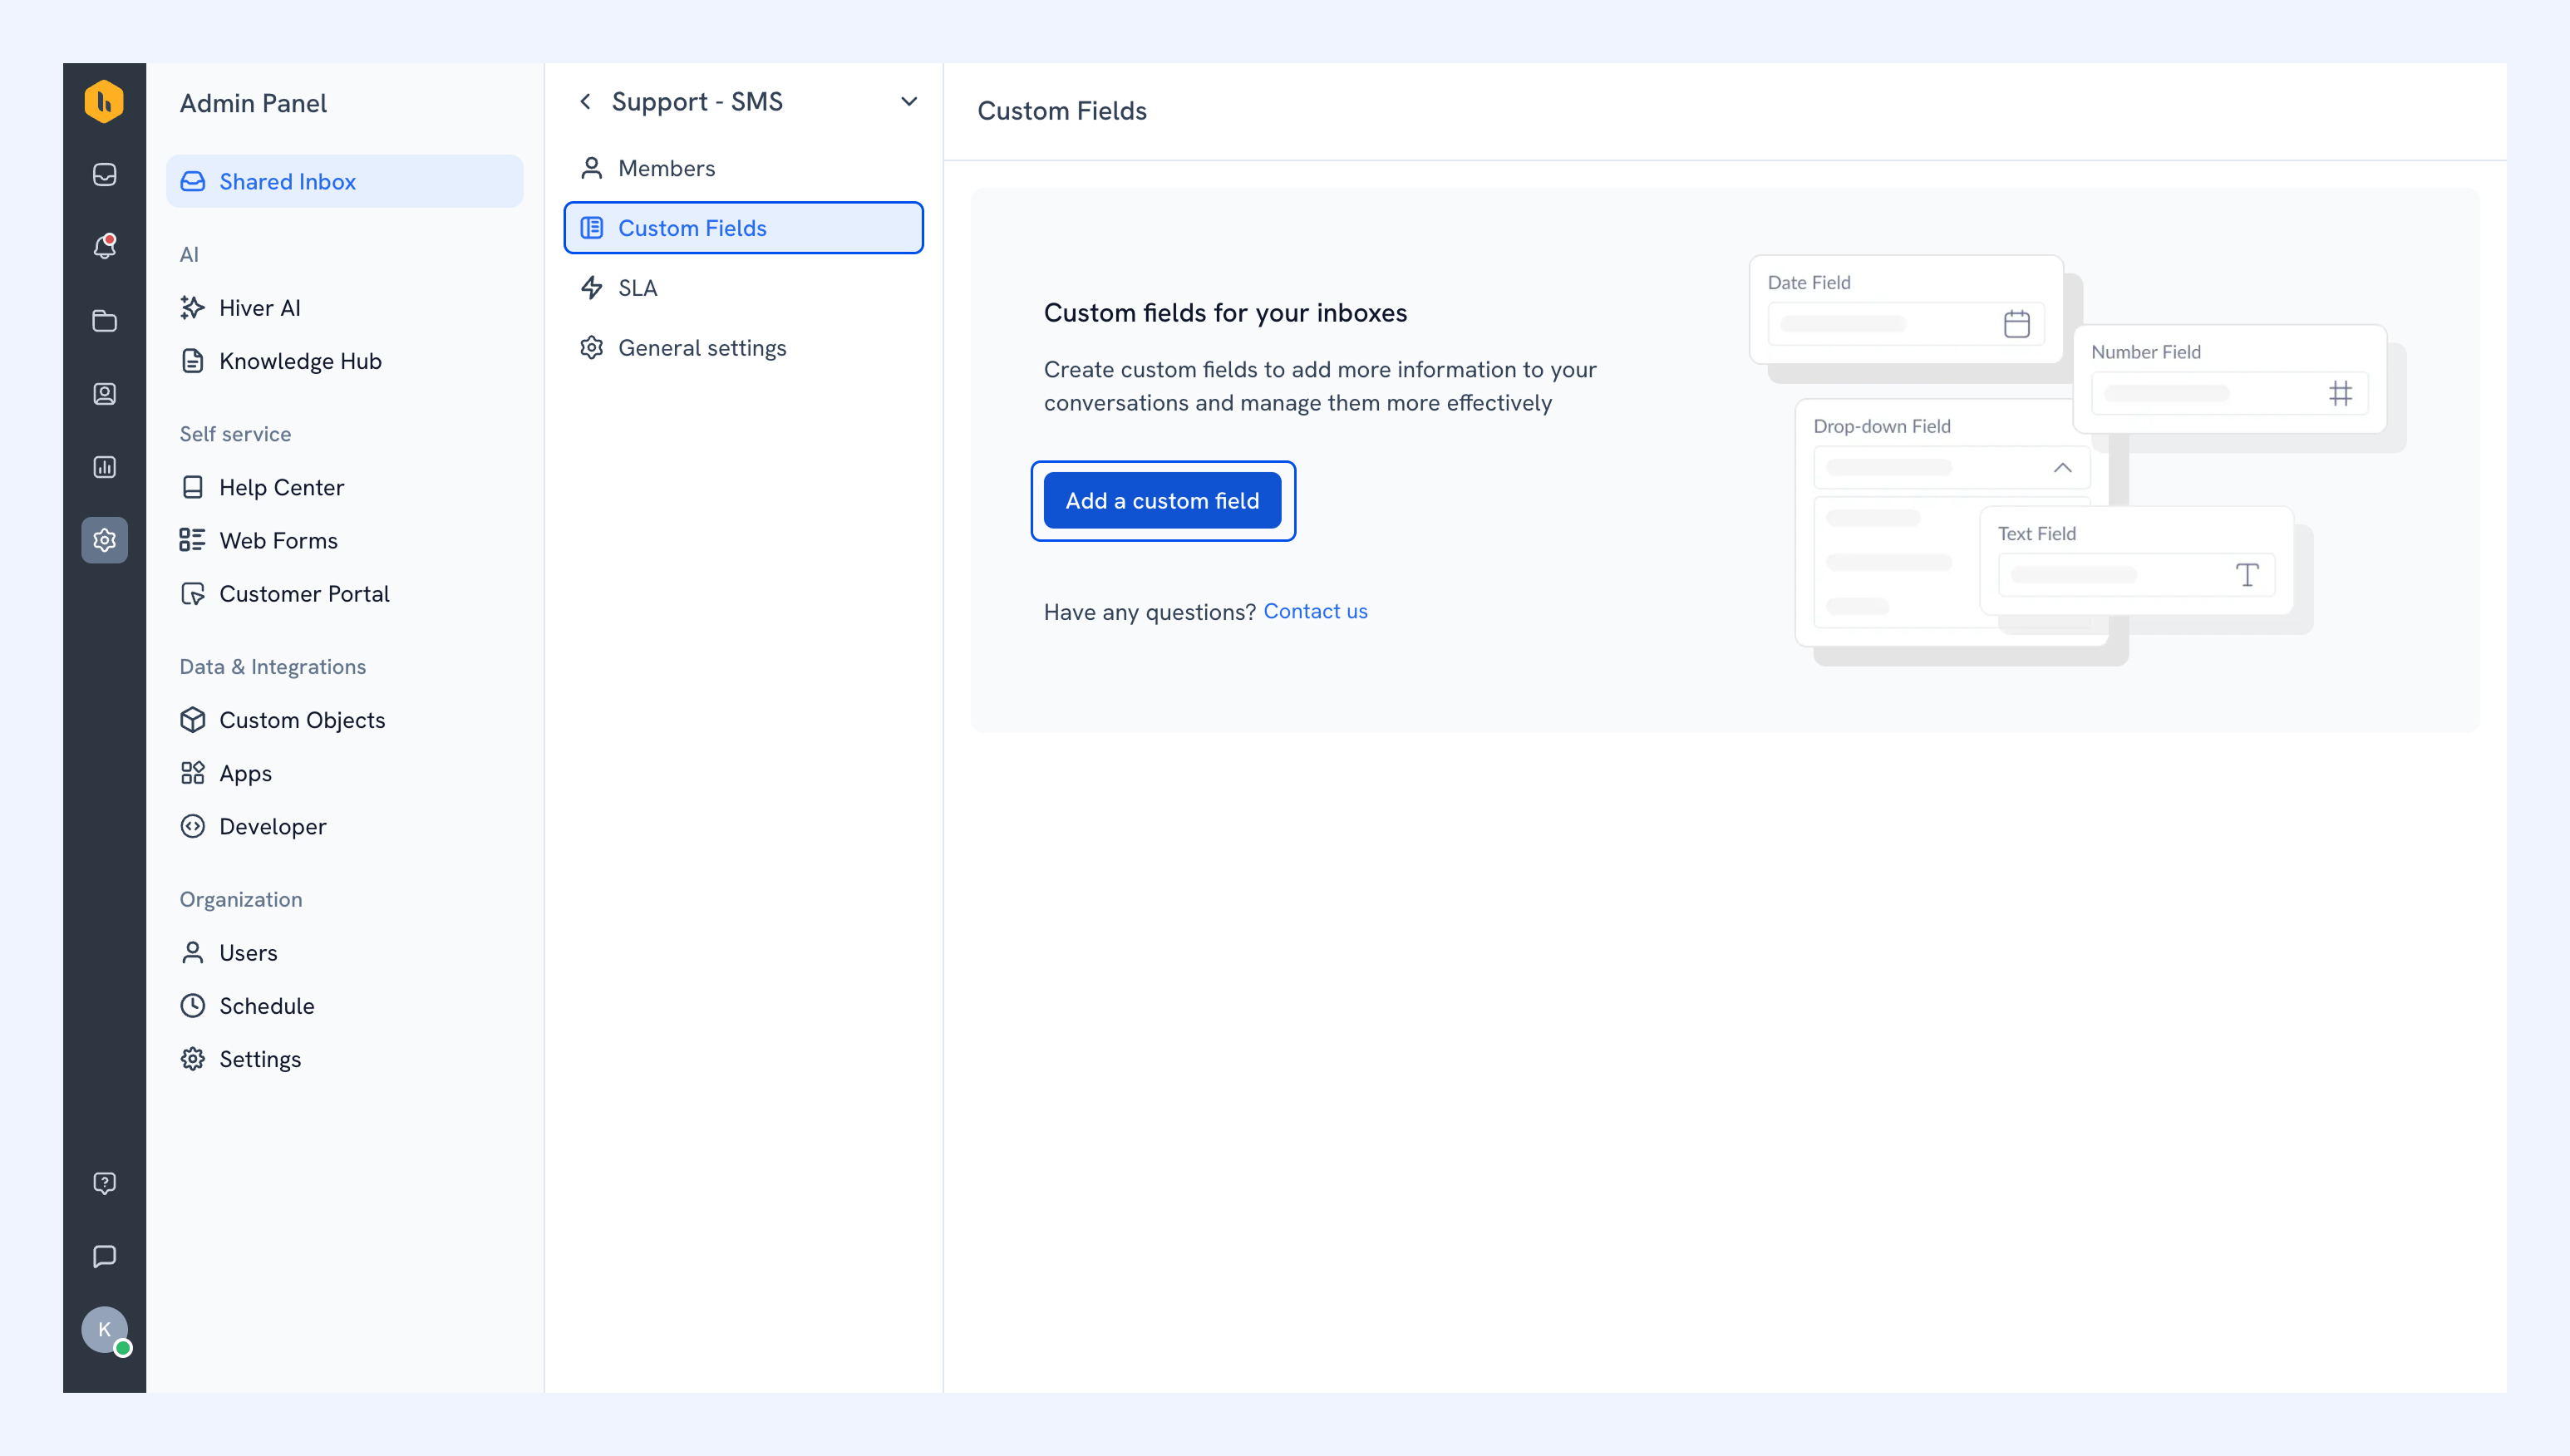
- Custom Fields: Capture extra details about your SMS conversations.
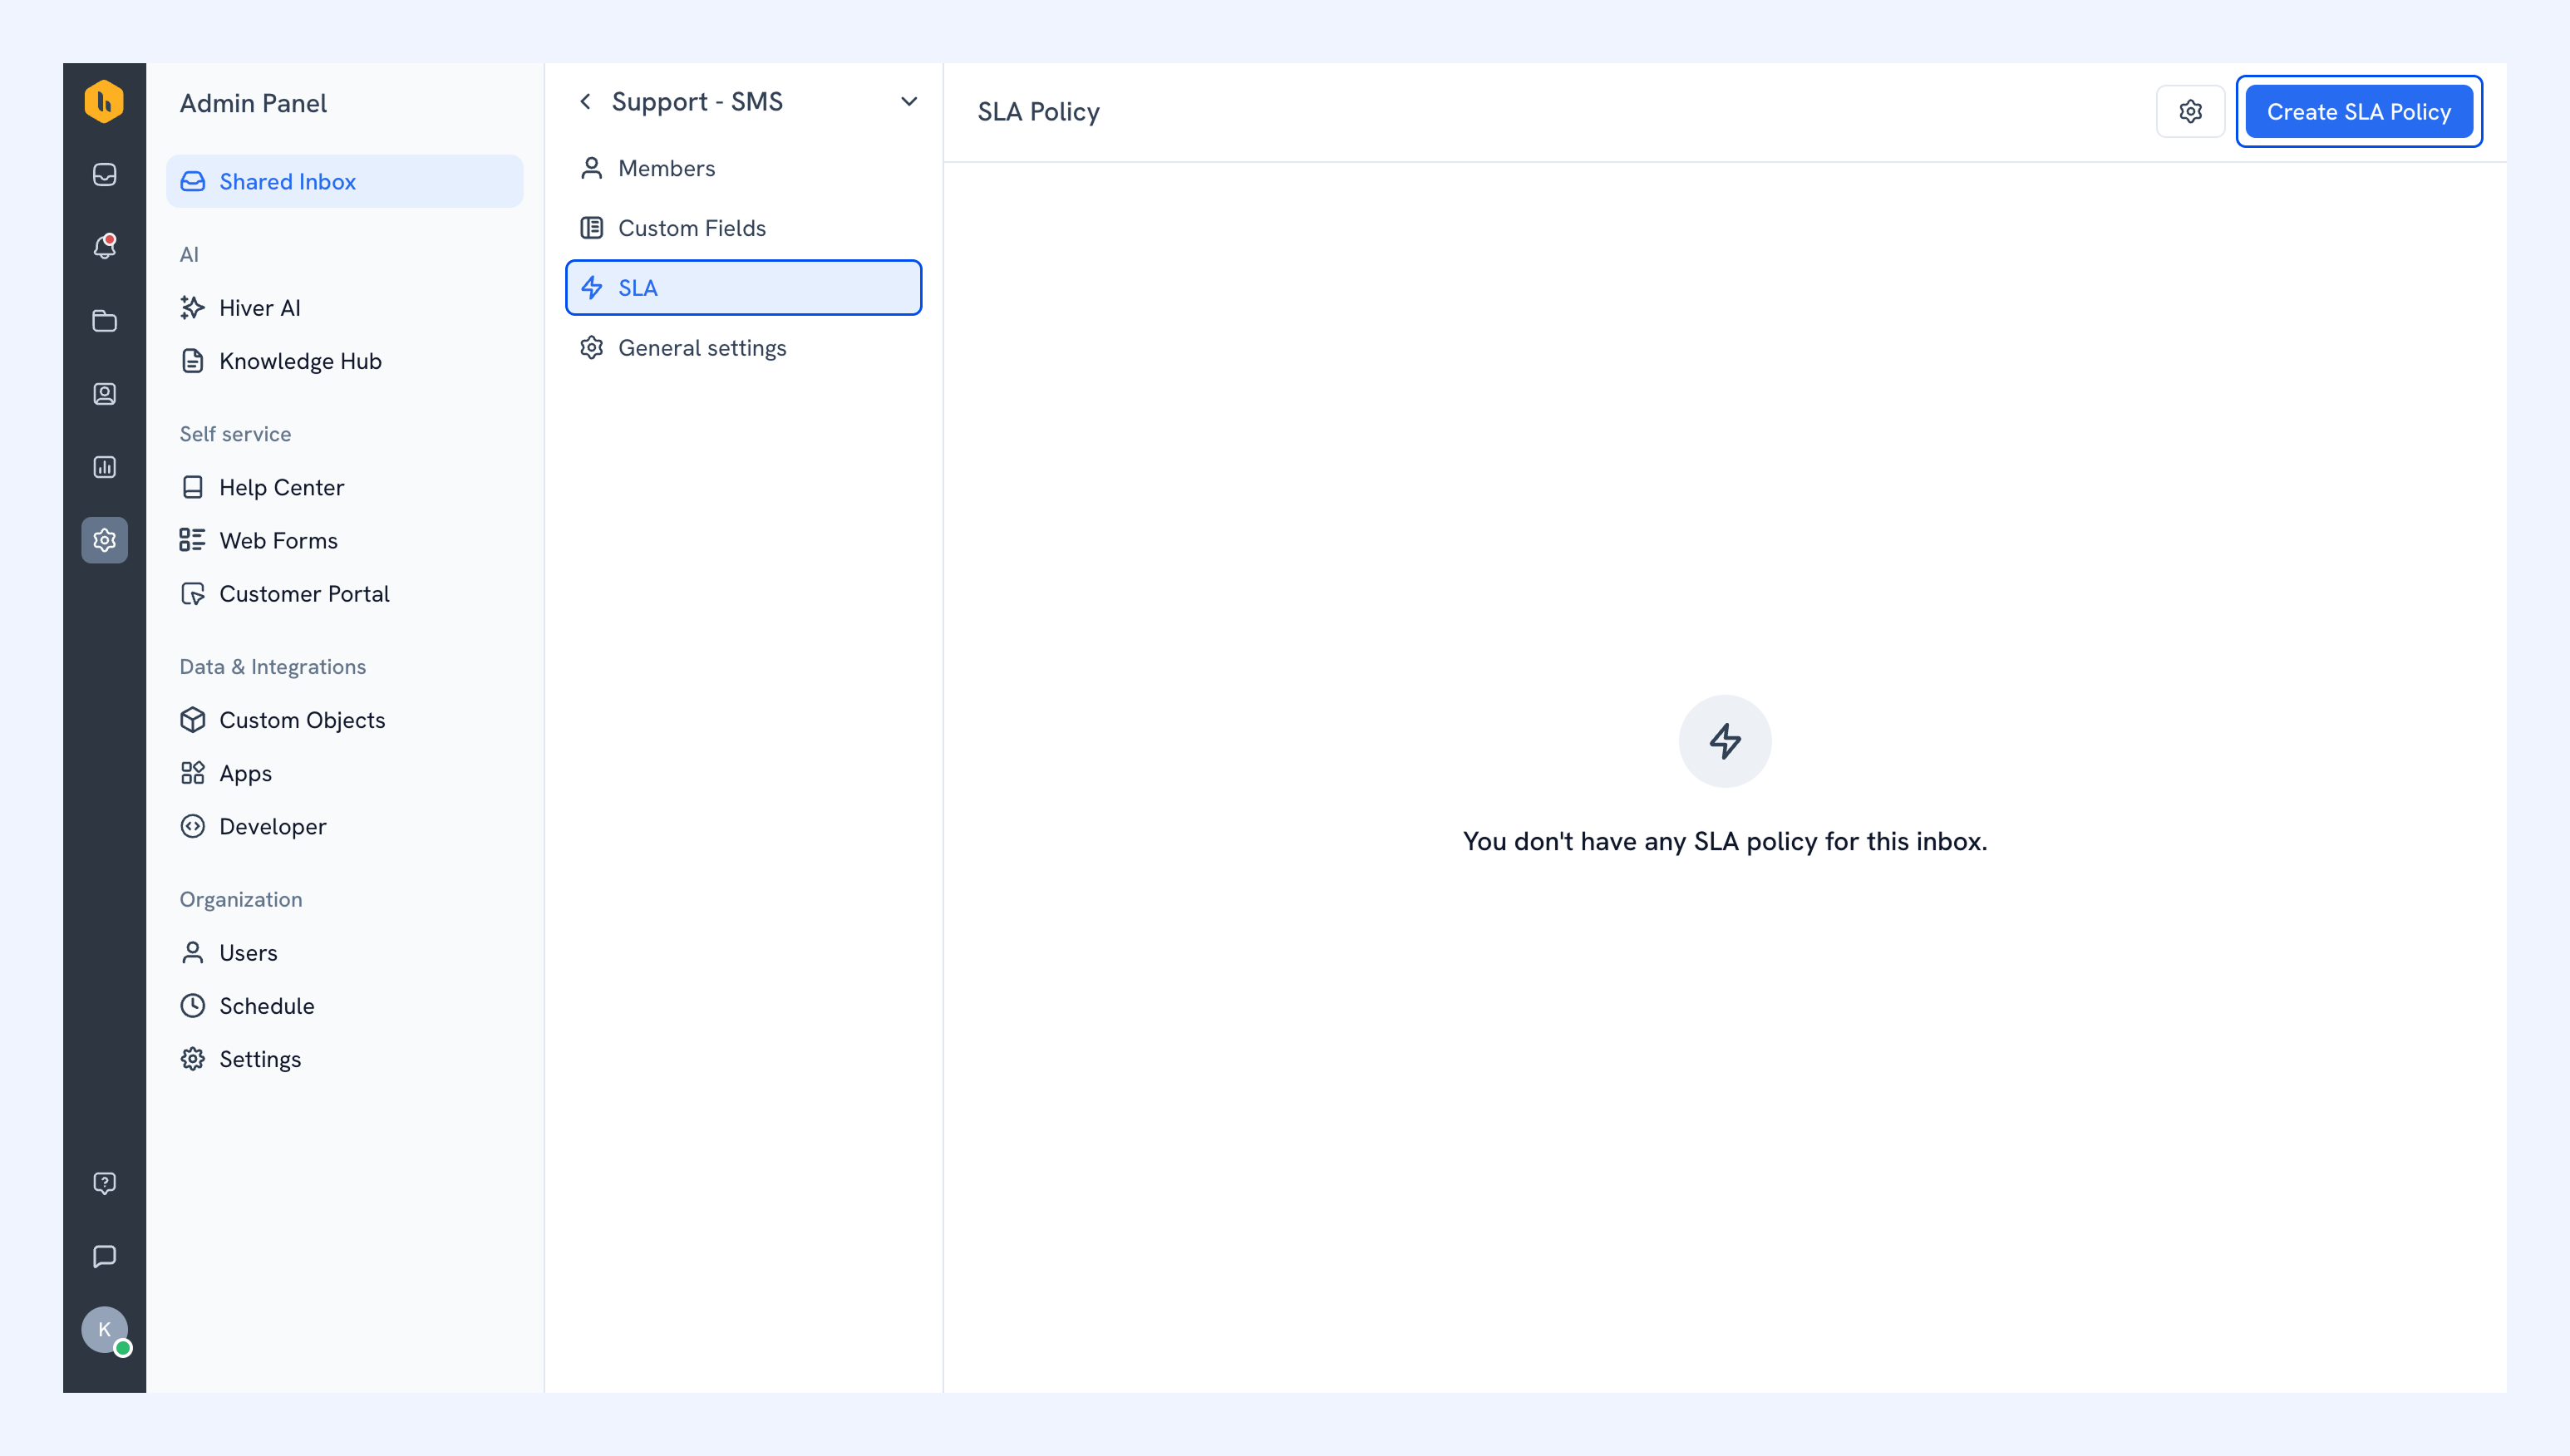
- SLA: Set response and resolution targets for conversations in this inbox. Learn how to create SLA policies.
Custom Fields
Custom Fields let you capture and track additional details about SMS conversations in Hiver Omni.
To set up a custom field:
1. Go to Custom Fields and click Add a custom field.
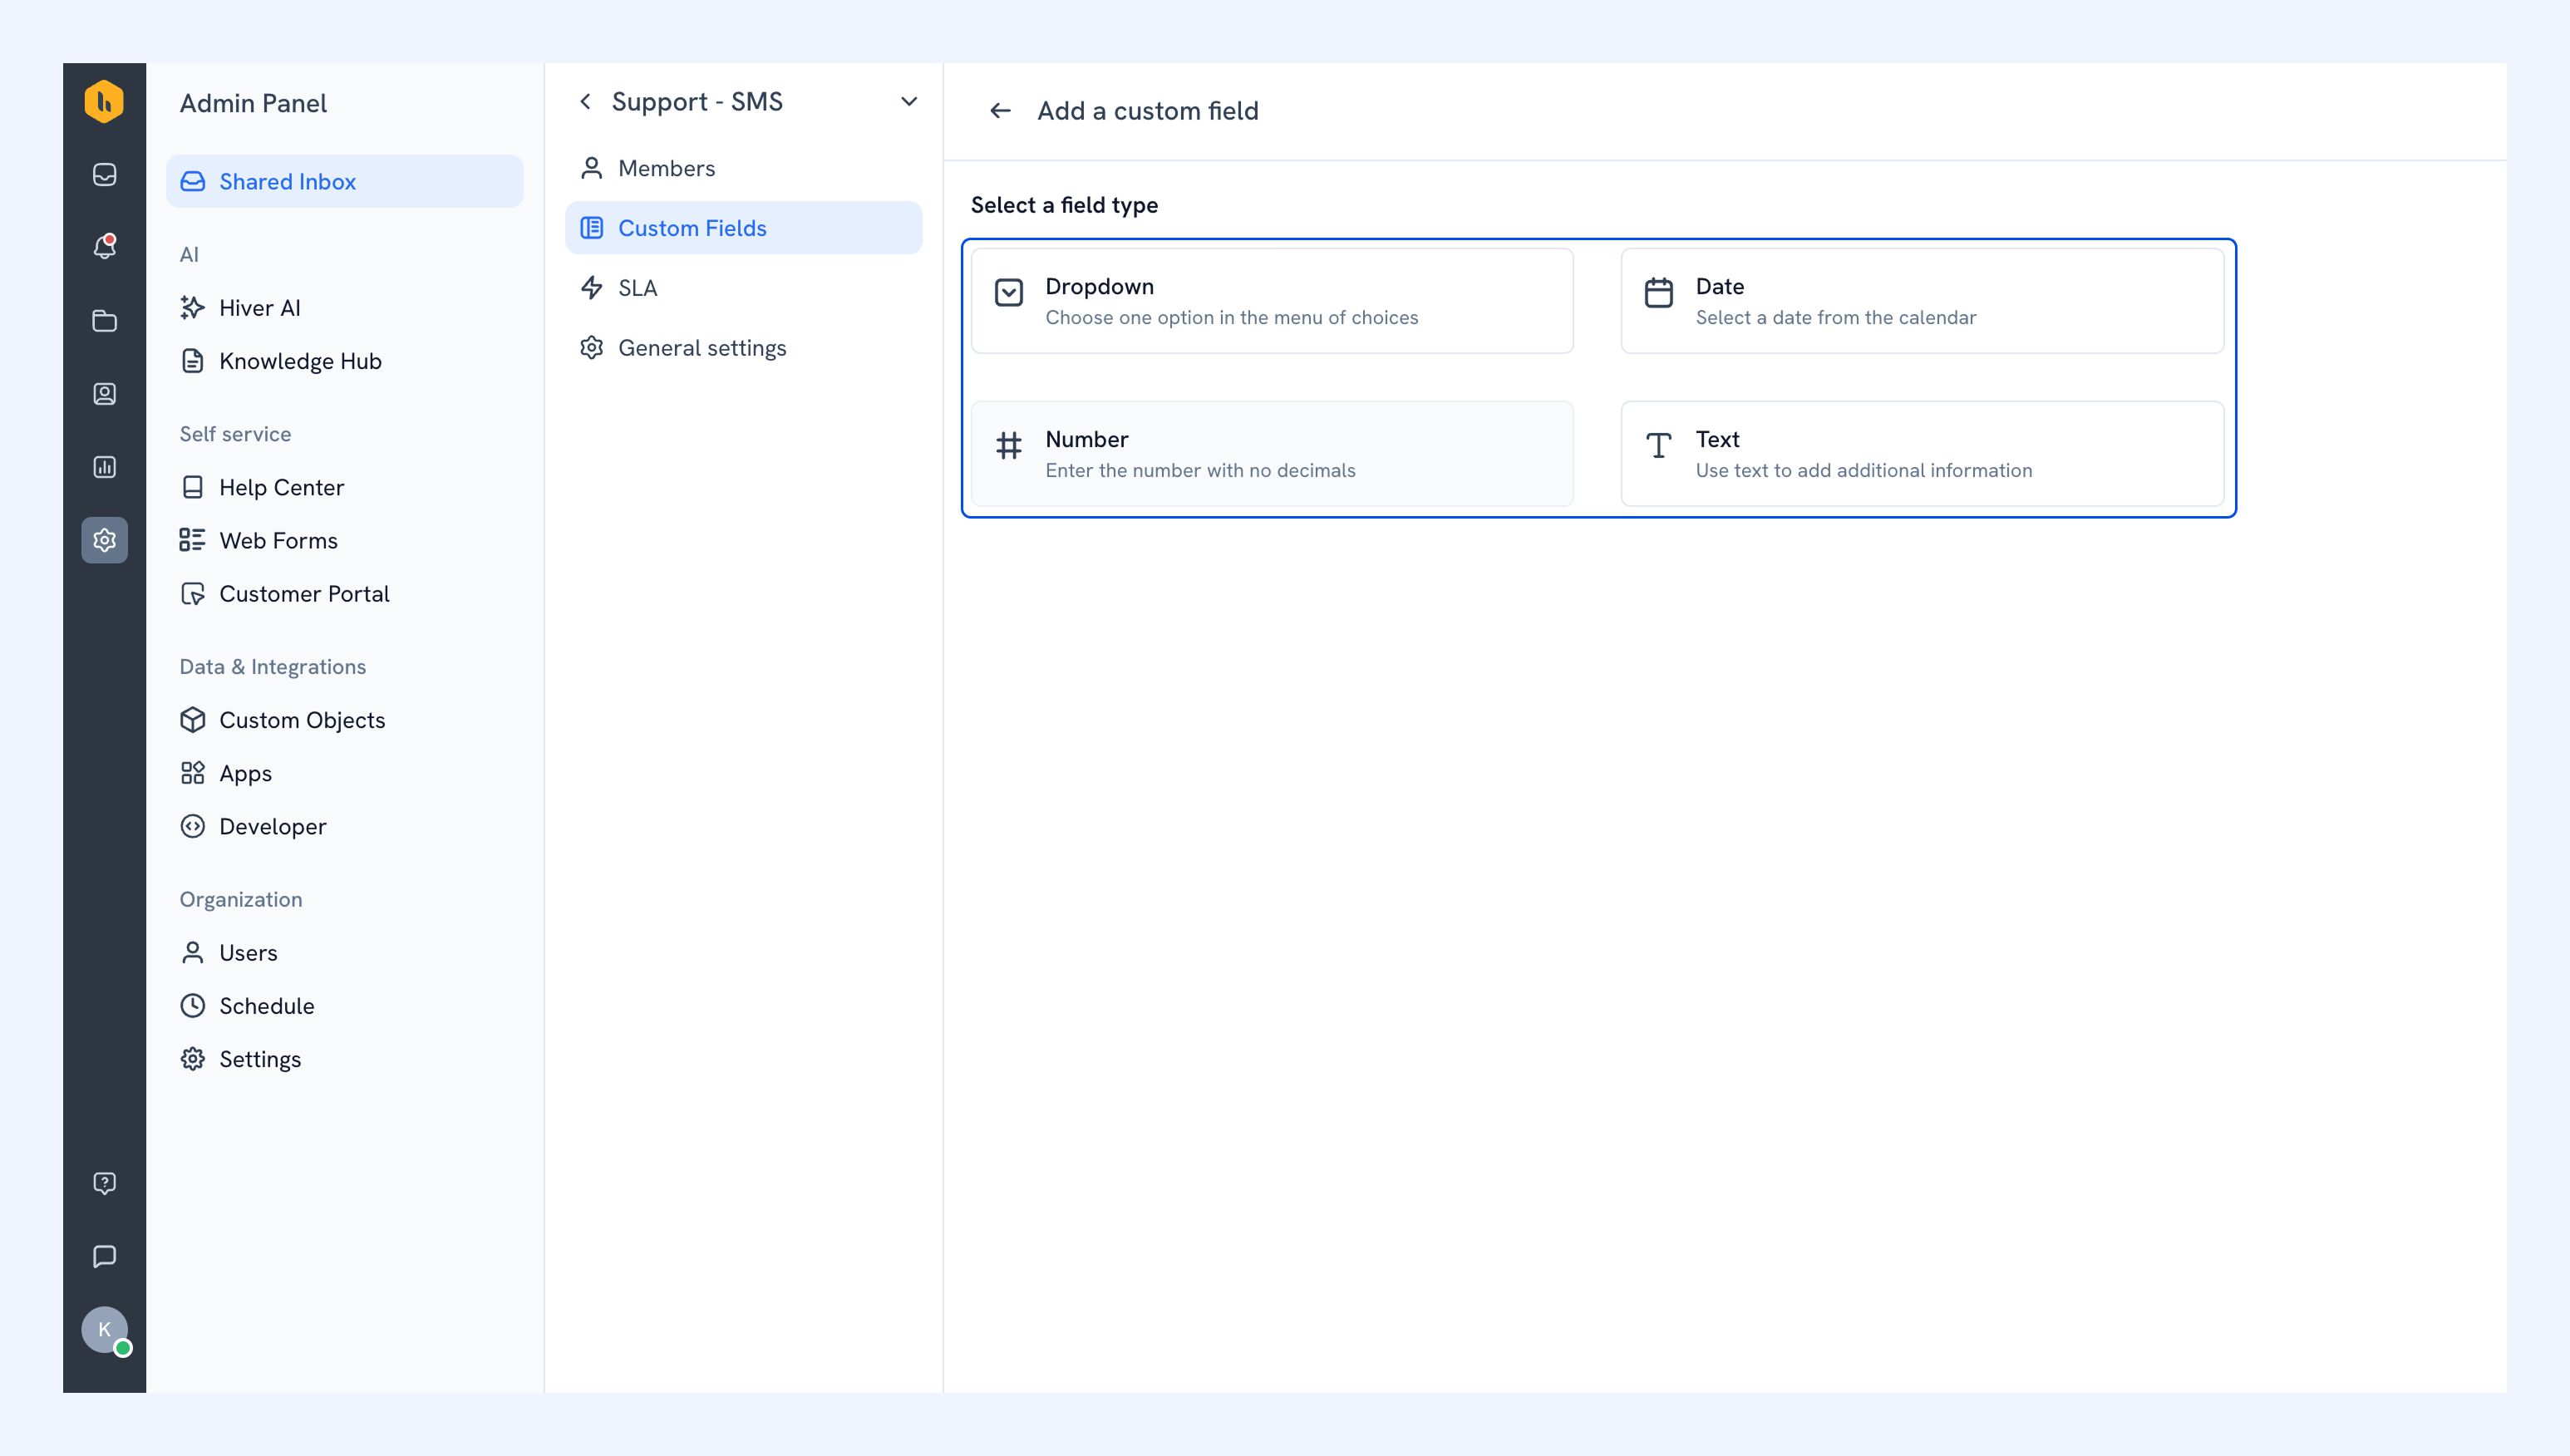
2. Select a field type:
- Dropdown: Create a predefined list of options that your team can select from e.g. Issue type.
- Date: Add a date picker for time-based tracking e.g. Appointment date, Callback date, Delivery date.
- Number: Capture numeric values like Order quantity, Loyalty points.
- Text: Add single or multi-line text e.g. Order ID or Delivery address.
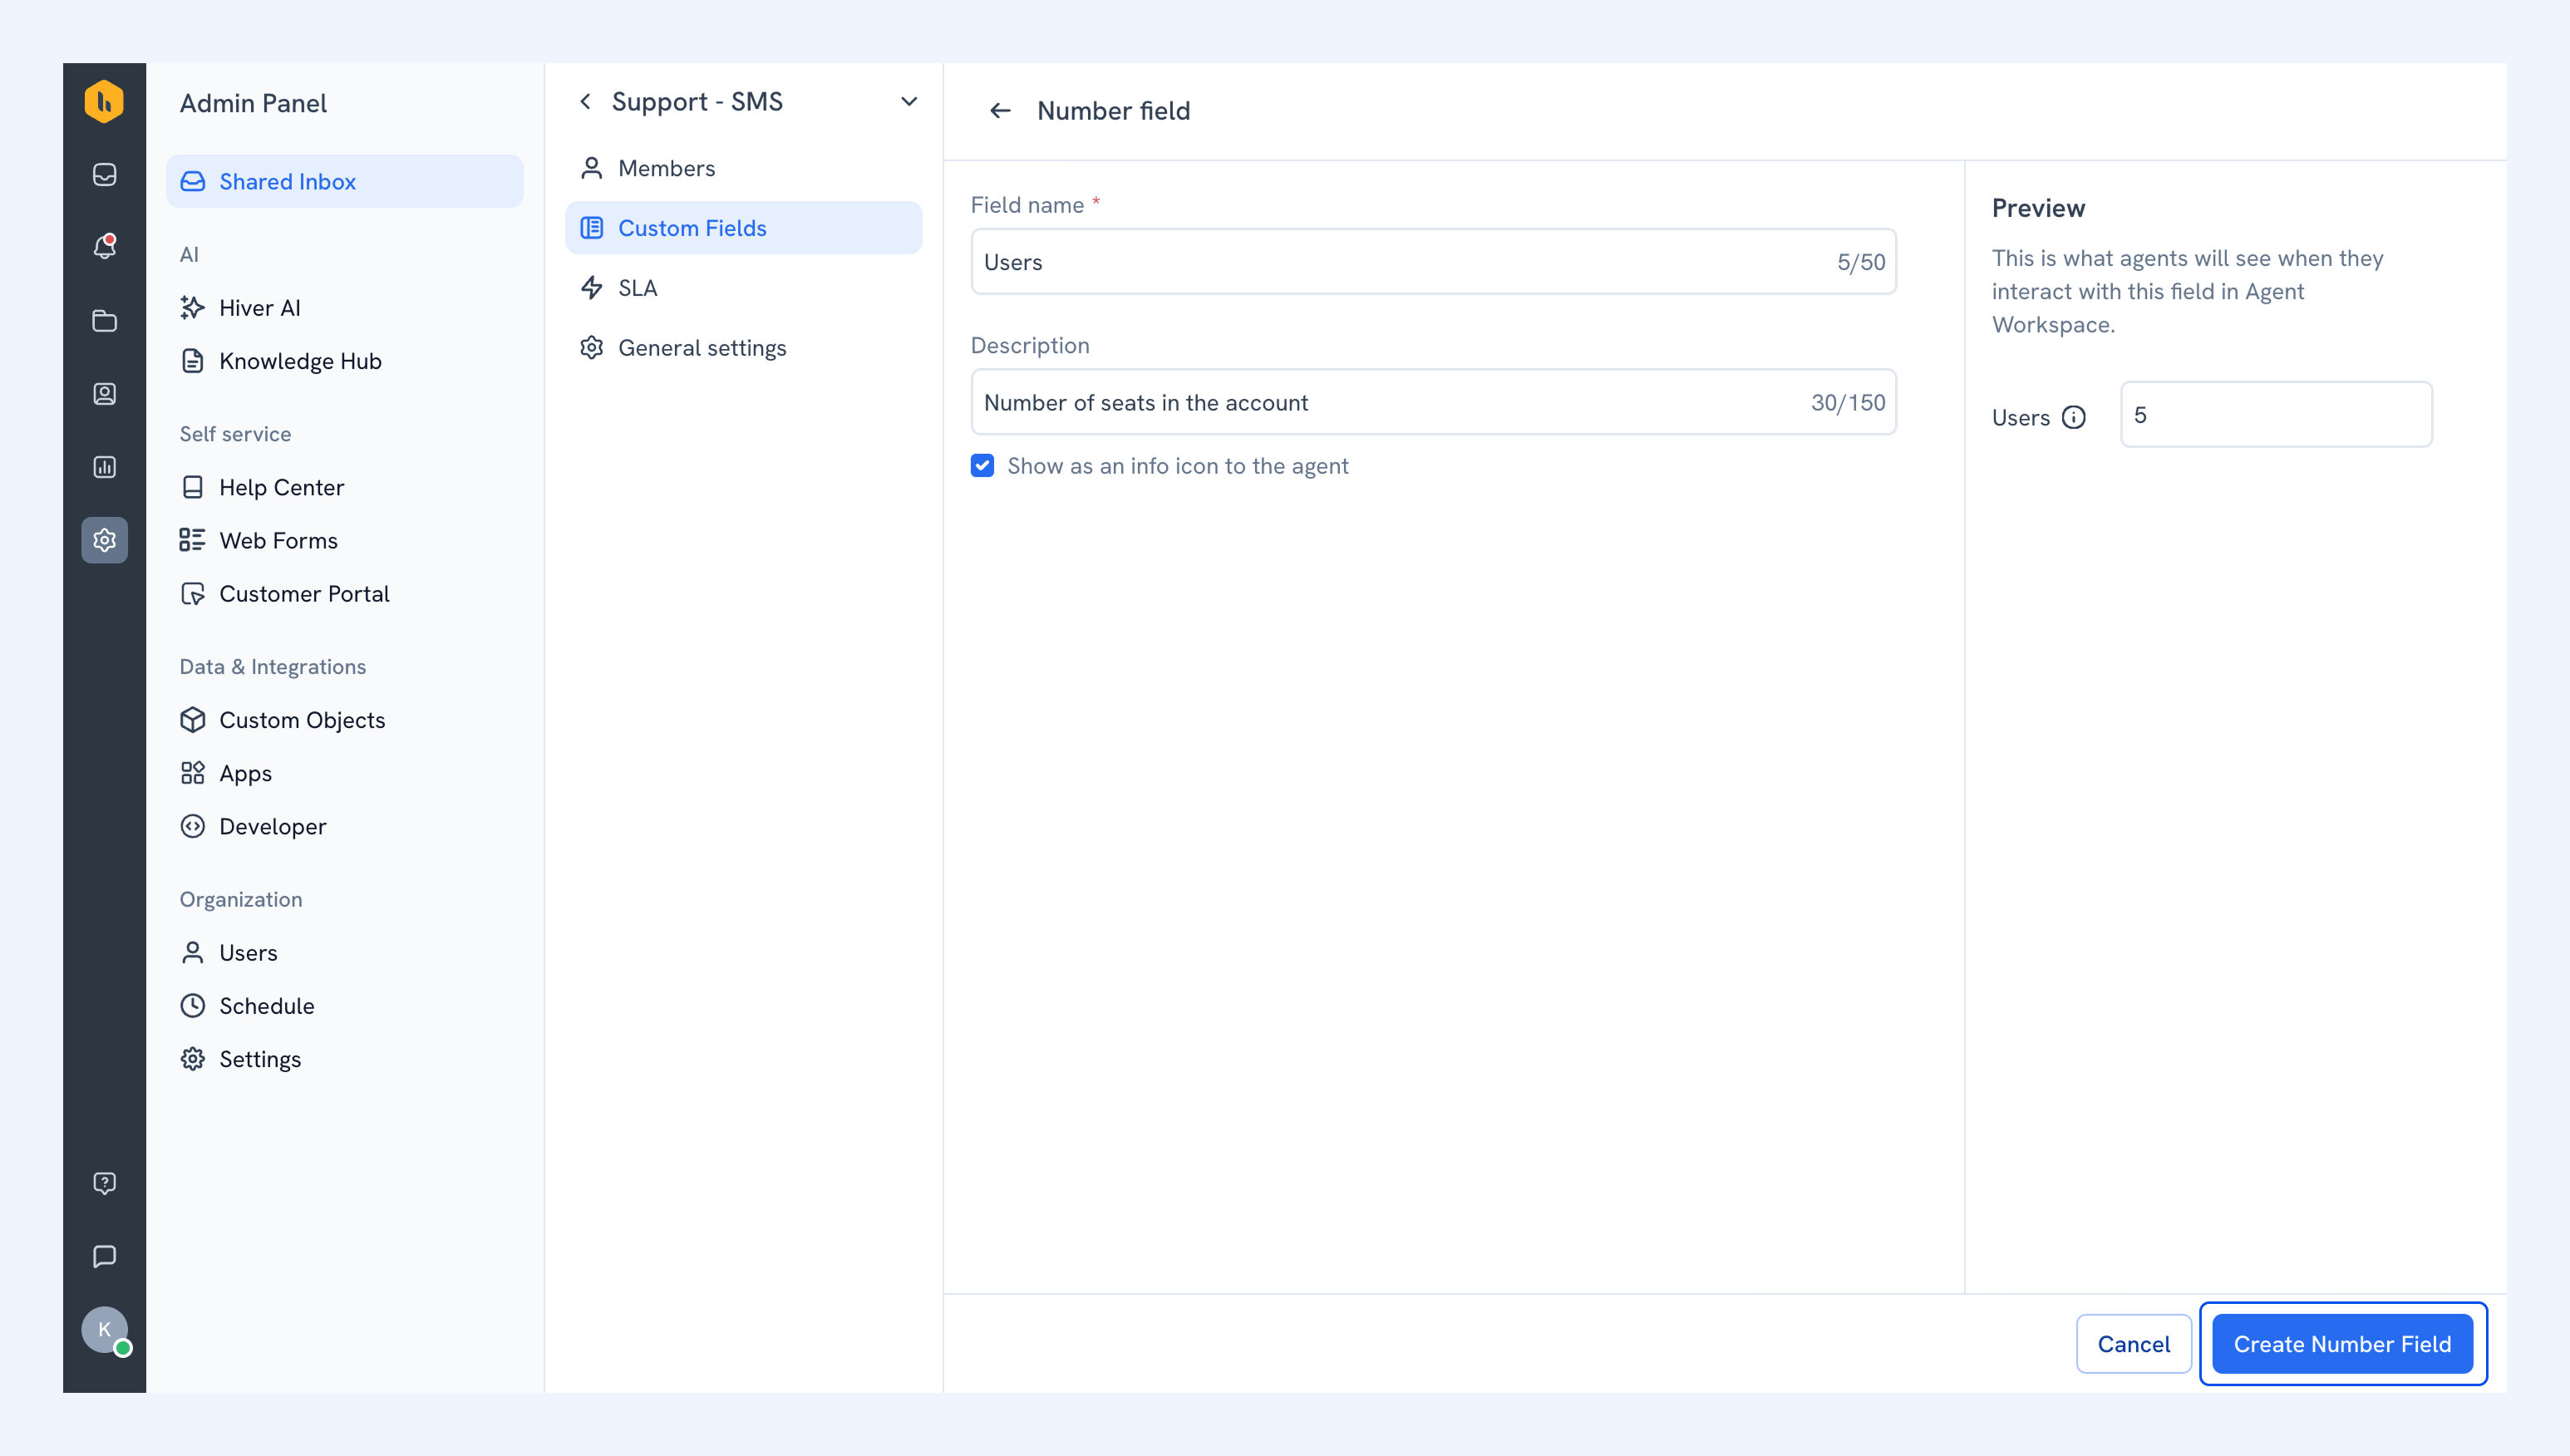
3. Enter the field details, then click the Create button.
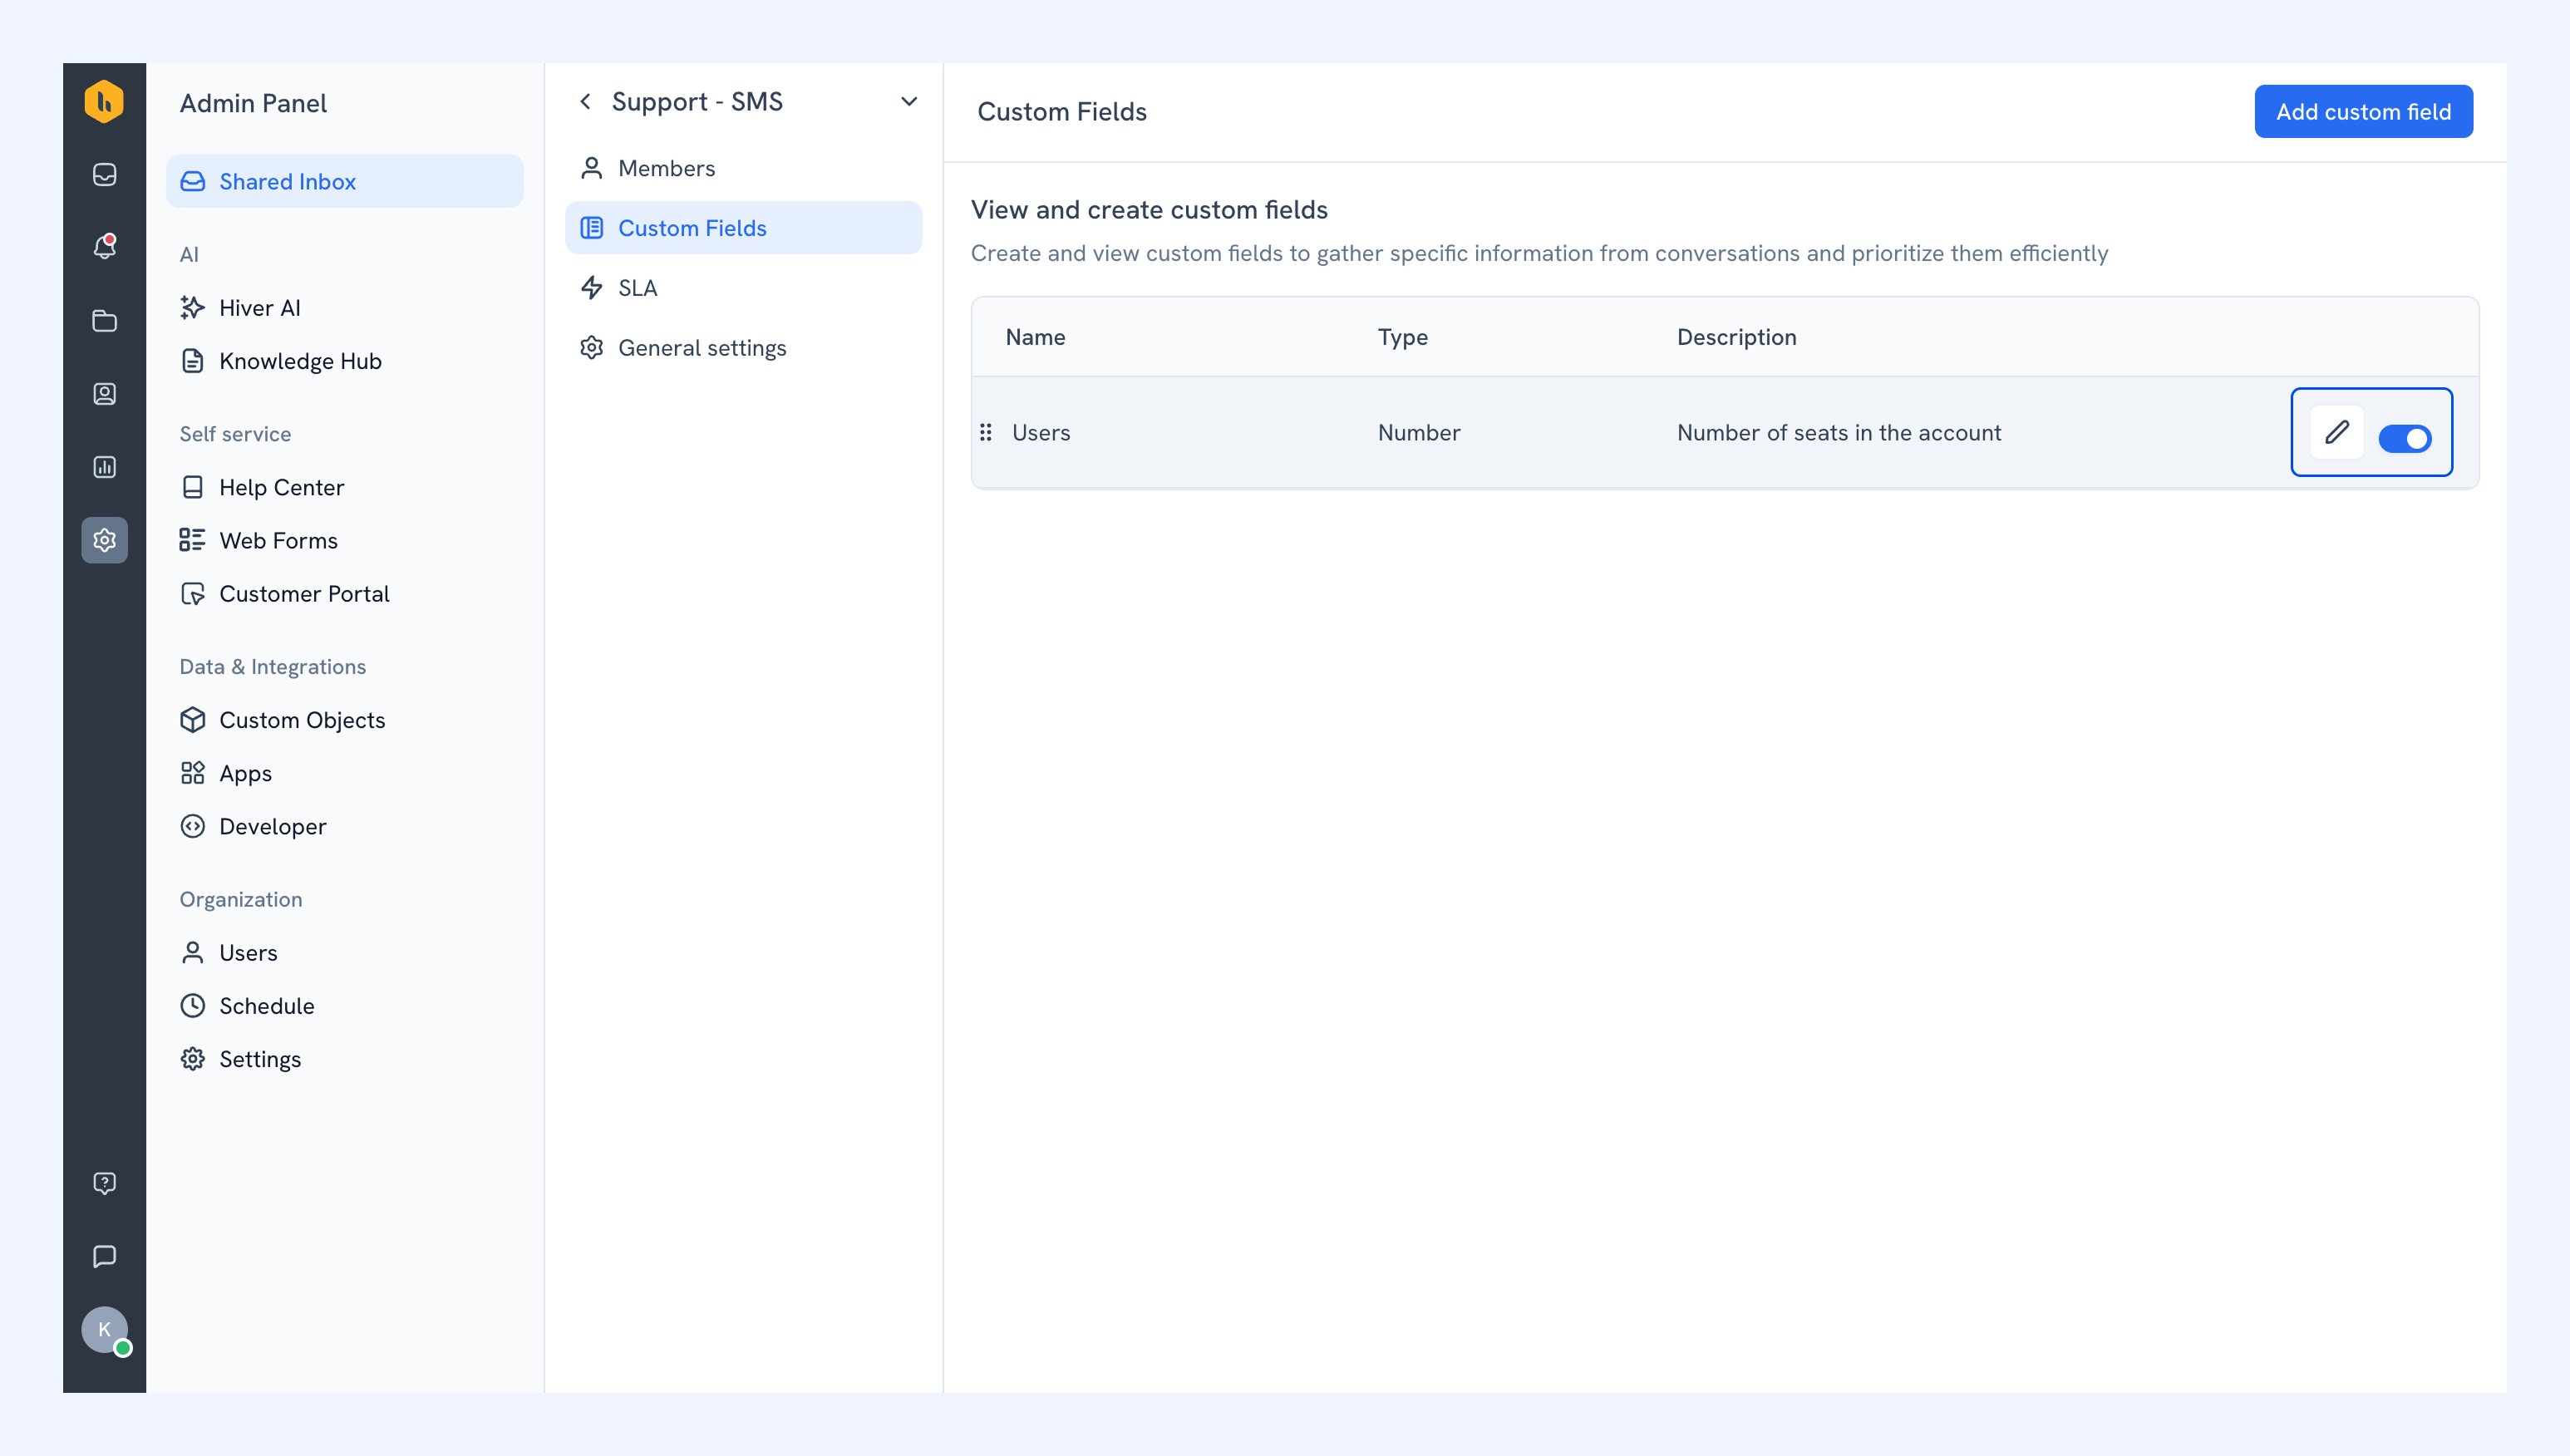
4. Your field now appears in the Custom Fields list. Click the pencil icon to edit it, or use the toggle to turn it off.
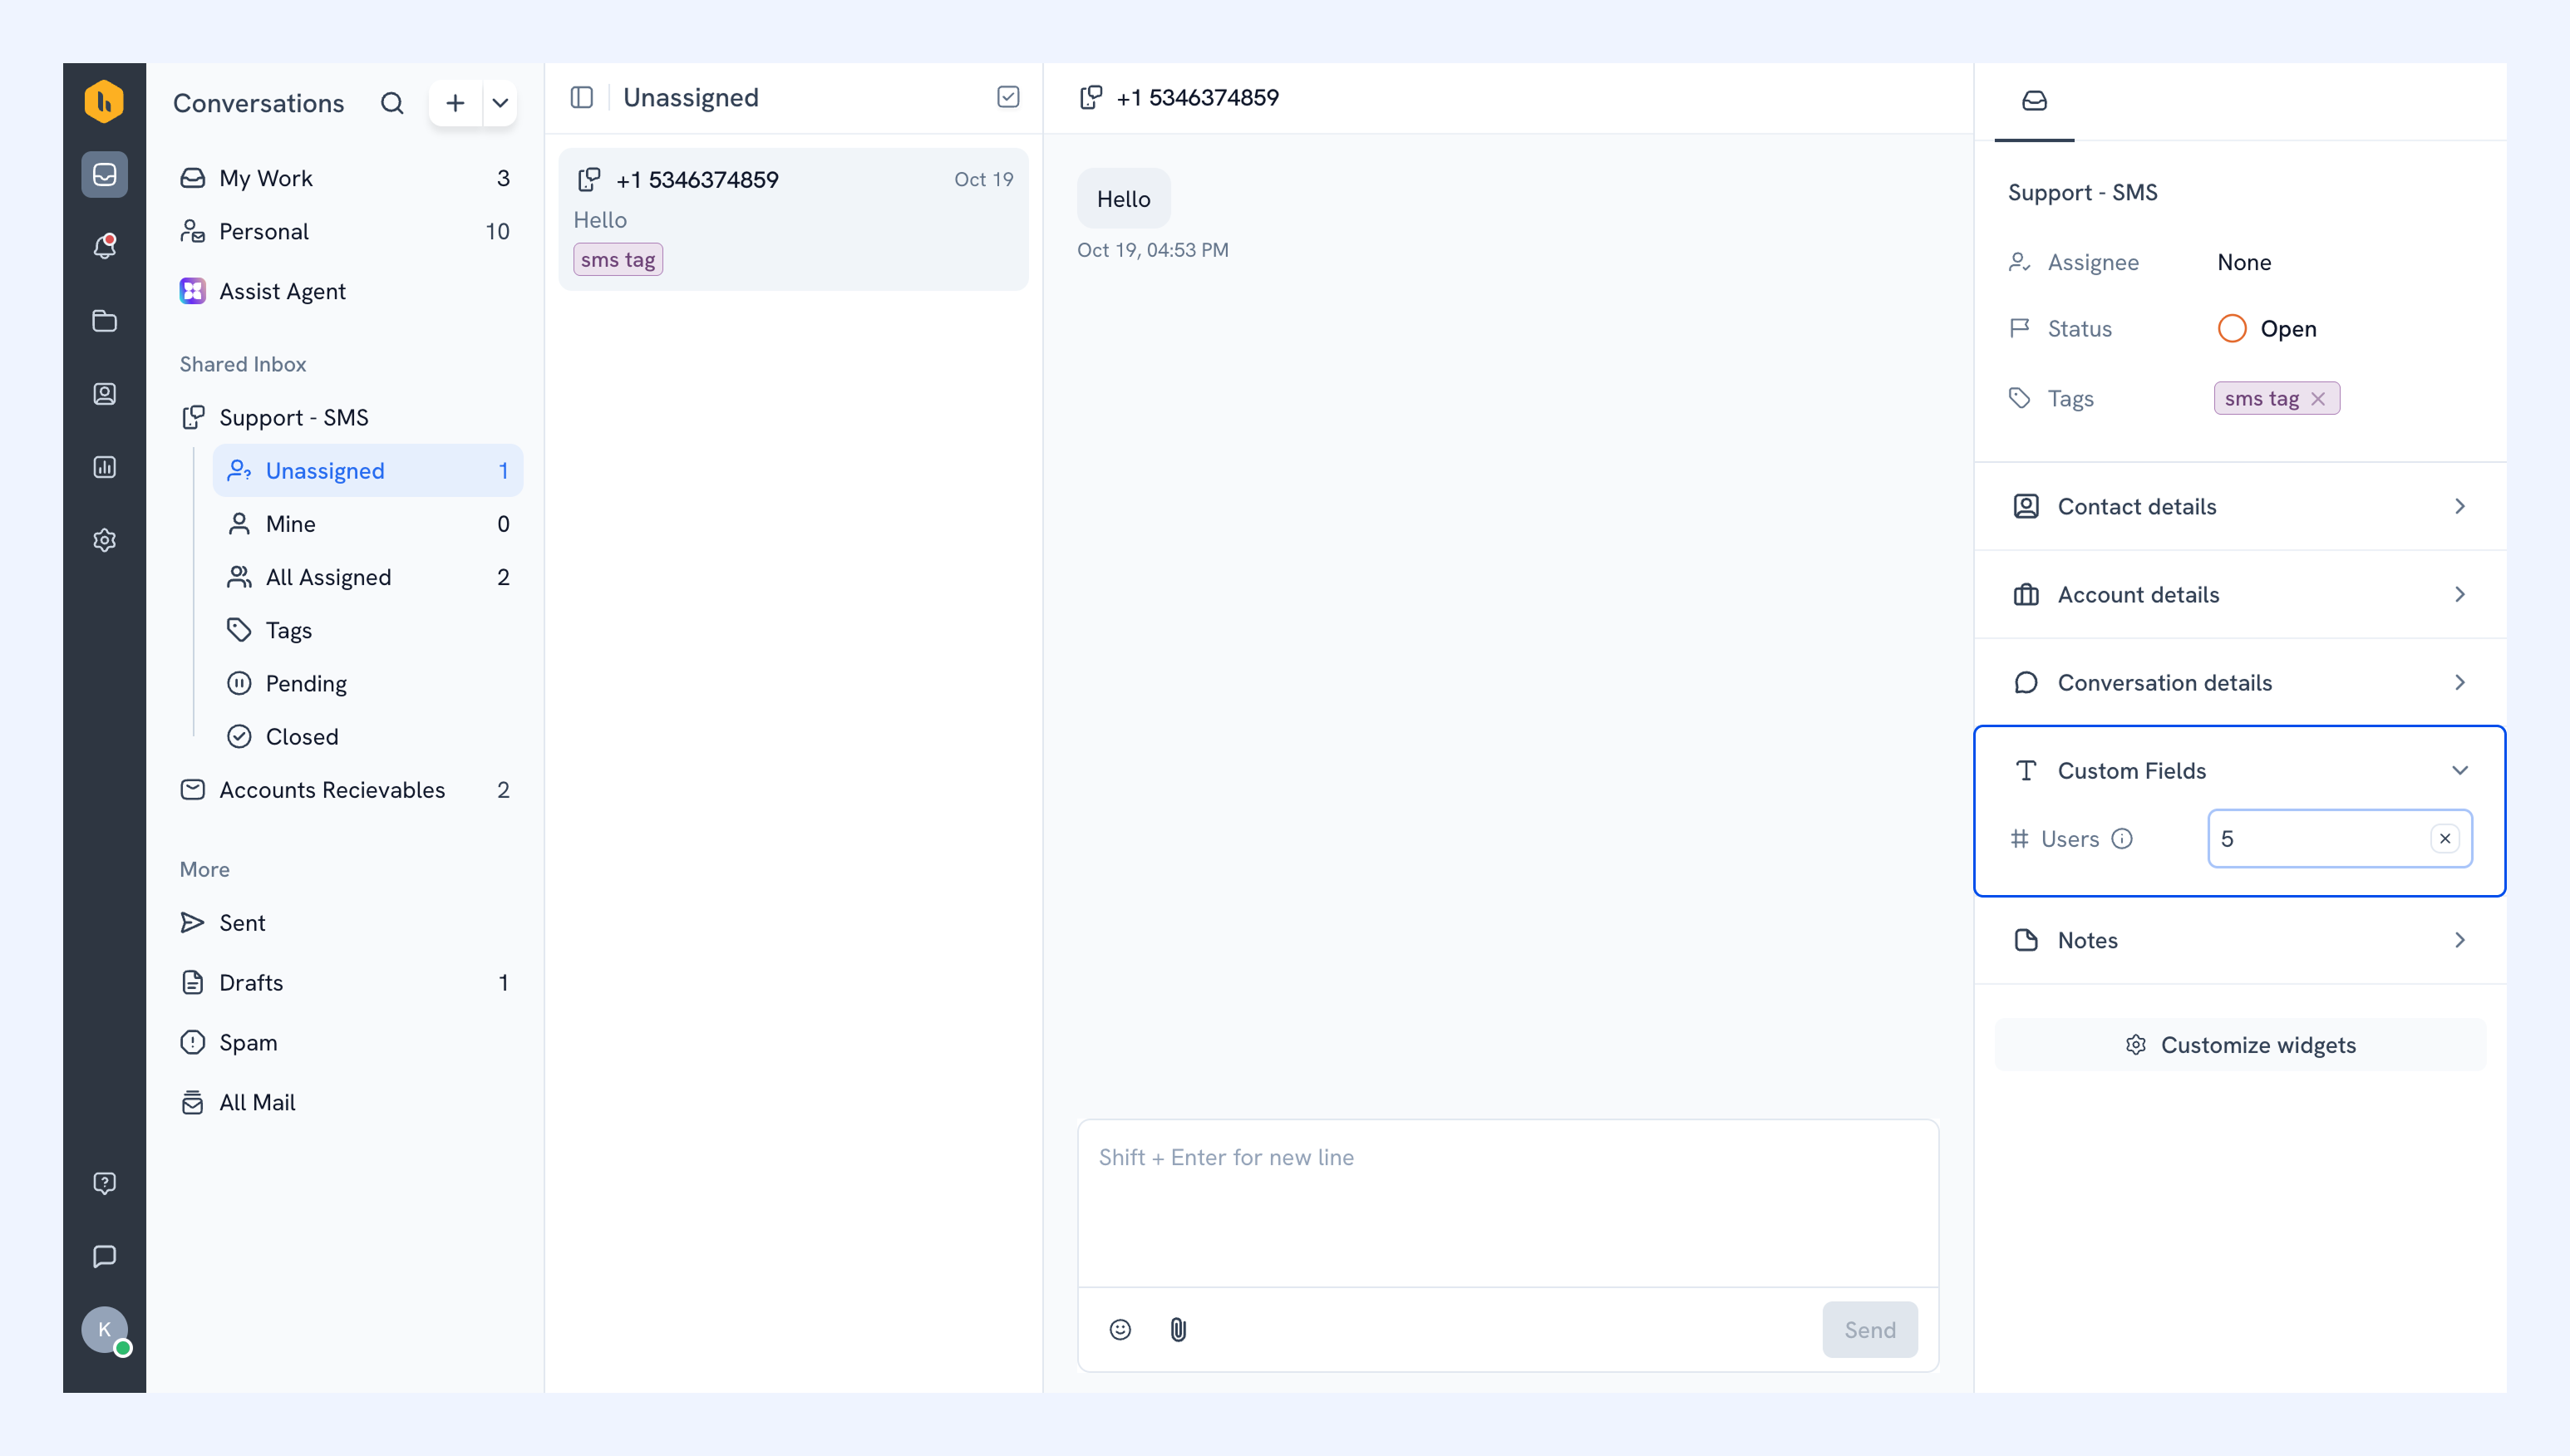
Members can now fill in the custom field from the right panel of an SMS conversation.