QuickBooks integration with Hiver
Connecting QuickBooks to Hiver brings your billing and invoicing workflow and customer conversations into one place. Your team can view bill details, create new bills, and link existing ones without switching tools. This helps you track financial tasks more efficiently and respond to customer requests with complete context.
Why integrate QuickBooks with Hiver
- Reduce context switching: View and update QuickBooks bills without leaving Hiver.
- Improve accuracy: Keep financial data tied to the correct customer conversation.
- Resolve issues faster: Create bills instantly when customer requests come in.
- Increase visibility: Track bill updates and details directly from your inbox.
- Streamline collaboration: Ensure your support and finance teams stay aligned on the same information.
Supported capabilities
The QuickBooks-Hiver integration lets you:
- View QuickBooks bill details directly inside Hiver.
- Create new bills based on the conversation you’re handling.
- Link existing bills to the relevant conversations for full context.
- Open bills instantly using direct QuickBooks links.
Prerequisites
Before setting up the integration, ensure you have:
- Admin access in Hiver.
- A QuickBooks account with administrator access.
Setting up the QuickBooks integration
Step 1: Connect QuickBooks to Hiver
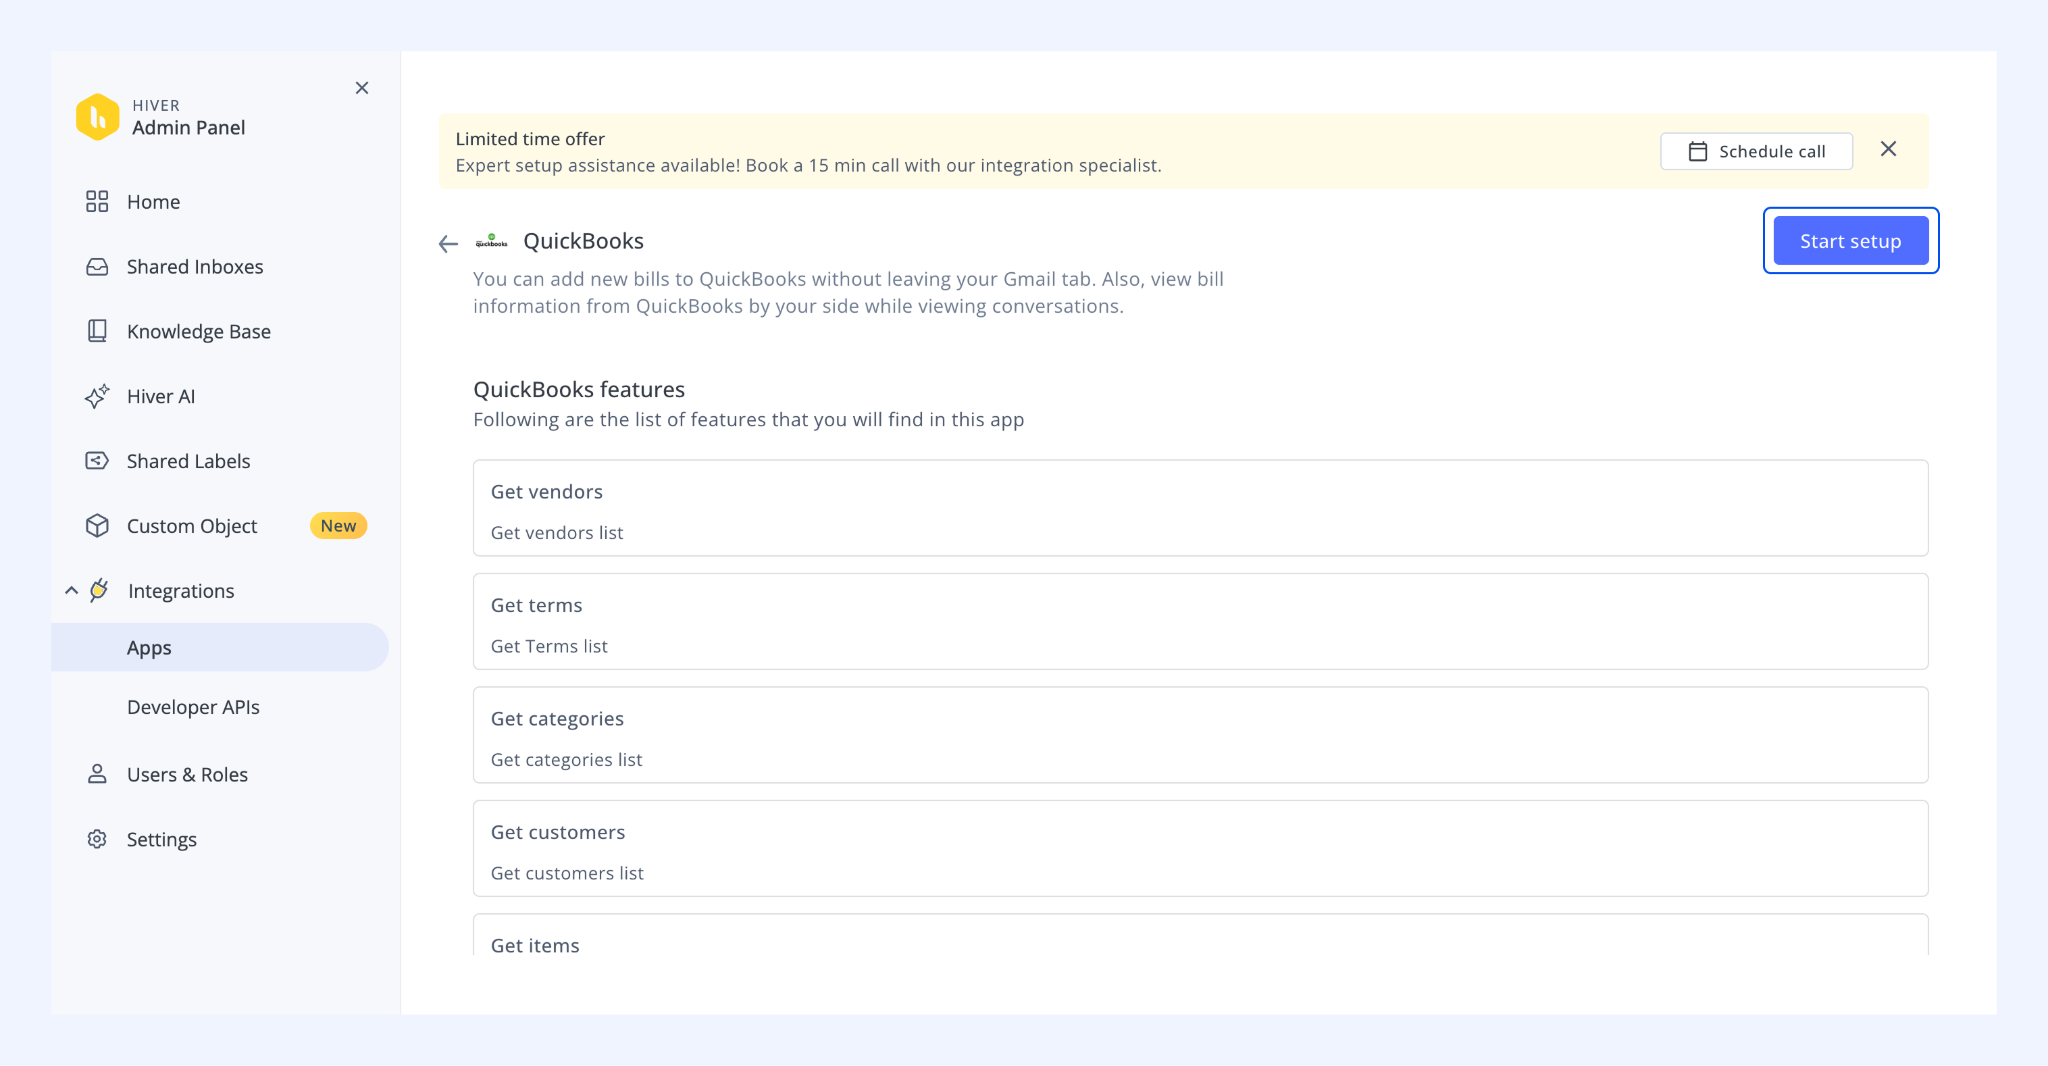
1. In Hiver, go to Admin panel → Apps → QuickBooks.
2. Review the integration features and click Start setup.
Step 2: Authenticate your QuickBooks account
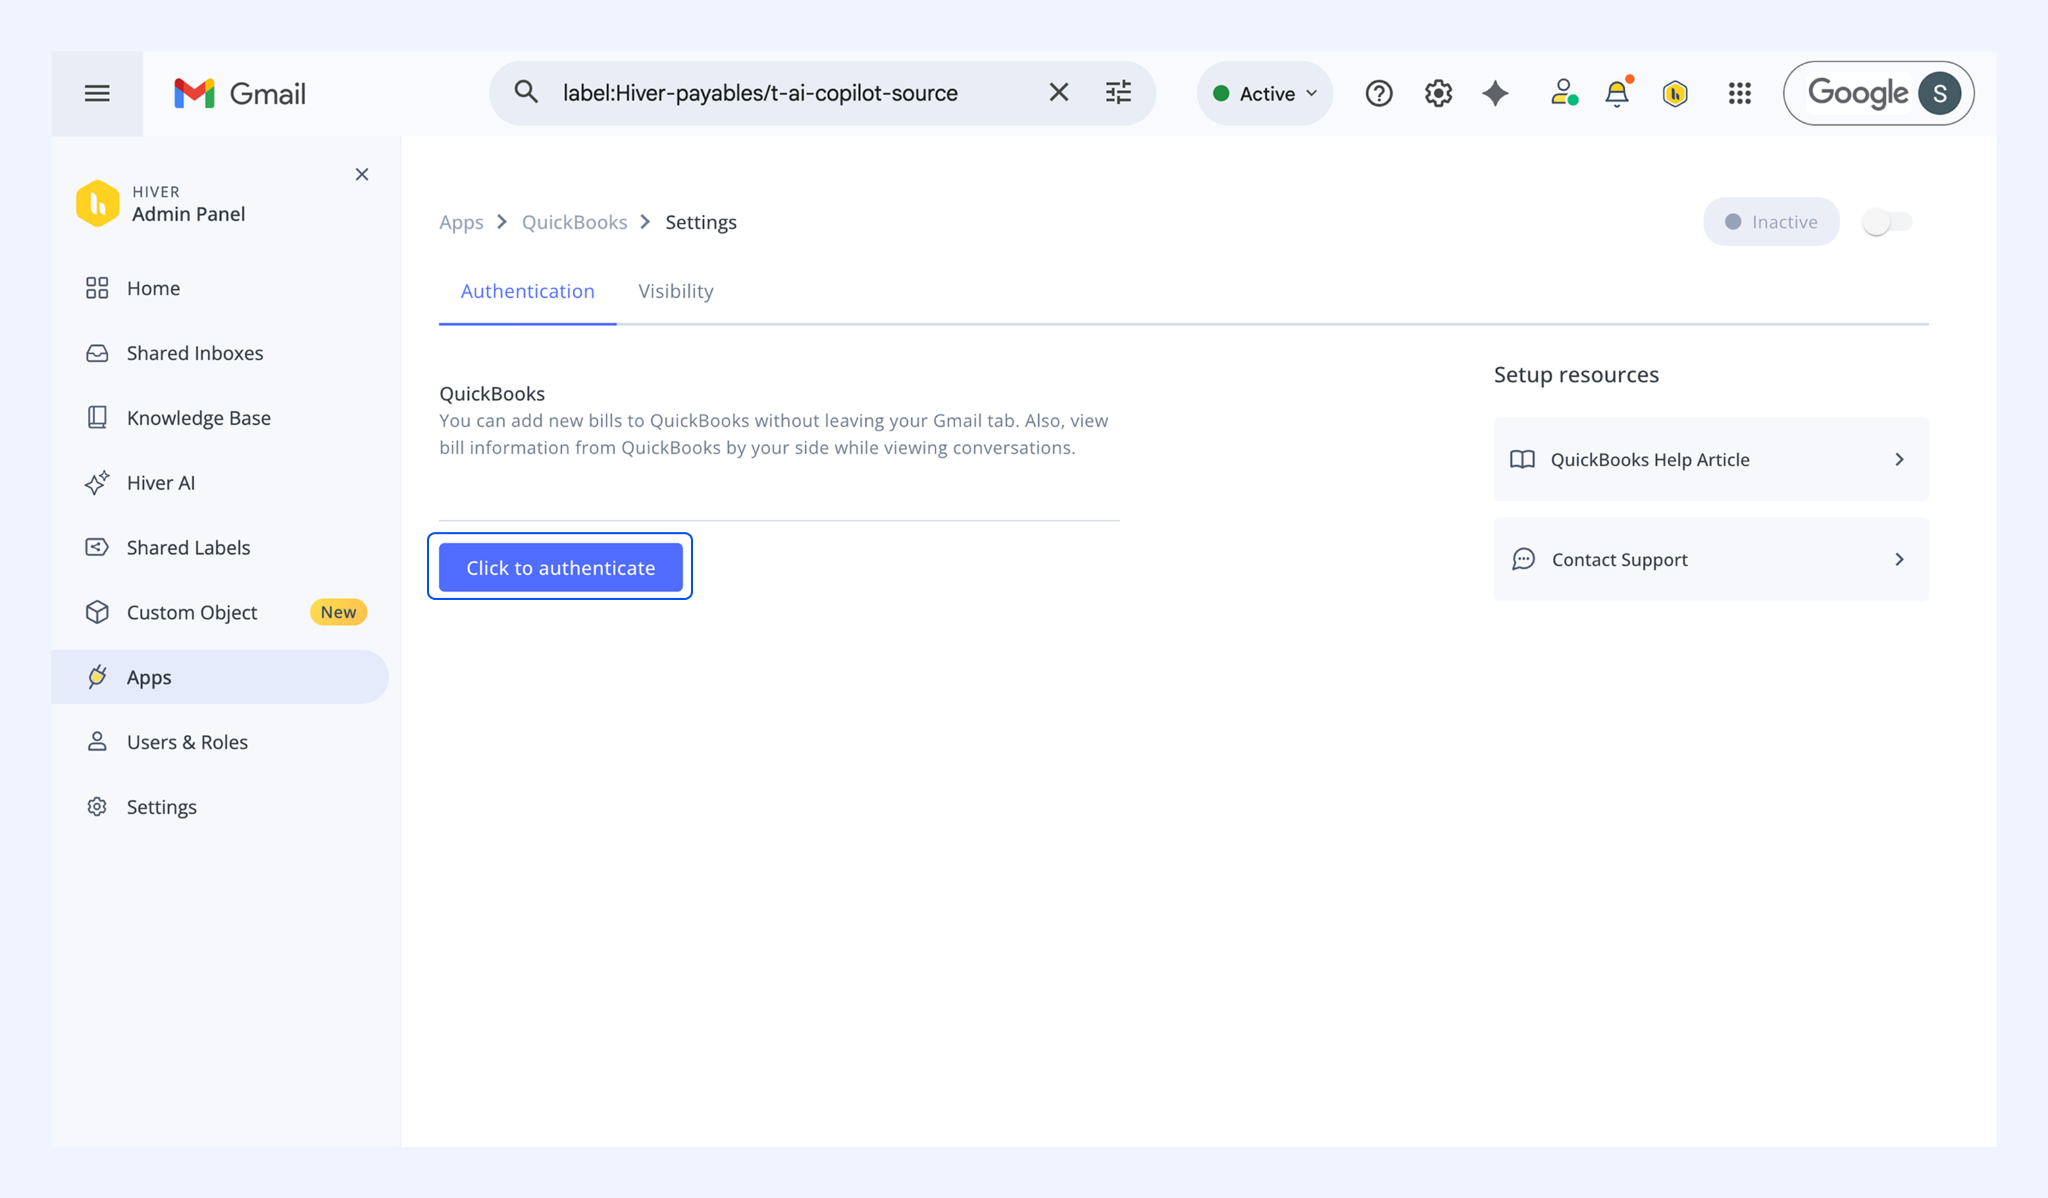
1. On the setup page, select Click to authenticate.
2. Log in to your QuickBooks account in the new tab that opens.
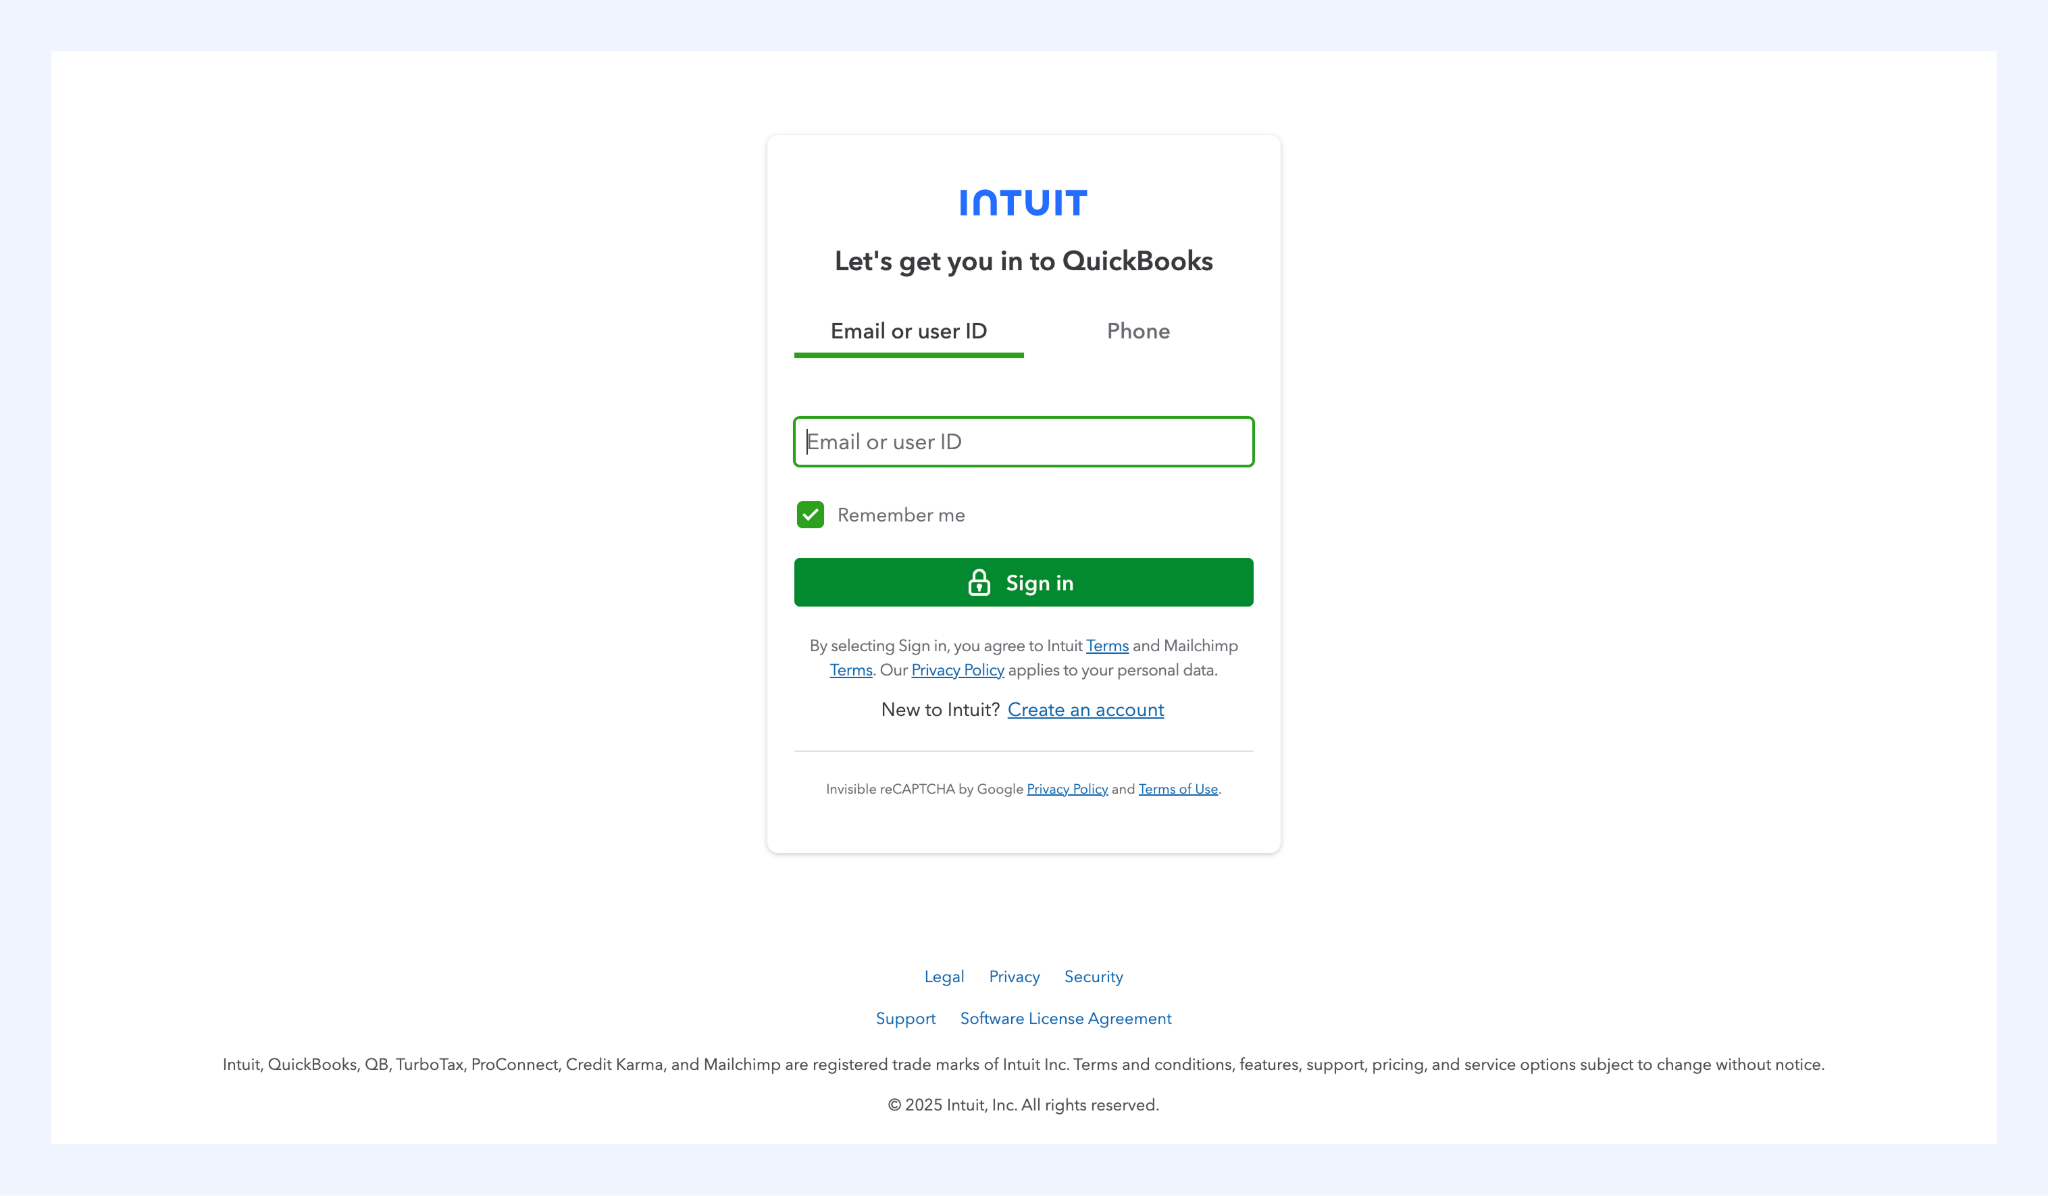
3. After signing in, you'll be returned to the Apps screen in Hiver.
Step 3: Customize your QuickBooks integration
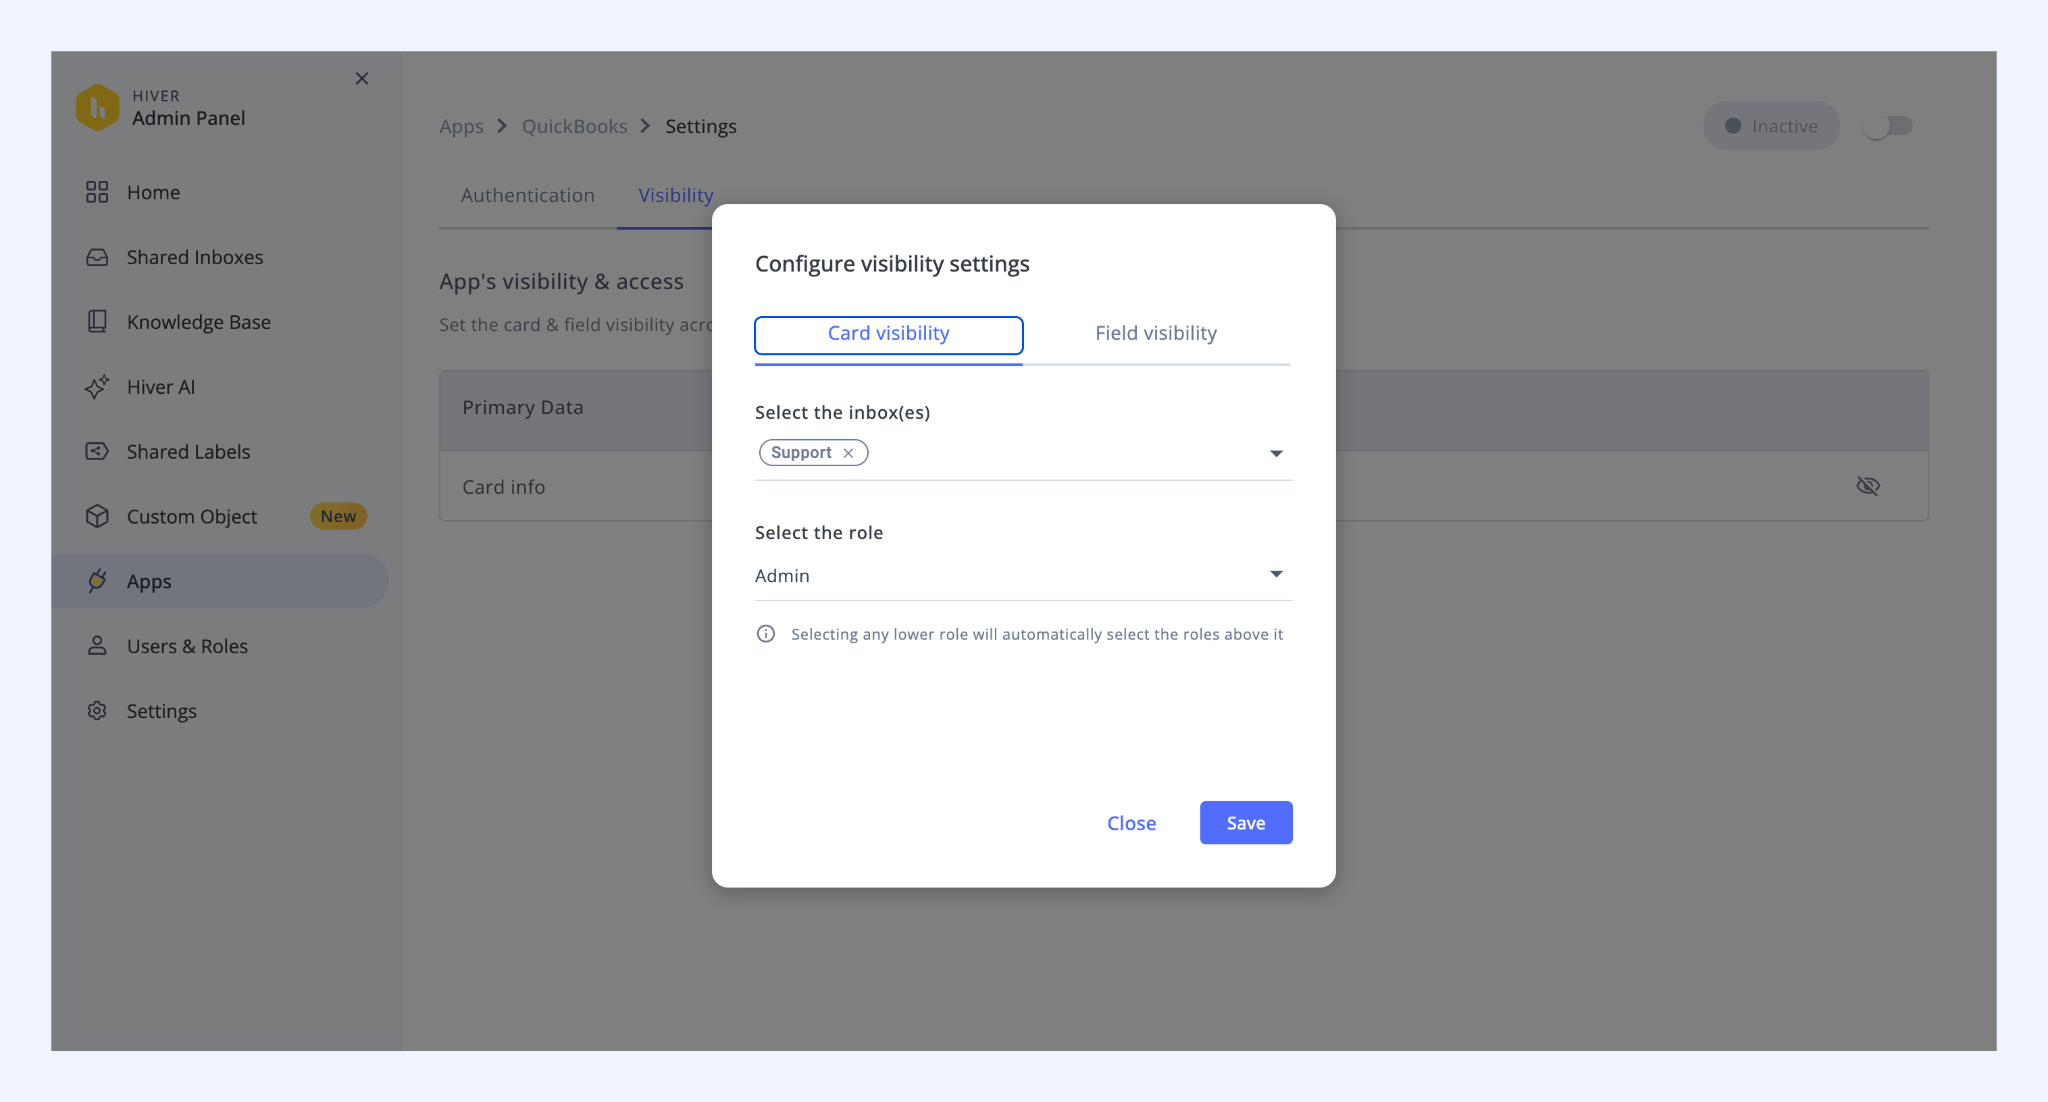
1. In the Visibility tab, click the Configure visibility settings icon (eye icon).
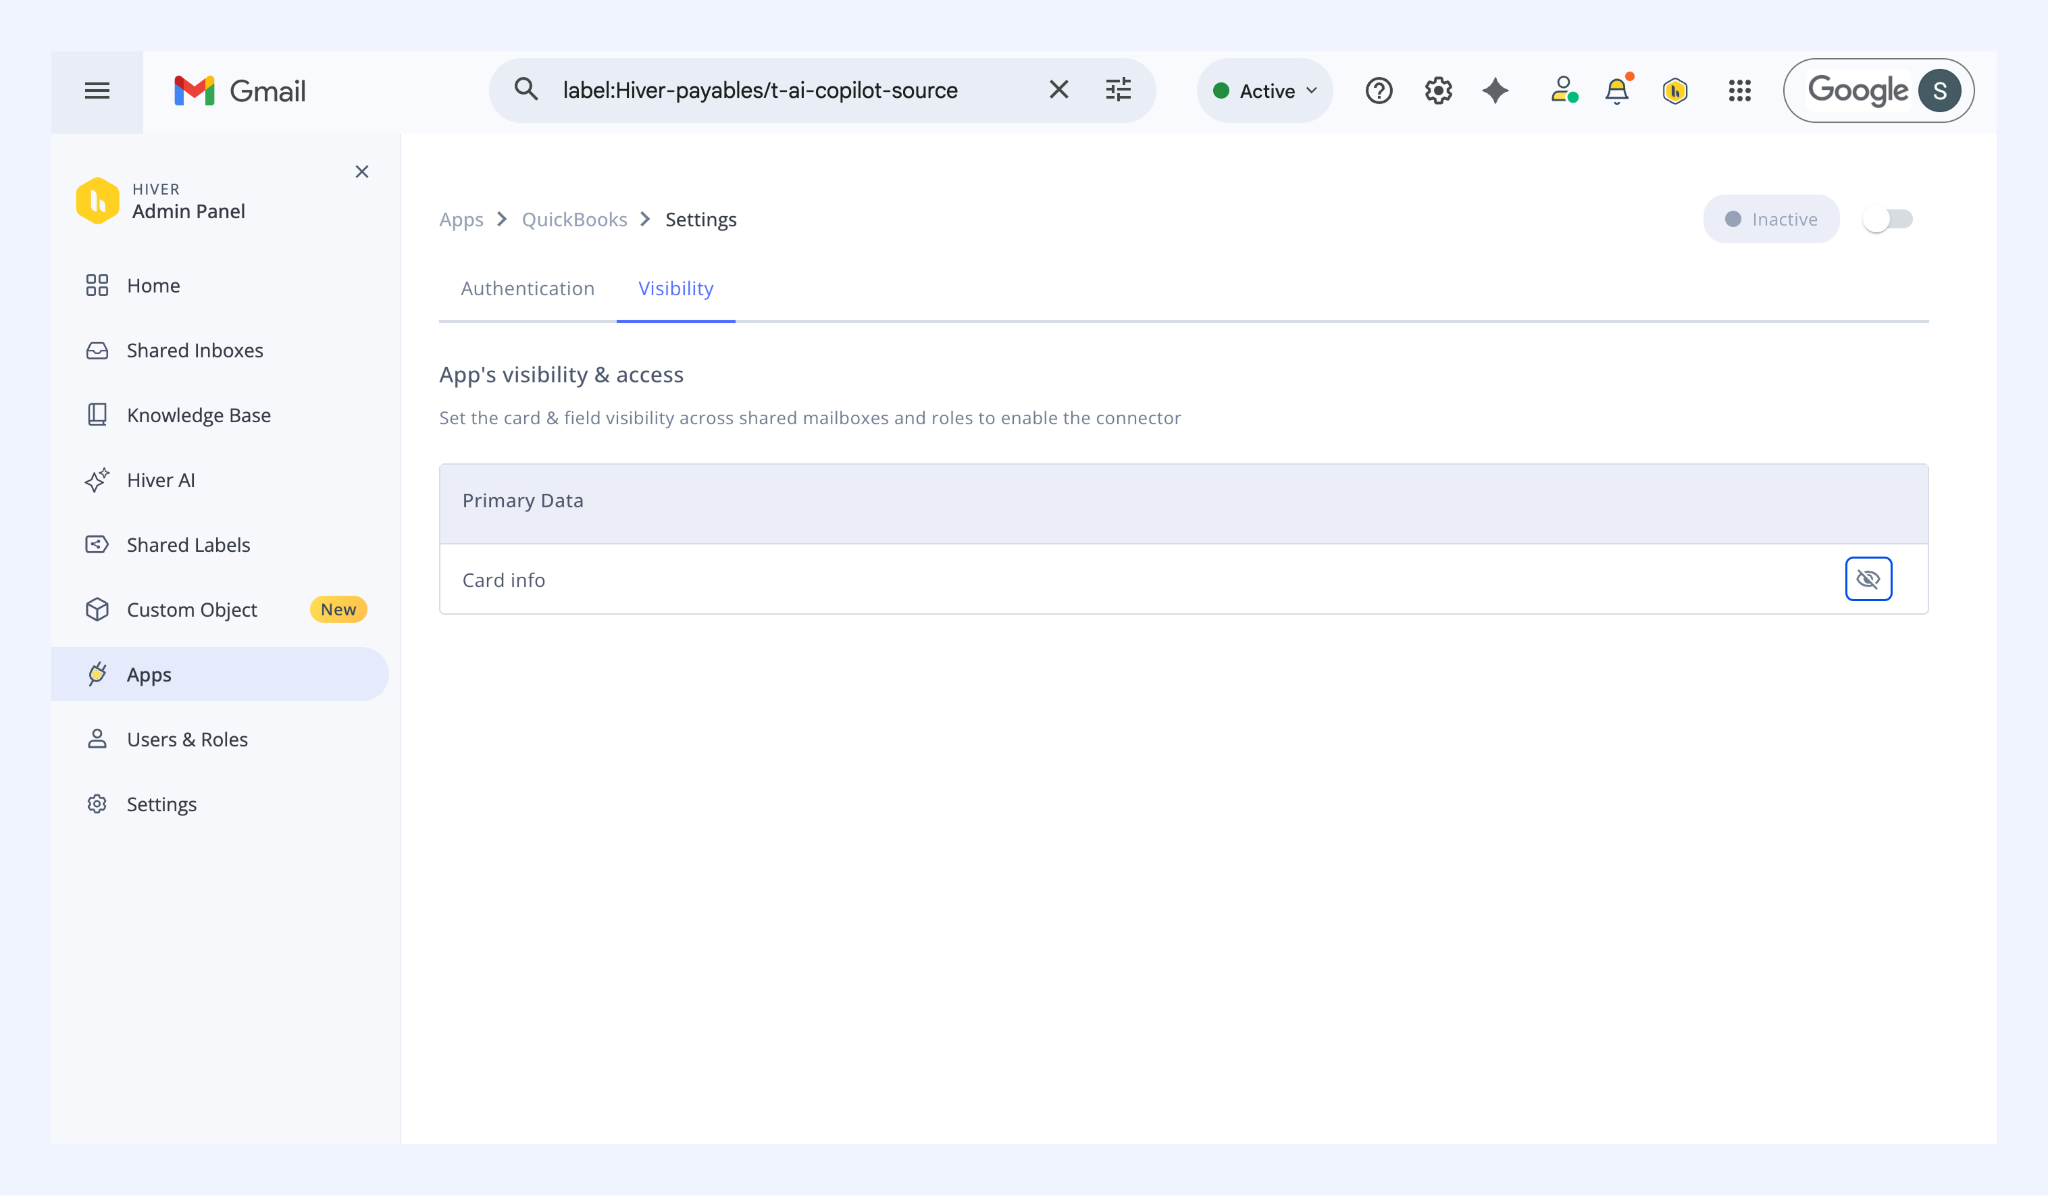
2. In Card visibility, select the Shared Inboxes where QuickBooks data should be displayed and user roles who can access the data.
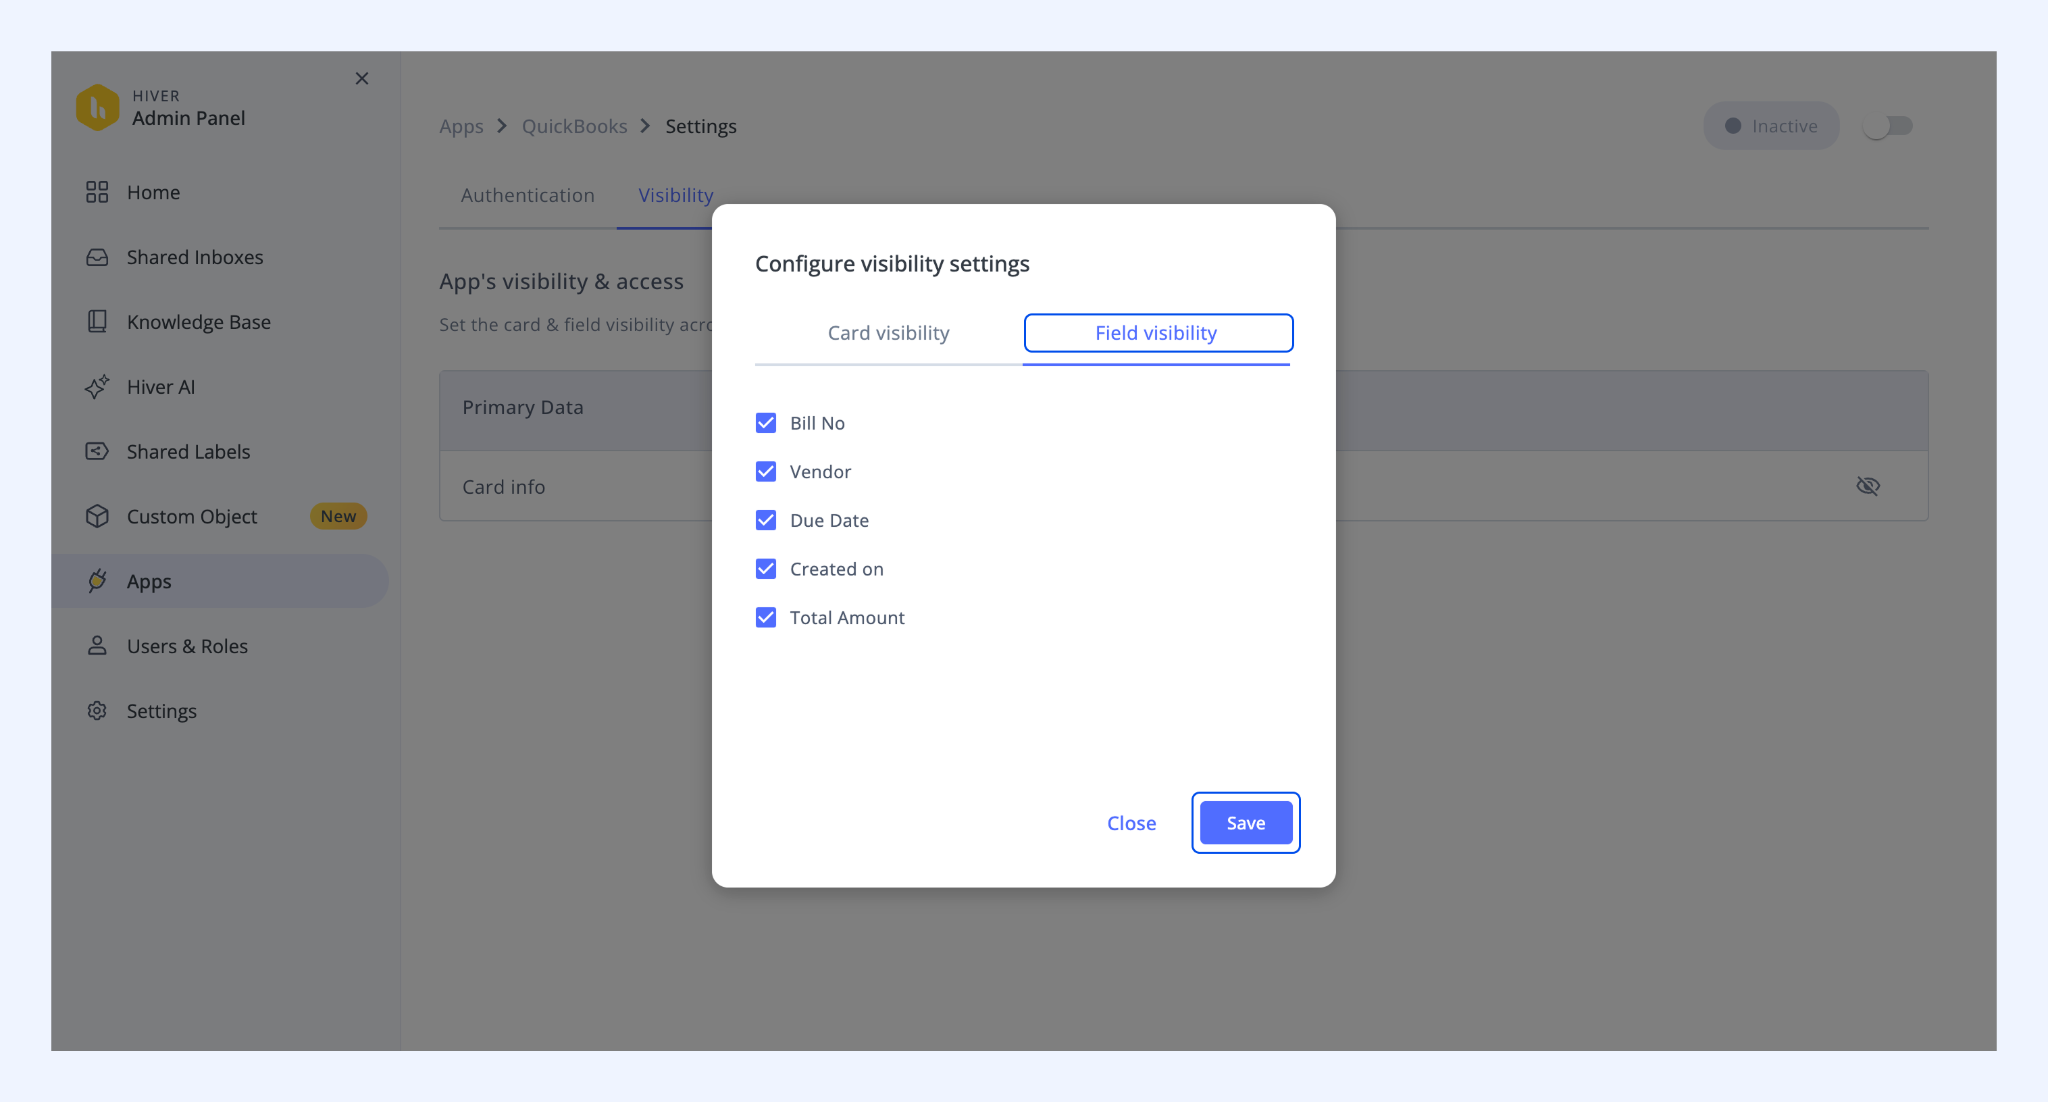
3. In Field visibility, select which data fields from QuickBooks you want to see. Click Save once you’re done.
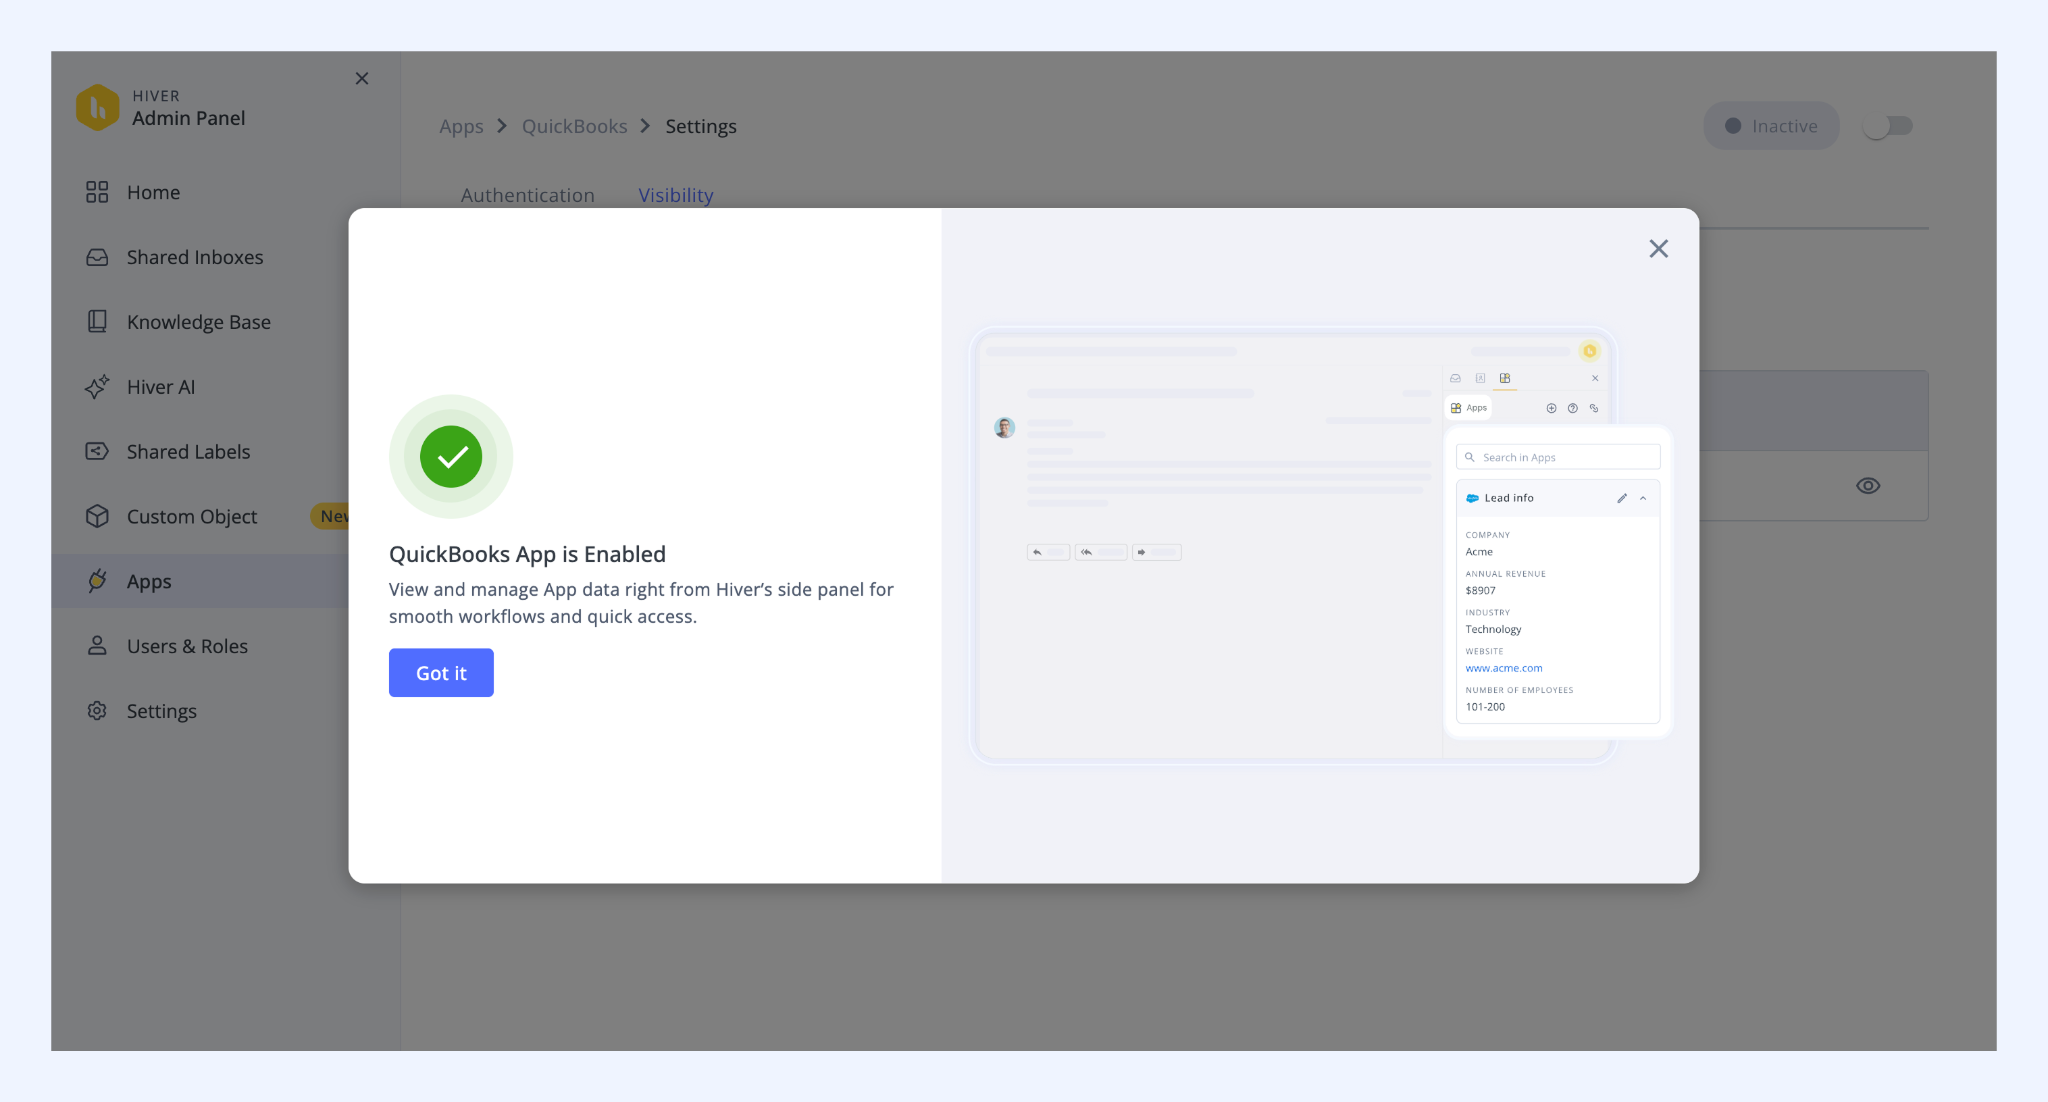
4. You’ll see a success message. The QuickBooks app will appear as inactive initially.
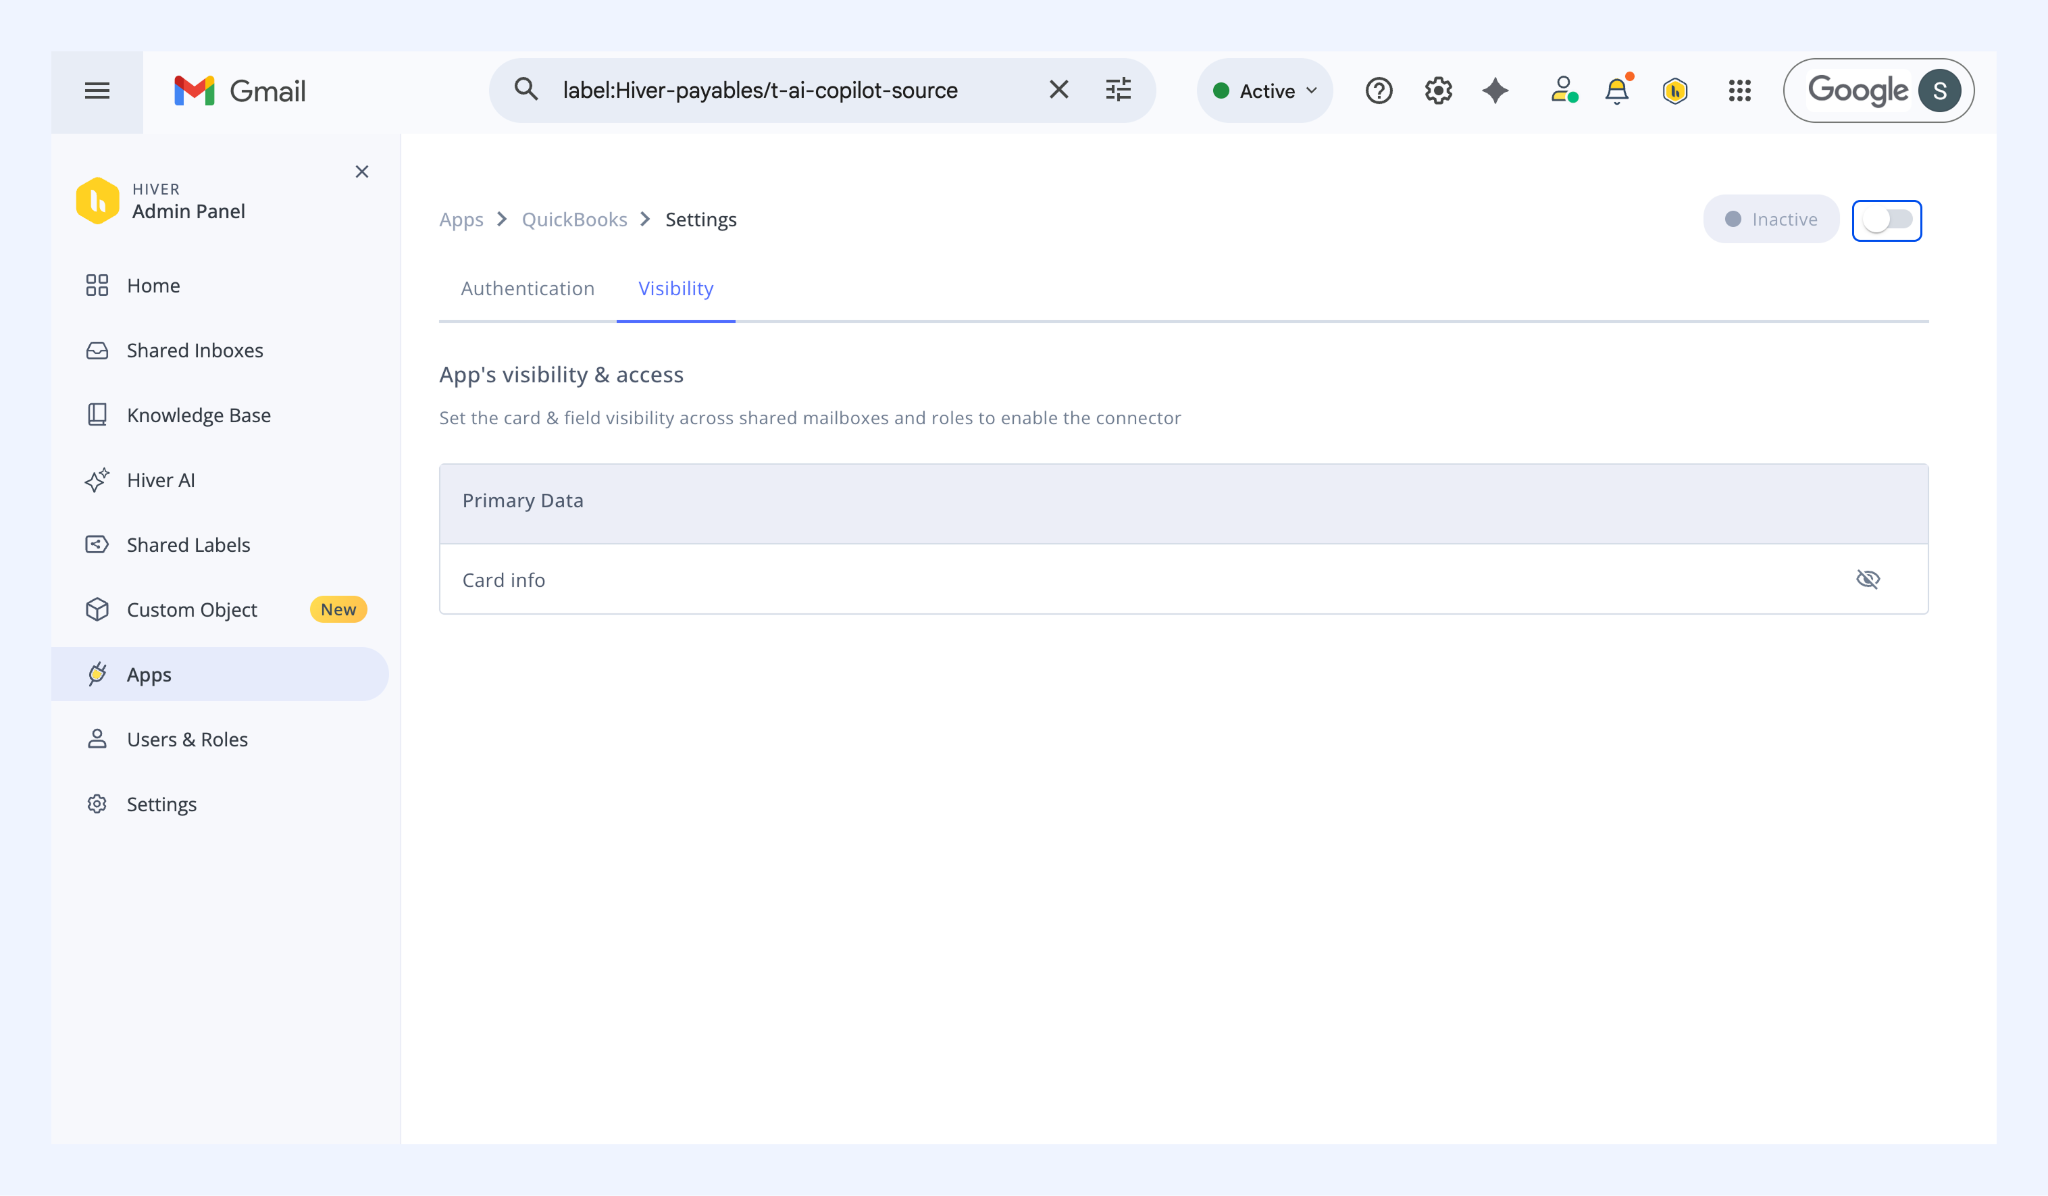
5. Turn on the toggle to enable the app.
What your agents see after setup
Once setup is complete, you can create new QuickBooks bills or link existing ones directly from your conversations.
Viewing Quickbooks bills
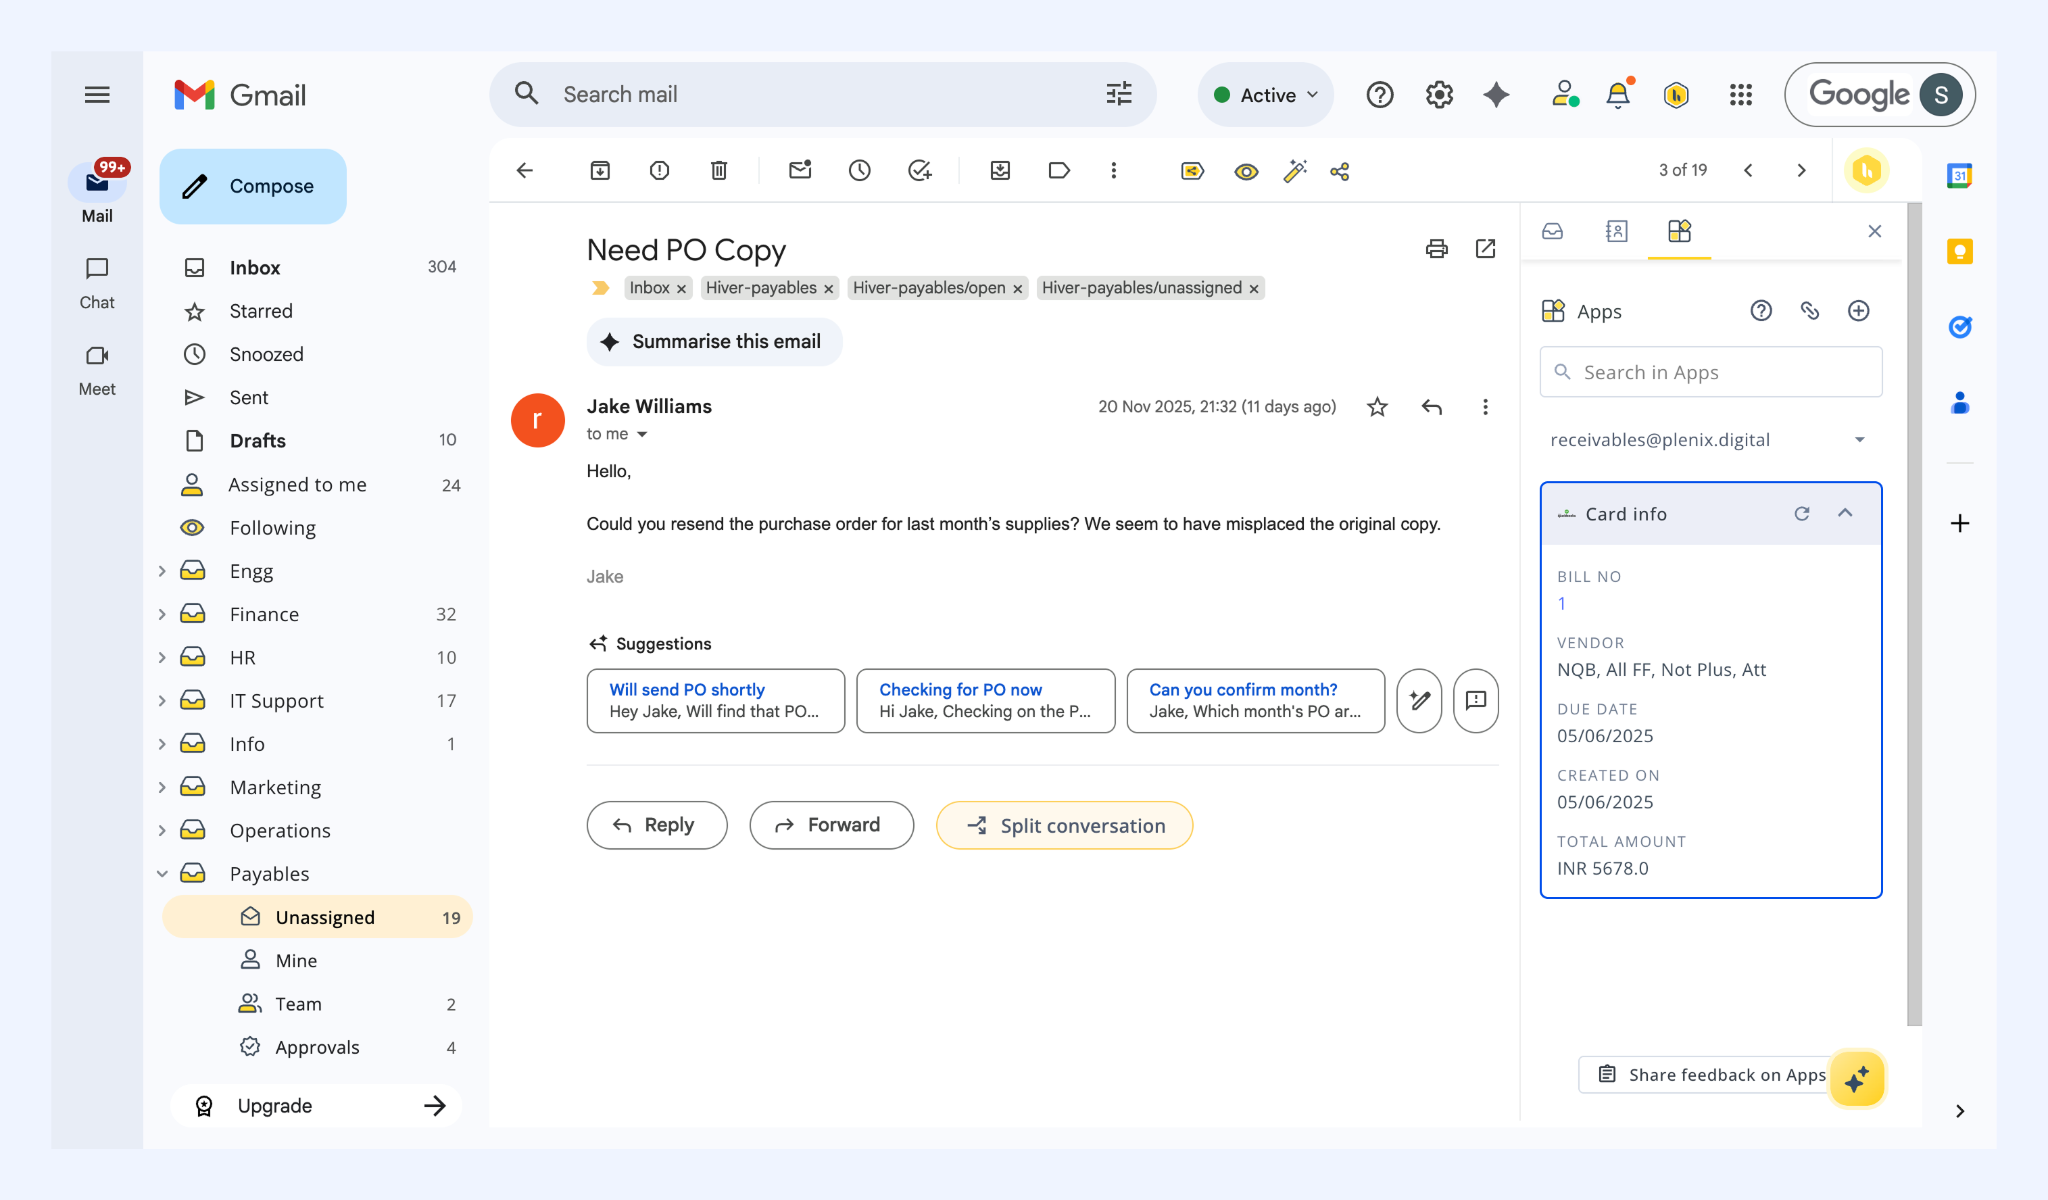
The Apps tab in Hiver lets you view details from QuickBooks right within conversations.
Creating QuickBooks bills
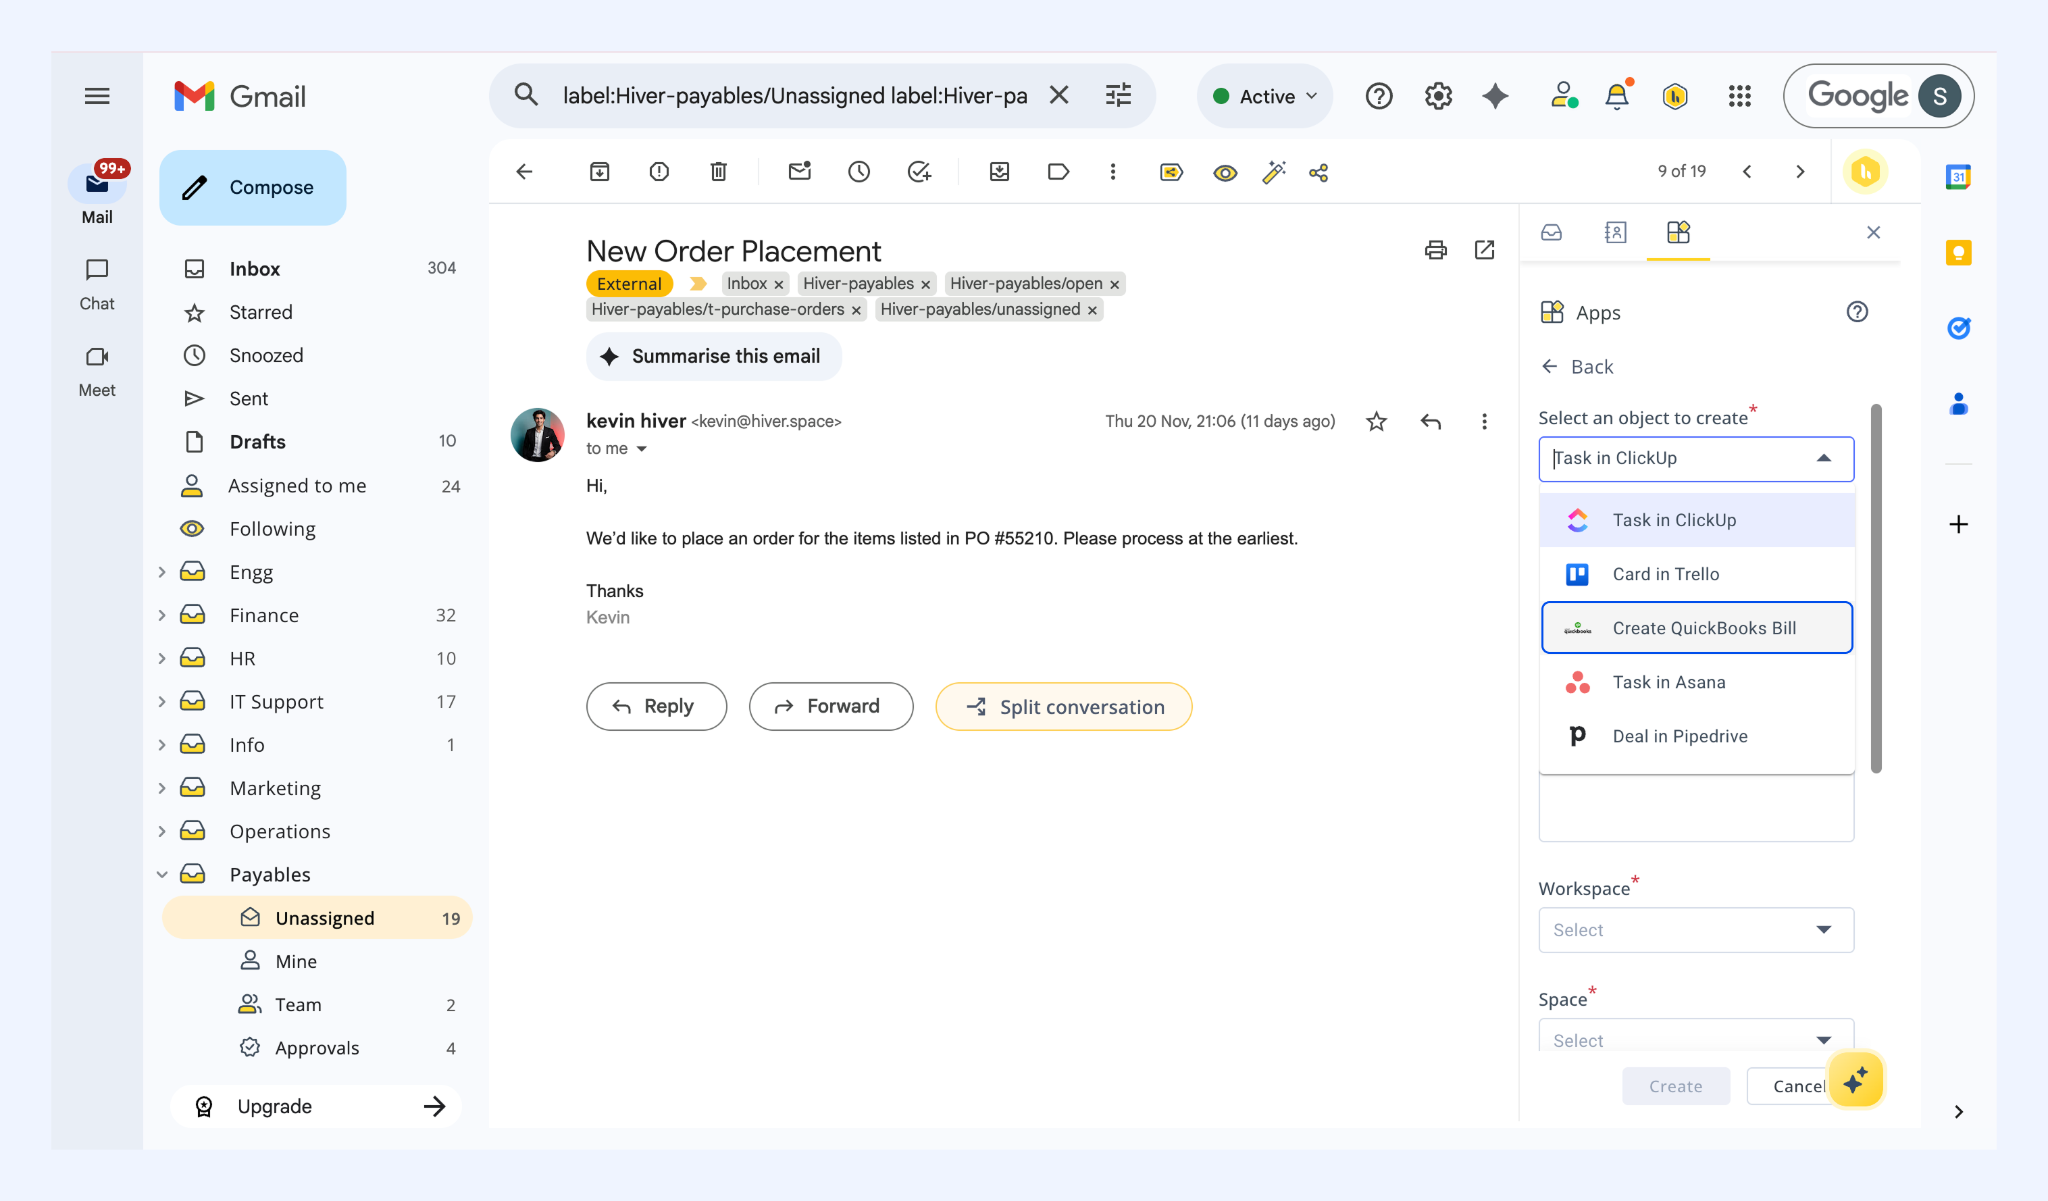
1. Open a conversation and go to the Apps tab.
2. Click Create new object and select Create Quickbooks Bill.
3. Enter the bill details and click Create.
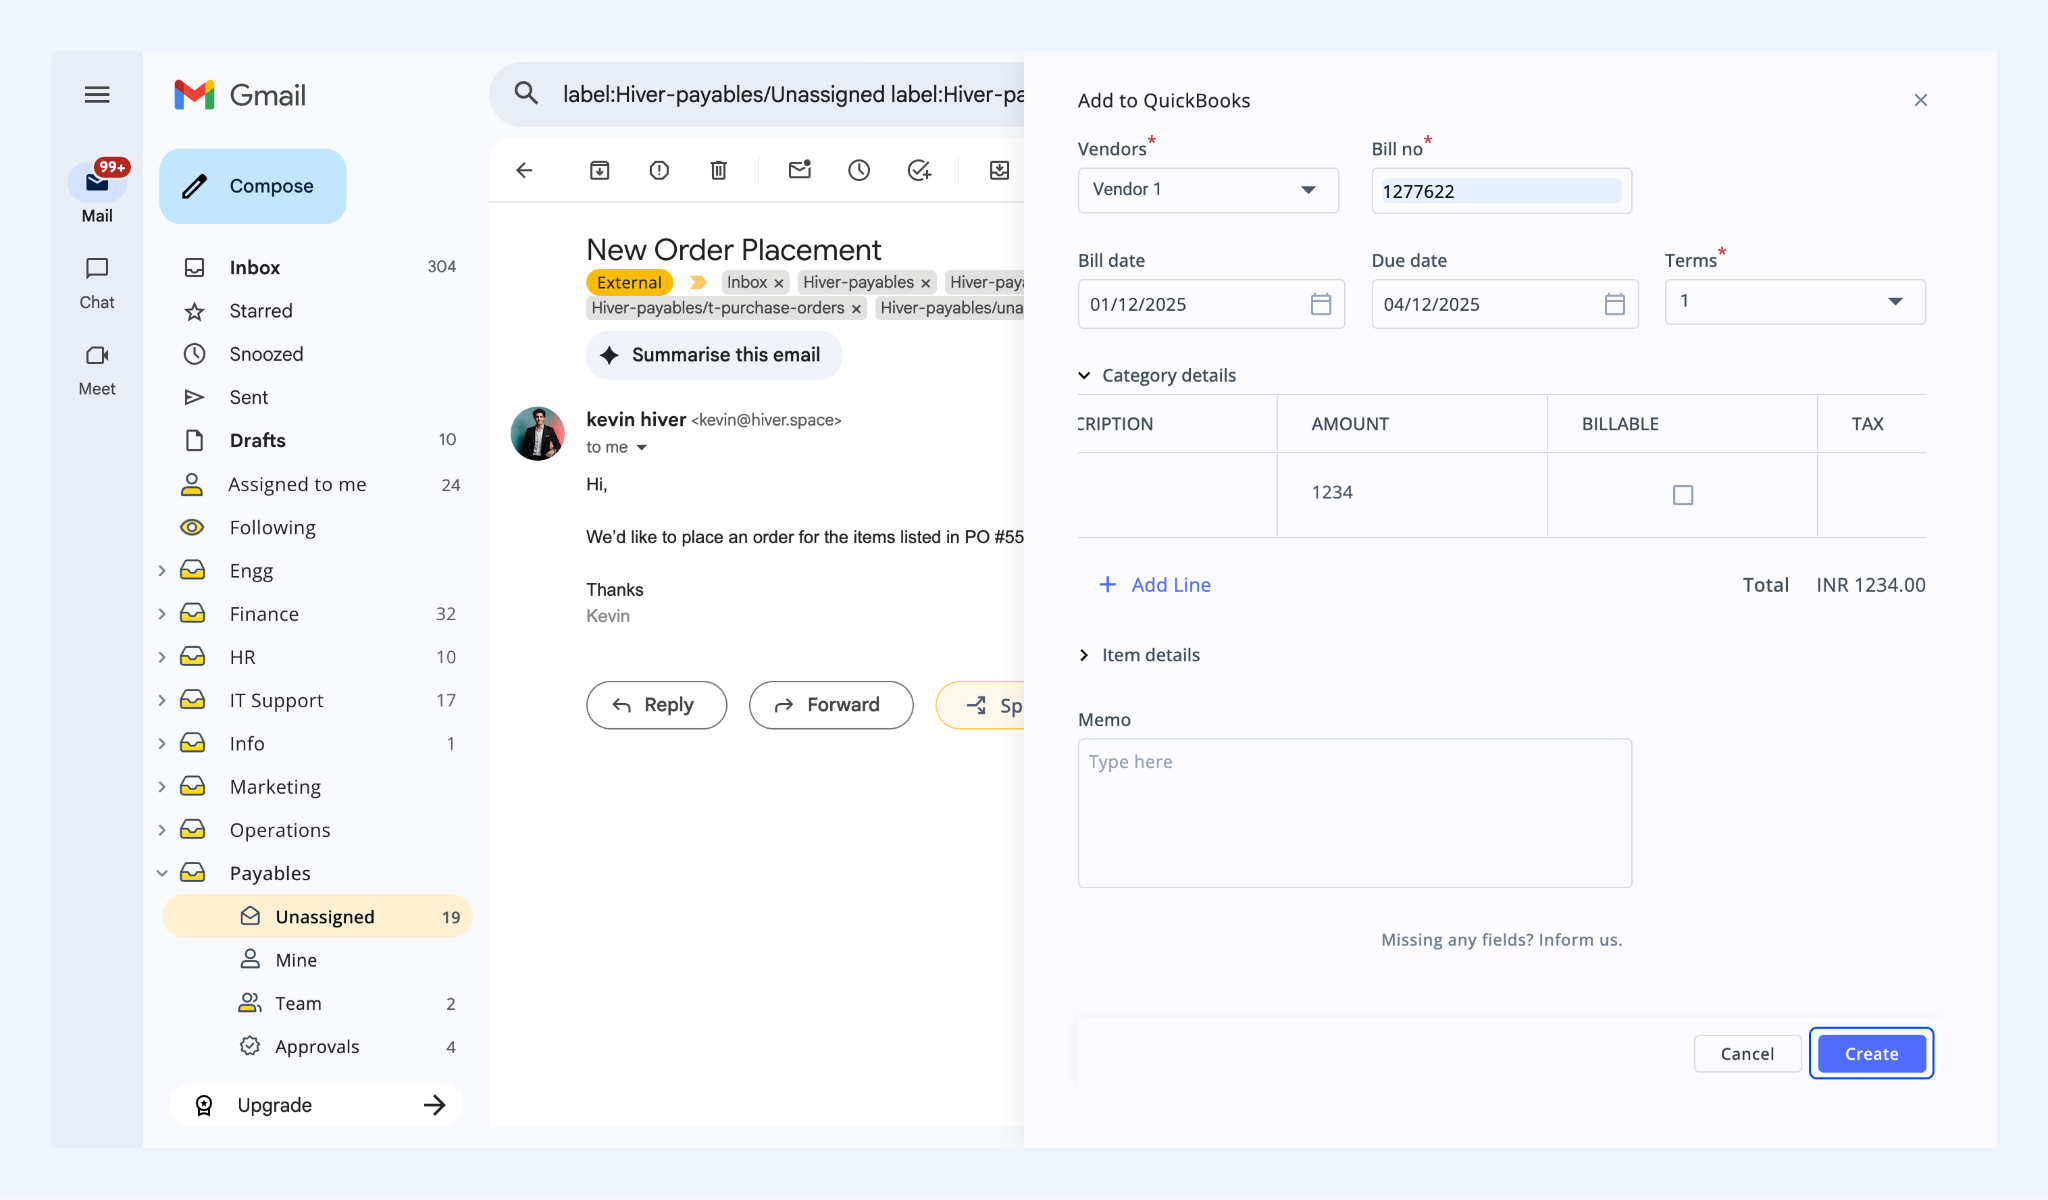
The new bill will appear in the Apps tab.
Linking existing QuickBooks bills
1. Open a conversation and go to the Apps tab.
2. Click Link existing object and select Link QuickBooks bill.
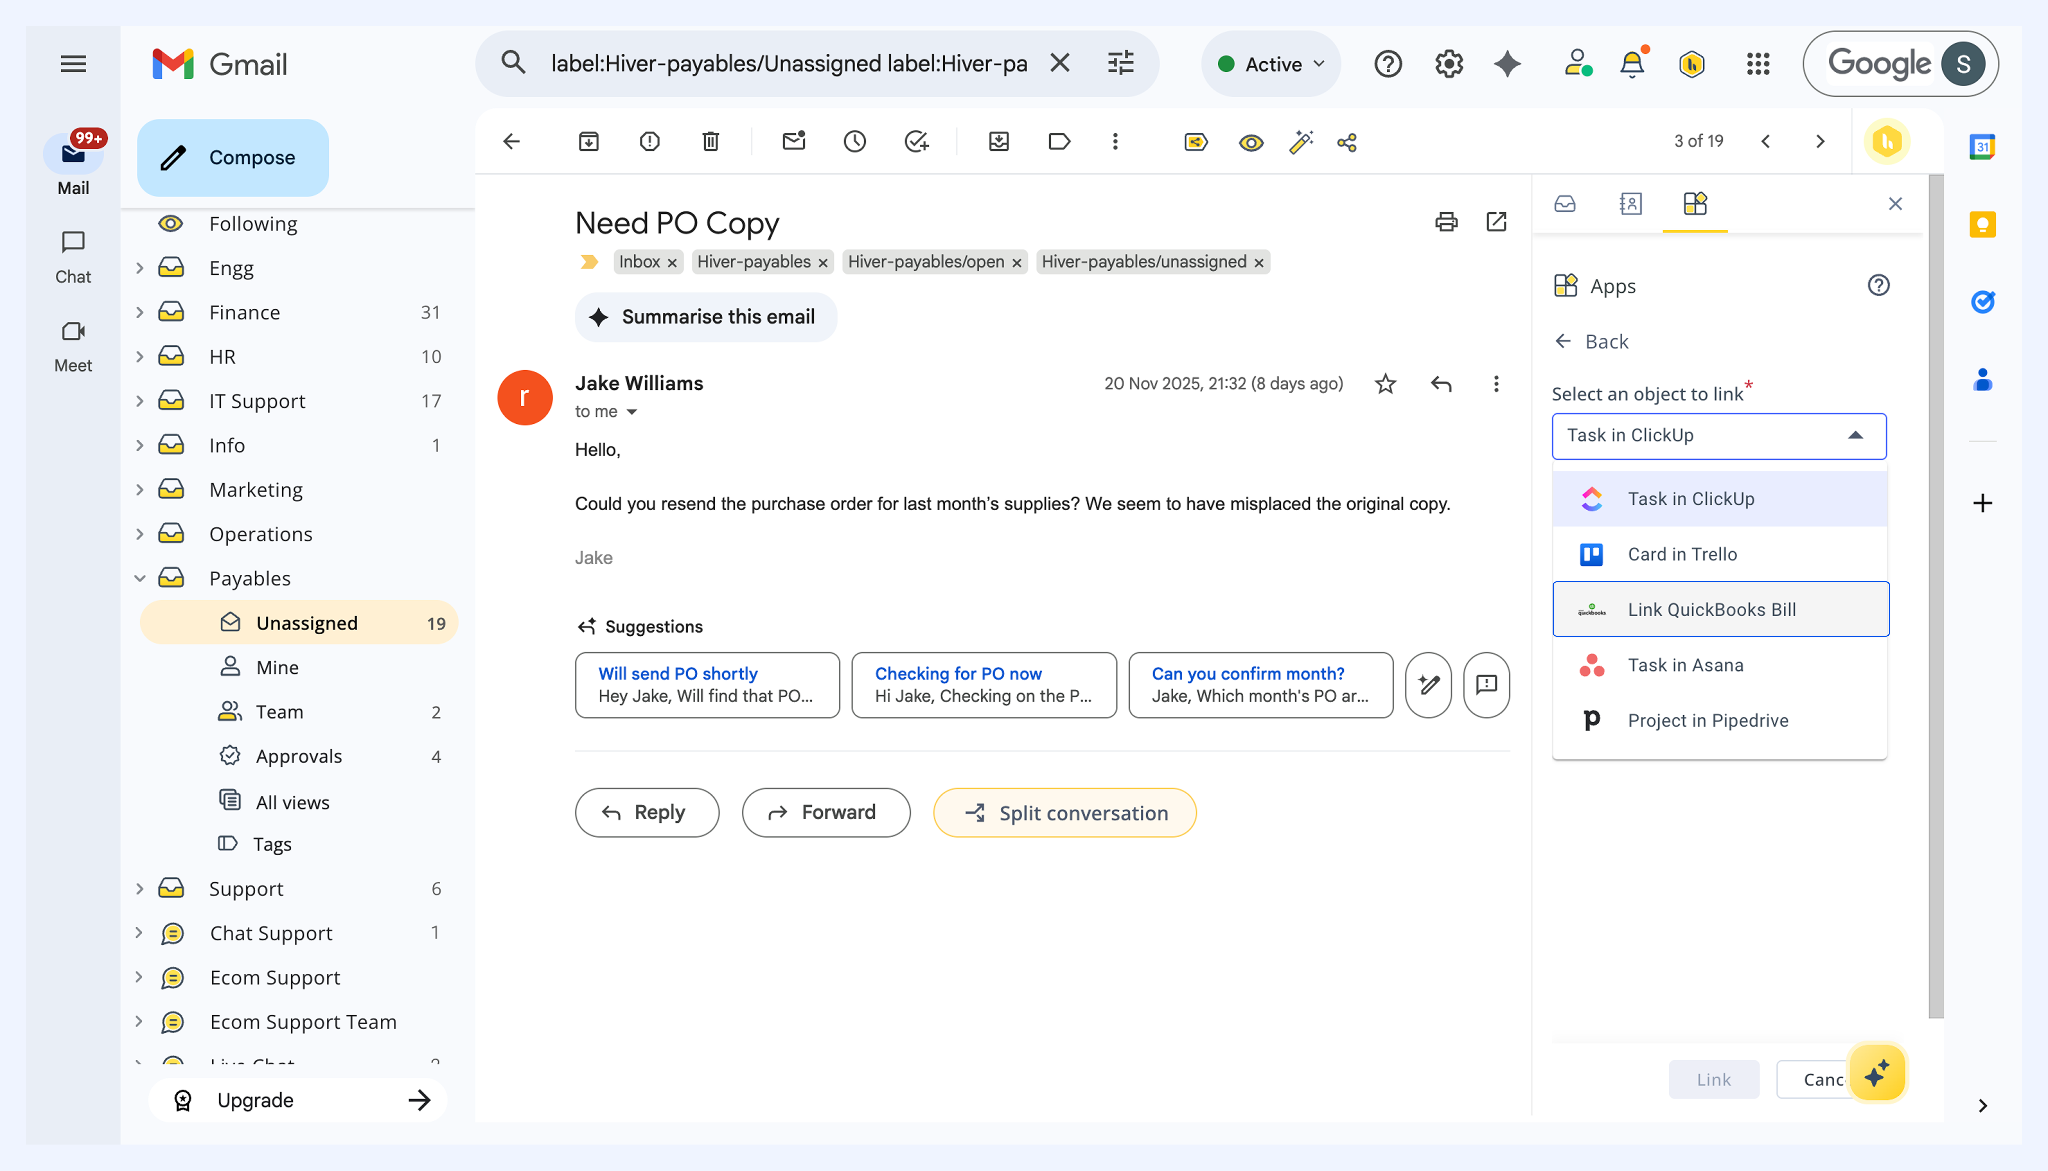
3. Paste the bill link in the Object ID/Link field.
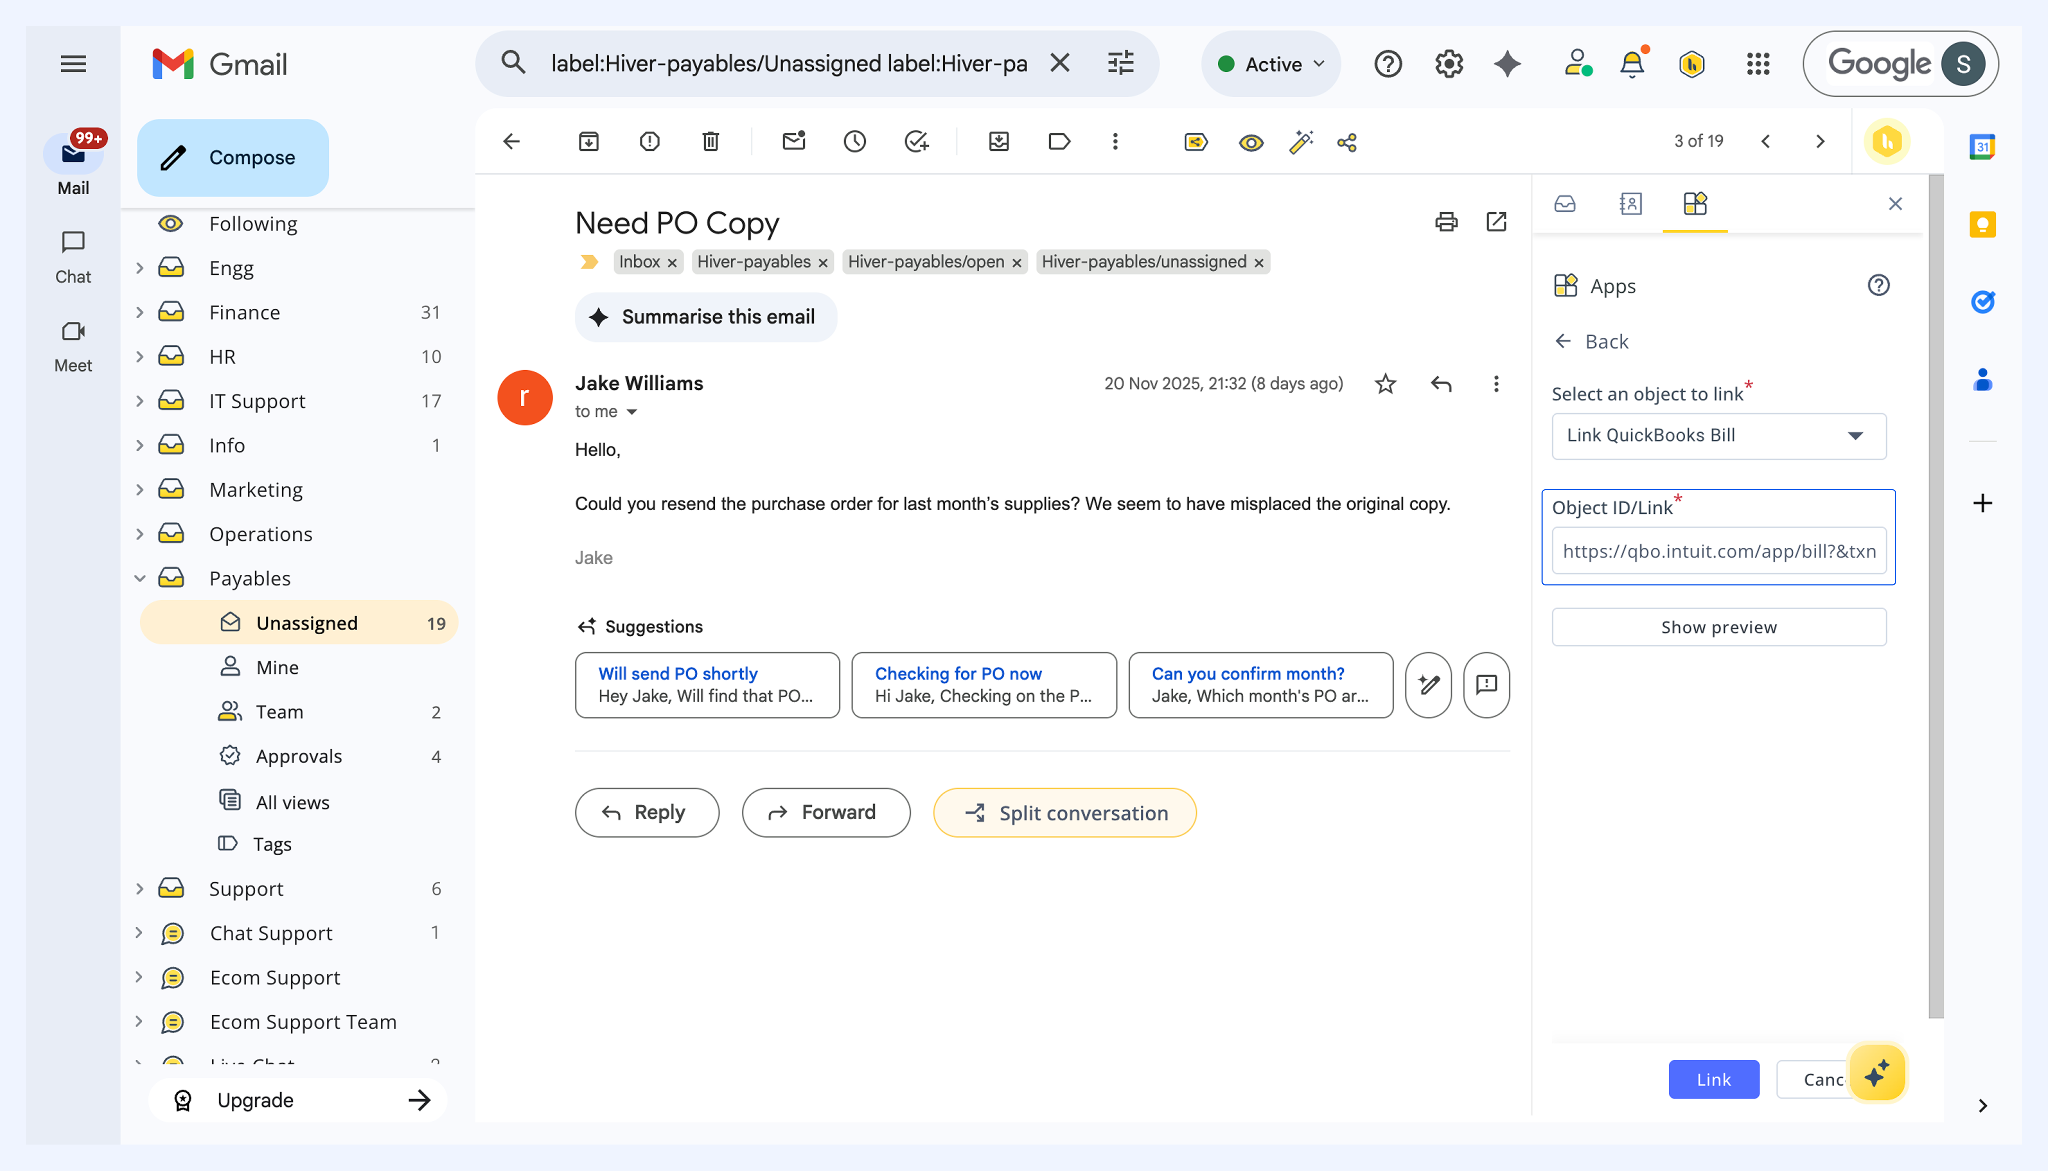
4. Click Show preview to view the bill information and click Link.
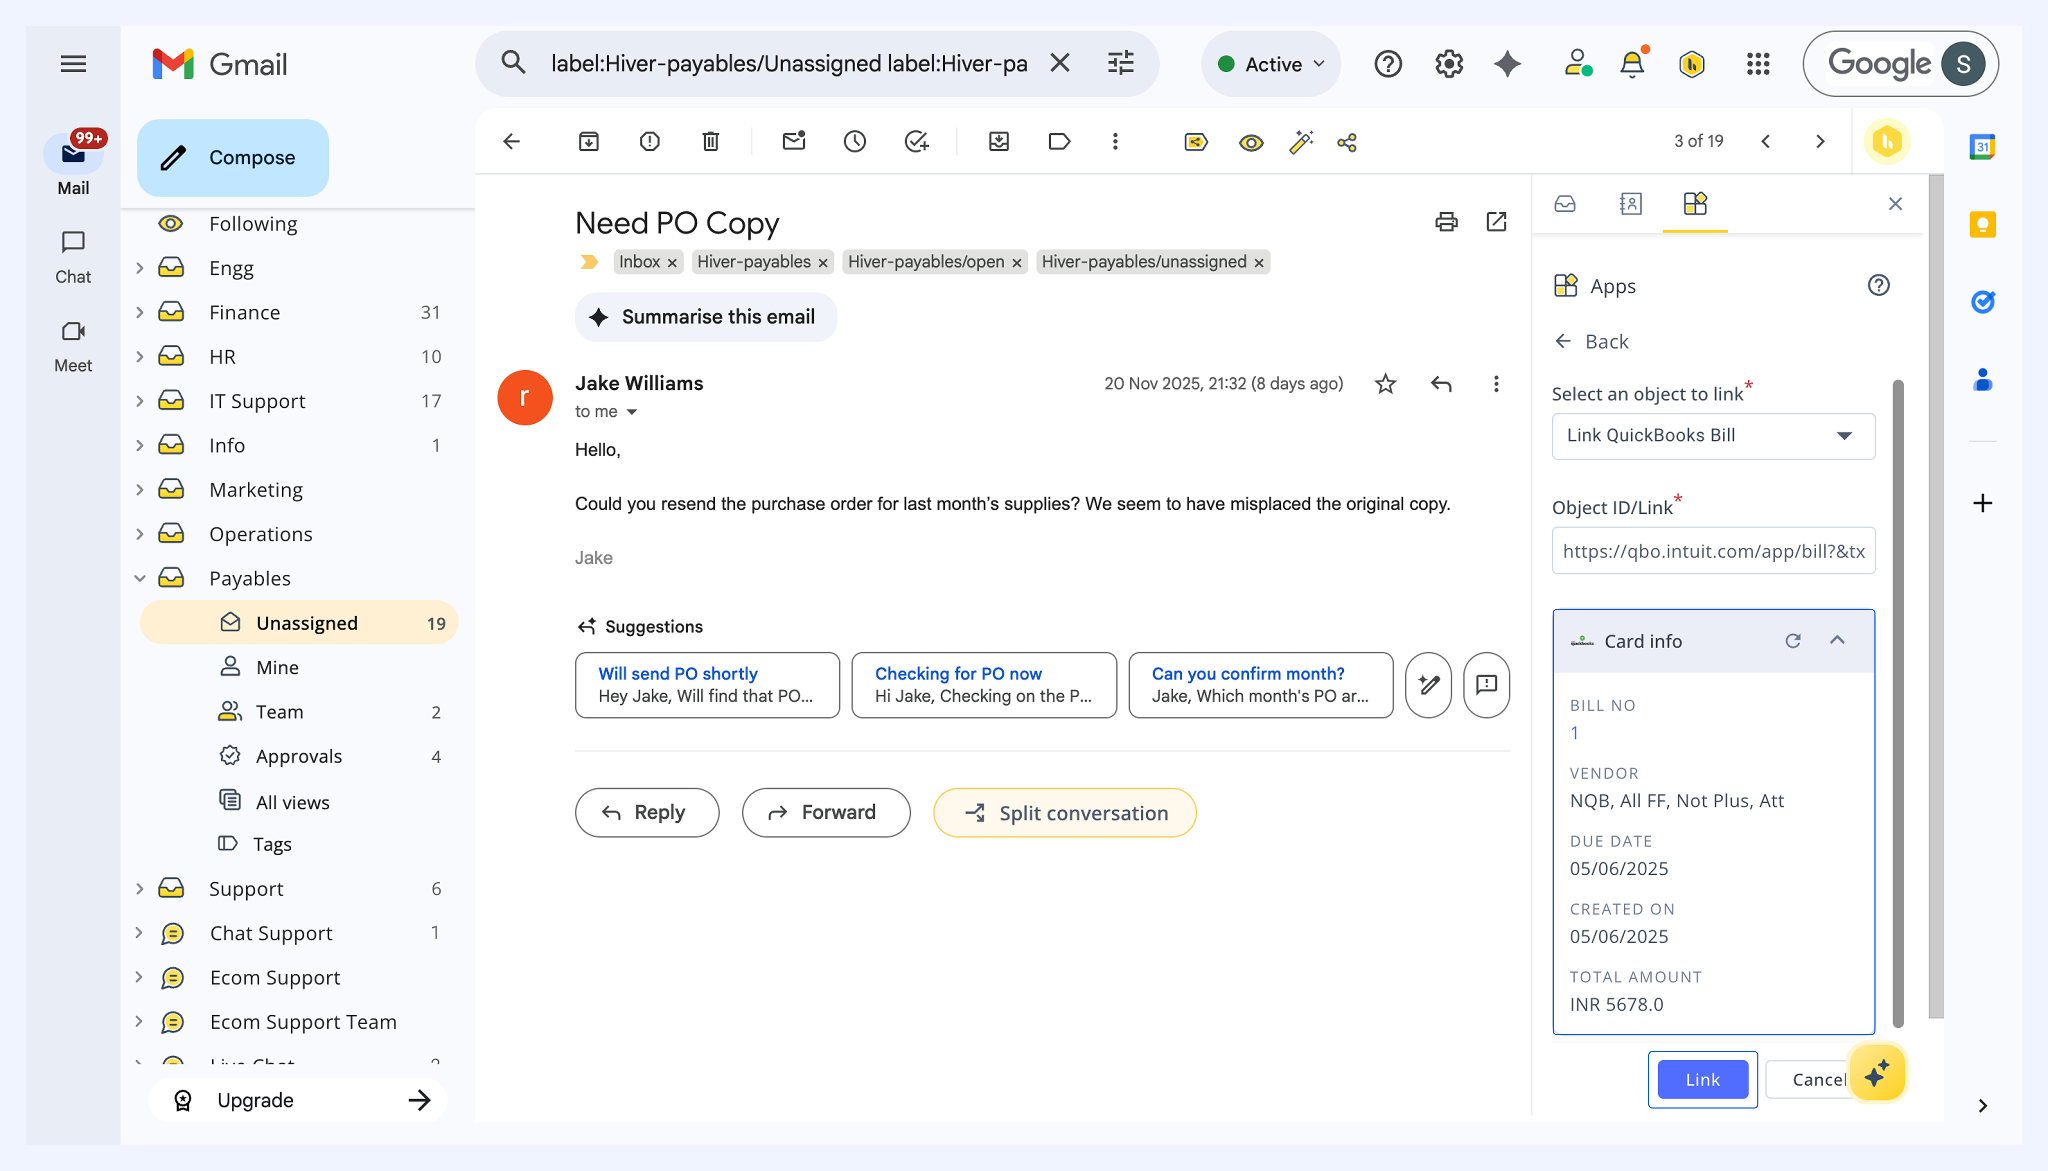
The linked bill will appear in the Apps tab beside the conversation.
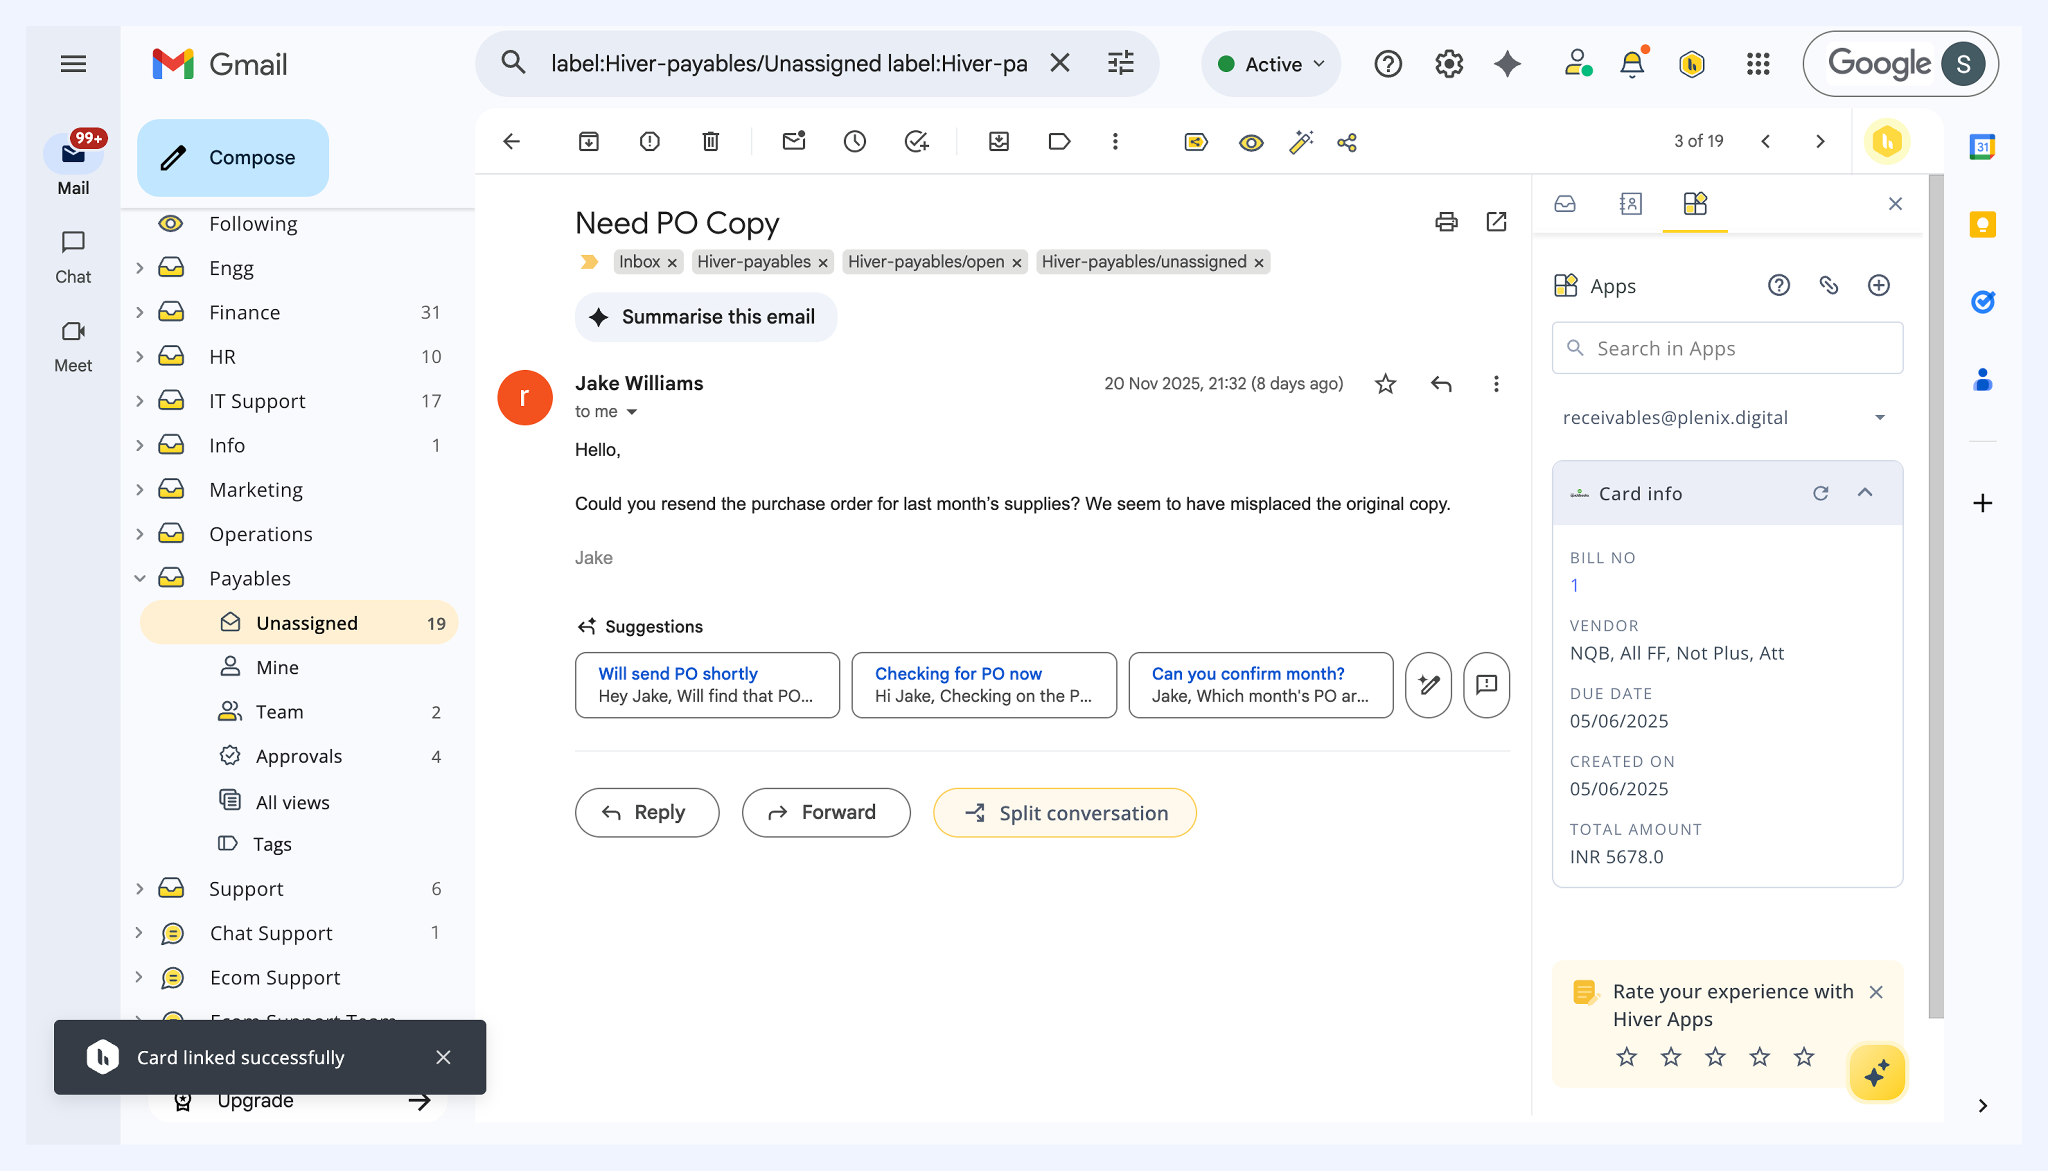
Note: You can click the bill number to option the bill in QuickBooks.
Related articles
WooCommerce integration in Hiver
Salesforce integration in Hiver