Setting up Auto Responder
Hiver’s Auto Responder lets you automatically send replies to incoming conversations. You can use it to acknowledge customer messages and maintain consistent communication, even when your team is busy or offline. This also helps you:
- Reassure customers that their email has reached your team.
- Set clear expectations by letting them know when to expect a reply
- Save time by reducing the need to send repetitive “we’ll get back to you” messages.
Creating an Auto Responder
1. Go to Hiver settings → Admin panel → Shared Inboxes → select an inbox → Auto Responder.
2. Use the toggle to turn on the feature.
.png)
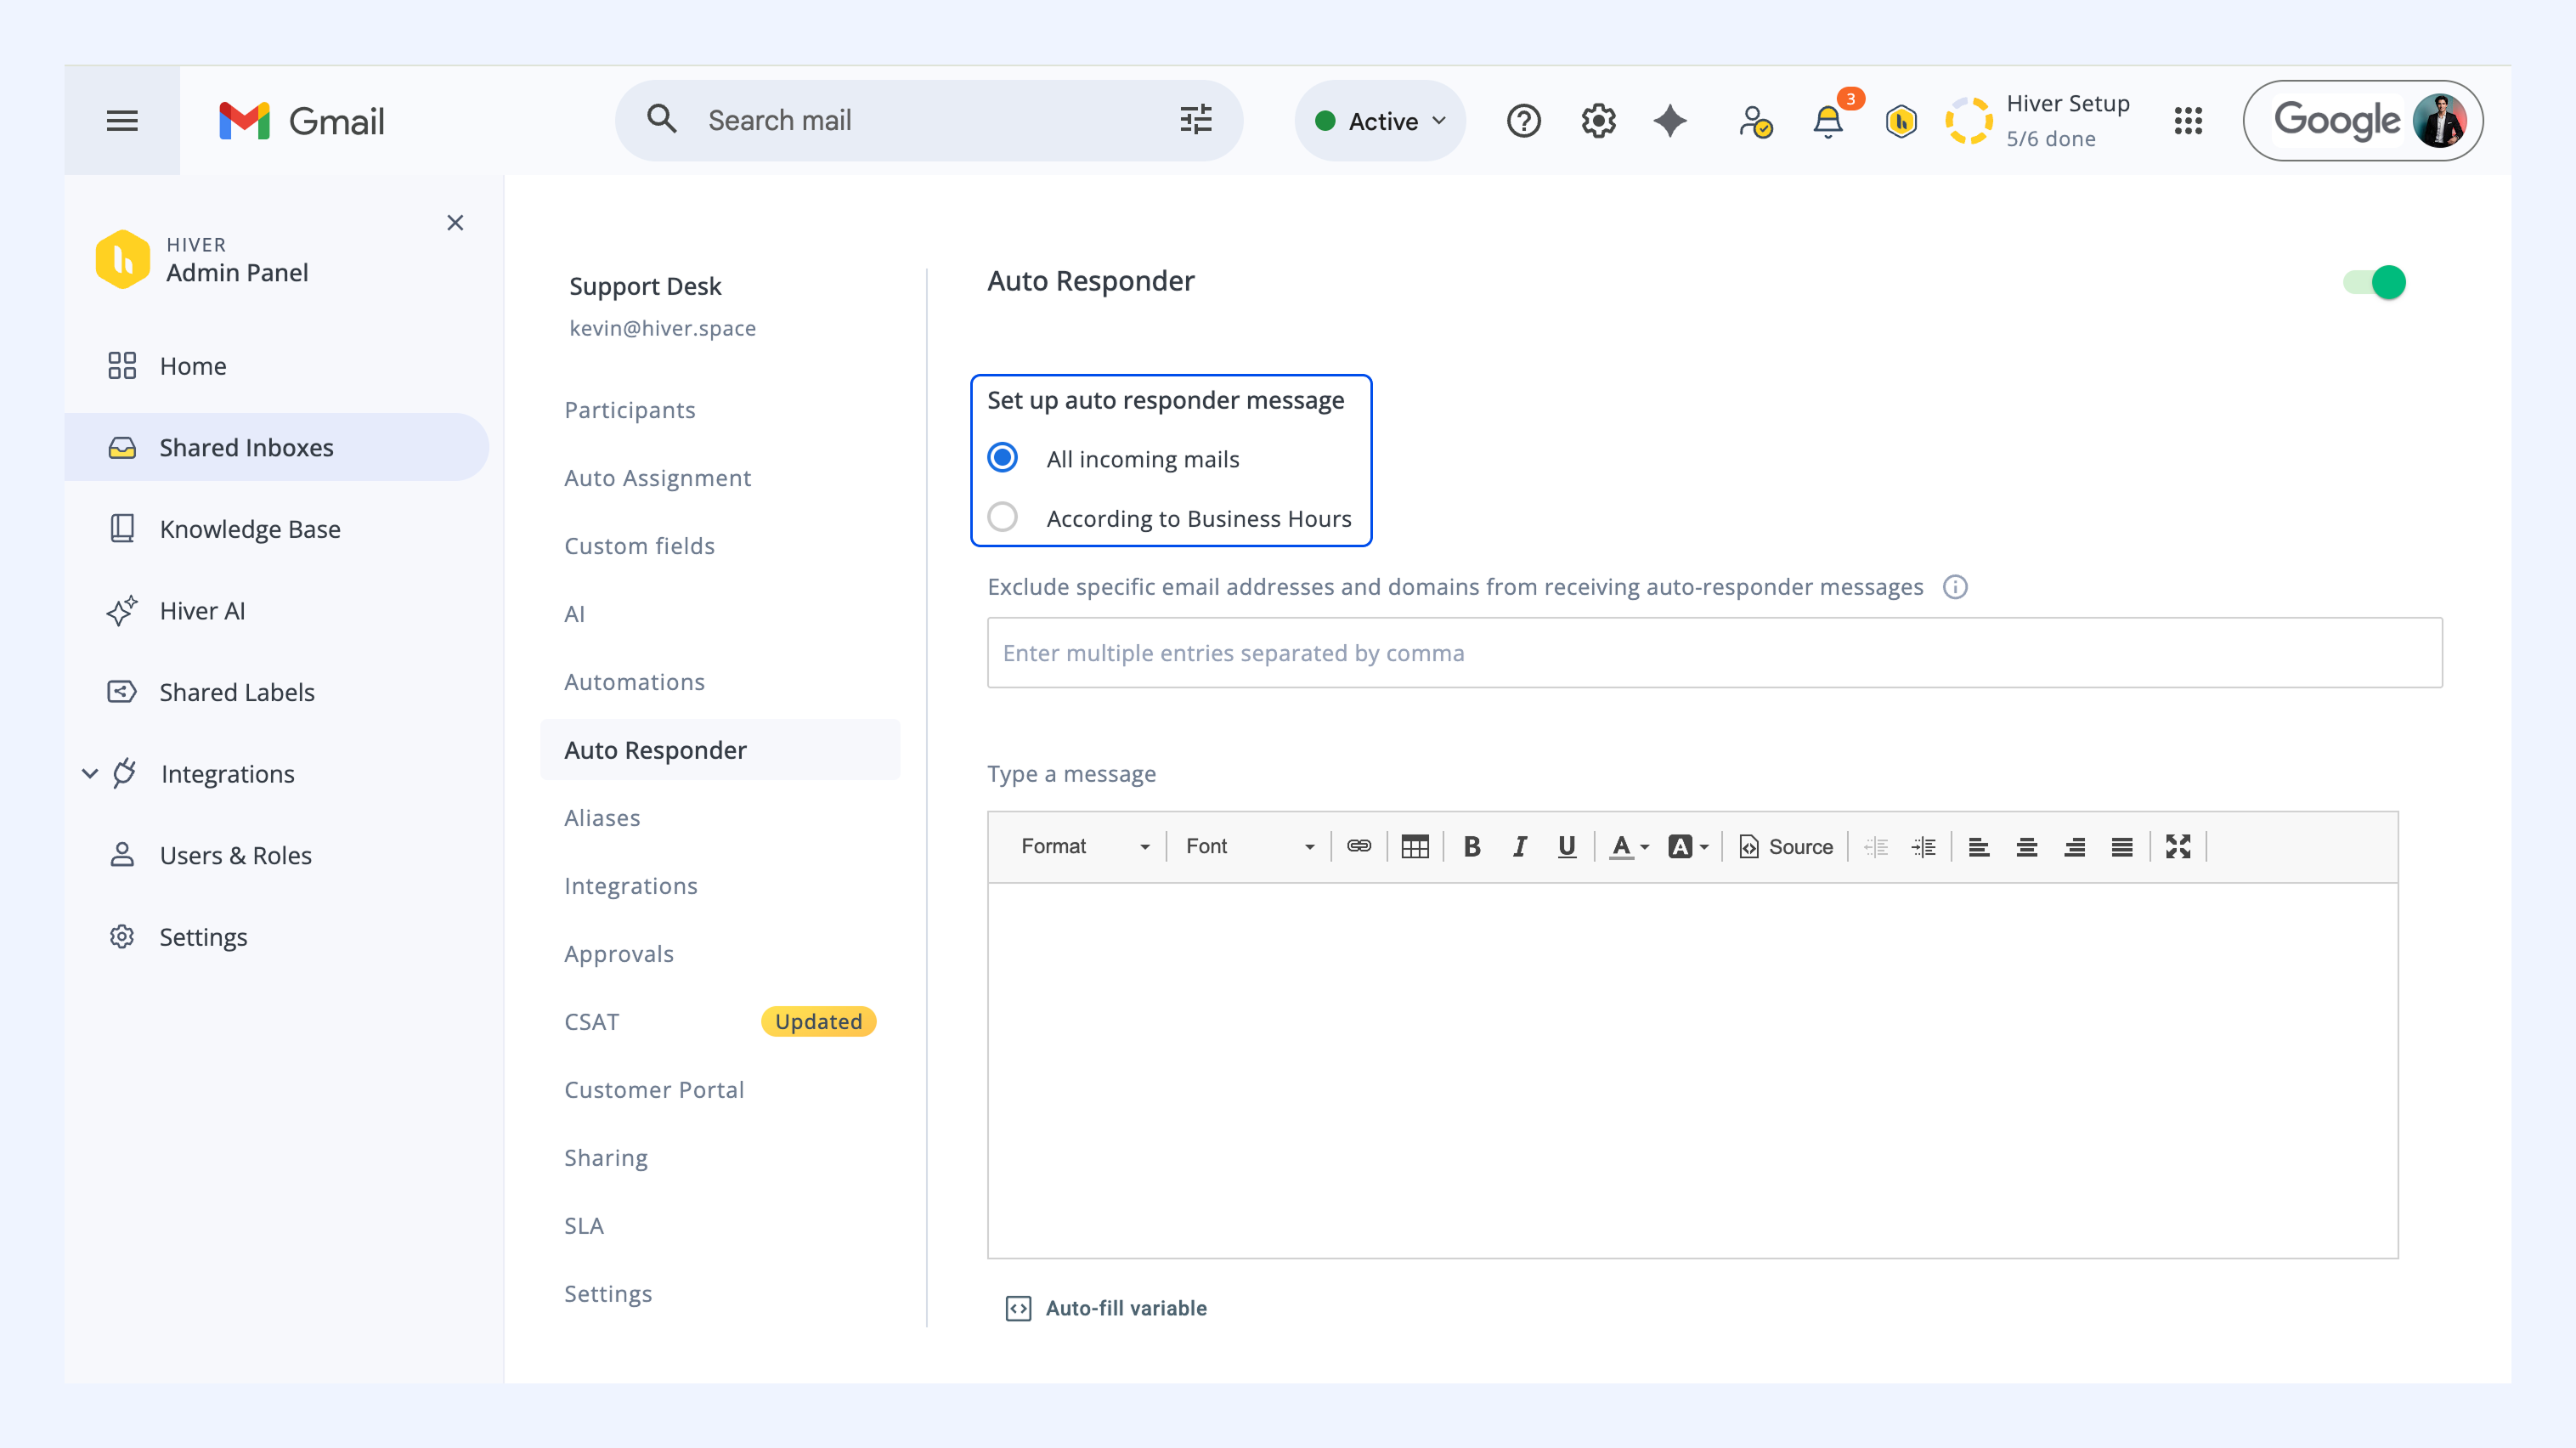
3. Choose when to send automated replies:
- All new incoming emails
- All new incoming emails sent within and outside your business hours (you’ll only see this option if you have a Business Hour Template linked to your Shared Inbox)
Note:
- Each conversation receives only one automated reply, even if multiple new emails arrive within the same thread.
- If your team sends an outbound email from the Shared Inbox, the Auto Responder will only trigger when the recipient replies to that email.
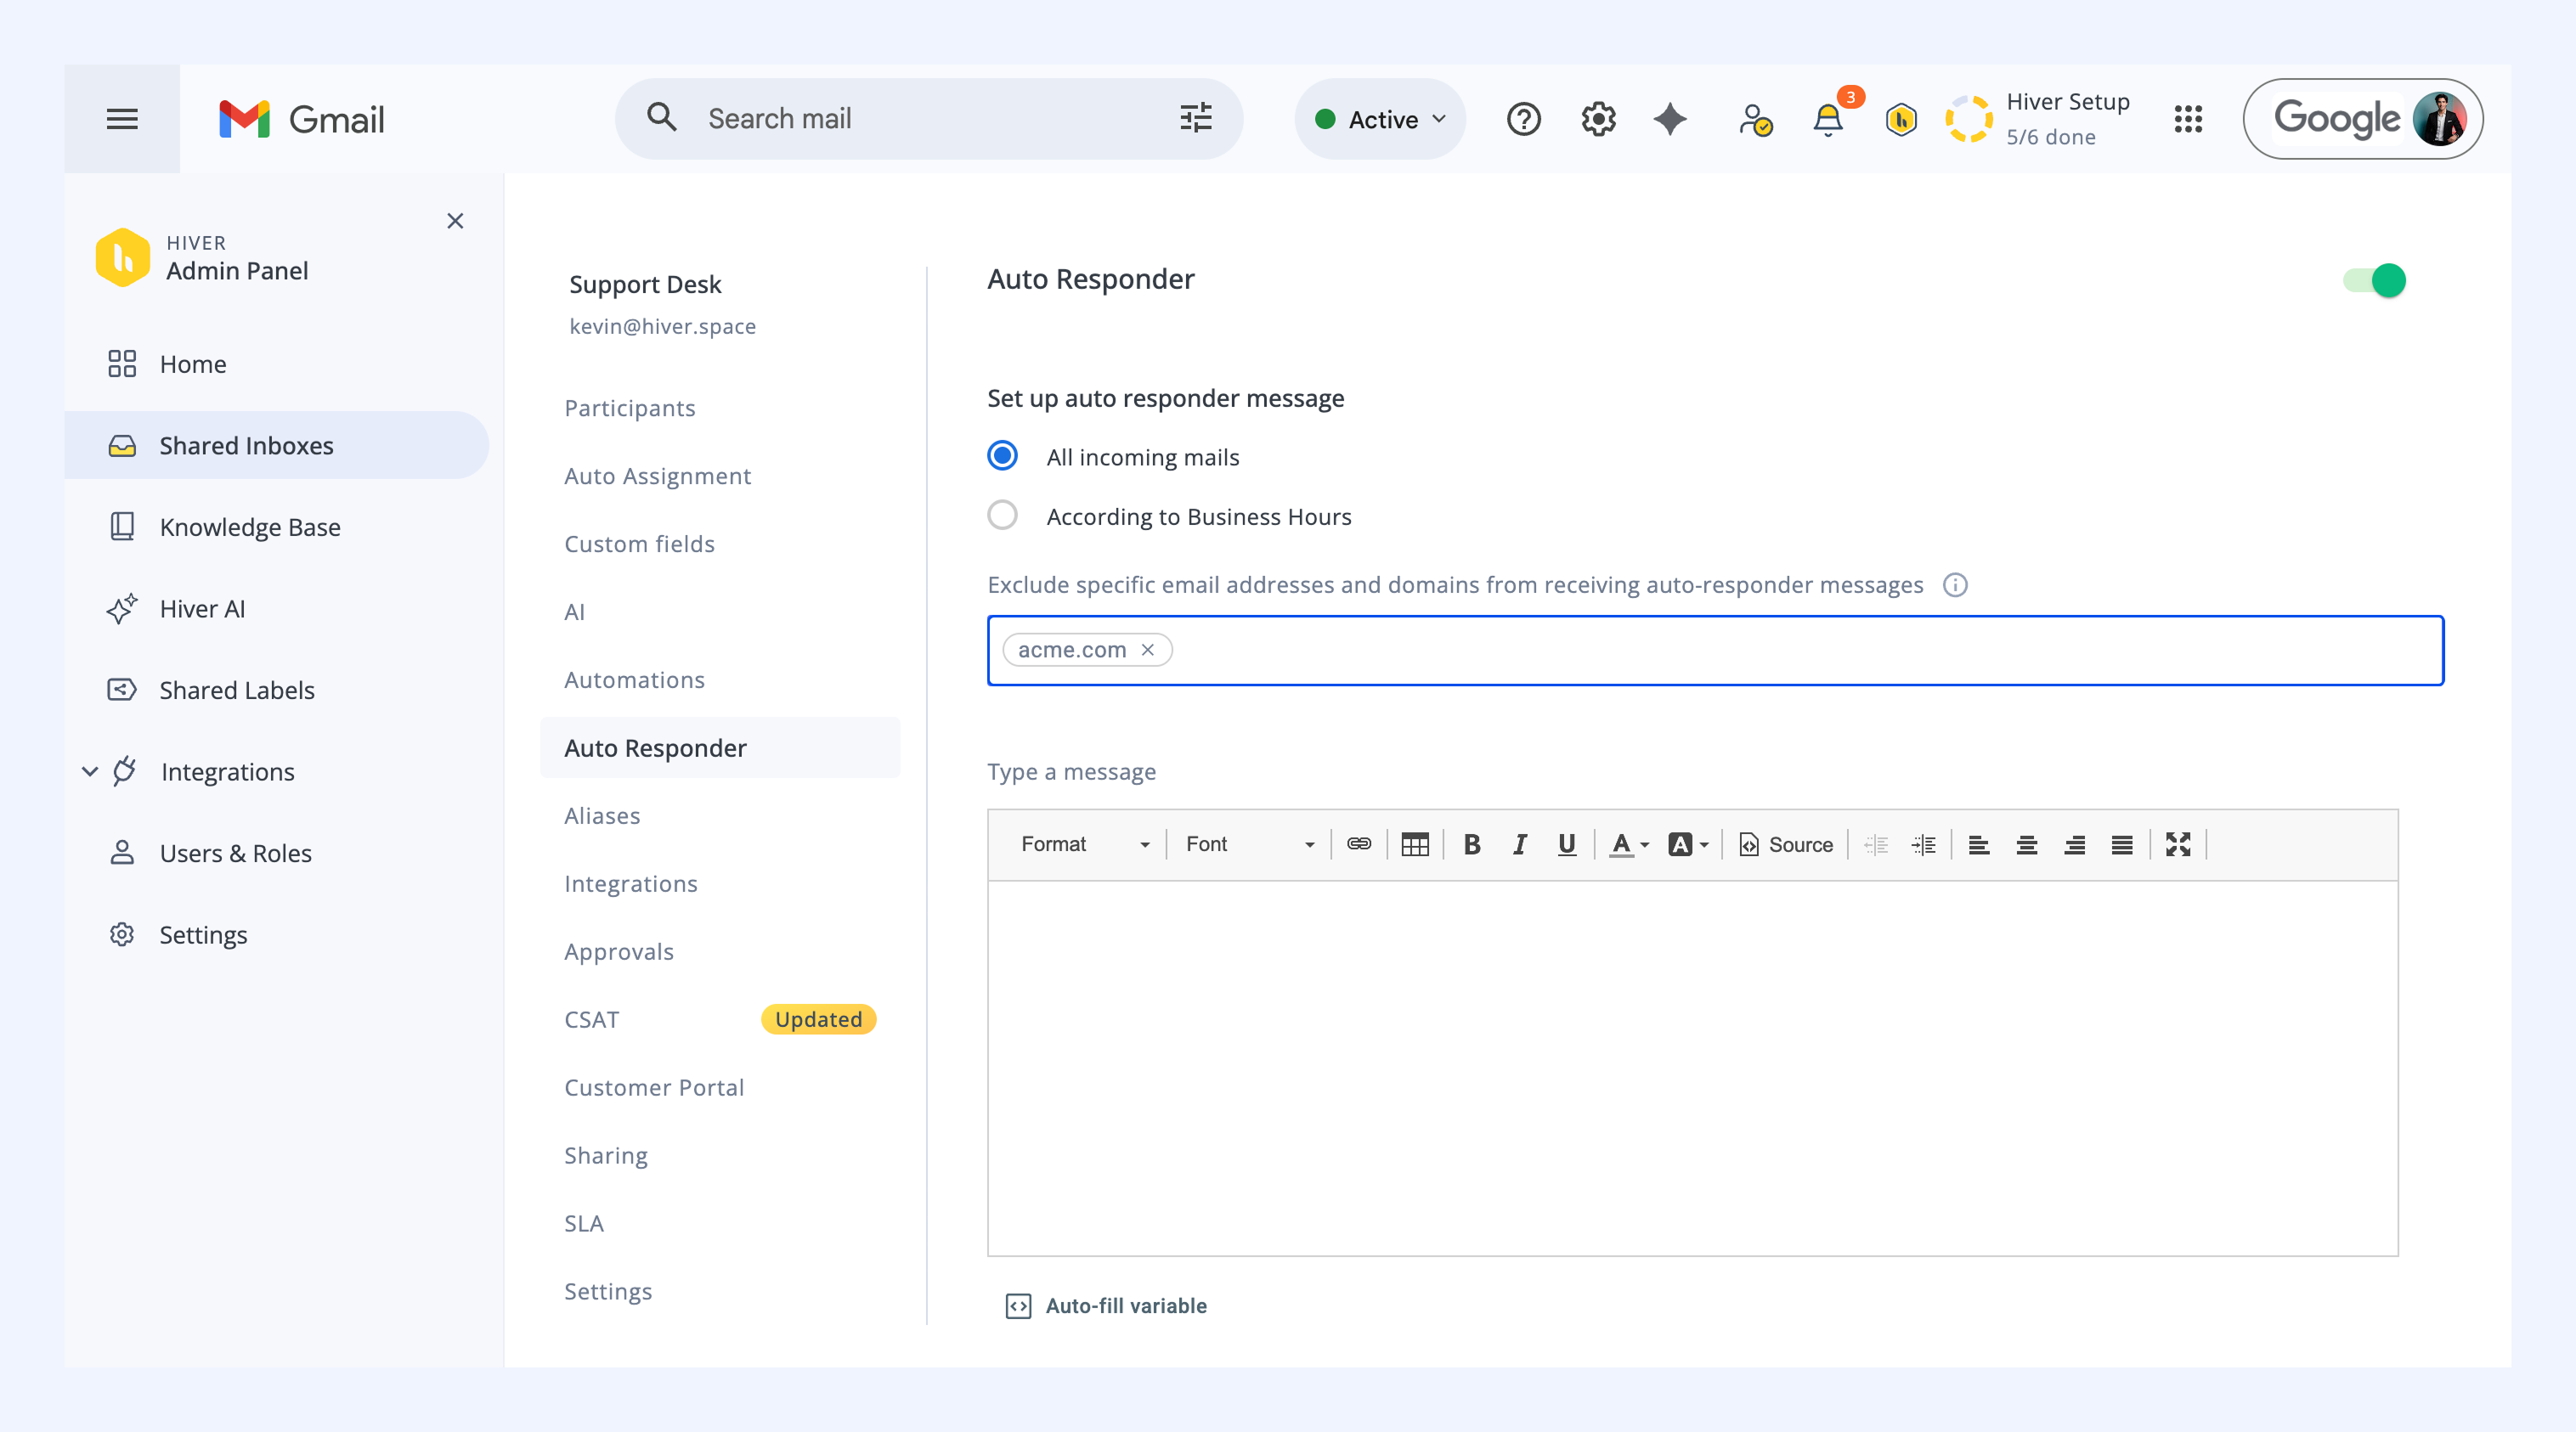
4. Optionally, you can exclude specific email addresses or domains, such as internal teams or external vendors, from receiving automated replies.
5. Compose your automated reply in the message box and click Save when you’re done.
Pro tip: Insert your conversation ID in the automated reply by selecting Auto-fill variable → {{conversation.id}} to give your customers a point of reference.
.png)
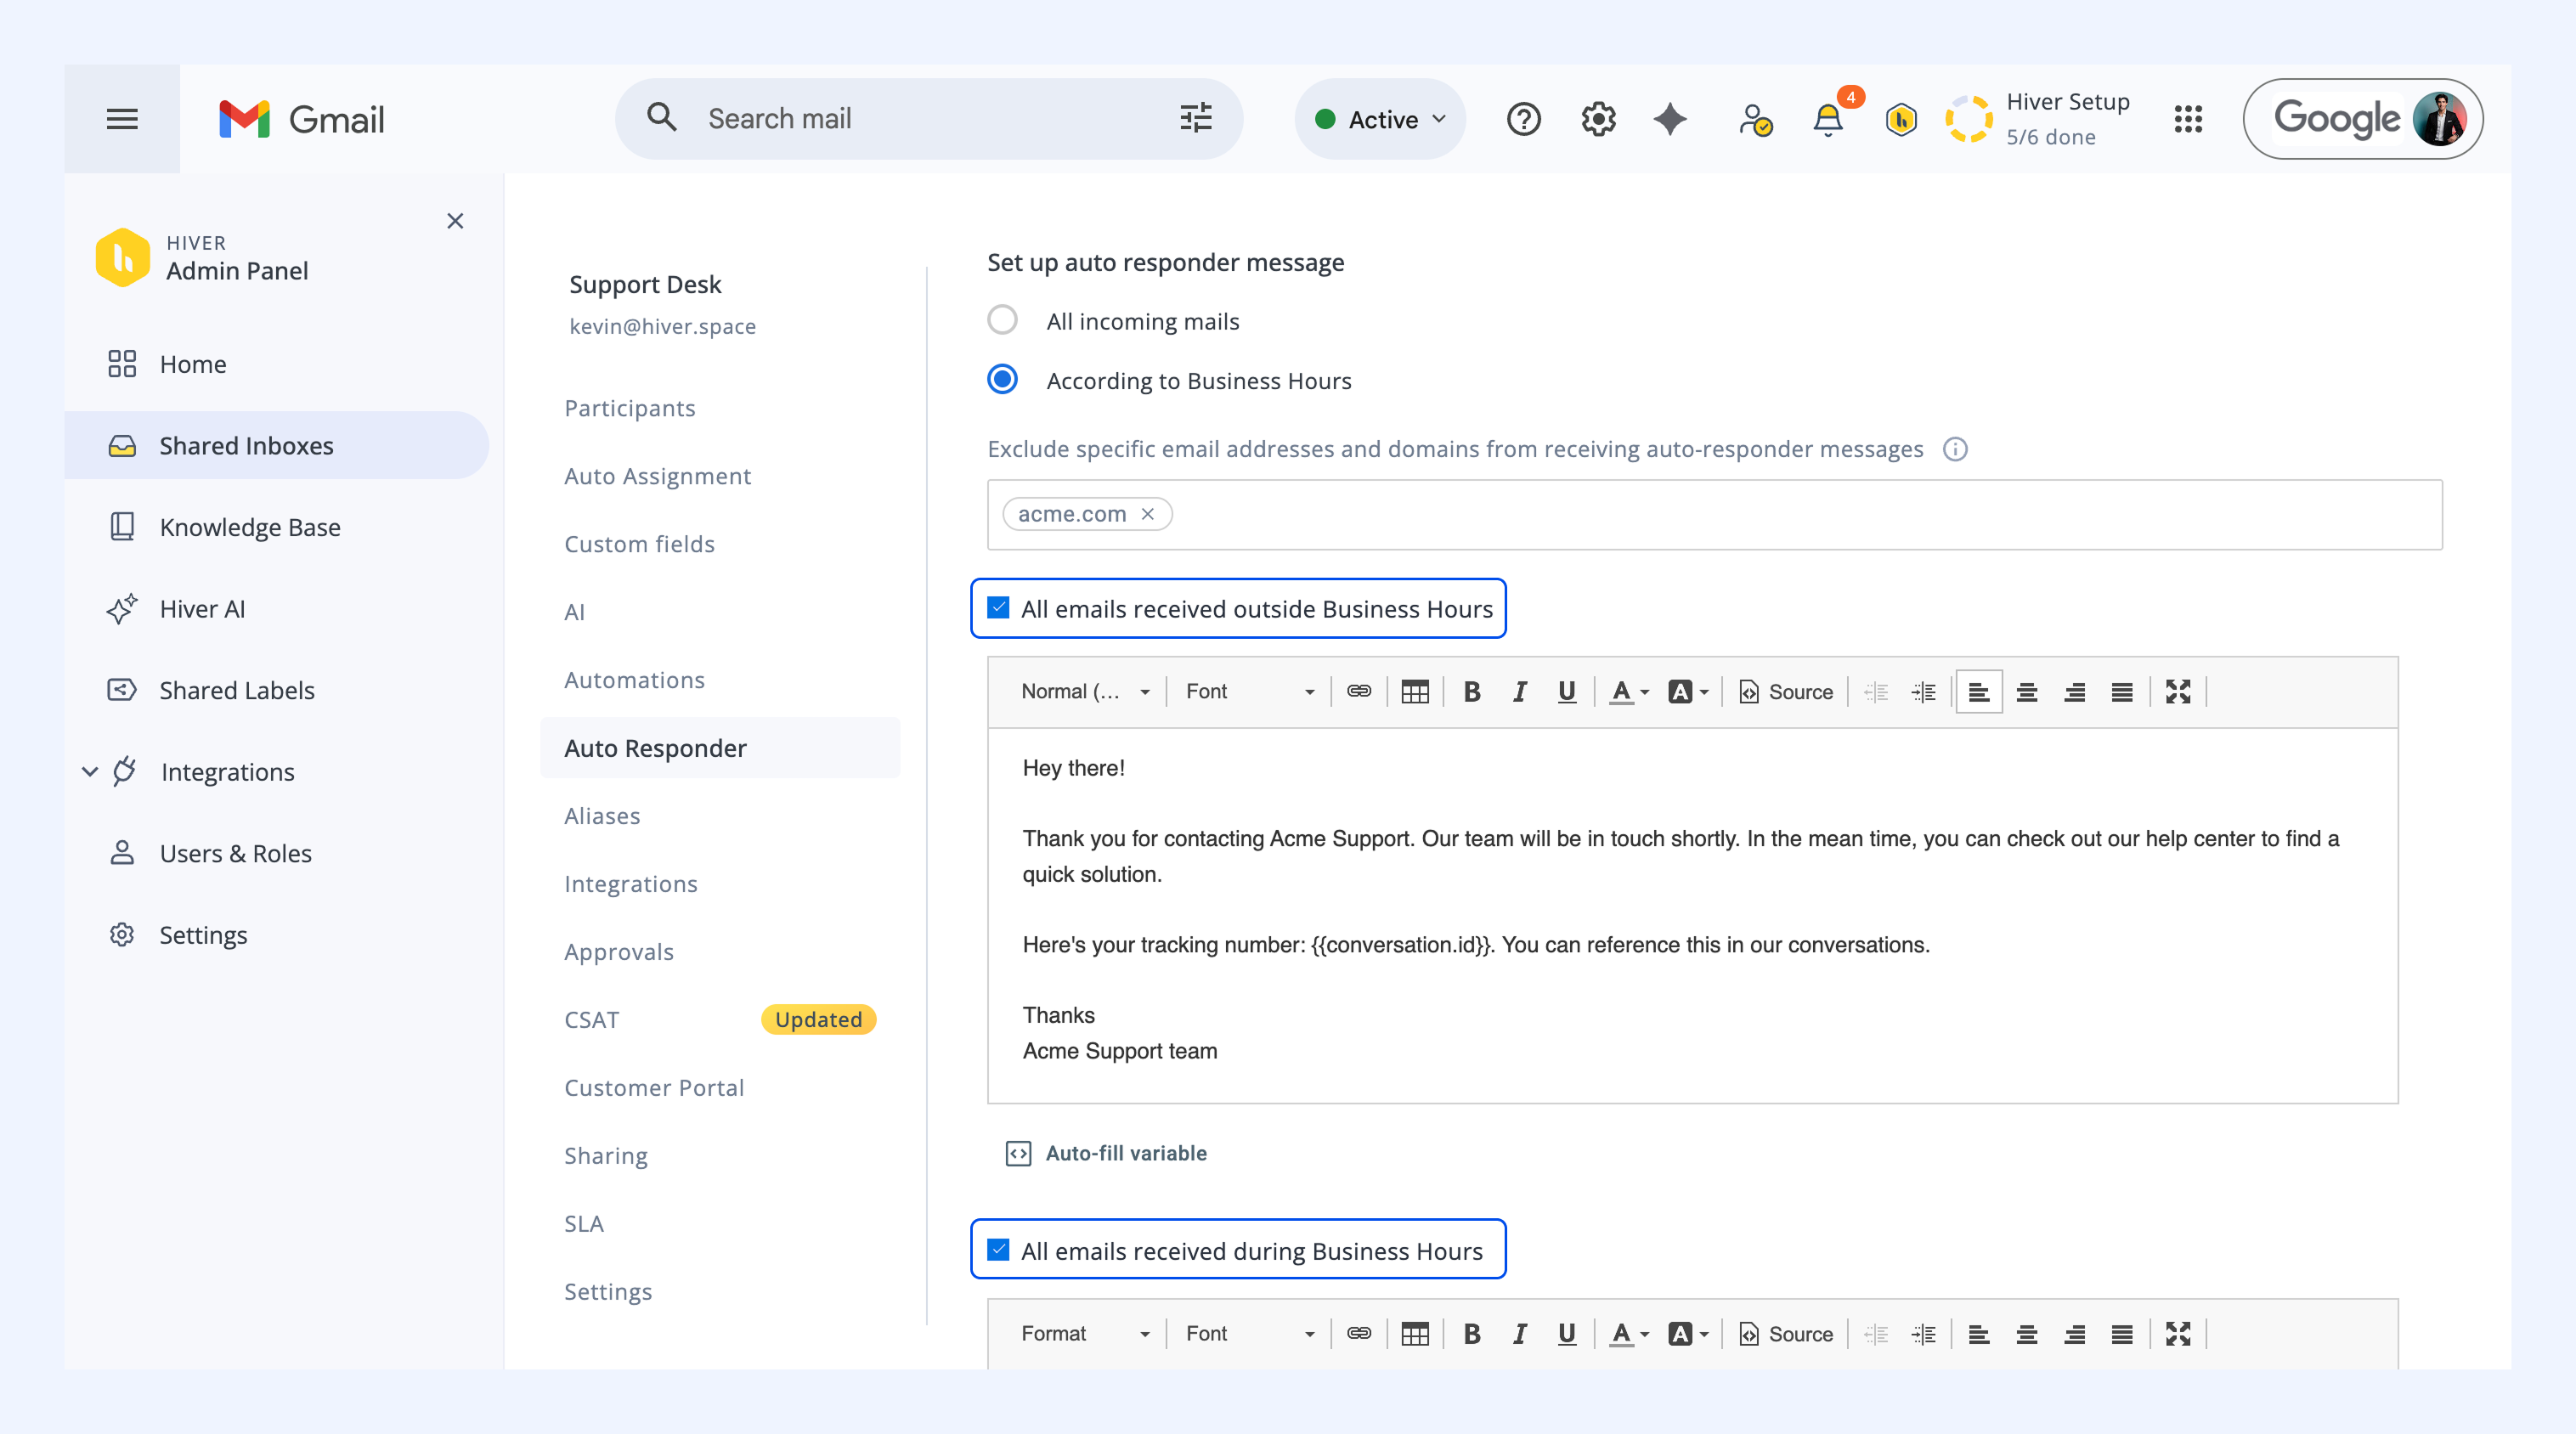
If you set up the Auto Responder based on business hours, you can choose to set up messages for:
- Emails received outside business hours.
- Emails received during business hours.
FAQs on Auto Responder
Q. Why is our Auto Responder sending replies from my personal email address?
If your Auto Responder replies are being sent from a personal Gmail address instead of your Shared Inbox address, this is usually due to how the sender is configured in Gmail.
This issue is specific to Google Group-type Shared Inboxes, where Hiver uses the Gmail account connected to the inbox (primary syncing user) to send emails.
Why this happens
If the Shared Inbox email address is not added and verified under Send mail as in the primary user's settings, Gmail defaults to sending emails from the user’s personal address.
To fix this,
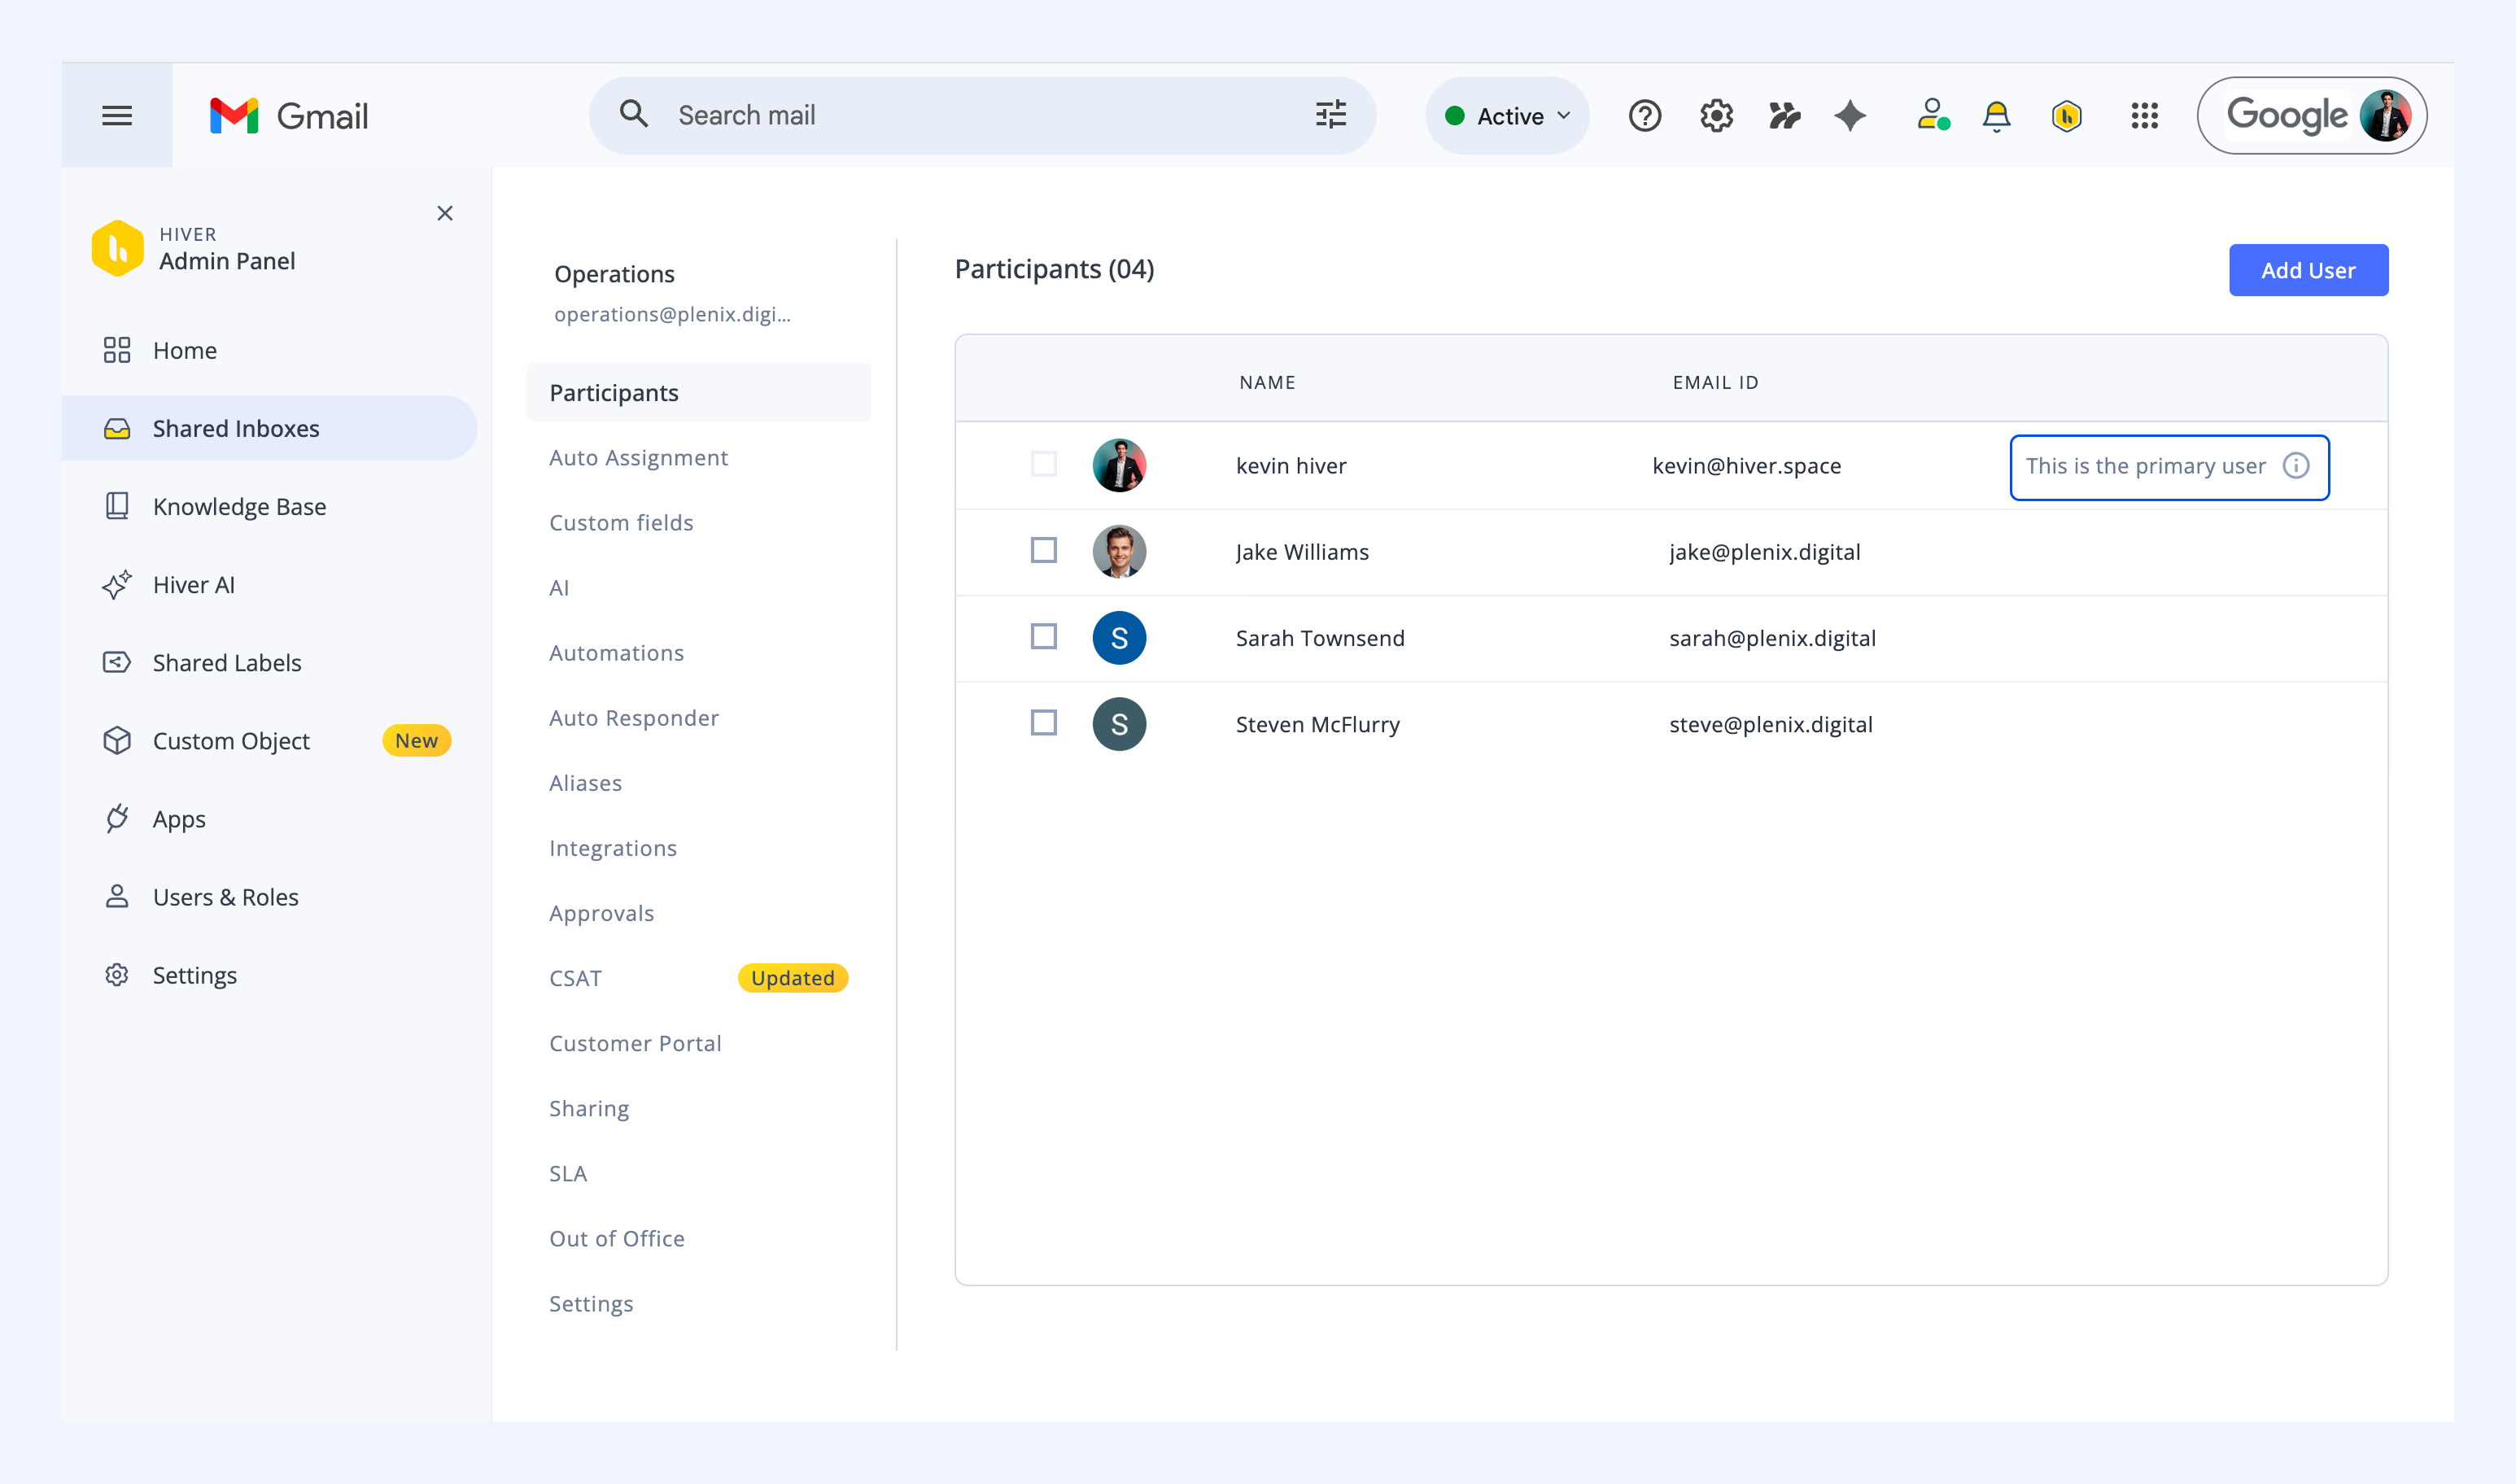
1. Identify the primary user, in other words the Gmail account connected as the primary account for the Shared Inbox.
2. In that user's Gmail account, go to Settings → See all settings.
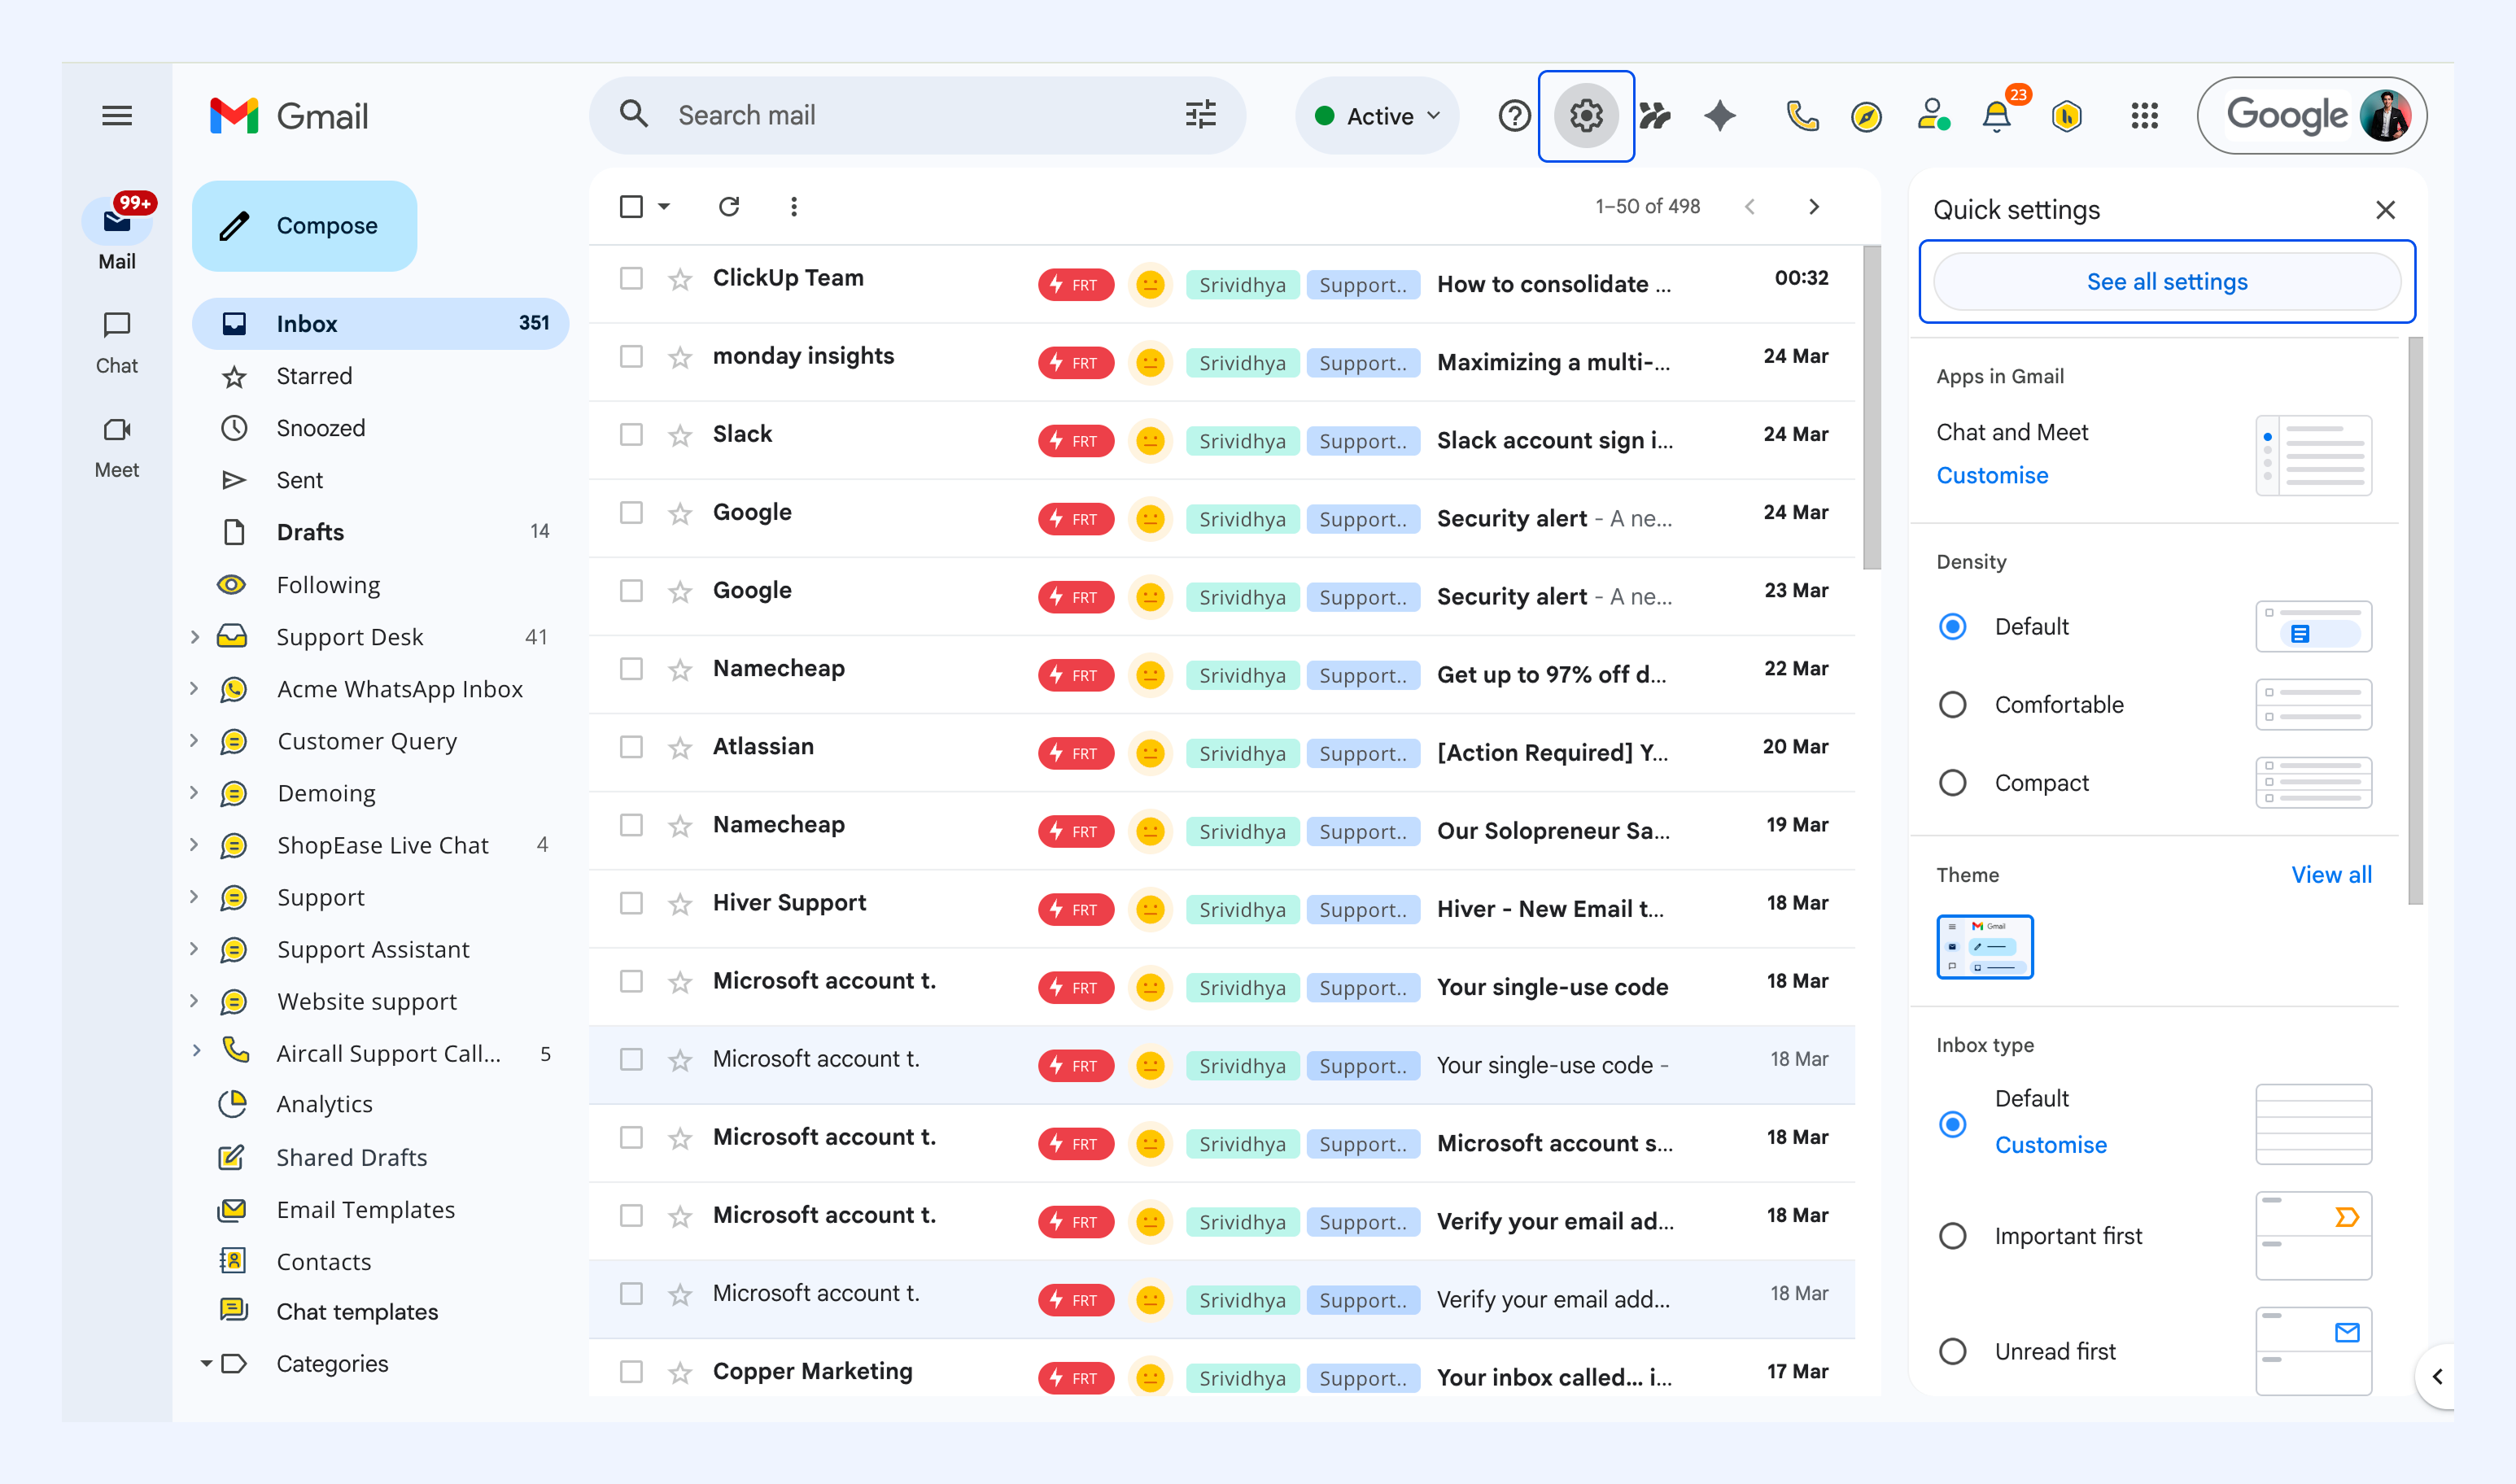
3. In Accounts check if the Shared Inbox address appears under Send mail as.
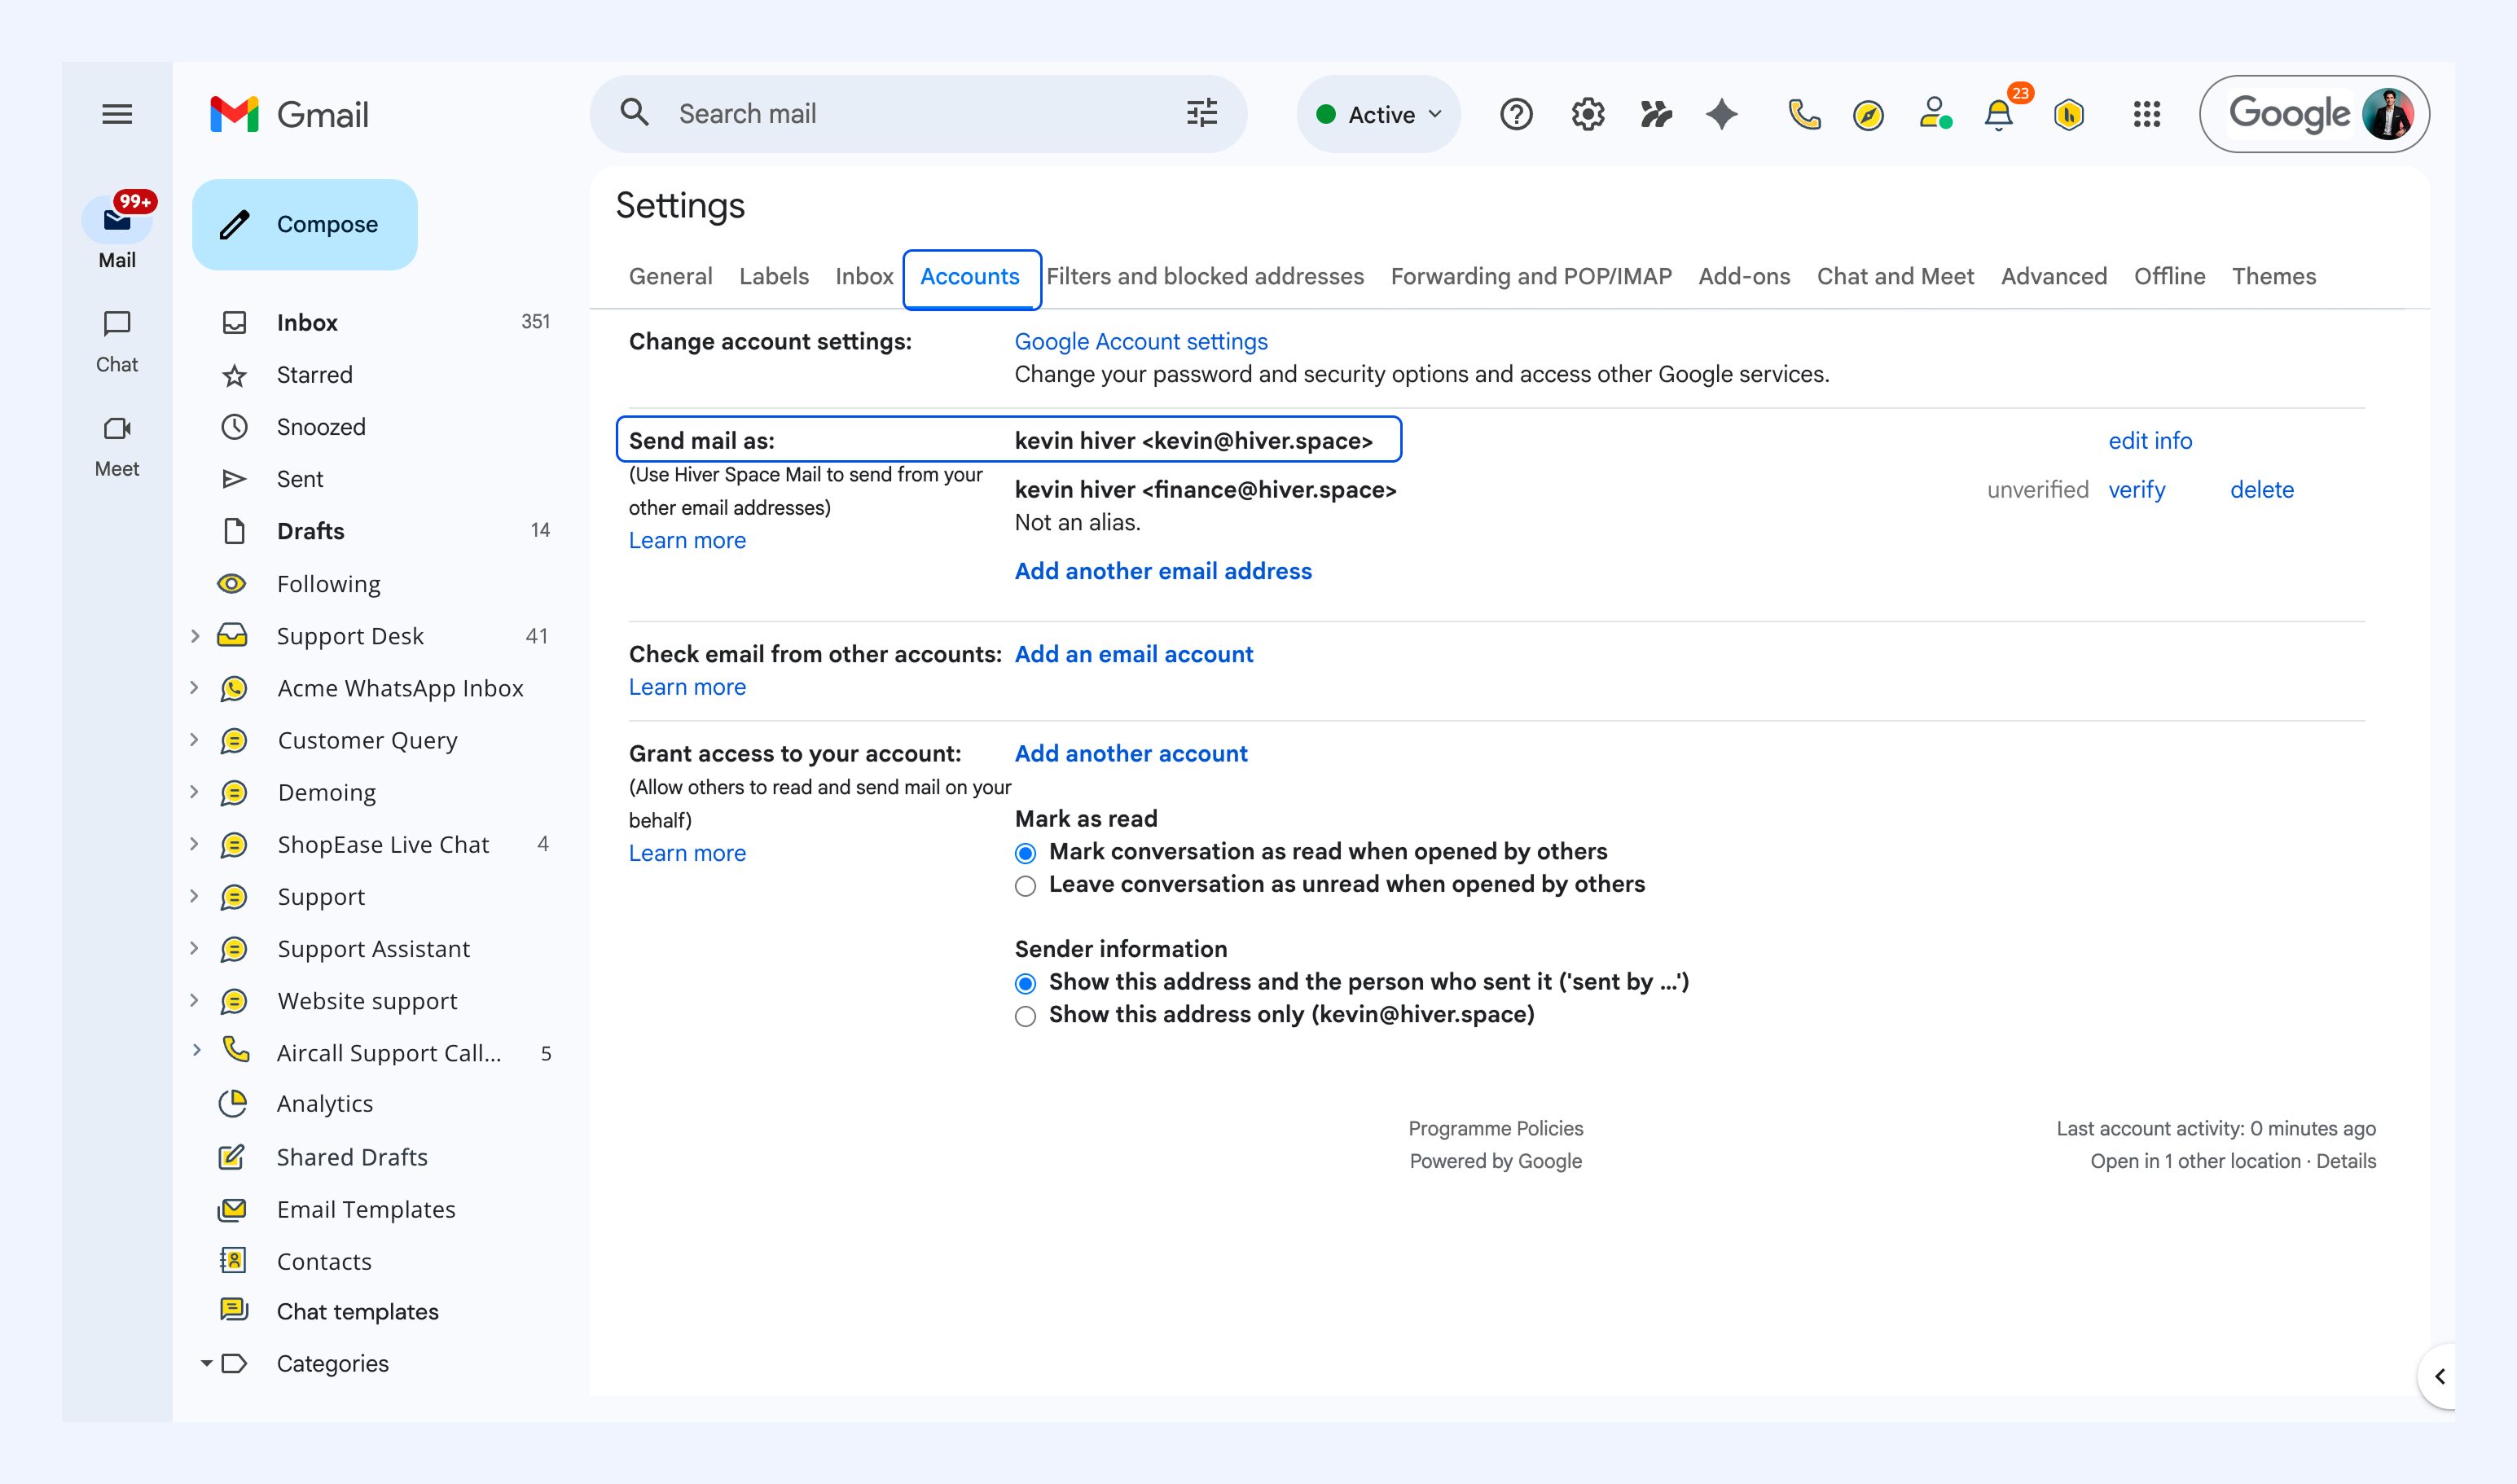
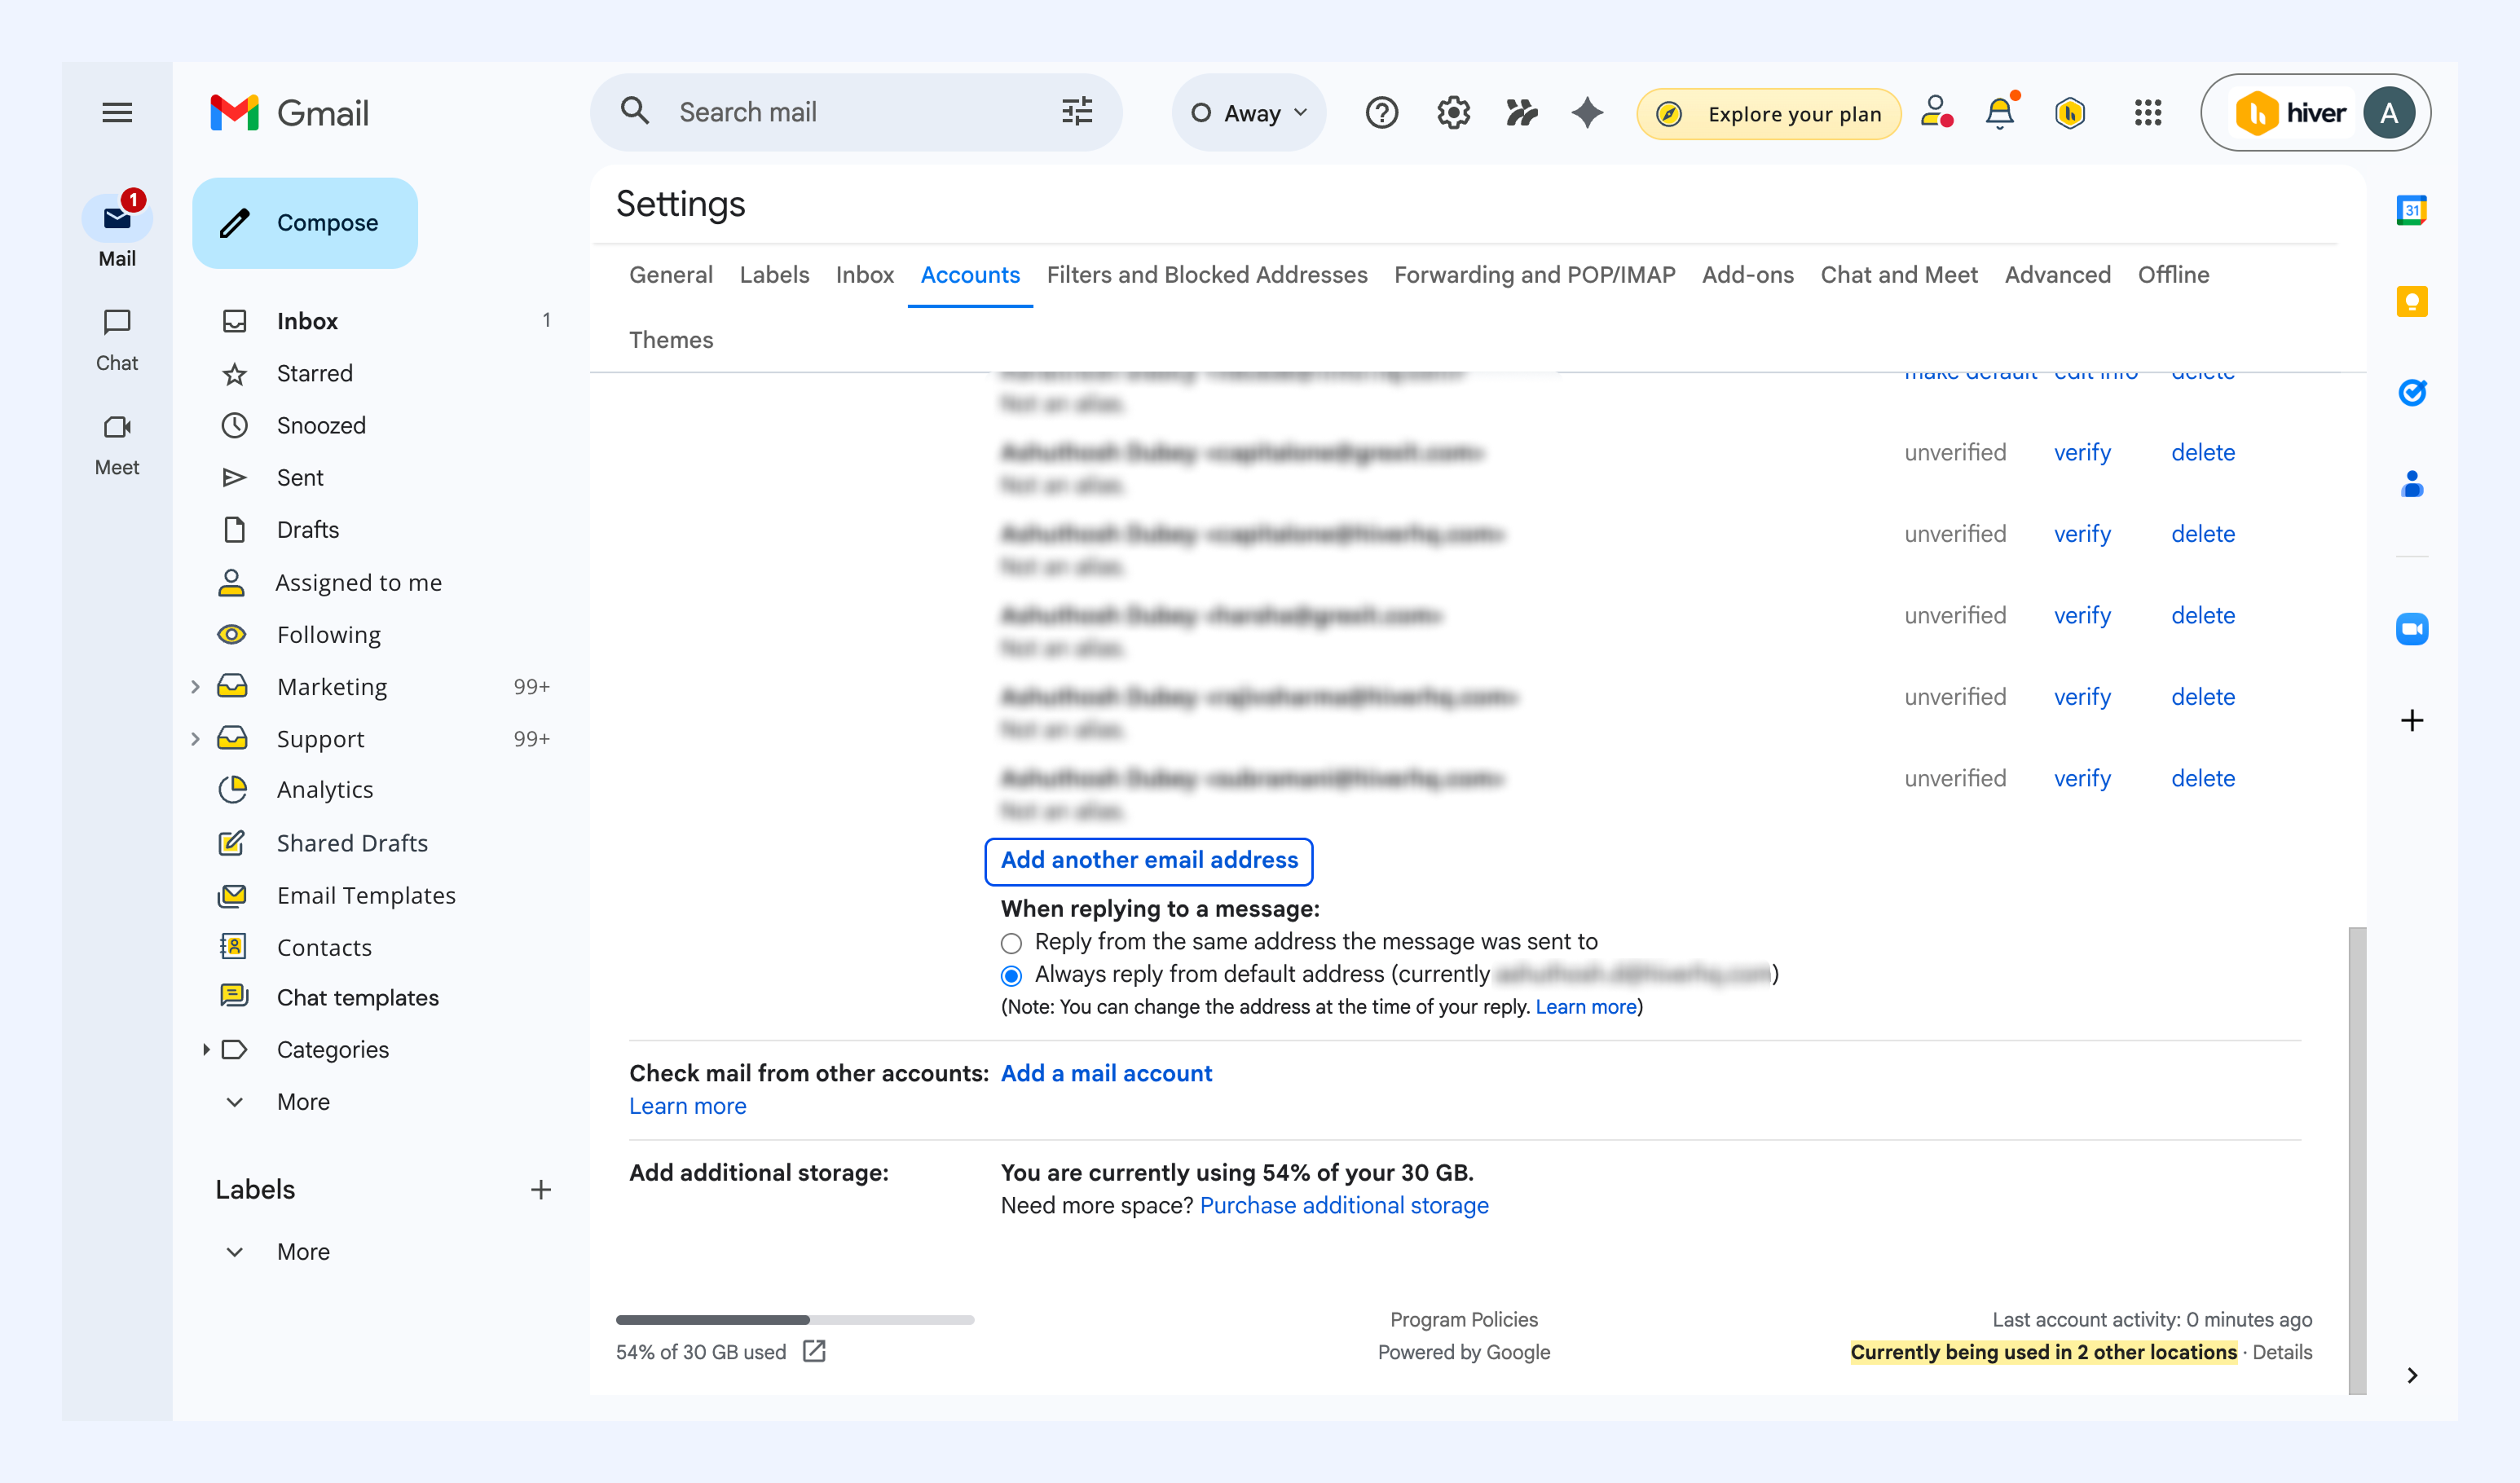
If it's not listed, follow the steps below to add it:
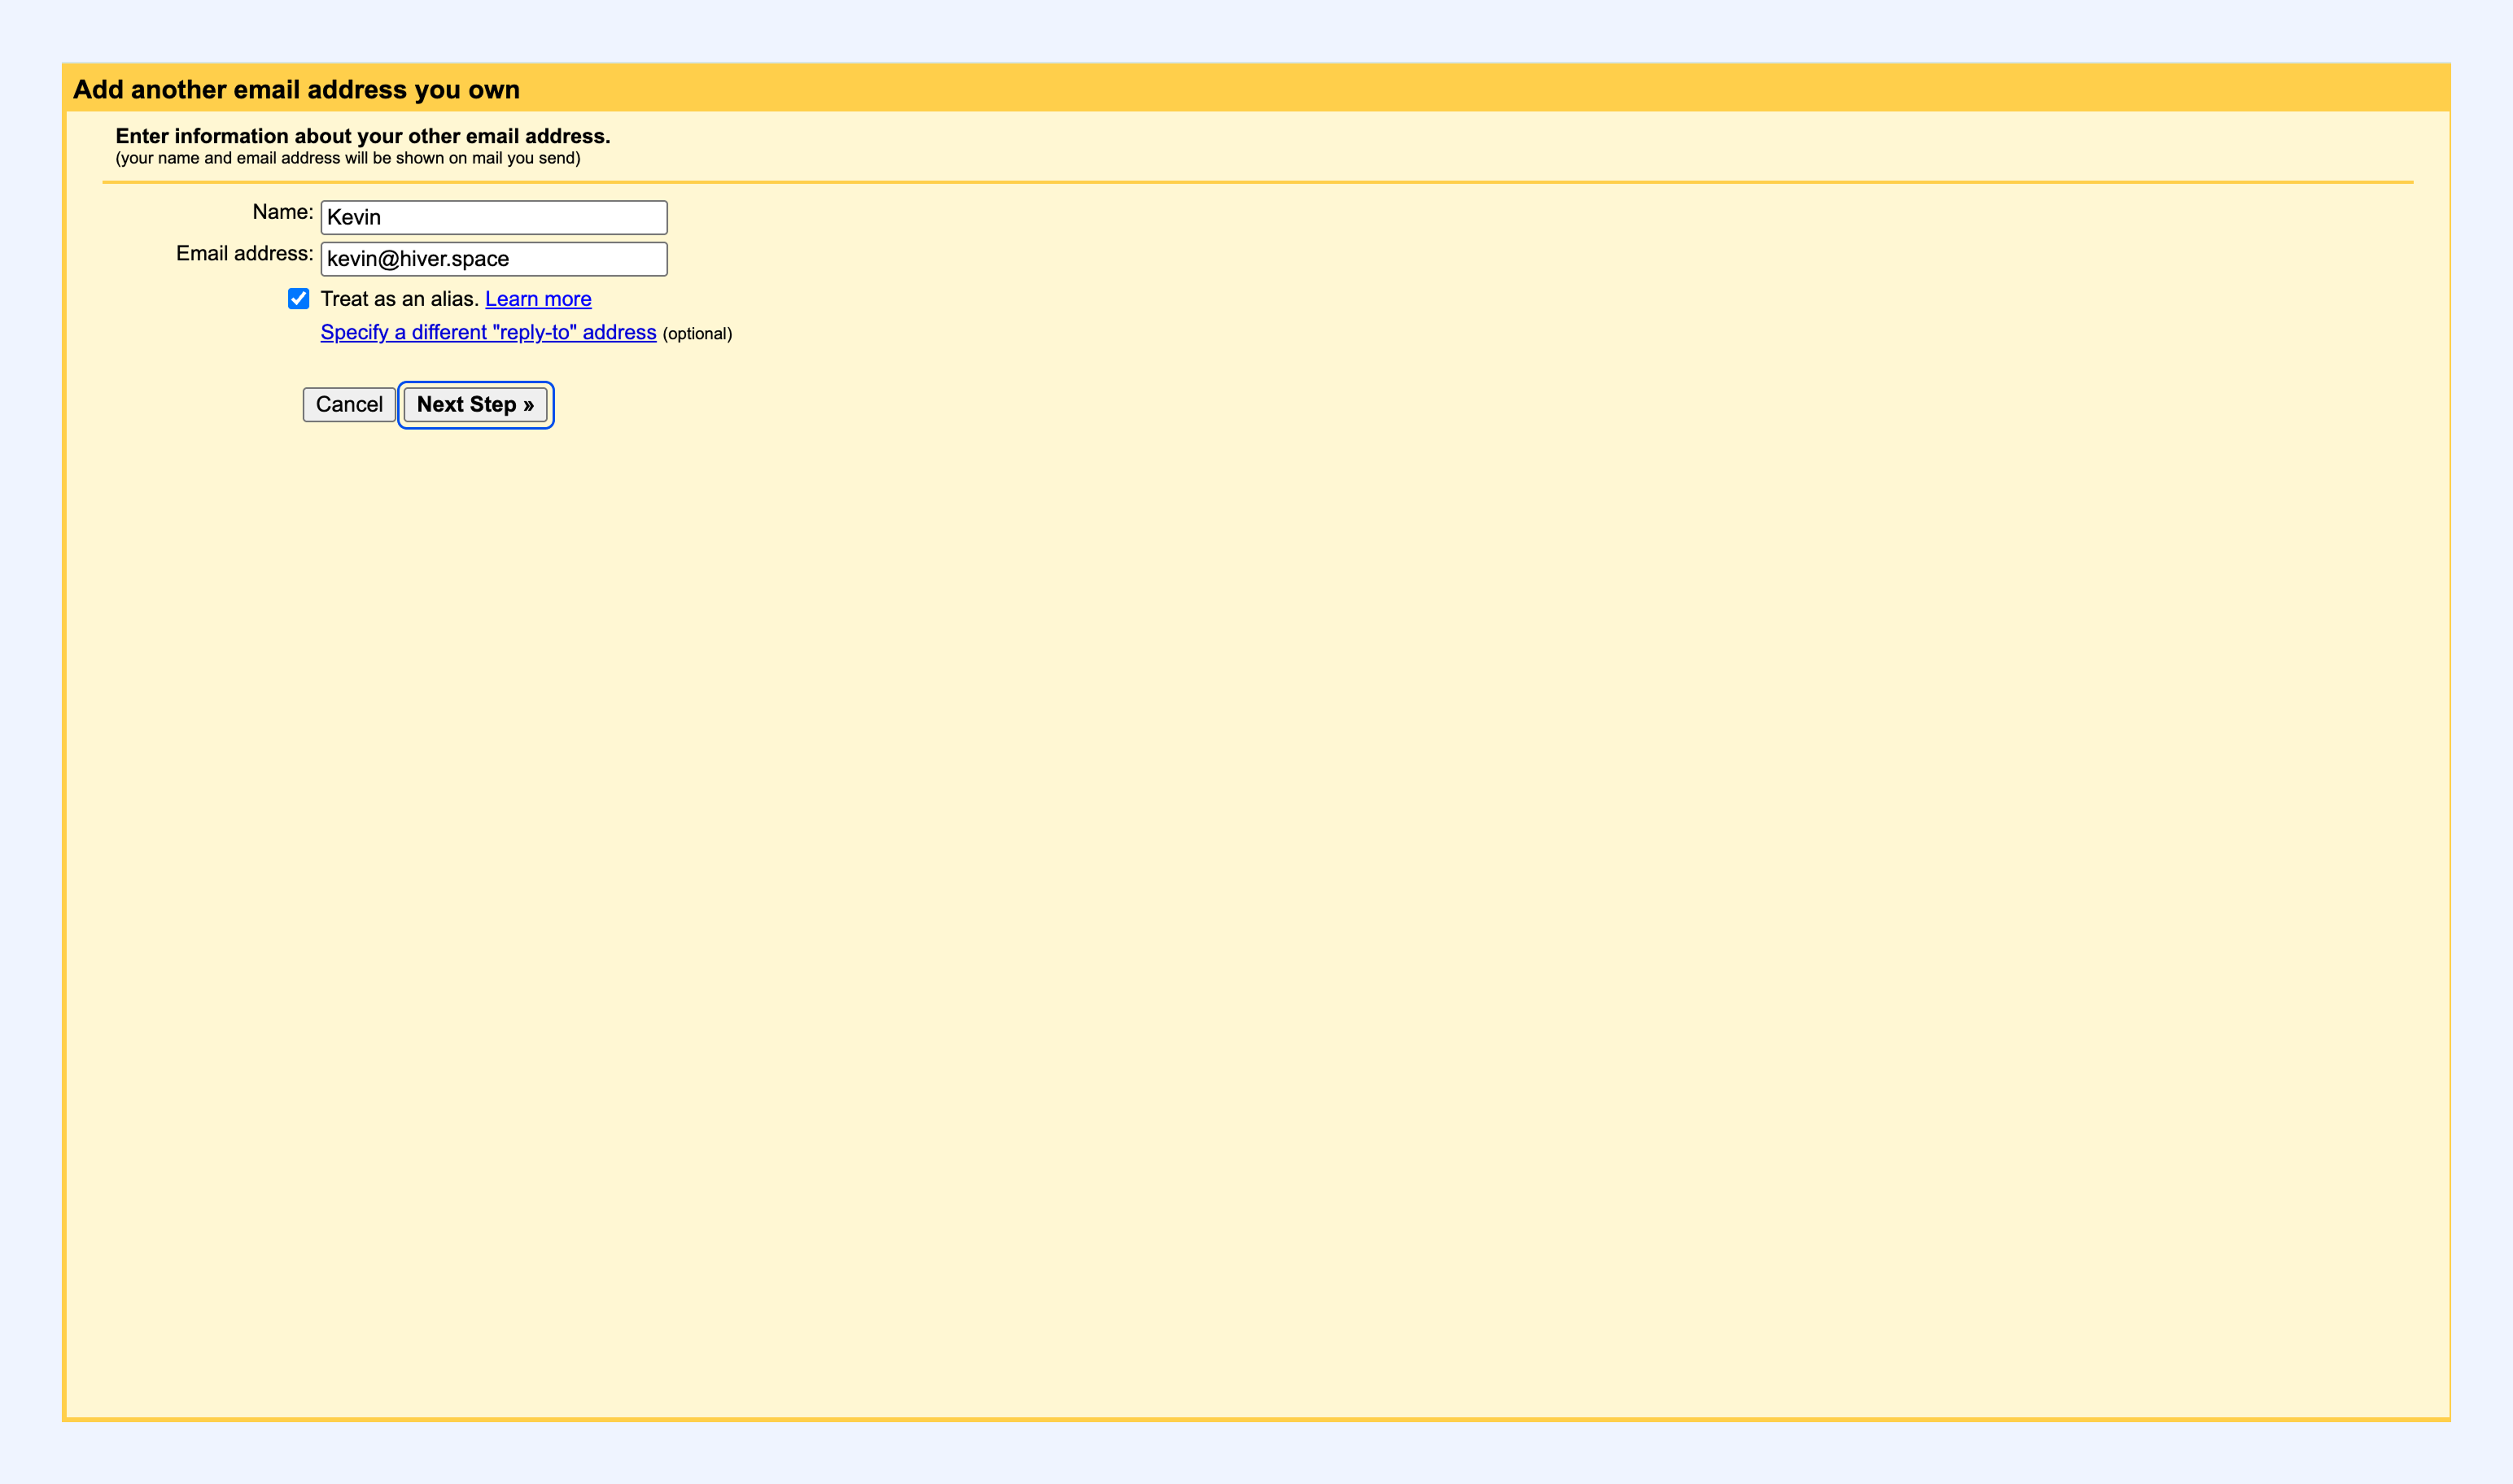
1. Click Add another email address.
2. Enter the name and Shared Inbox email address.
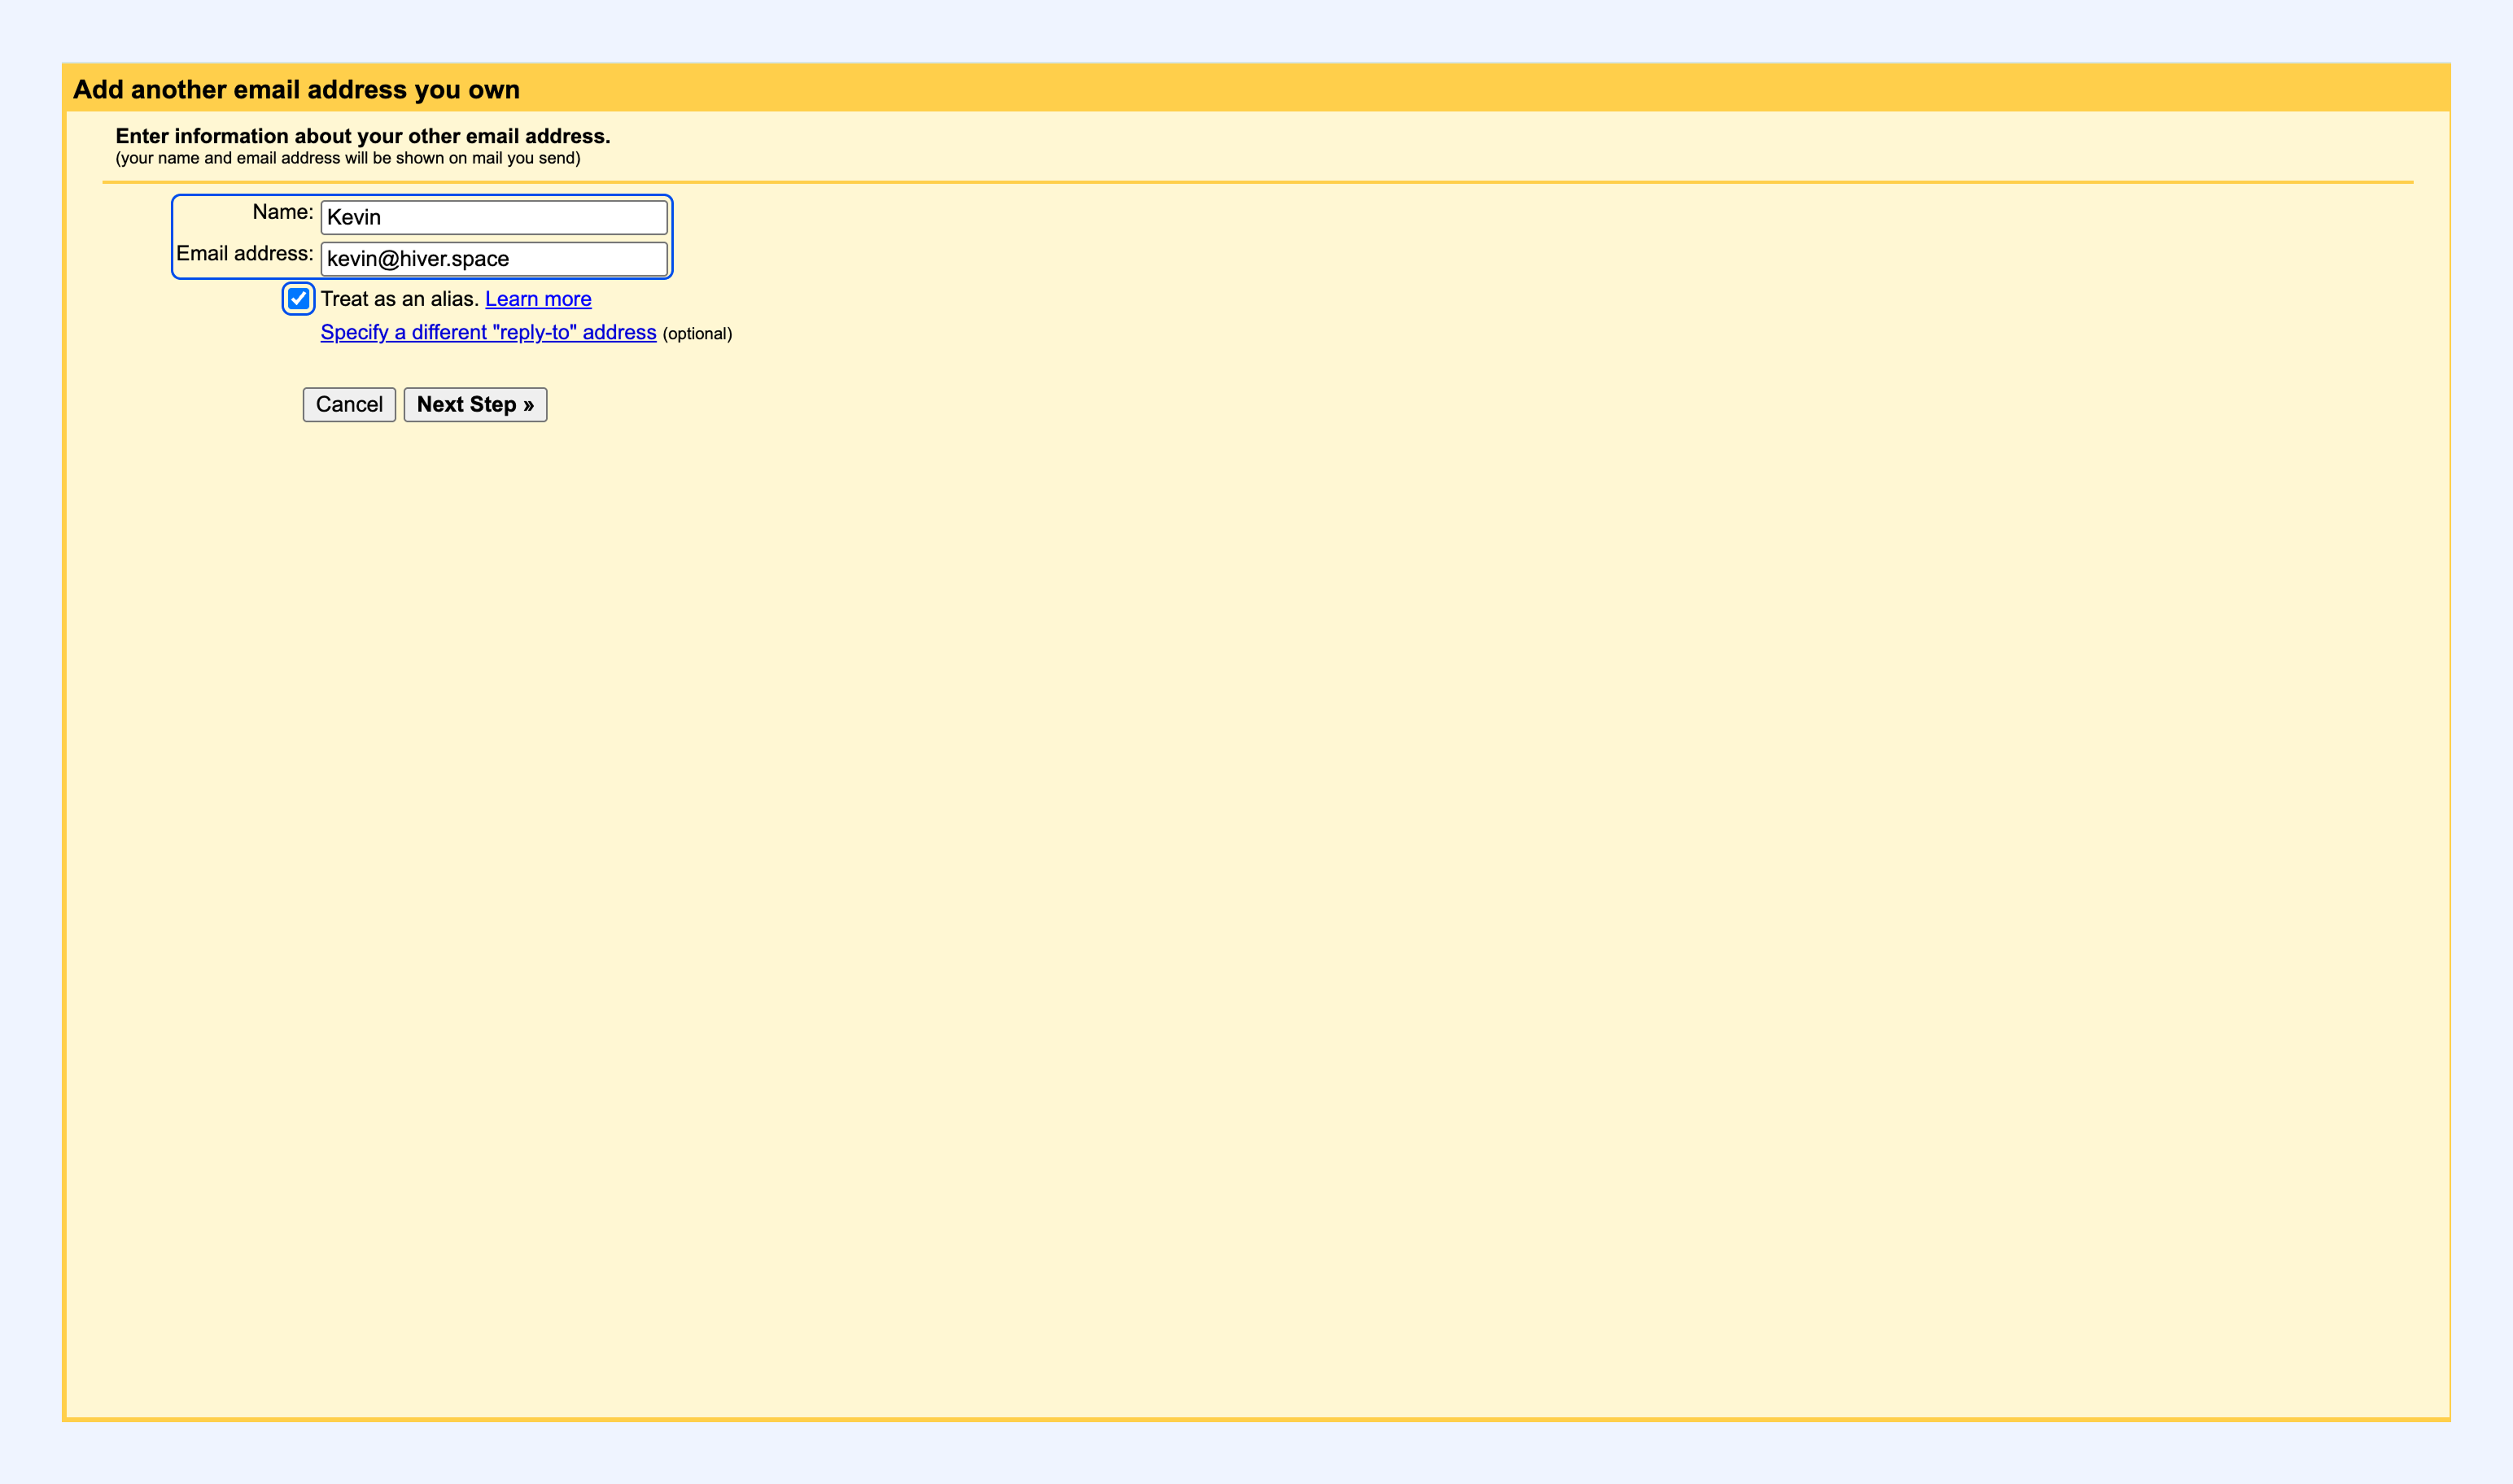
3. Keep Treat as an alias checked.
4. Click Next Step → Send Verification.
5. Open the verification email in the Shared Inbox and complete the verification.
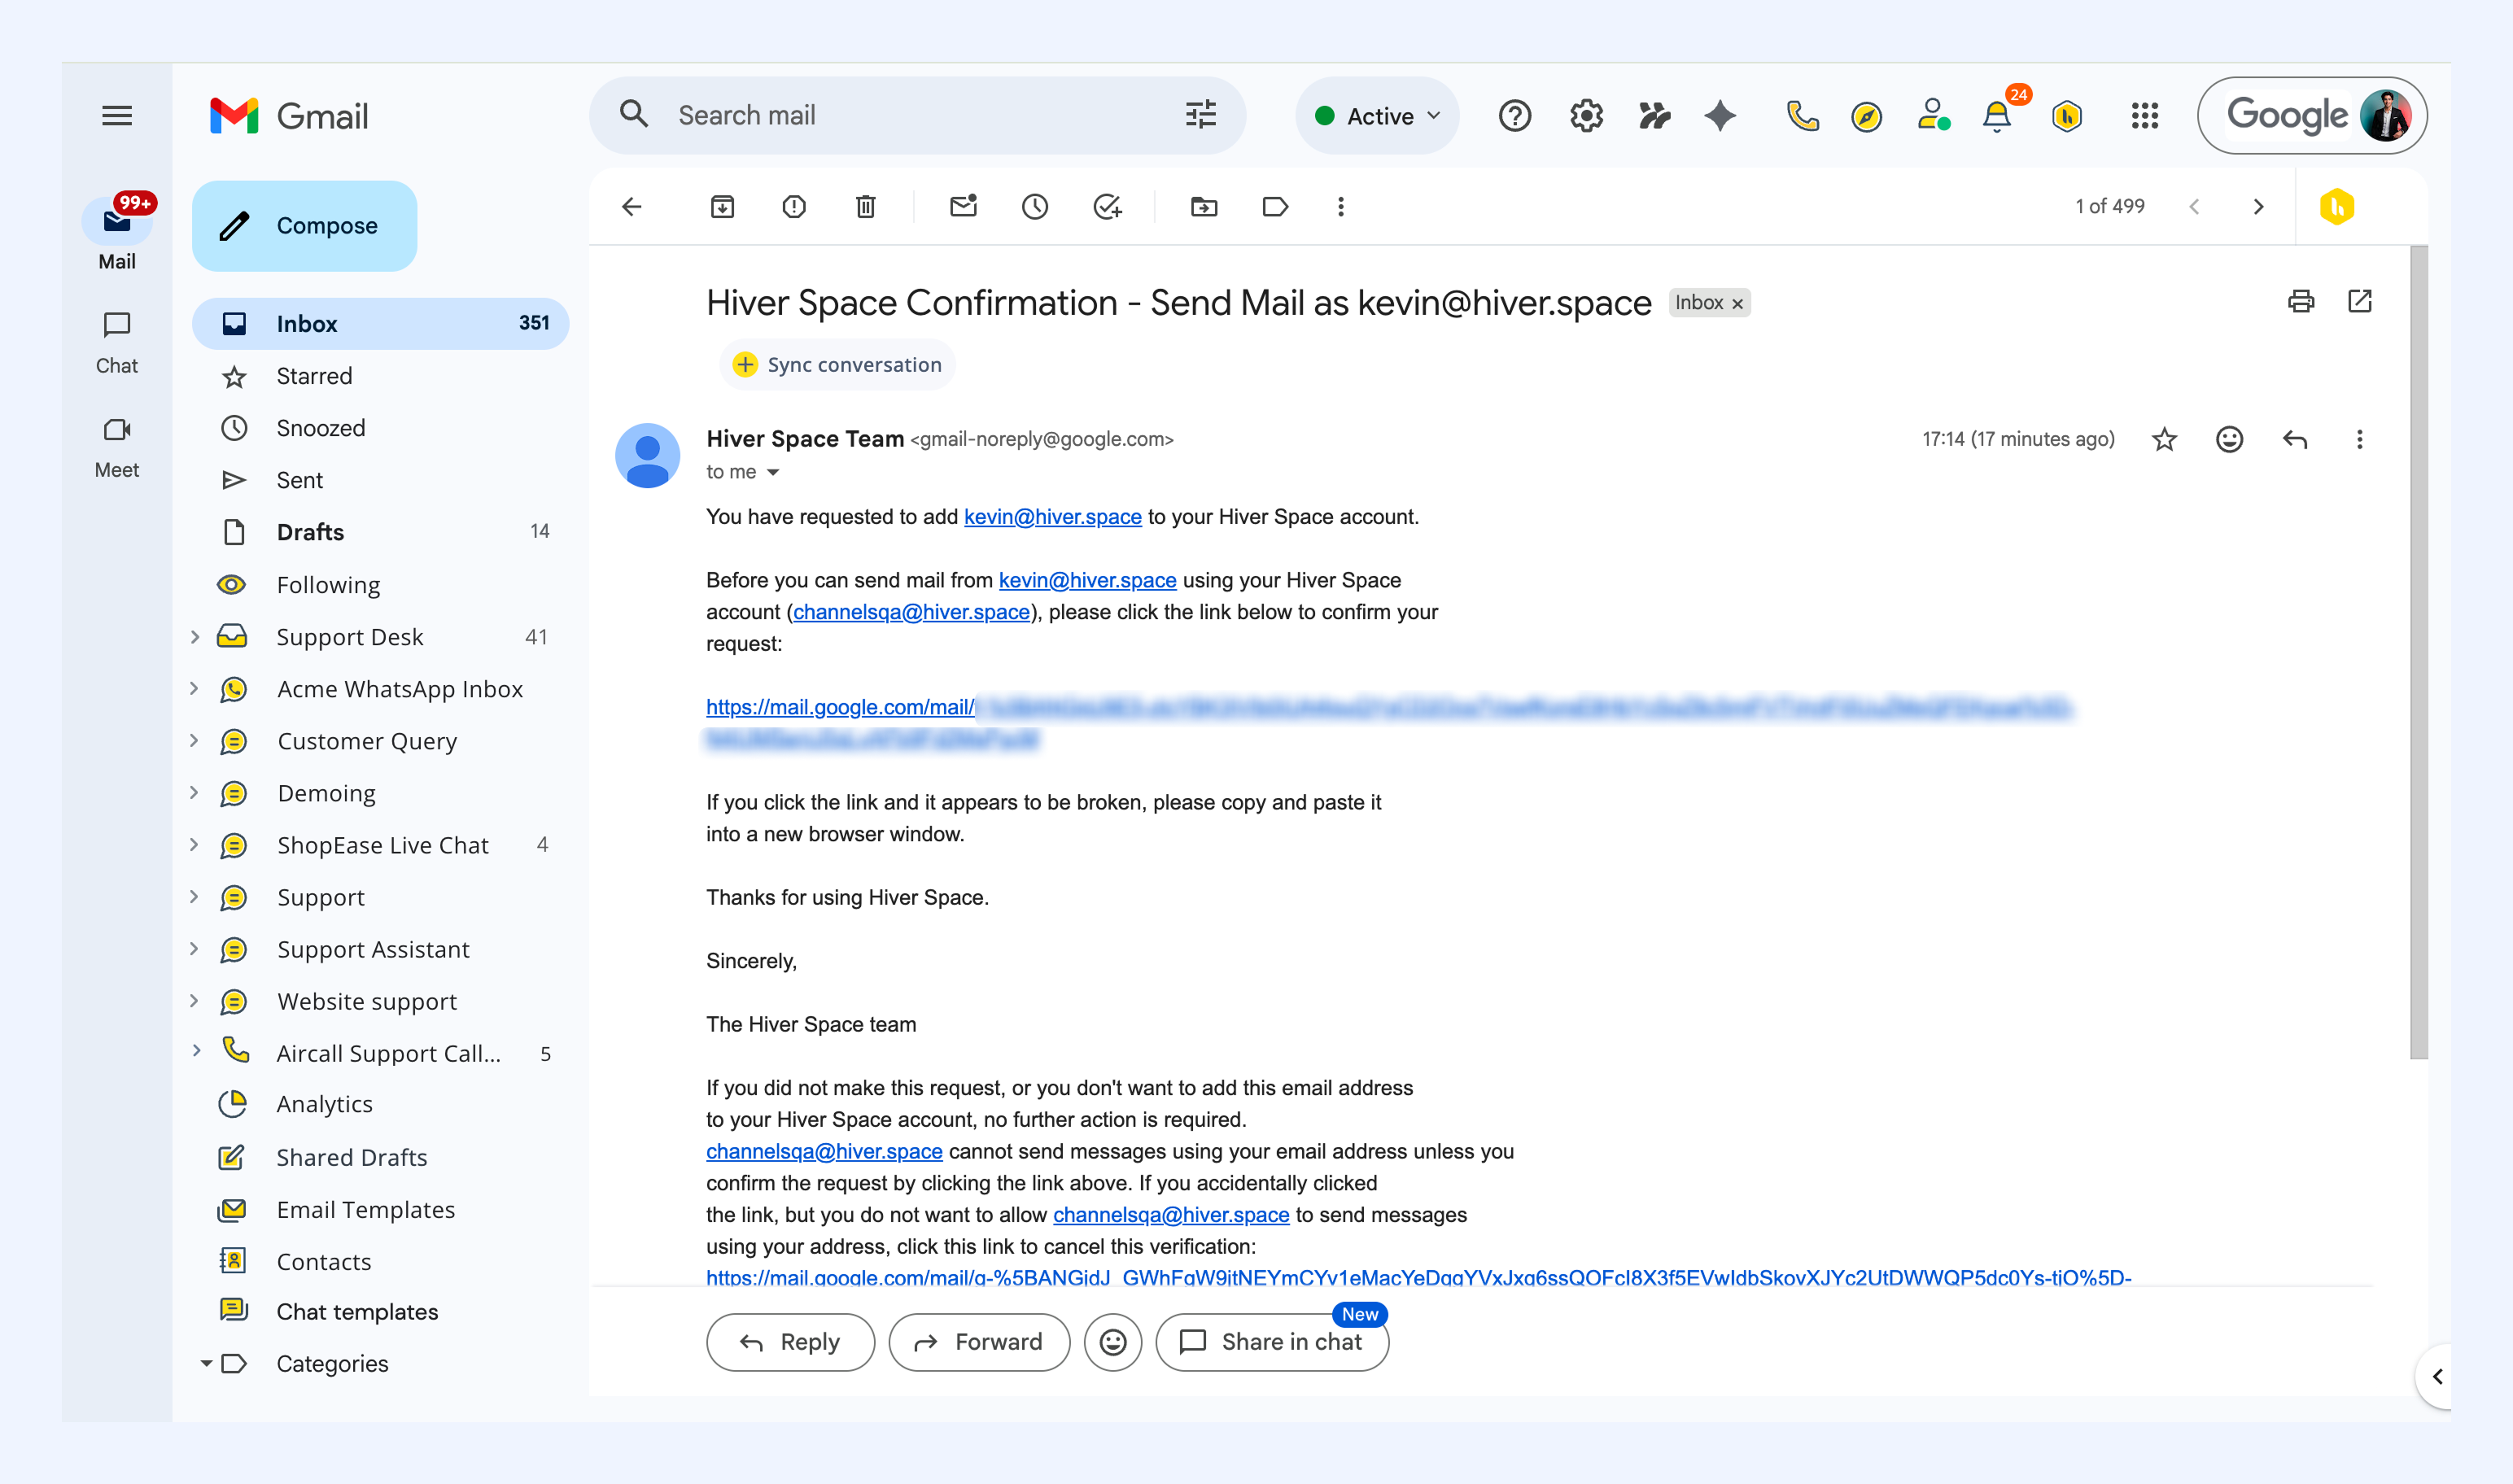
Once done, Auto Responder emails will be sent from the Shared Inbox address instead of the personal email address.
Next steps
Send automated replies to specific scenarios using Automations.
Speed up response times with AI Suggested Responses.
Create ready-to-use responses for common scenarios using Email Templates.