Managing Slack Inbox settings
Your Slack Inbox settings control who can access the inbox, which channels are connected, how incoming messages are handled, and how your team manages them. This article walks through each setting and where to find it.
To access Slack Inbox settings, go to Admin Panel → Shared Inbox → Slack Inbox, and select an inbox.
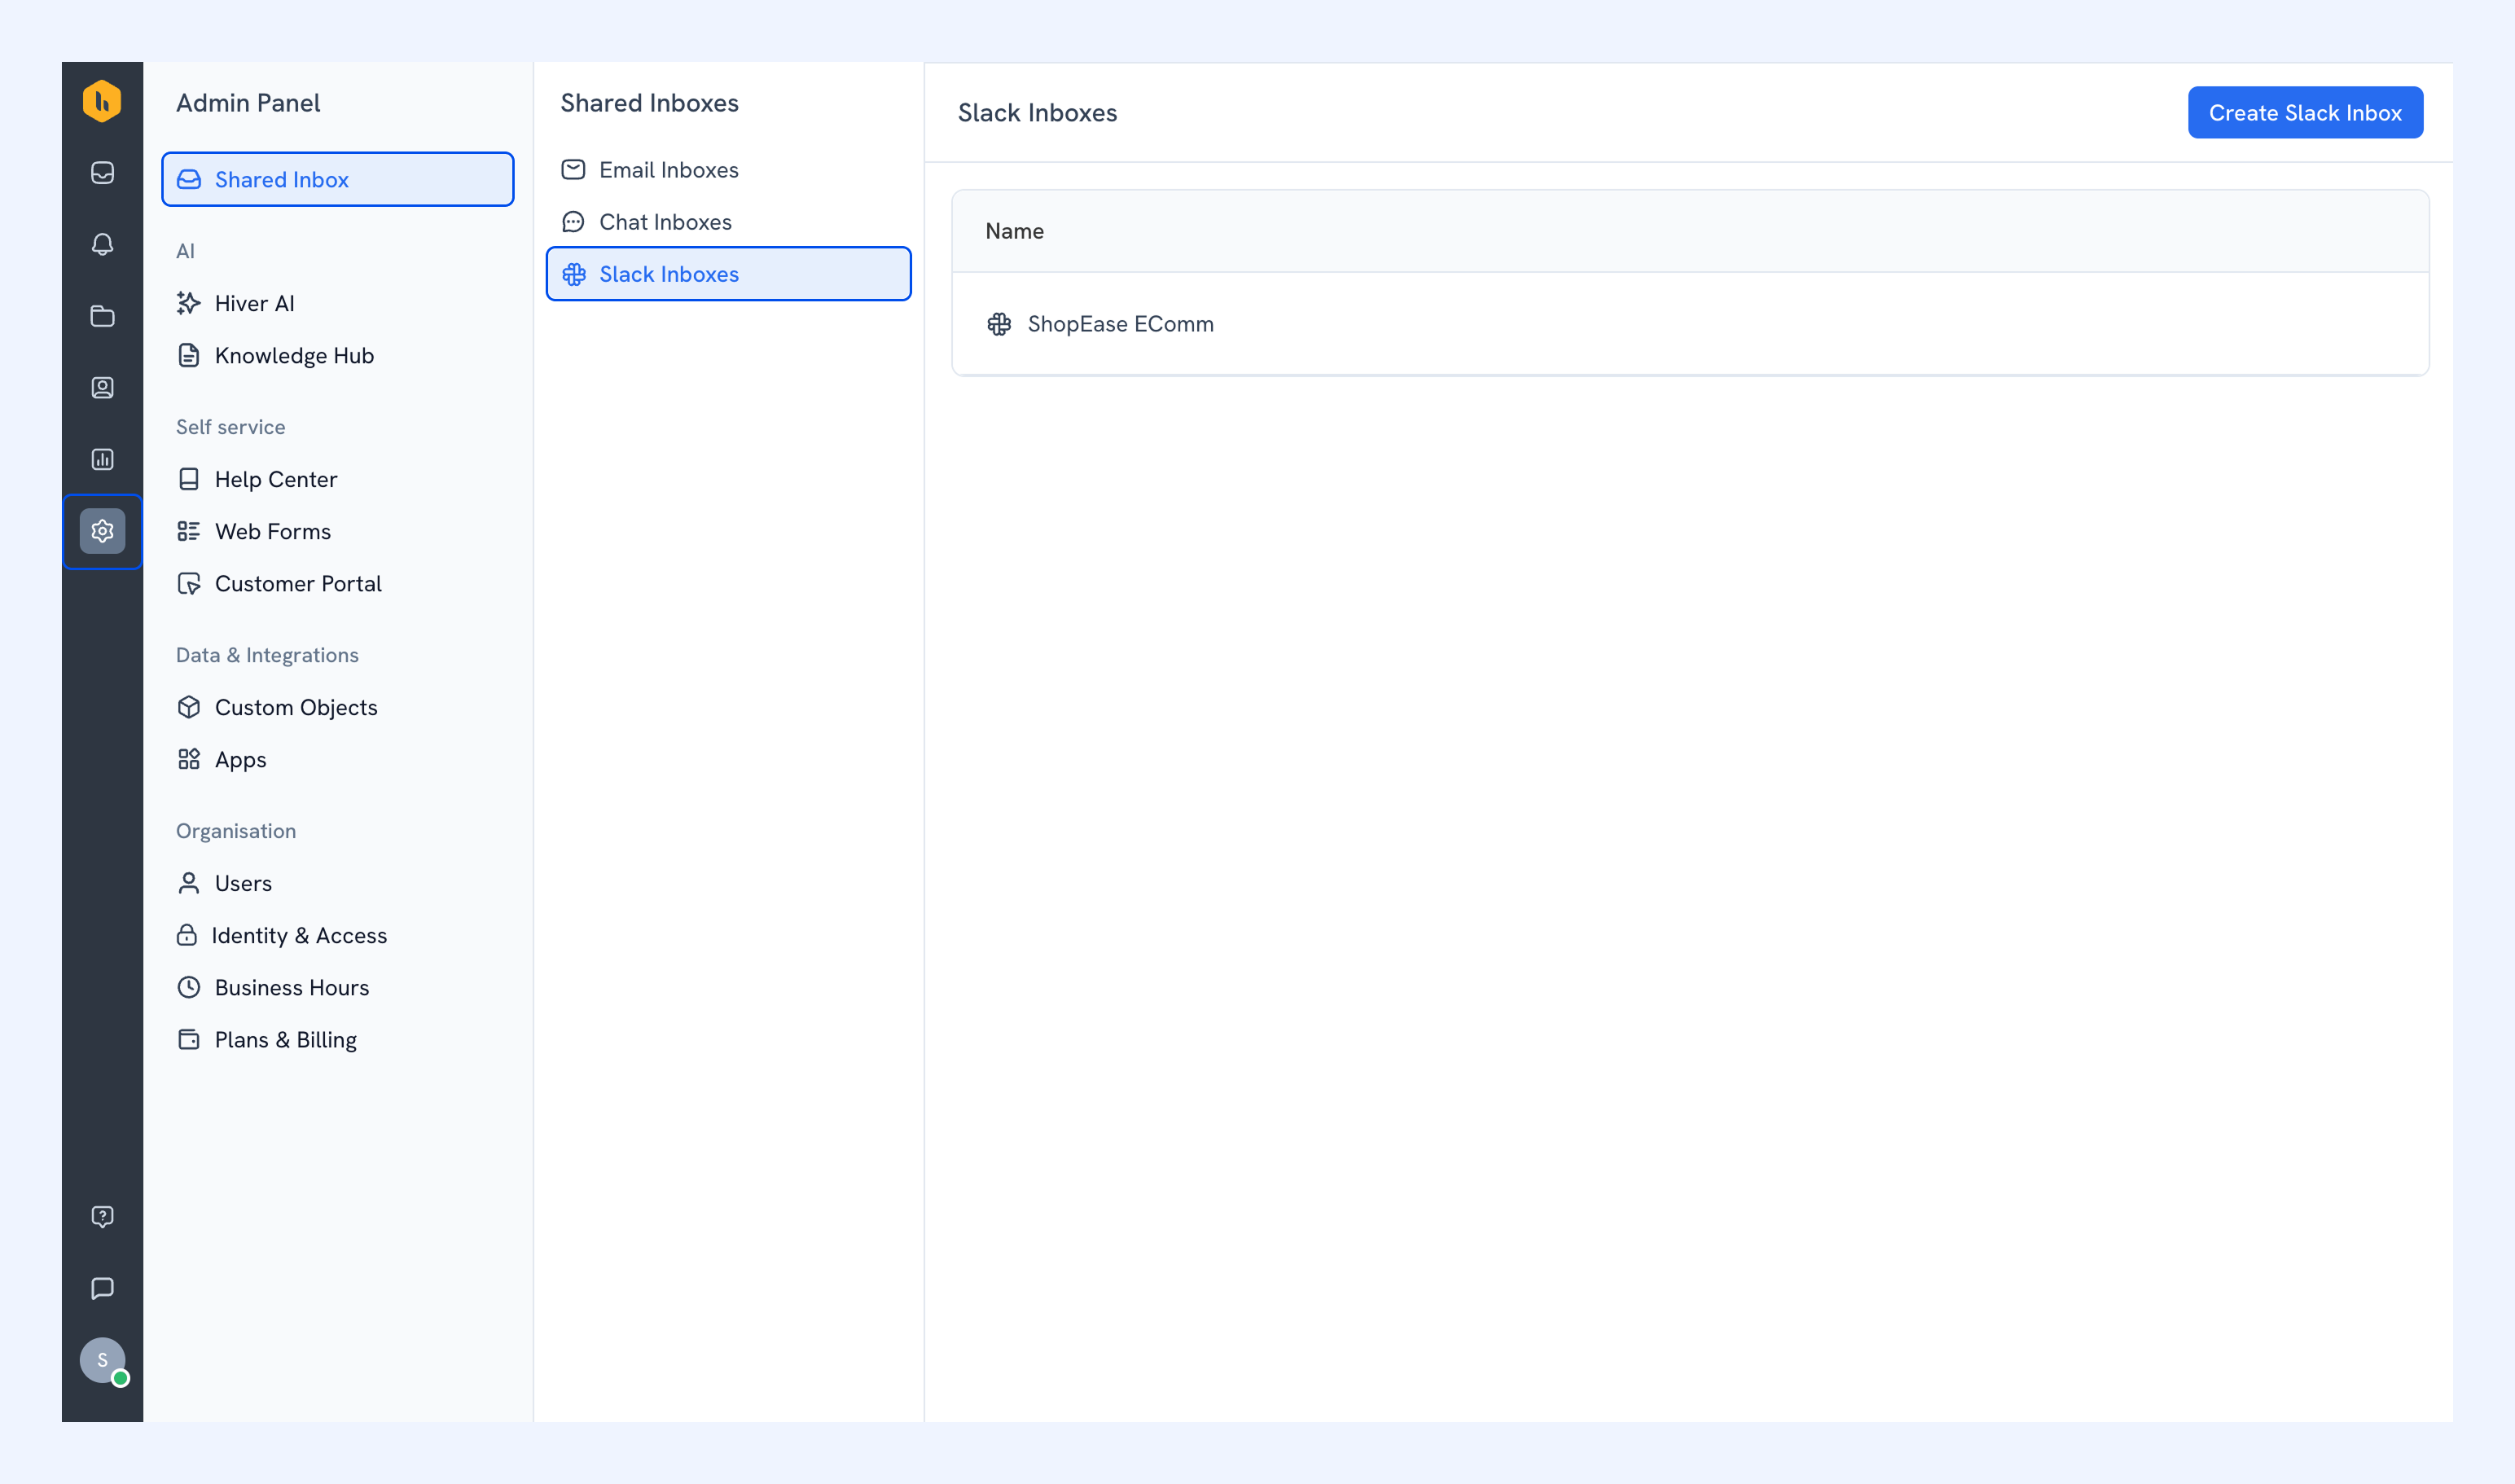
Here you can manage:
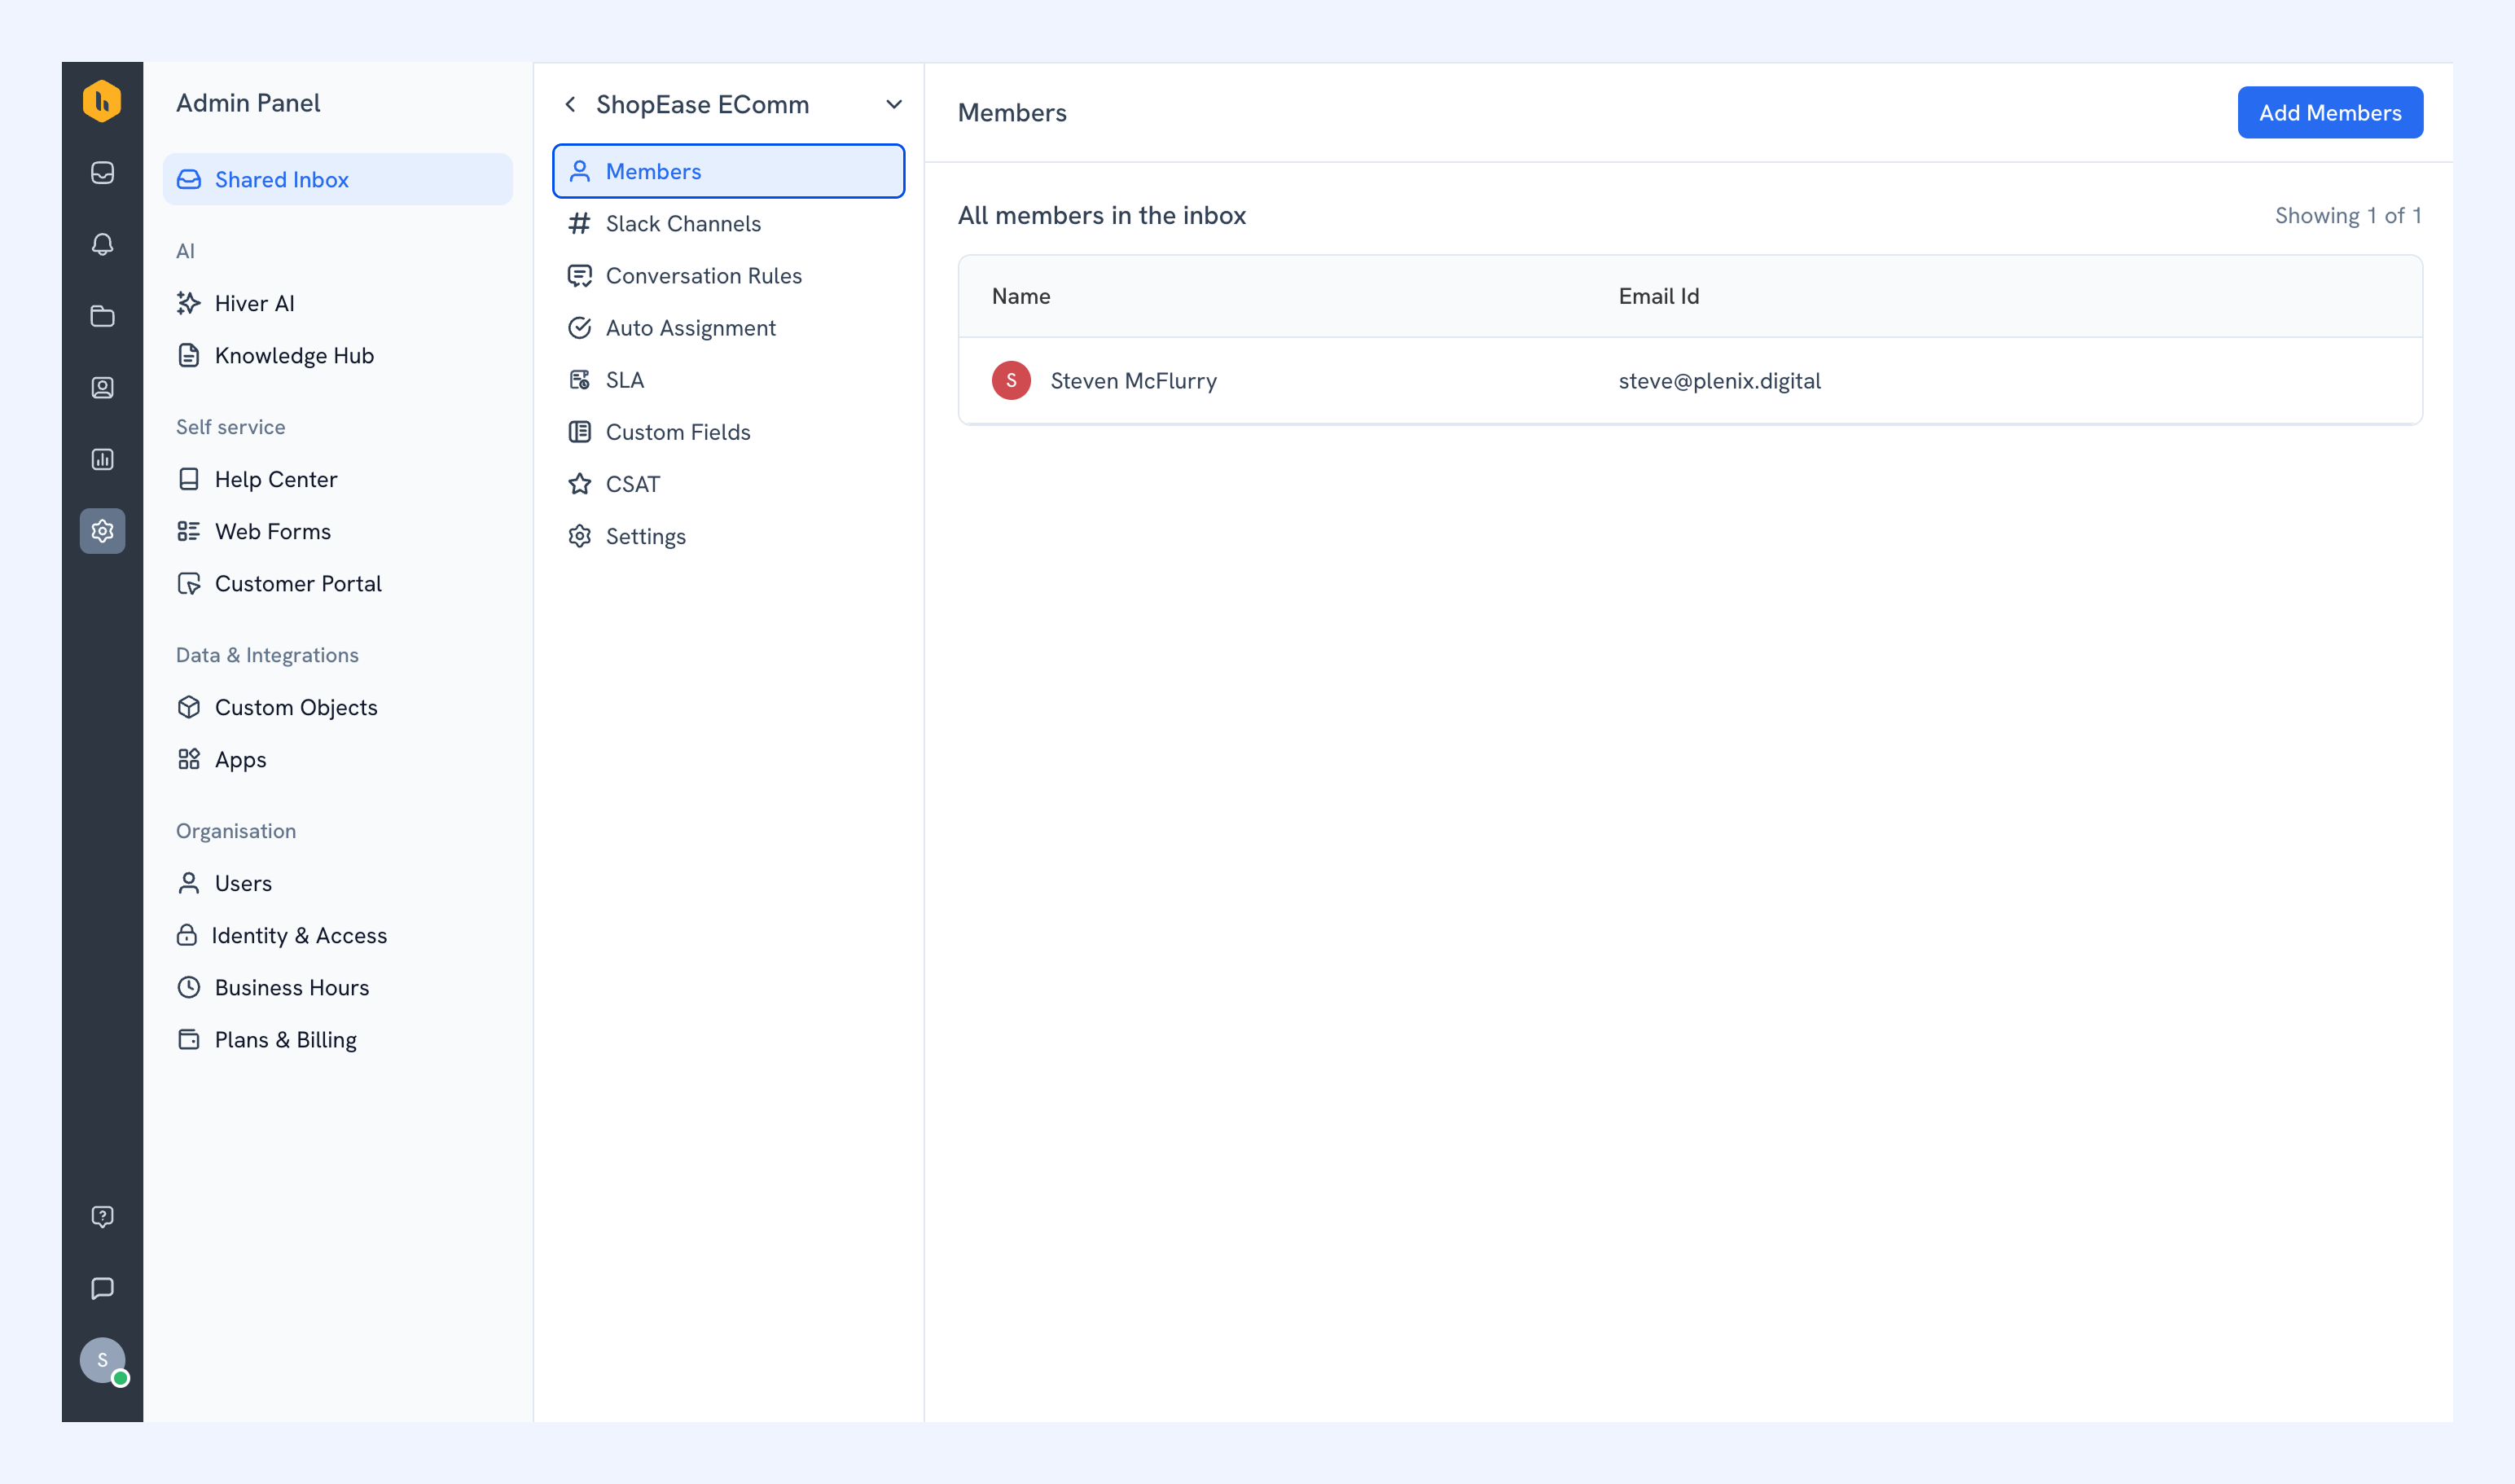
Members
The members section gives you a list of all team members with access to the inbox. You can add or remove members from here.
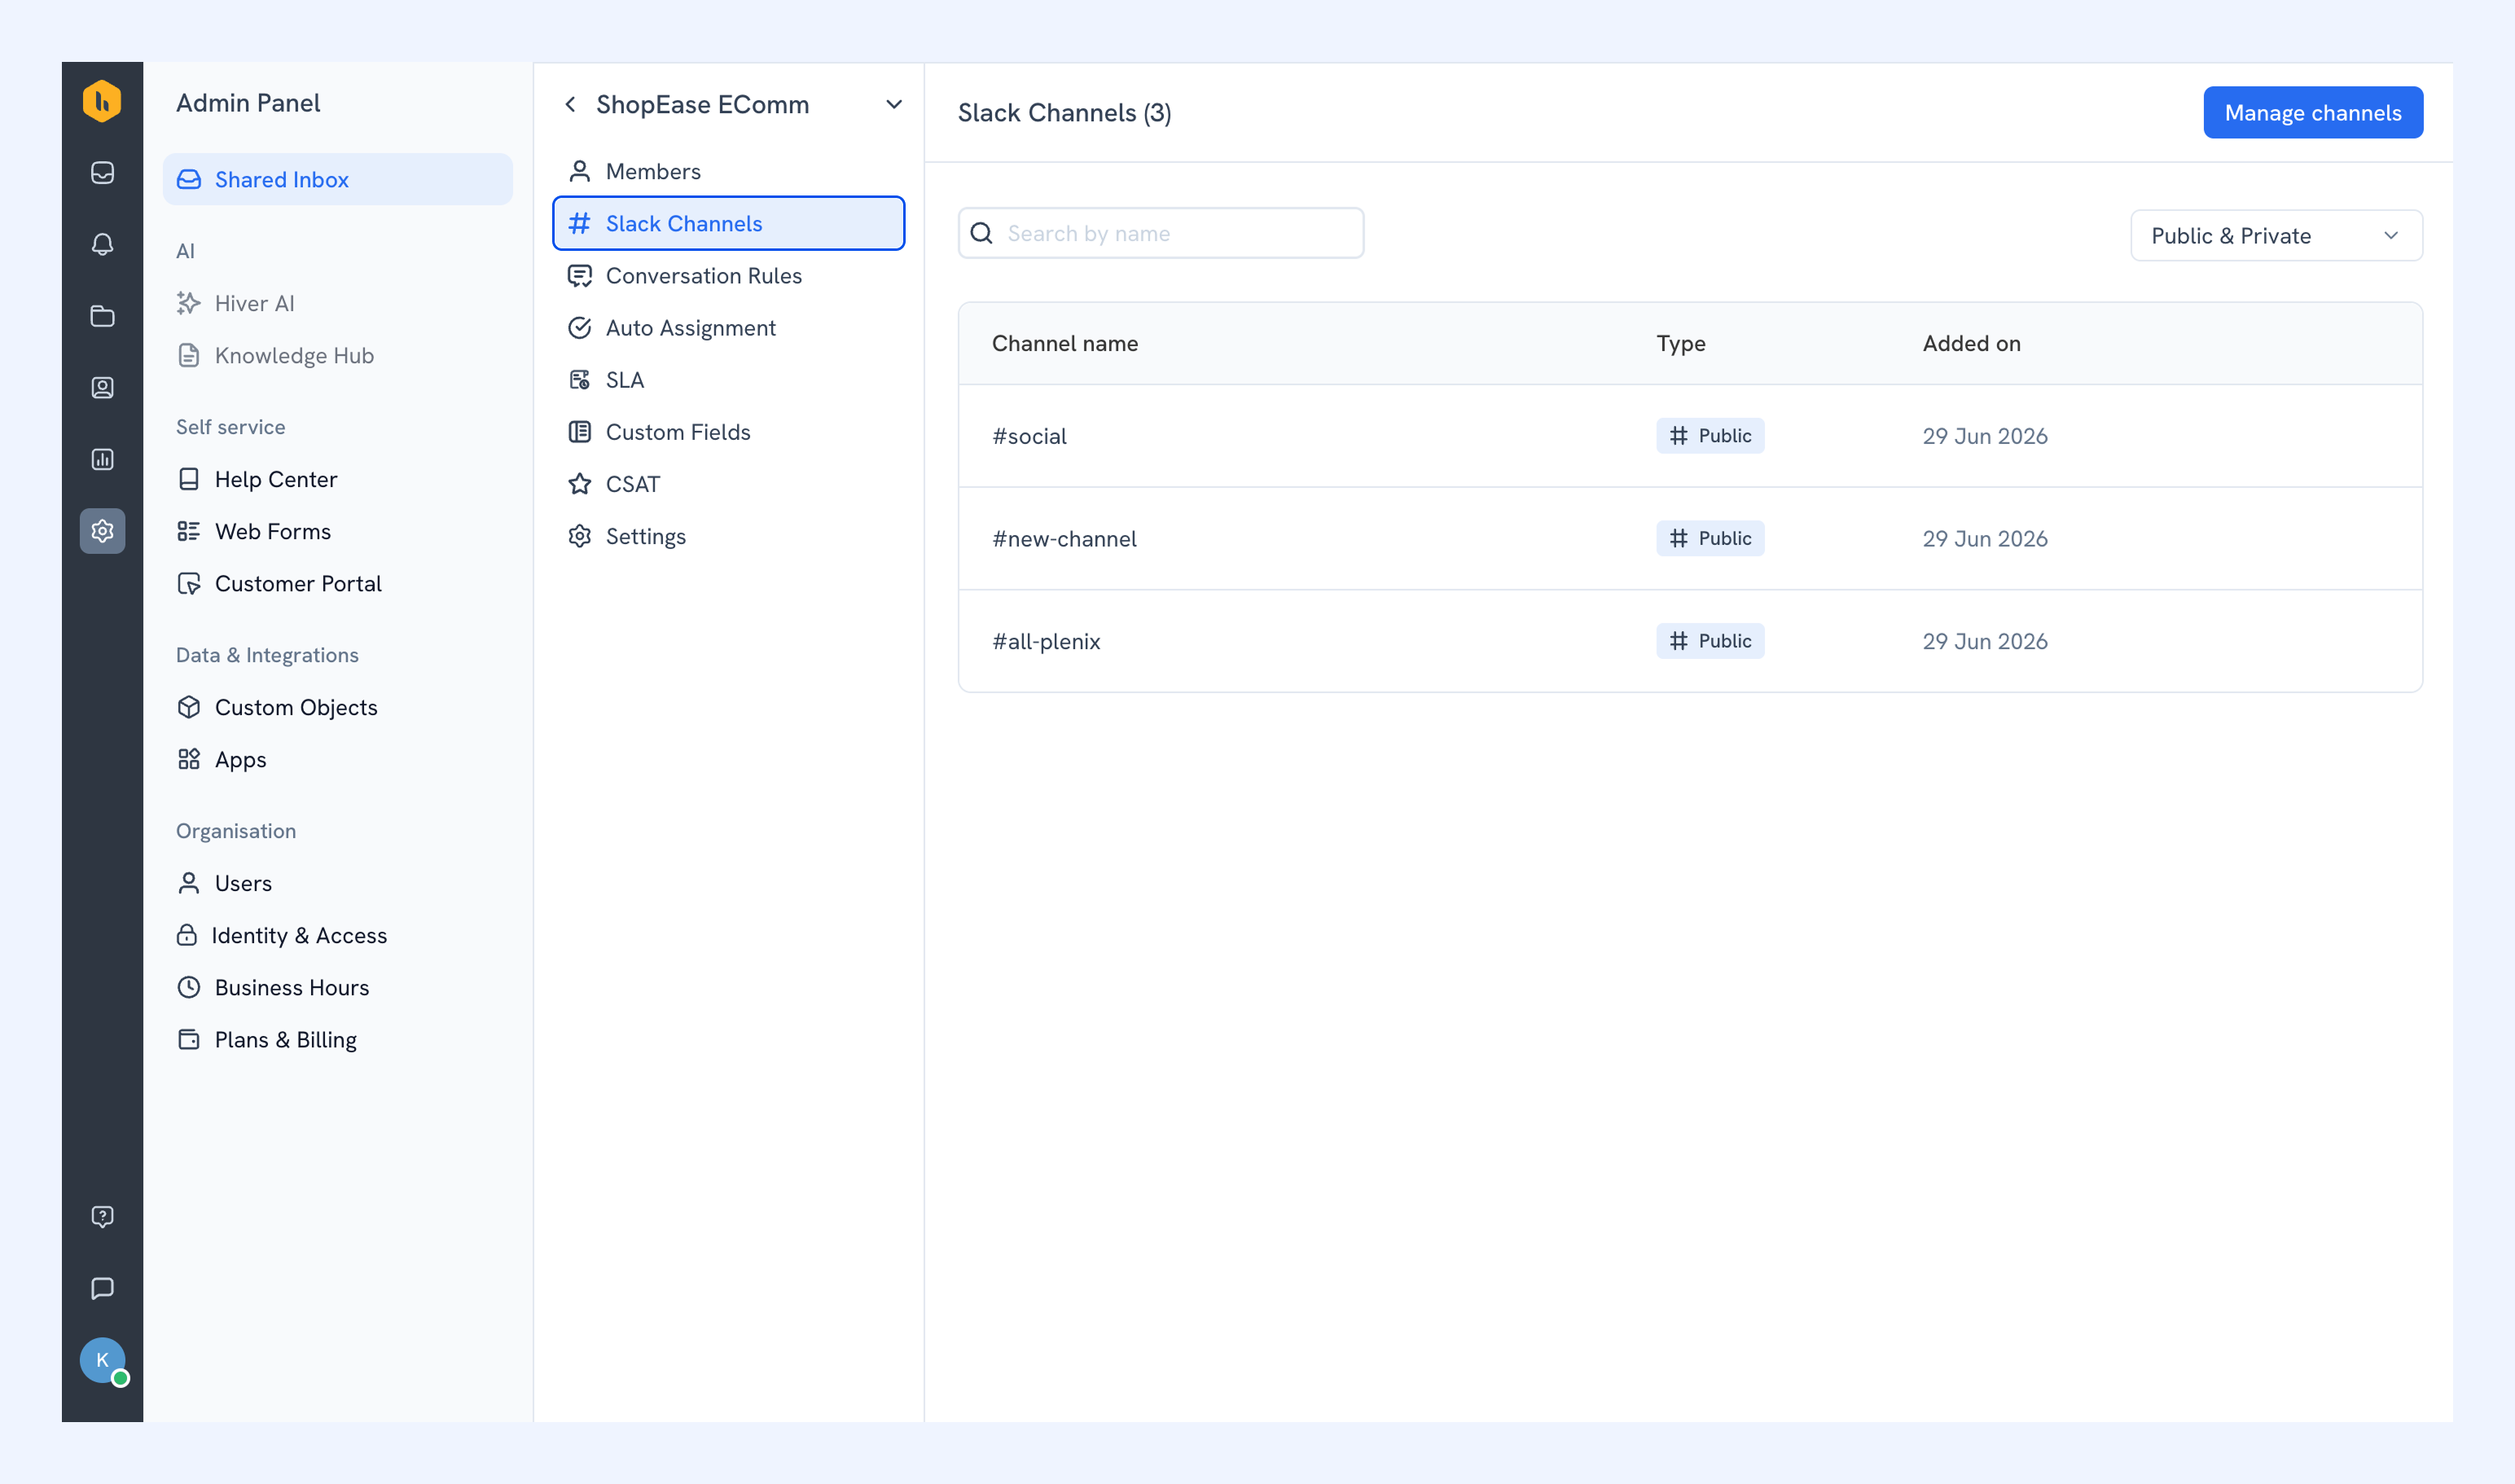
Slack channels
This section shows all channels currently connected to the inbox. You can connect more channels or disconnect existing channels from Manage channels.
Conversation rules
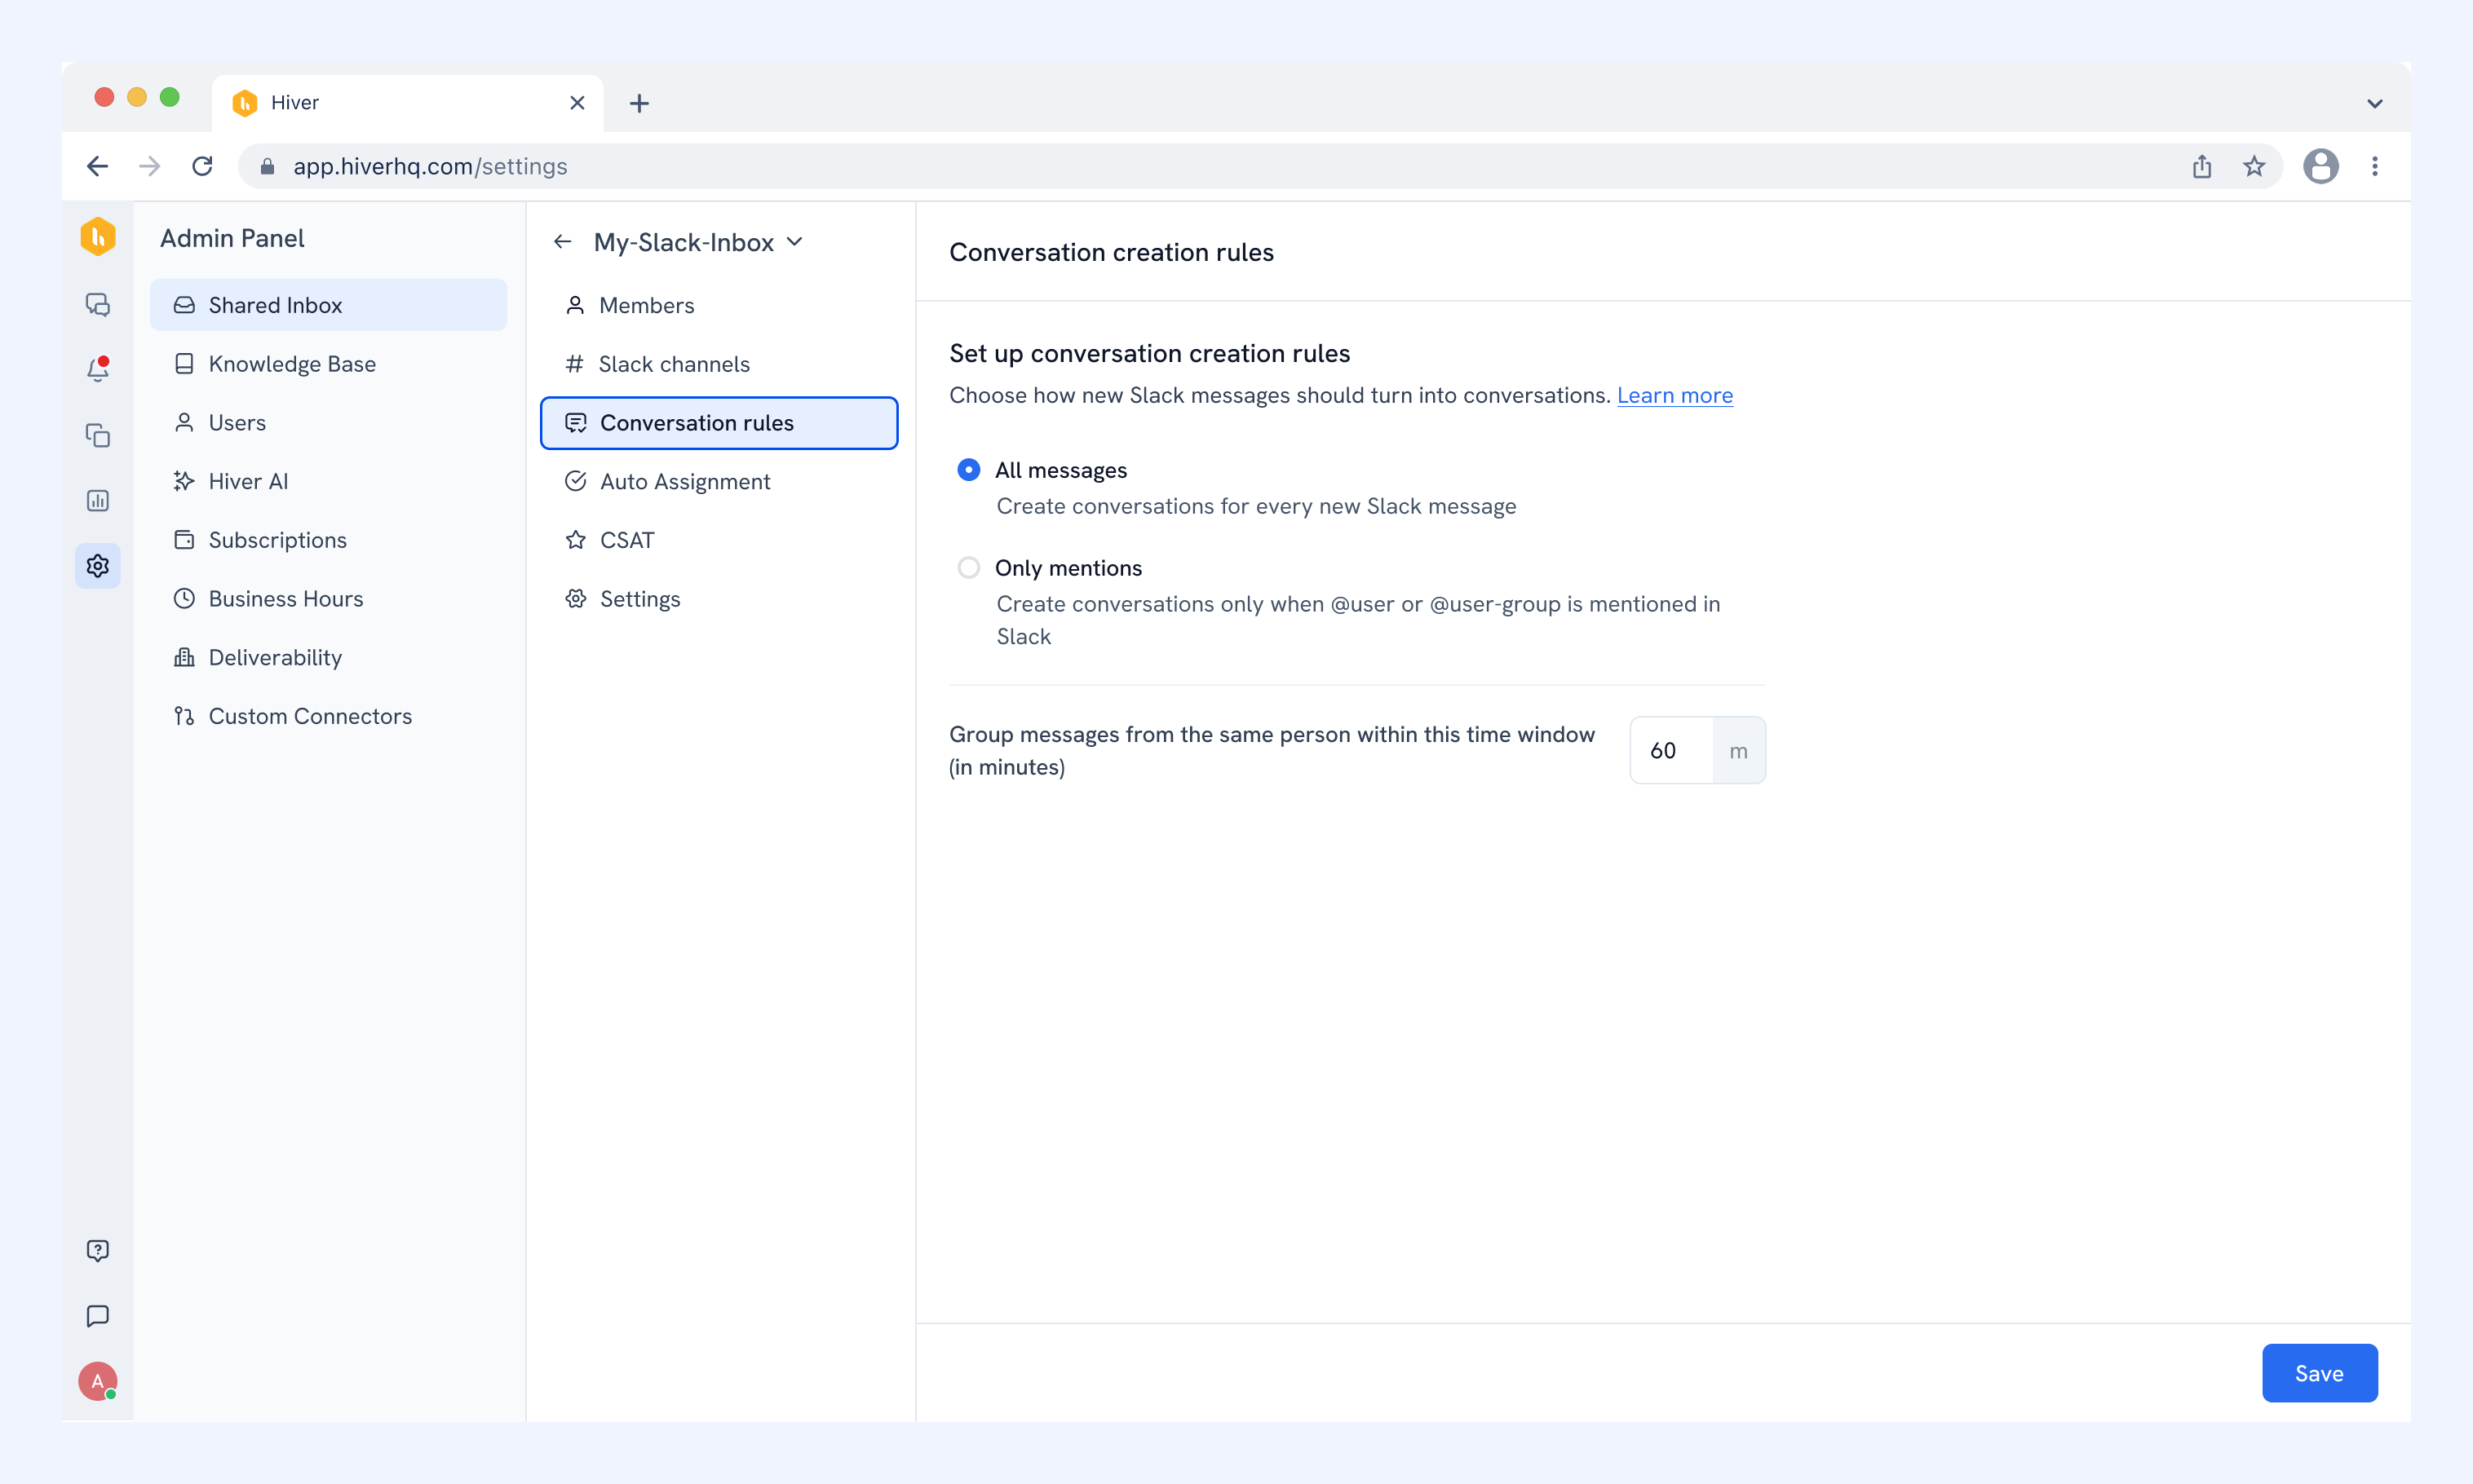
This section controls how incoming Slack messages become conversations in Hiver Omni. You can update these settings at any time.
- All messages creates a conversation for every new Slack message.
- Only mentions creates a conversation only when a user or user group is @mentioned in Slack. If you choose mentions for individual users, choose which users' mentions should create a conversation. By default, every user in your domain is selected, and a conversation is created only when one of the selected users is tagged.
- Group consecutive messages bundles messages from the same person within a set time window into one conversation.
Auto Assignment
With Auto Assignment, you can choose to automatically assign Slack conversations among available team members. Learn more about Auto Assignment in Slack.
SLA
An SLA (service-level agreement) sets time targets for how quickly your team responds to and resolves conversations. Use it to make sure conversations get a first response and a resolution within the time you set.
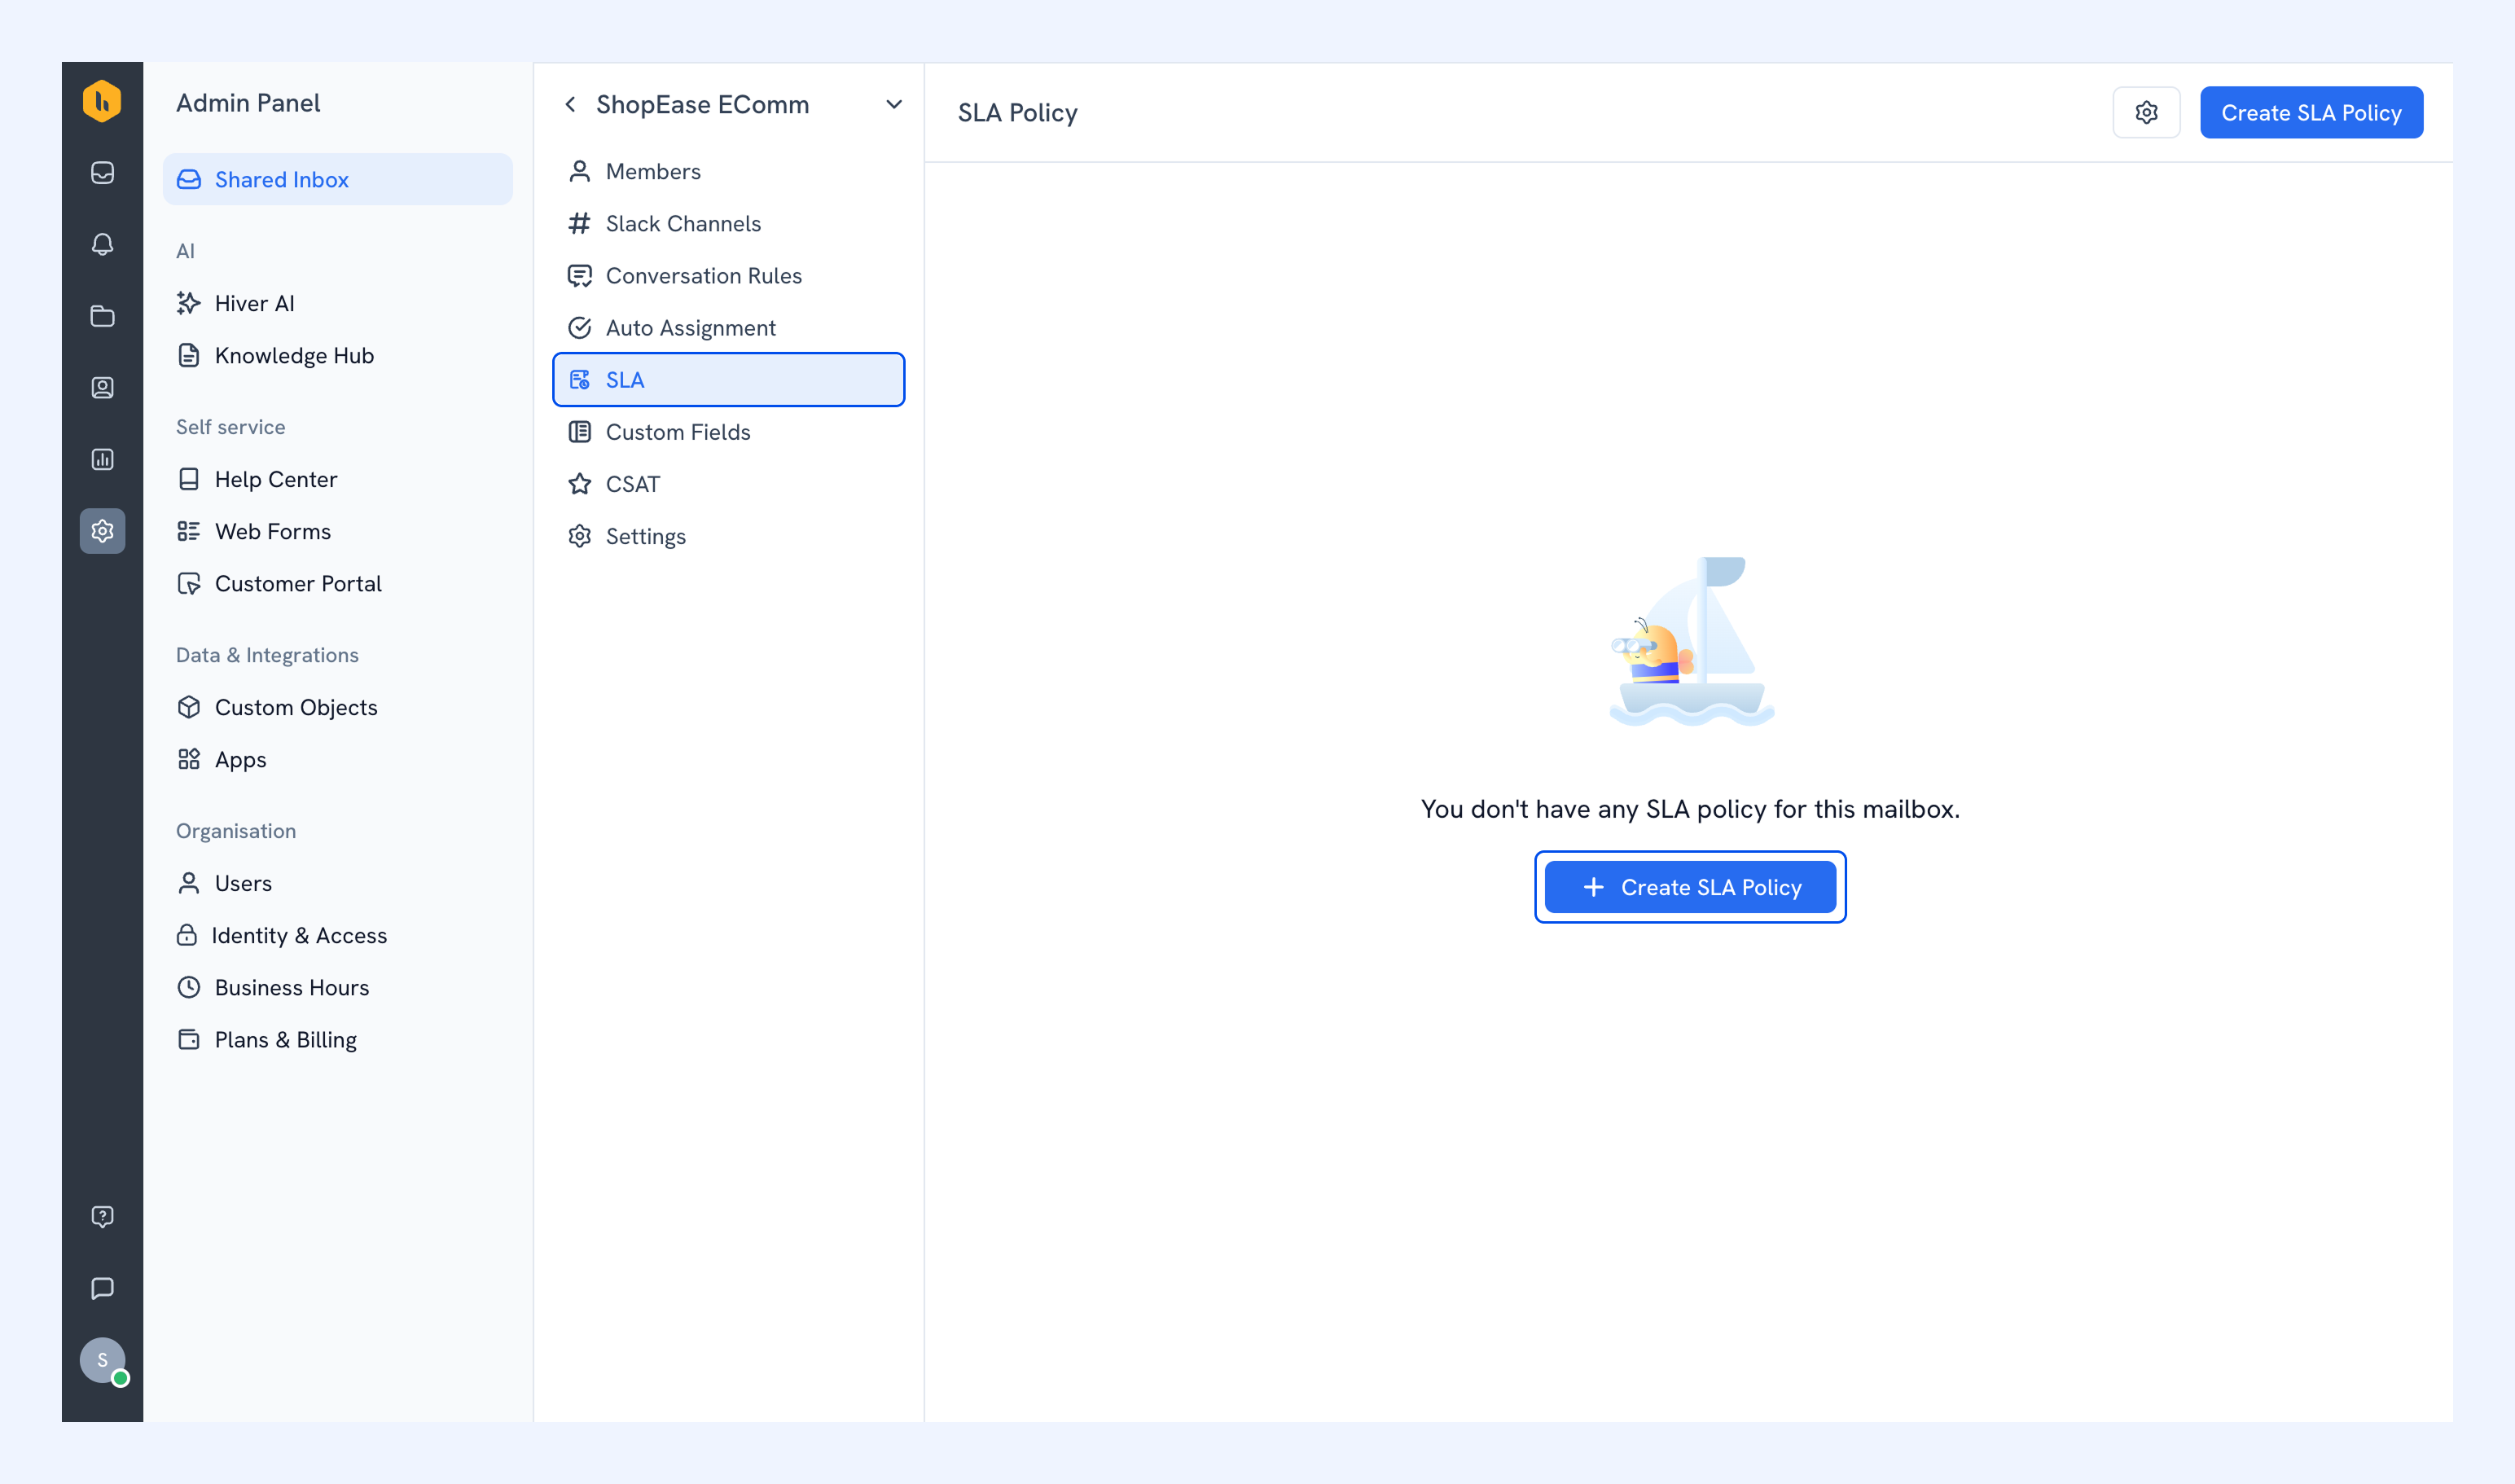
To create an SLA policy:
1. Click Create SLA Policy.
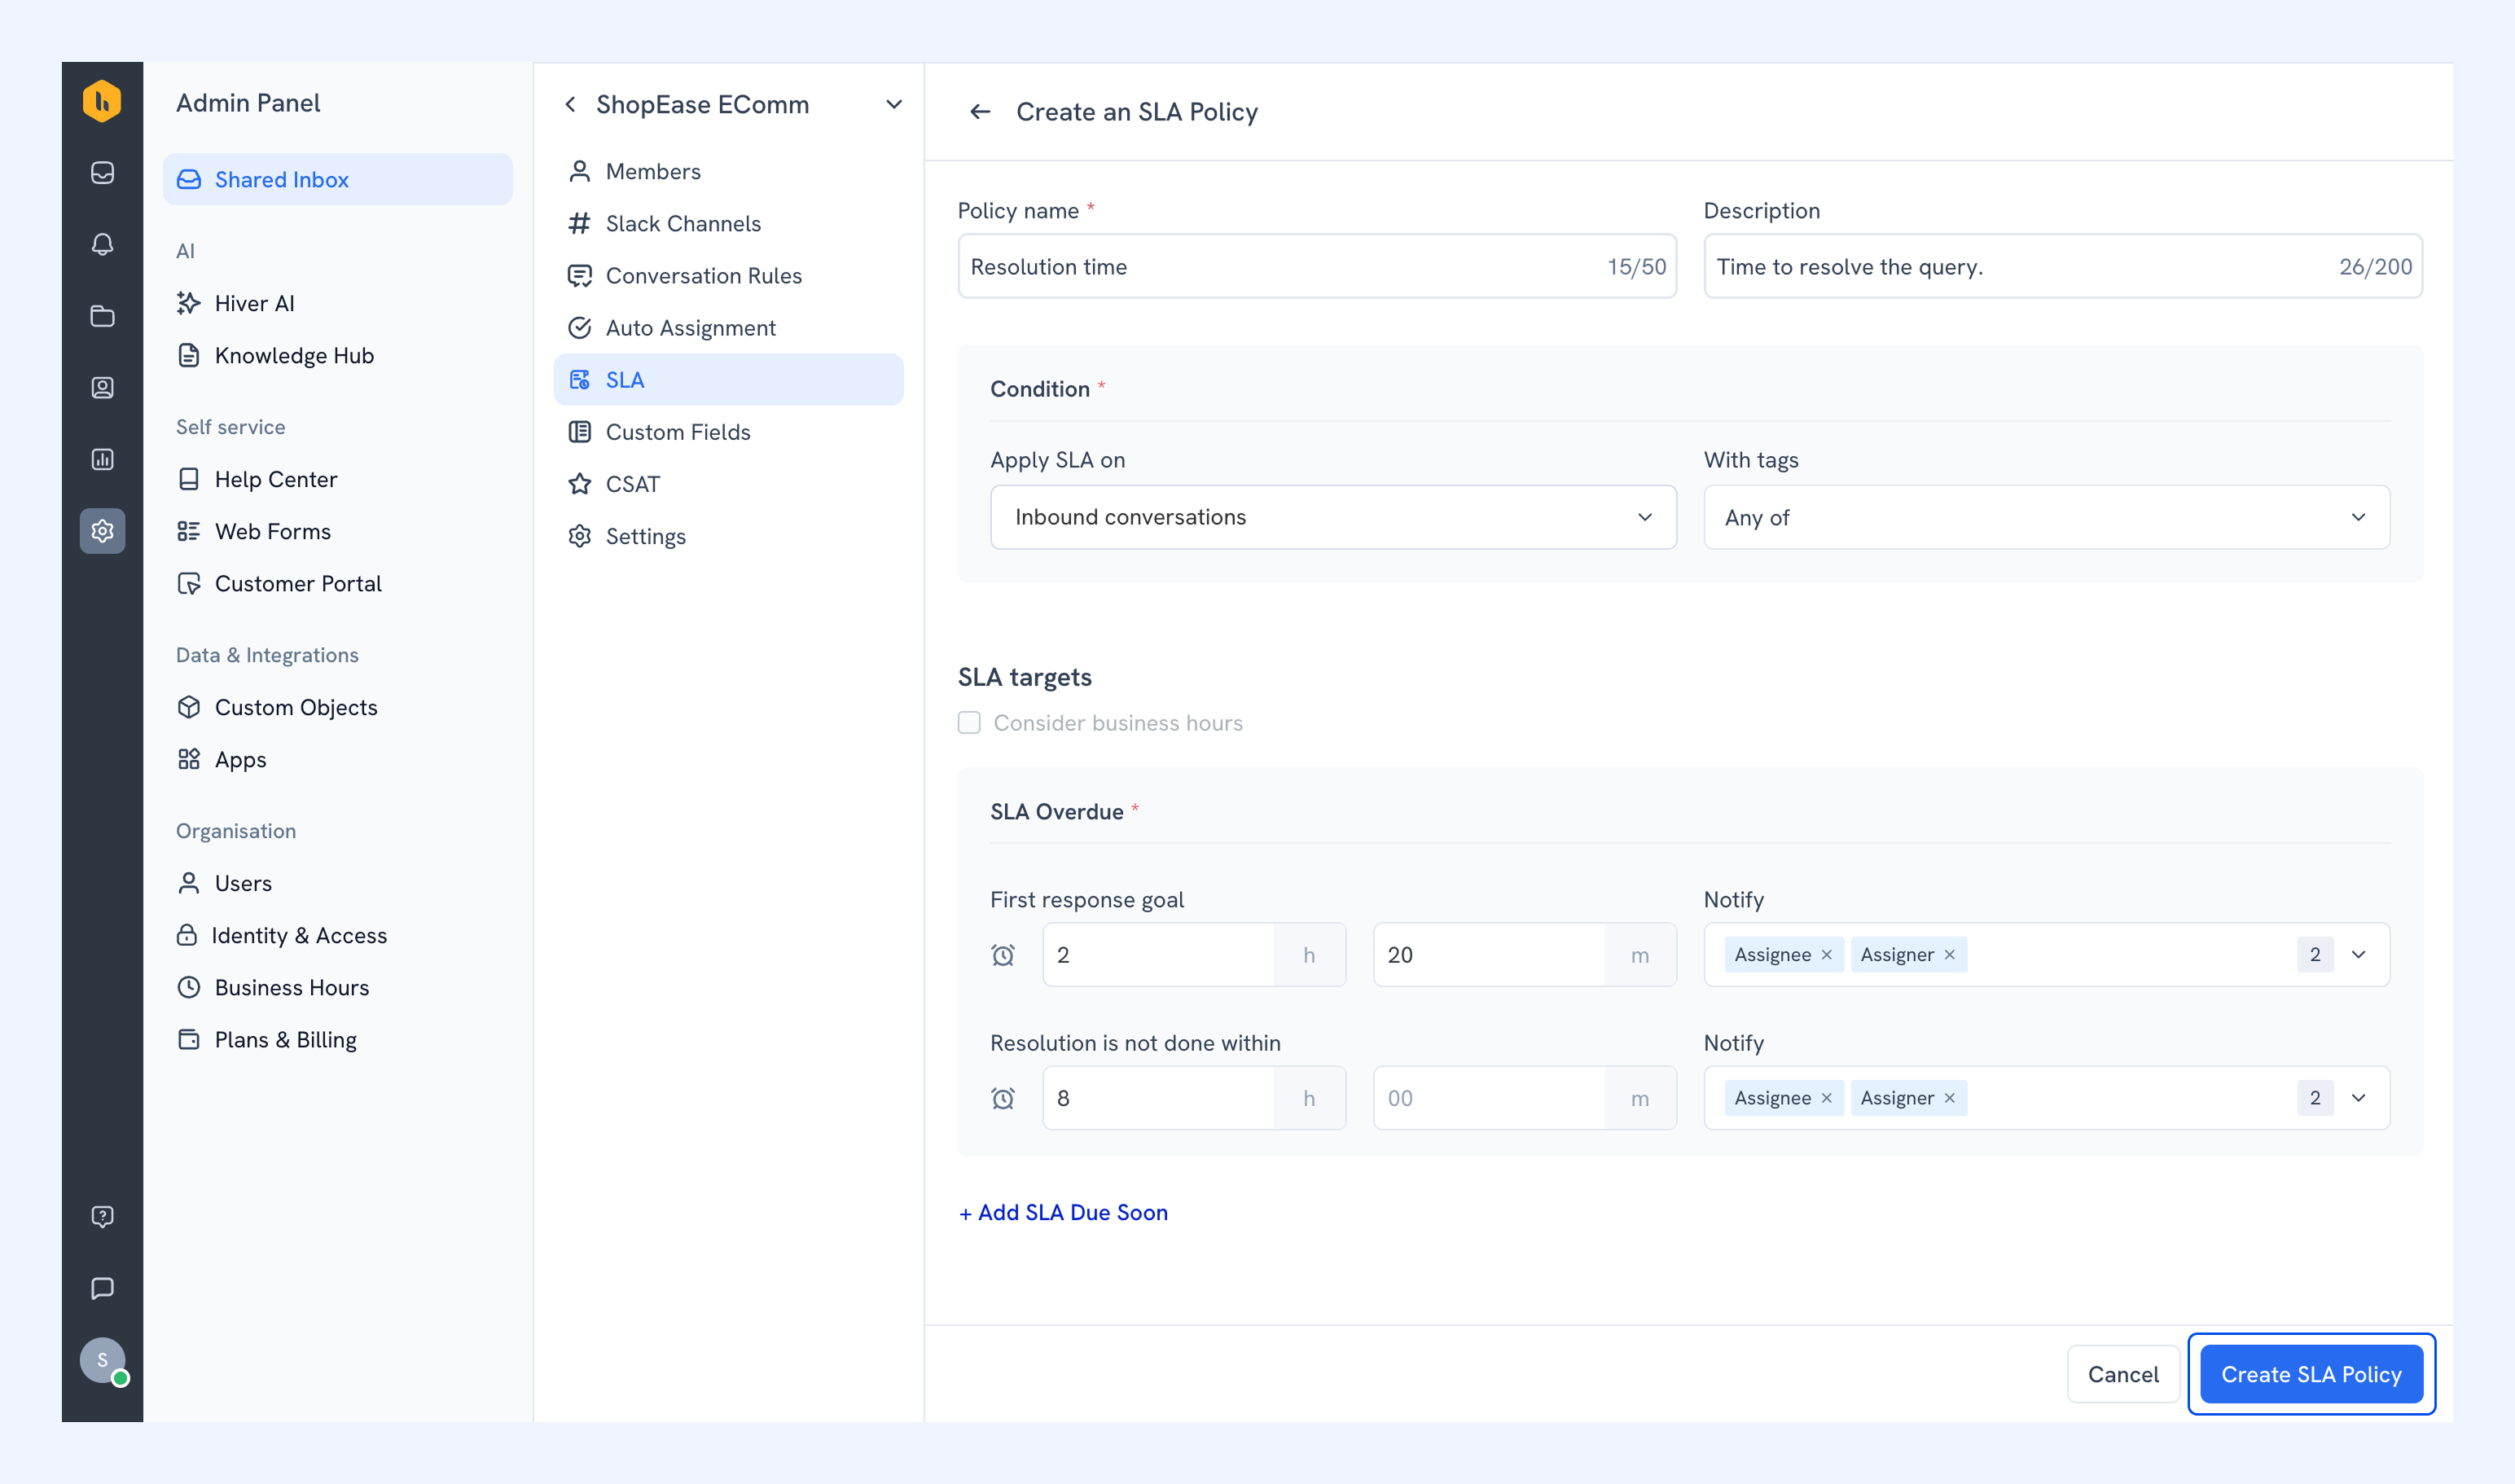
2. Add the policy details, condition, and SLA targets:
- Policy name and description: Name the policy and add a short description.
- Condition: Decide which conversations the policy applies to.
- Use Apply SLA on to choose the conversation type: all conversations, inbound conversations or outbound conversations.
- Use With tags to apply the SLA to a specific group of conversations.
- SLA targets: Define the time limits.
- Select Consider business hours to count only your working hours toward the targets.
- Set a First response target and a Resolution target, then choose who to Notify when a target is missed.
- To notify your team before an SLA target is breached, click Add SLA Due Soon. Then, choose when the notification should be sent and who should receive it.
3. Click Create SLA Policy.
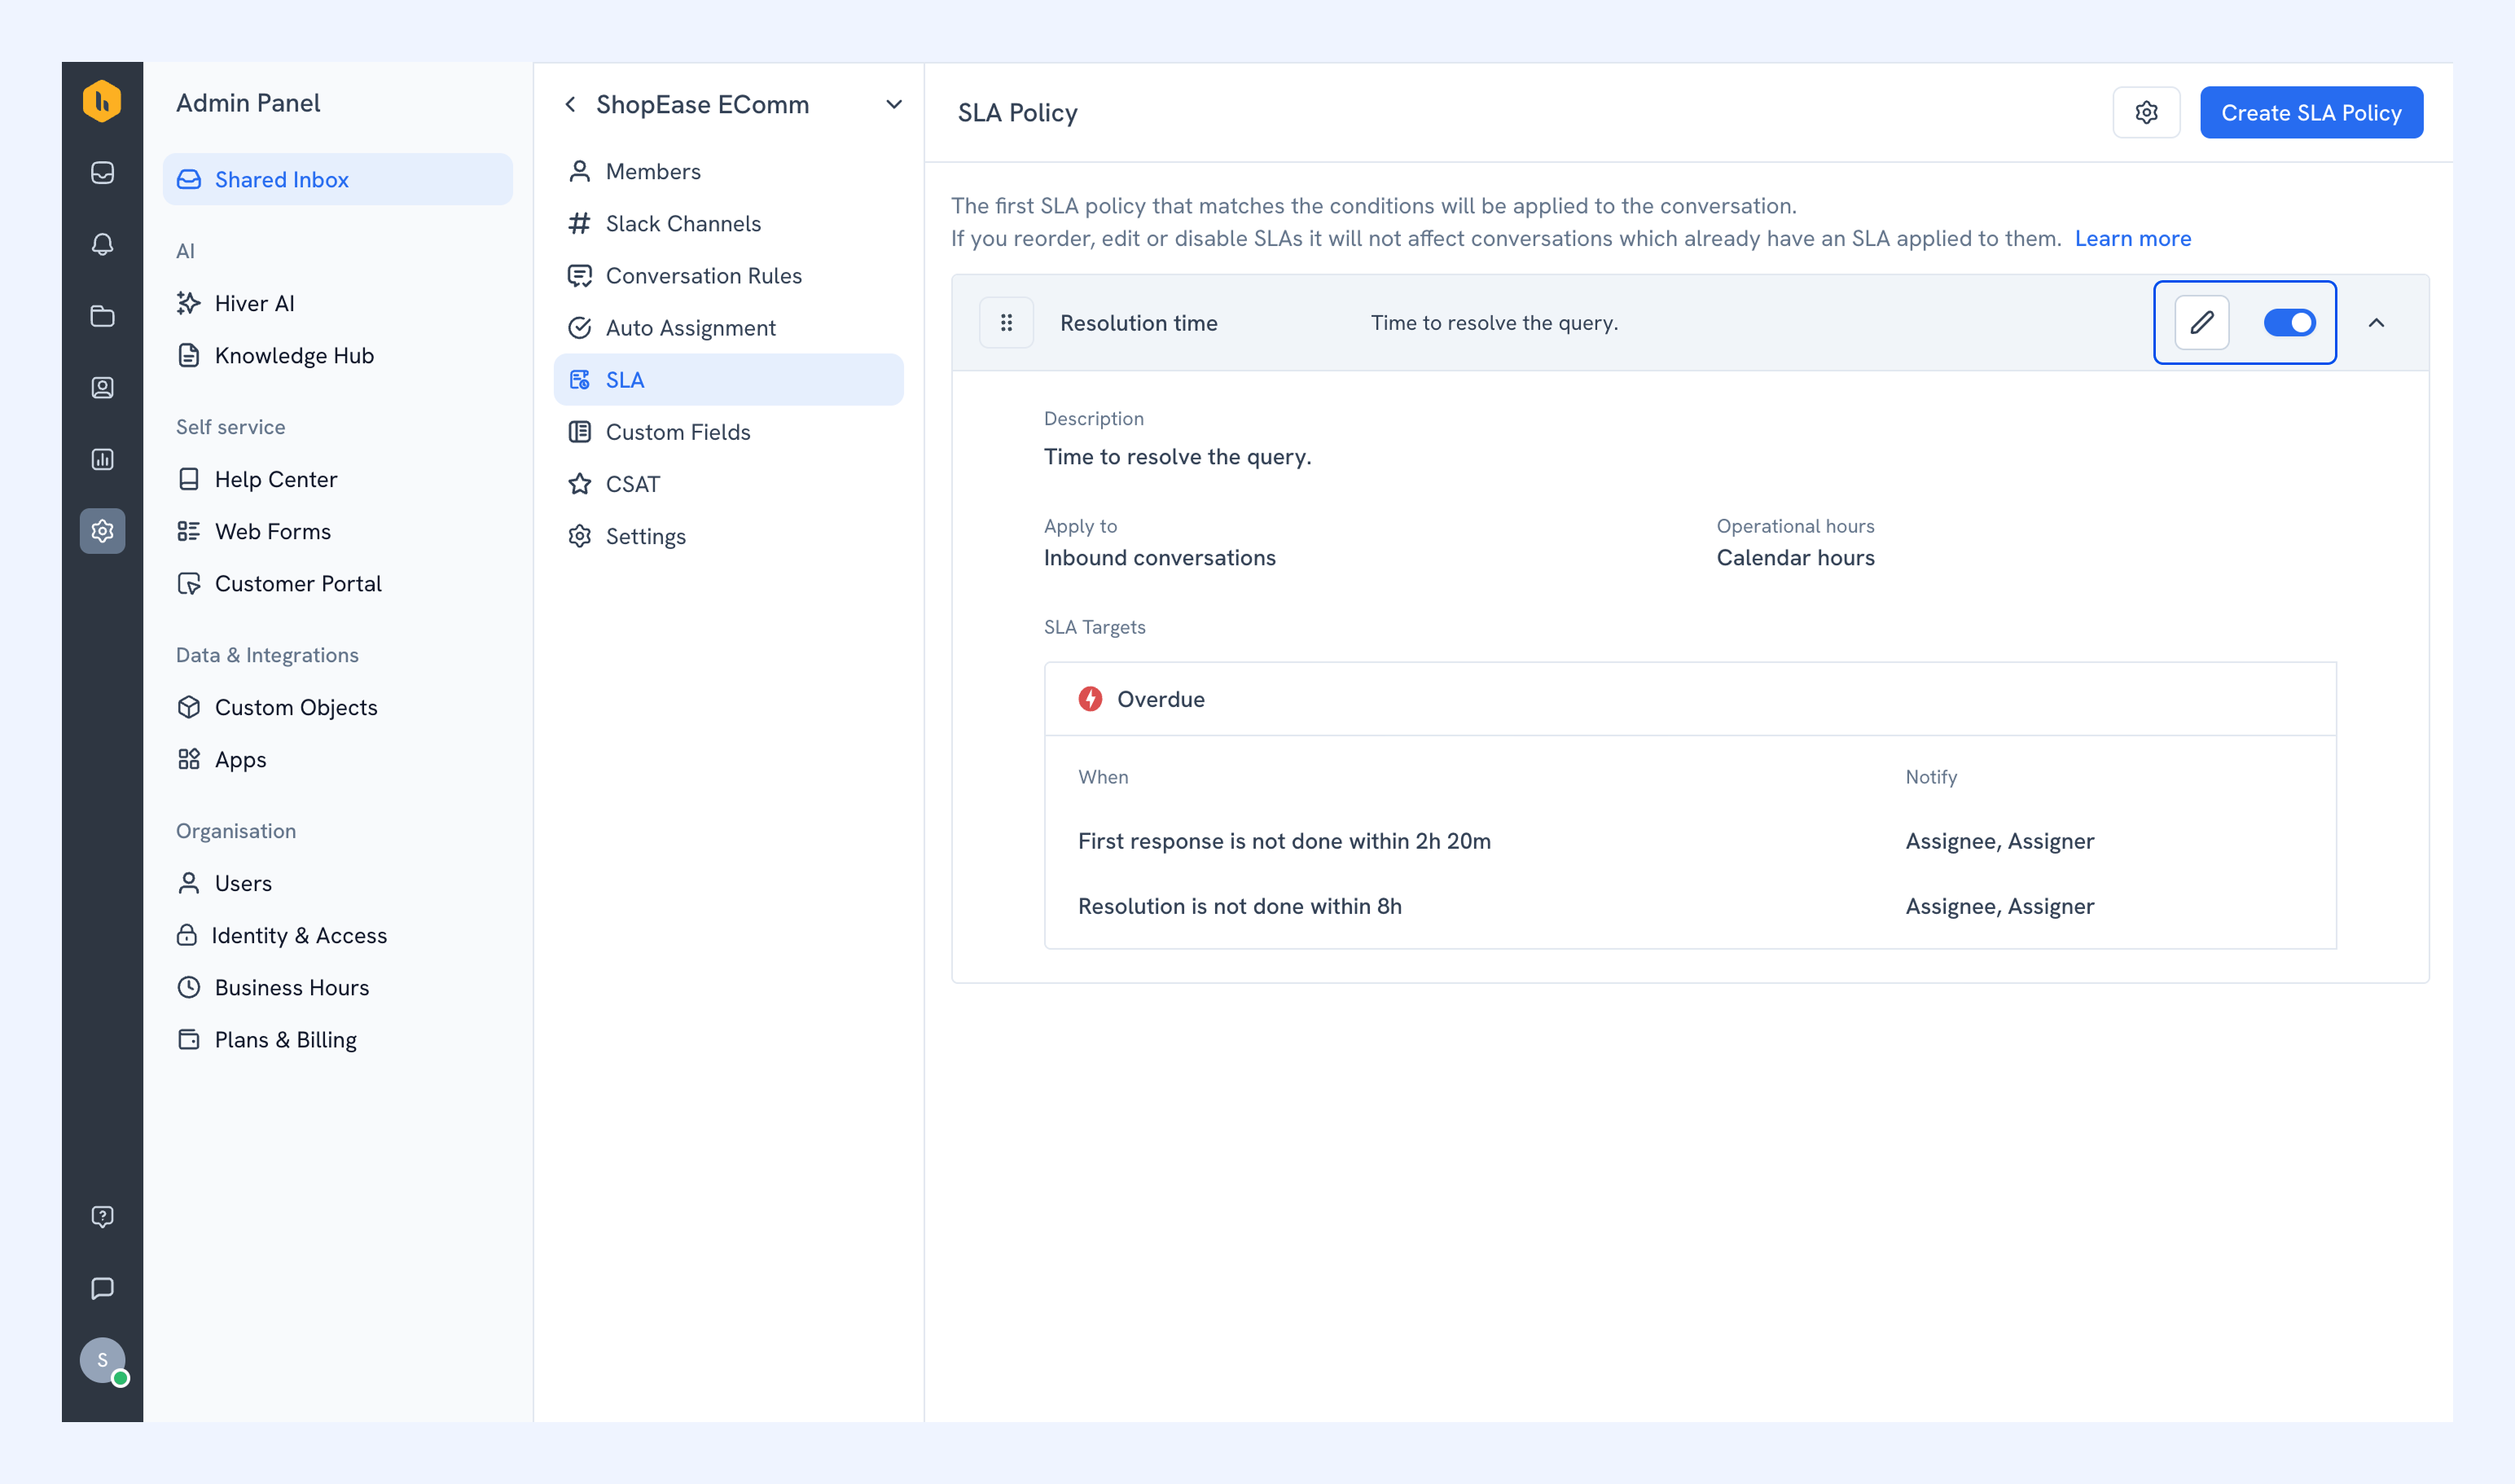
Your SLA policy will be created.
Note: When a conversation comes in, Hiver applies the first policy whose conditions match.
Managing SLA policies
1. To edit a policy, click the pencil icon.
2. To turn a policy on or off, use the toggle next to it.
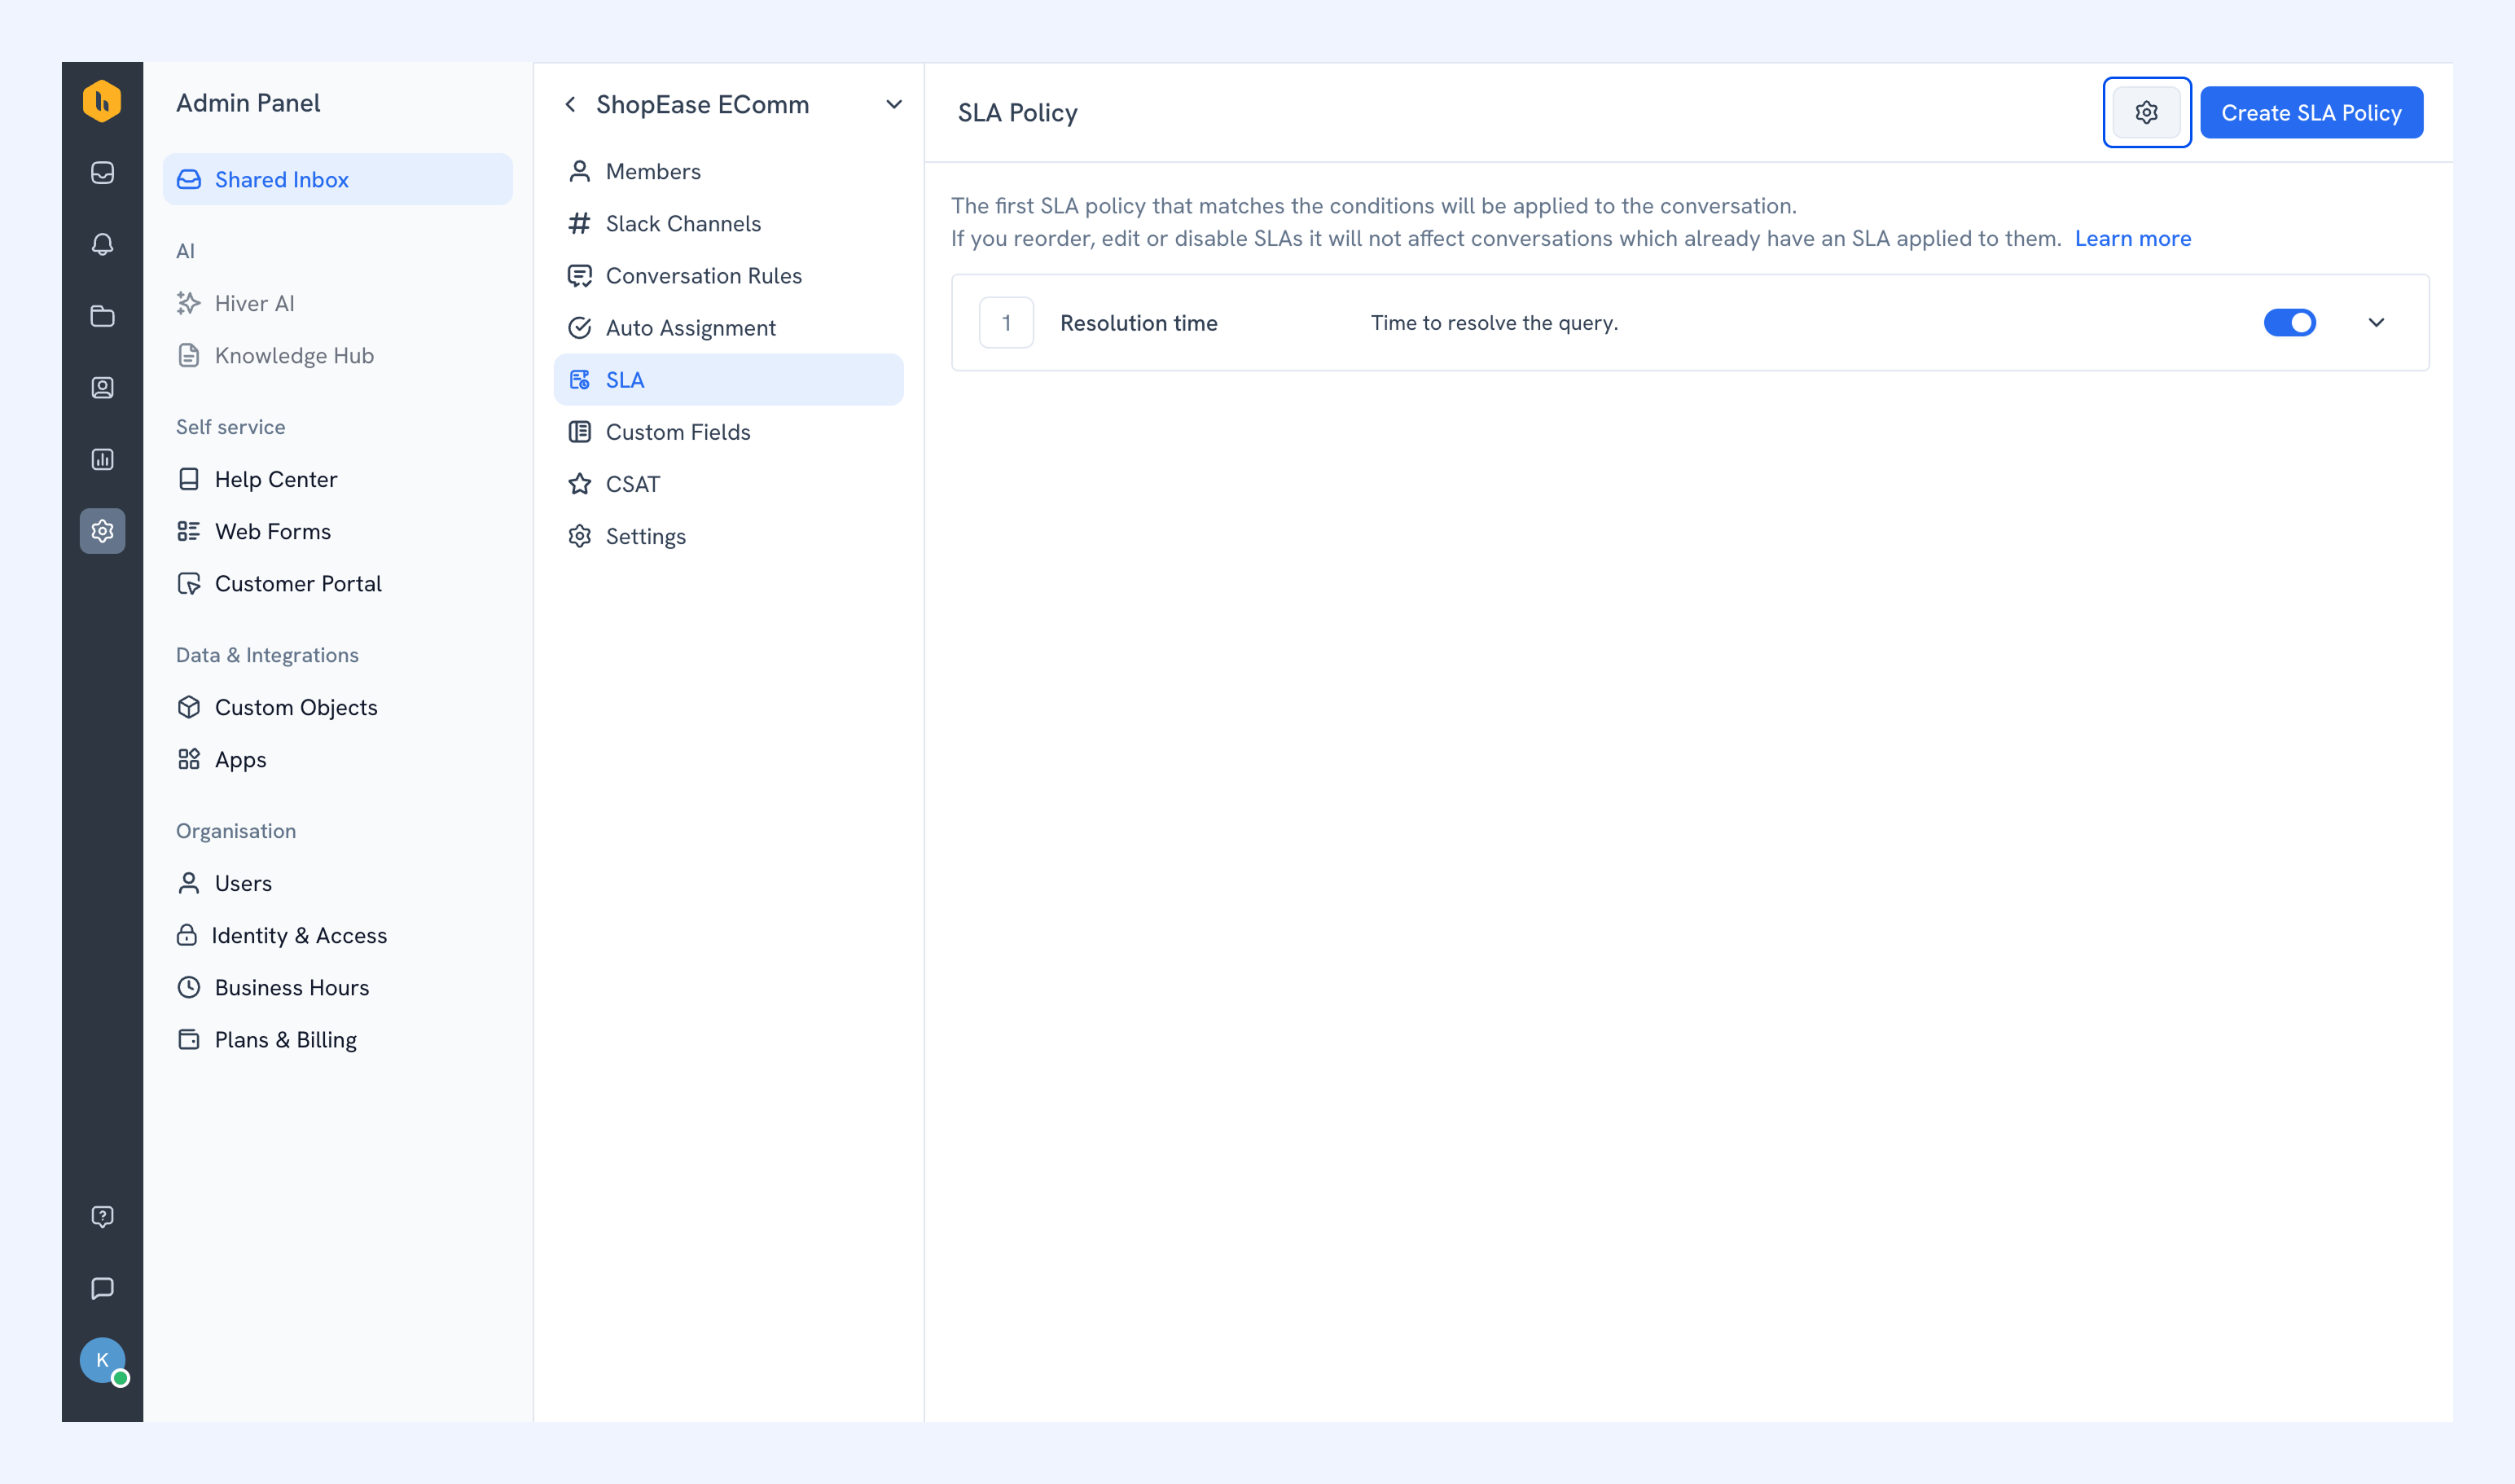
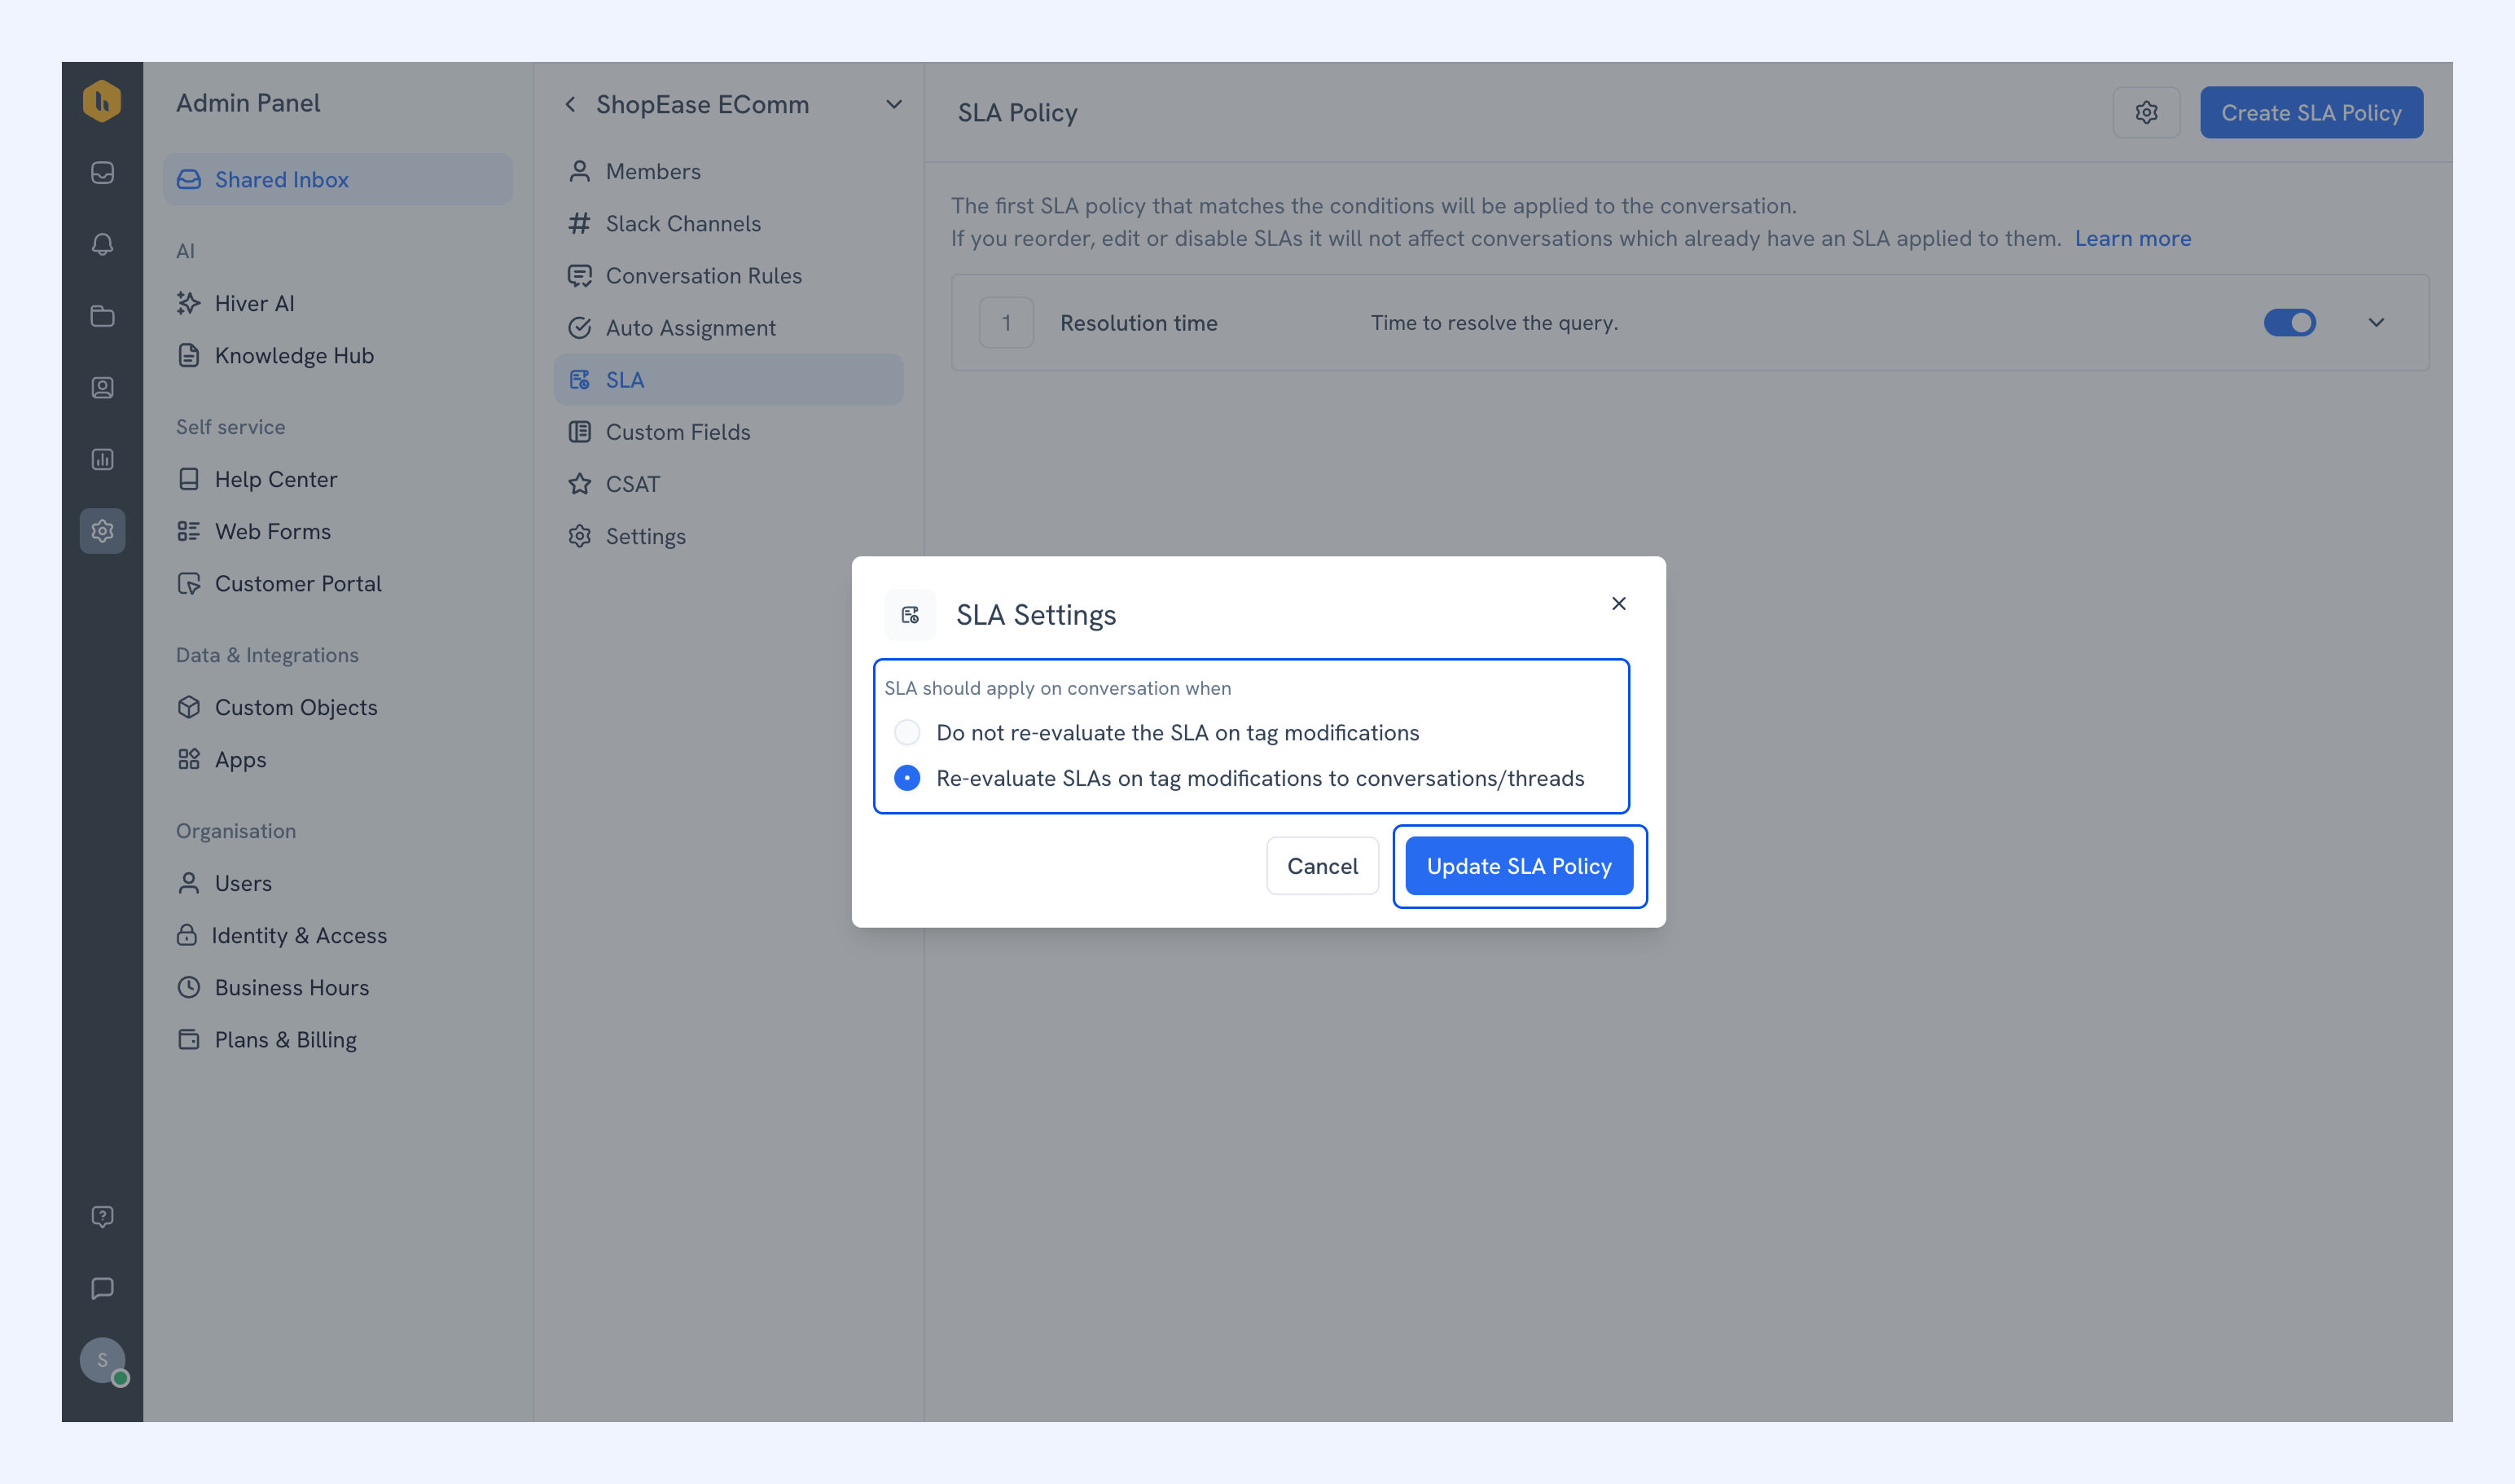
3. To define how SLAs should behave when a new tag is added, click the SLA settings icon.
You can choose between:
- Do not re-evaluate the SLA on tag modifications: Once an SLA is applied to a conversation, it stays the same even if the tags change later.
- Re-evaluate SLAs on tag modifications to conversations/threads: When a conversation's tags change, Hiver checks the conditions again and applies the SLA that now matches.
Click Update SLA Policy to save your preference.
Custom Fields
Custom Fields let you capture and track additional details about Slack conversations in Hiver Omni.
To set up a custom field:
1. Click Add custom field.
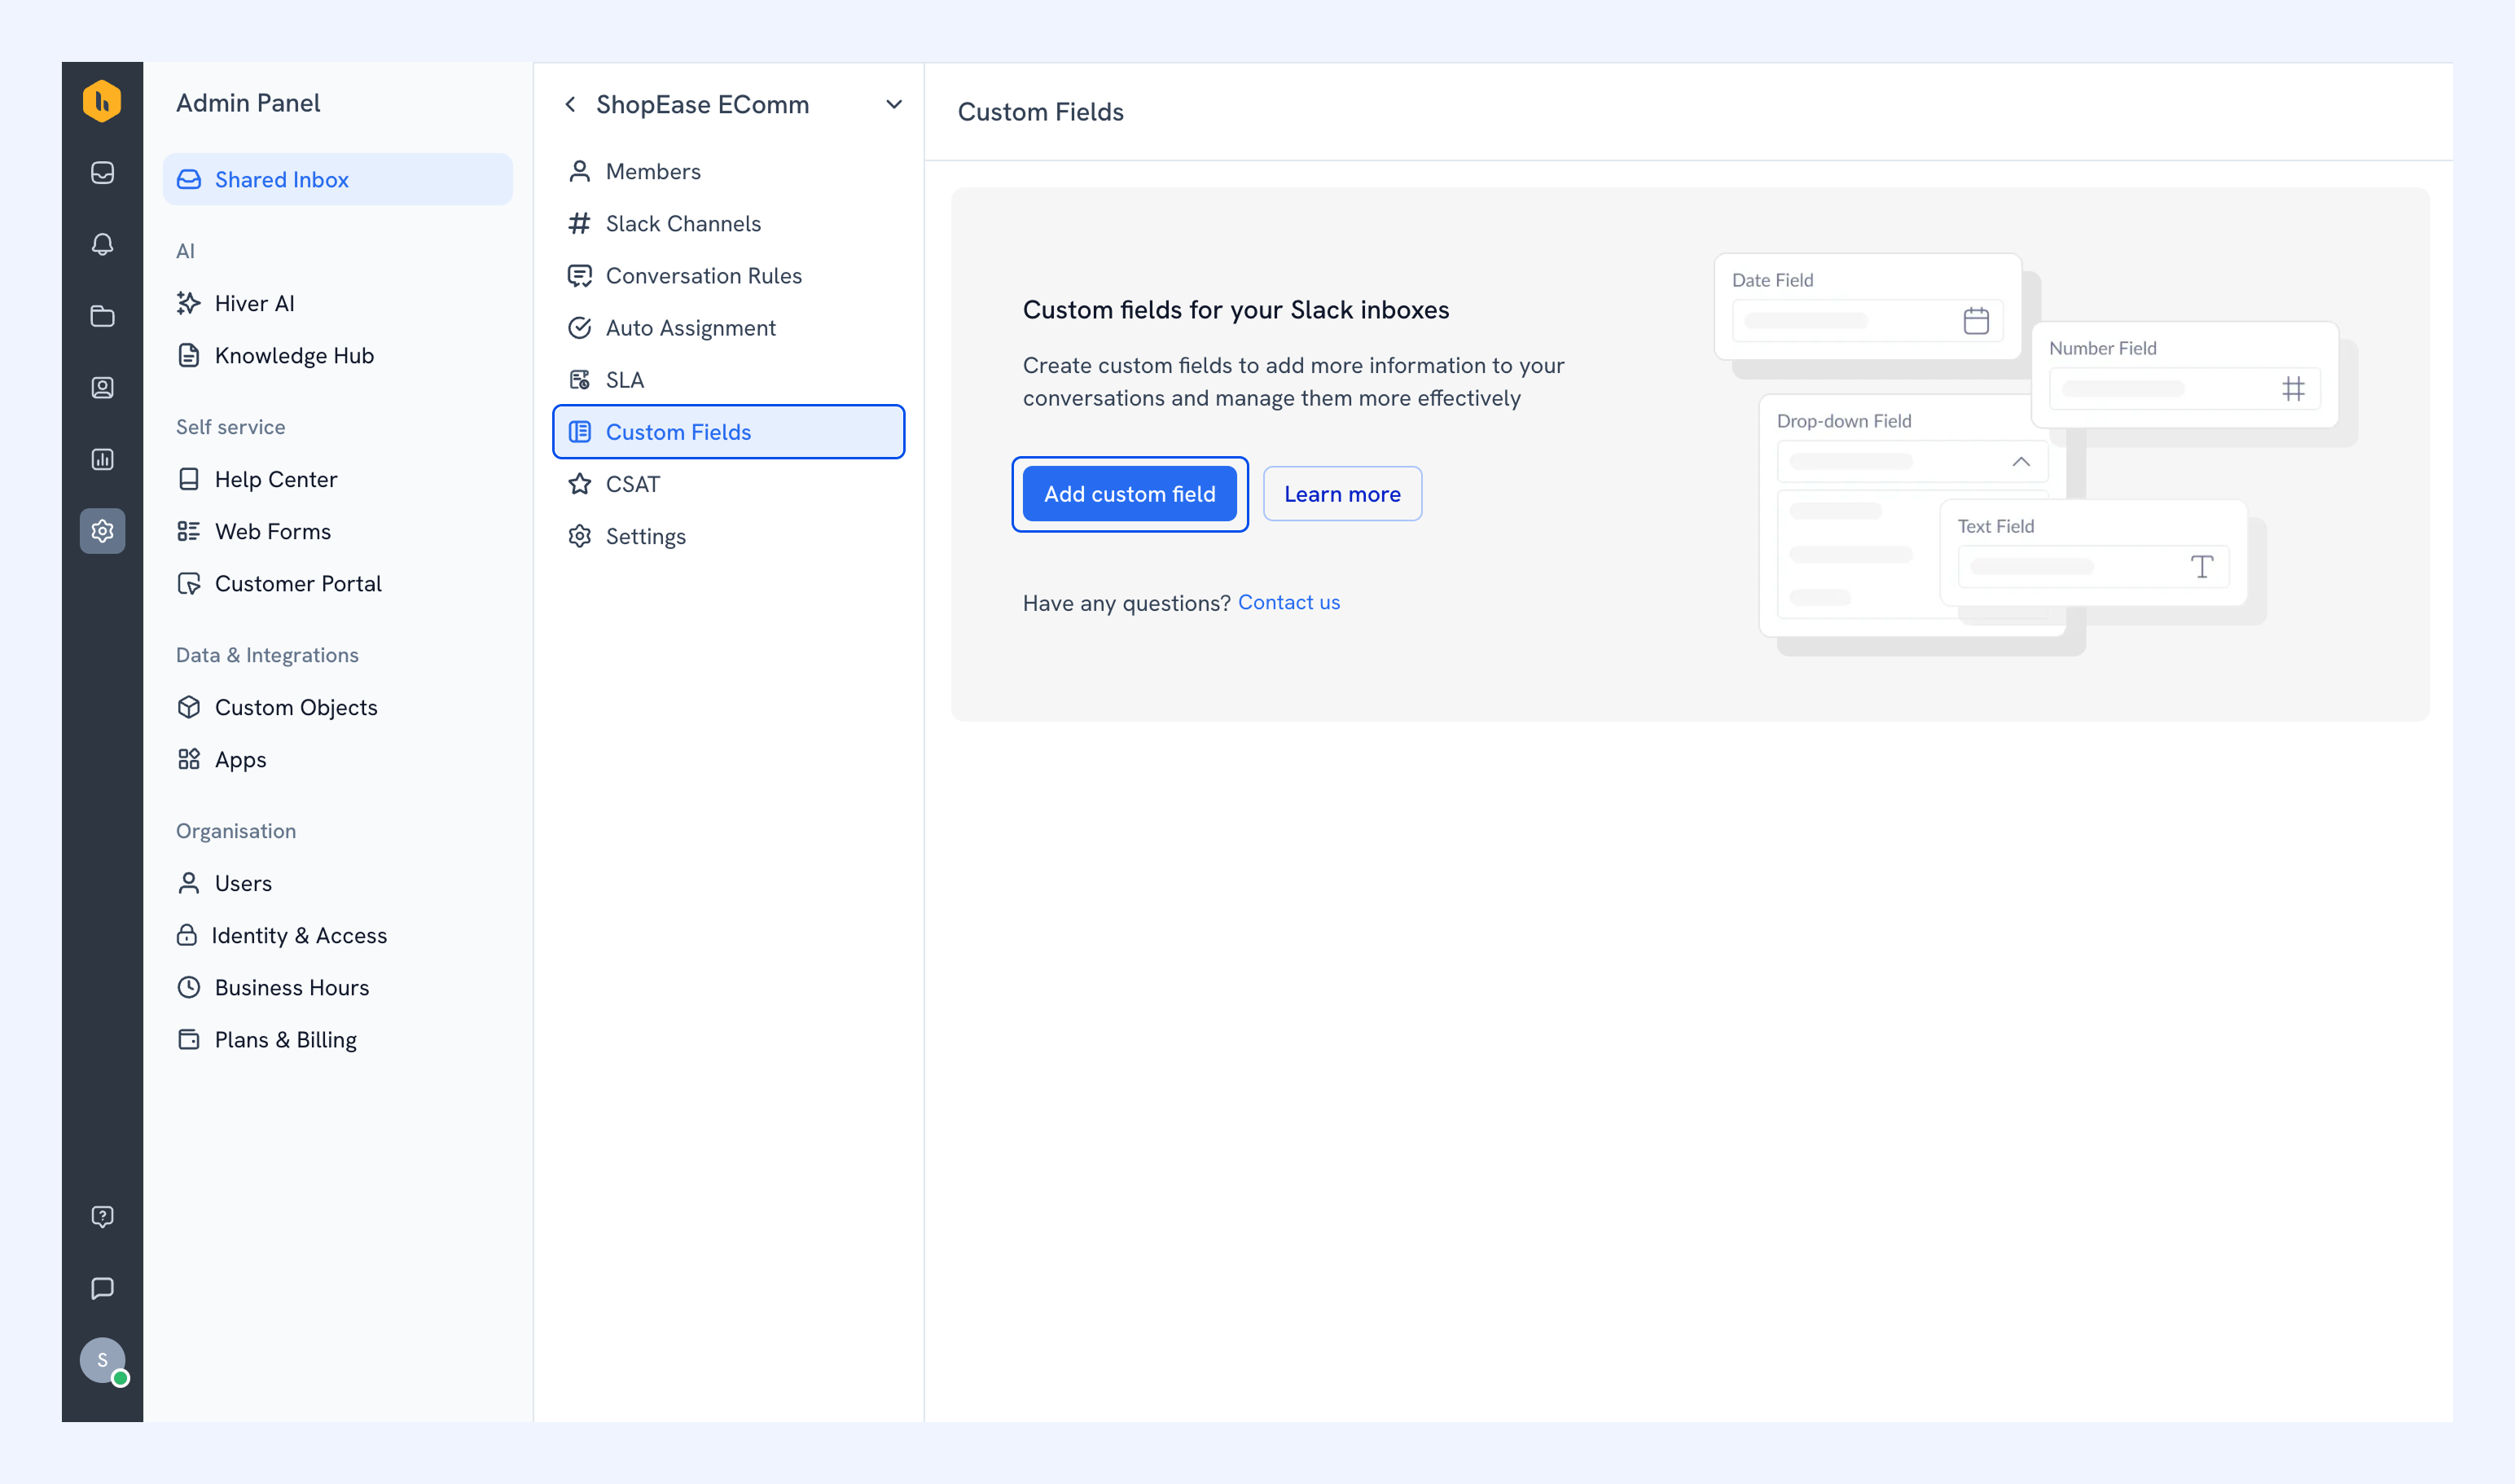
2. Select a field type:
- Dropdown: Create a predefined list of options that your team can select from e.g. Customer type.
- Date: Add a date picker for time-based tracking e.g. Follow-up date, Due date, Renewal date.
- Number: Capture numeric values like MRR, Account number.
- Text: Add single or multi-line text e.g. Region or Account manager.
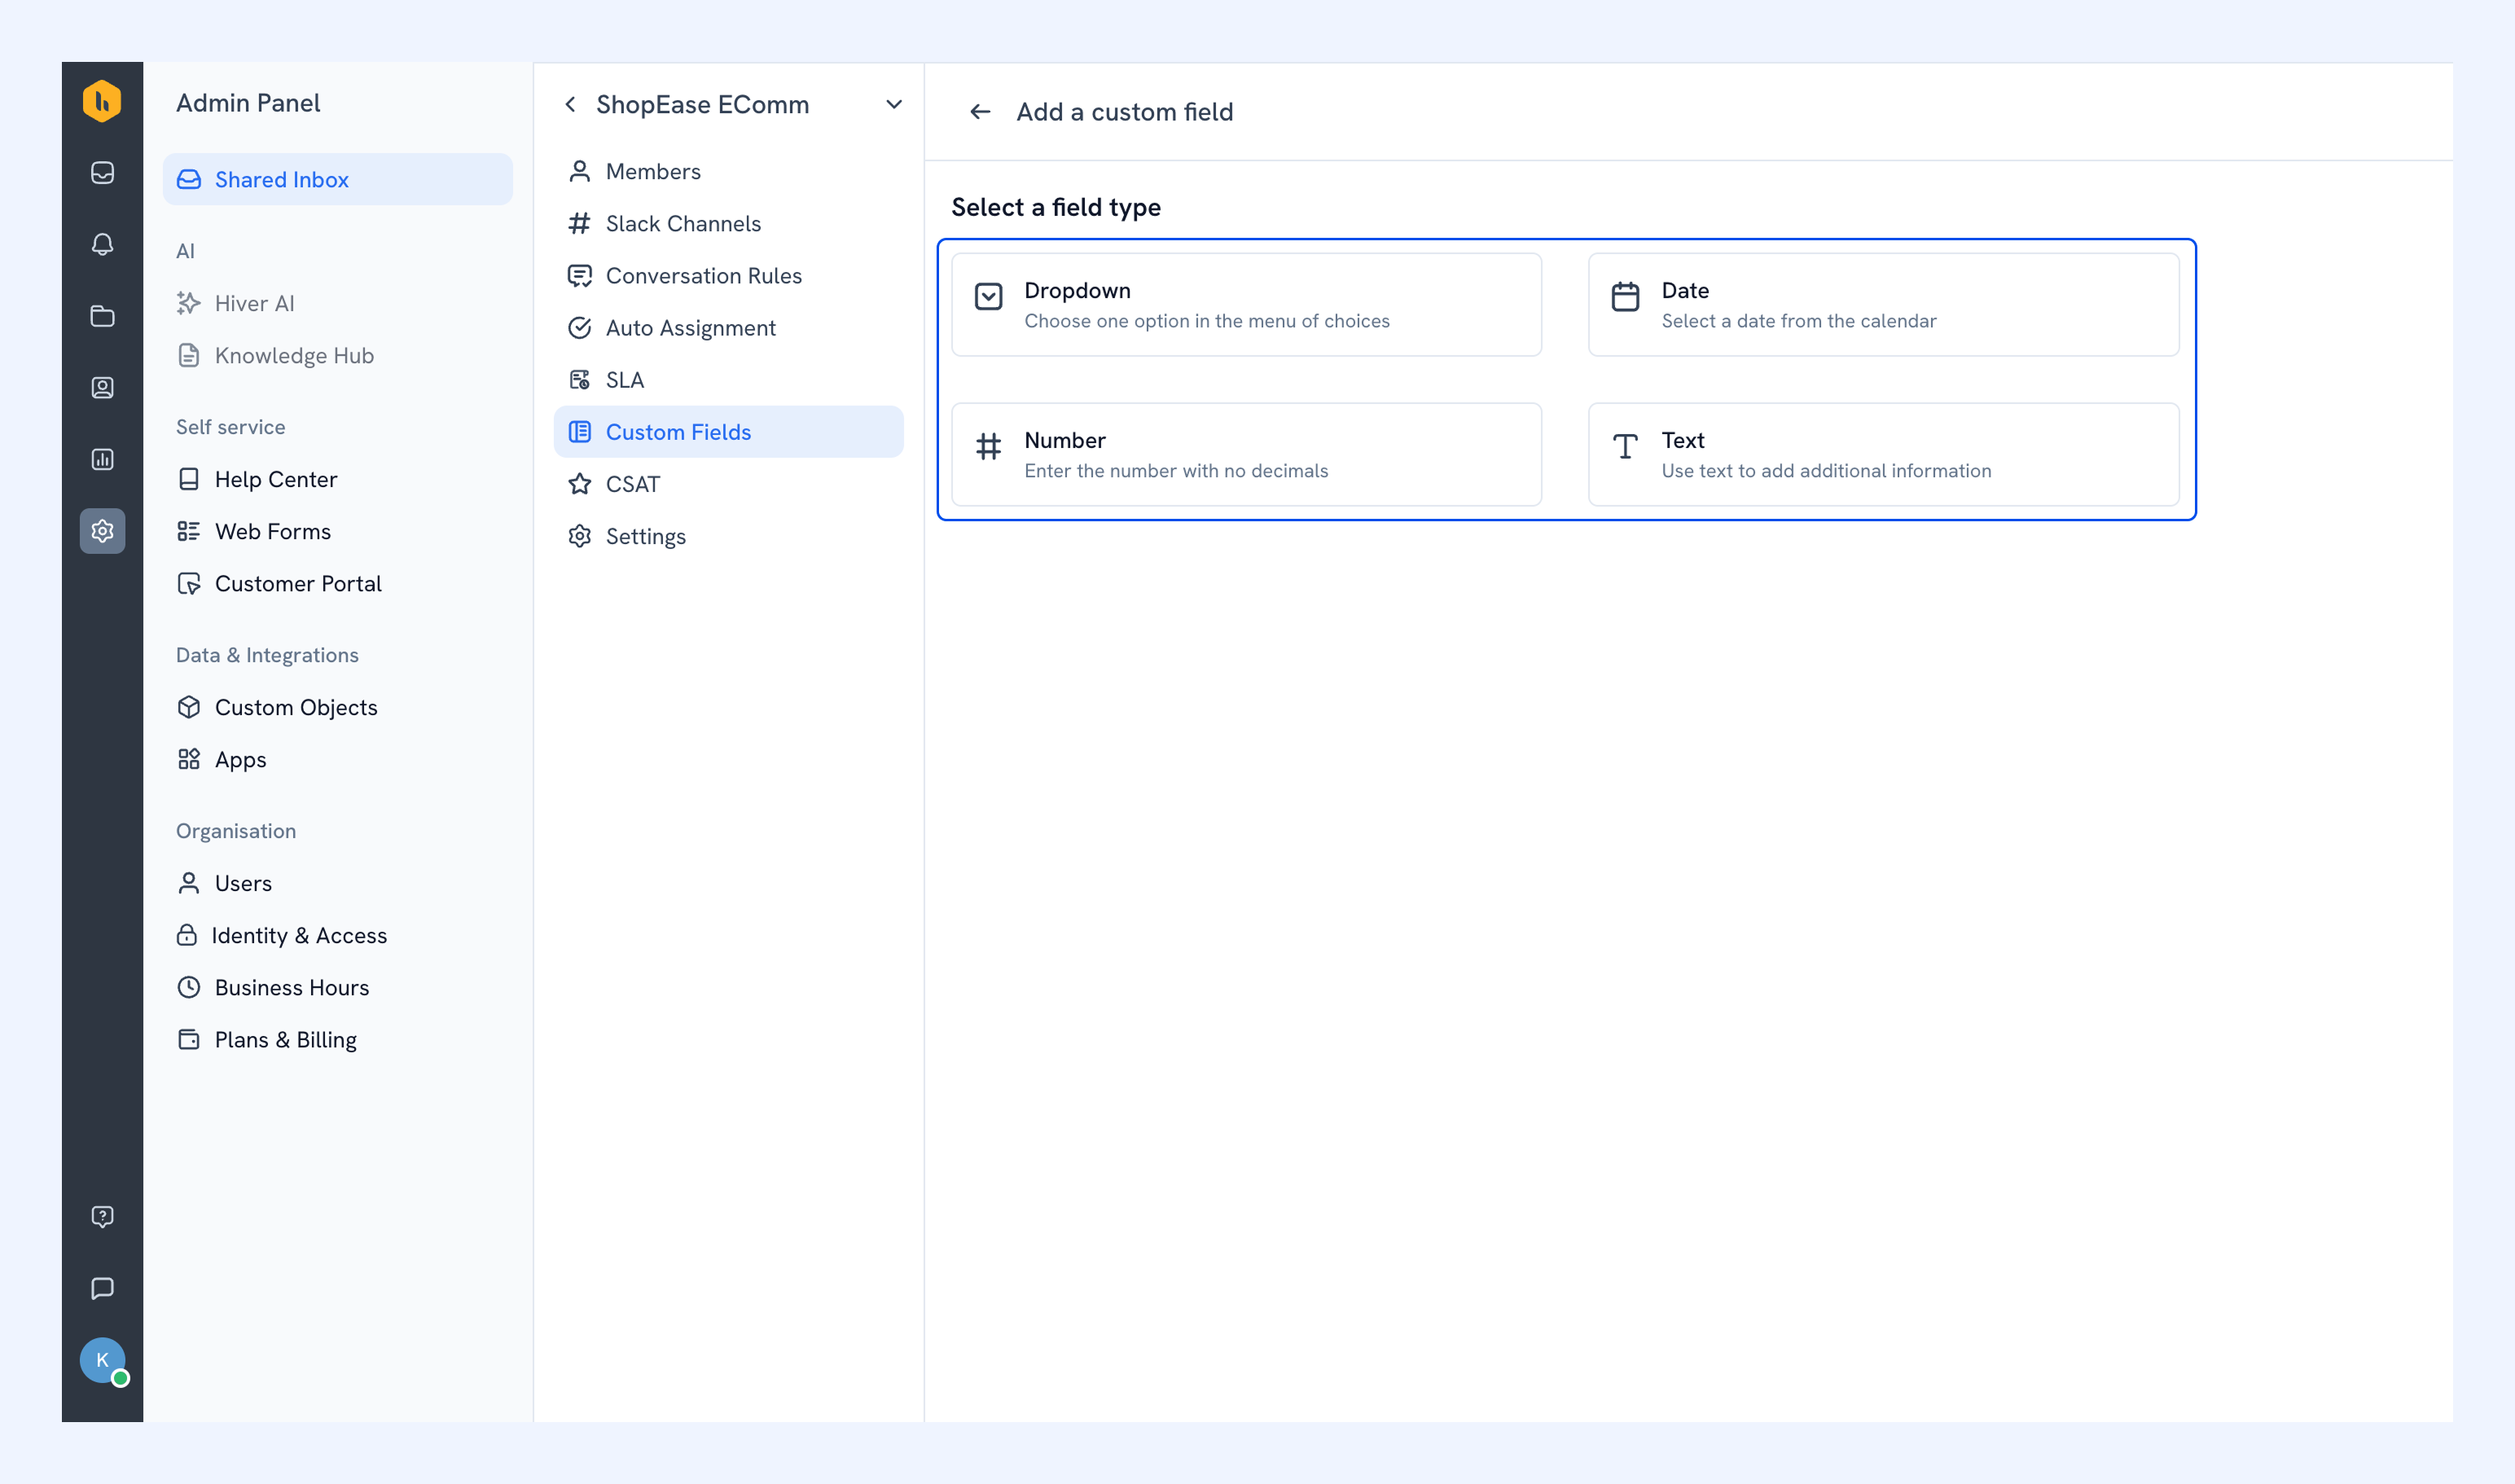
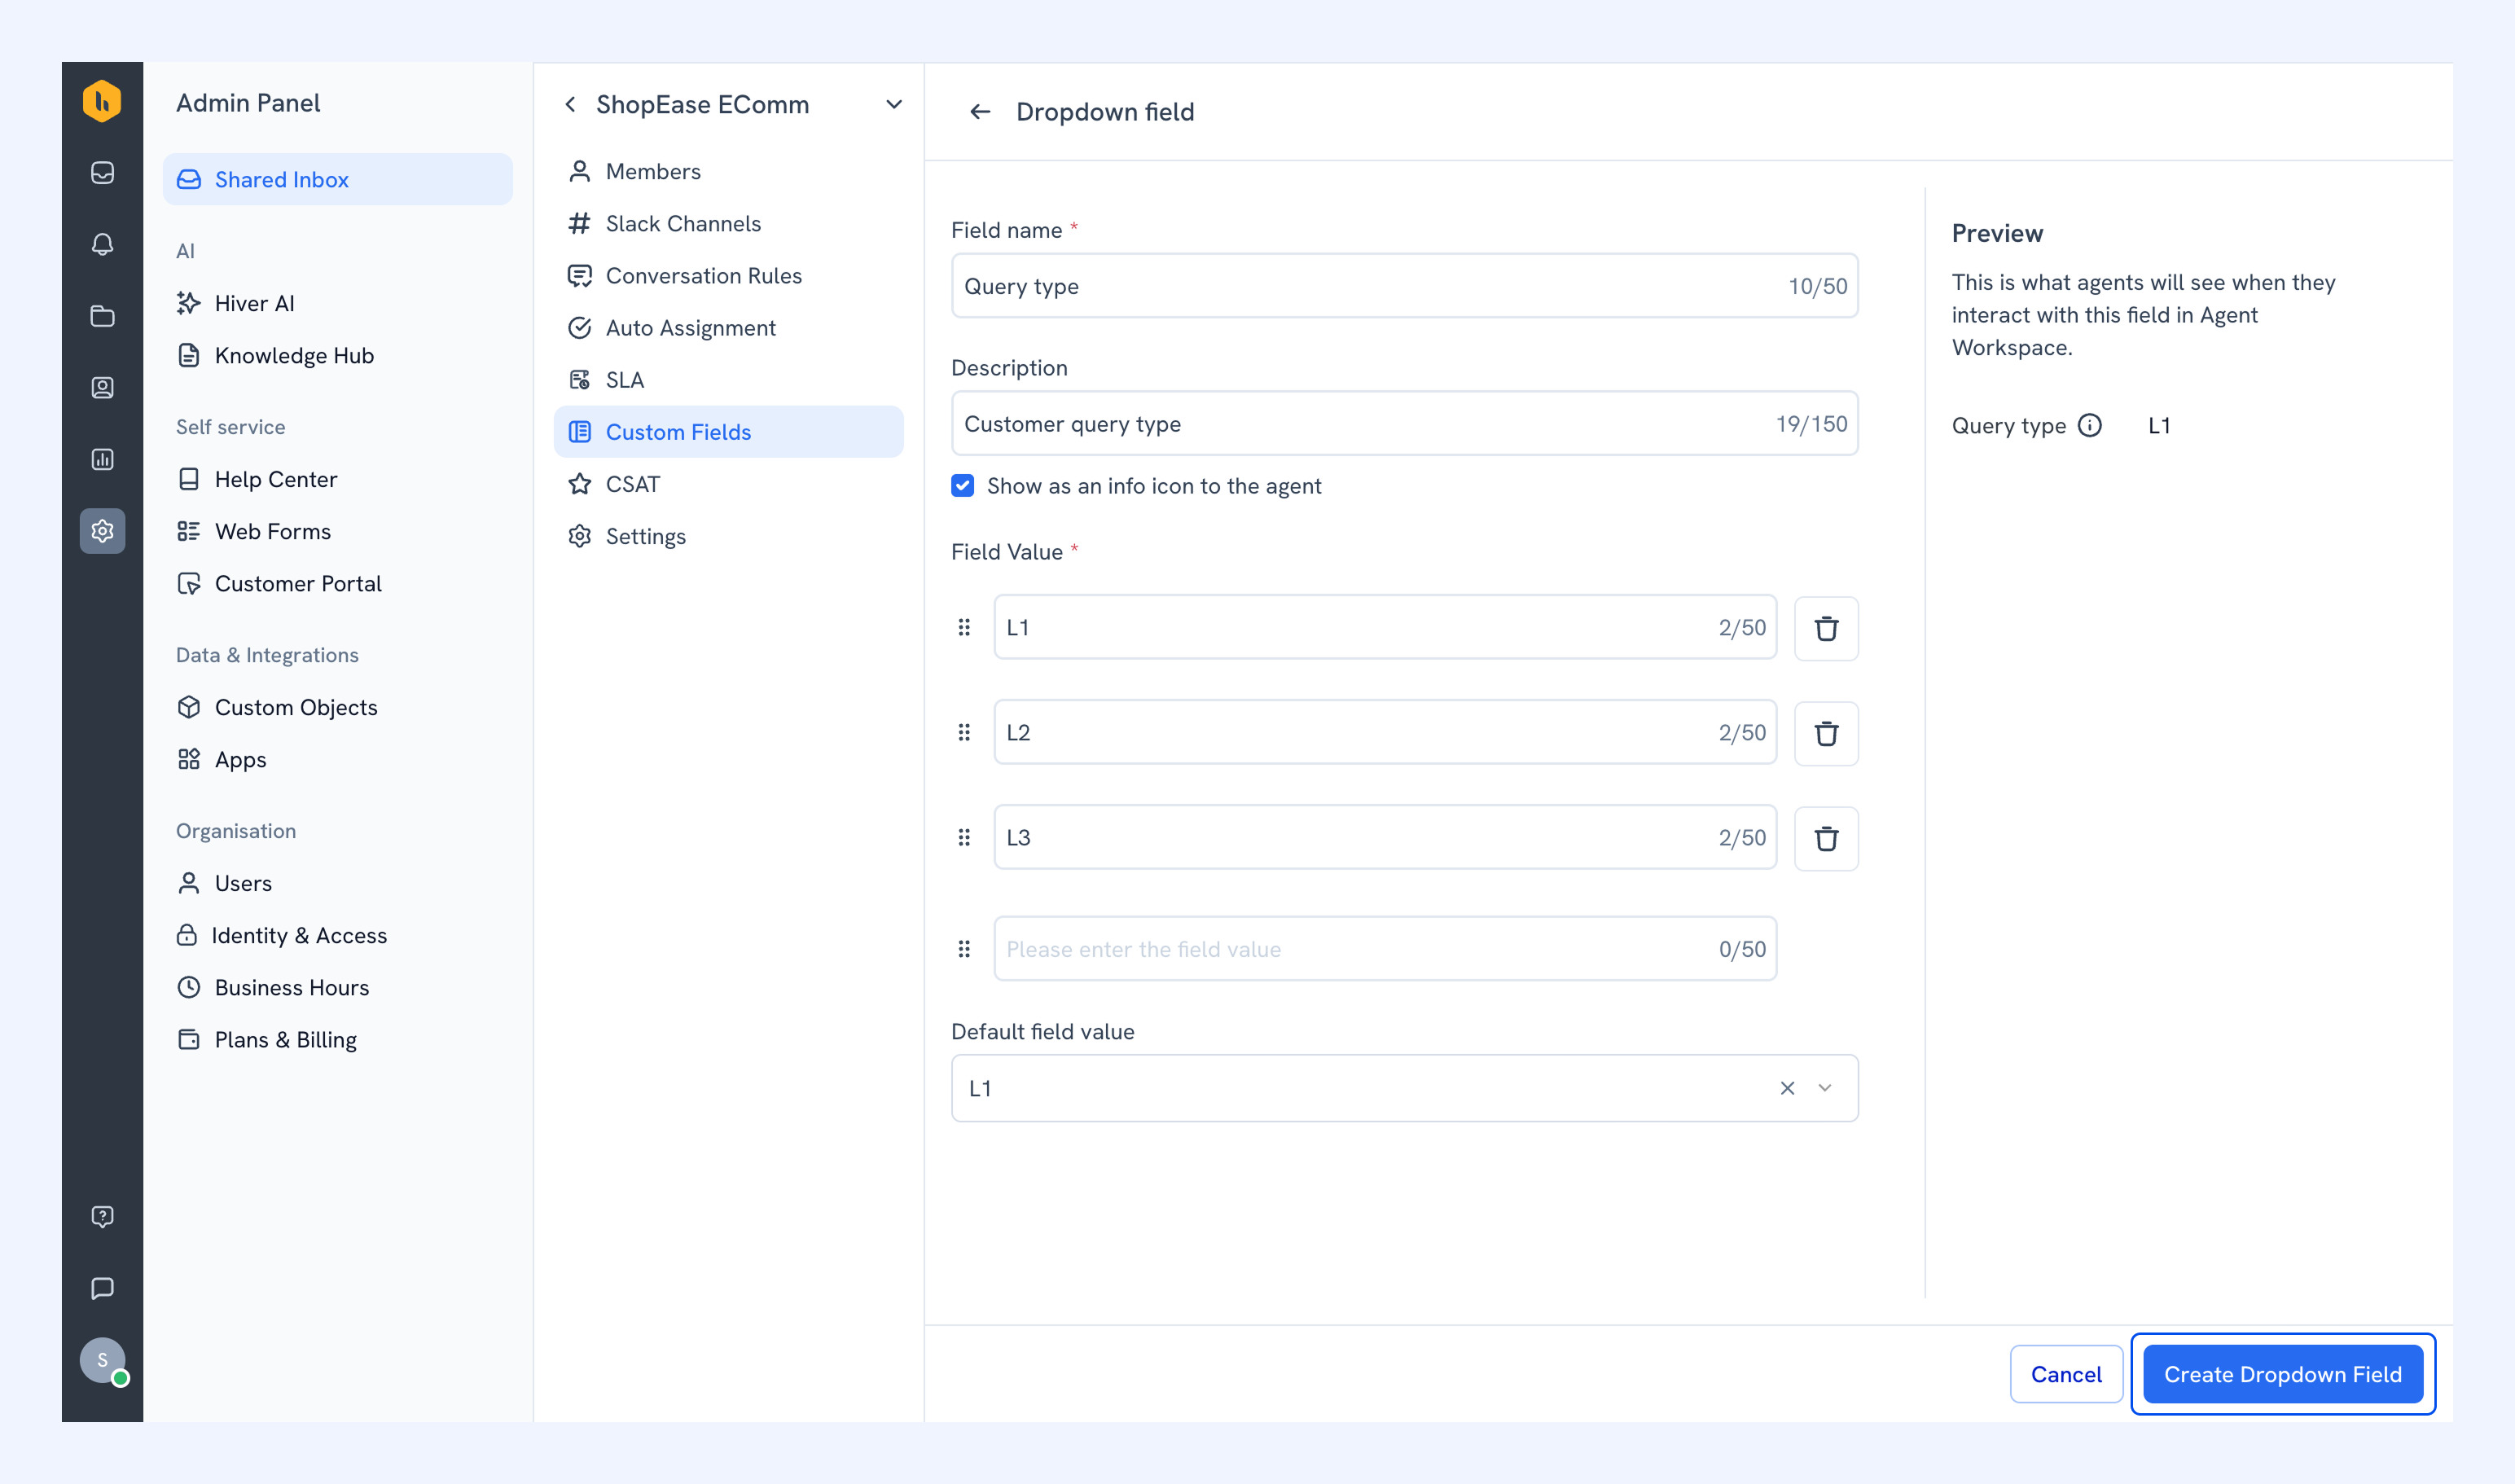
3. Enter the field details, then click Create Field.
CSAT
When a conversation is closed in Hiver Omni, you can automatically send a customer satisfaction survey in the Slack thread.
1. To set up CSAT, toggle on Customer satisfaction survey.
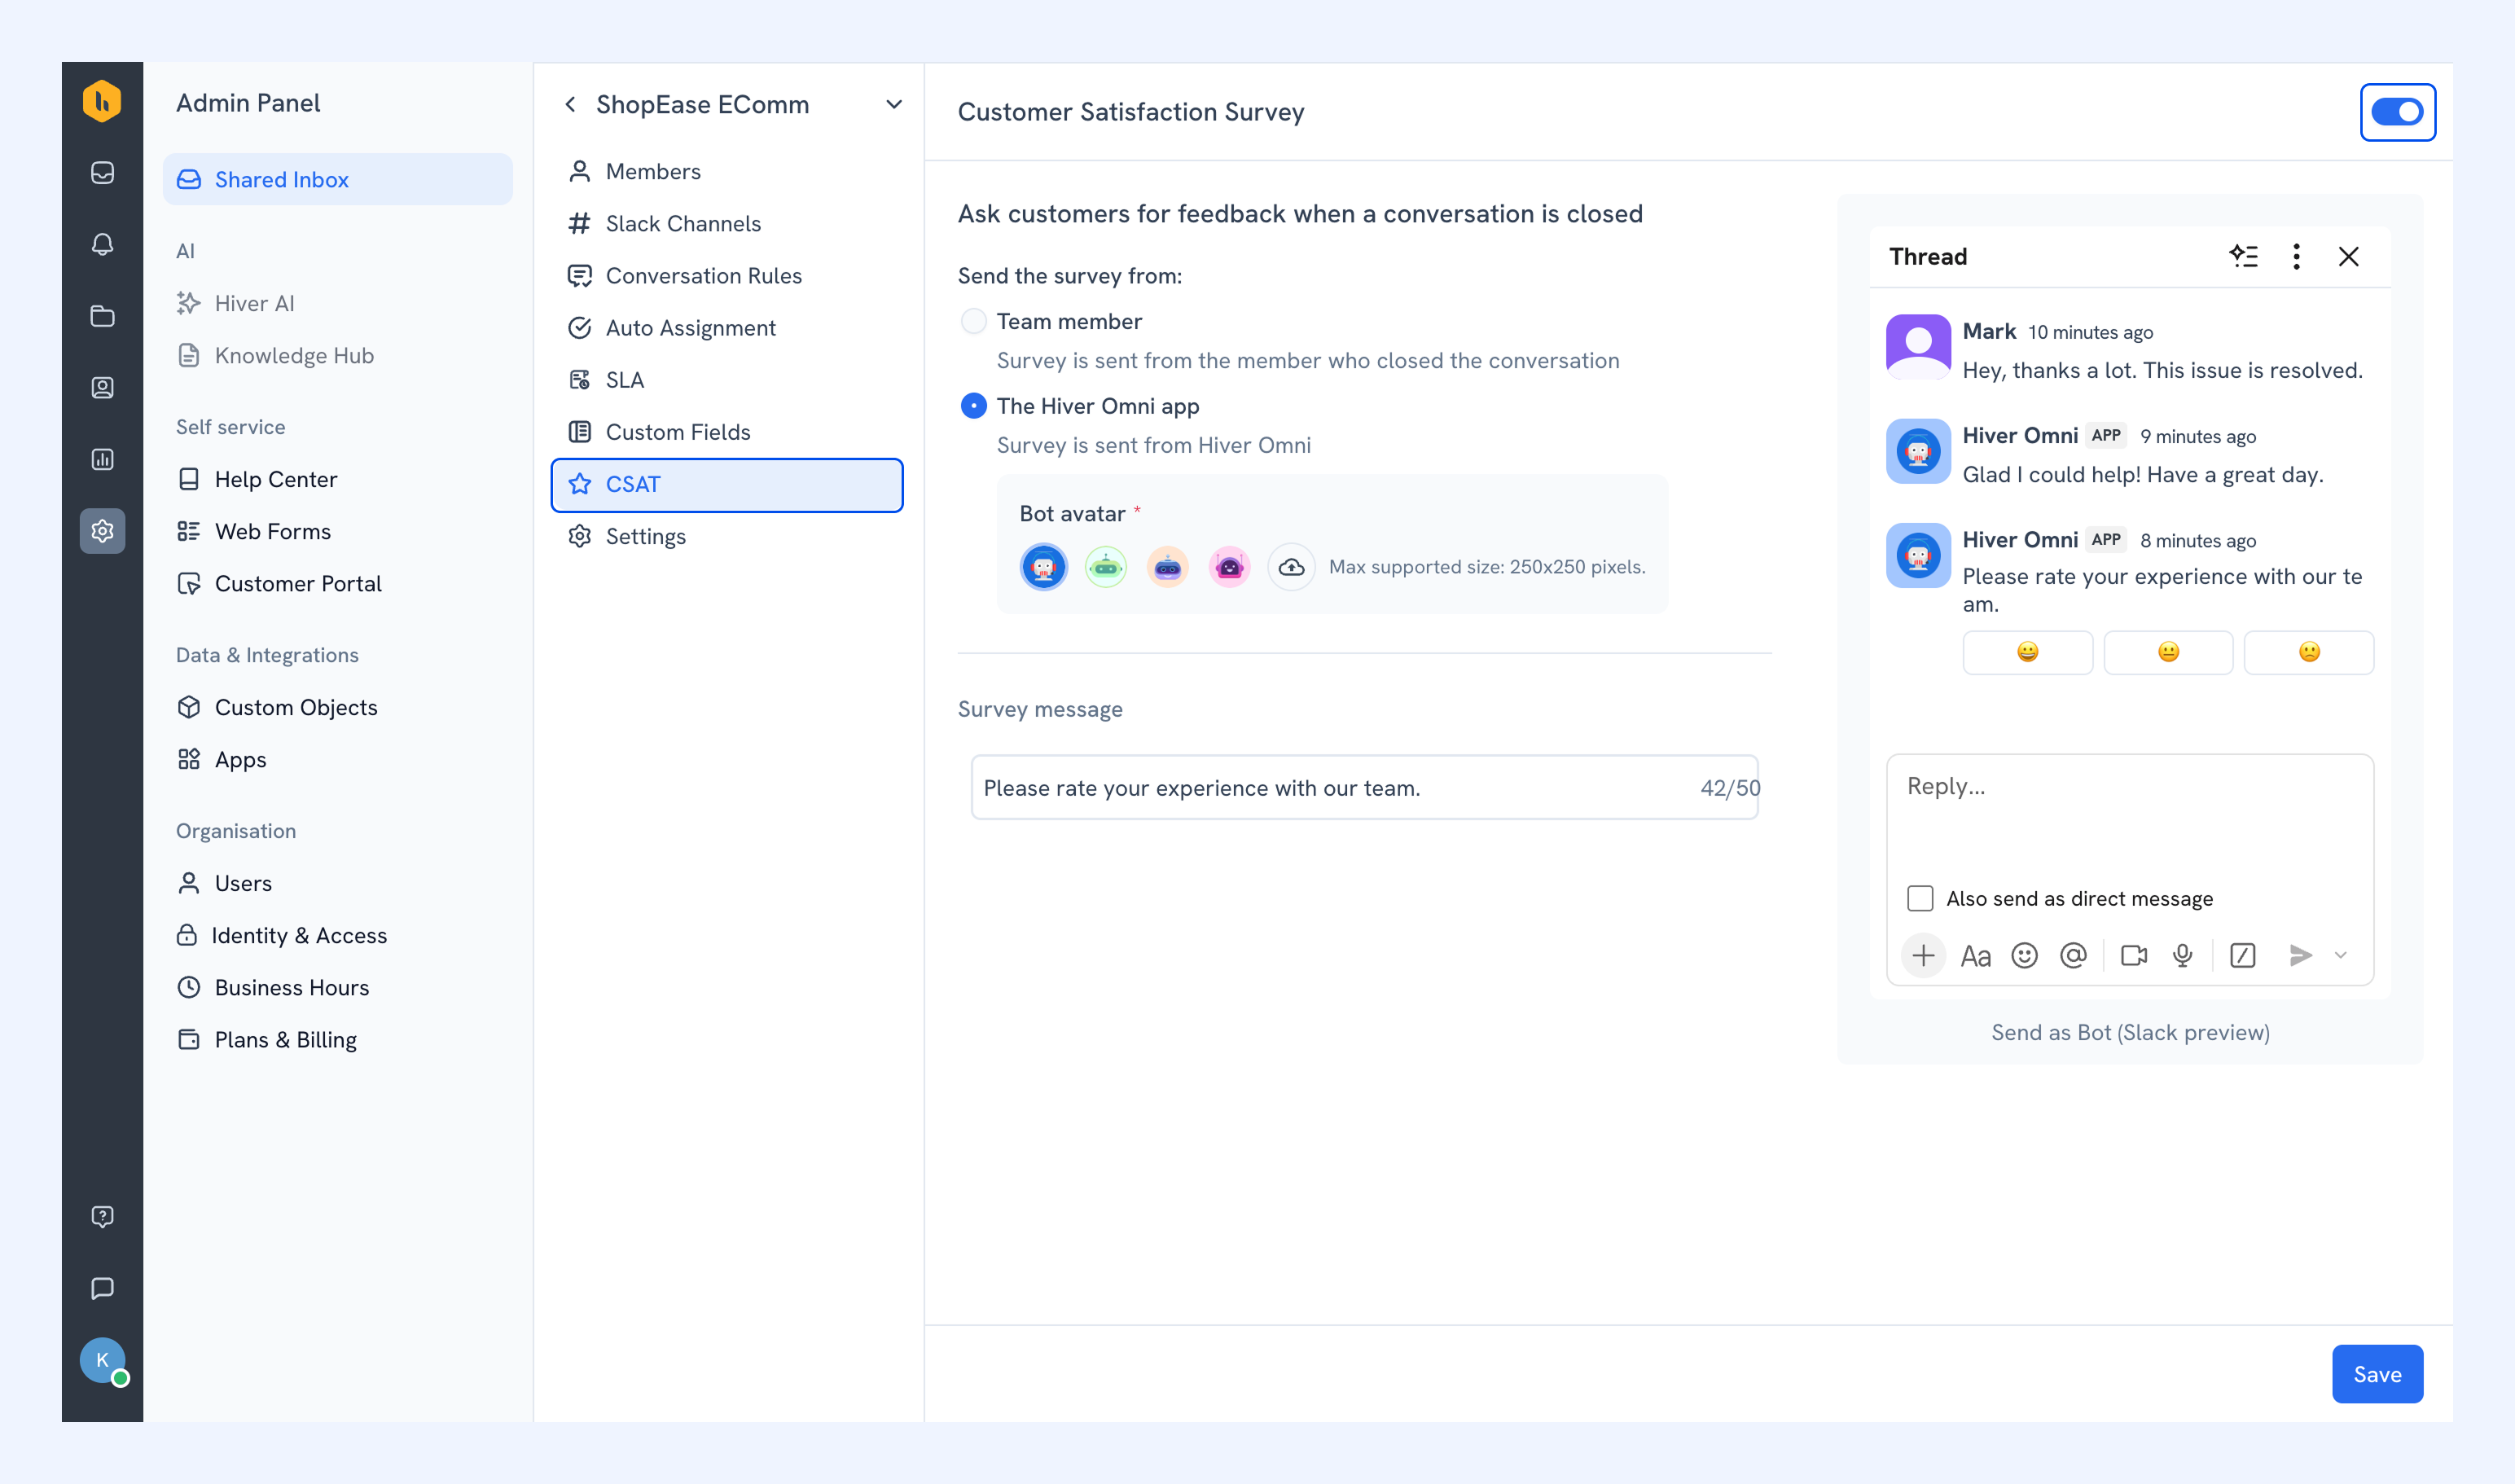
2. Configure the following:
- Send the survey from: Choose Team member to send it under the name of the agent who closed the conversation, or The Hiver Omni app to send it from the Hiver Omni app.
- CSAT message: The text that appears alongside the emoji rating prompt. A live preview updates on the screen as you type so you can see how it will look in Slack.
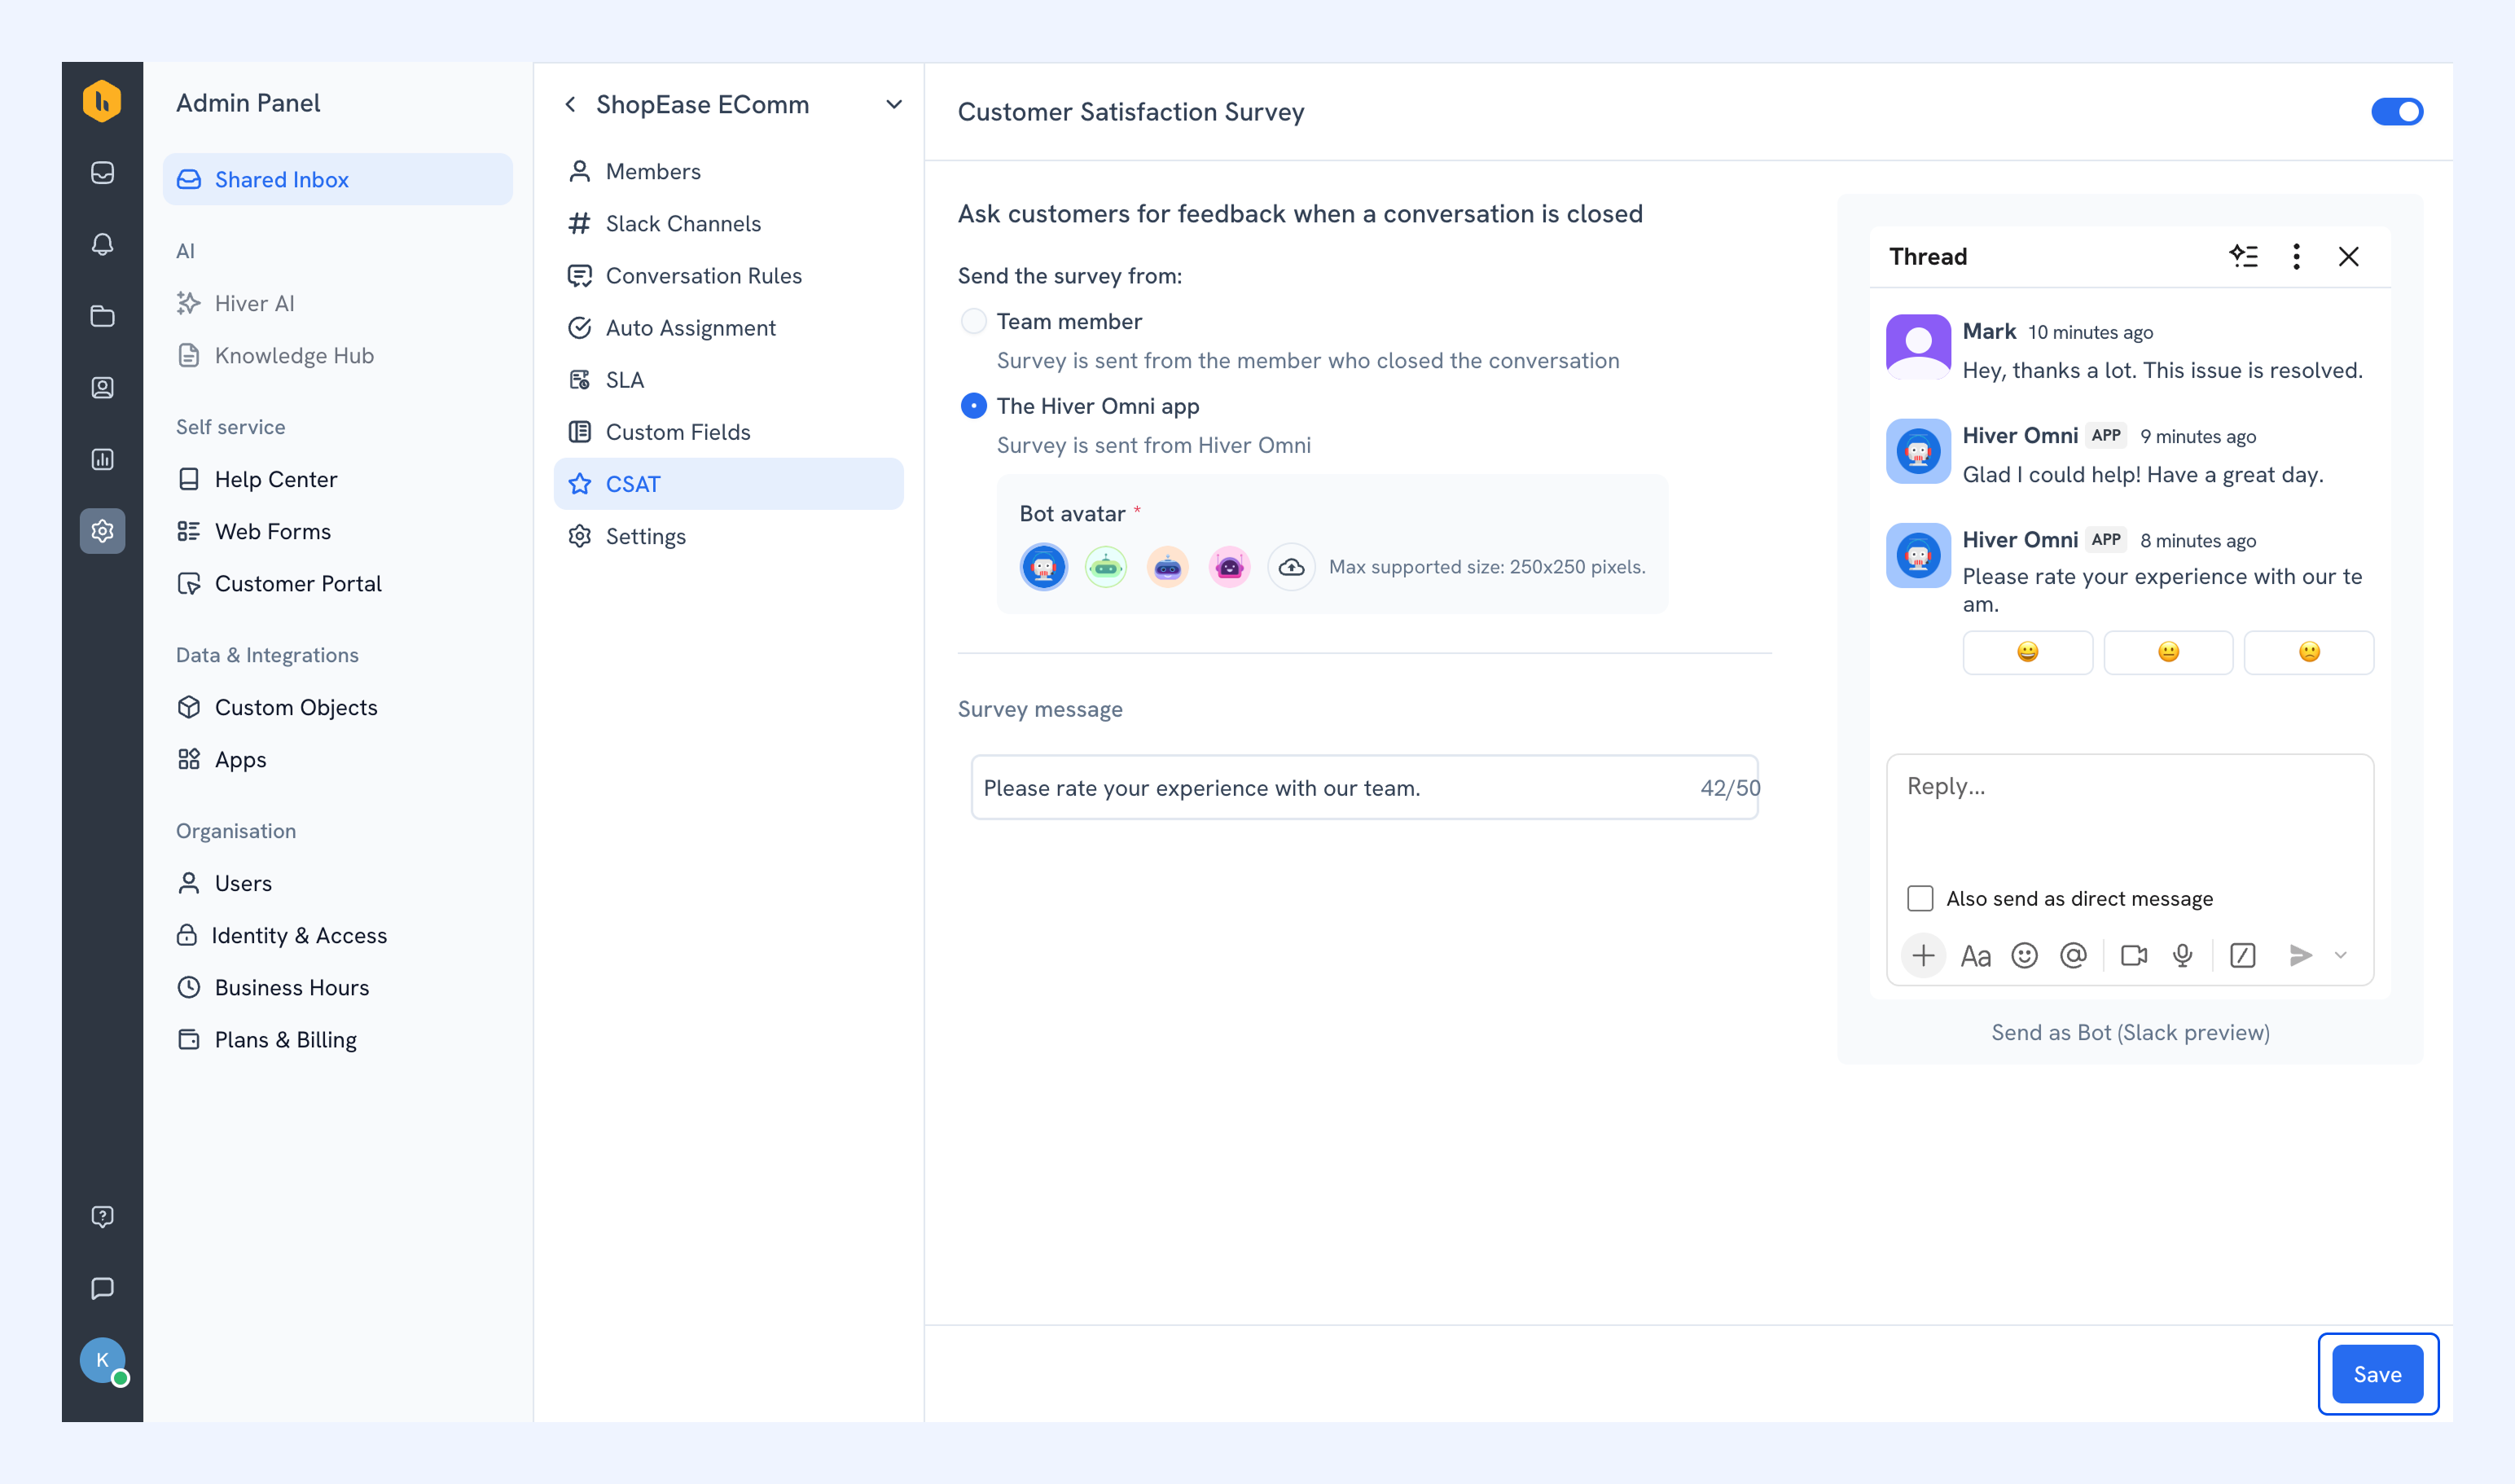
Click Save when done.
To learn more about the Hiver Omni app and what it can do, see Hiver Omni app.
Settings
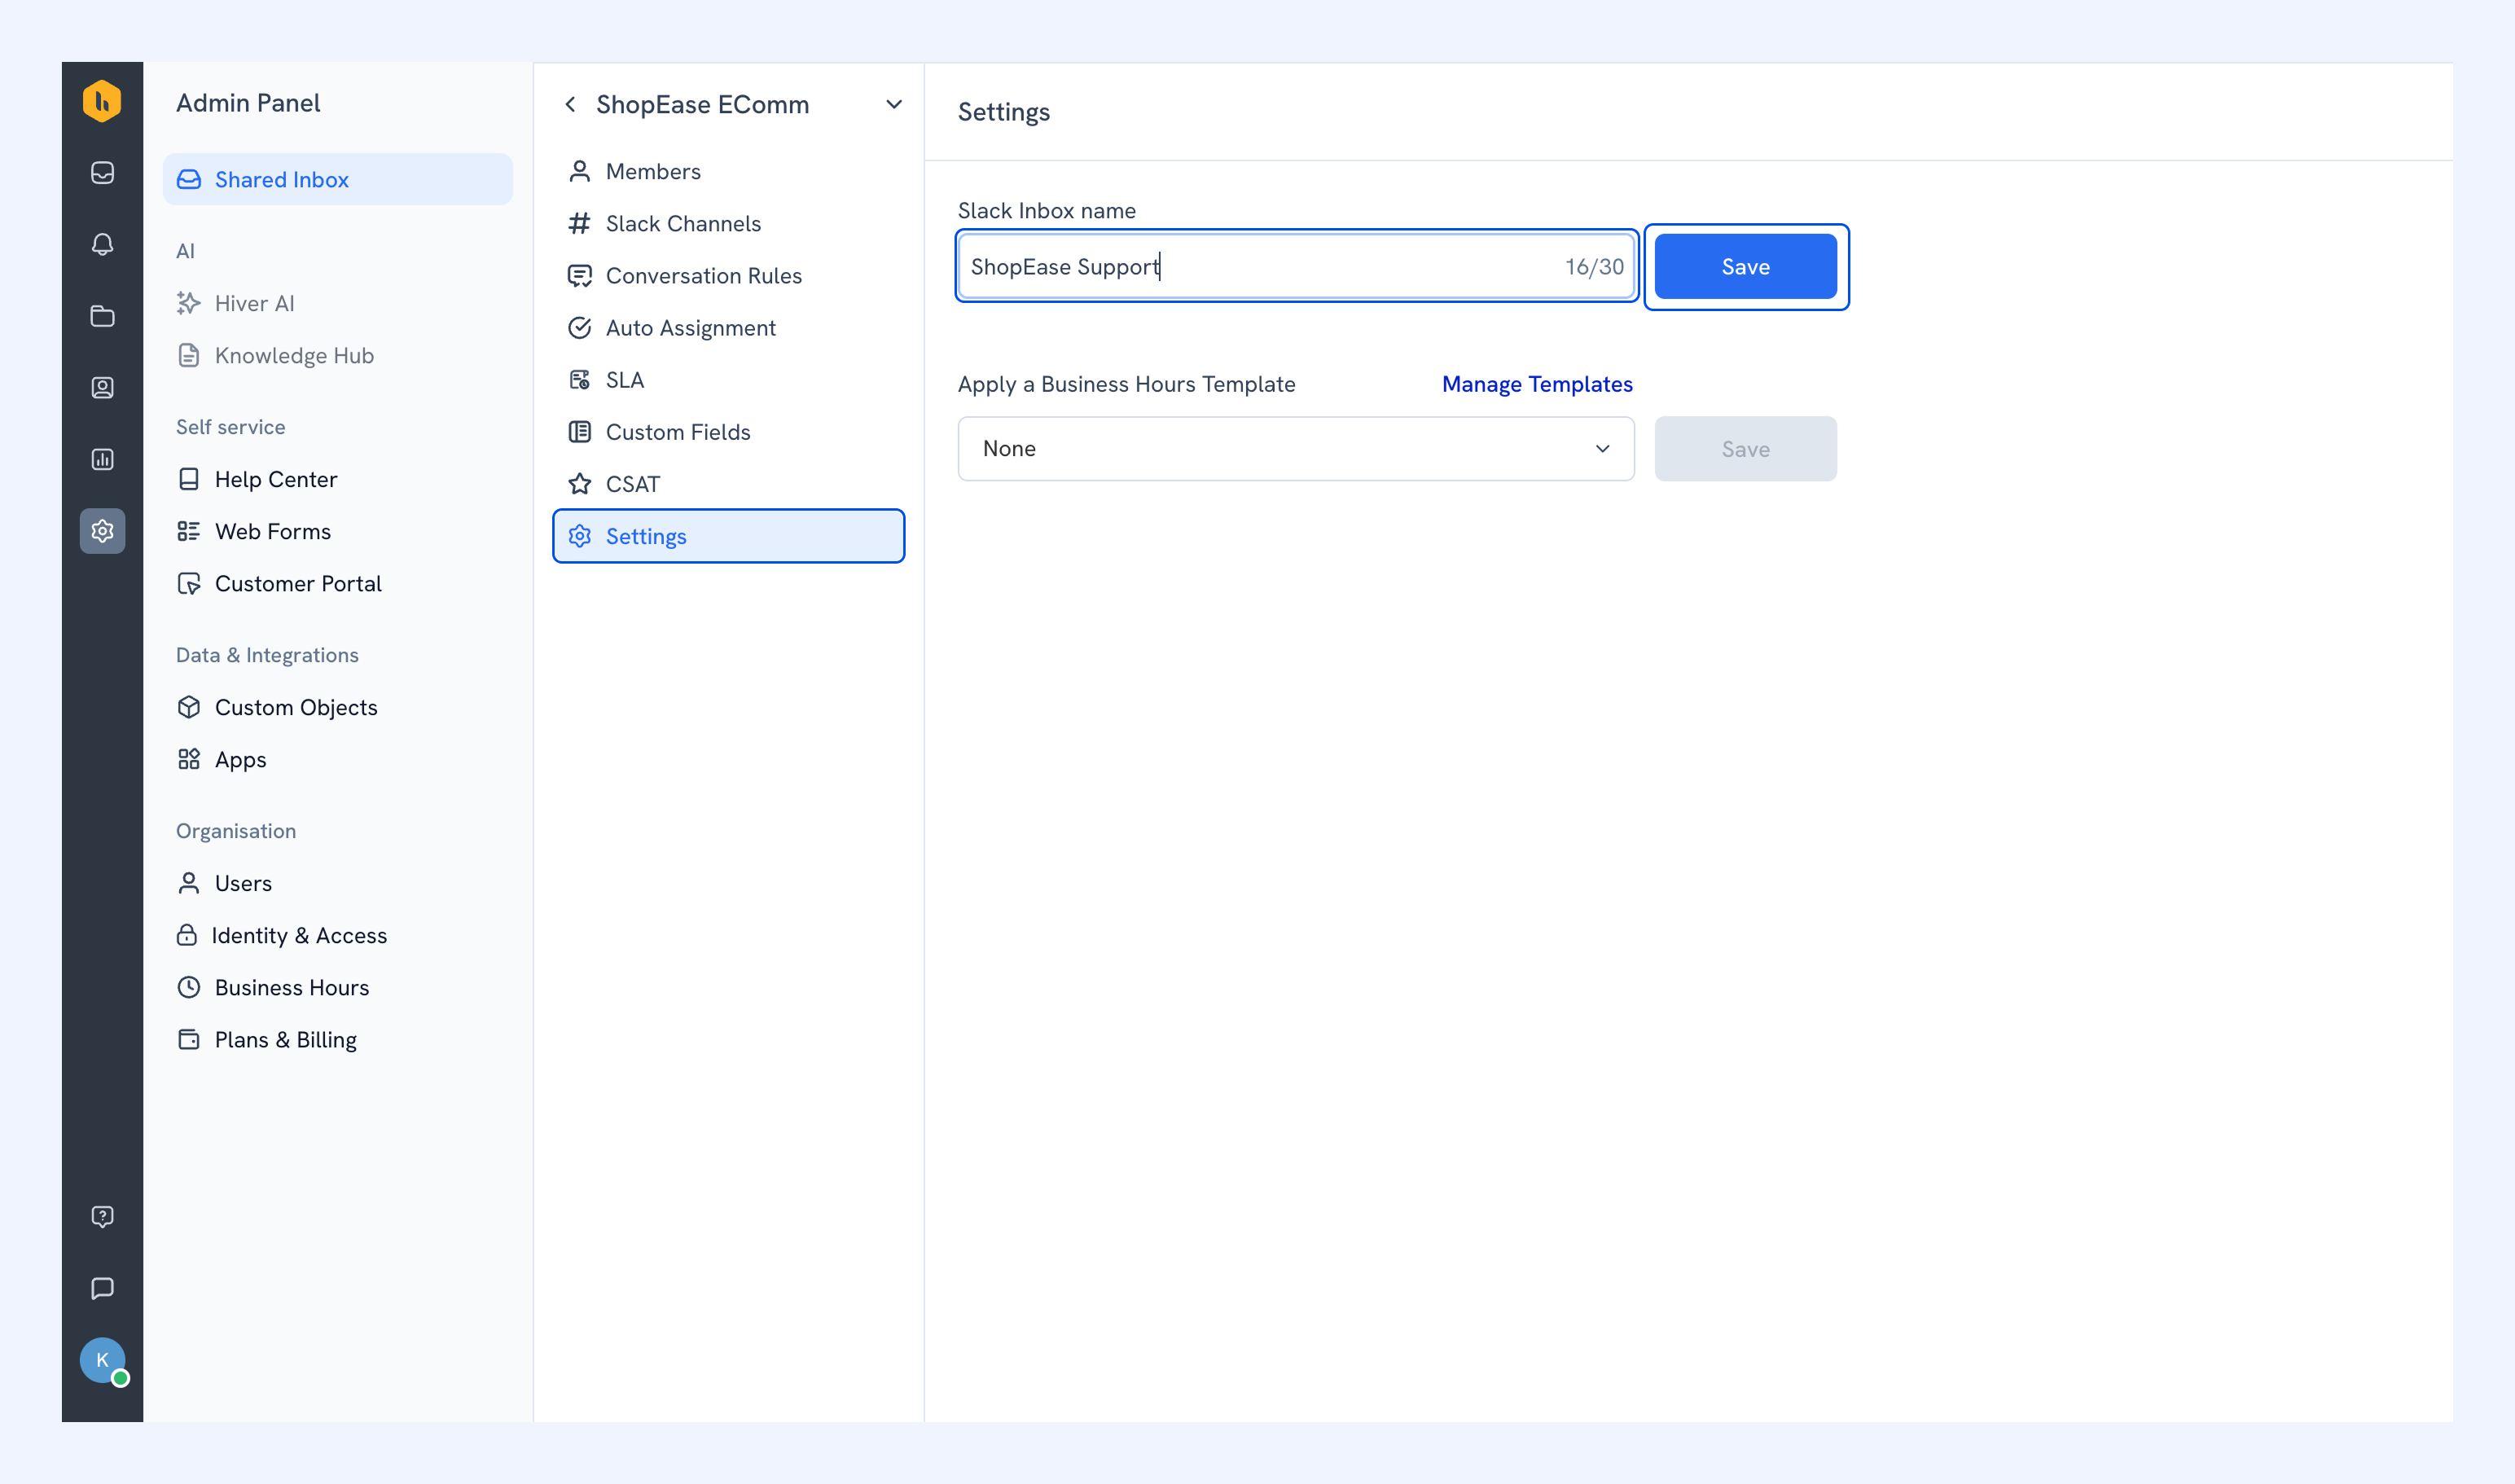
To rename the inbox, update the Slack Inbox name field and click Save.
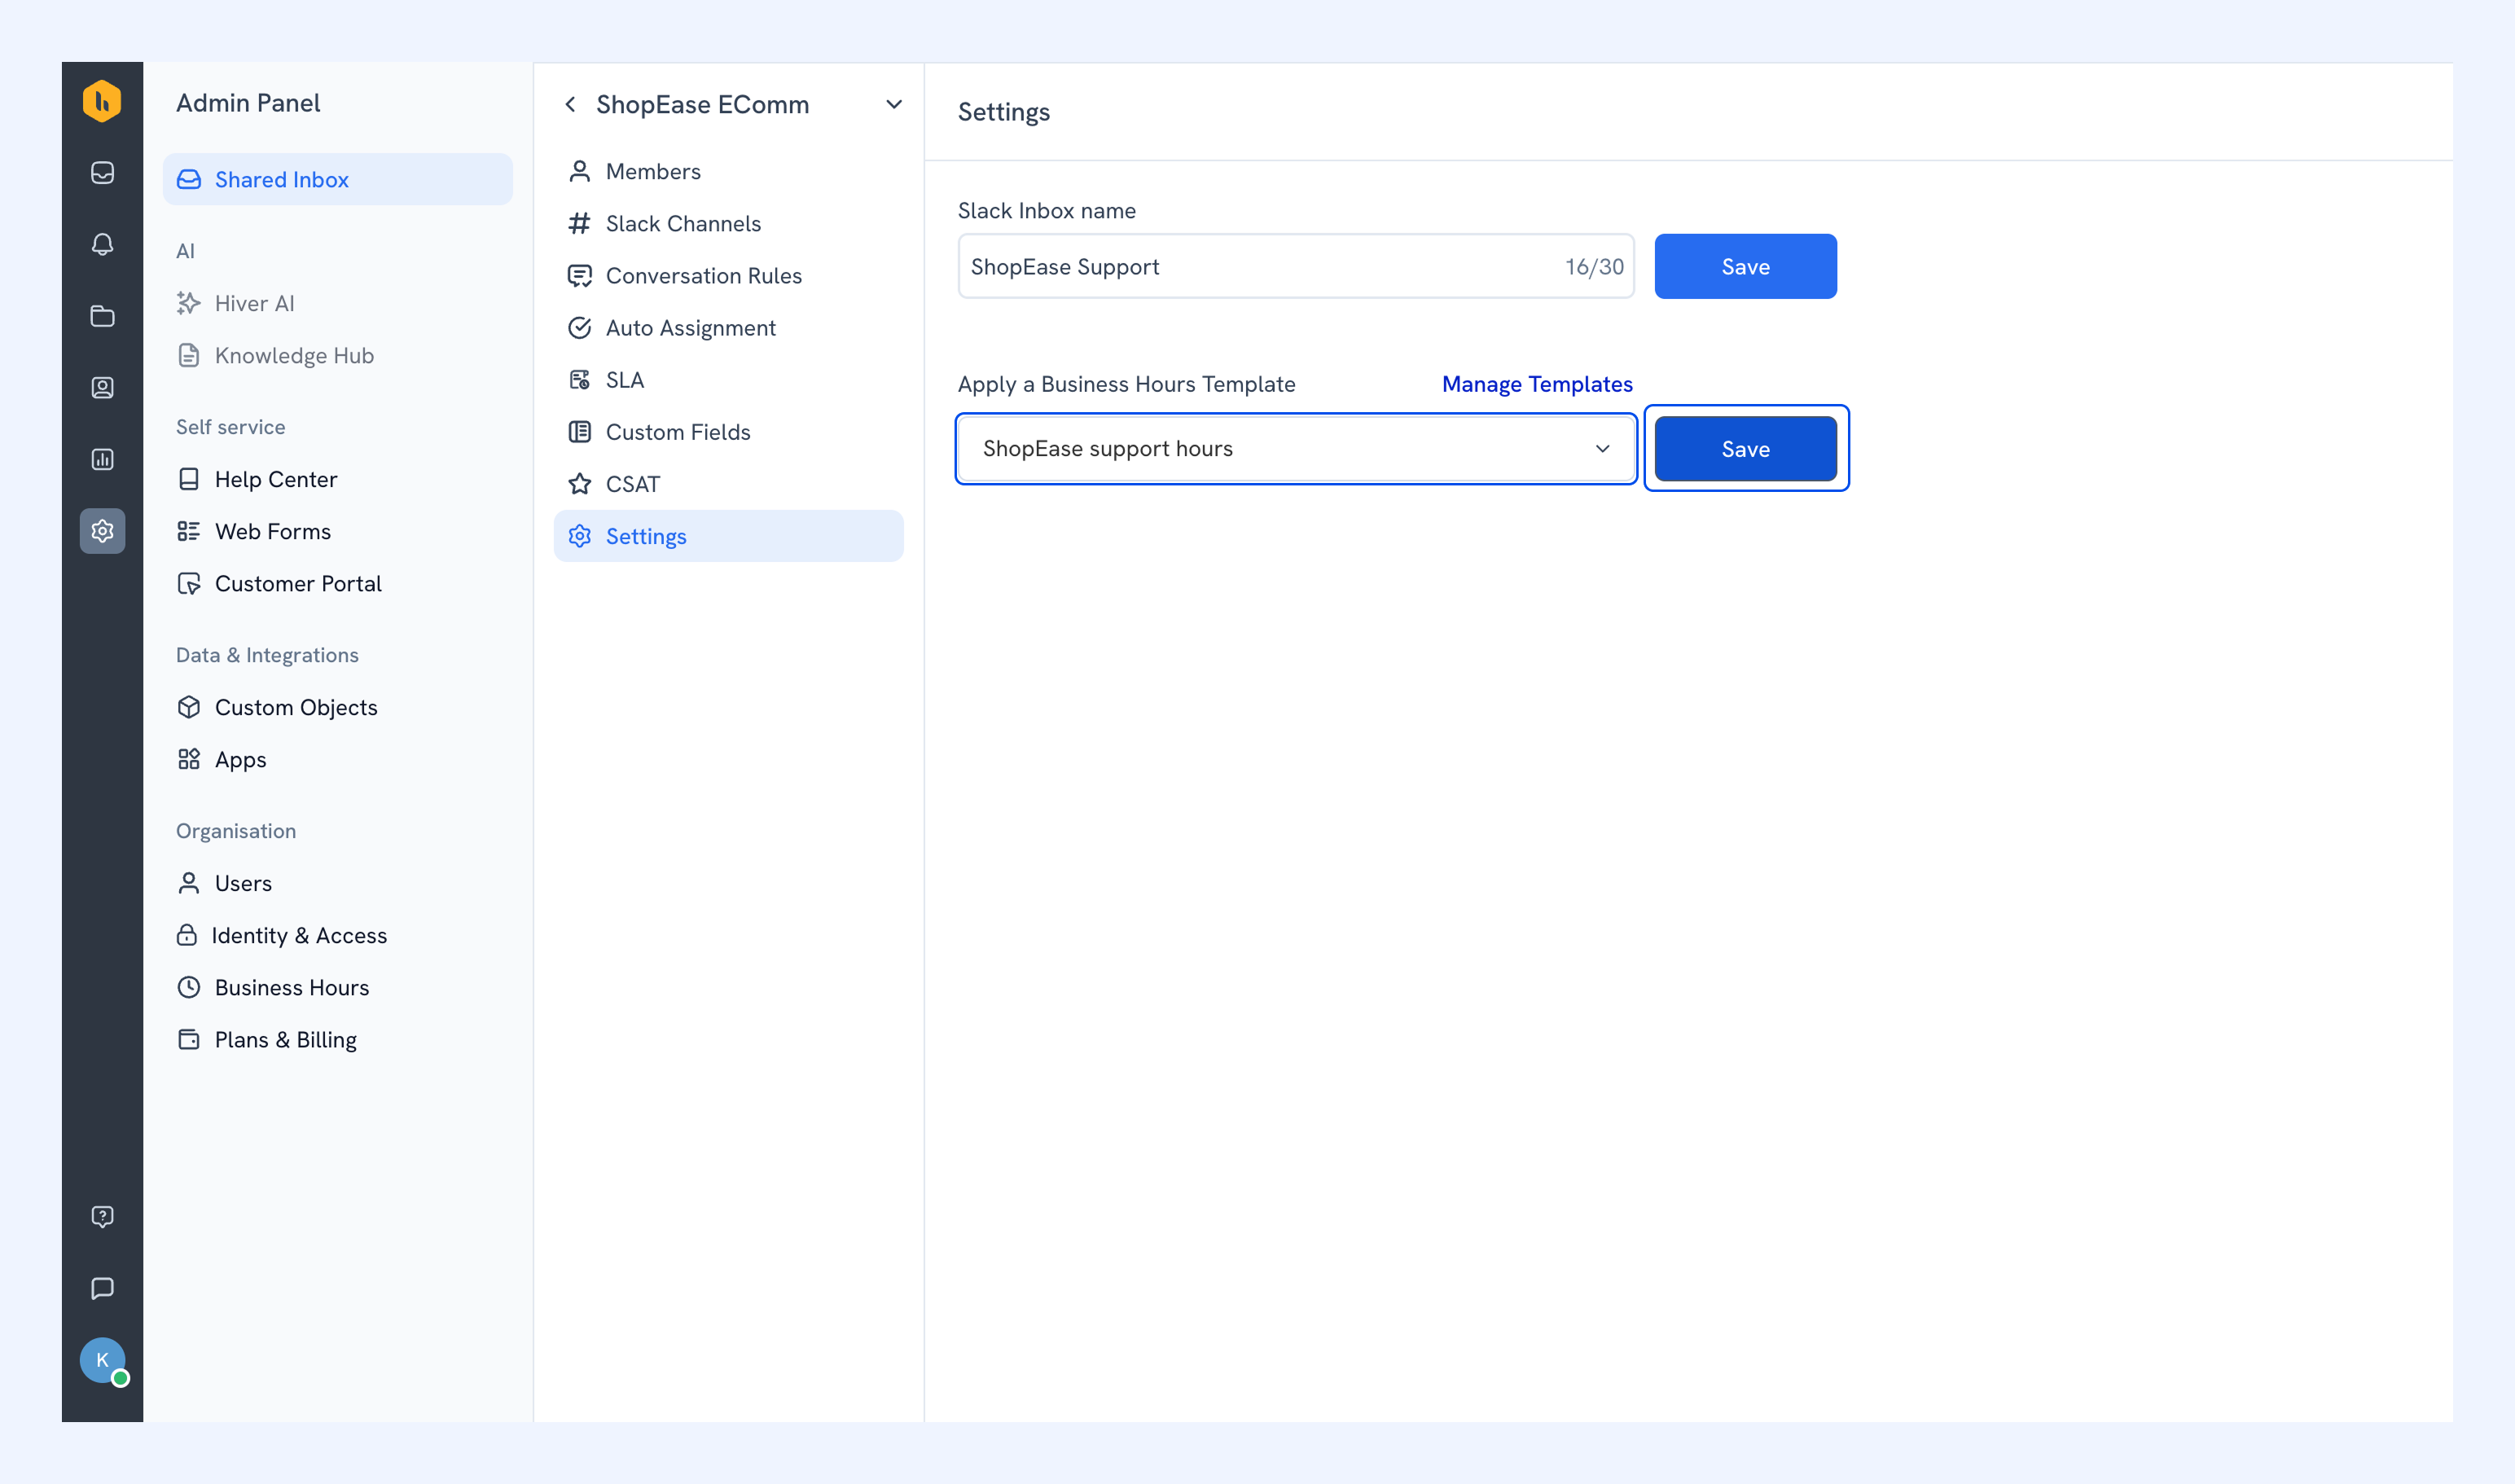
To apply working hours to the inbox, choose a template from the dropdown and click Save. Learn more about creating Business Hour Templates.
Related articles
How to add the Hiver Omni app to a private Slack channel
Setting up Auto Assignment for Slack Inboxes