Connecting an Outlook Shared Mailbox to Hiver Omni
This guide covers how you can connect your Outlook Shared Mailbox to Hiver to start managing conversations with your team from a dedicated Shared Inbox.
Prerequisites
Before you begin, make sure:
1. Hiver is authorized by your organization. Learn more about granting Hiver access in Microsoft Entra.
2. You are listed as a member in the Outlook shared mailbox with the following permissions:
- Member access
- Read and manage
- Send as
- Send on behalf of
Learn more about setting up mailbox permissions.
Good to know before you start
- Your account becomes the Source User in Hiver. When you connect an Outlook Shared, you sign in with a personal Microsoft account to authorize access. Hiver uses this account to sync incoming emails and send outgoing emails from the Shared Inbox. If the Source User leaves your organization or loses access to their Microsoft account, syncing and sending will stop until another user reauthenticates the inbox. Learn more about changing the Source User for an Outlook inbox.
- Your recent emails are imported. When you connect the inbox, Hiver imports up to 10,000 emails from the previous two weeks. Imported conversations appear in the Closed view and are unassigned with the Imported tag, making them easy to find and act on.
- Your Outlook folders are imported as Tags. When you connect the inbox, Hiver imports existing folders from the Shared Mailbox as Tags. Folders created afterward aren’t imported automatically.
Steps to connect your Outlook Shared Mailbox to Hiver
Step 1: Start setup
If you’re new to Hiver, you’ll see a setup guide after signing up. Follow the guide to create a Shared Inbox:
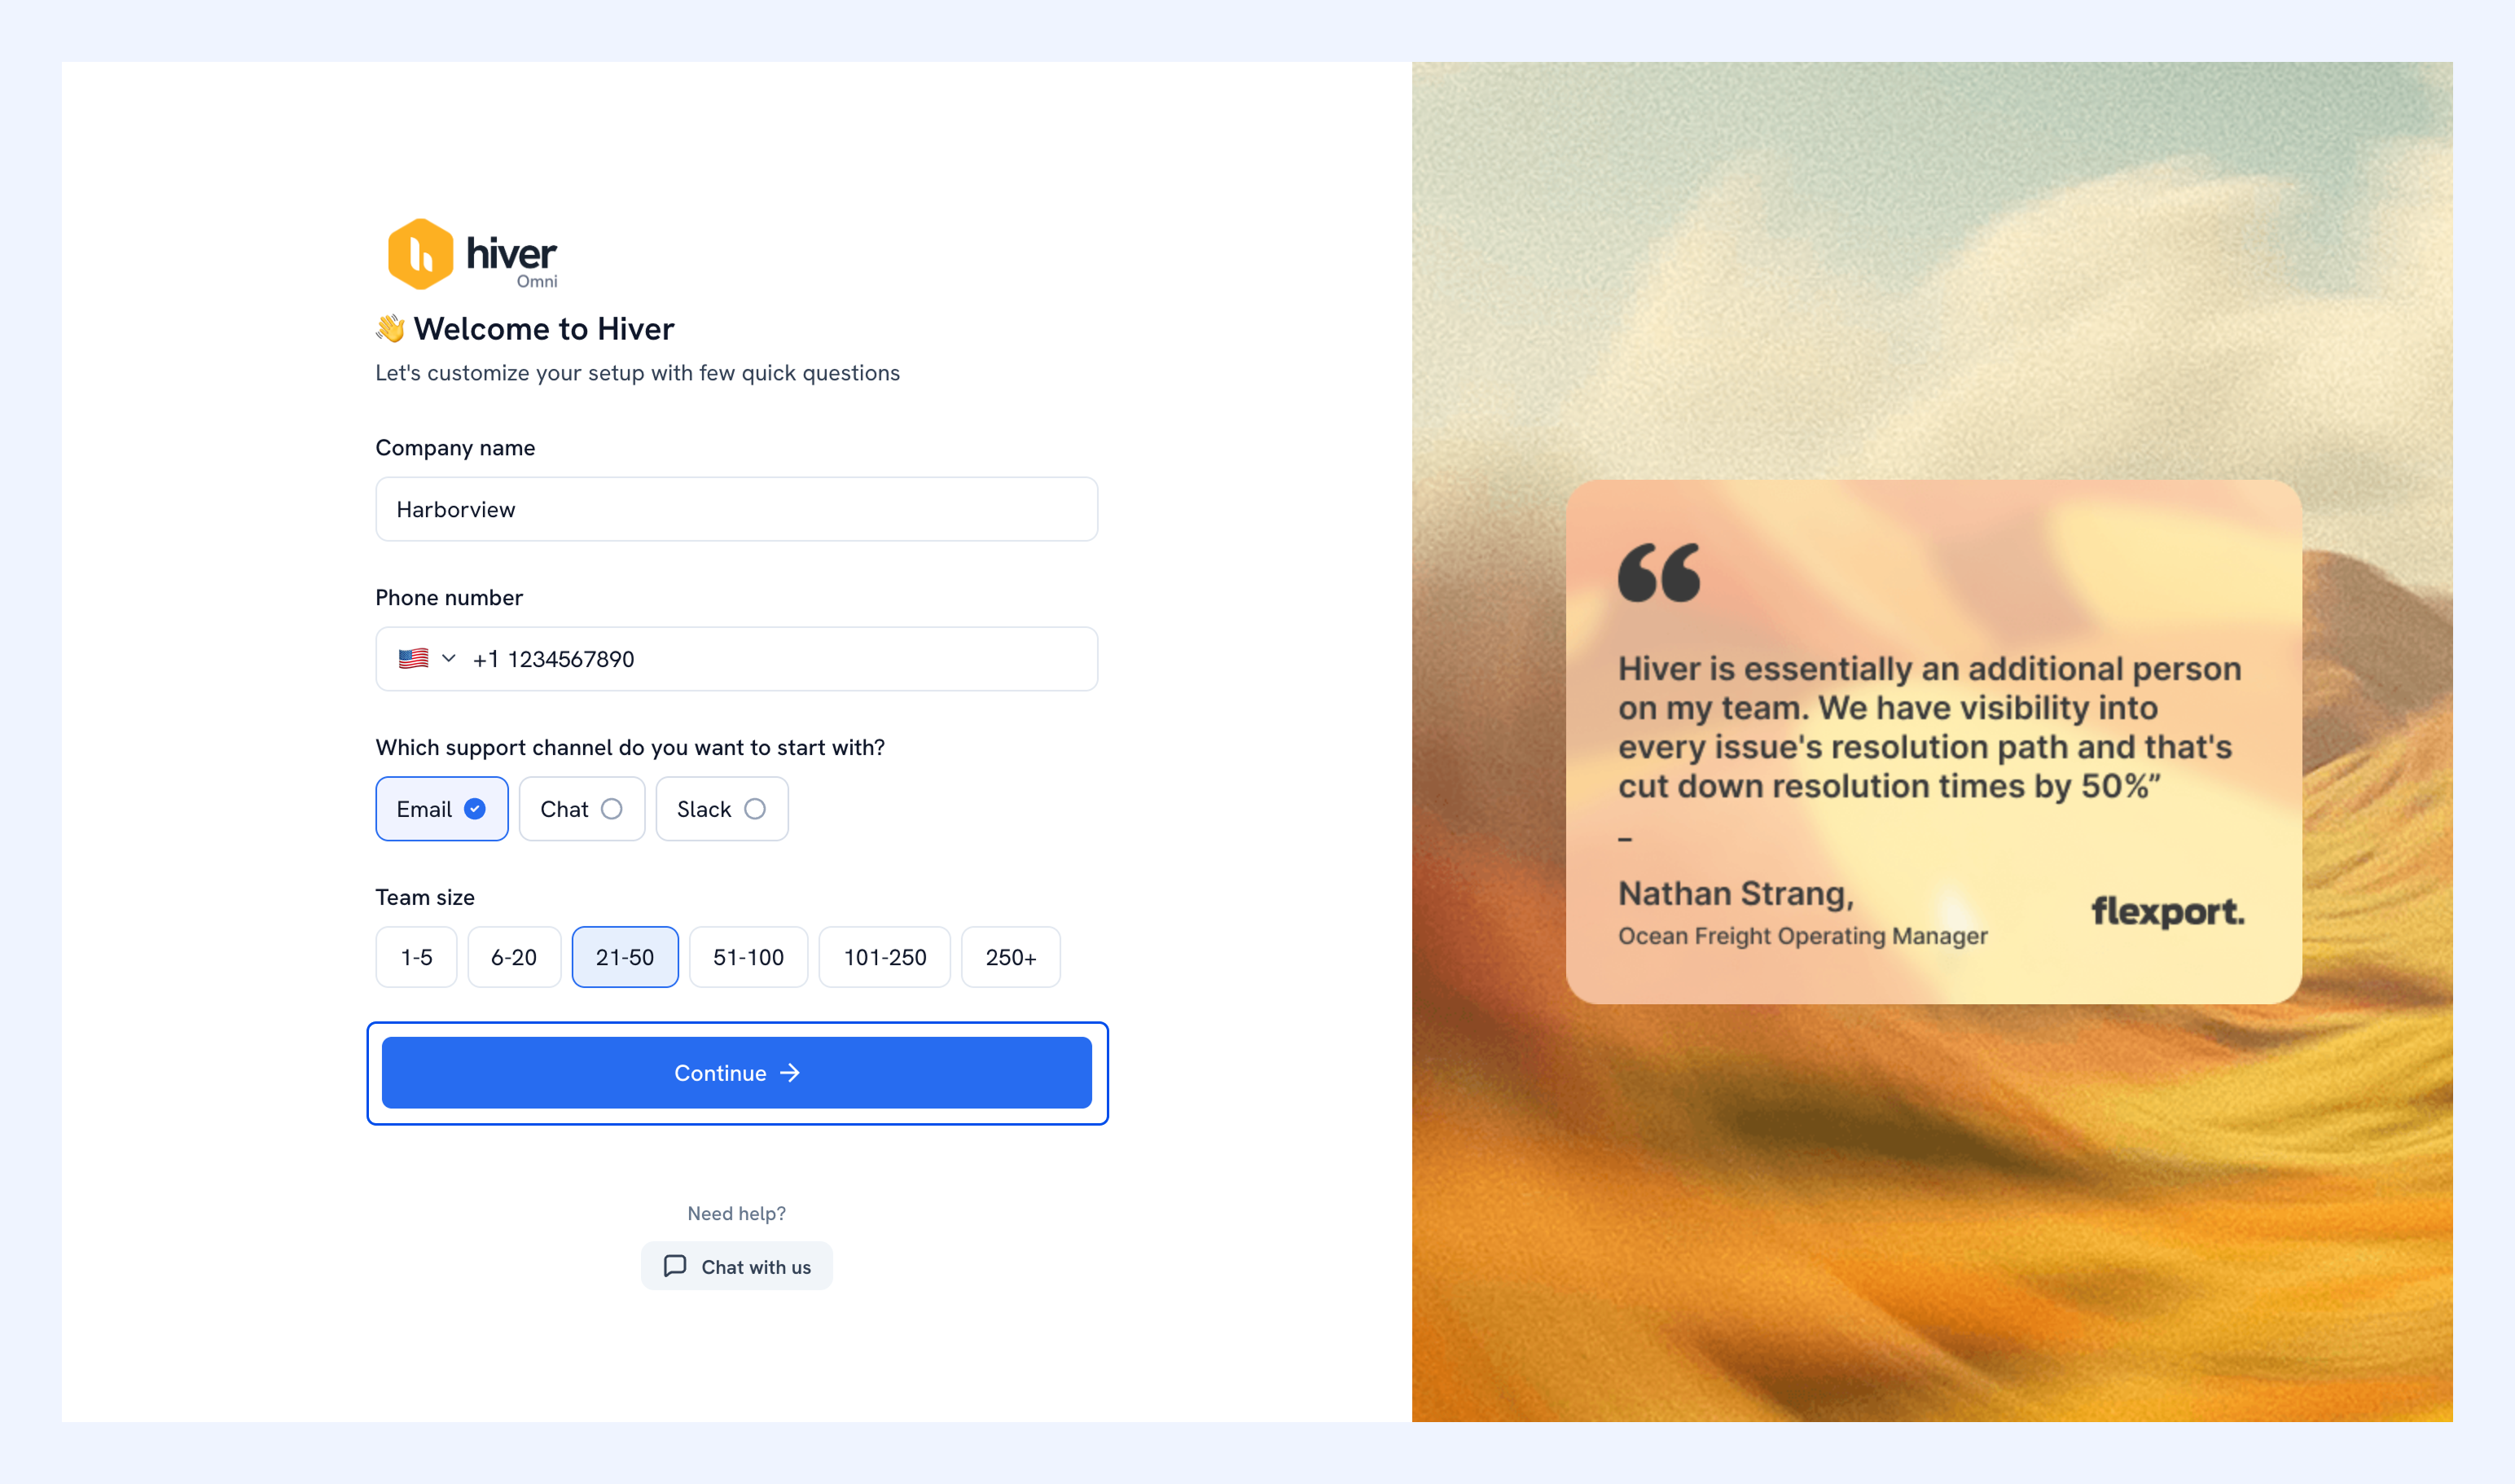
1. Enter your company name and phone number, choose your support channel, then select your team size. Click Continue.
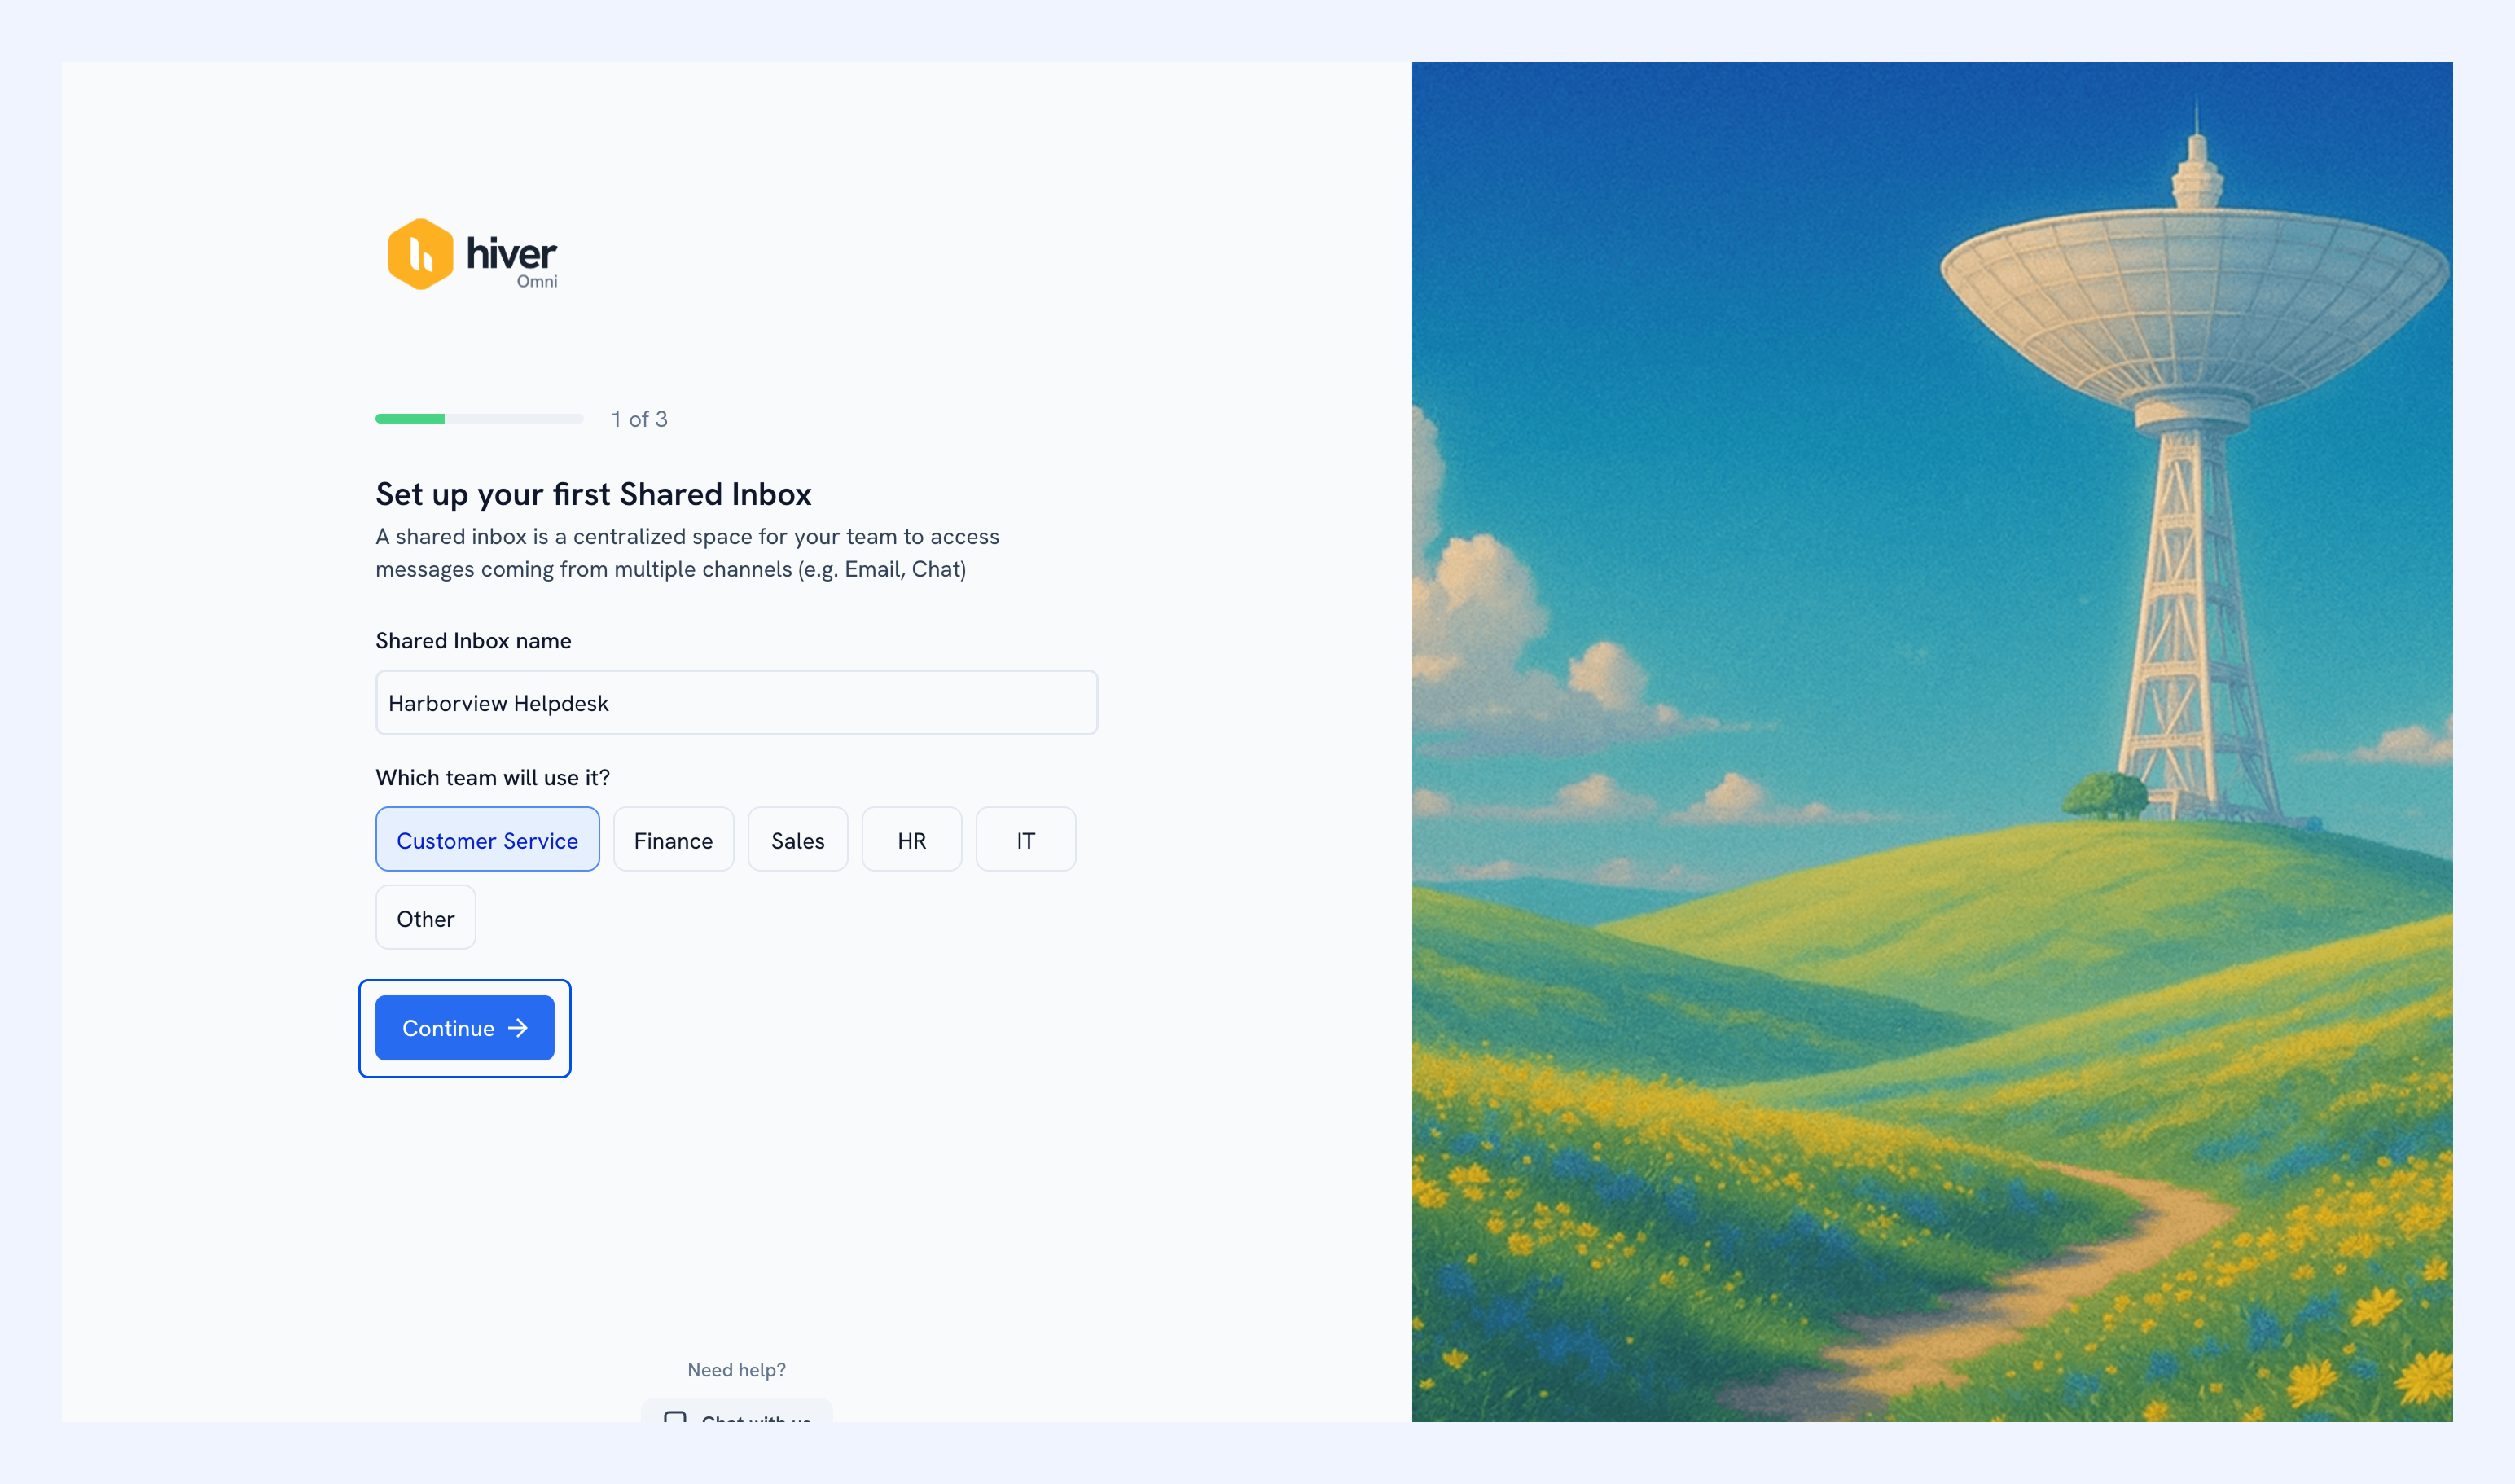
2. Enter a name for your Shared Inbox, select the team that will use it, then click Continue.
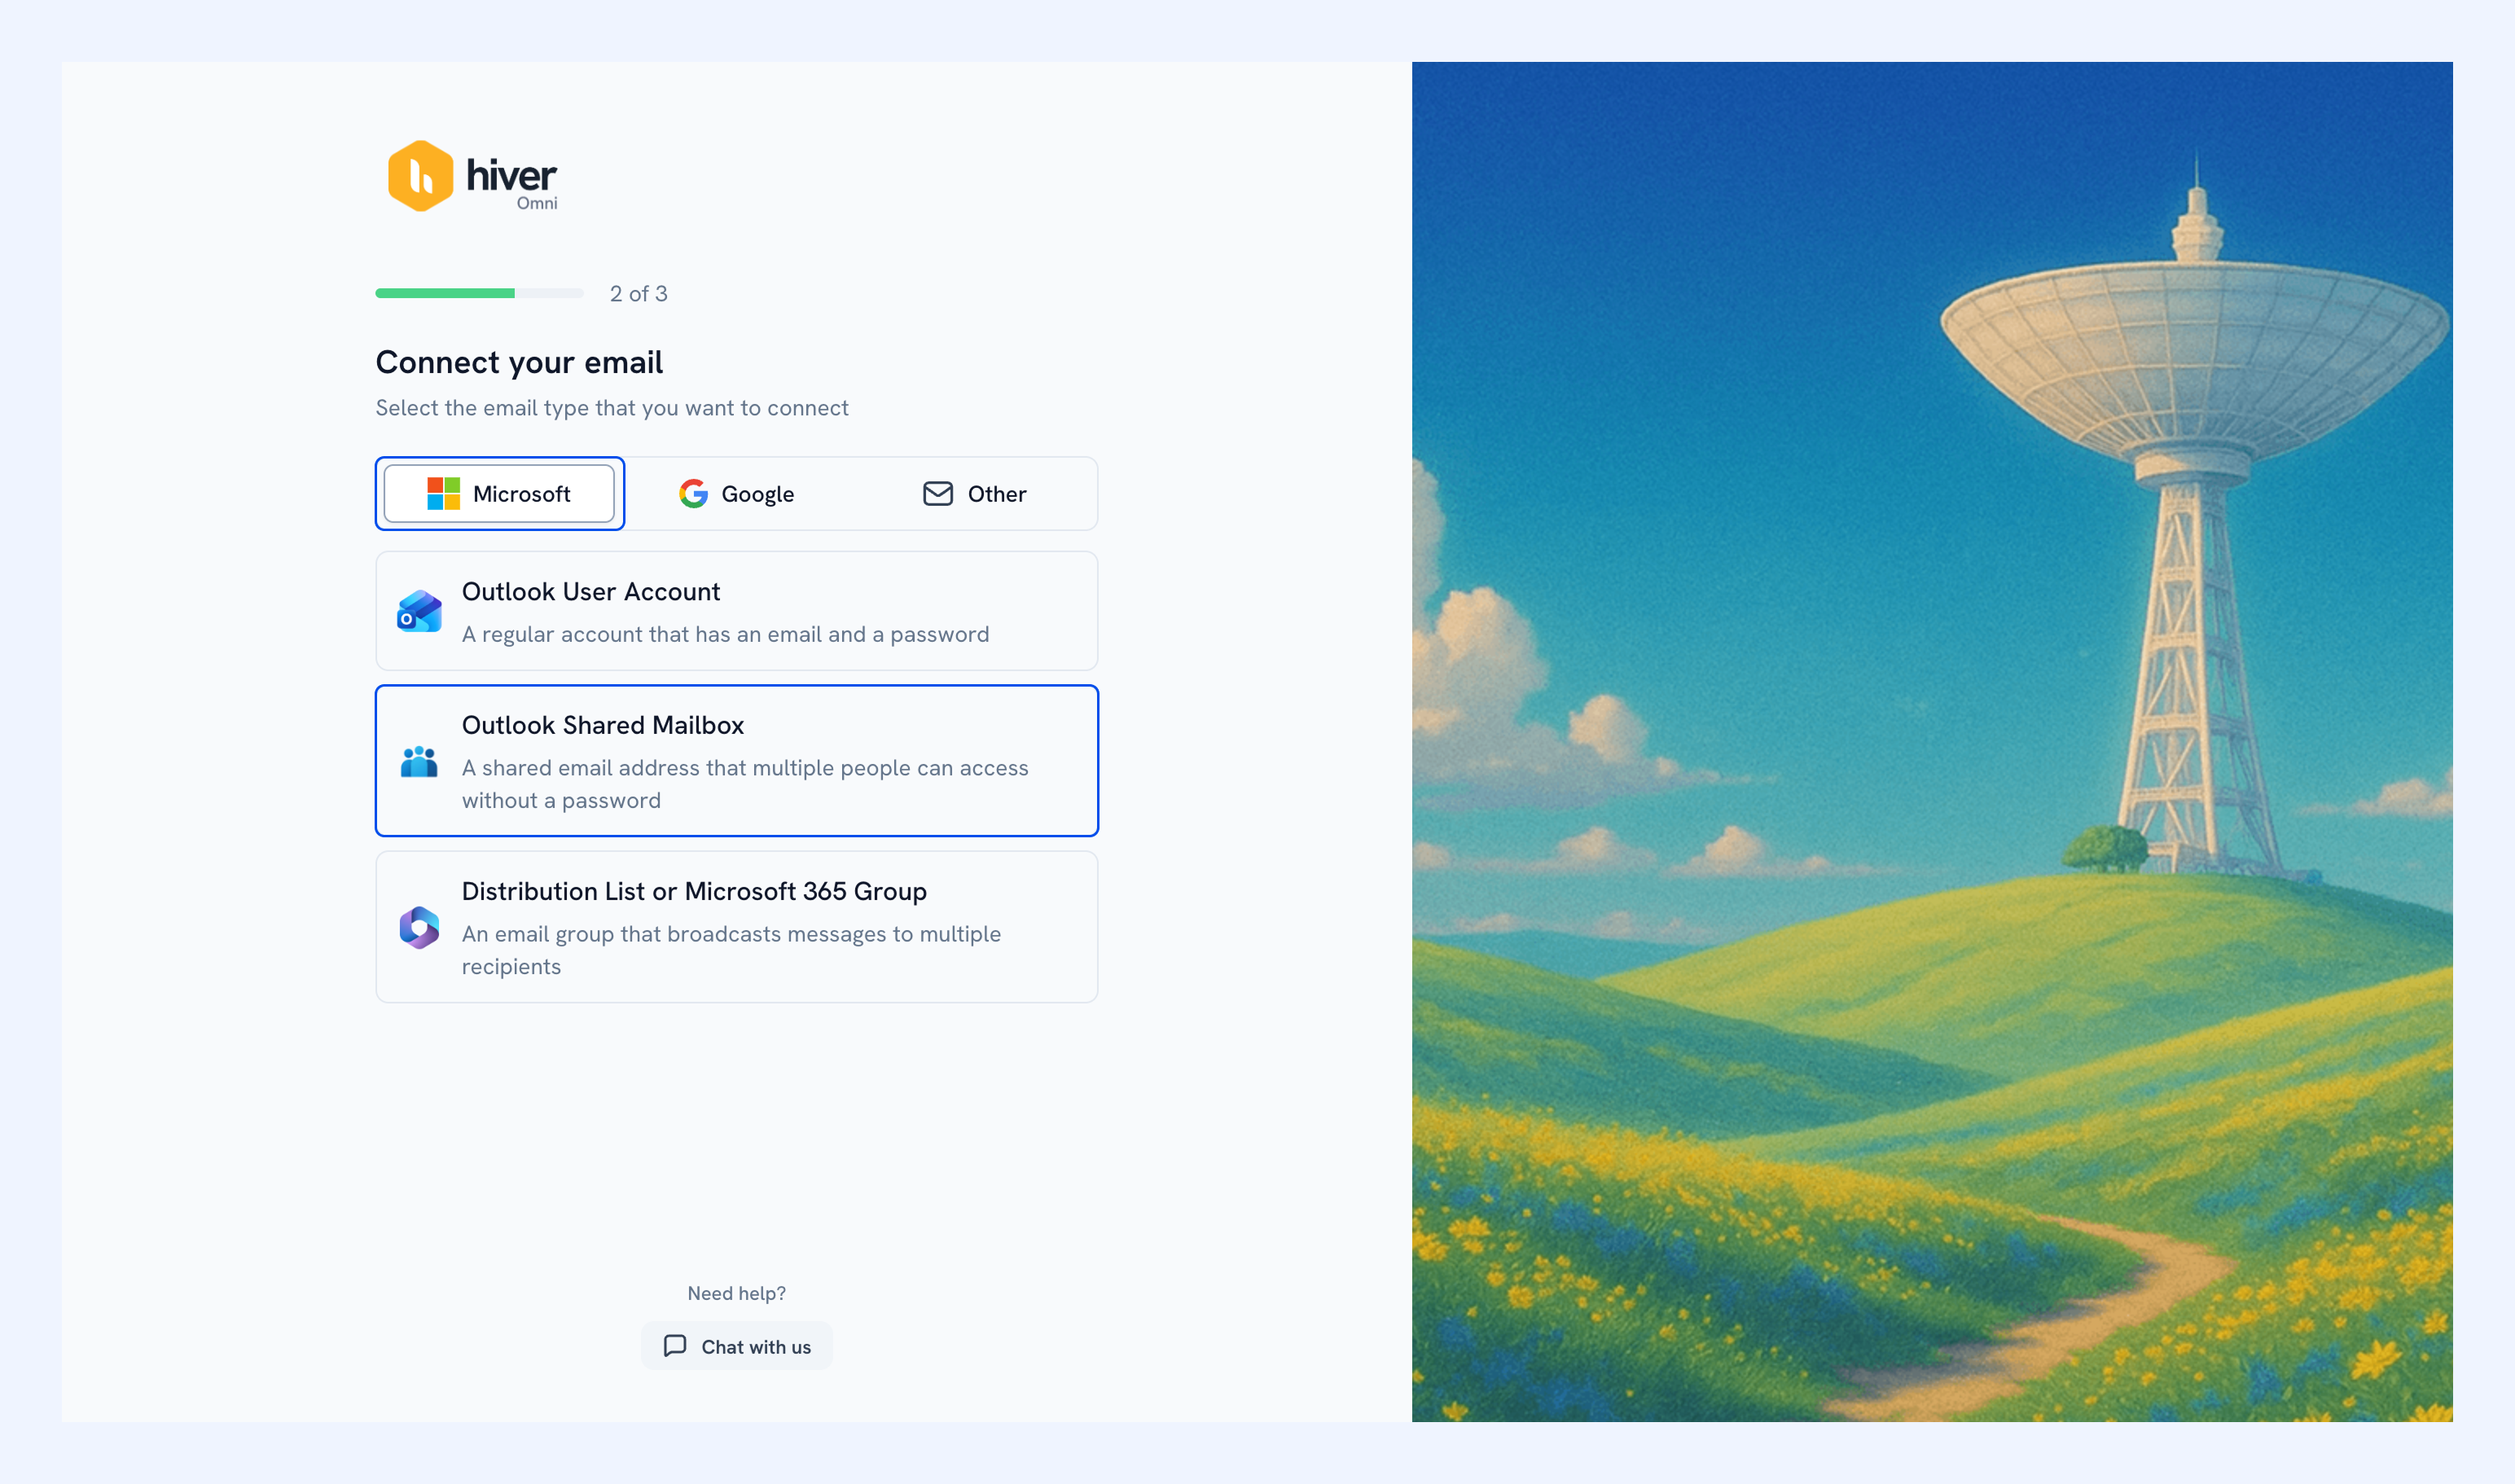
3. Select Microsoft as your provider, then select Outlook Shared Mailbox.
Tip: This only sets the provider for this Shared Inbox, not for your whole Hiver account. You can connect more Shared Inboxes later using Google or another email provider.
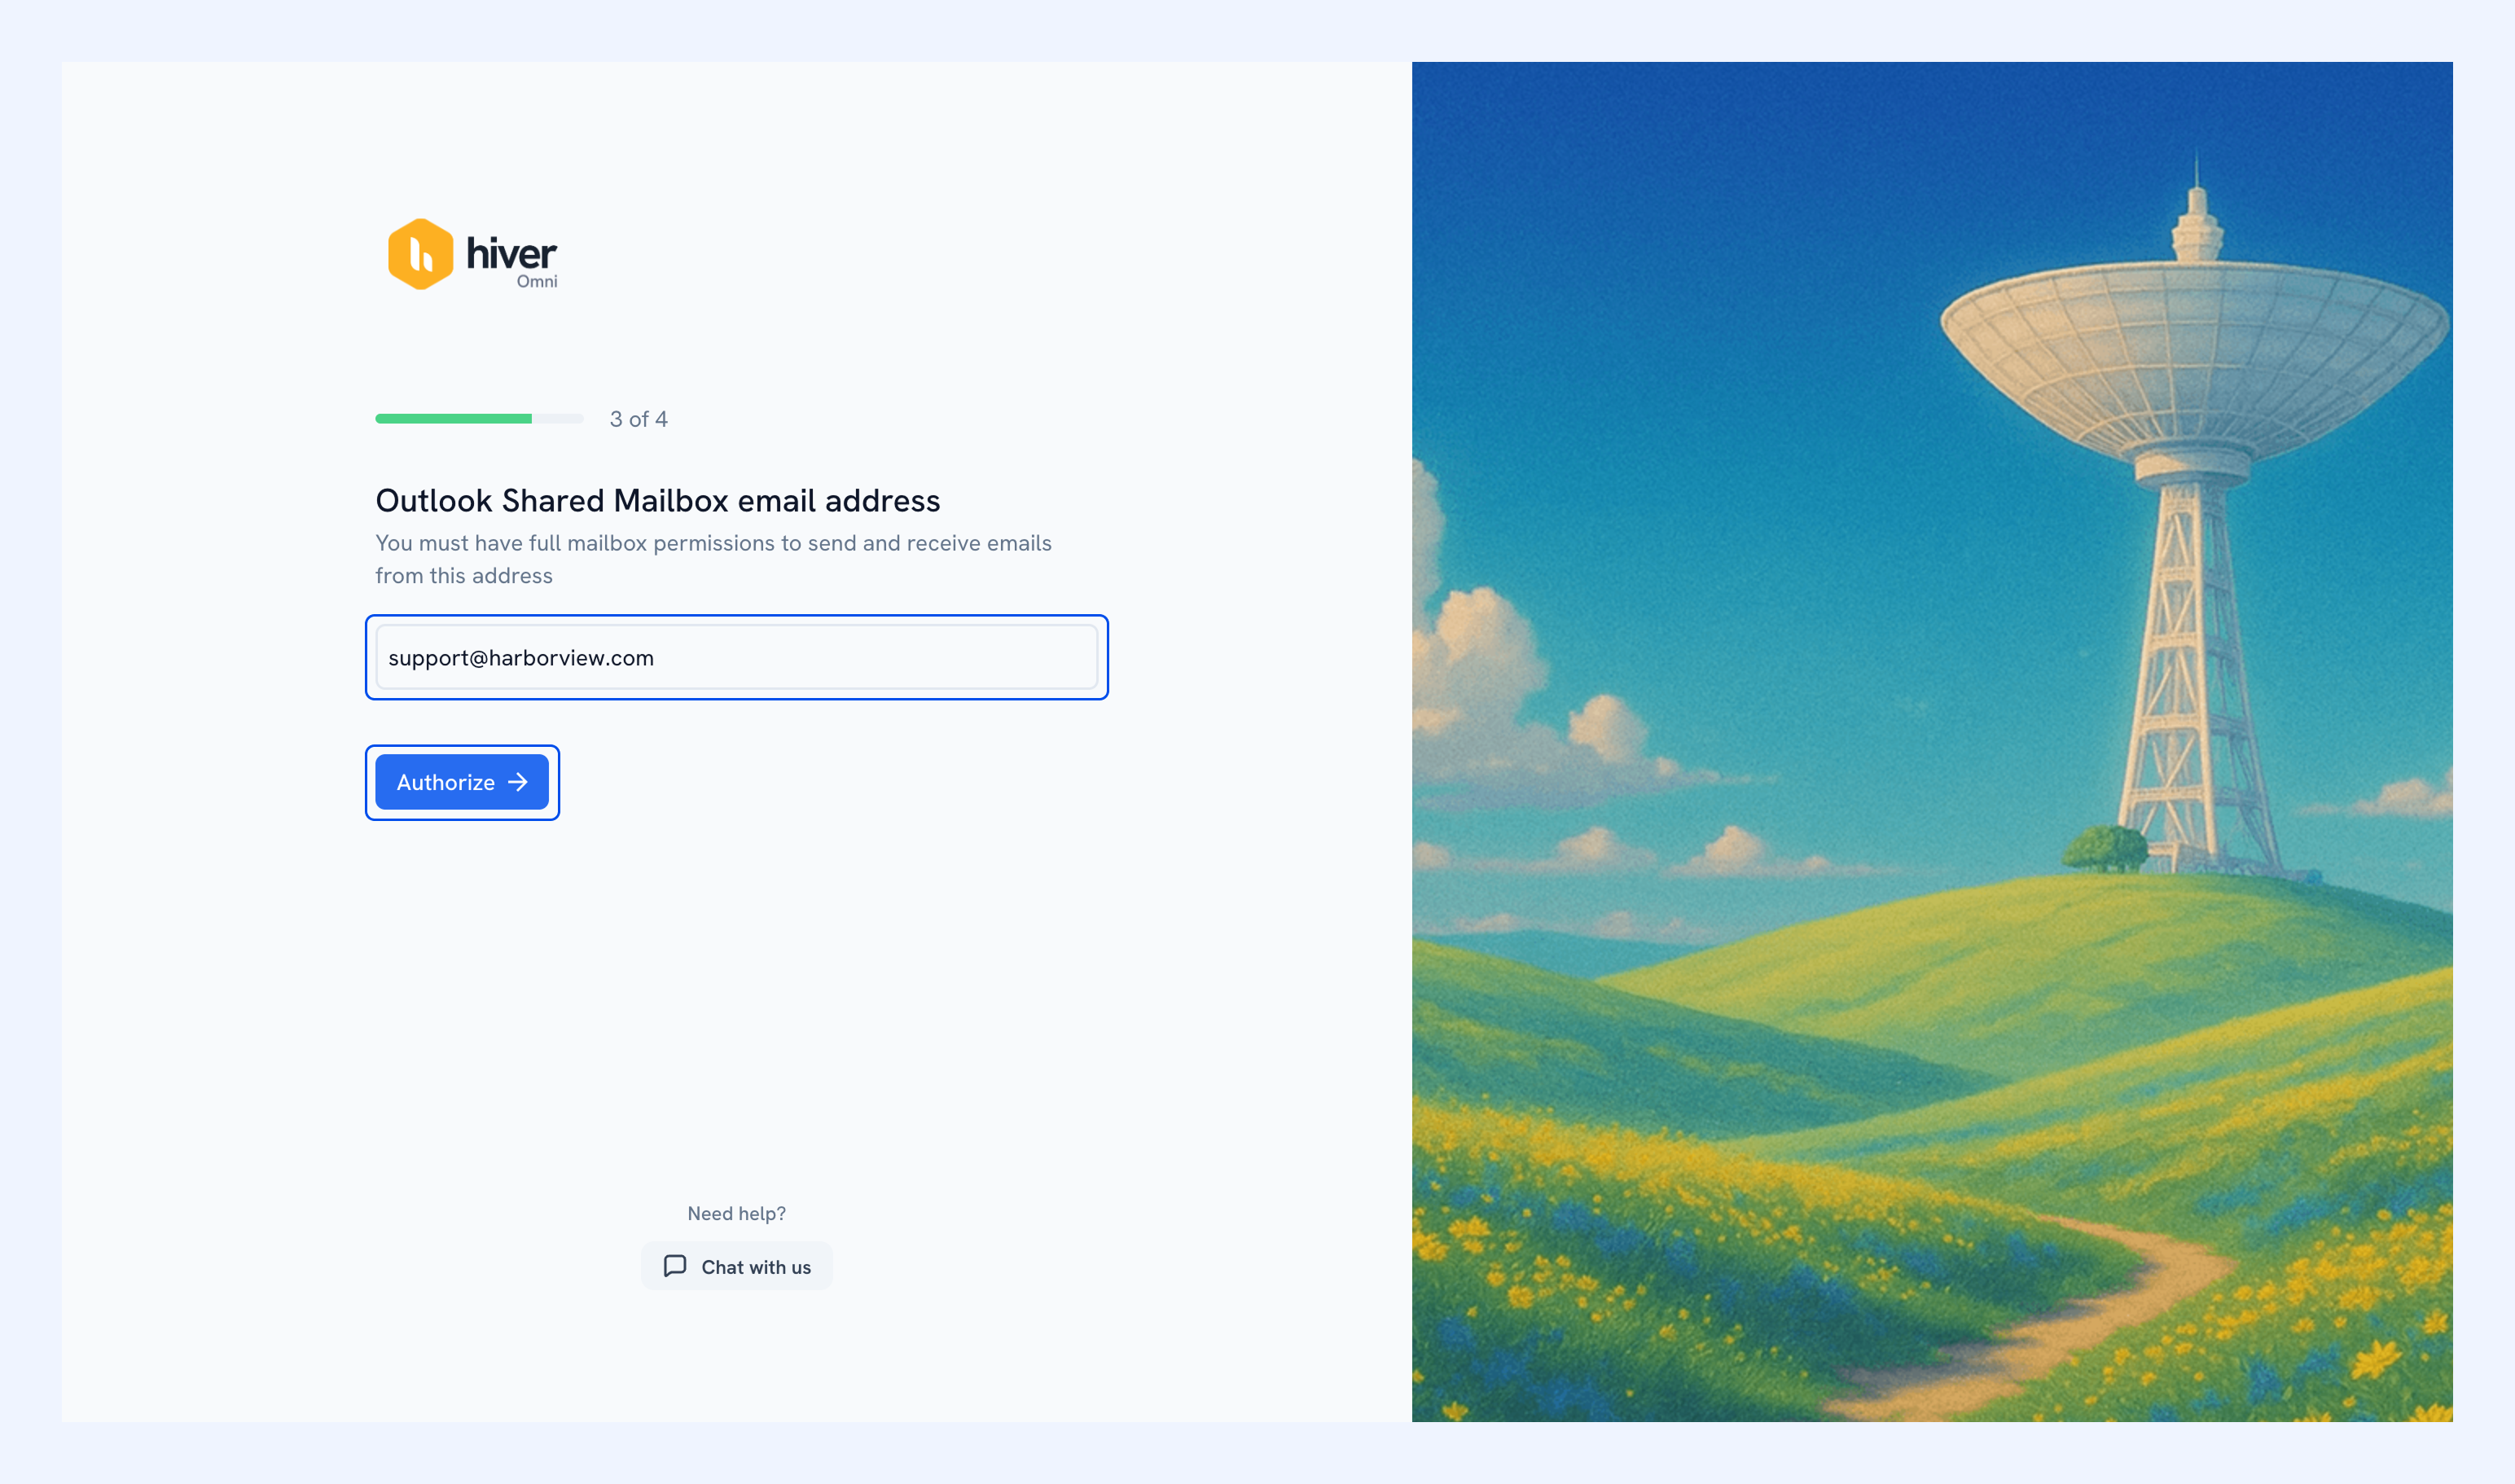
4. Enter the Shared Mailbox address, then select Authorize.
Step 2: Authorize Hiver
Sign in with your personal Outlook account, and make sure that your account:
- Is a member of the Shared Mailbox.
- Has full mailbox permissions to send and receive email.
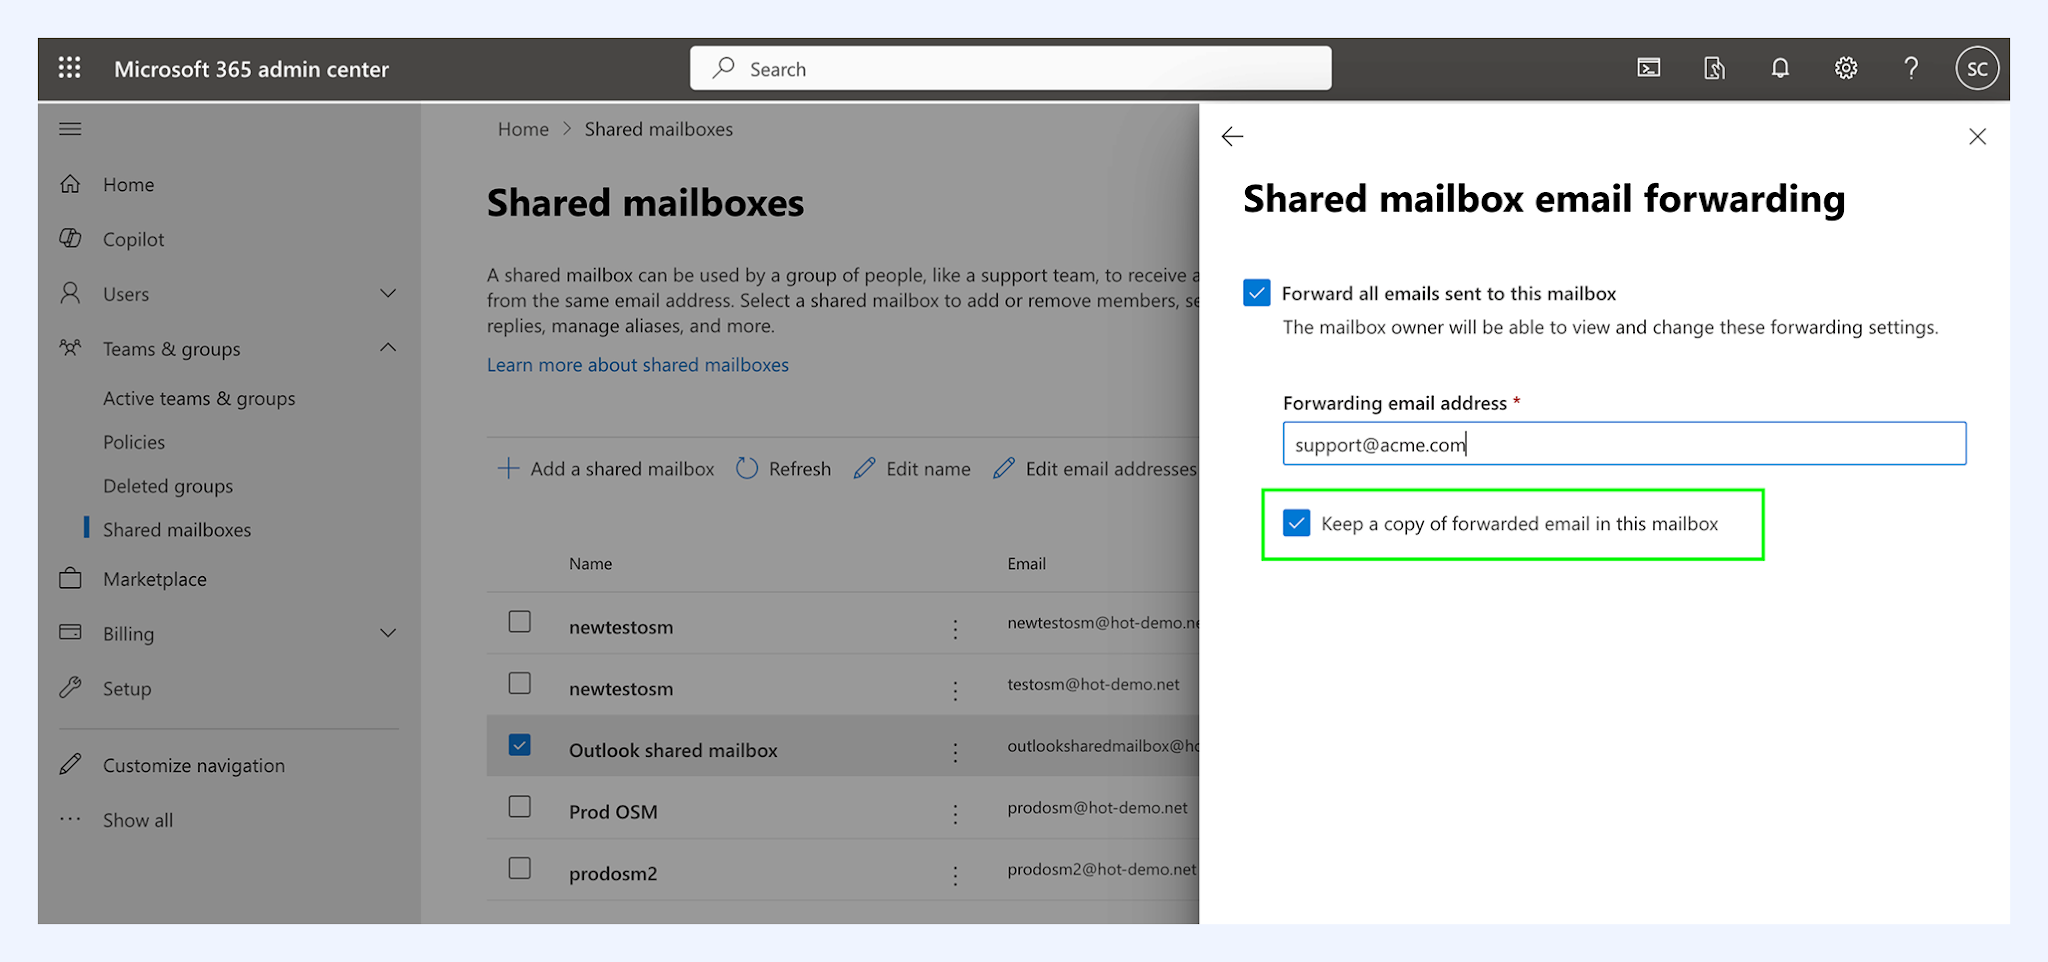
Note: If email forwarding is enabled in your Microsoft Admin settings, make sure the Keep a copy of forwarded messages checkbox is checked. This ensures Hiver can access and display all forwarded emails. Skip this if your Shared Mailbox does not use forwarding.
Note: If you run into an error while signing in, see our guide on troubleshooting Microsoft sign-in errors.
Step 3: Complete setup
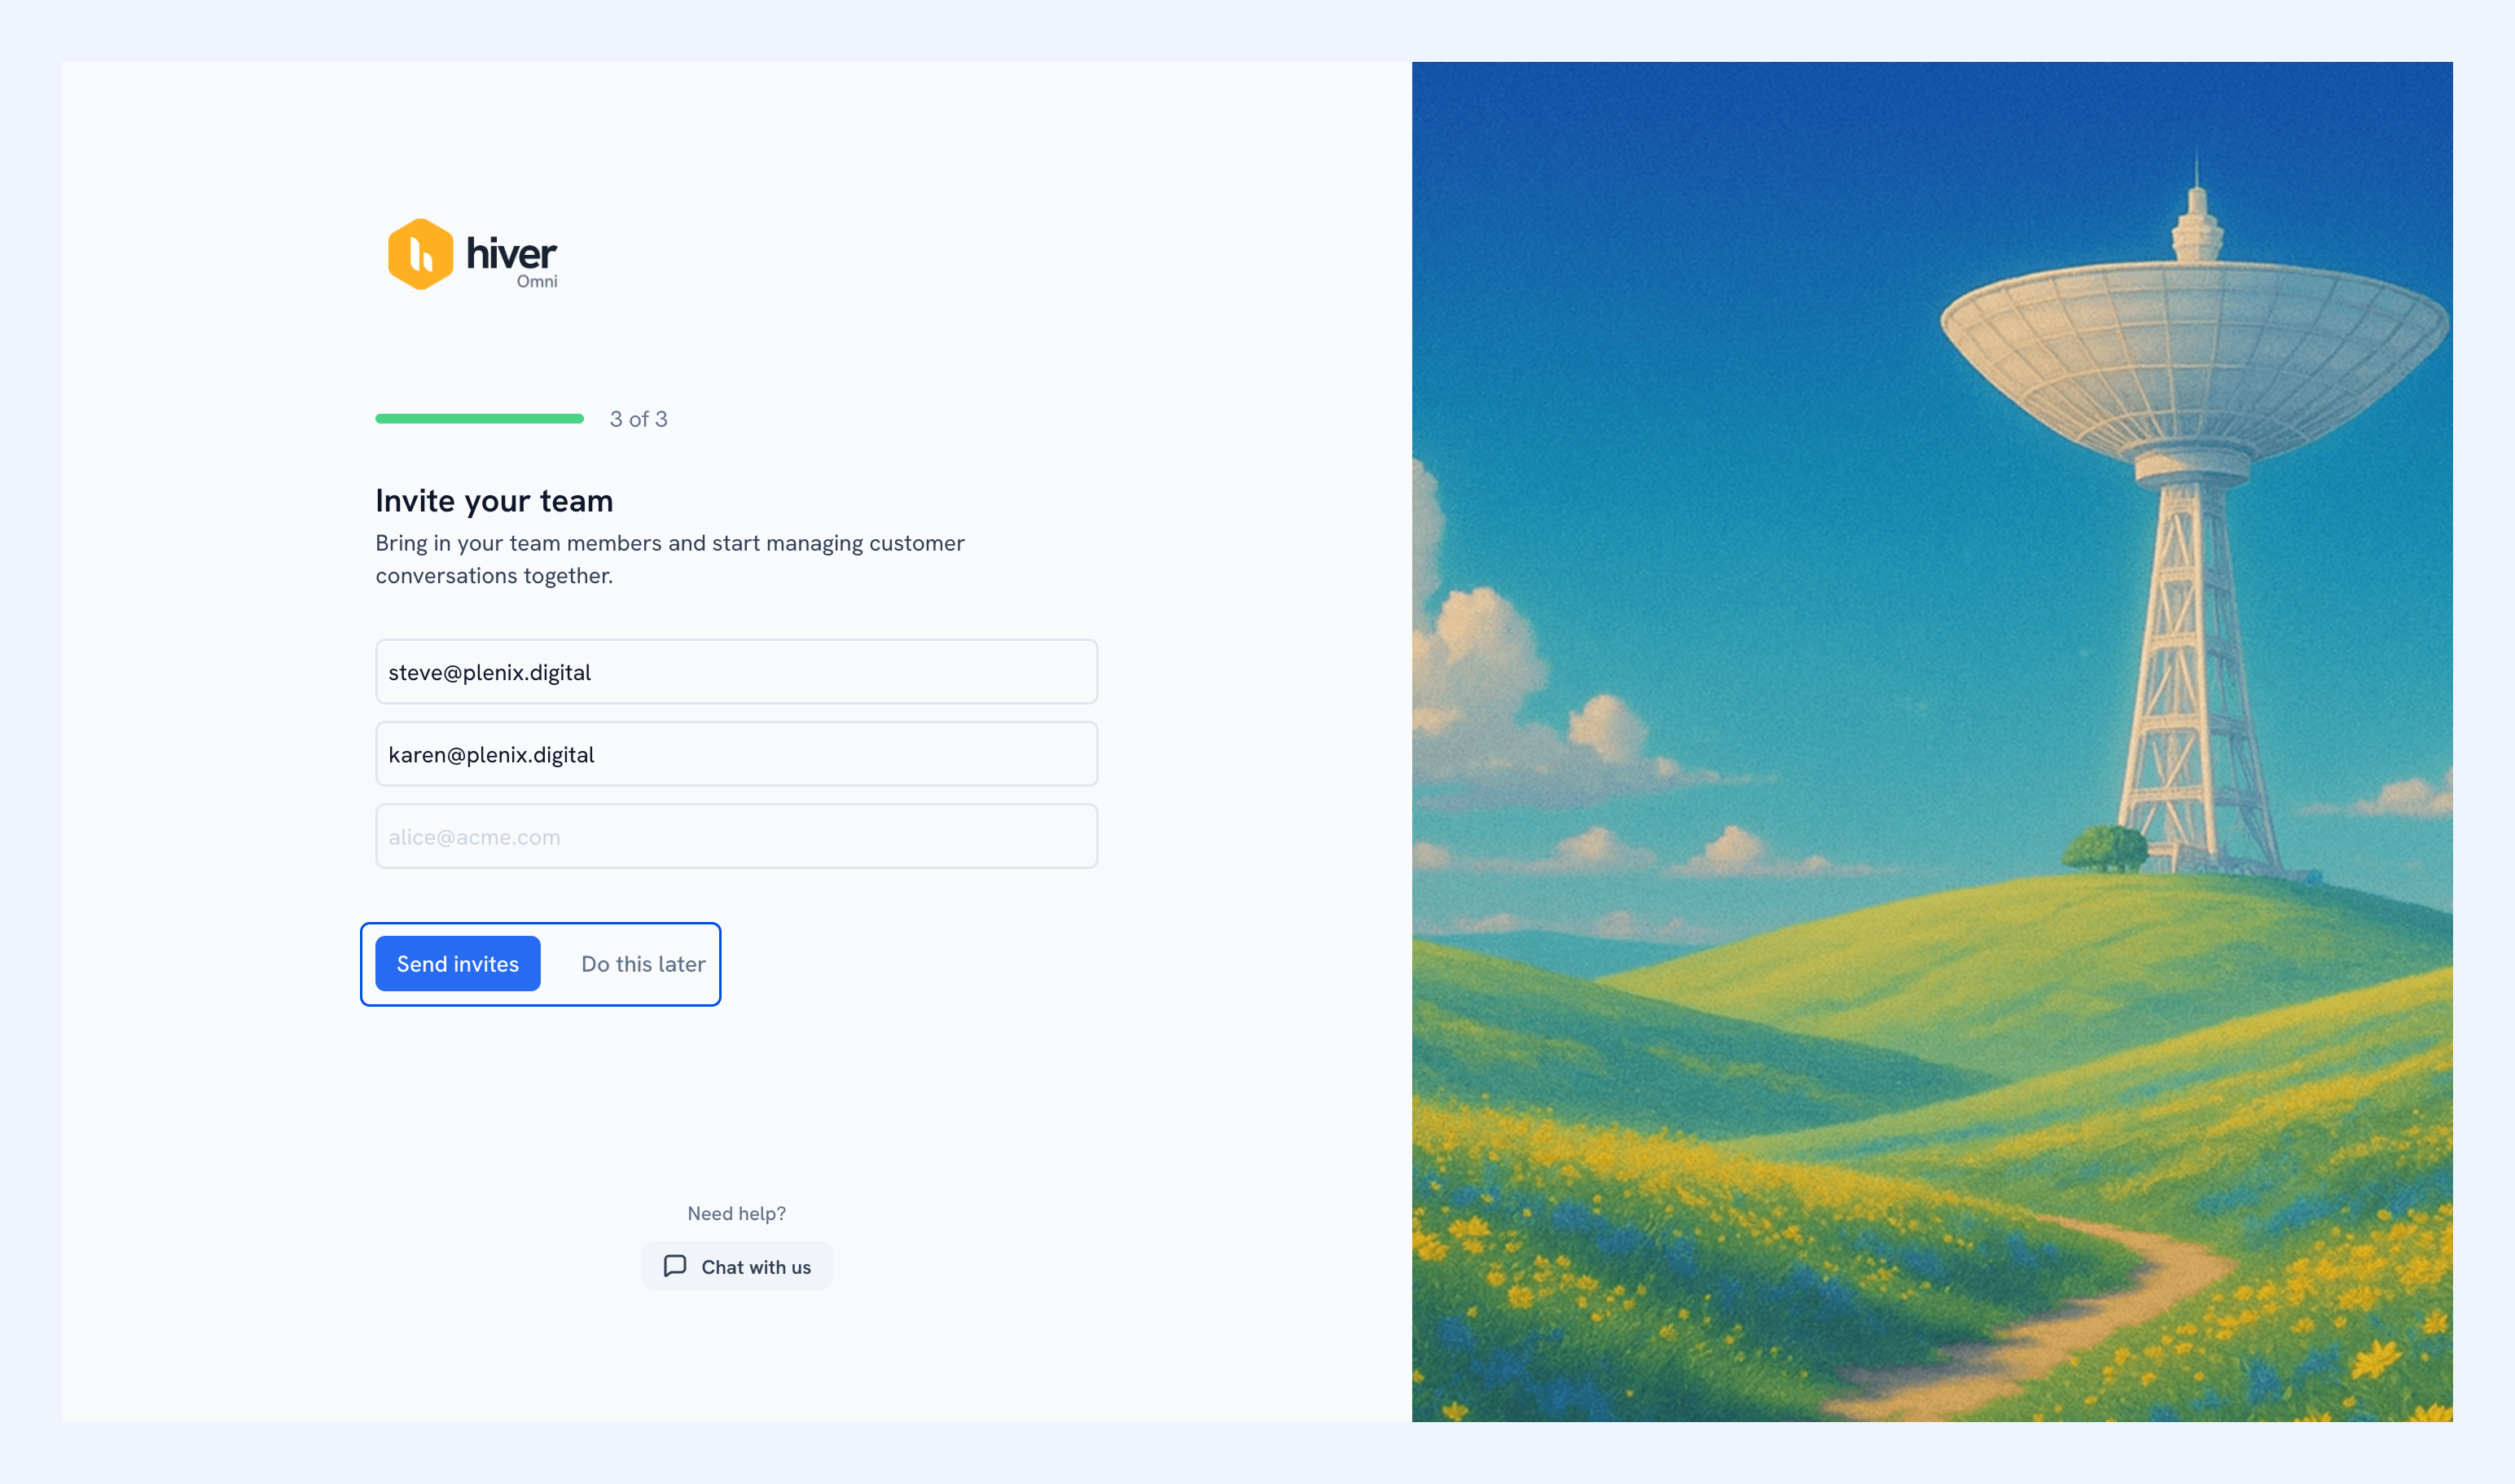
After you authorize access, your Shared Inbox is created. You can invite your team to start managing conversations together.
Where to find your newly connected Shared Inbox
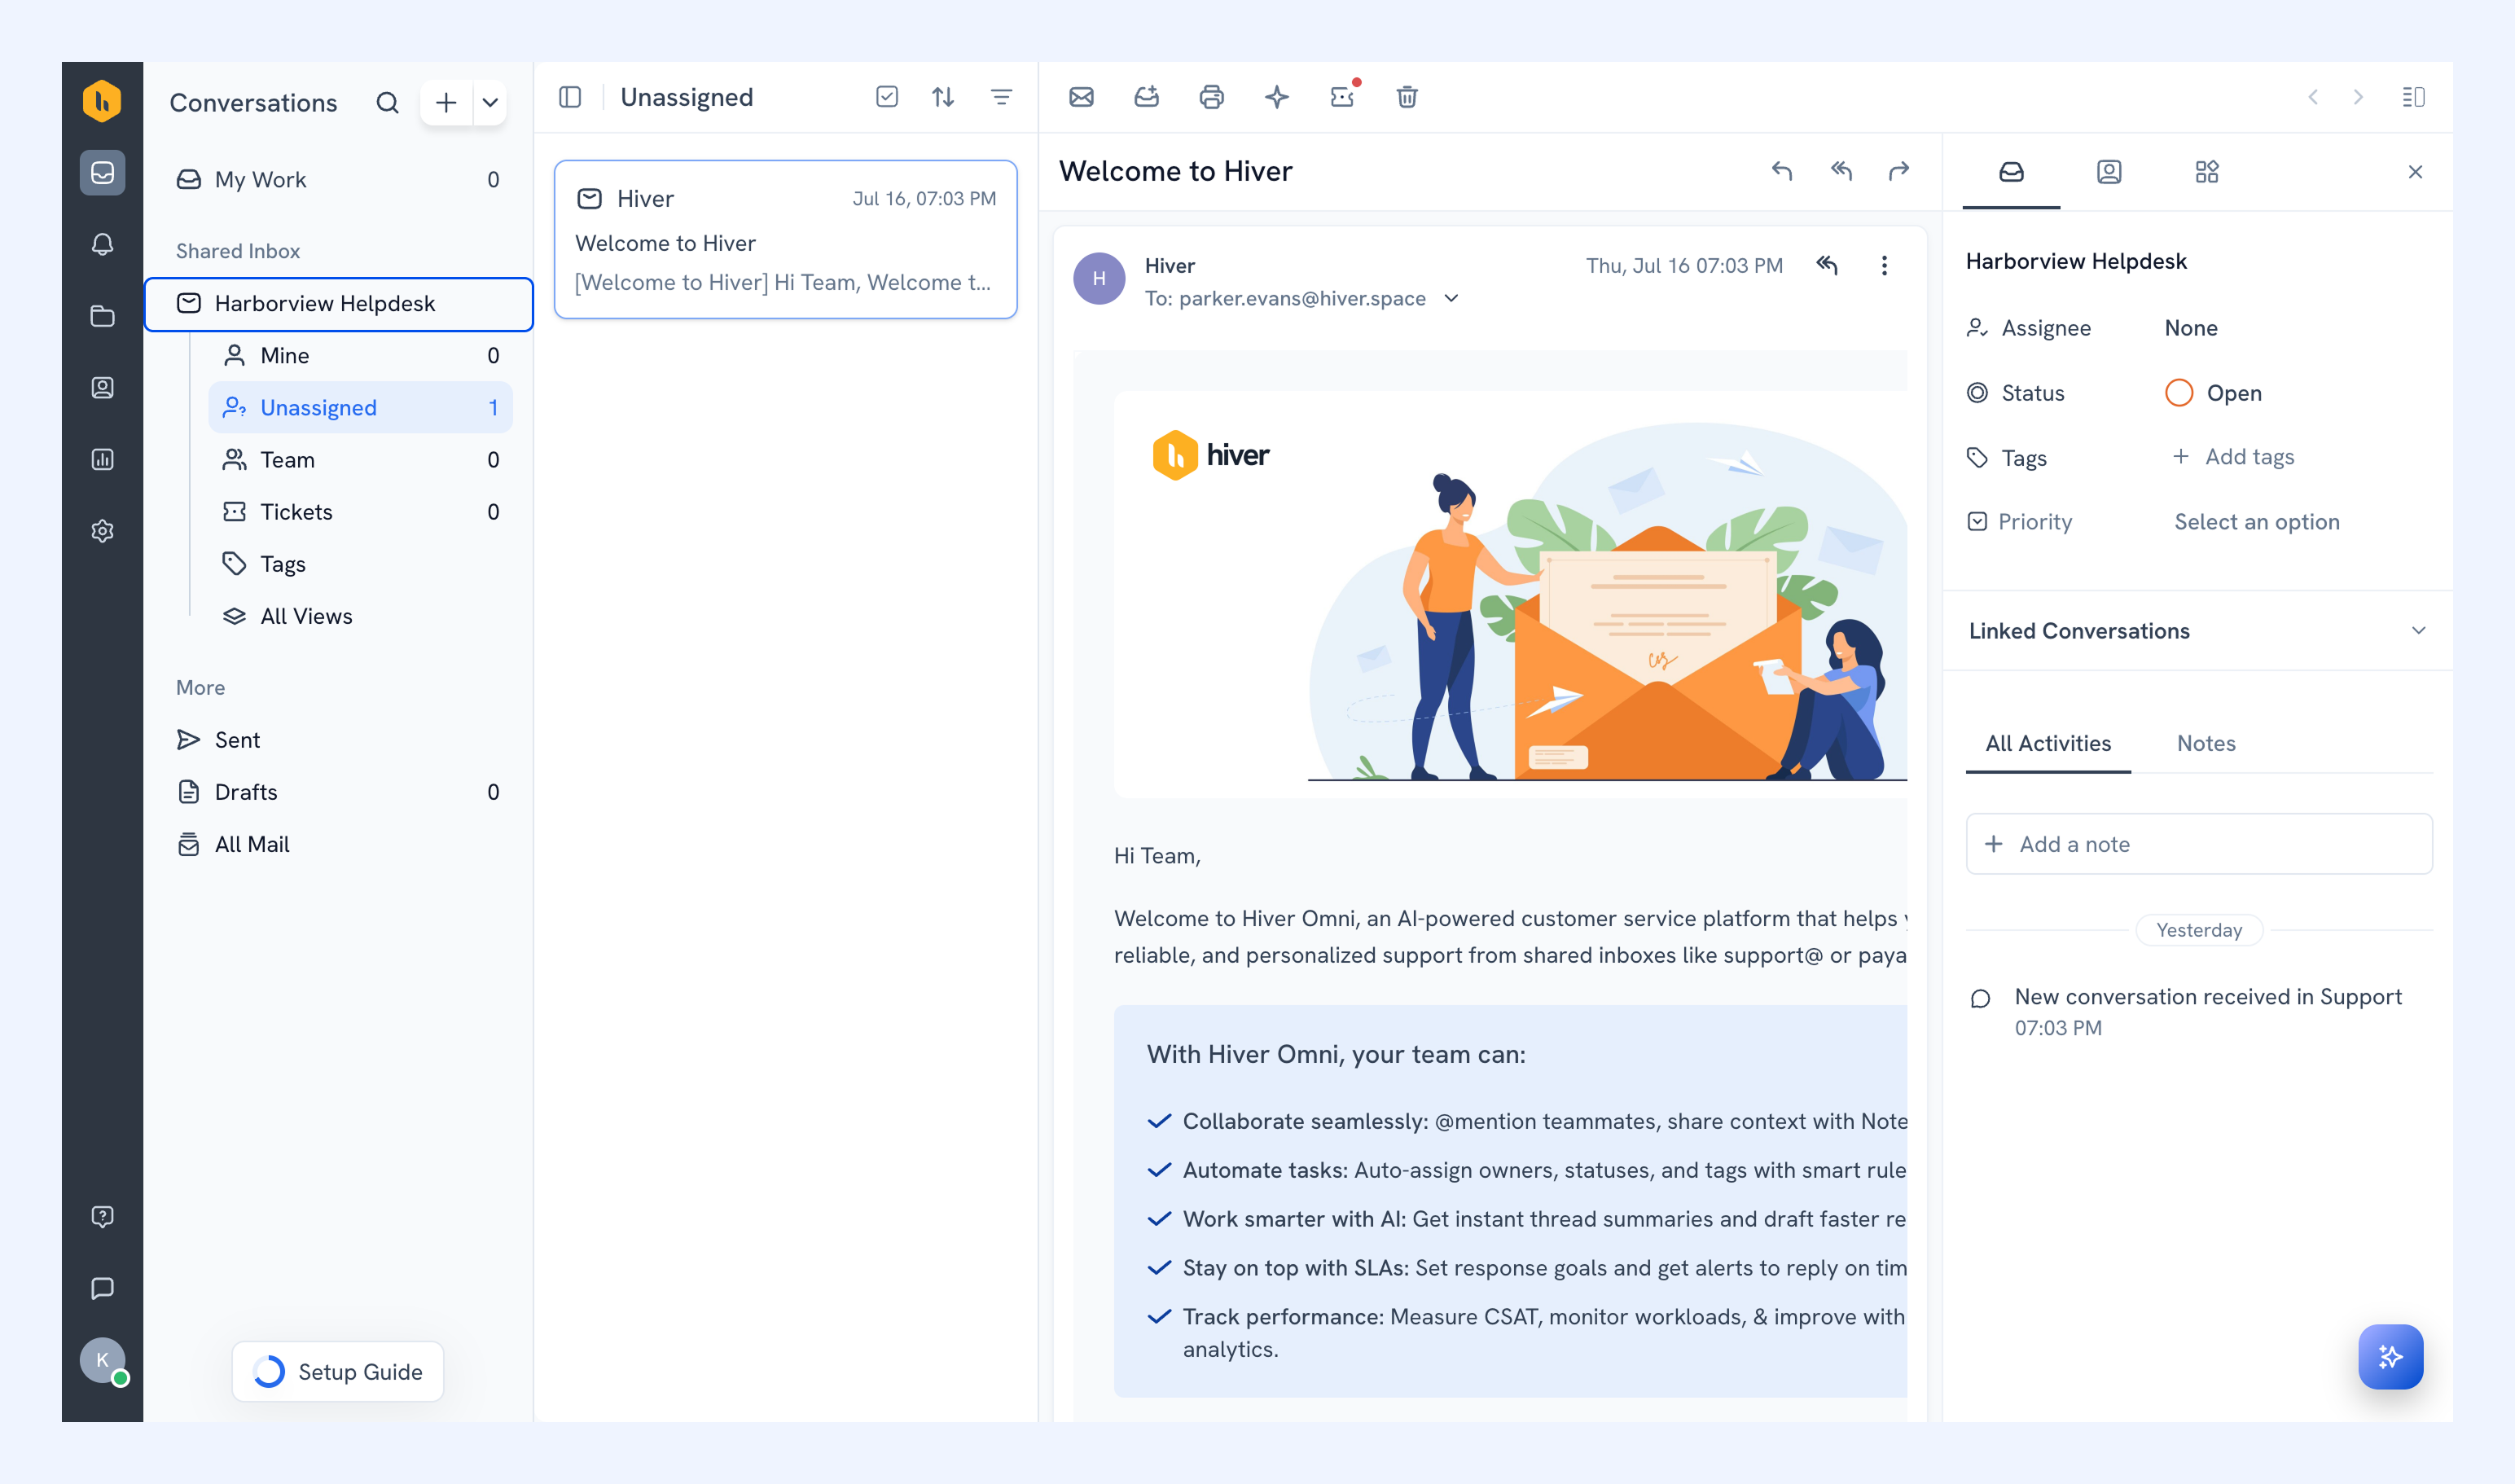
Once the setup is complete, your Shared Inbox will appear in the left panel in Hiver. You can click on it to view conversations and assign them to teammates.
Using email Aliases in Hiver
Email Aliases let your team send and receive messages from multiple customer-facing addresses (e.g., finance@, sales@, support@) while managing everything from a Shared Inbox. This ensures customers always see the correct “From” address in email headers, improving consistency and professionalism.
Alias support is available for User-type Shared Mailboxes (USMs) and Outlook Shared Mailboxes (OSMs) and Distribution Lists (DLs).

How Alias support works
Fetching emails:
- Hiver automatically fetches emails sent to the primary Shared Inbox address and all configured aliases.
Sending emails:
- Agents can reply or compose new emails from an alias address.
- Customers will always see the correct alias in the “From” field of the email header.
How to enable email Aliases
- Go to Admin Panel → Shared Inbox.
- Add the aliases you want to enable under the Aliases section. Once added, aliases will appear in the From field for all users.

Important notes:
- Aliases become usable 24 hours after being added, as Microsoft may take that long to activate them.
- Ensure the alias exists in Microsoft Admin and that the Send from alias permission is enabled.
Next steps
Connect your Distribution list/Microsoft 365 group to Hiver
Manage Emails in Hiver Shared Inbox
Customize your Hiver layout settings
Invite team members and manage roles in Hiver
Need help?
If you face any issues enabling alias emails, contact our support team. We’re here to help you get the most out of Hiver.