Managing Shared Inbox settings in Hiver
Configure each Email Inbox to match how your team handles email. You can manage who has access, automate how conversations are assigned and handled, and set up features such as SLA, Tickets, and CSAT. This article gives you an overview of the settings available for an Email Inbox.
Prerequisites
To manage Shared Inbox settings, you need:
- Admin access in Hiver.
- At least one Shared Inbox.
Accessing your Shared Inbox settings
Open the Admin Panel → Shared Inboxes → Email Inboxes, then select an inbox.
Members
Add or remove teammates who need access to this Shared Inbox, and define their roles. You can also remove team inbox members from here.
Learn more about adding team members and managing roles.
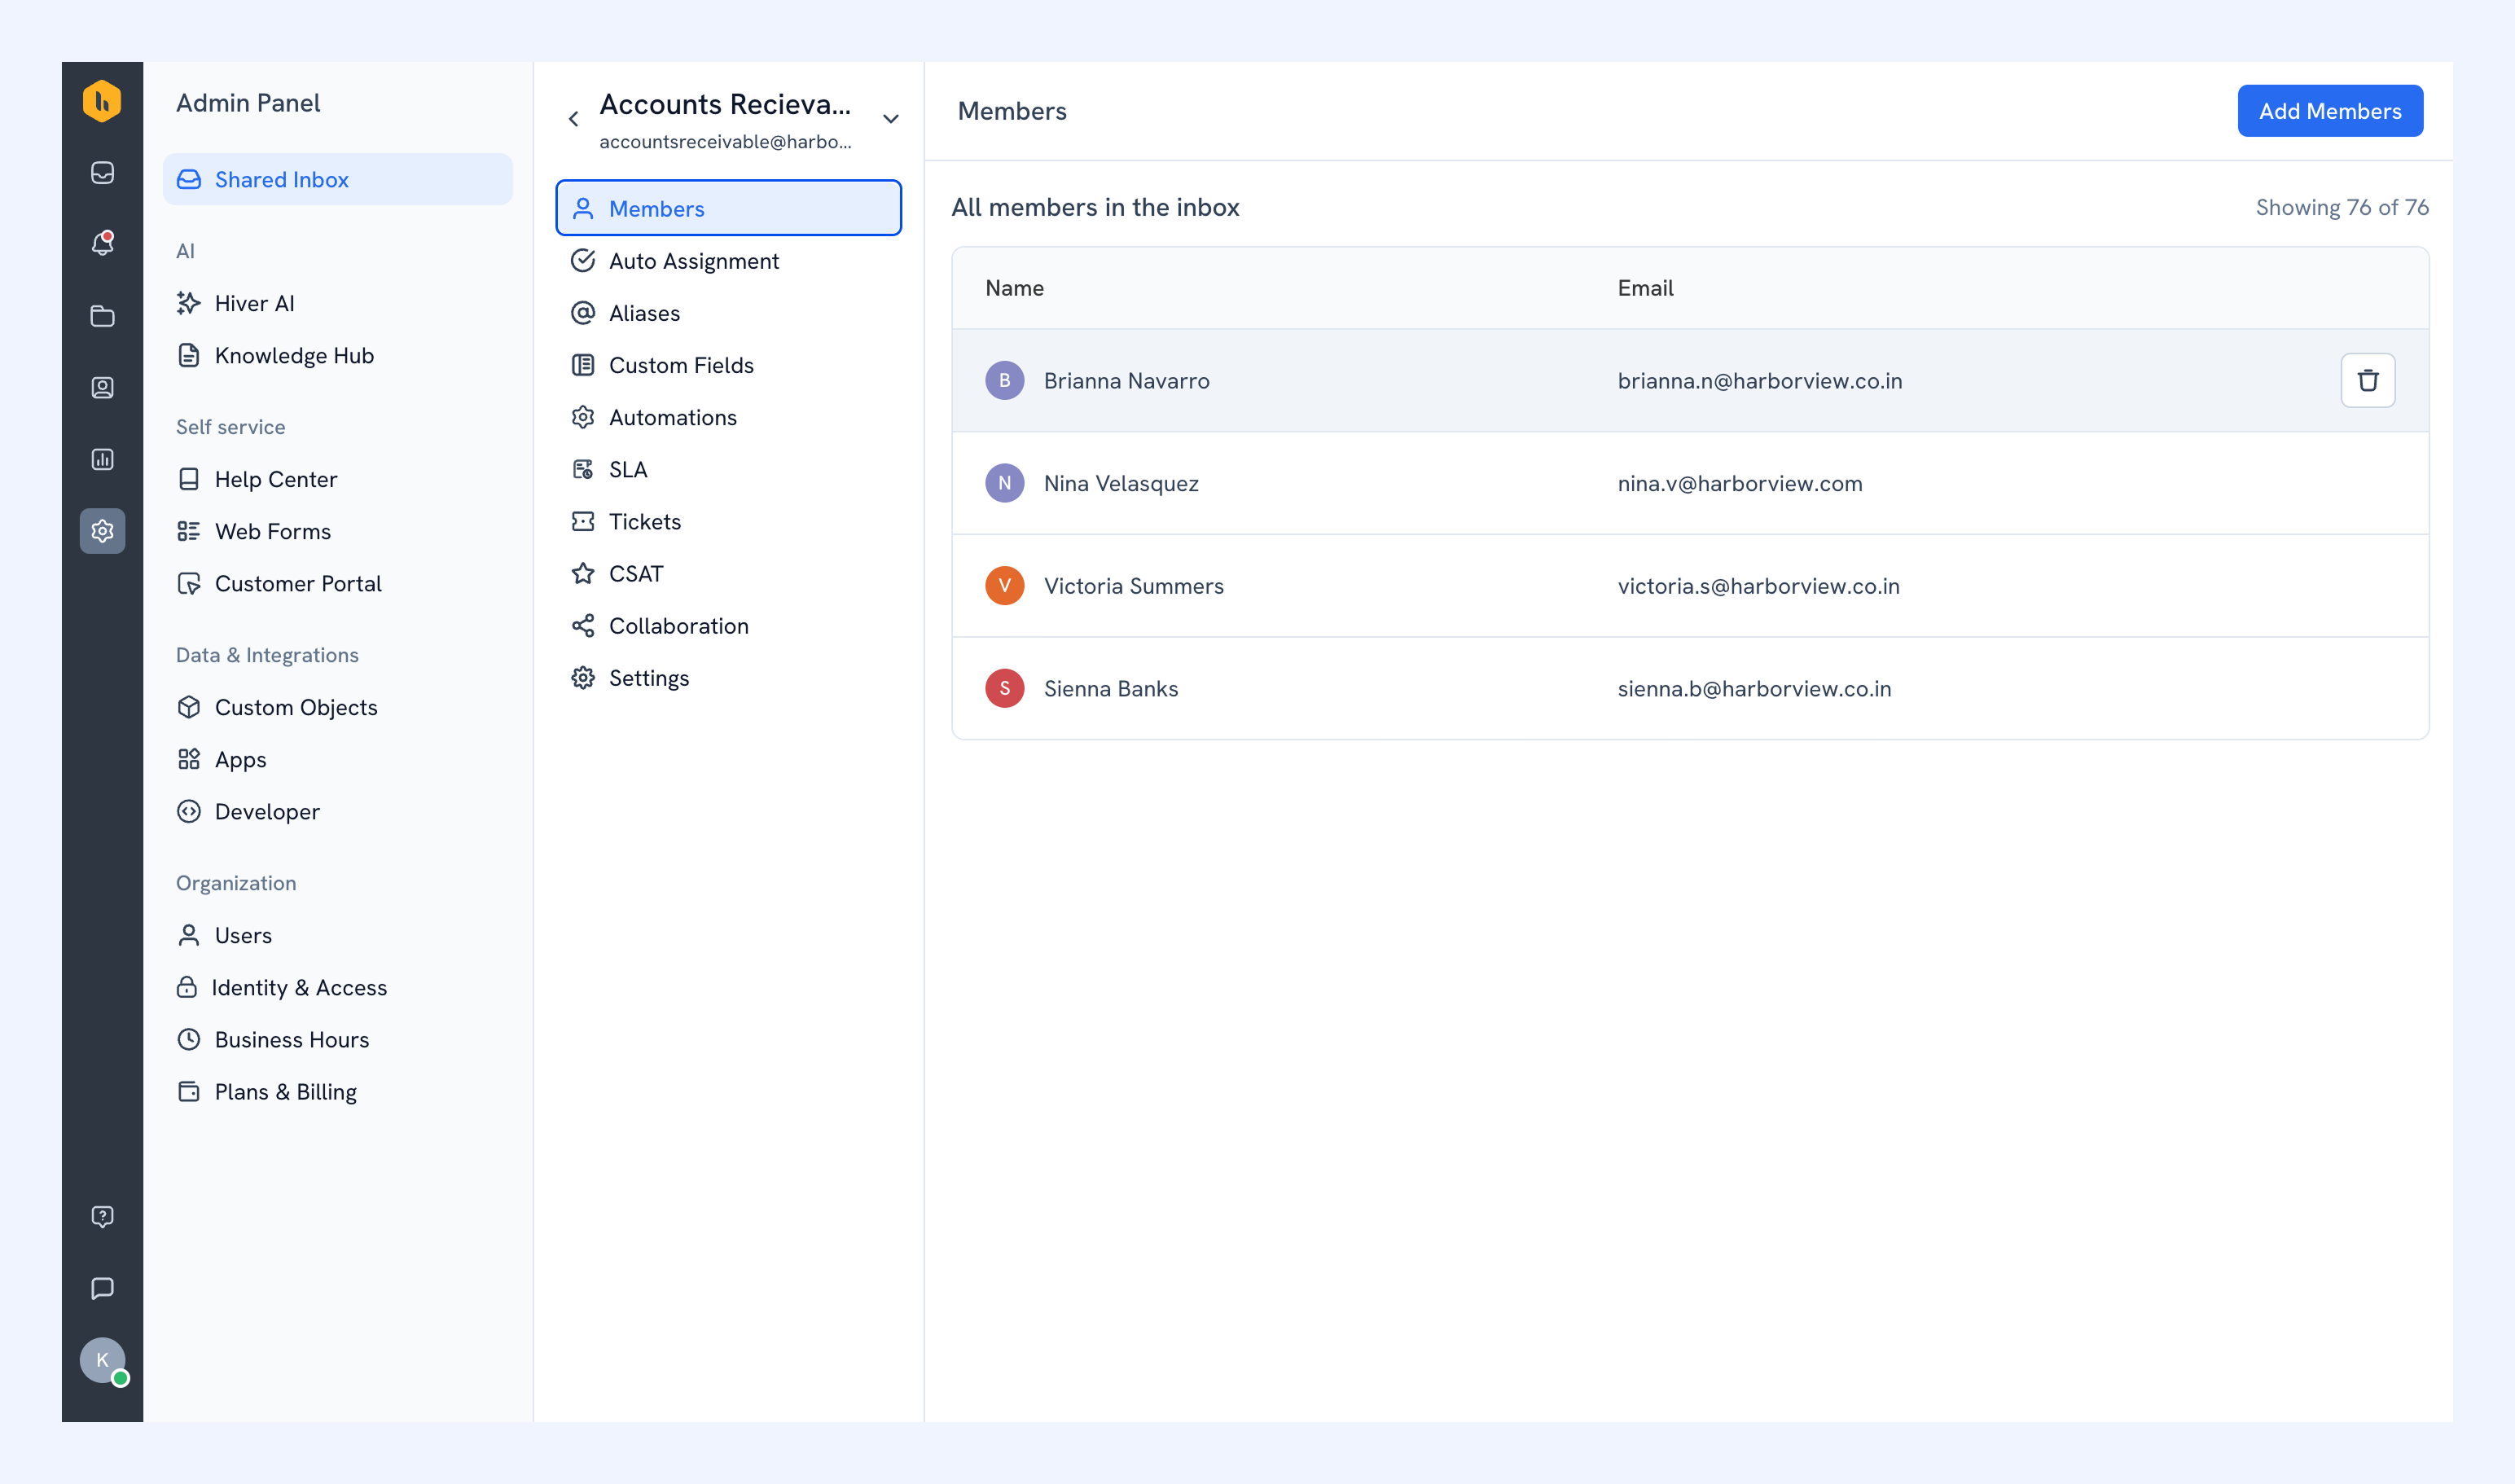
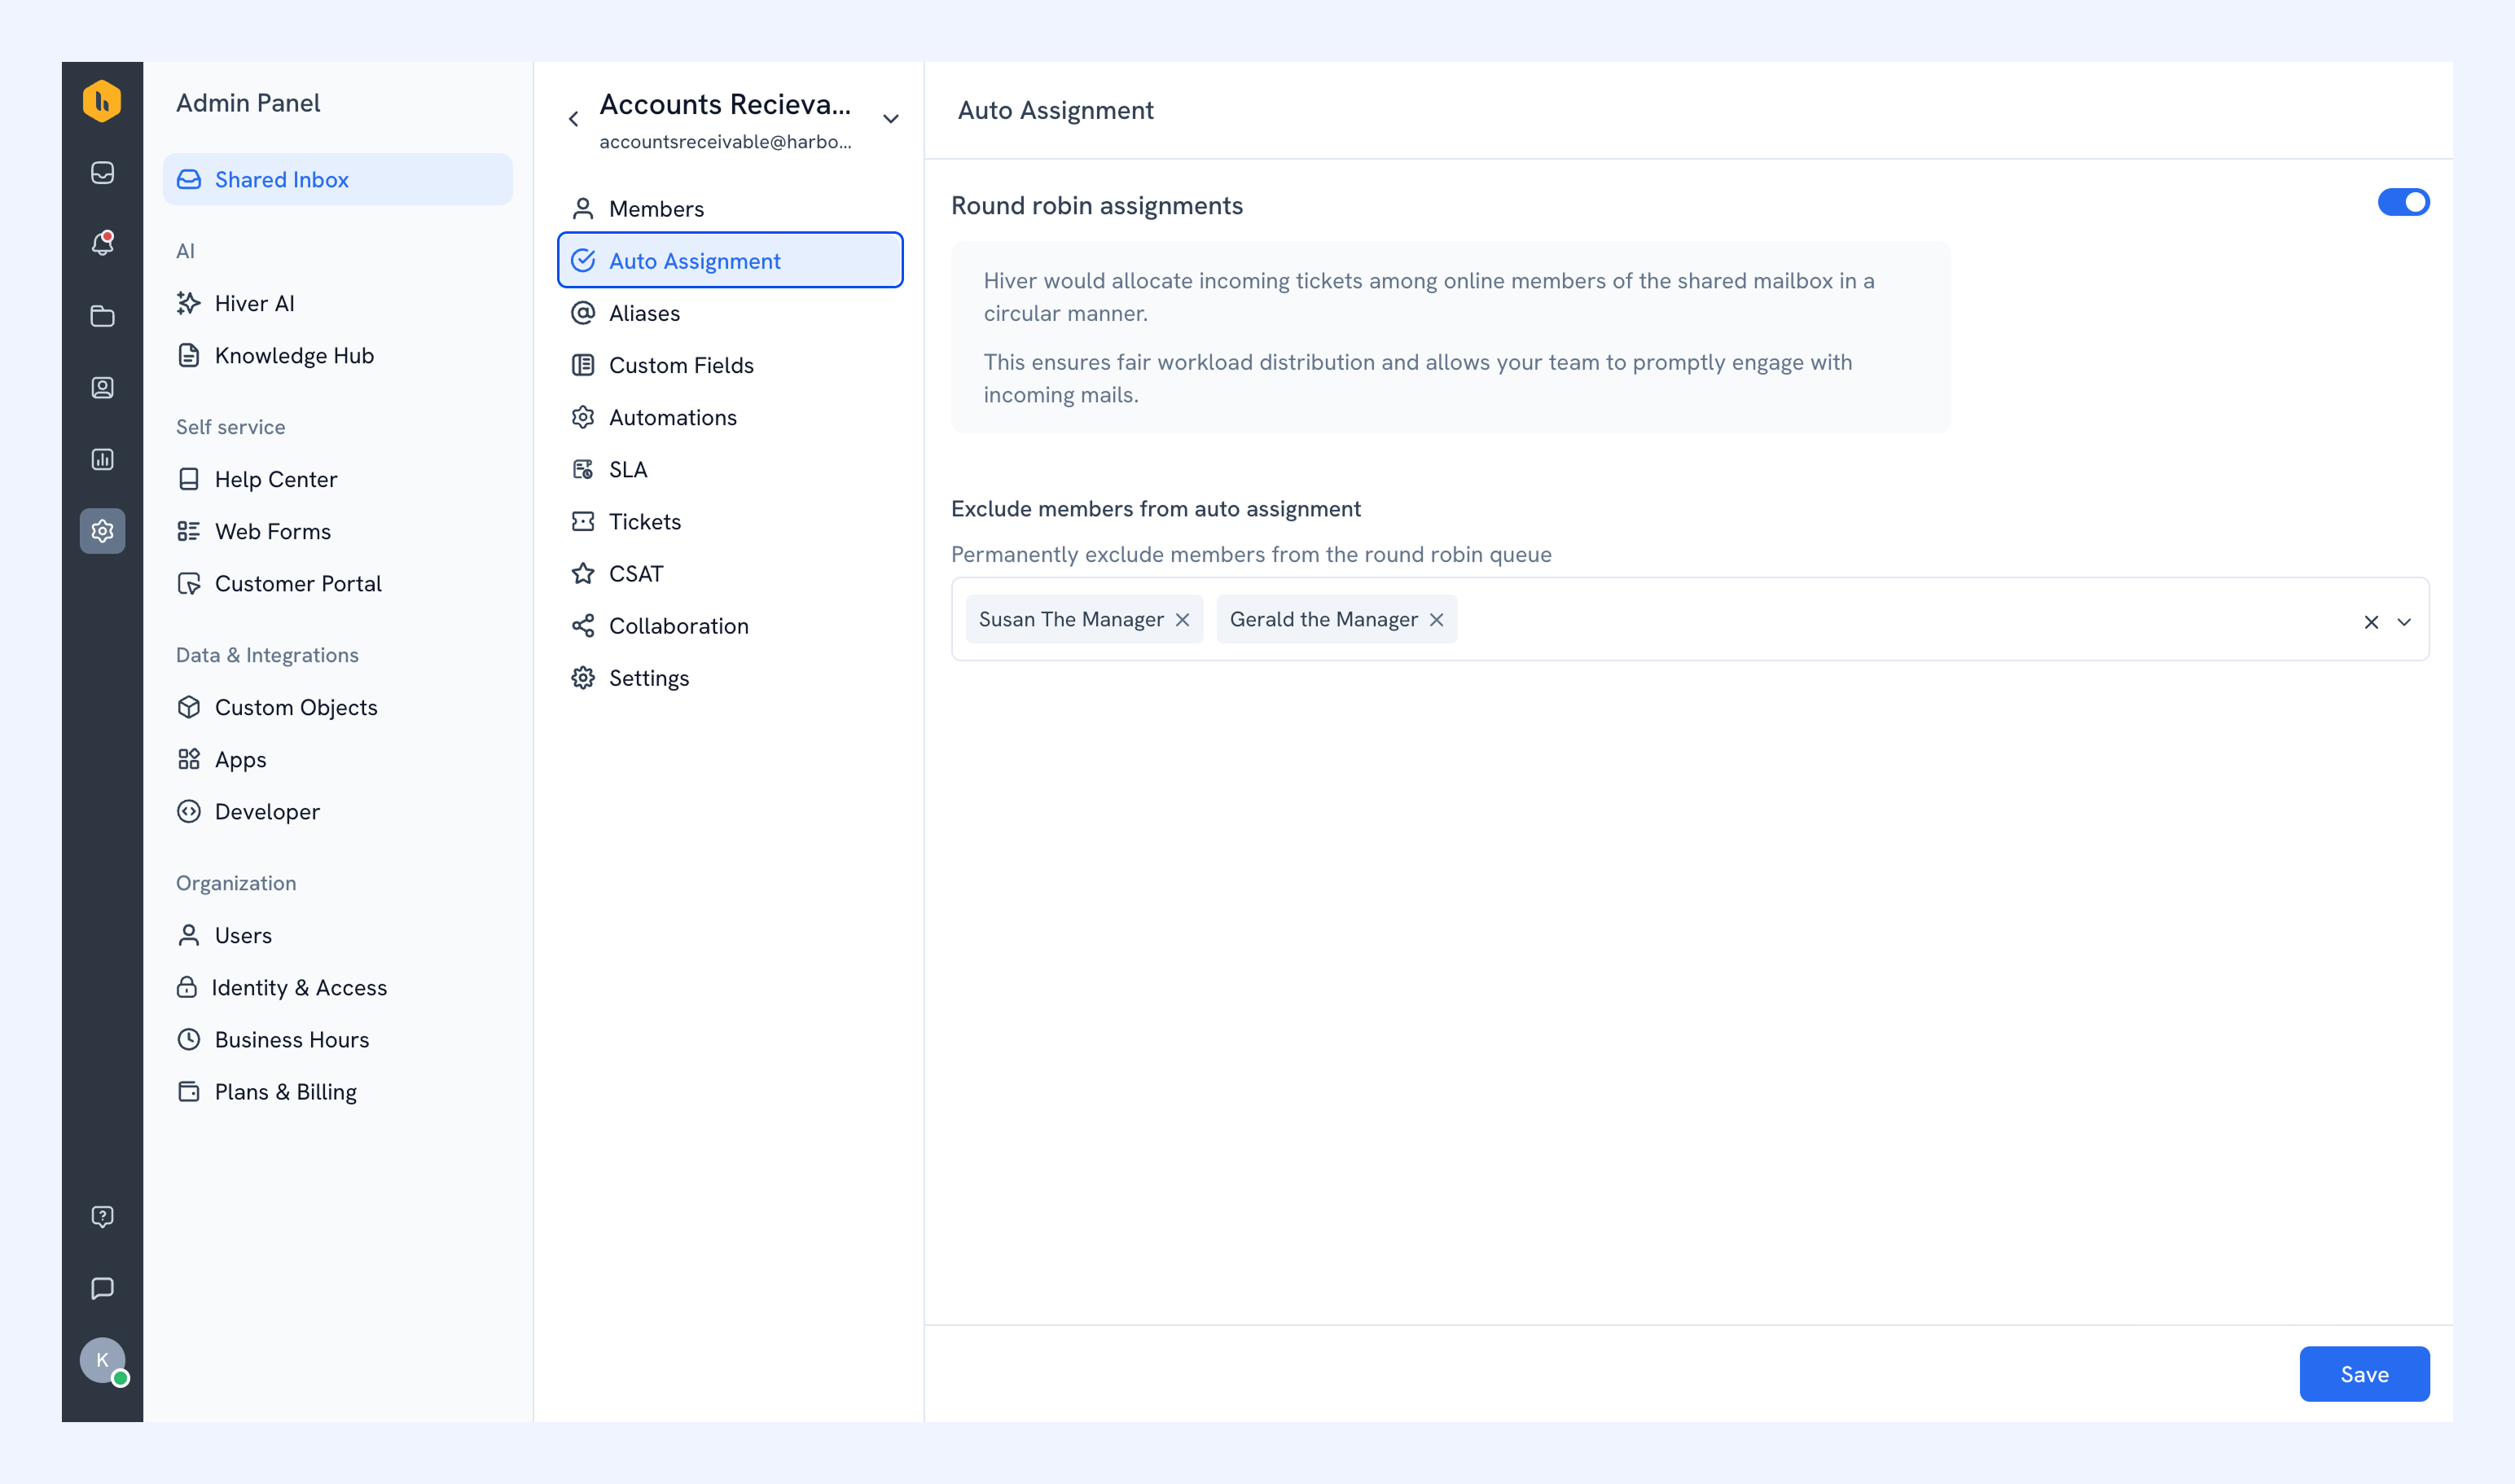
Auto Assignment
Automatically distribute incoming conversations among available team members.
Use Auto Assignment when any member of the selected team can handle incoming conversations. For more specific routing, such as assigning emails based on the sender or subject, use Automations.
Learn more about auto-assigning incoming conversations.
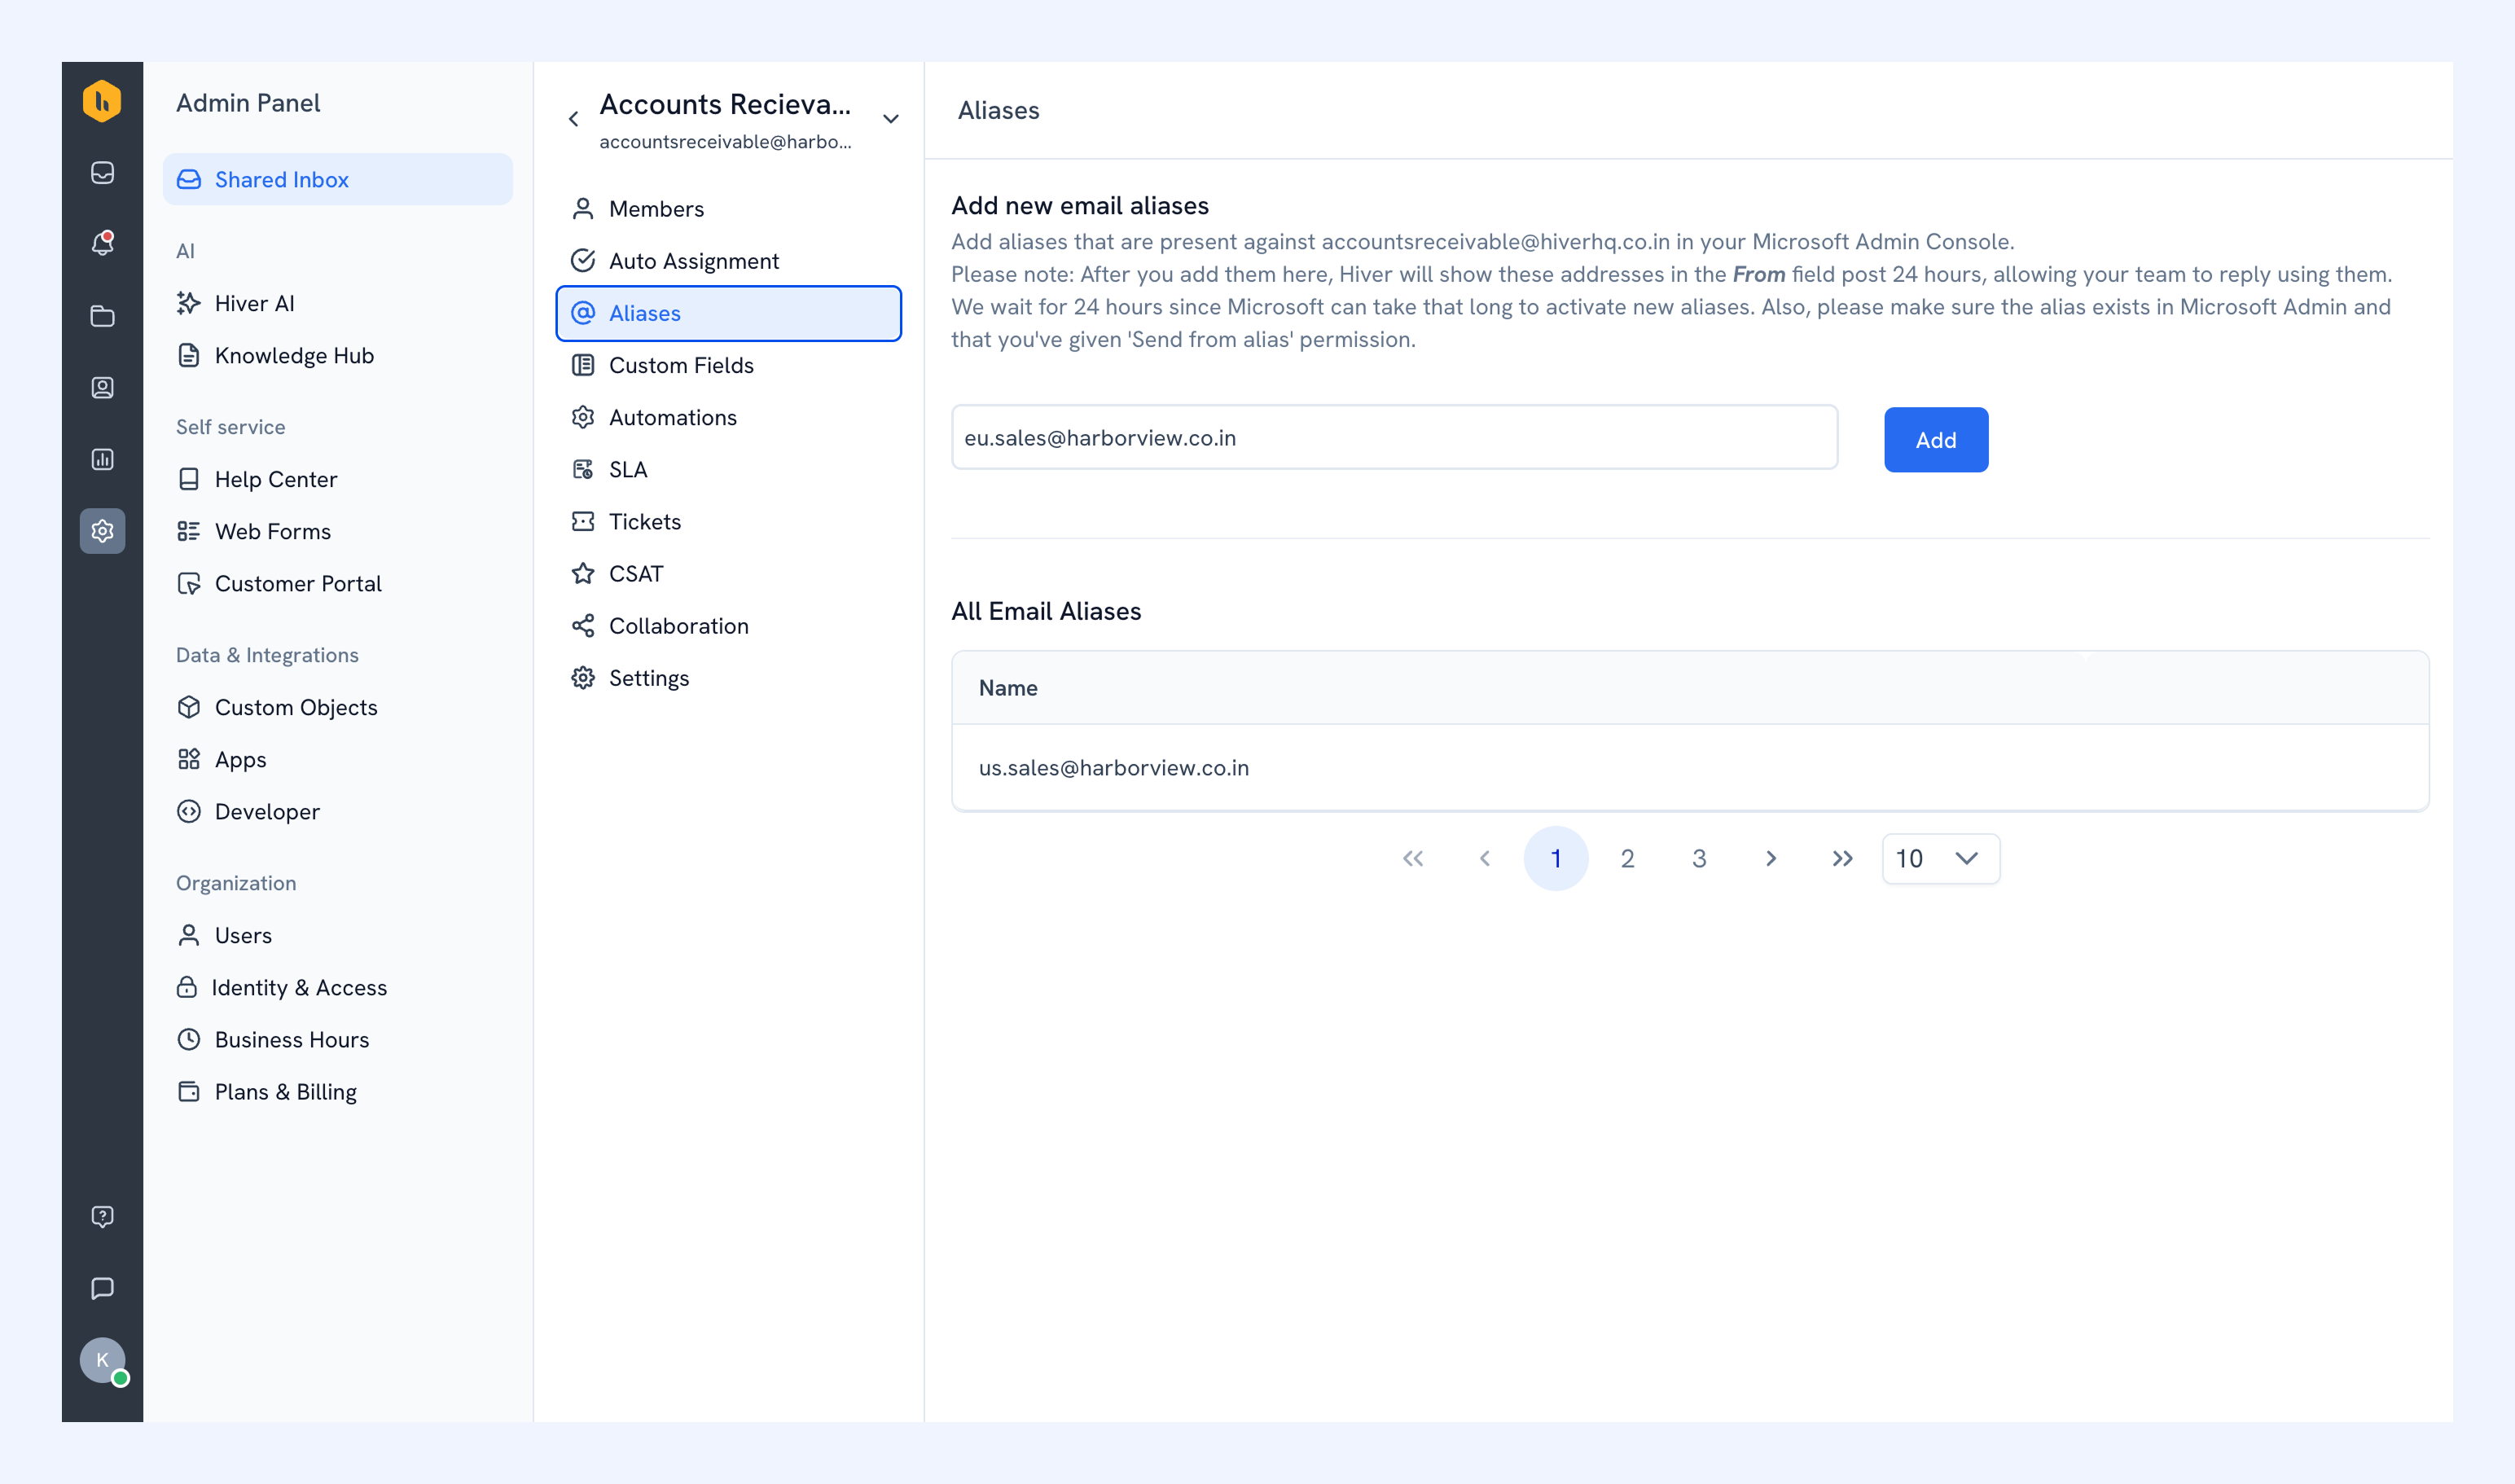
Aliases
Add other email addresses your team uses to the inbox. Your team can manage emails sent to those addresses in one place and reply using the alias when needed.
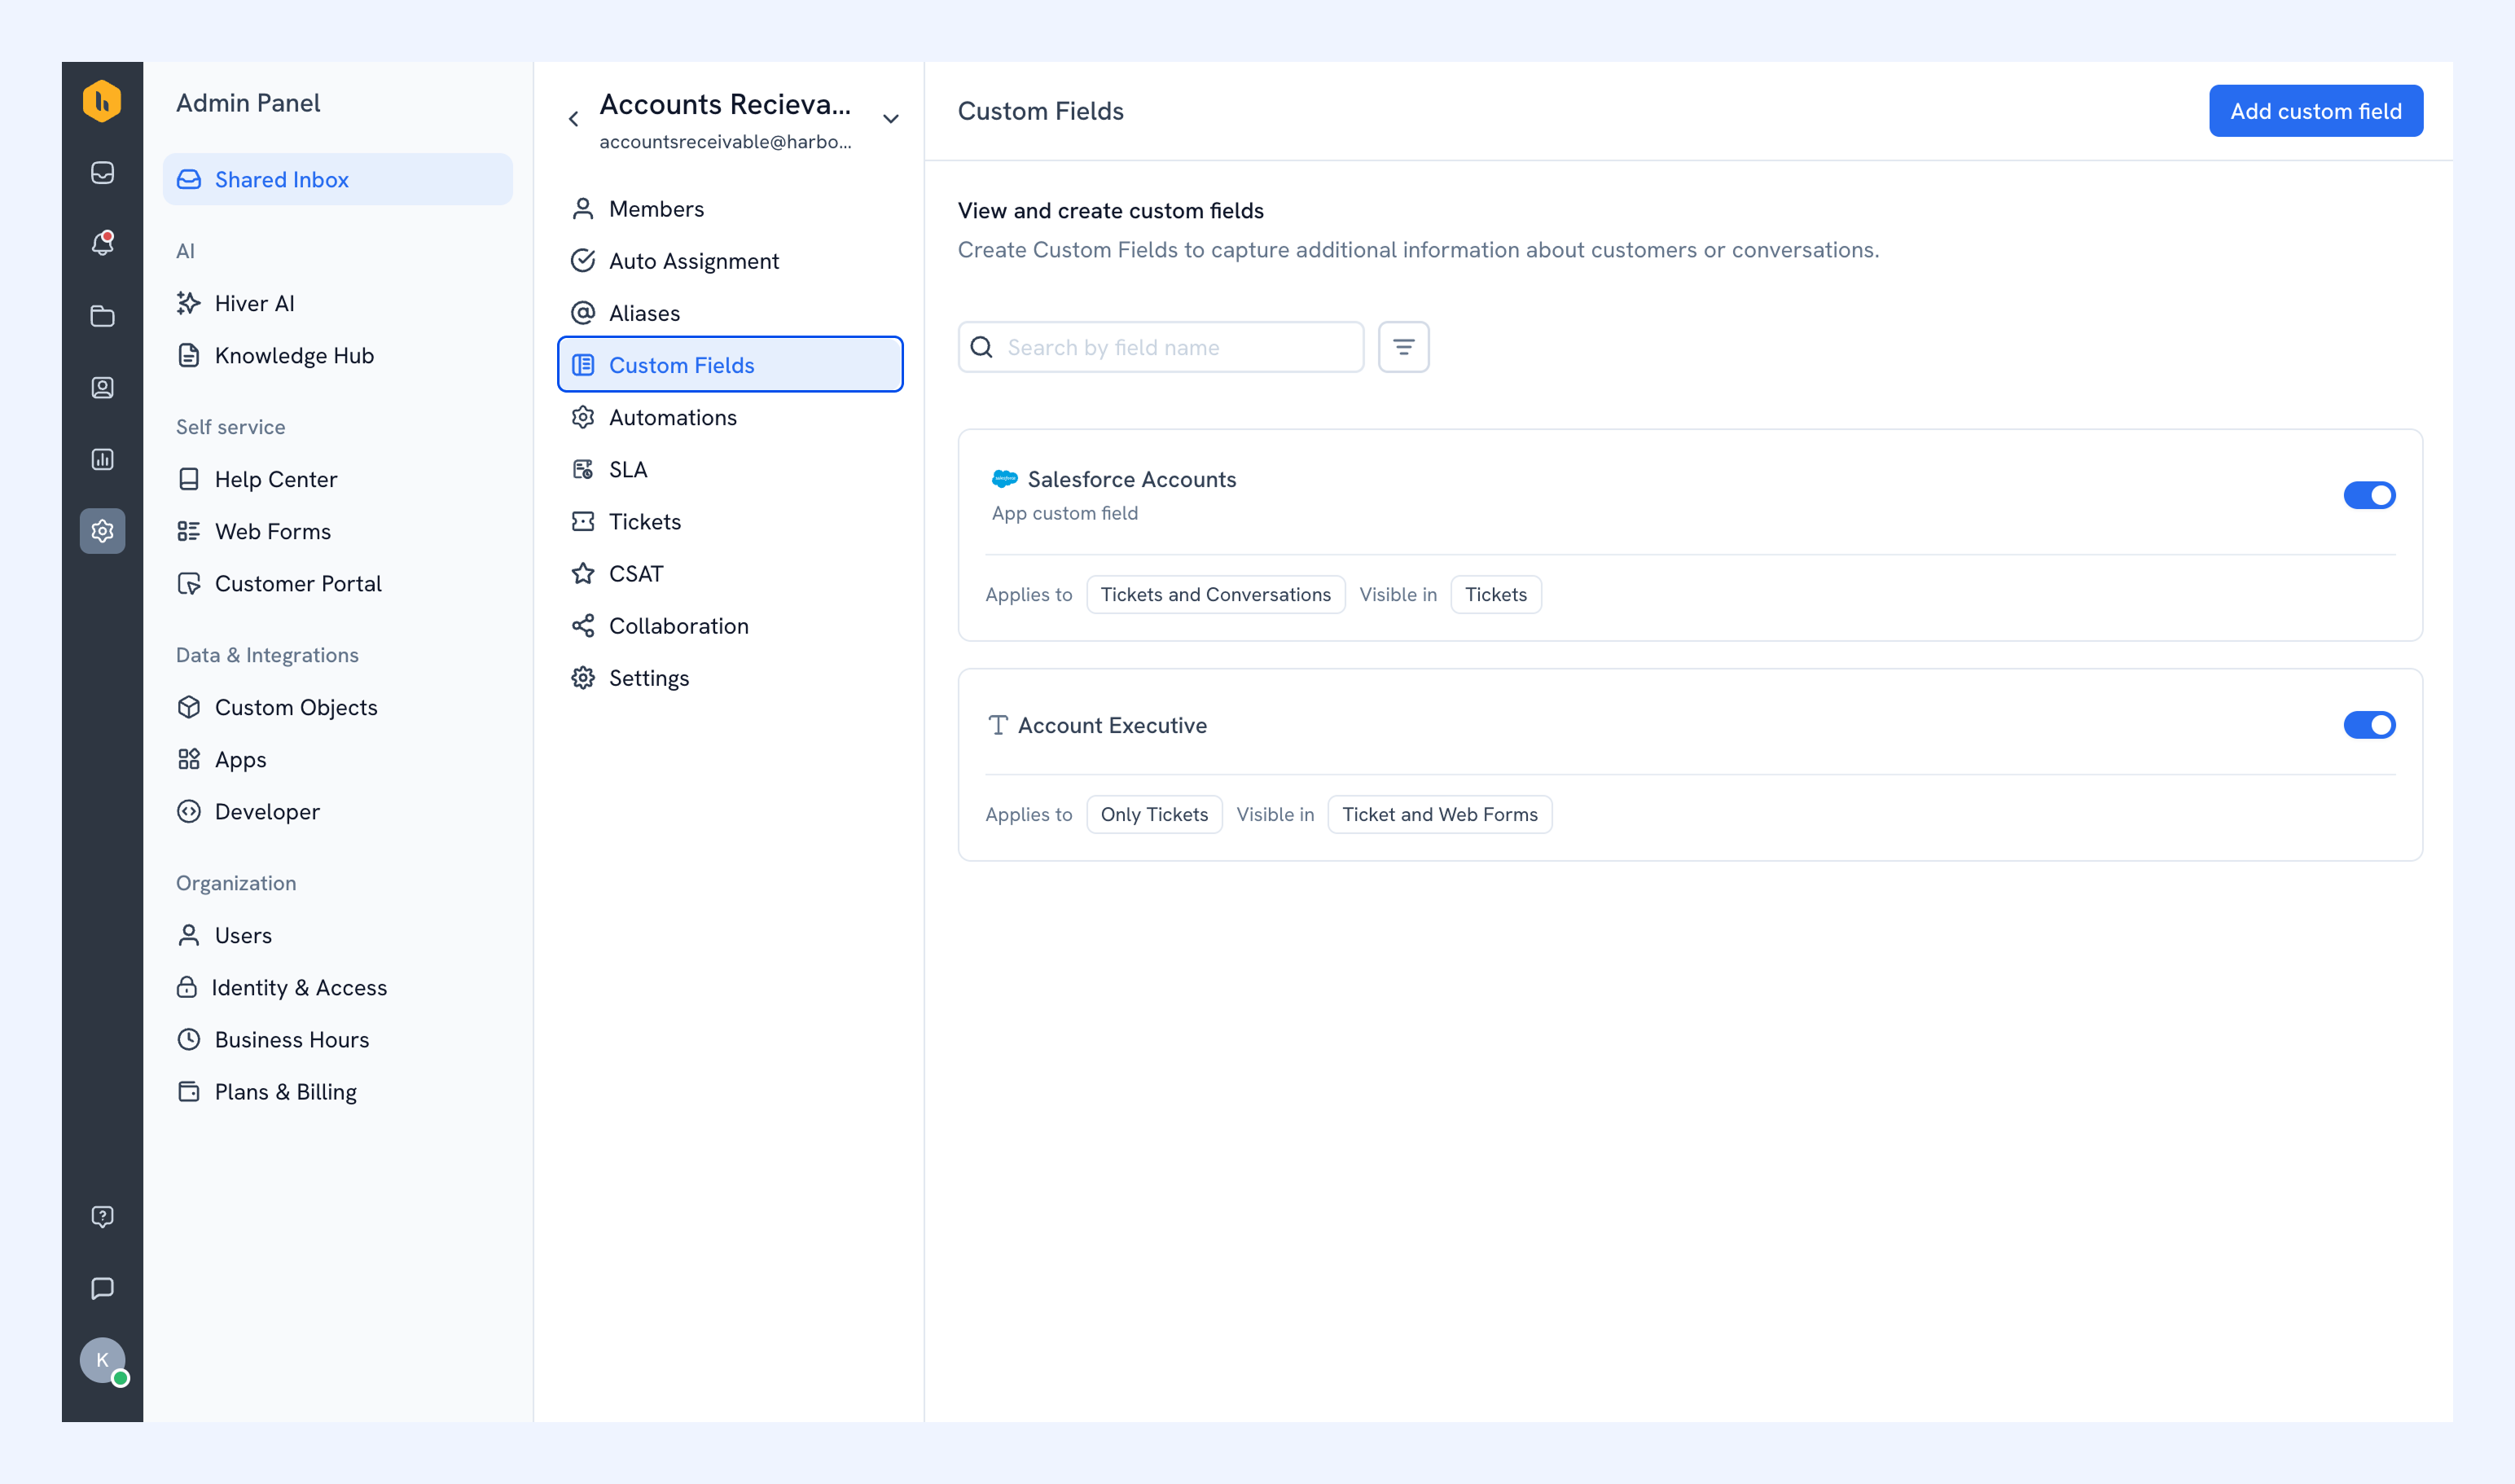
Custom Fields
Capture additional information on conversations, such as a due date, priority, or account ID. Custom Fields can also be used in Tickets and Web Forms. Learn more about Custom Fields.
Automations
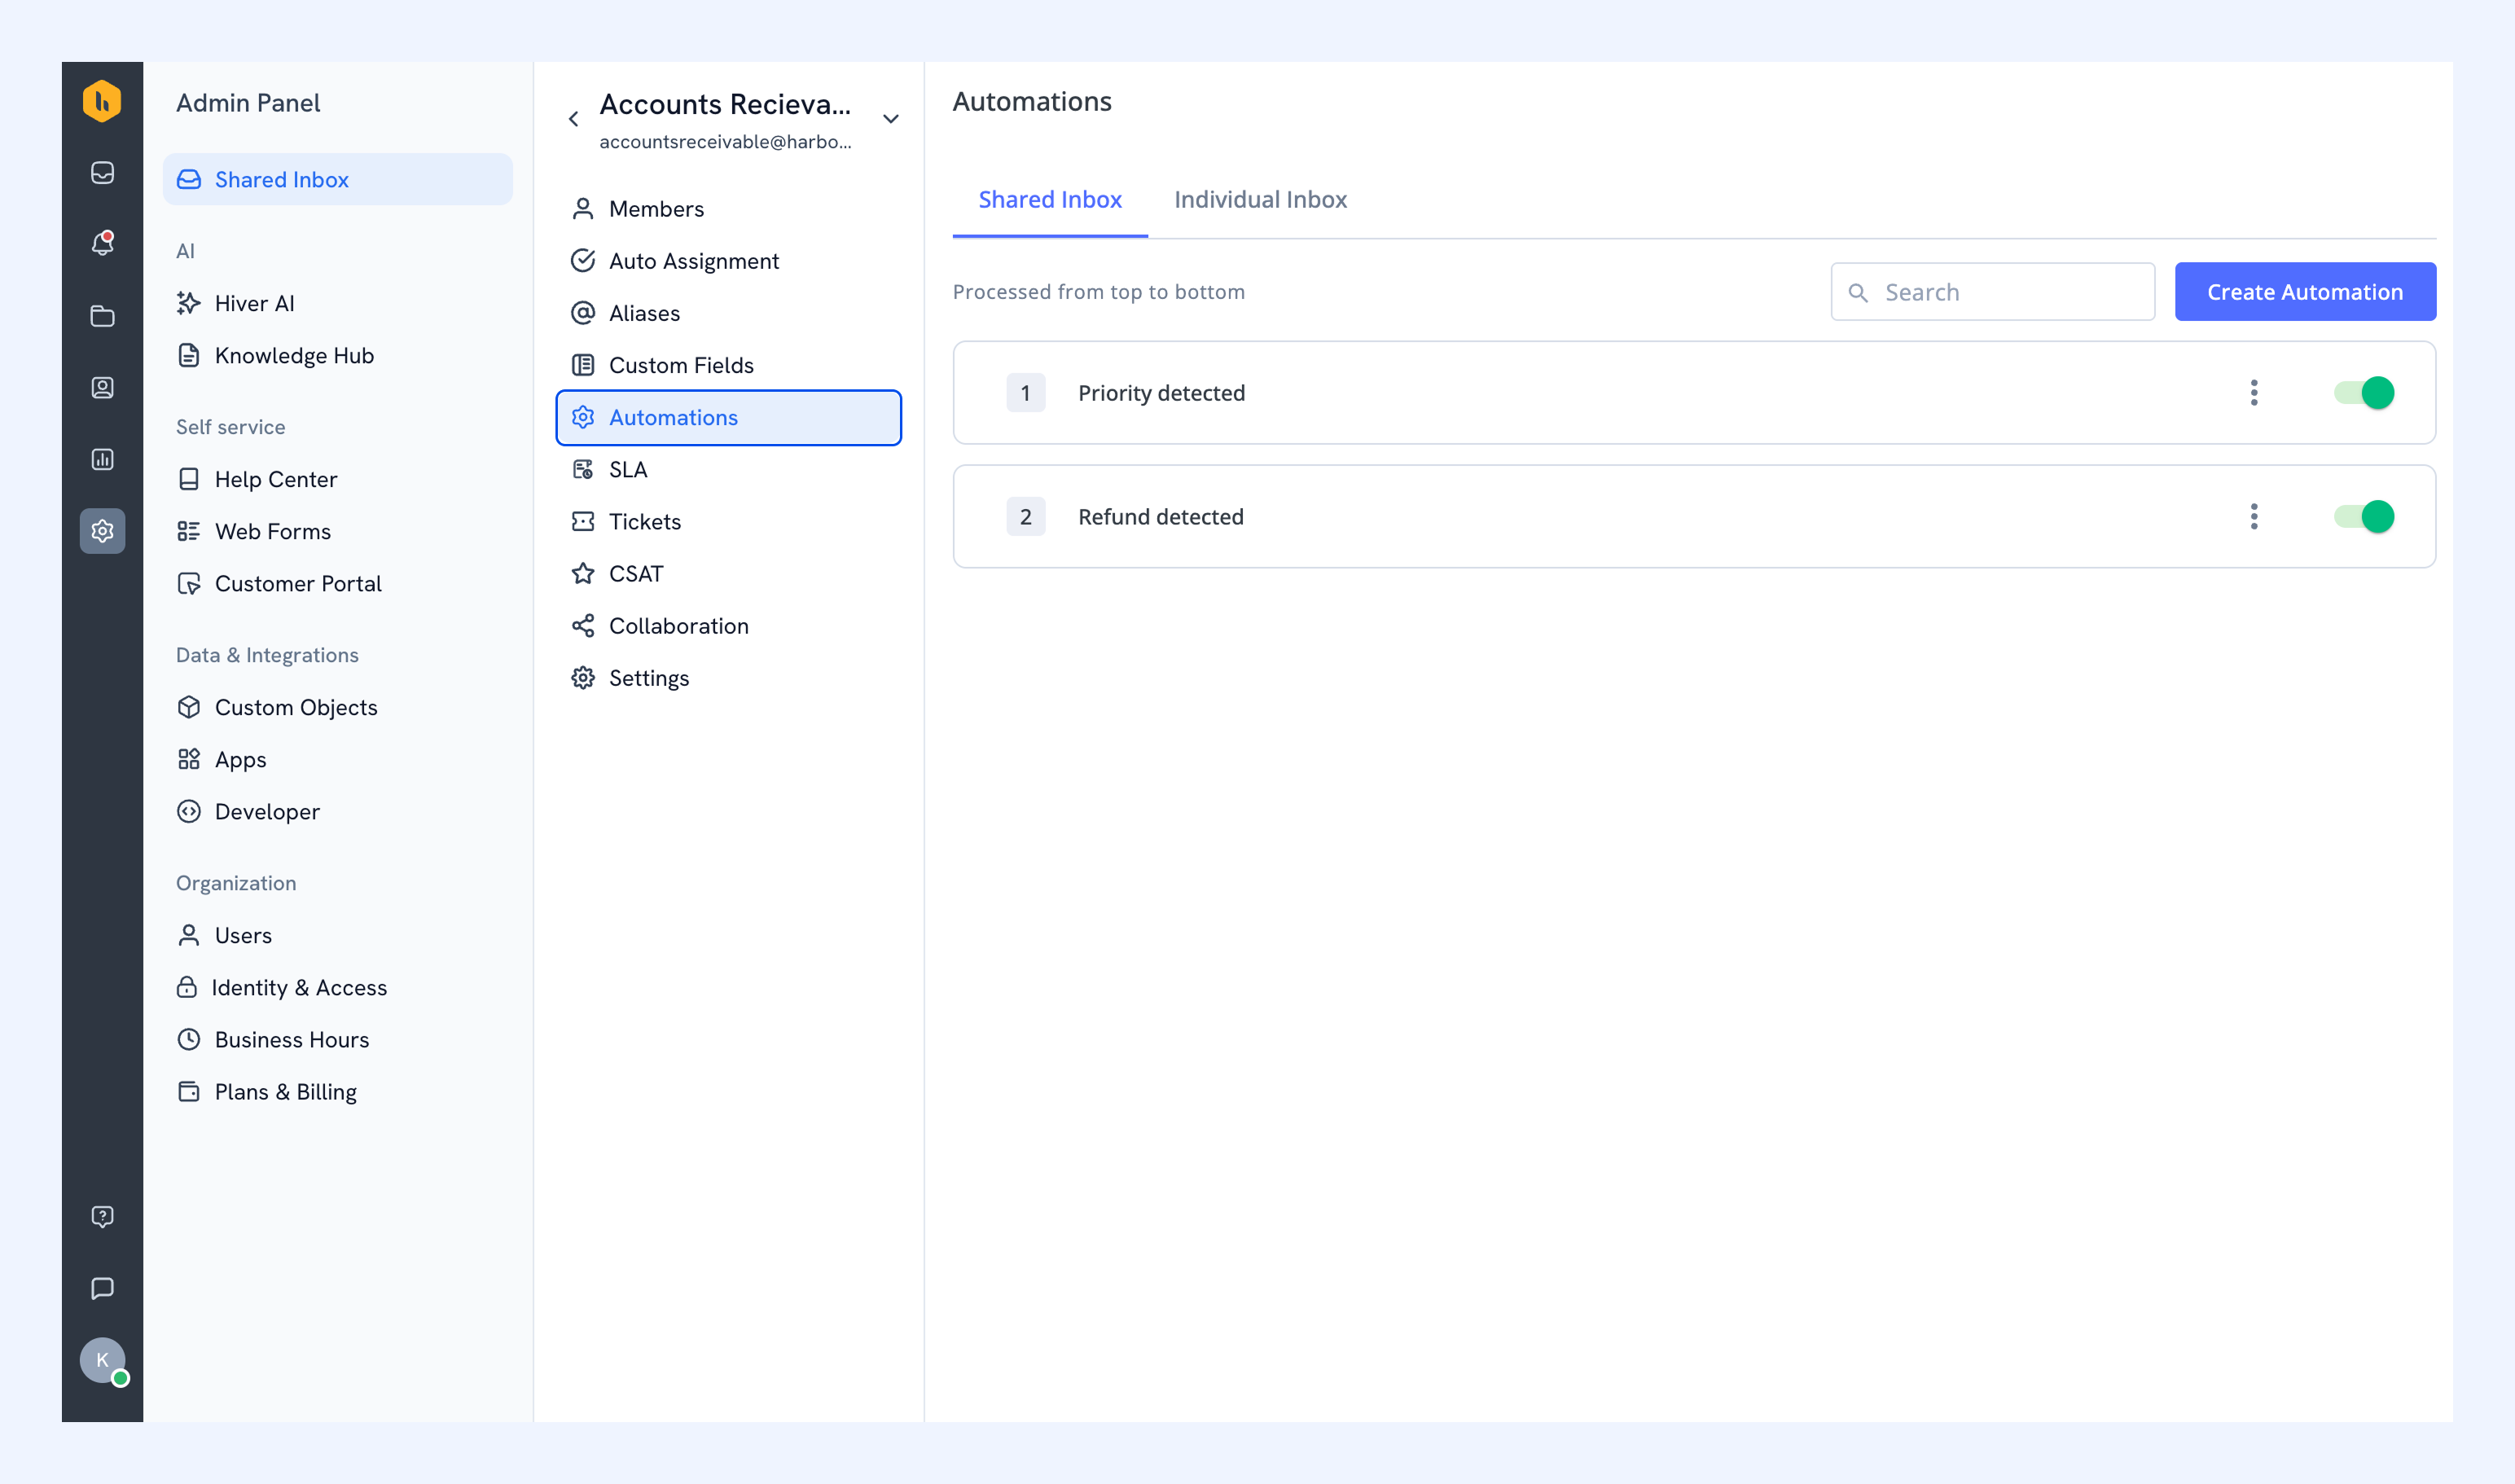
Create rules to automate routine processes like tagging, assigning, or escalating based on conditions you choose. Learn more about using automations in the Shared Inbox.
SLA
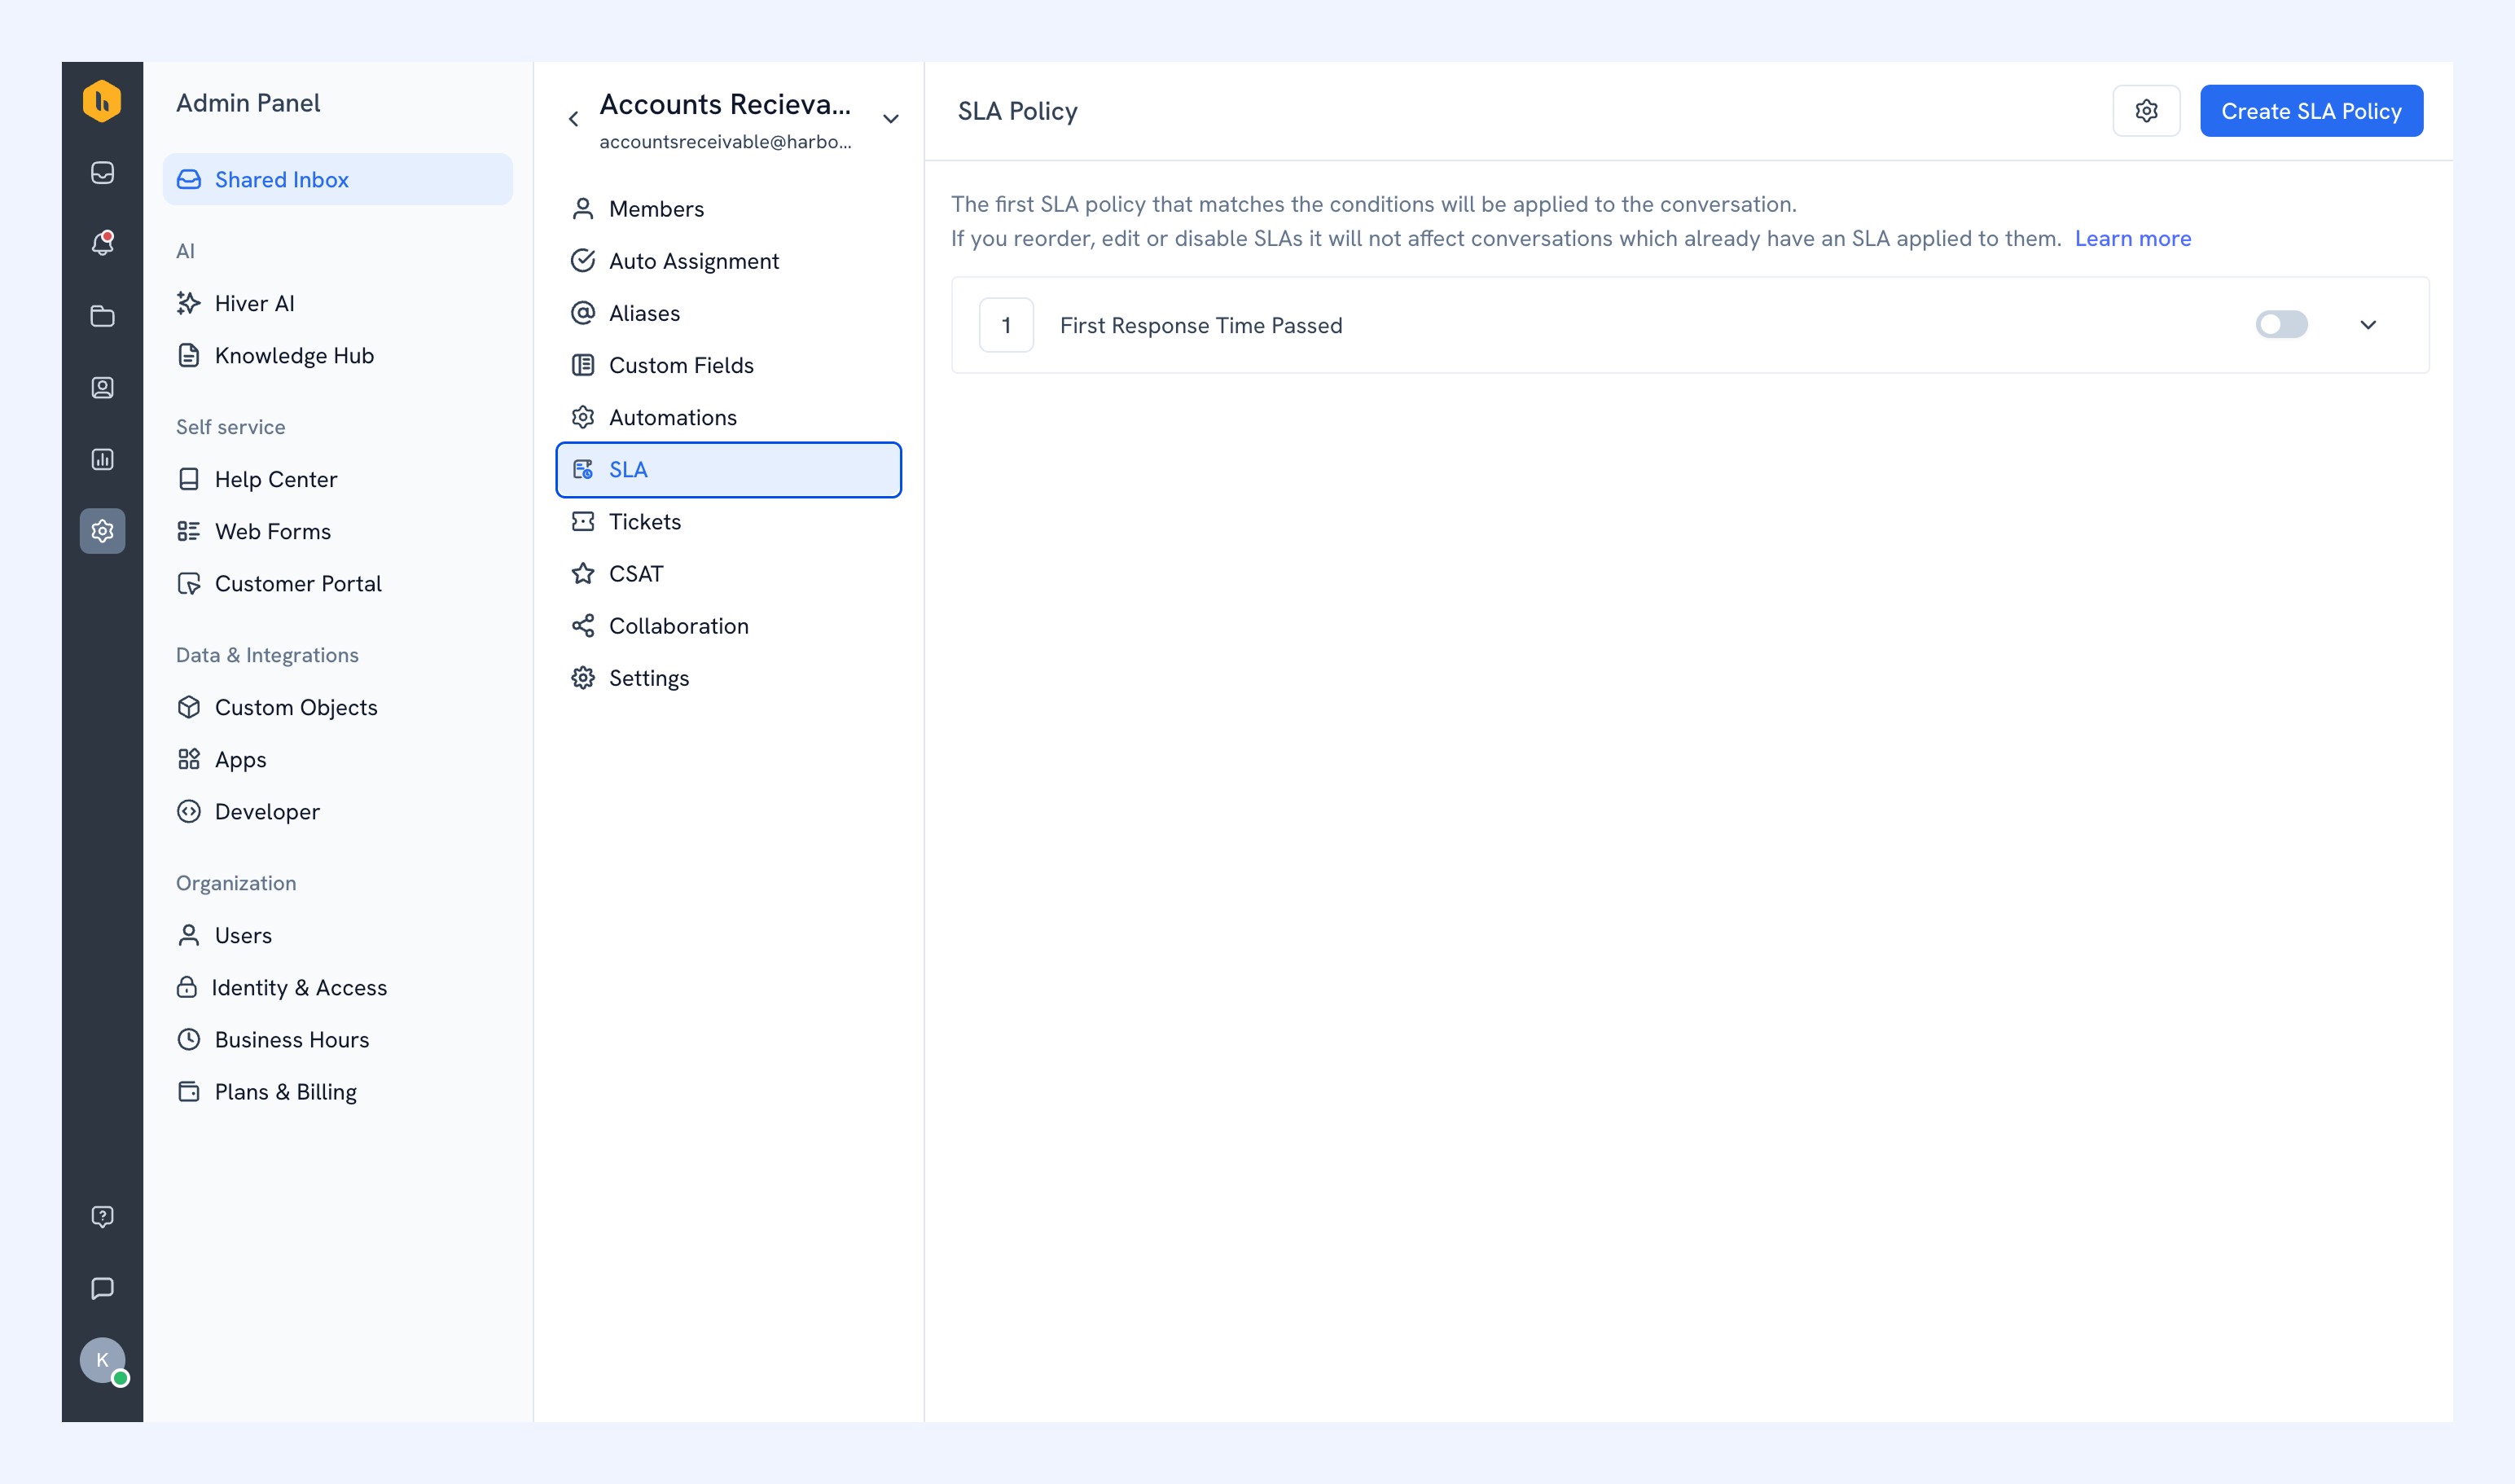
Set targets for how quickly your team should send a first response, or resolve a conversation. Learn more about creating SLA policies.
Tickets
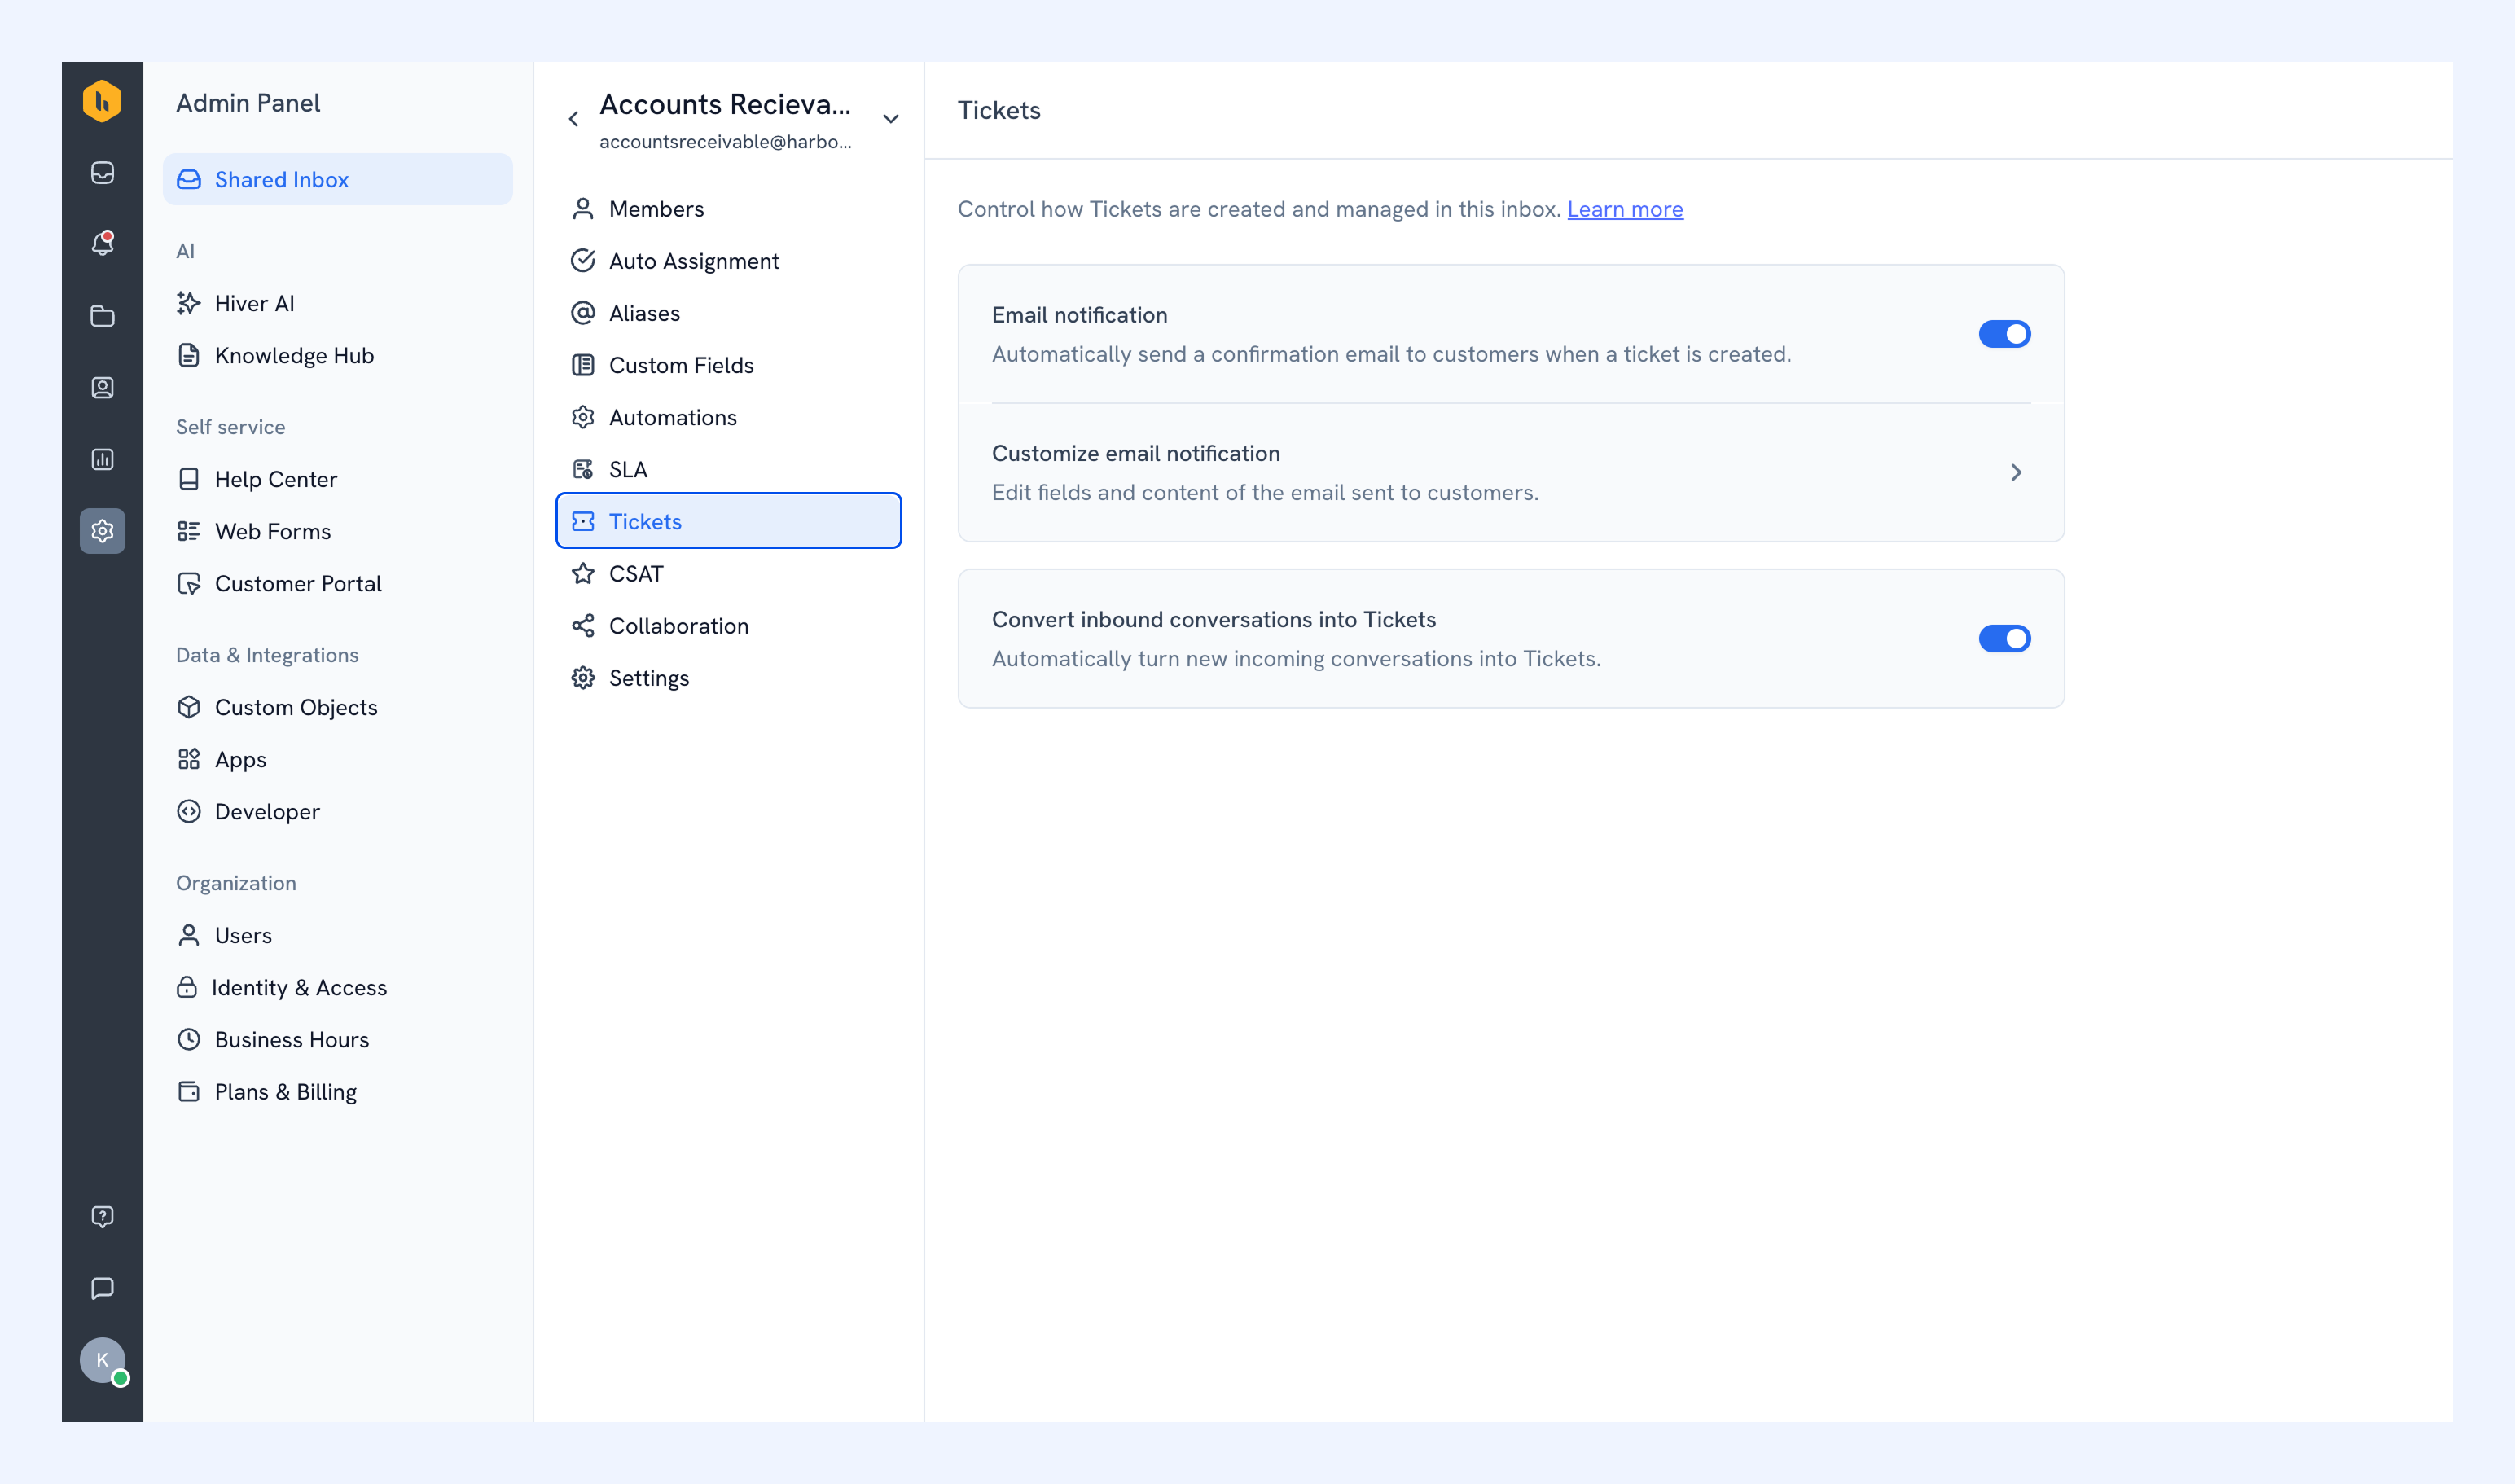
Choose how Tickets are created and handled in this Shared Inbox. You can:
- Automatically convert incoming conversations into Tickets
- Send customers a confirmation email when a Ticket is created
- Customize the information included in the confirmation email
Learn more about getting started with Tickets.
CSAT
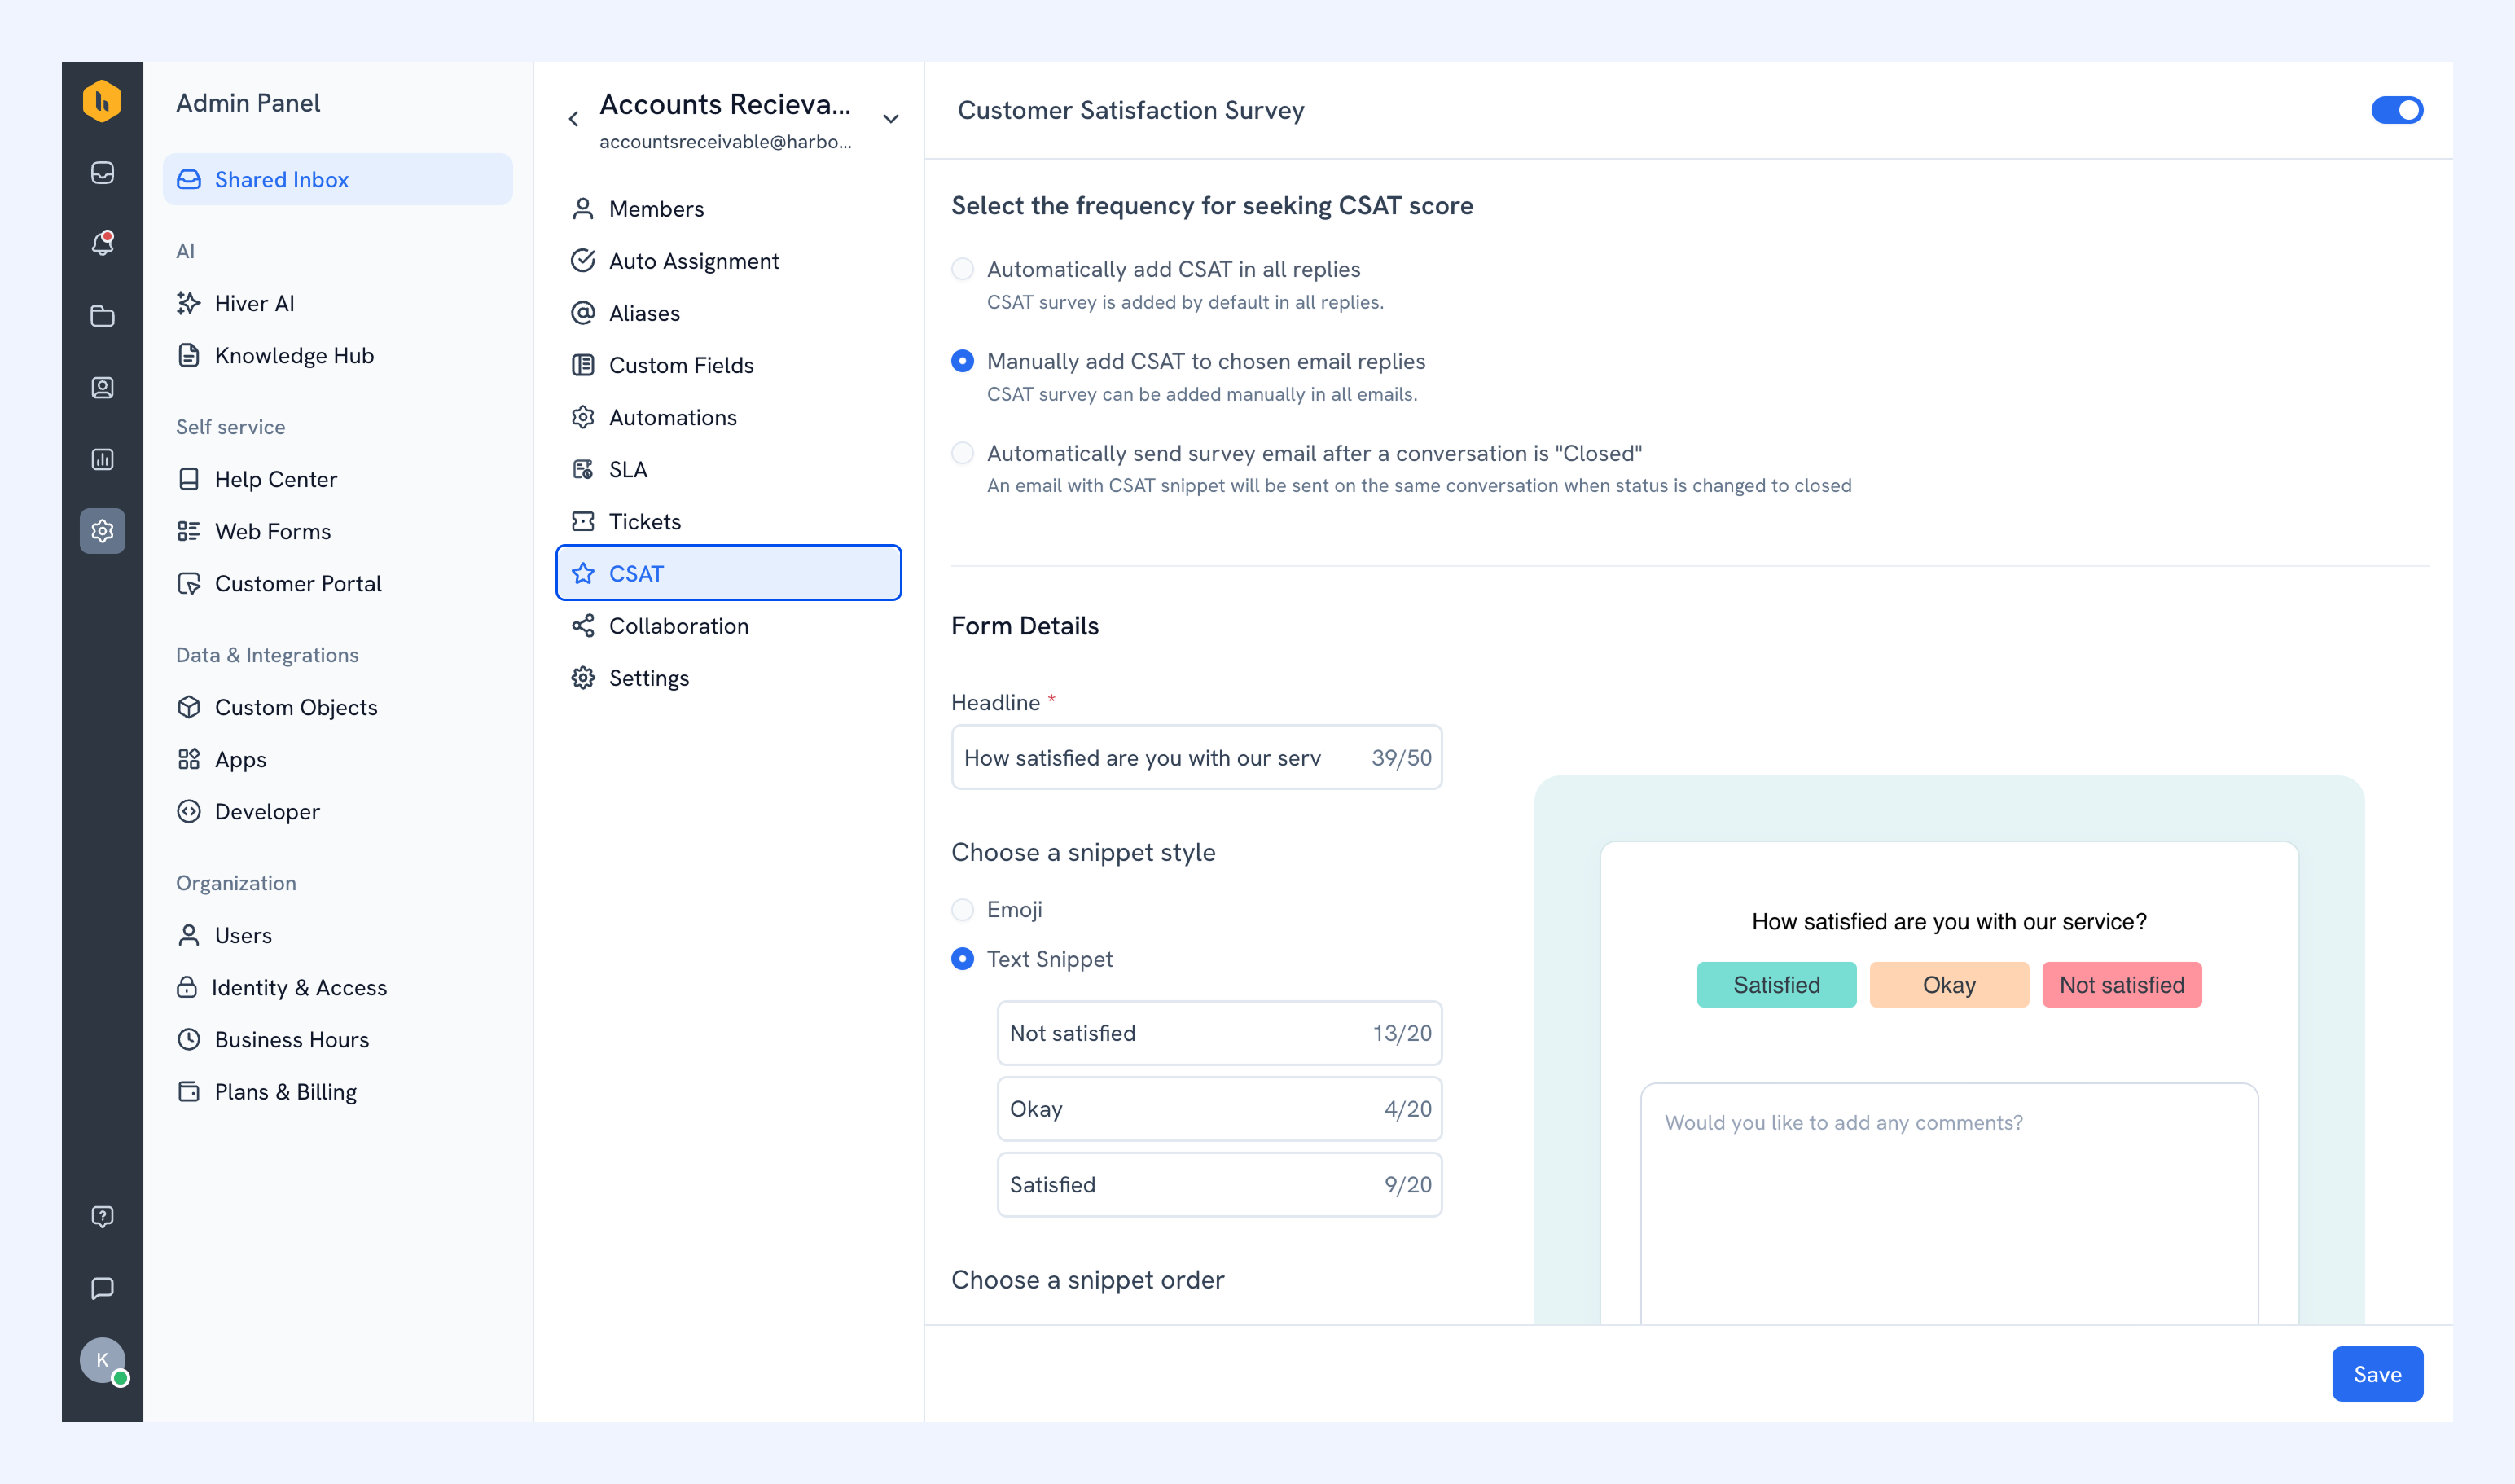
Send a customer satisfaction survey (CSAT) to measure how happy customers are with your support. Learn more about setting up CSAT surveys and reports.
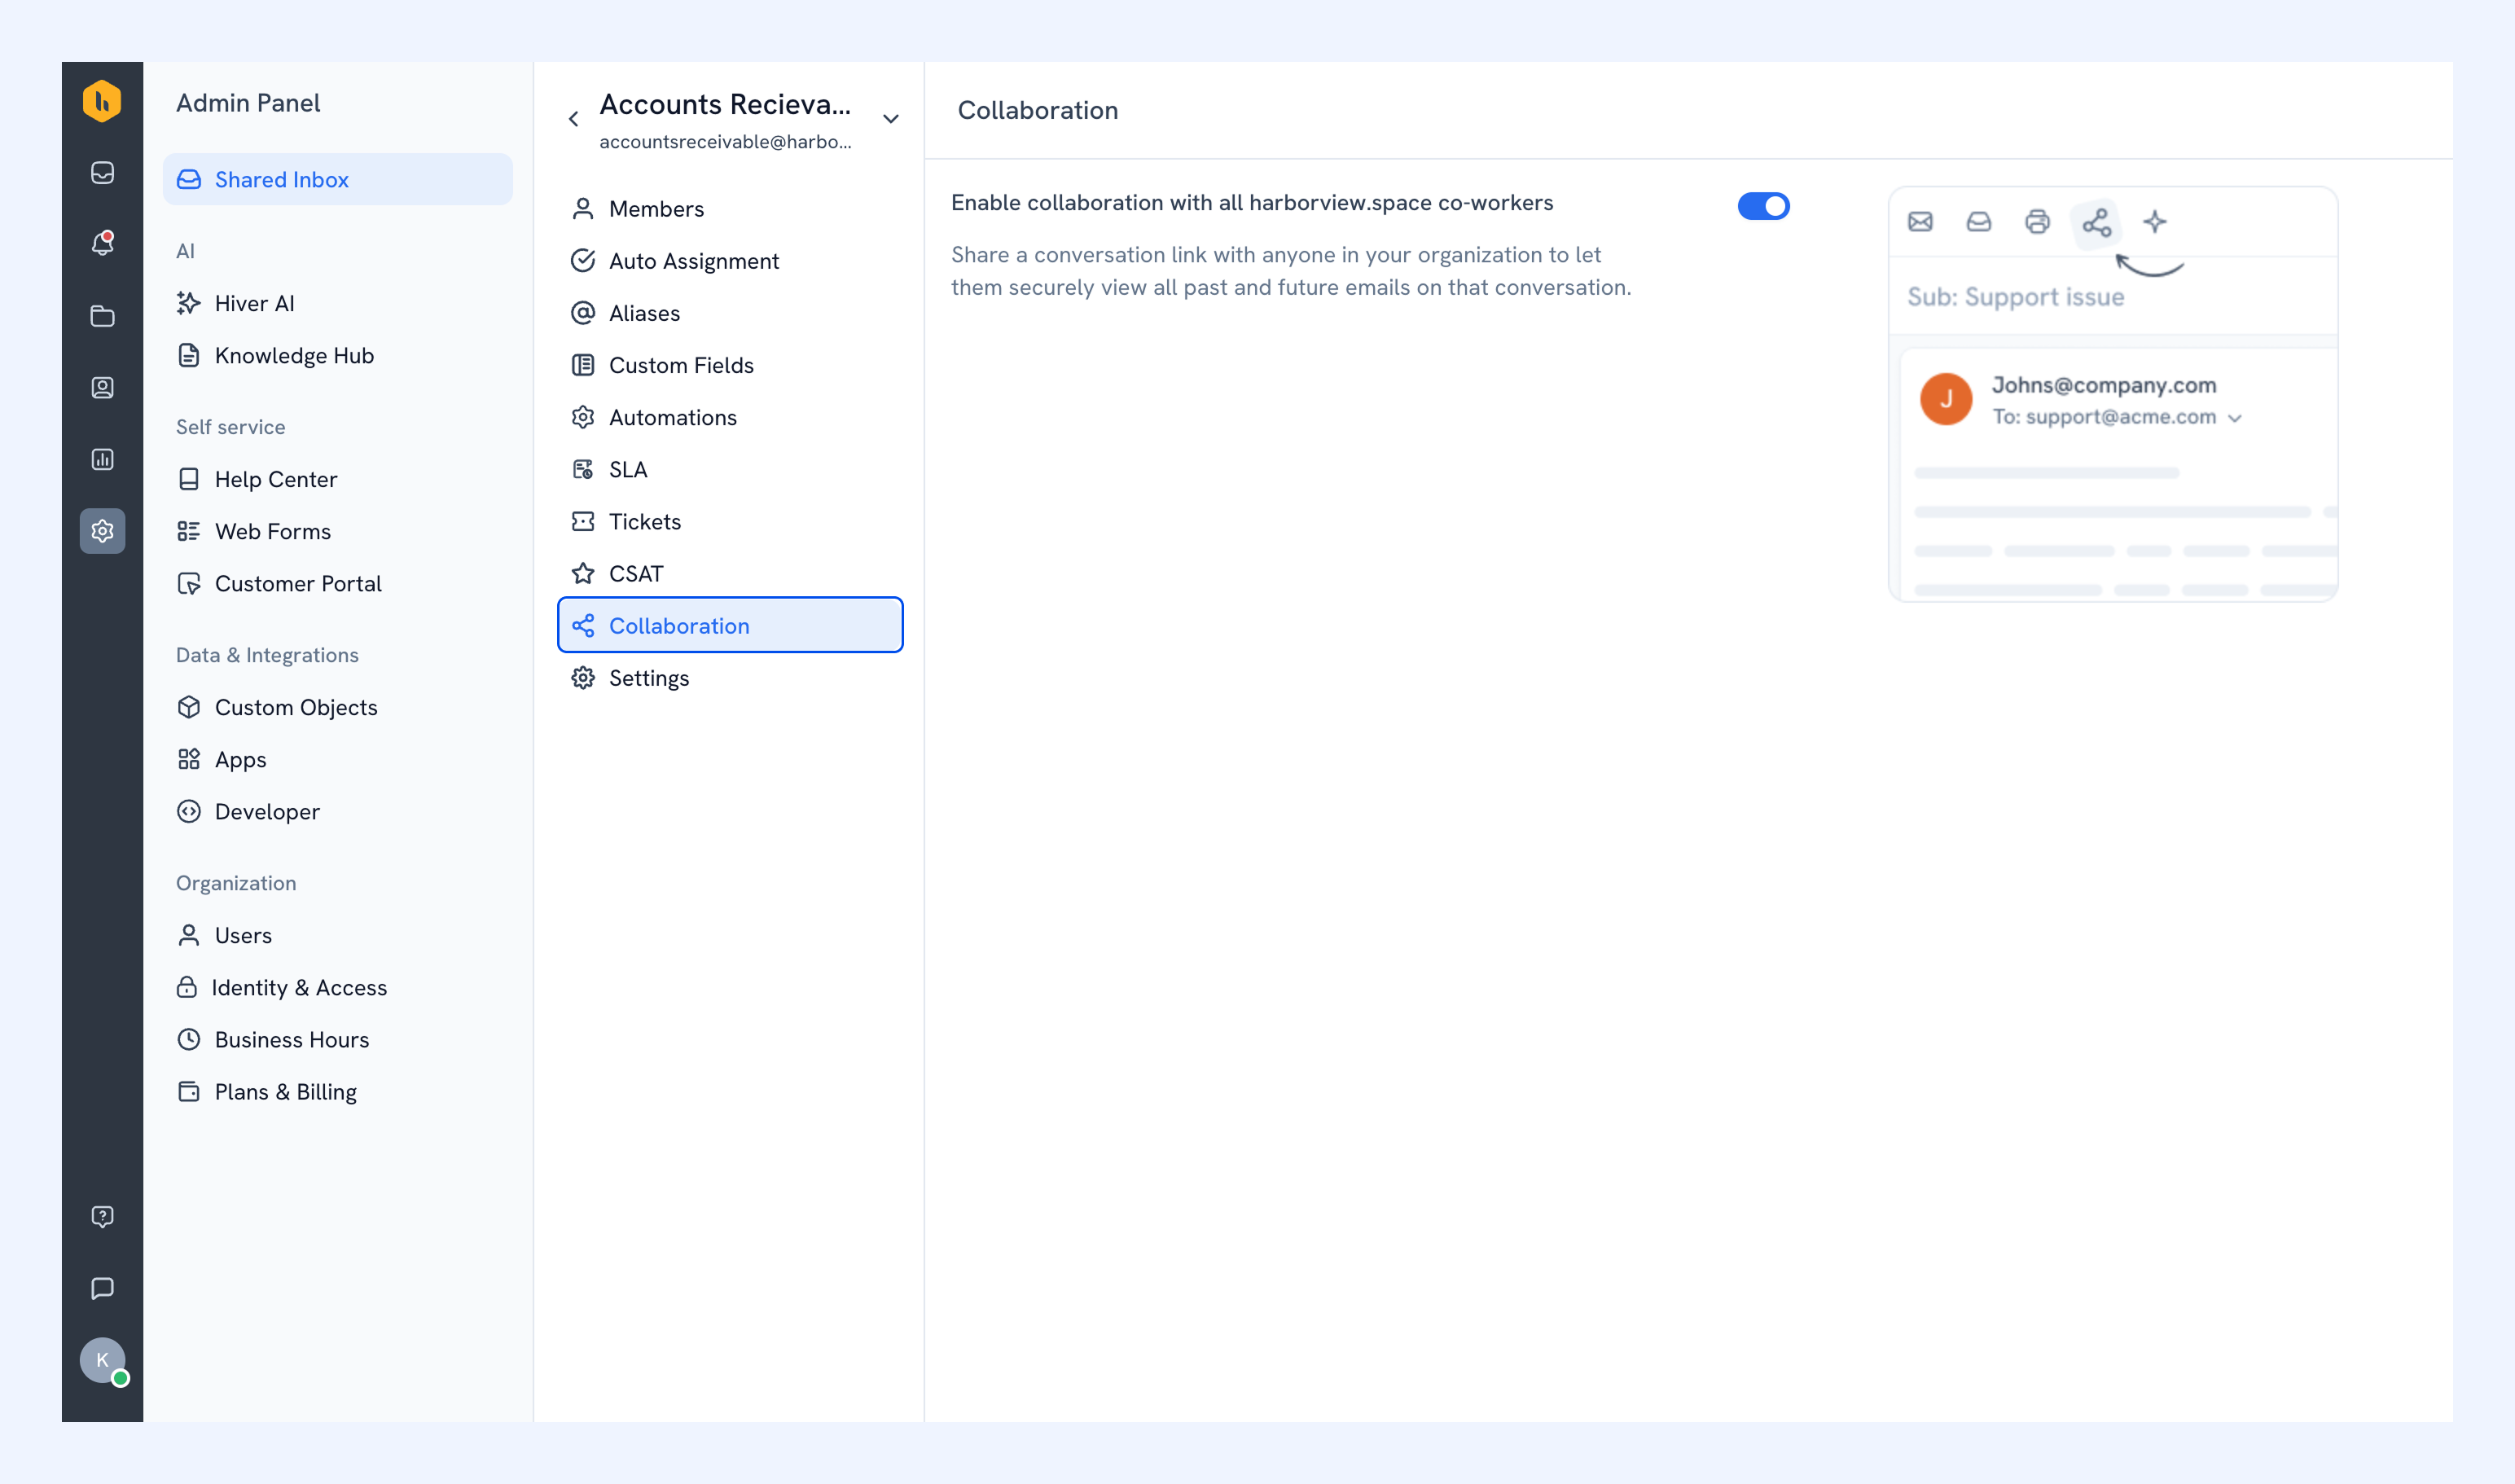
Collaboration
Let people in your organization view a conversation through a secure link, even when they don’t have access to the inbox. The link includes past emails and any future emails added to the conversation.
Learn more about collaborating on conversations.
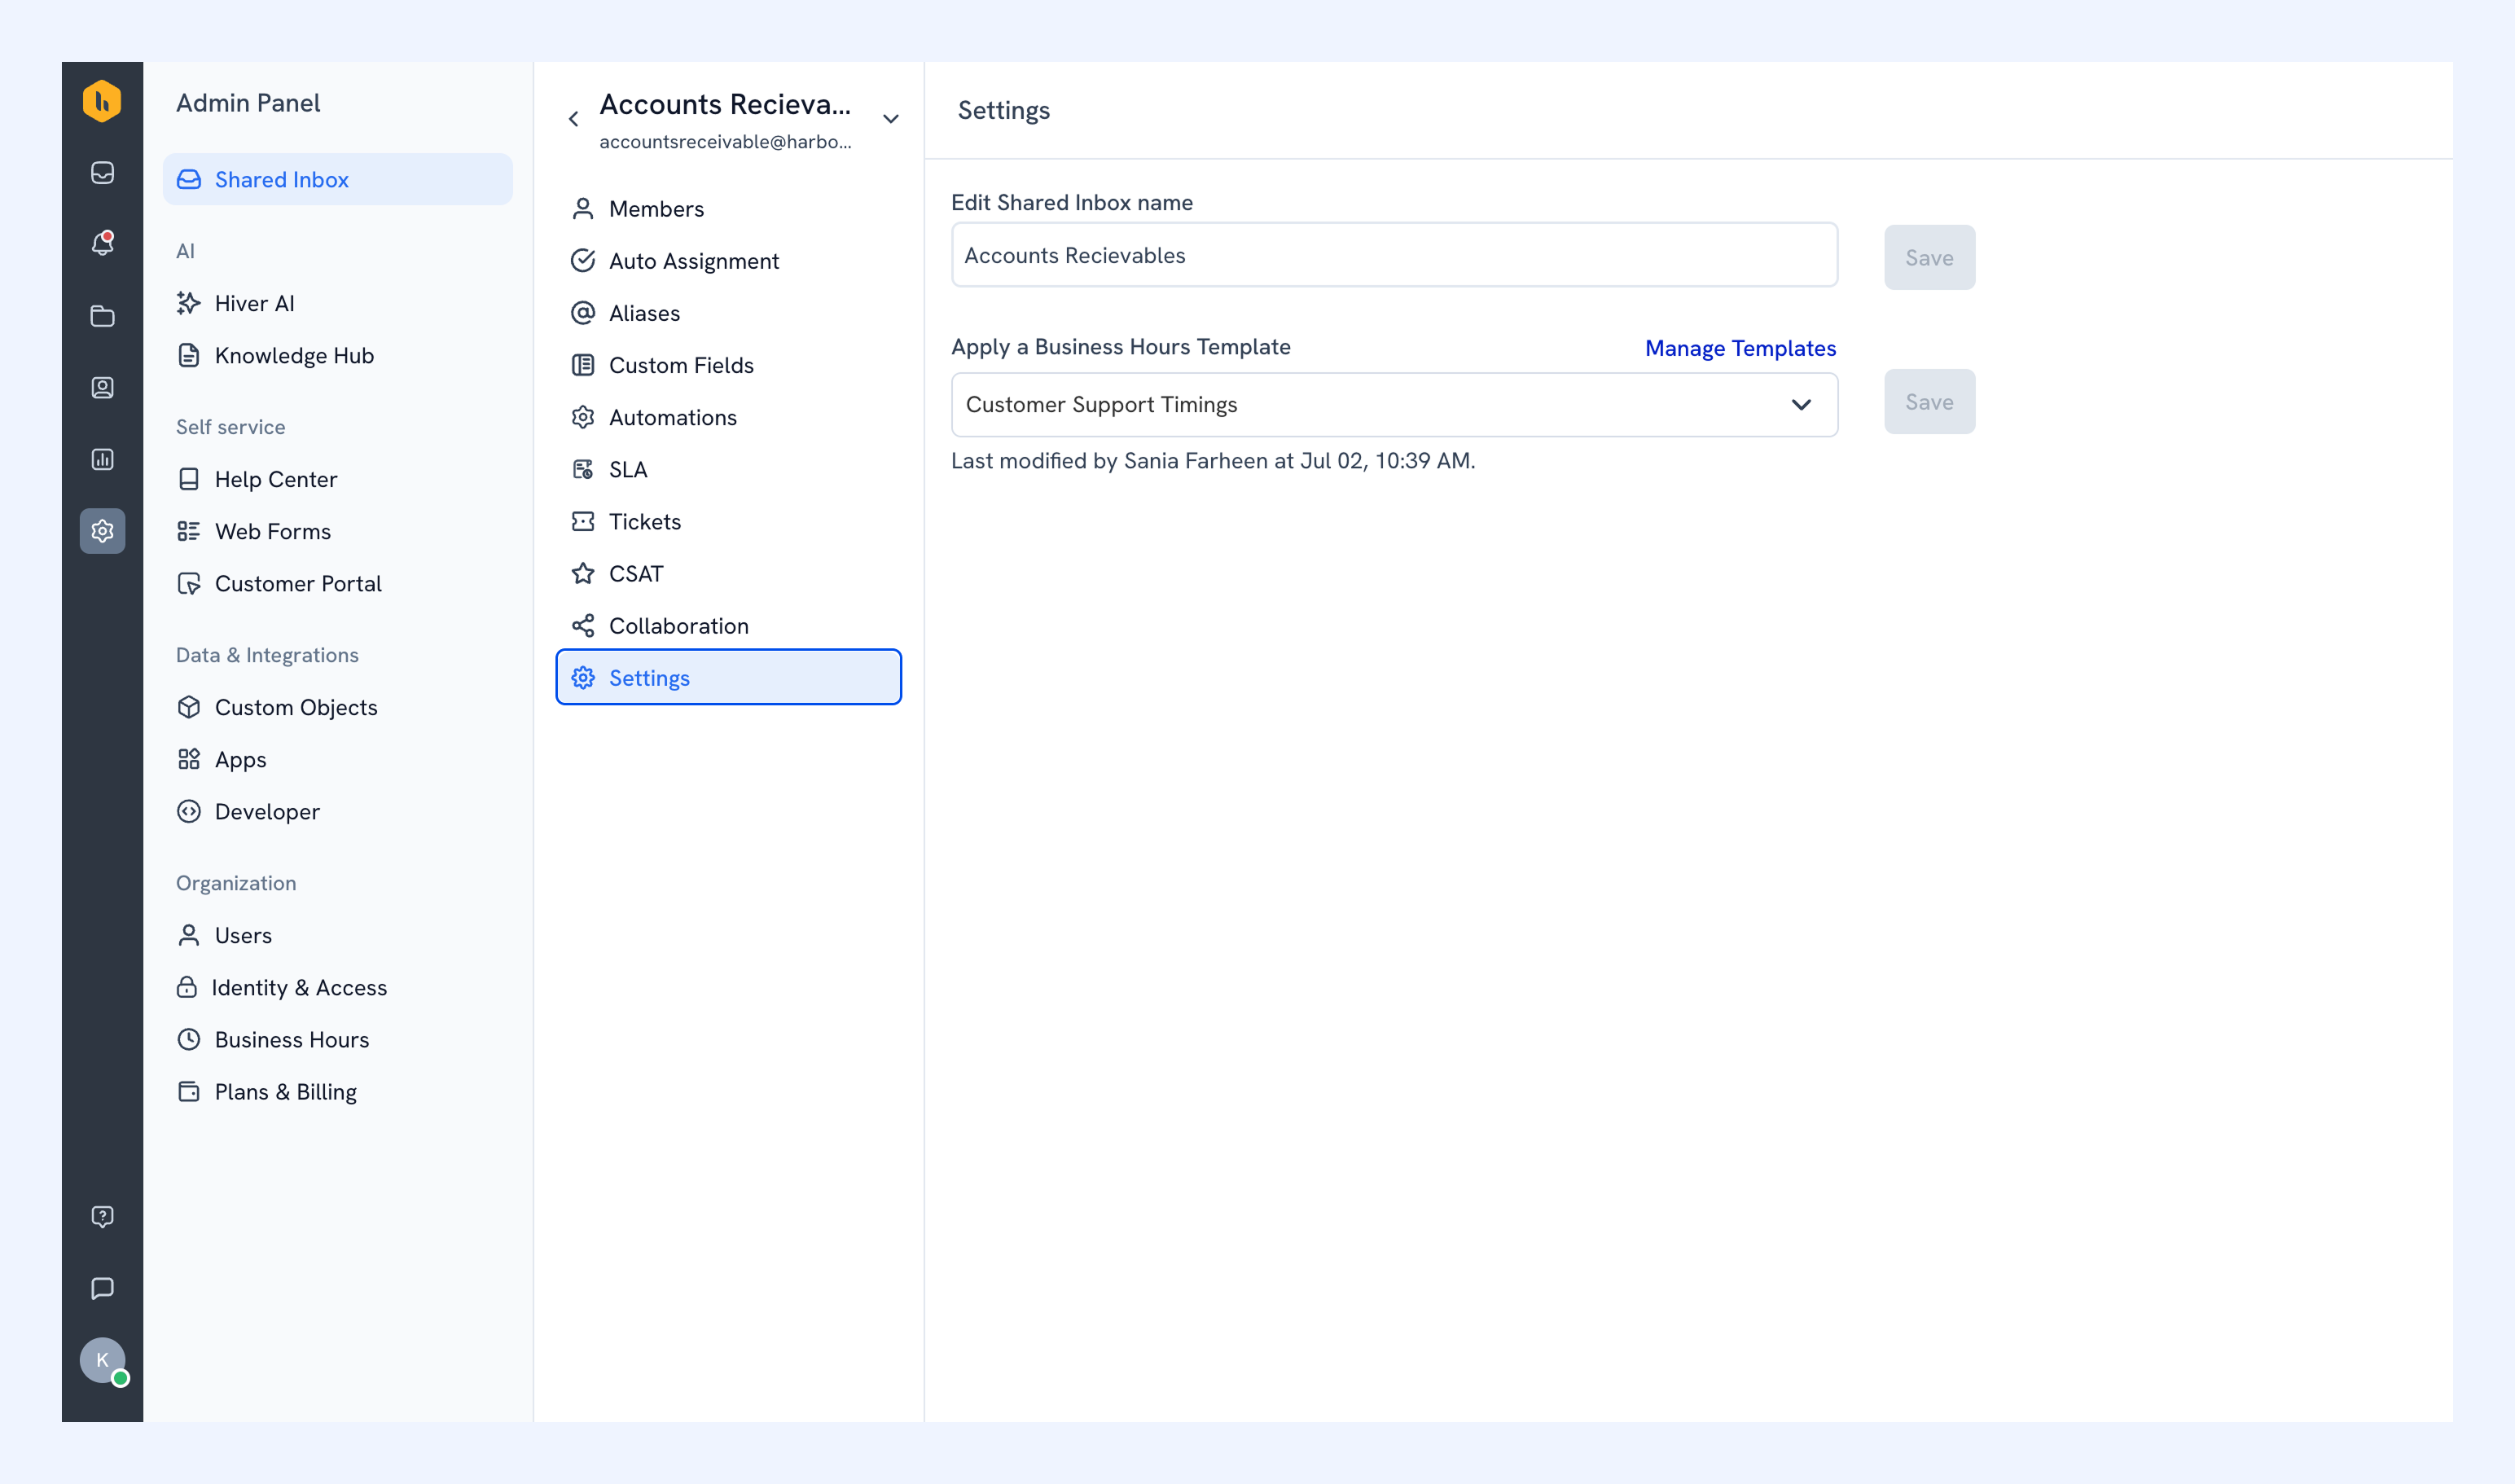
Settings
Rename the inbox and apply a business hours template so the inbox follows your team's working hours. You can also manage your templates from here.
Managing settings for other Shared Inboxes
If you use other channels in Hiver, follow these guides: